
boneless skinless chicken breast in air fryer

title 1
boneless skinless chicken breast in air fryer
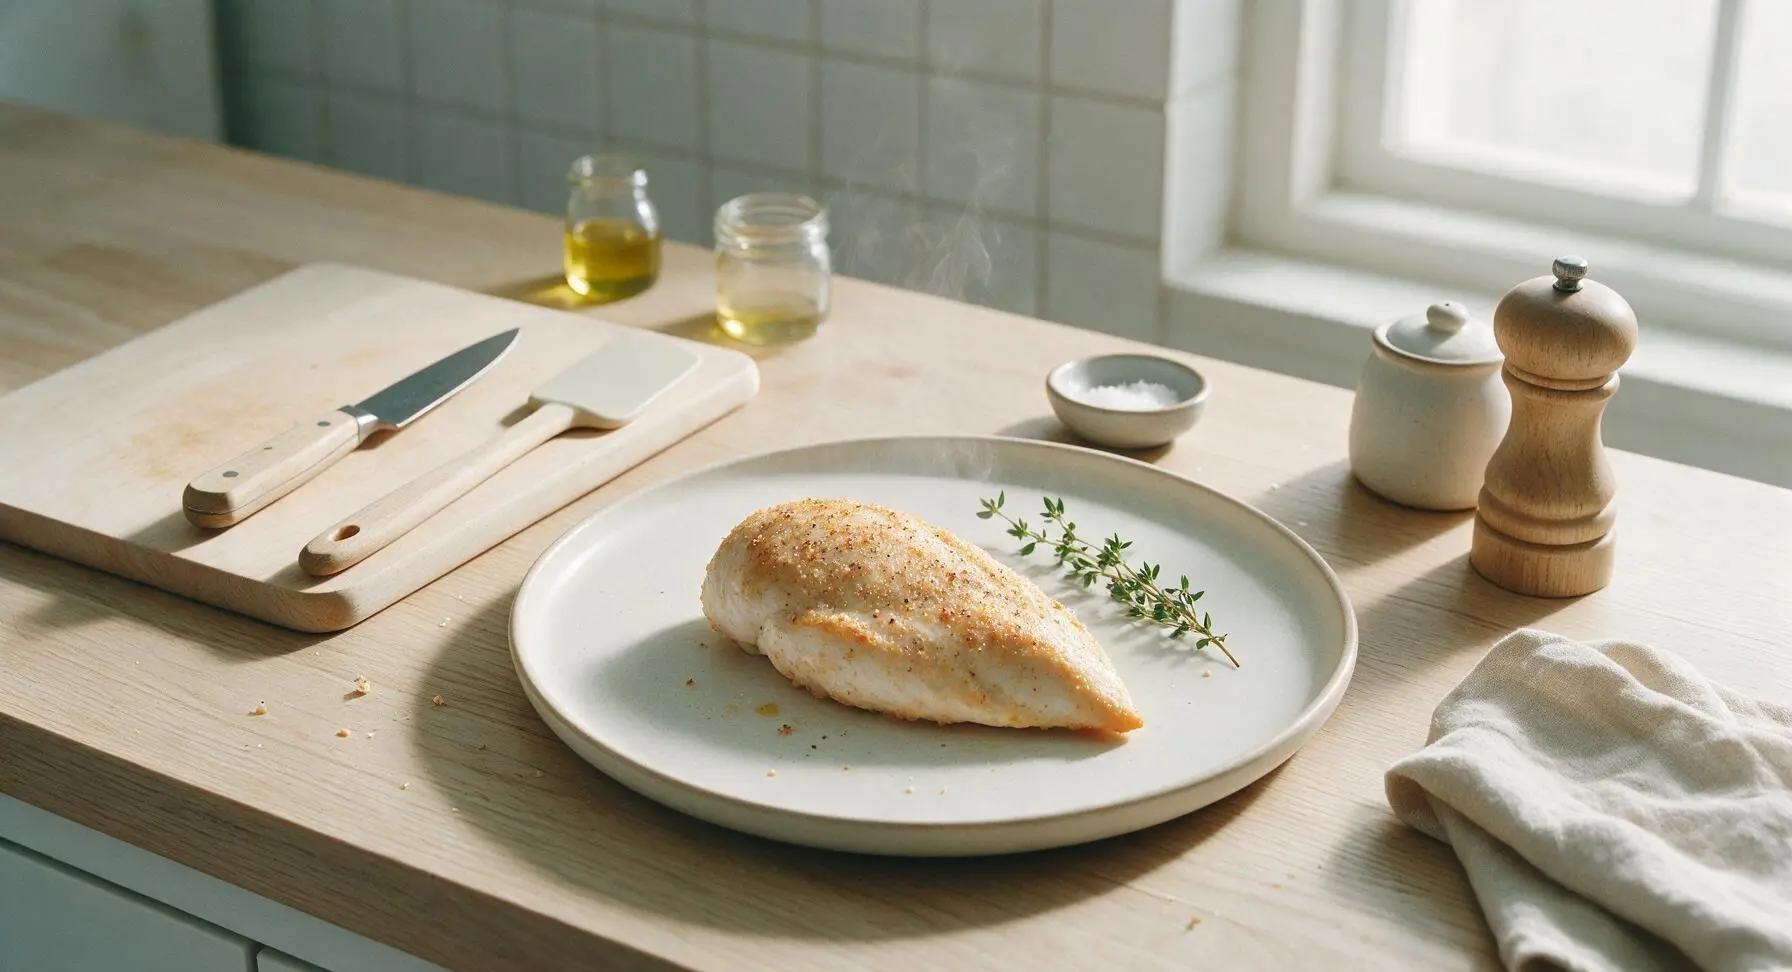
⏱️ cook time 15 minutes
🍽️ servings 4
⚡ Difficulty easy

intro

Juicy, evenly seasoned boneless skinless chicken breast with a light crisp exterior, cooked fast in the air fryer with zero dry, rubbery results—perfect for versatile weeknight meals.

Ingredients
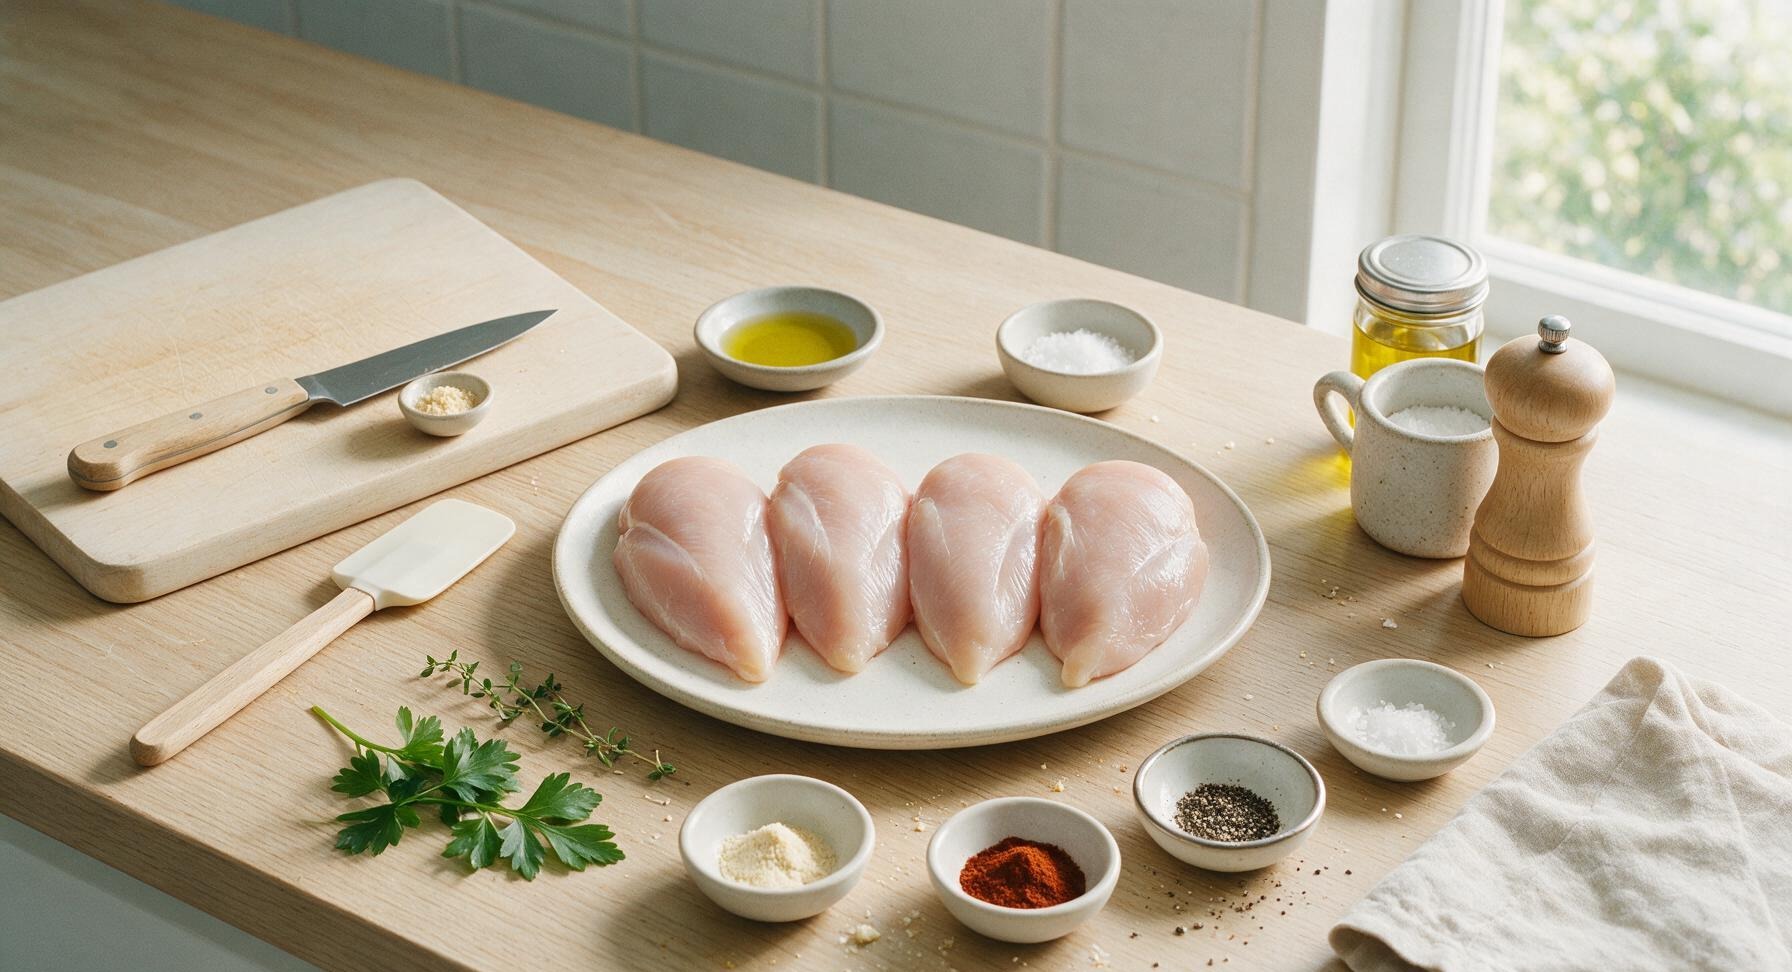
Boneless skinless chicken breasts 4 pieces (≈170g/6oz each, 680g total)
Extra-virgin olive oil 2 teaspoons
Kosher salt 1 teaspoon
Garlic powder 1/2 teaspoon
Smoked paprika 1/4 teaspoon
Freshly ground black pepper 1/4 teaspoon
Fresh flat-leaf parsley 2 sprigs (for garnish)
Flaky sea salt 1/8 teaspoon (for finishing)

Steps

1

Trim Chicken Breasts

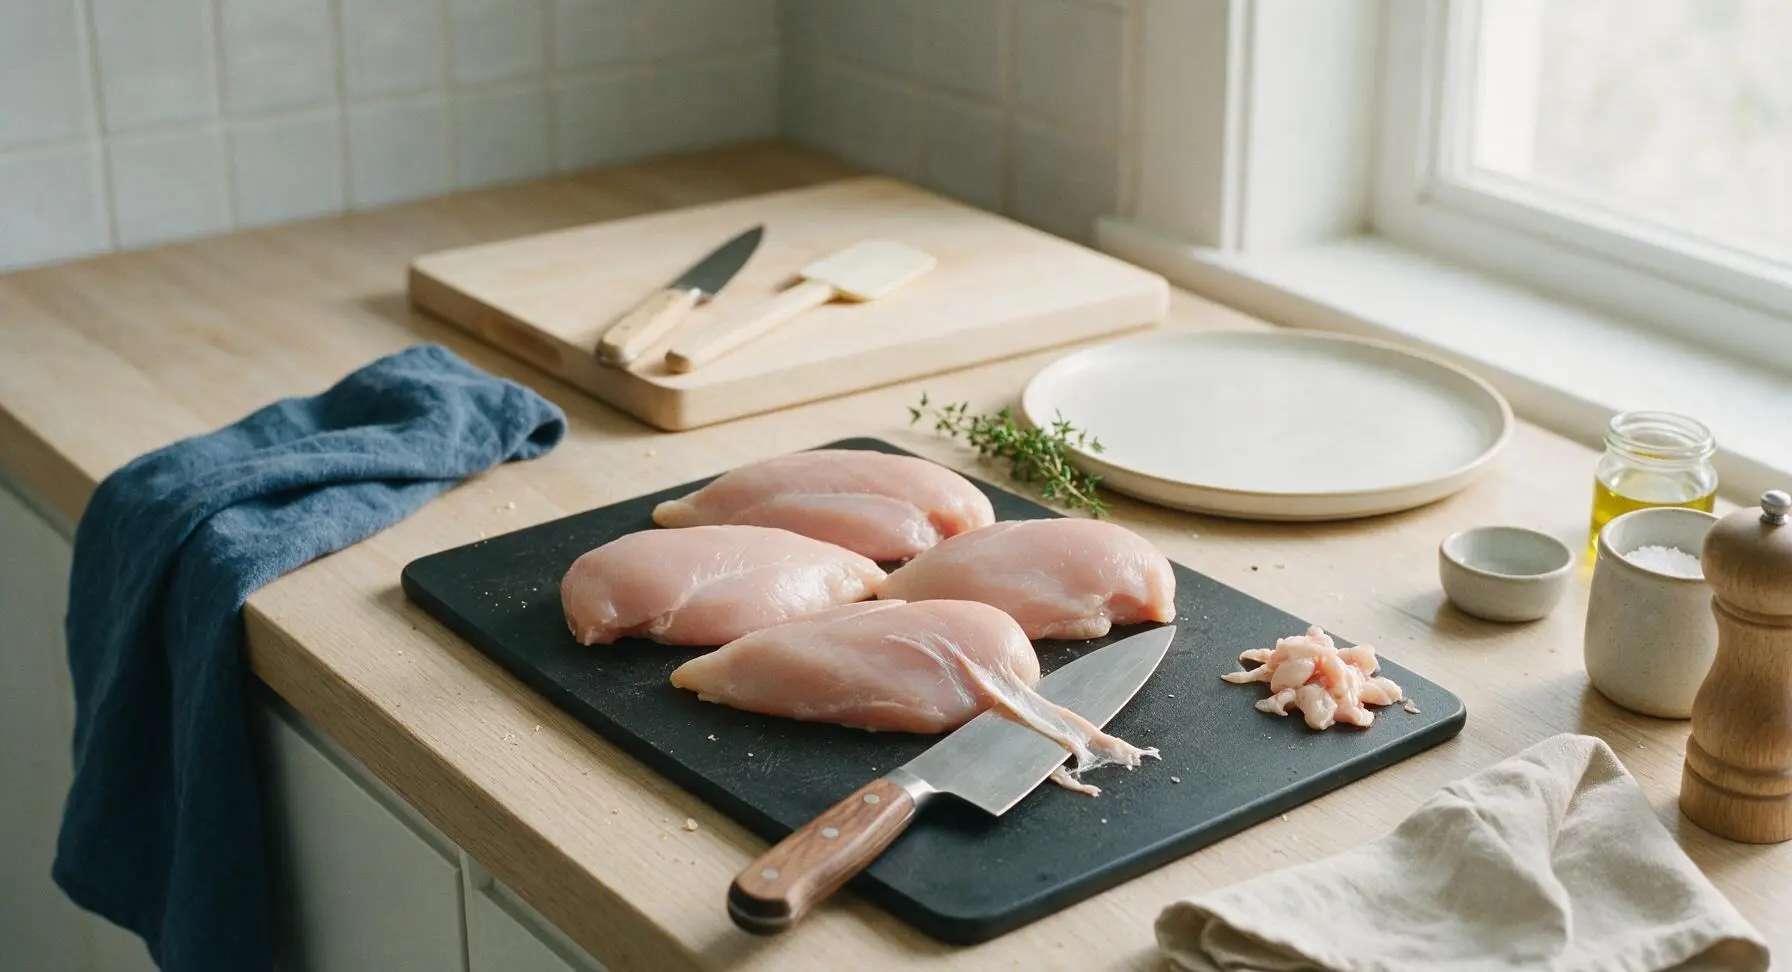
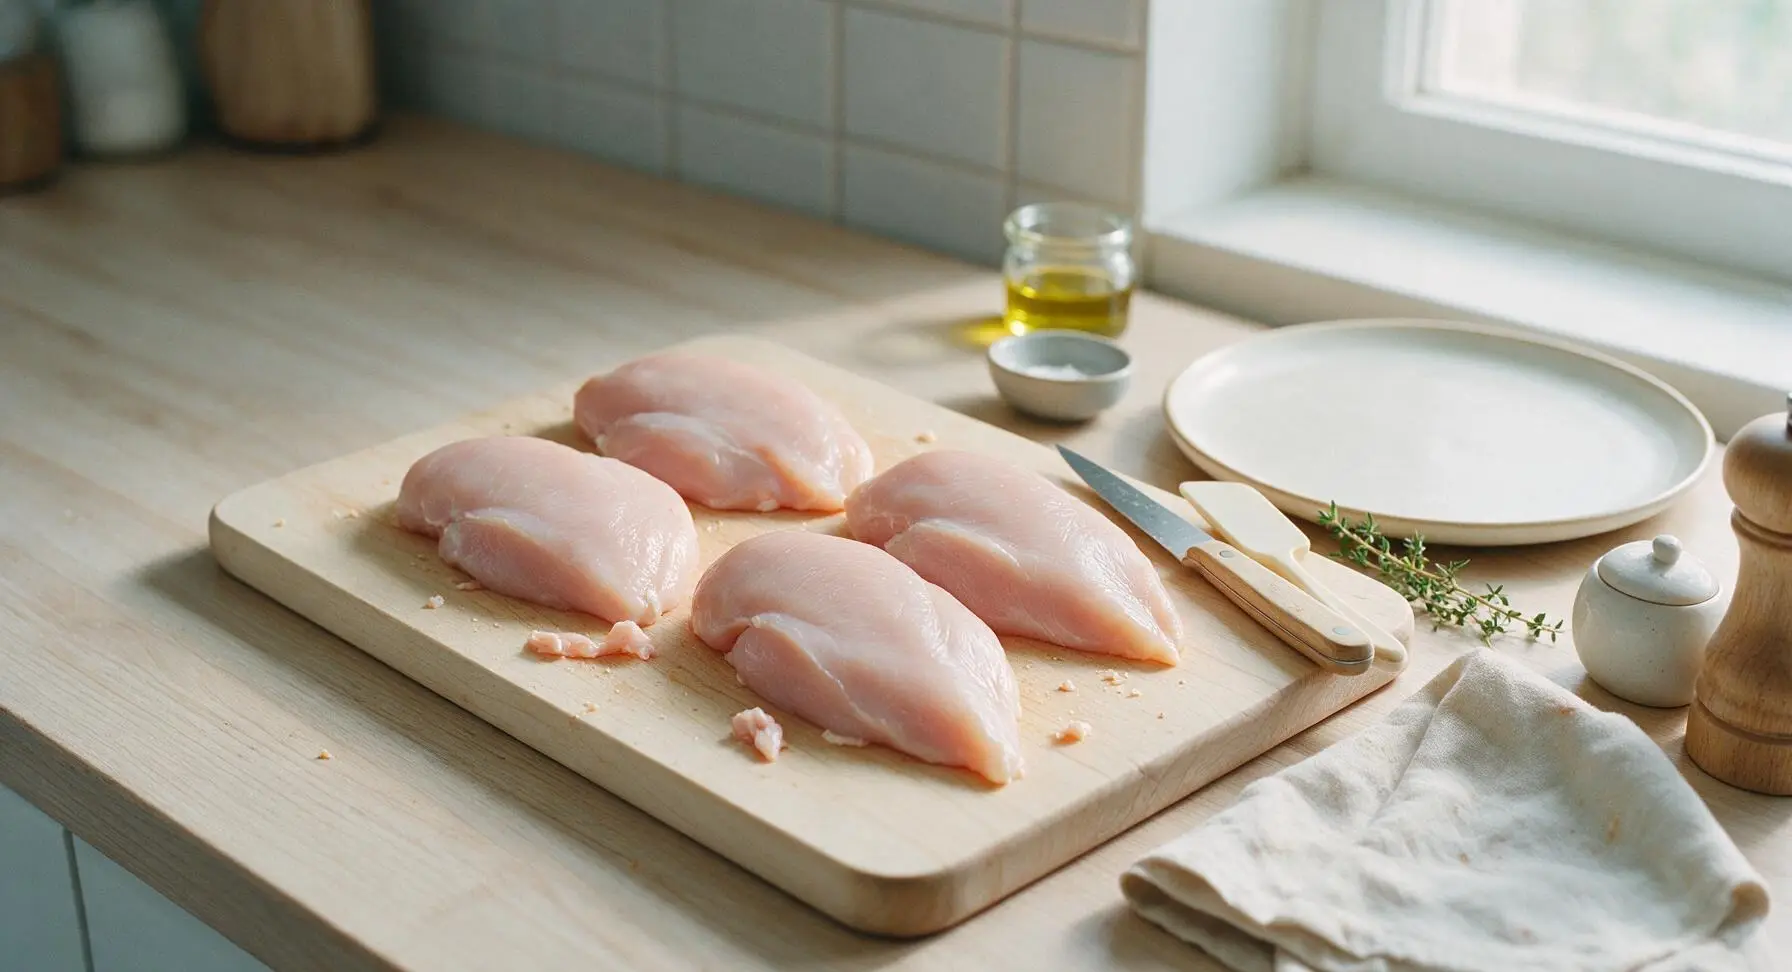
Place the 4 raw boneless skinless chicken breasts on the matte black cutting board. Use the 8-inch chef knife to trim off any visible white silver skin, loose fat bits, or ragged edges. For even cooking, gently press each breast to check for uneven thickness; if one end is more than 2cm thicker than the other, make a shallow horizontal cut into the thick end to open it like a book so the entire breast is a uniform 2.5cm (1 inch) thick. Pat all surfaces completely dry with the indigo linen kitchen towel—dry surface is critical for a crisp, non-soggy exterior.
Step 1
step1:Trim Chicken Breasts
Step 1
step1:Trim Chicken Breasts
2

Coat with Seasoning

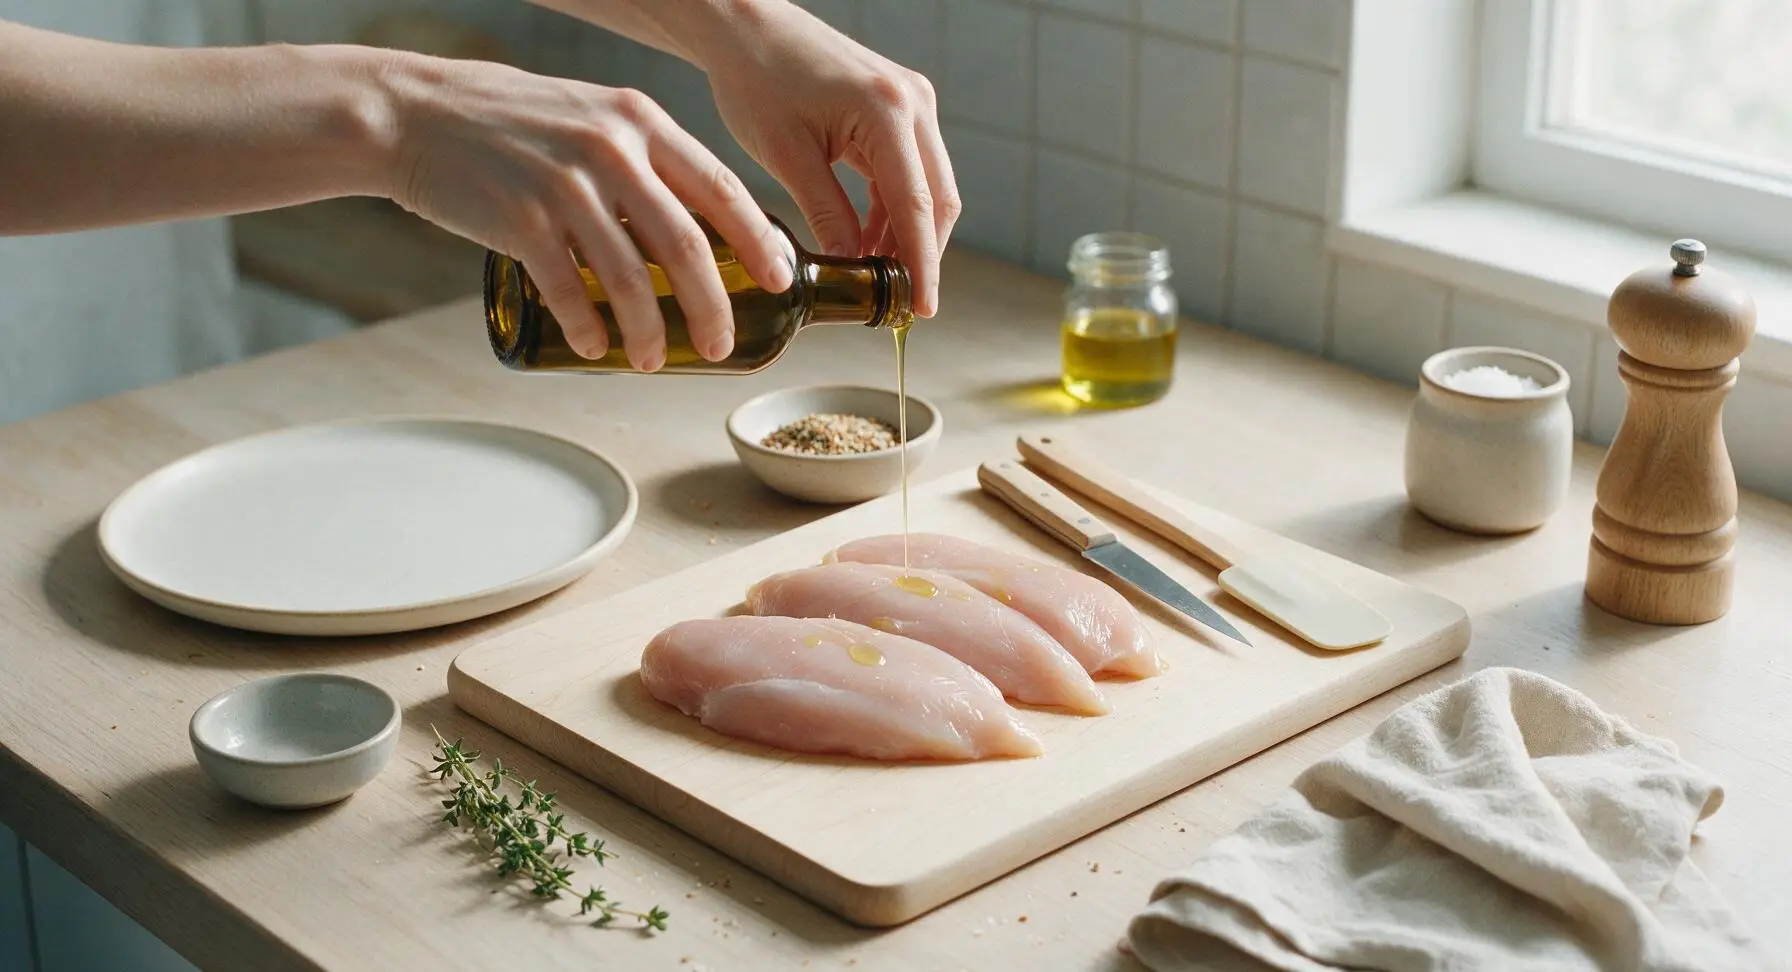
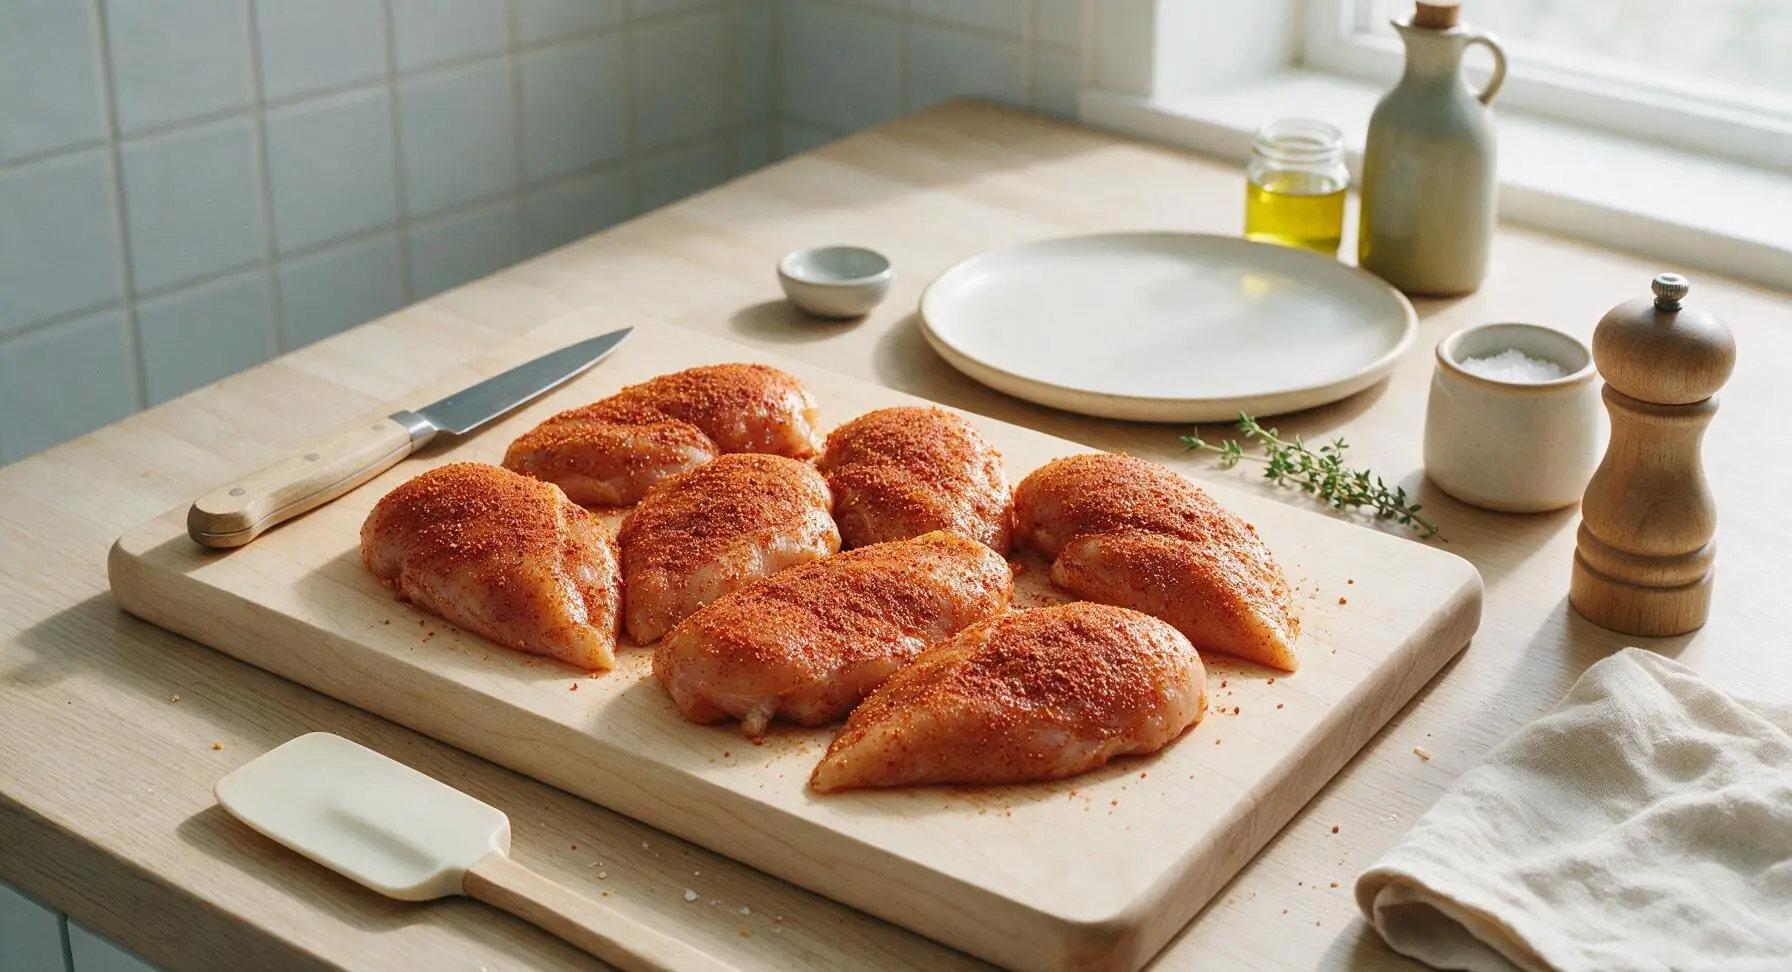
Drizzle the 2 teaspoons of olive oil over the dried chicken breasts, using clean hands to rub the oil across every surface to create a thin, even coating. In the off-white pinch bowl, mix the kosher salt, garlic powder, smoked paprika, and black pepper until evenly combined. Sprinkle the seasoning mix evenly over all sides of the chicken, pressing gently so the spices adhere to the oiled surface—no bare patches should remain.
Step 2
step2:Coat with Seasoning
Step 2
step2:Coat with Seasoning
3

Preheat Air Fryer

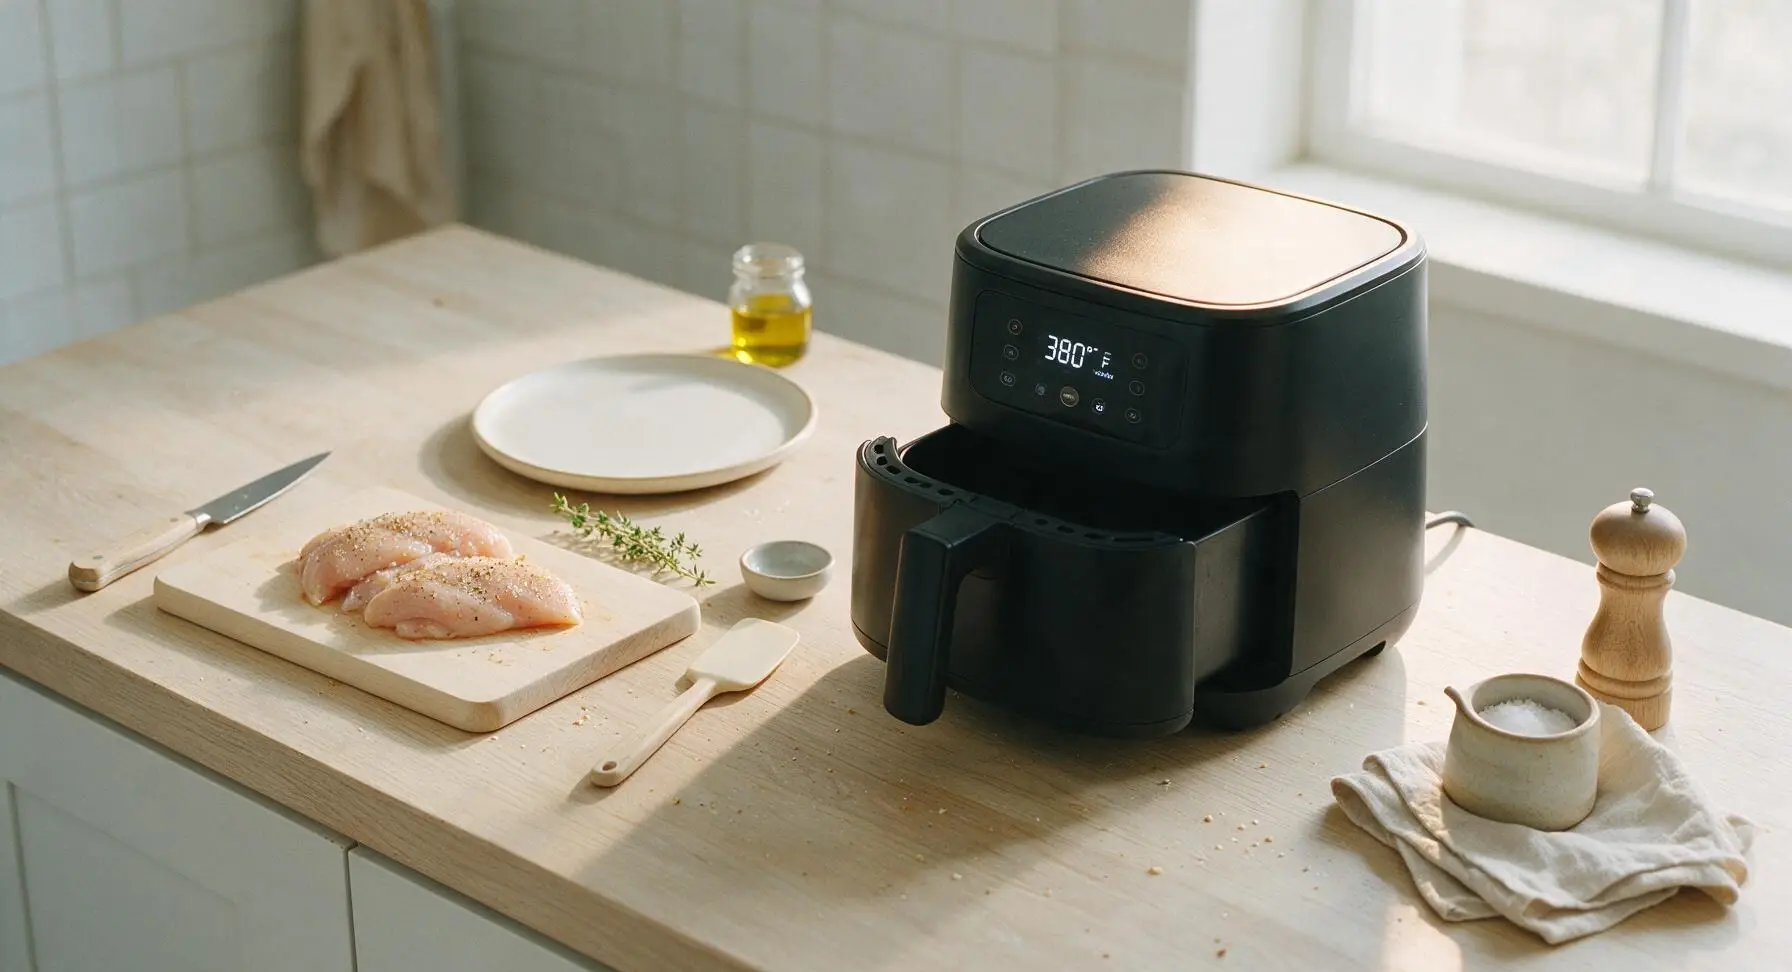
Slide the matte black air fryer basket into the unit, set the temperature to 190C / 380F, and preheat for 3 minutes. Preheating ensures the chicken sears immediately on contact, preventing sticking and helping build a crisp outer layer without overcooking the interior.
Step 3
step3:Preheat Air Fryer
4

Arrange Chicken in Basket

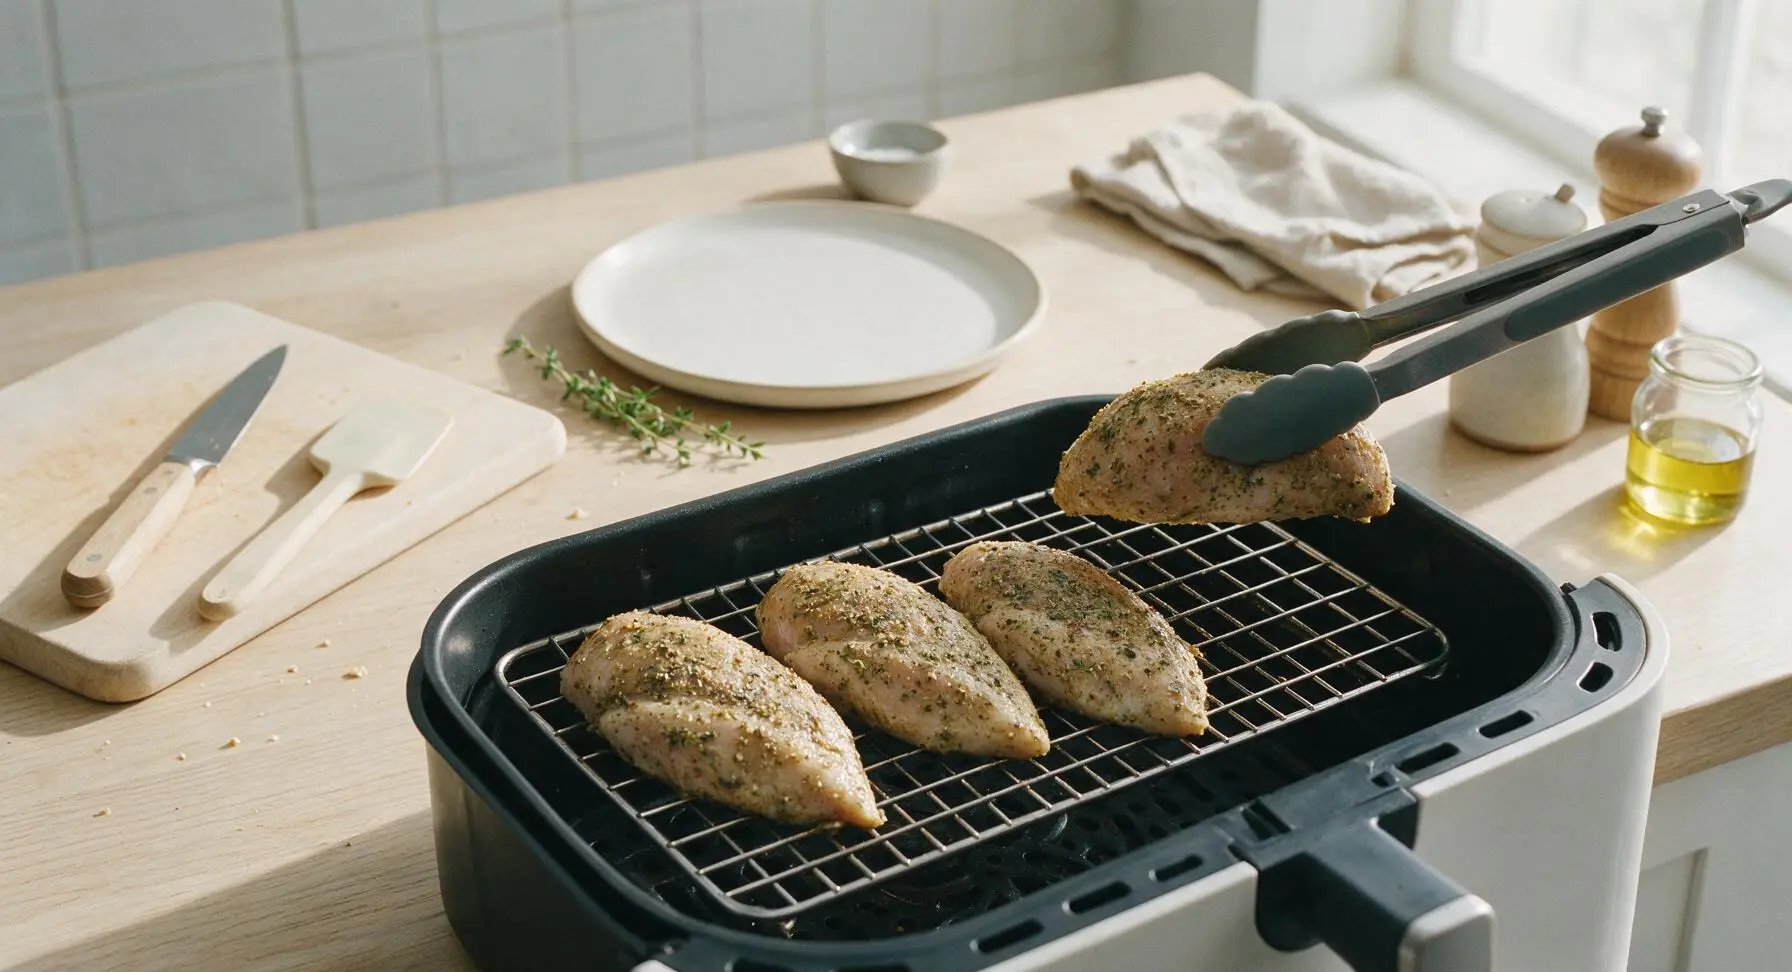
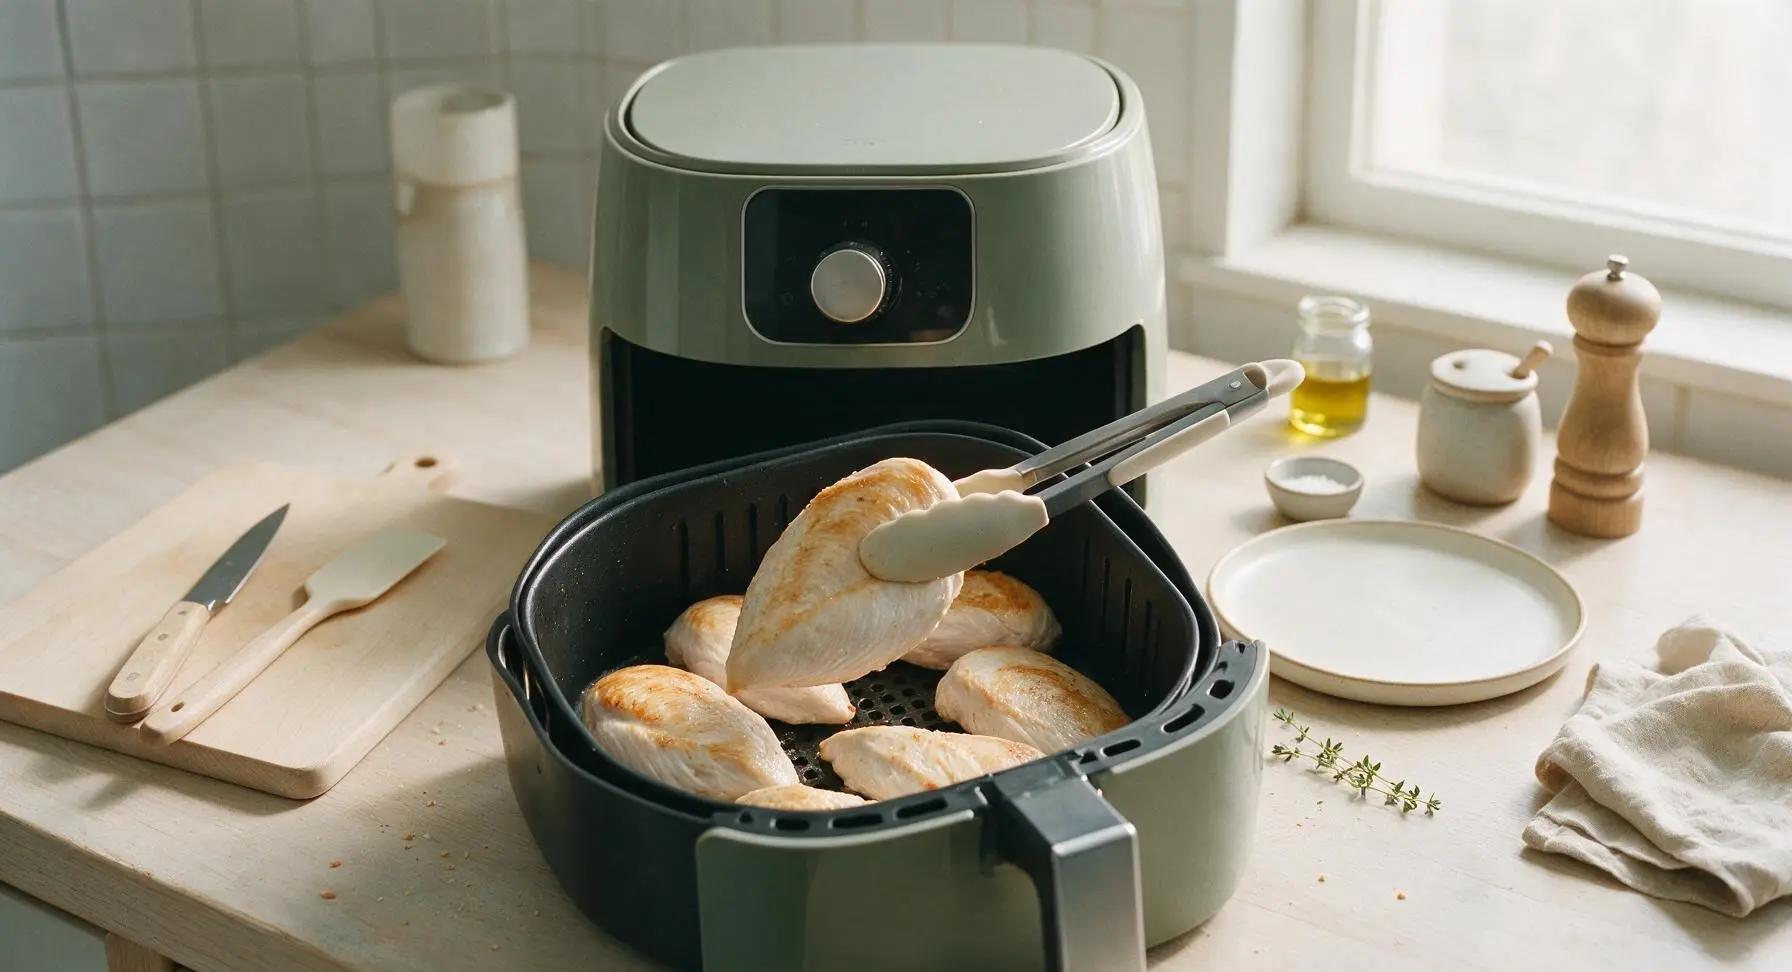
Pull the preheated air fryer basket out carefully (it will be hot). Use the silicone-tipped tongs to place the seasoned chicken breasts in the basket in a single layer, leaving 1cm (½ inch) of space between each piece to allow hot air to circulate—do not stack or overlap the chicken, as this will cause uneven cooking and soggy spots. If your air fryer is smaller than 6 quarts, cook the chicken in two batches rather than overcrowding.
Step 4
step4:Arrange Chicken in Basket
5

Cook, Flip Midway

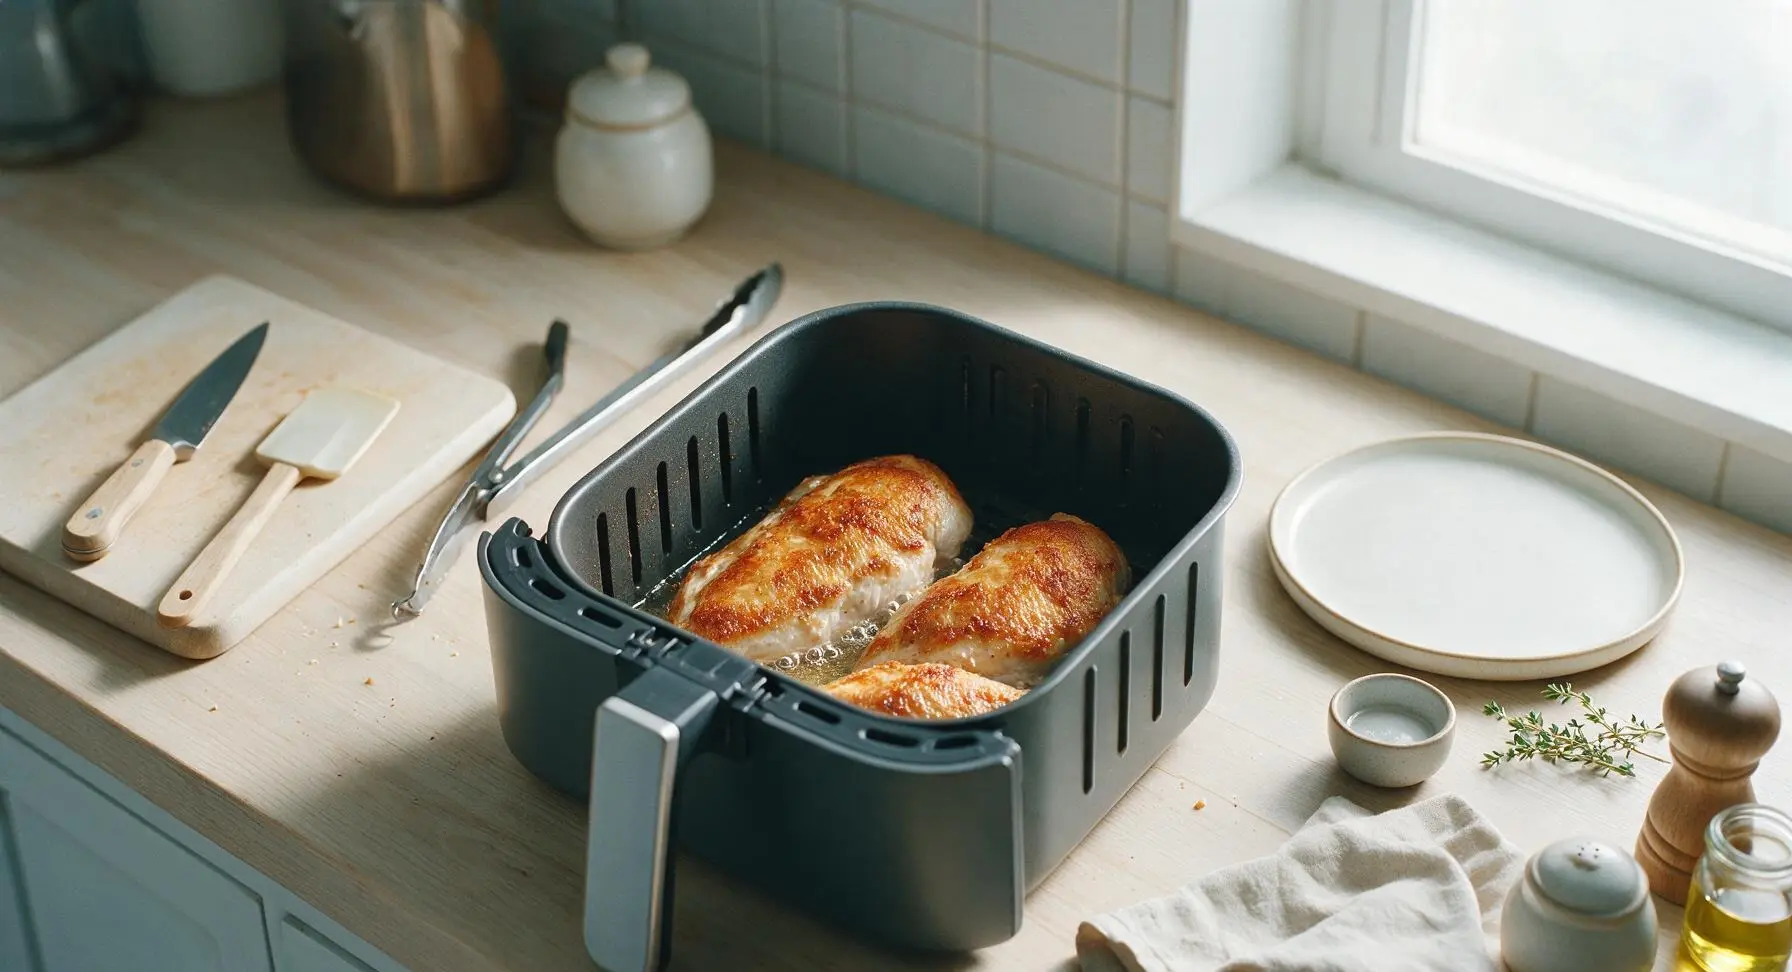
Slide the basket back into the air fryer and cook for 6 minutes at 380F. After 6 minutes, pull the basket out, use the tongs to flip each chicken breast carefully, then slide the basket back in to cook for another 5-6 minutes. Total cook time is 11-12 minutes, depending on breast thickness.
Step 5
step5:Cook, Flip Midway
Step 5
step5:Cook, Flip Midway
6

Verify Doneness

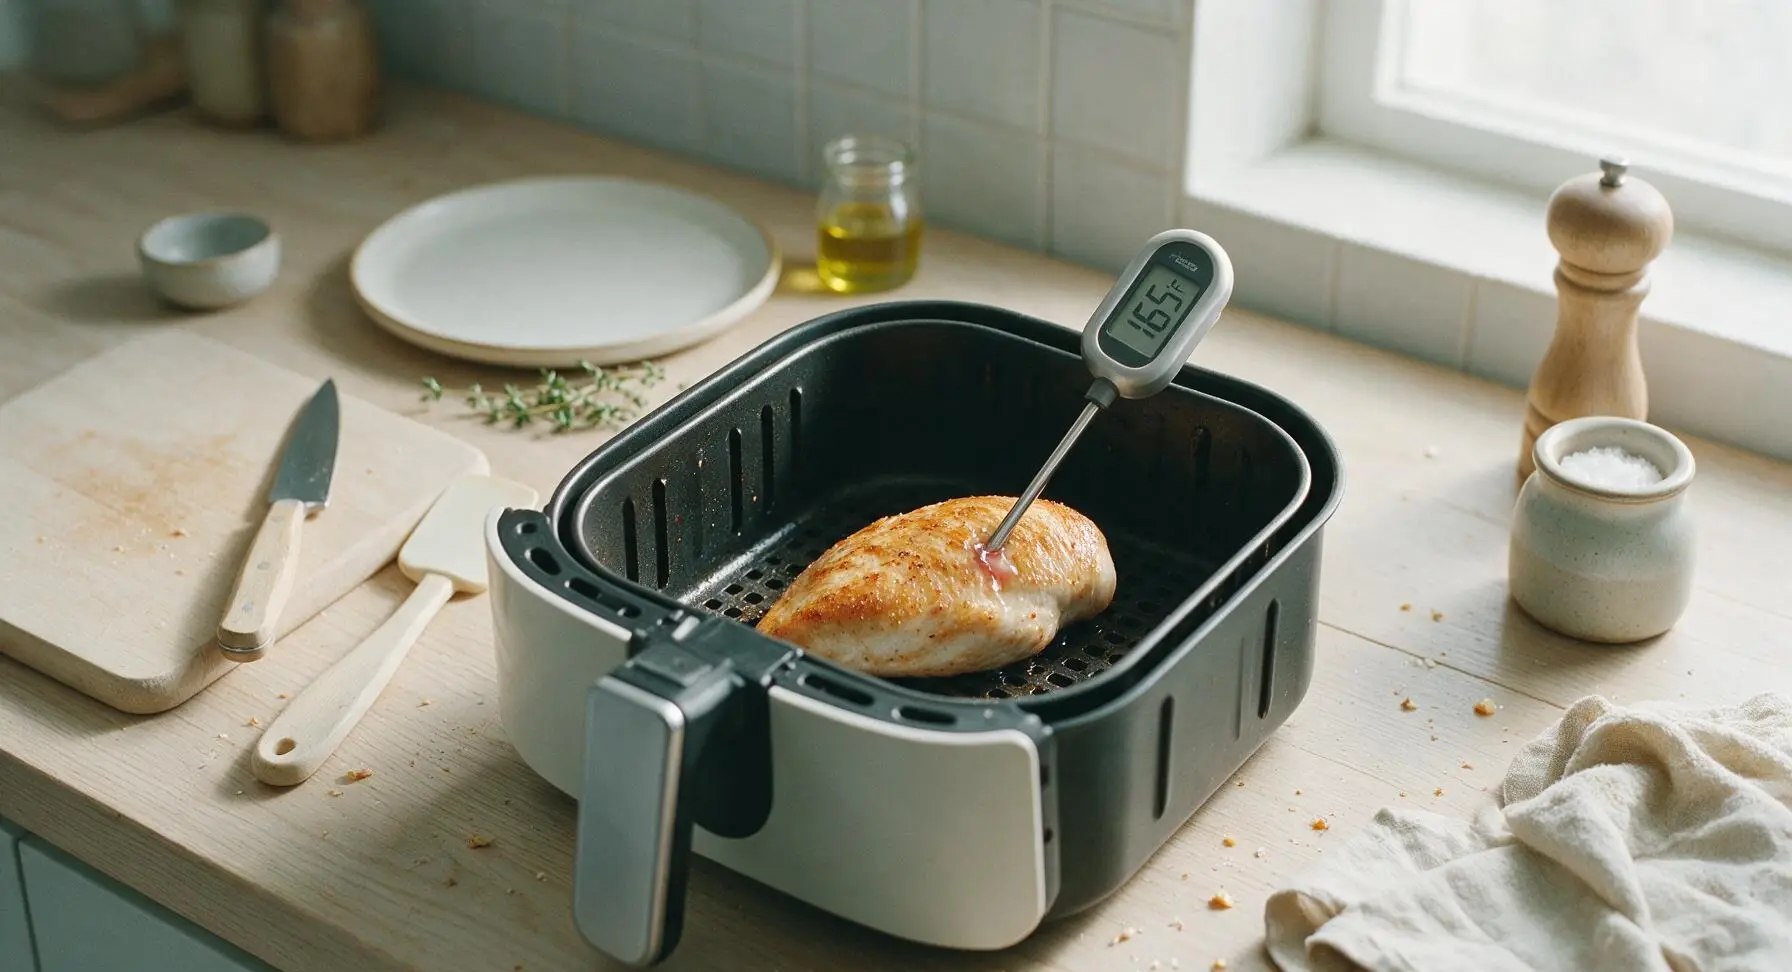
Use the digital instant-read meat thermometer to check the internal temperature at the thickest part of each breast: the temperature should read 74C / 165F when fully cooked. If any breast reads below that, return it to the air fryer for 1-2 more minutes before checking again. Do not overcook, as this will lead to dry, rubbery chicken. Juices running from the probe should be completely clear, not pink.
Step 6
step6:Verify Doneness
7

Rest Before Slicing

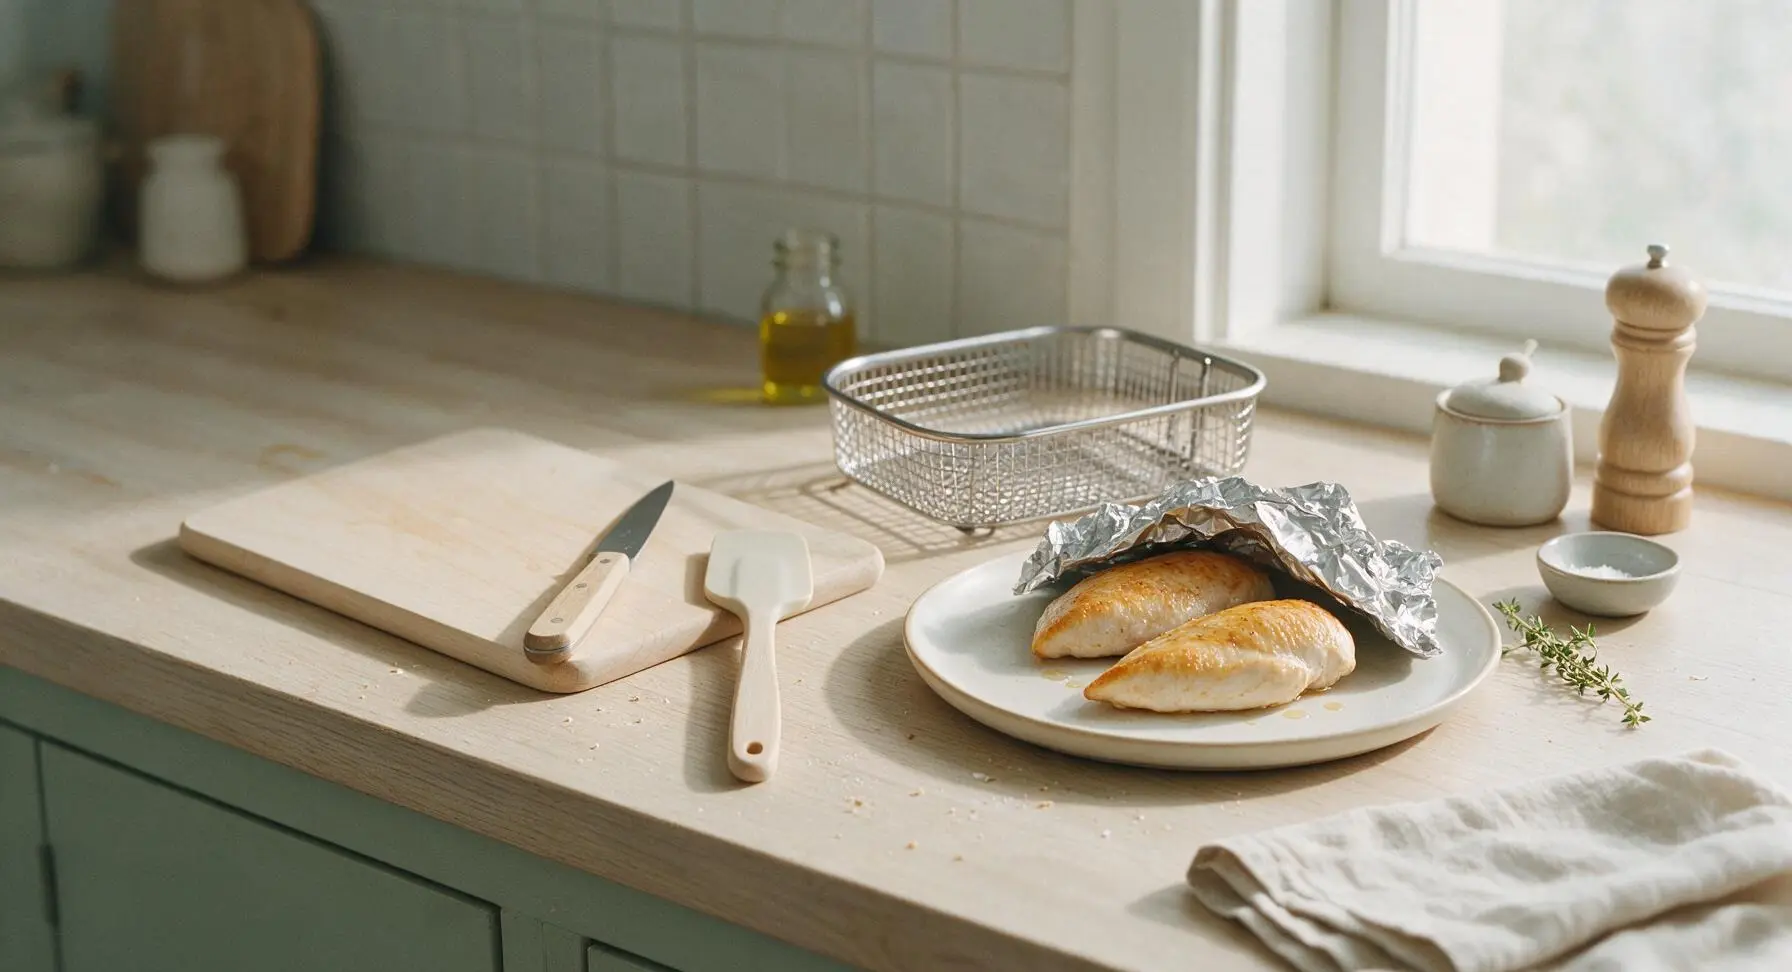
Use the tongs to transfer the cooked chicken breasts from the air fryer basket to the matte cream ceramic dinner plate. Loosely tent a small piece of aluminum foil over the top (do not wrap tightly, as this will make the crust soggy) and let the chicken rest for 5 minutes. Resting allows the muscle fibers to relax and reabsorb juices, so every bite is juicy instead of having all the juice run out when you slice.
Step 7
step7:Rest Before Slicing
8

Slice and Plate

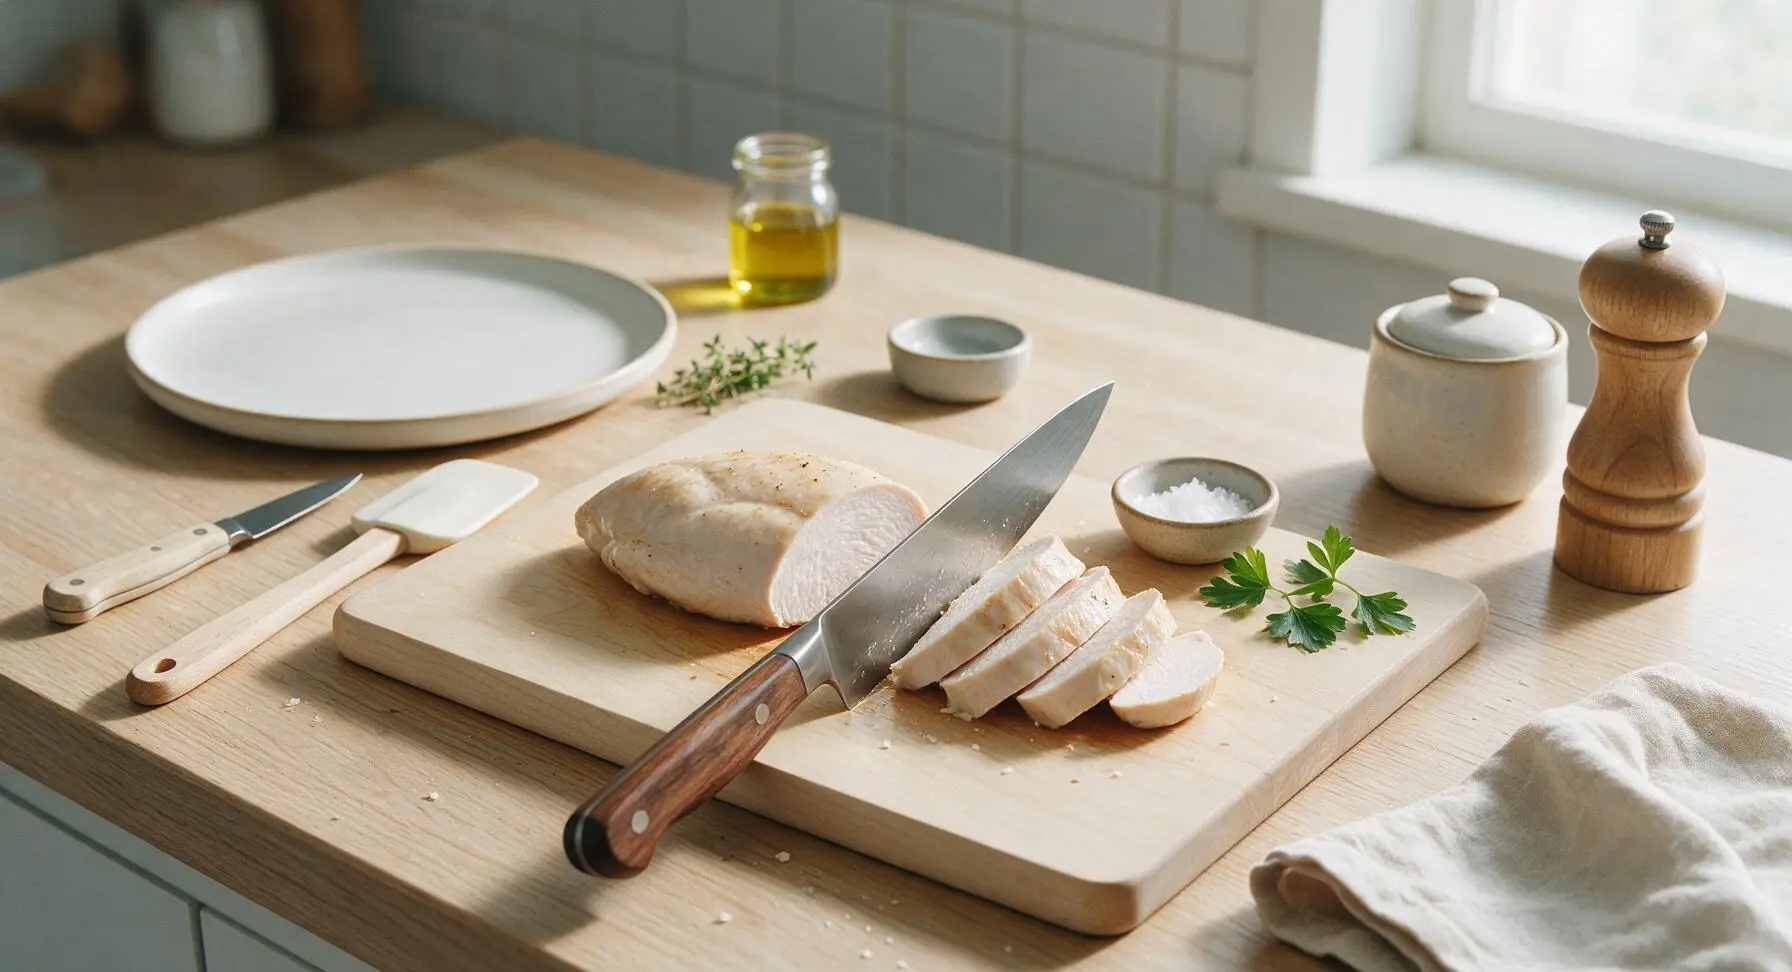
After resting, transfer the chicken to the cutting board. Use the chef knife to slice each breast against the grain into 1.5cm (½ inch) thick slices. Fan the slices back on the matte cream dinner plate, sprinkle with the pinch of flaky sea salt, and tuck a few fresh parsley sprigs next to the chicken for garnish. Serve immediately.
Step 8
step8:Slice and Plate

Tips

1.Pat chicken completely dry with the linen towel before adding oil and seasoning. Any residual surface moisture will create steam in the air fryer instead of a crisp, golden sear, leading to a pale, soft exterior.
2.Do not overcrowd the air fryer basket. For 6-quart models, 4 evenly sized breasts fit perfectly with space for air flow; for smaller 3-4 quart models, cook in 2 batches. Crowding blocks hot air circulation, causing uneven cooking and rubbery, under-seared spots.
3.Always let chicken rest 5 minutes after cooking, loosely tented with foil. Slicing immediately causes all the hot, reabsorbed juices to run out onto the plate, leaving the meat dry even if it was cooked to the correct internal temperature.


✨ You May Also Like

Main Course
🍜 United Kingdom

A showstopping classic of tender seared beef, savory mushroom duxelles, and crisp prosciutto wrapped in flaky golden puff pastry, baked to juicy perfection.

⏱️ 2 hours 1Main Course ★ 4.7
Main Course
🍜 India

Tender charred marinated chicken simmered in a rich, spiced creamy tomato sauce, this iconic Anglo-Indian curry pairs perfectly with basmati rice or warm naan.

⏱️ 50 minuteMain Course ★ 4.6
Main Course
🍜 Thailand

Classic tangy, sweet, and savory Thai stir-fried rice noodles with shrimp, tofu, and crunchy garnishes, balancing all five core Thai flavor profiles.

⏱️ 30 minuteMain Course ★ 4.5
Main Course
🍜 United Kingdom

Crispy golden beer-battered cod and fluffy double-fried chips, served with tangy tartar sauce and malt vinegar: the timeless, beloved British pub comfort classic.

⏱️ 45 minuteMain Course ★ 4.7
Main Course
🍜 Mexico

Smoky, chile-marinated pork tacos with caramelized pineapple, fresh cilantro, and lime: a beloved classic Mexican street food perfect for casual summer gatherings.

⏱️ 1 hour 45Main Course ★ 4.8
Main Course
🍜 United States

Crunchy Fritos corn chips layered with savory beef chili and melted cheddar, topped with cool, zesty fixings for a beloved, cozy Tex-Mex comfort food.

⏱️ 35 minuteMain Course ★ 4.8

boneless skinless chicken breast in air fryer:Frequently Asked Questions

1.How do I make sure my air fryer chicken breast doesn’t turn out dry and rubbery? ▾
The two biggest culprits of dry chicken are uneven thickness and overcooking. First, pound breasts to a uniform 1-inch thickness so they cook at the same rate. Coat lightly in olive oil to lock in moisture, and pull them when the internal temp hits 160°F—carryover cooking will bring it to the safe 165°F as it rests.
2.What temperature should I set my air fryer to for this recipe? ▾
Set your air fryer to 375°F for this recipe. This temp is hot enough to build that light, crisp exterior without overcooking the outer layers before the center is done, and it cuts down on total cook time so you don’t dry out the lean breast meat. Preheat 2 minutes first for the most consistent results.
3.How long does it take to cook boneless skinless chicken breast in the air fryer? ▾
For 1-inch thick pounded breasts, total cook time is 9 to 11 minutes at 375°F, flipping halfway through at the 5-minute mark. Exact time varies a little by air fryer model and exact breast thickness, so always rely on an instant-read thermometer instead of just a timer for perfect results.
4.Do I need to pound the chicken breasts before cooking? ▾
Yes, pounding to a uniform 1-inch thickness is non-negotiable for even cooking. Raw breasts are naturally thicker on one end and thinner on the other, which means the thin end will overcook and turn rubbery long before the thick center reaches a safe temperature. Use a meat mallet or the bottom of a heavy skillet to pound evenly.
5.Can I use regular table salt instead of kosher salt for the seasoning? ▾
You can, but you’ll need to adjust the amount to avoid over-salting. Table salt is much denser and sharper tasting than kosher salt—use half the measured amount of table salt if that’s what you have, and taste the seasoning blend first before sprinkling it on the chicken to make sure it’s balanced.
6.Do I have to flip the chicken halfway through cooking? ▾
Flipping at the halfway mark is highly recommended. It ensures both sides get that light, even crisp exterior from the olive oil coating, and prevents the bottom side from getting soggy from any released juices. You don’t need to flip constantly—just one quick turn 5 minutes into cooking is all it takes.
7.How do I know when the chicken is fully cooked without cutting into it? ▾
The only reliable, no-guess method is to use an instant-read meat thermometer inserted into the thickest part of the breast. Pull it when it hits 160°F, let it rest 5 minutes, and it will reach the food-safe 165°F from carryover cooking, so you won’t lose juices by cutting into it early.
8.Can I make this recipe with frozen chicken breasts? ▾
It’s not recommended for the juiciest results, but you can if you’re in a pinch. Skip thawing, increase cook time to 20 to 24 minutes at 360°F, flipping halfway, and make sure the internal temp hits 160°F before resting. The texture won’t be quite as juicy as thawed chicken, but it works for fast weeknight meals.
9.Why do I need to let the chicken rest after cooking? ▾
Resting lets the muscle fibers in the chicken relax and reabsorb all the juicy, flavorful juices that get pushed to the surface during cooking. If you cut into it right away, all those juices will run out onto your cutting board, leaving you with dry chicken even if you cooked it perfectly. Just 5 minutes of tented rest time works.
10.Can I add other seasonings besides garlic powder and smoked paprika? ▾
Absolutely! That base seasoning blend is super versatile, so feel free to swap in or add dried oregano, onion powder, cumin, chili powder, black pepper, or a pinch of cayenne for heat. Just keep total dried seasoning to around 1 teaspoon per breast so you don’t overpower the natural chicken flavor.
11.Do I need to preheat my air fryer for this recipe? ▾
Preheating for 2 to 3 minutes makes a big difference in getting that light crisp exterior and consistent cook time. If you skip preheating, you’ll need to add 2 to 3 minutes to total cook time, and you may end up with soggier spots where the chicken sat on the cold basket as it came up to temp.
12.Should I spray the air fryer basket with nonstick spray? ▾
A light spritz of pump-style neutral nonstick spray works, but skip heavy aerosol cooking sprays—they can break down the nonstick coating on most air fryer baskets over time. The olive oil coating on the chicken itself is usually enough to prevent sticking, but a light wipe of oil on the basket works too.
13.How long will leftover cooked chicken breast last in the fridge? ▾
Stored in an airtight container, these cooked chicken breasts will stay fresh in the fridge for 3 to 4 days. Let them cool completely before sealing the container to avoid trapped condensation that can make the exterior soggy, and slice or shred as needed for salads, wraps, or quick meals.
14.Can I meal prep this chicken for the week ahead? ▾
This recipe is ideal for meal prep! Cook a batch on Sunday, let it cool fully, and store in airtight containers for up to 4 days. For the best texture when reheating, warm slices in the air fryer at 350°F for 2 to 3 minutes, or in the microwave in 30-second bursts under a damp paper towel to lock in moisture.
15.What if my chicken breasts are thicker than 1 inch even after pounding? ▾
If your breasts are thicker than 1 inch after gentle pounding, add 2 to 4 minutes of total cook time, and check the internal temp early to avoid overcooking. Never pound chicken thinner than ¾ inch, though—extra-thin breasts will cook too fast and dry out before they develop a nice light crisp.
16.Can I use avocado oil instead of extra-virgin olive oil? ▾
Absolutely! Avocado oil has a higher smoke point than extra-virgin olive oil, so it works beautifully for air frying if you prefer it. You can also use melted, cooled unsalted butter for a richer flavor; just note butter will give the exterior a slightly deeper, nuttier crisp than olive oil does.
17.Why isn’t my chicken getting a crisp exterior? ▾
A soggy, non-crisp exterior usually comes from too much oil, overcrowding the basket, or skipping preheat. Use only ½ teaspoon of oil per breast, leave at least ½ inch of space between each breast (cook in batches for small air fryers), and preheat so hot air hits the chicken immediately.
18.Can I marinate the chicken before air frying it for extra flavor? ▾
You absolutely can marinate the chicken for extra flavor! Stick to oil-based or light acidic marinades (like lemon juice, vinegar, or plain yogurt) and marinate for 30 minutes to 2 hours in the fridge. Pat the chicken lightly dry before adding oil and seasonings to avoid a steamed, soggy exterior.

Comments (6)

2 days ago

OMG this is such a game changer! I’ve been struggling to make chicken breast that doesn’t turn into dry rubbery cardboard for my weekly meal prep, and this came out perfectly juicy in 15 minutes flat? My husband even asked if I brined it overnight! No brine, no fancy seasonings, just exactly what the recipe said. 10/10 will be making this every Sunday from now on.

yesterday

So happy to hear this worked for your meal prep, Mia! That no-fuss no-brine method is exactly what we designed this for—perfect for busy Sundays. So glad your husband loved it too!

1 week ago

Made this for my kid’s soccer team potluck last night and every single parent asked for the recipe. My kids loved it too, even my pickiest 8 year old ate a whole piece without complaining! I was nervous because boneless skinless breast is so easy to mess up for a crowd, but the air fryer cranked out batch after batch of perfect, juicy chicken. Didn’t dry out even when I kept it warm in the insulated carrier for 20 minutes on the drive over. SO good, will absolutely be making this for future group events.

3 days ago

Wait, hold on—has anyone tried this with frozen chicken breasts? I always forget to thaw mine ahead of time for weeknight family dinners and would love to know if I can just pop them straight in without thawing. Recipe looks amazing otherwise, can’t wait to try it!

2 days ago

I did this last week with fully frozen breasts! Added about 7 extra minutes of cook time, flipped them halfway, and they came out just as juicy as fresh. Just make sure your internal temp hits 165 and you’re golden.

yesterday

Great question! As BBQ_Dad_99 mentioned, you can absolutely use frozen breasts—just add 6-8 minutes of cook time, flip halfway, and always check for that 165°F internal temp to be safe. Hope it works for your busy weeknights!

5 days ago

This recipe is so easy even I couldn’t mess it up, and I burn toast 50% of the time. 15 minute cook time means I can throw this together right after my gym session before I even jump in the shower. Seasoned it with a little paprika and garlic powder on top of what the recipe recommended and it slapped. My roommate stole two pieces off my plate before I even sat down, lmao.

3 days ago

The paprika and garlic powder add is chef’s kiss! I did the same thing last week and tossed the sliced chicken on top of my salads all week, zero dry bites. Total weeknight win.

2 weeks ago

My granddaughter has been bugging me to use my new air fryer that I got for Christmas instead of just frying everything in oil on the stove, and this was the first recipe I tried. It was so simple! The chicken came out tender enough that even I could chew it with my bad teeth, and my granddaughter went back for seconds. Added a little squeeze of lemon on top like I do with my old fried chicken recipe and it was perfect. So happy I found this!

yesterday

Wait, do you guys spray the chicken with oil before putting it in the air fryer? I tried a different air fryer chicken recipe last month that came out all weird and chalky because I skipped the oil spray, don’t wanna make that mistake again! This looks way better than that recipe though, the chicken in the pics looks so juicy.

2 hours ago

I did a light spritz of olive oil spray right before putting it in and the seasoning stuck perfectly, no chalky texture at all! Don’t douse it, just a quick little spray is all you need.

30 minutes ago

Great question, Tim! A light spritz of cooking spray (olive oil or avocado oil works great) helps the seasoning stick and gives the outside a tiny bit of crisp without drying the chicken out. You don’t need much, just a quick coat before popping it in the basket. Hope you love it!



