
bottom blade roast
intro
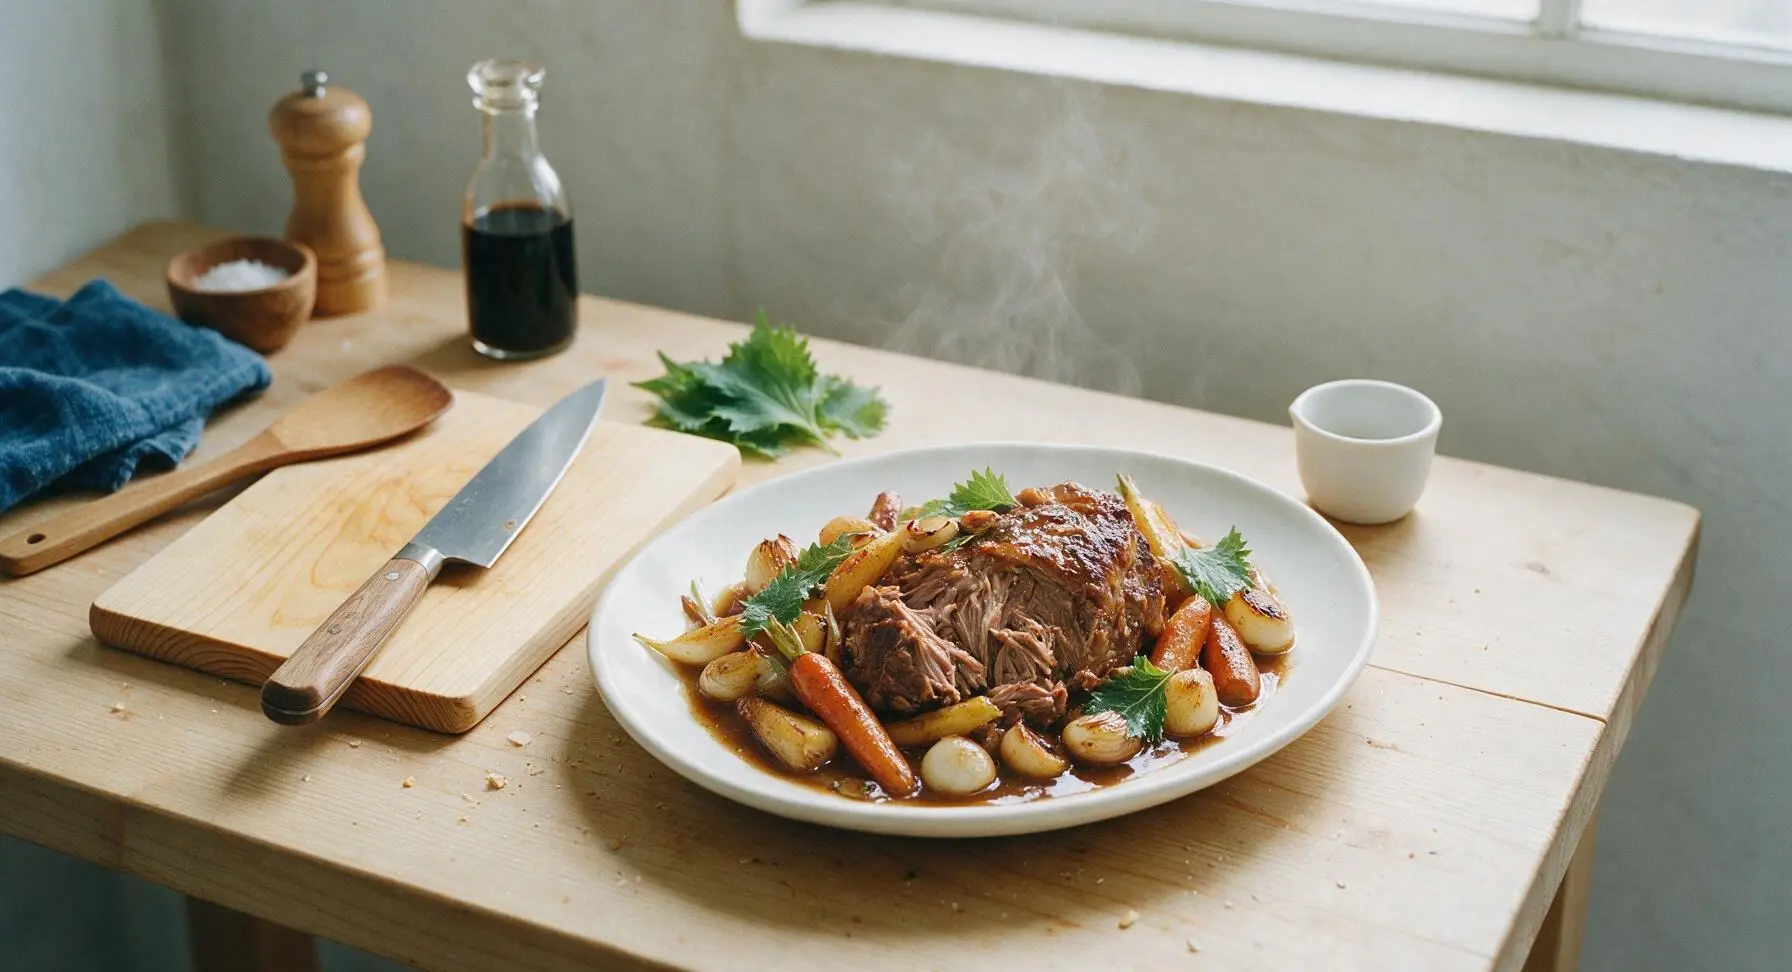
Juicy, fall-apart tender bottom blade roast, slow-roasted with aromatic vegetables and finished with rich pan gravy, the ultimate cozy centerpiece for relaxed family meals.
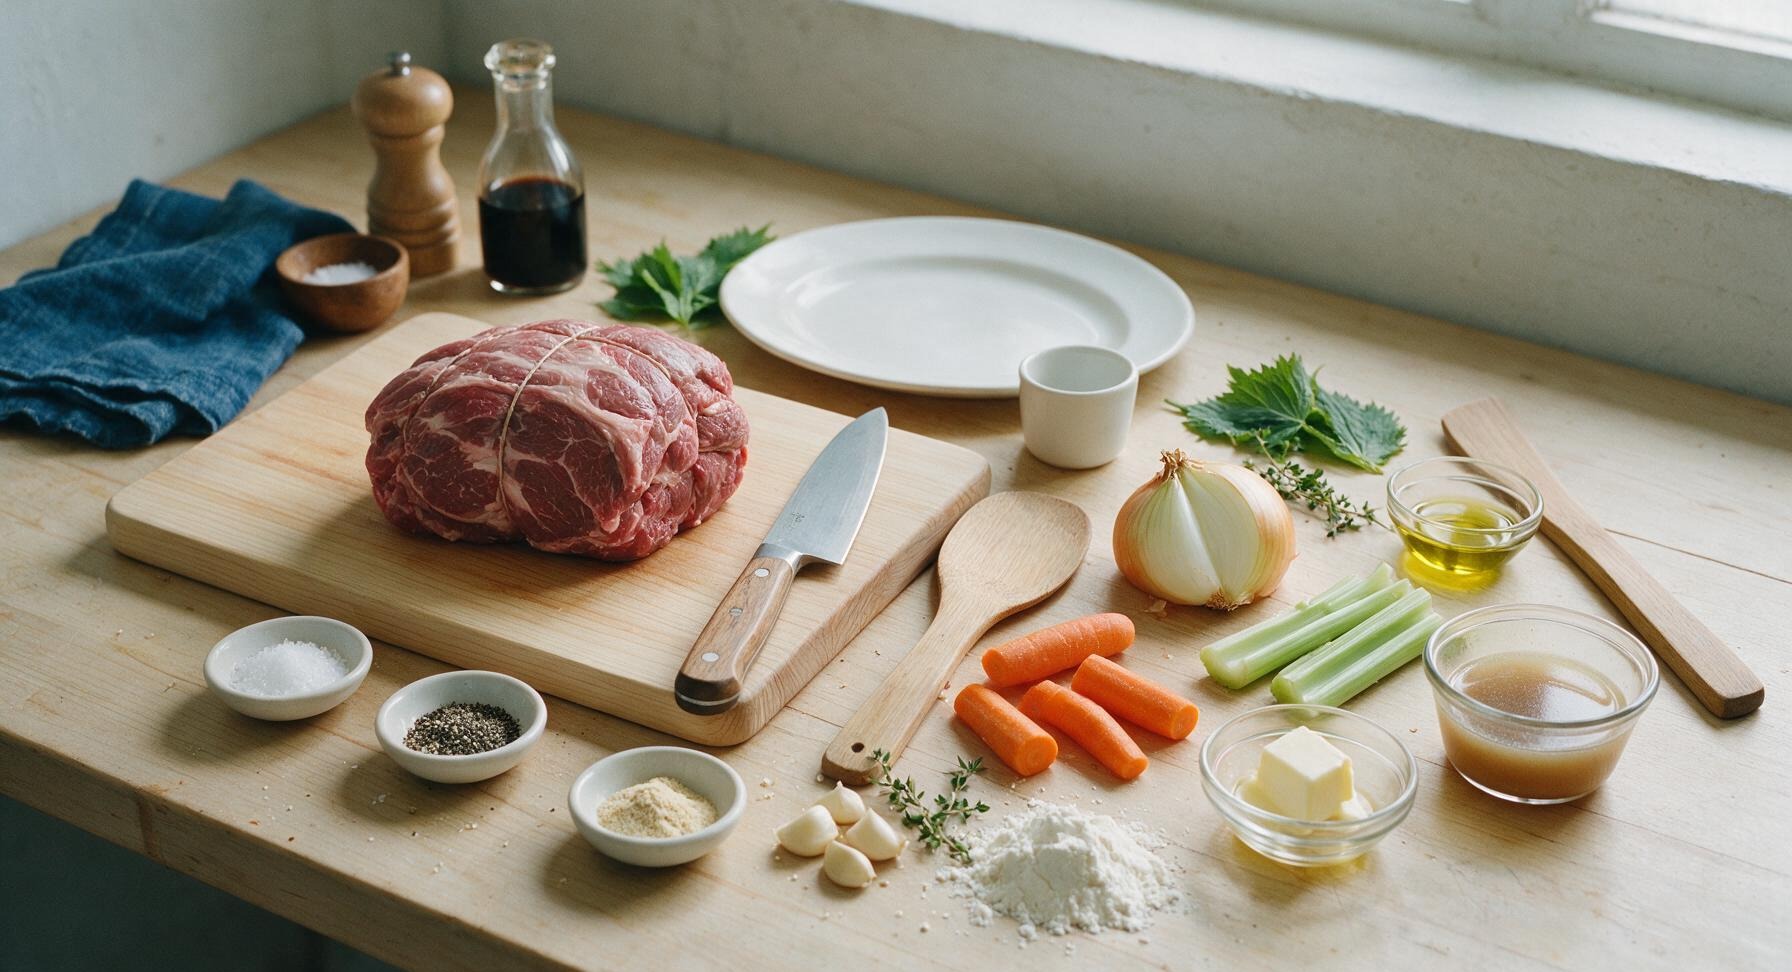
Ingredients
Steps
Pat Dry and Season
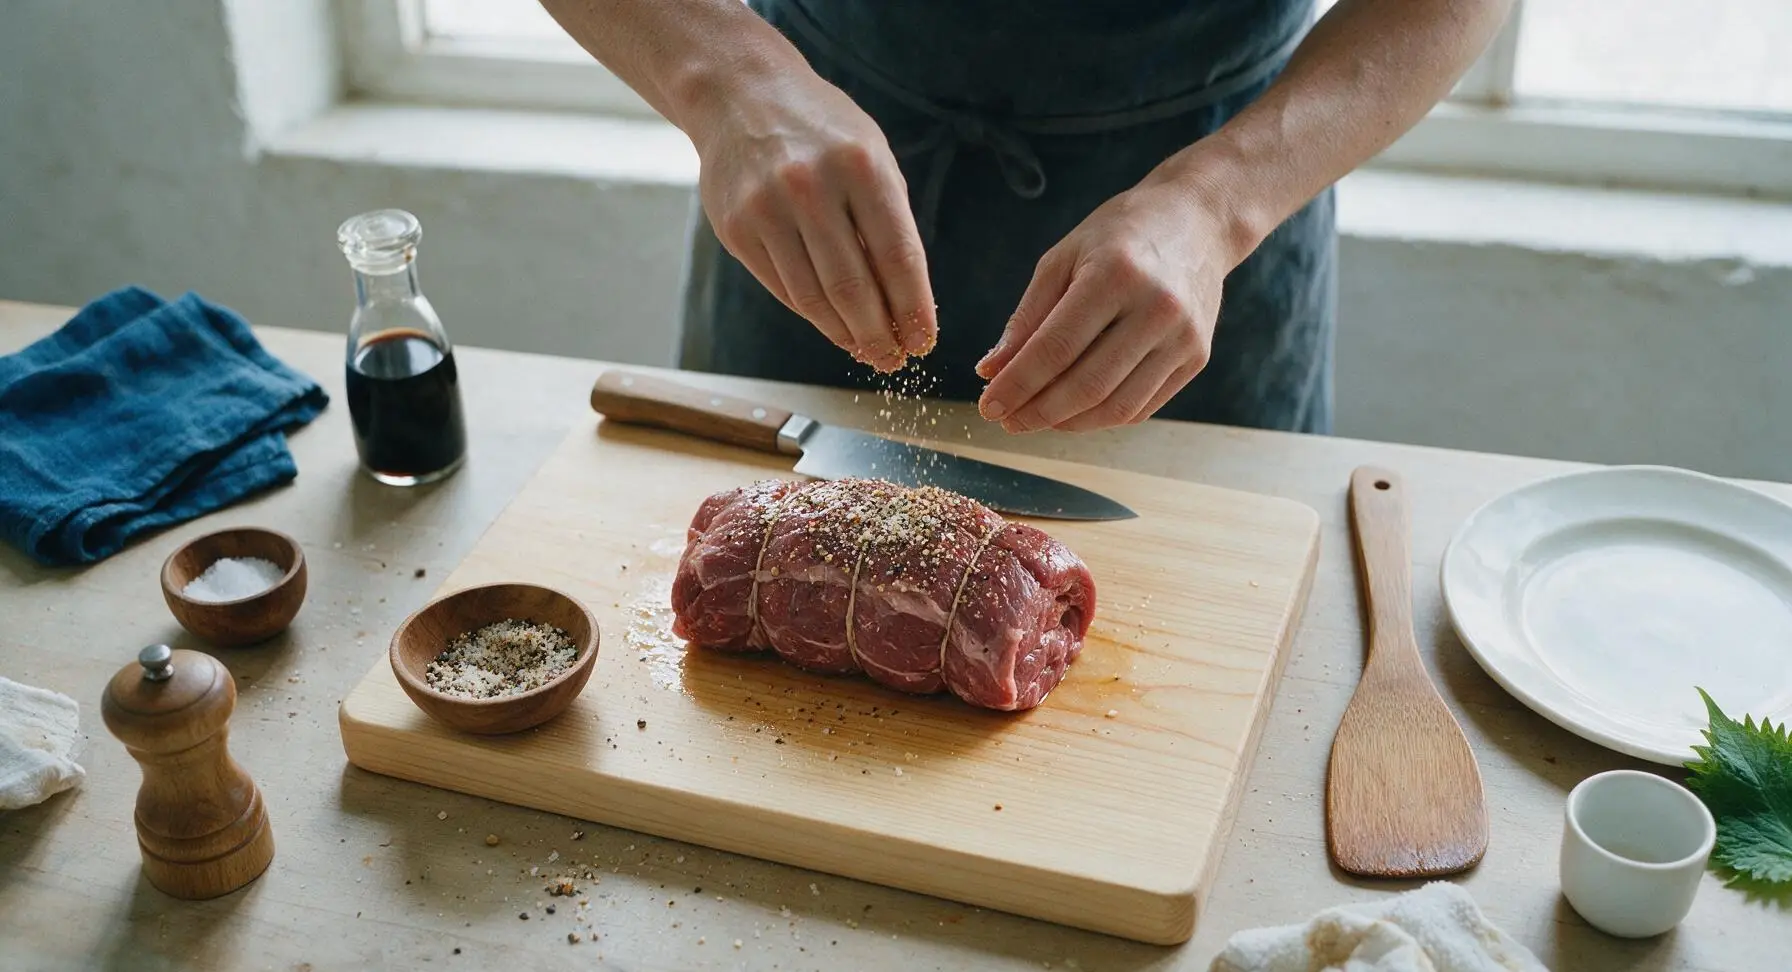
Remove the 3lb tied bottom blade roast from packaging, pat completely dry on all sides with paper towels (discard used towels immediately). In a small bowl, mix 1 tbsp kosher salt, 1 tsp cracked black pepper, and 1 tsp garlic powder. Rub the entire surface of the roast evenly with 1 tbsp olive oil, then coat all sides generously with the spice mix, pressing gently so seasoning adheres. Let the roast rest at room temperature for 45 minutes to take the chill off, which ensures even cooking throughout.
Sear All Roast Sides
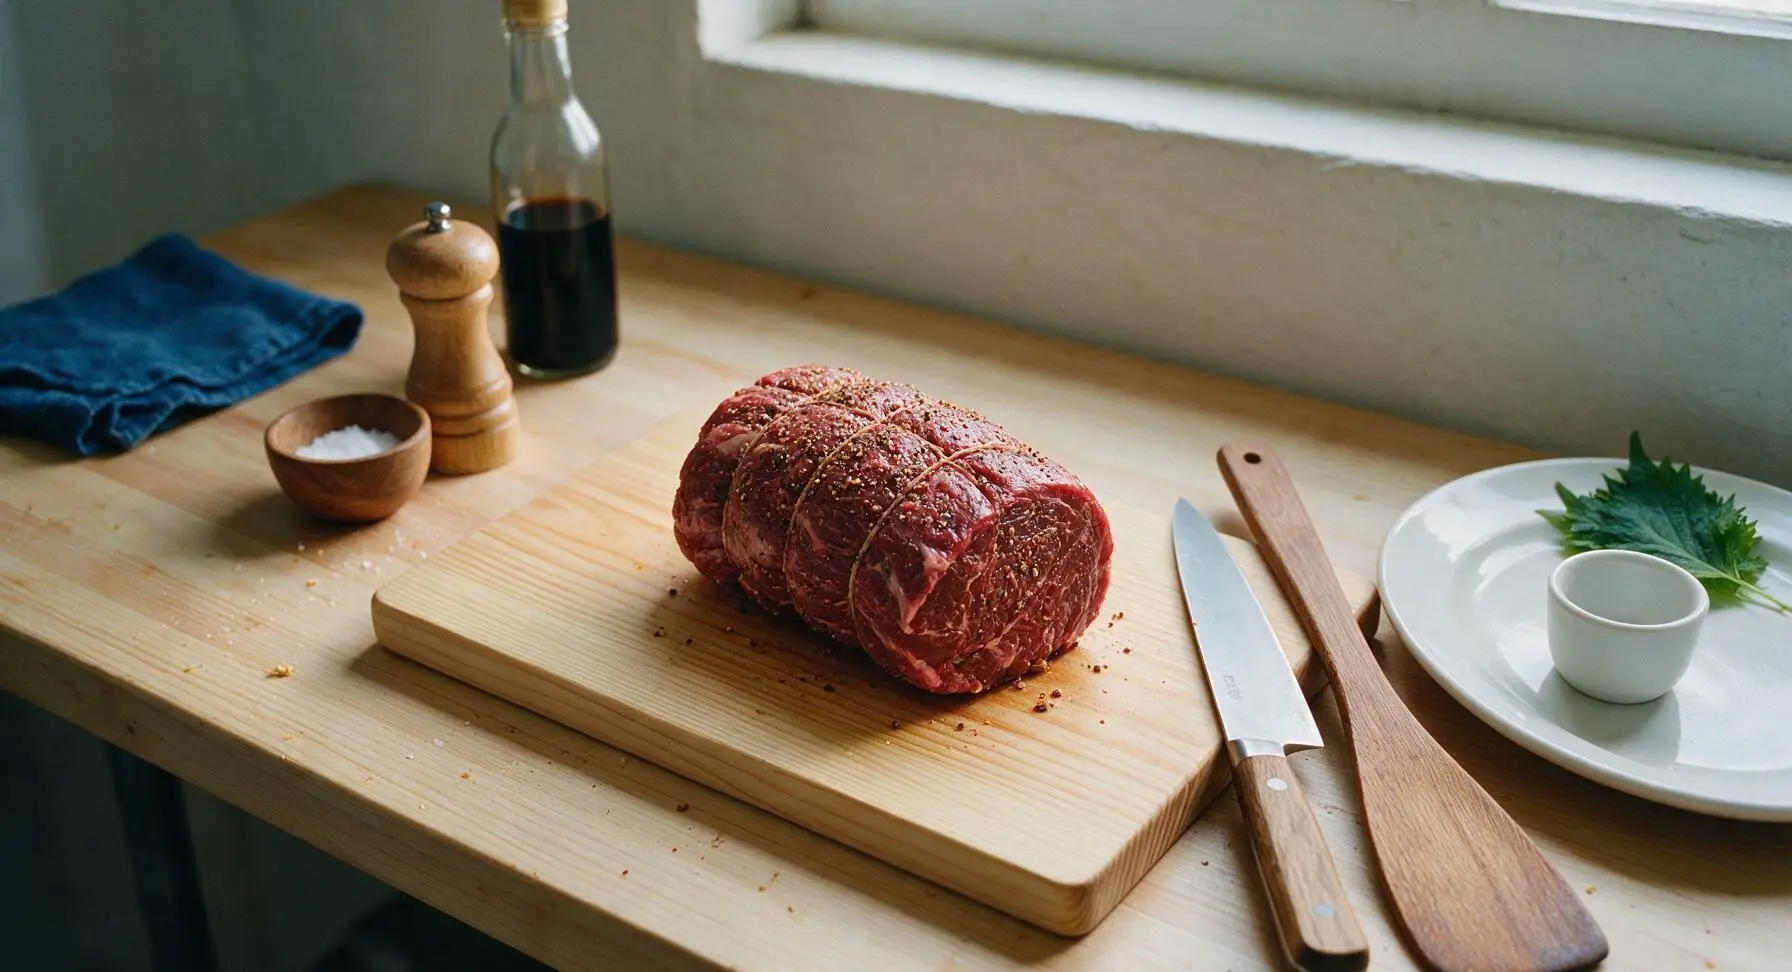
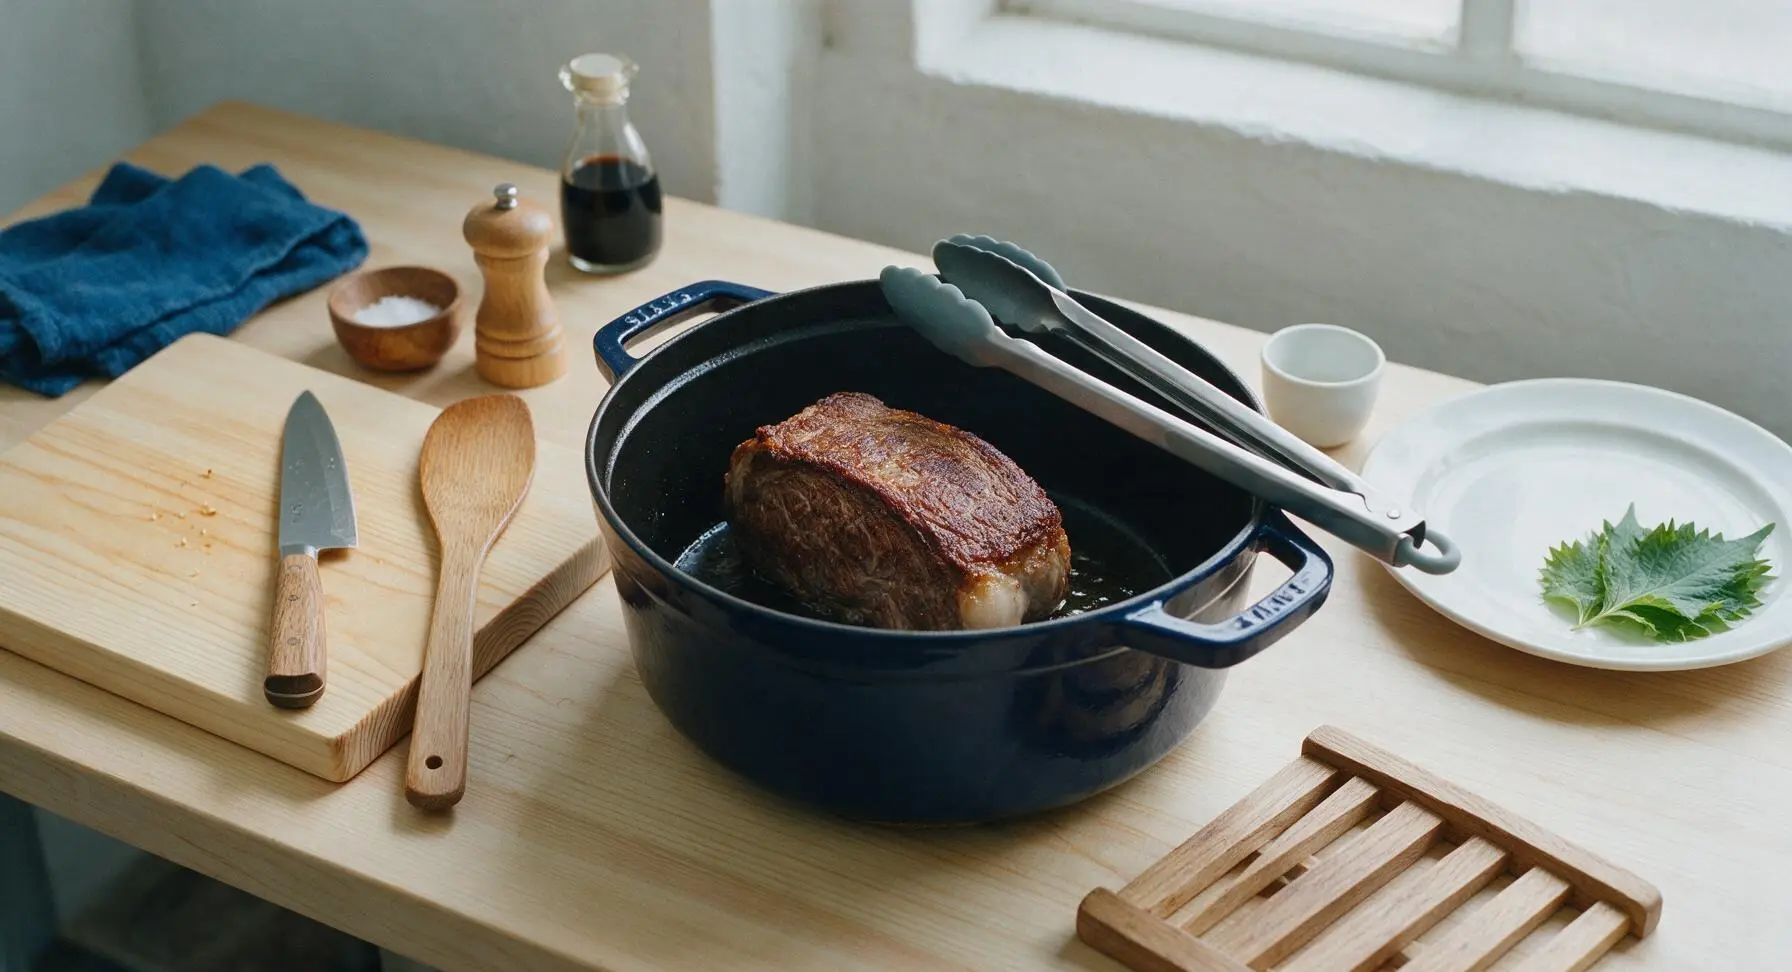
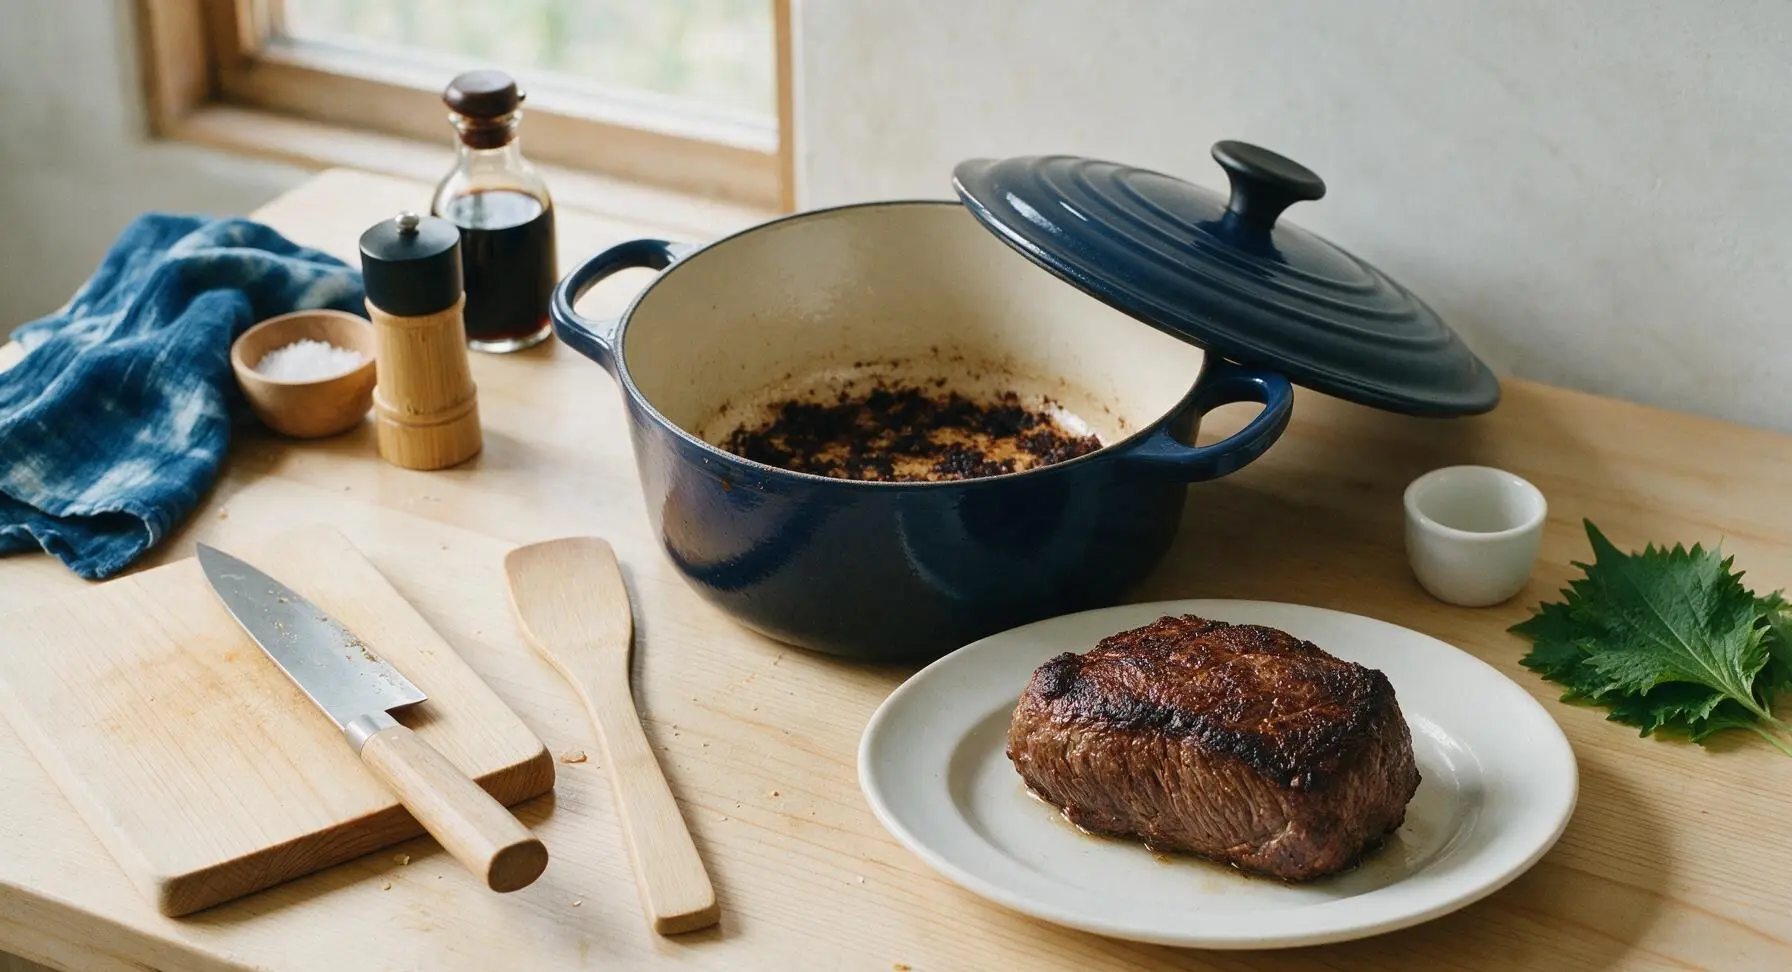
Set the deep navy enameled cast iron Dutch oven on the stovetop over medium-high heat, add 1 tsp olive oil. Once the oil shimmers (approximately 350°F), carefully place the seasoned roast in the pot. Sear for 3-4 minutes per side, using the silicone-tipped tongs to turn the roast, until all sides (including top and bottom edges) develop a deep golden-brown crispy crust, with no pale raw spots remaining, about 18-20 minutes total. Transfer the seared roast temporarily to a clean plate and set aside.
Sauté Aromatic Mirepoix
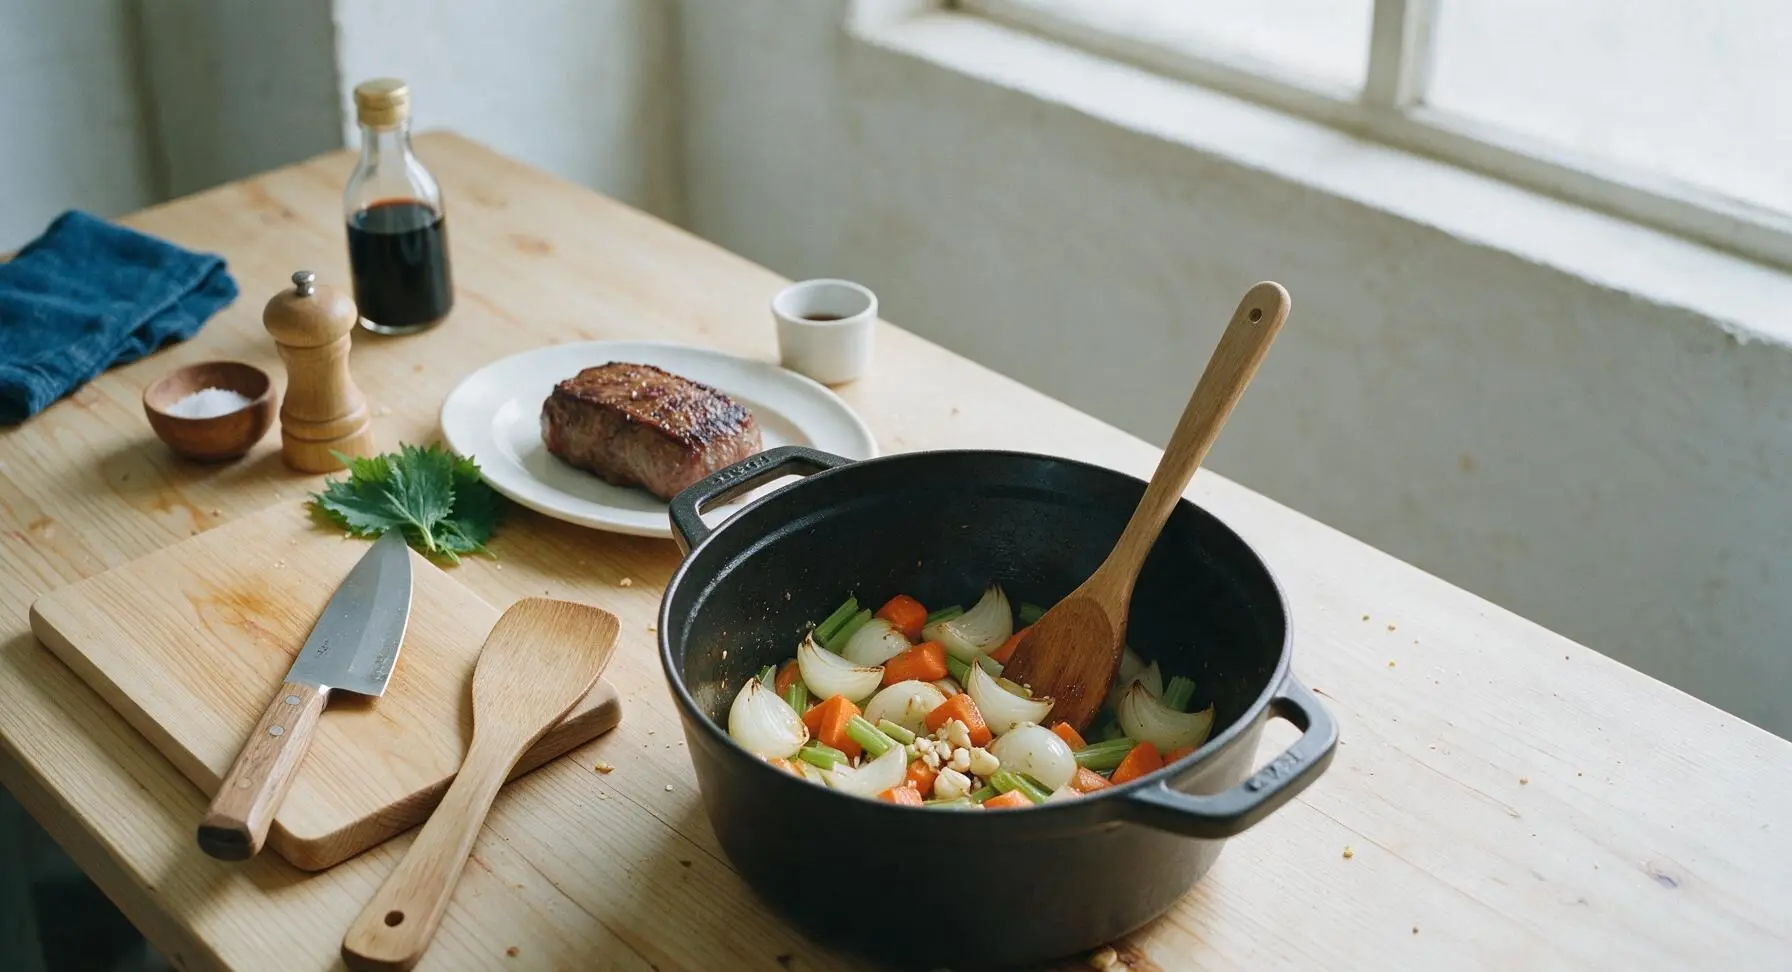
Reduce stovetop heat to medium, add the onion wedges, carrot chunks, celery pieces, and crushed garlic to the same Dutch oven with the rendered beef fat left from searing. Sauté for 6-7 minutes, stirring occasionally with the maple wooden spoon, until vegetables are lightly golden at the edges and onion is translucent. Scrape the pot bottom as you stir to lift browned fond bits, which add deep, savory flavor to the roast and gravy.
Slow Roast Low and Slow
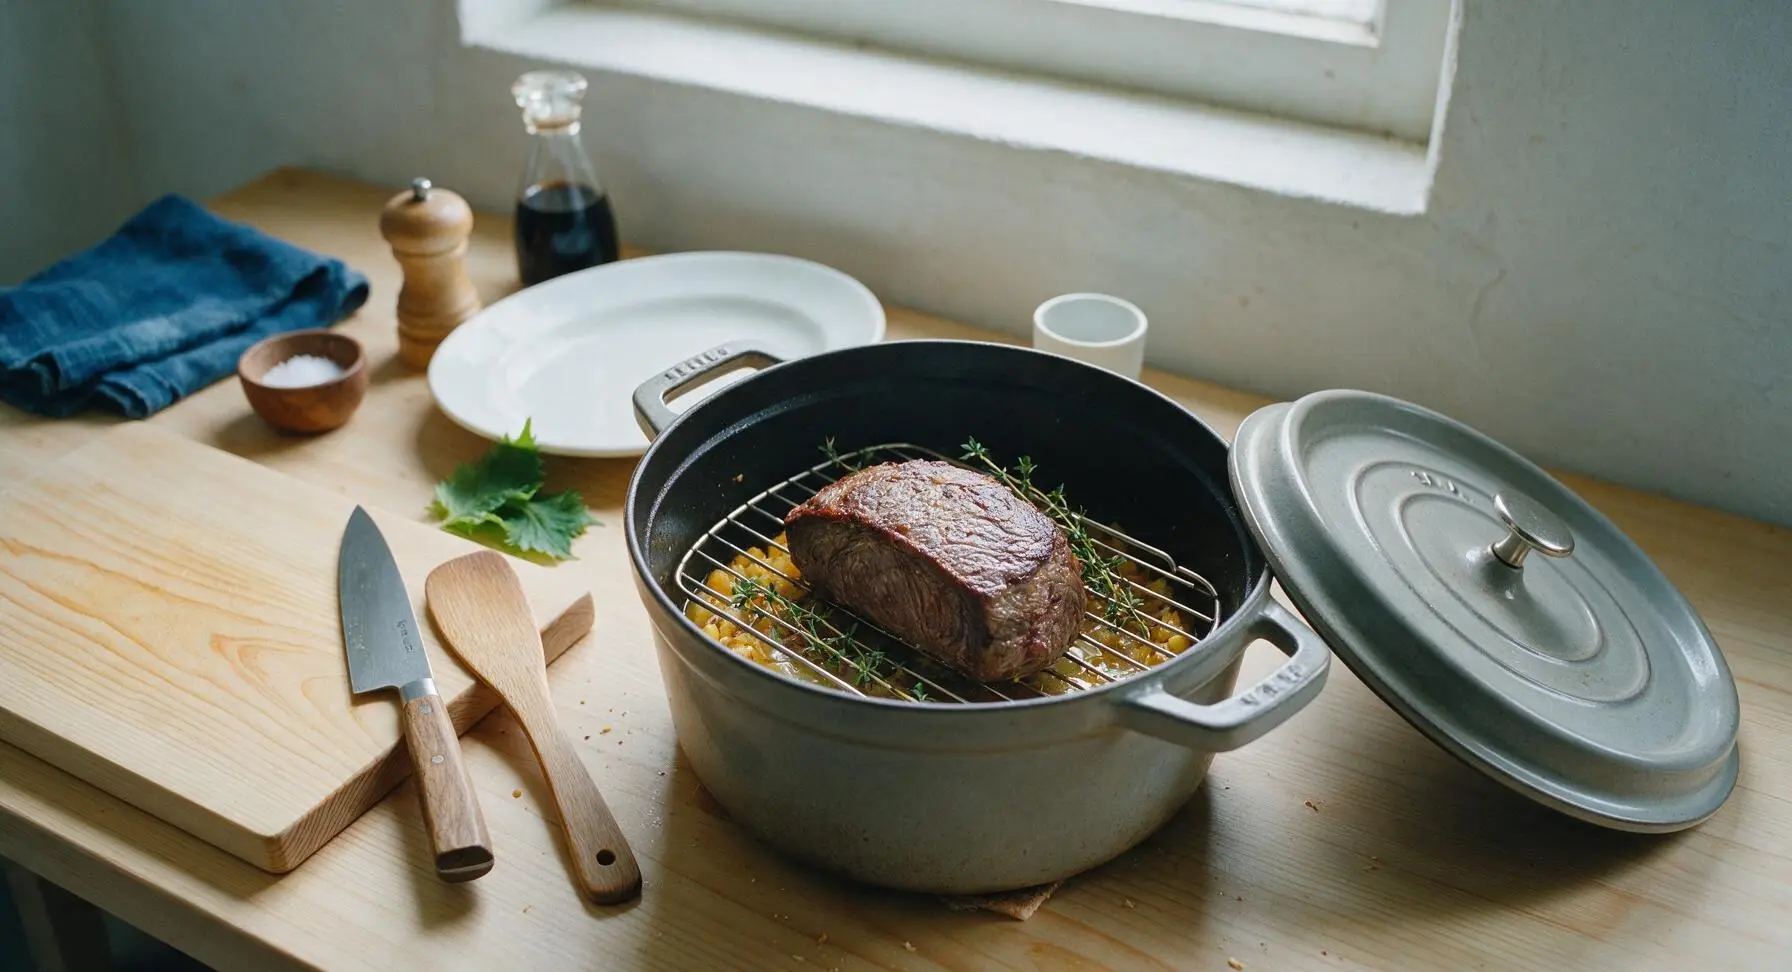
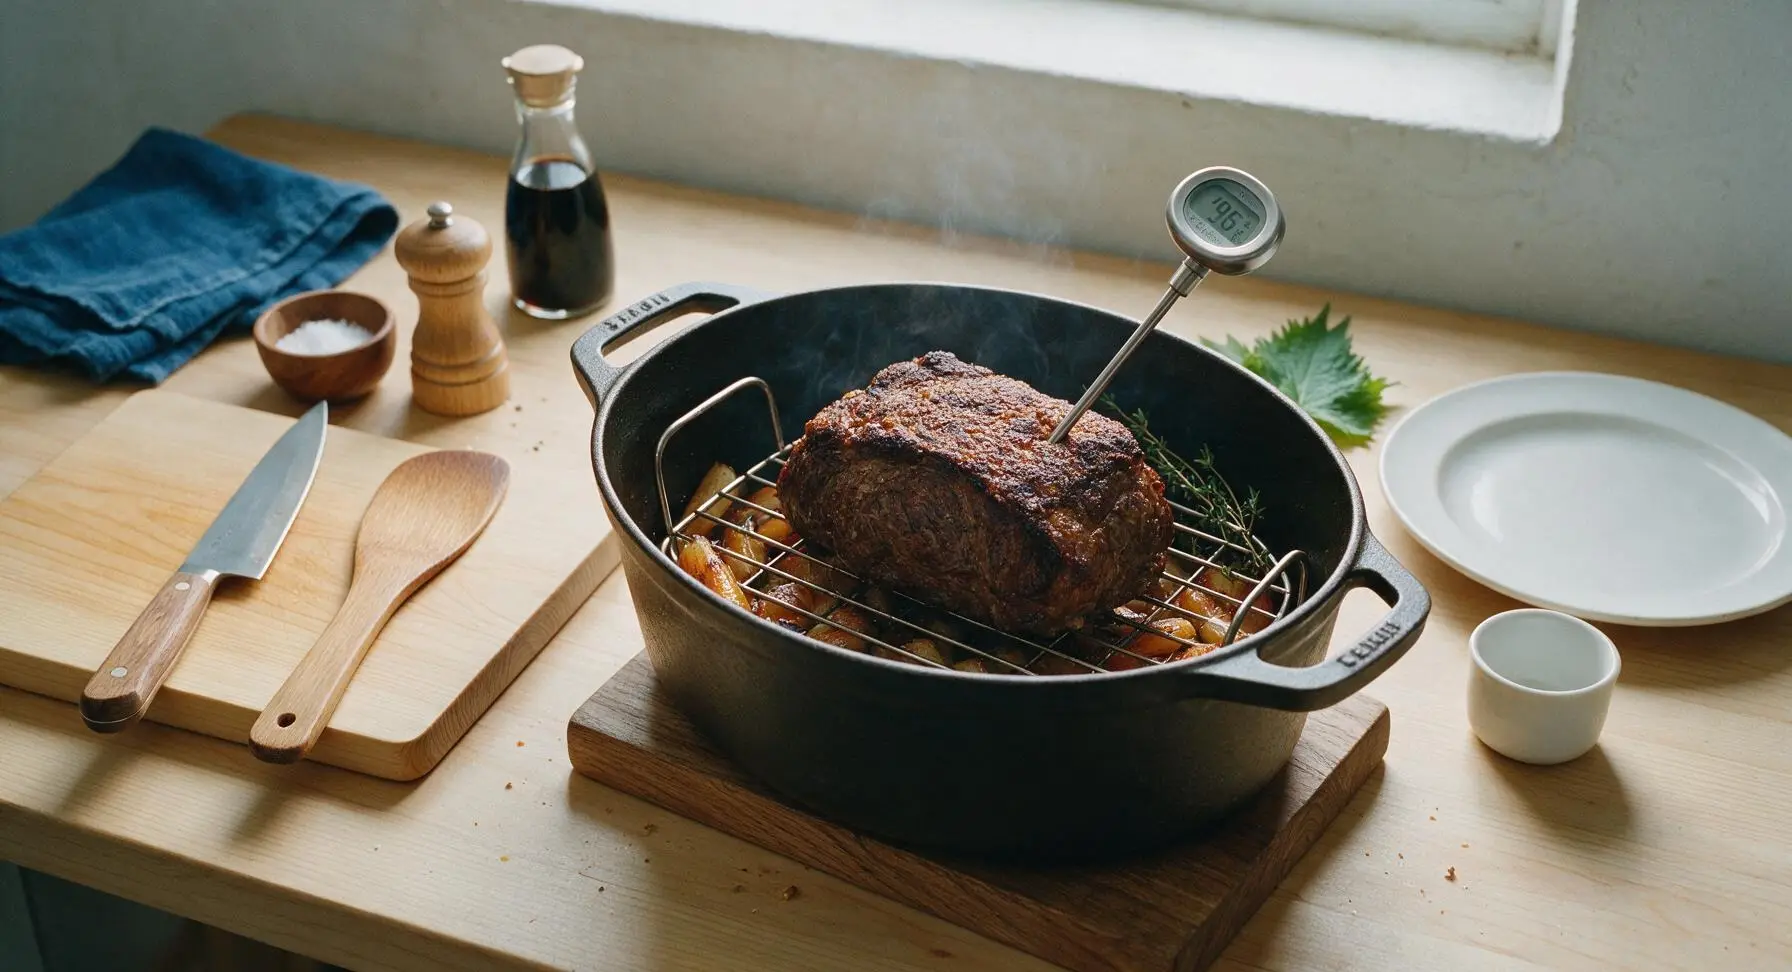
Place the stainless steel wire roasting rack inside the Dutch oven on top of the sautéed vegetables. Set the seared roast on the rack, scatter fresh thyme sprigs around the roast, then pour 1/2 cup low-sodium beef broth into the pot bottom (avoid pouring directly on the roast to preserve the crispy crust). Cover the Dutch oven with its lid, transfer to a preheated 325°F (160°C) oven. Roast covered for 2 hours, then remove the lid and continue roasting for 25-30 minutes, until the meat thermometer inserted into the thickest part of the roast reads 195°F (90°C) – this temperature melts tough connective tissue into silky gelatin for fall-apart tender meat.
Rest Roast Before Slicing
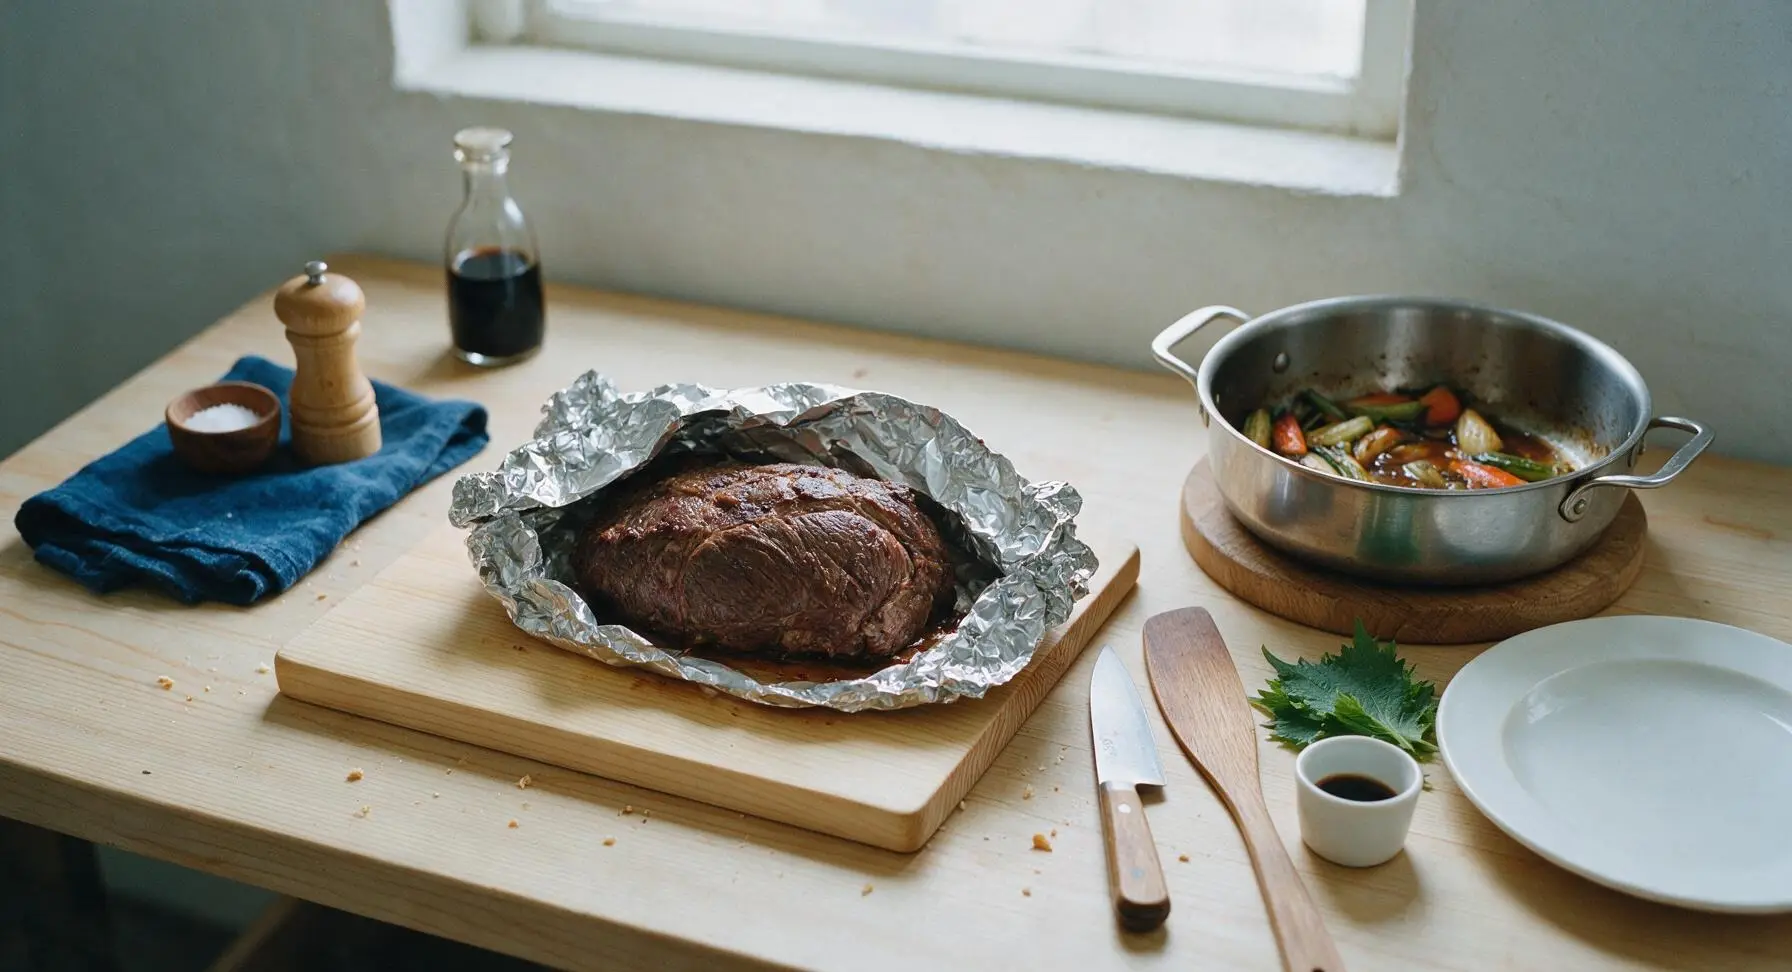
Carefully lift the roast from the rack using tongs, transfer it to the light maple cutting board, and tent loosely with a small sheet of aluminum foil. Let rest for 20 minutes: this allows muscle fibers to relax and reabsorb juices, so slices stay juicy instead of leaking all over the platter when cut. Use this resting time to prepare the pan gravy.
Whisk Smooth Pan Gravy
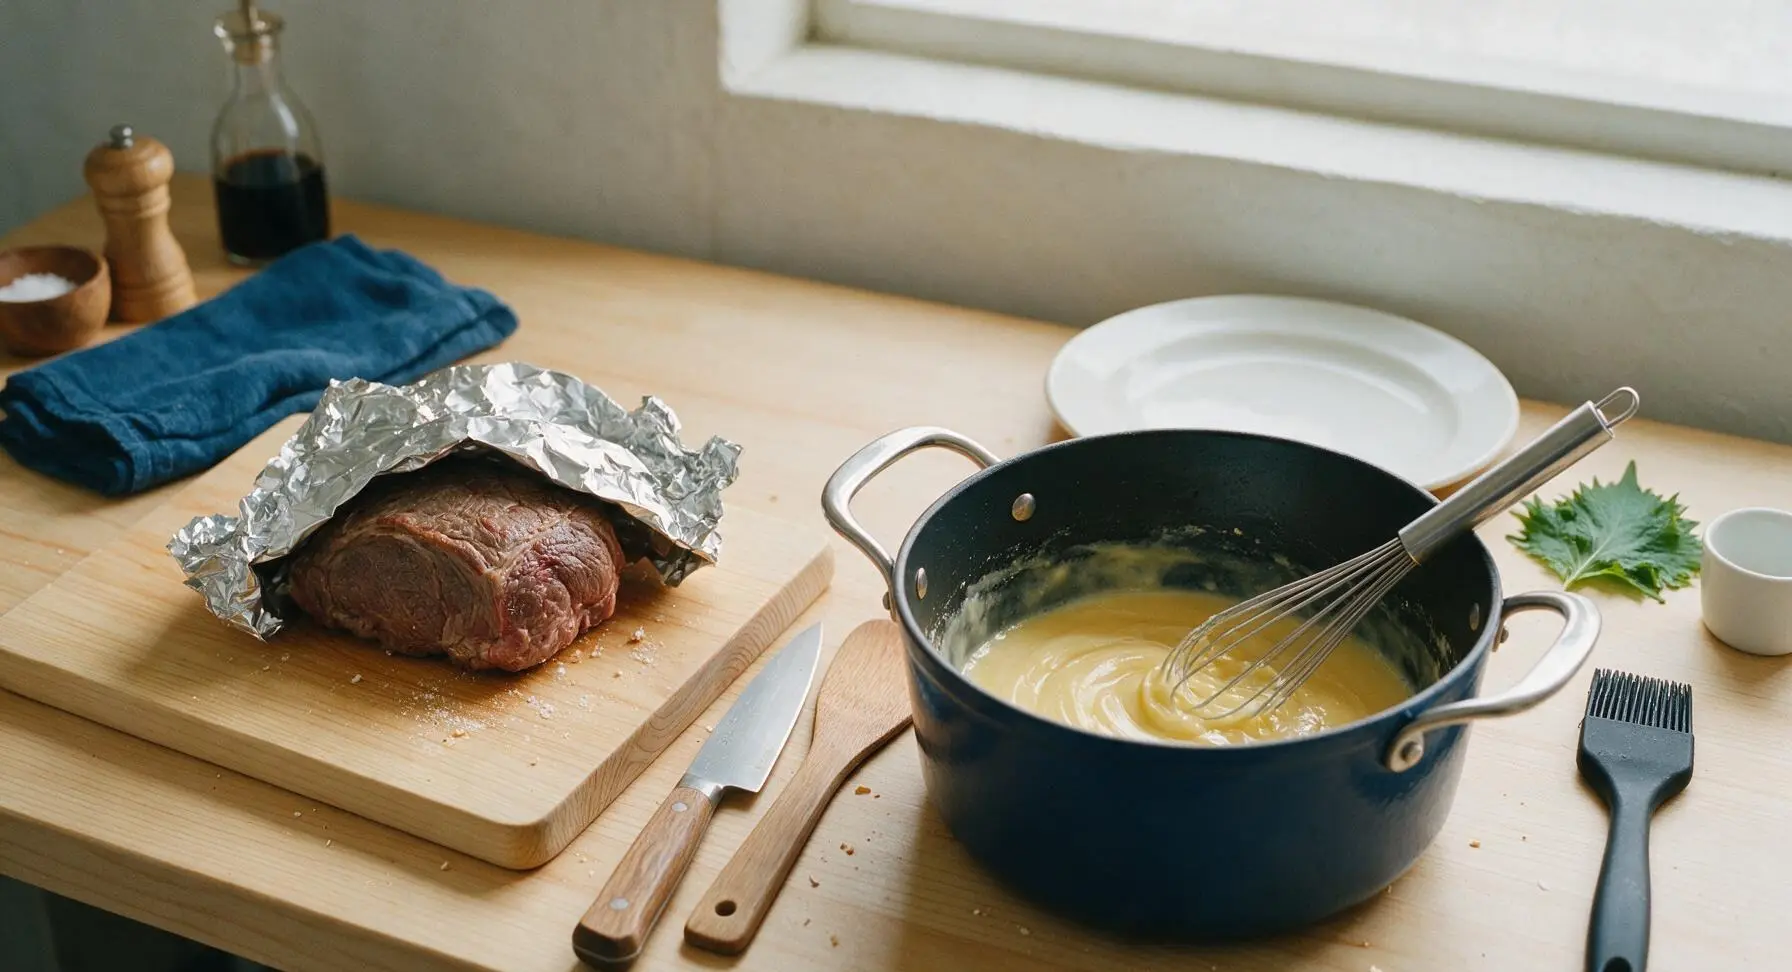
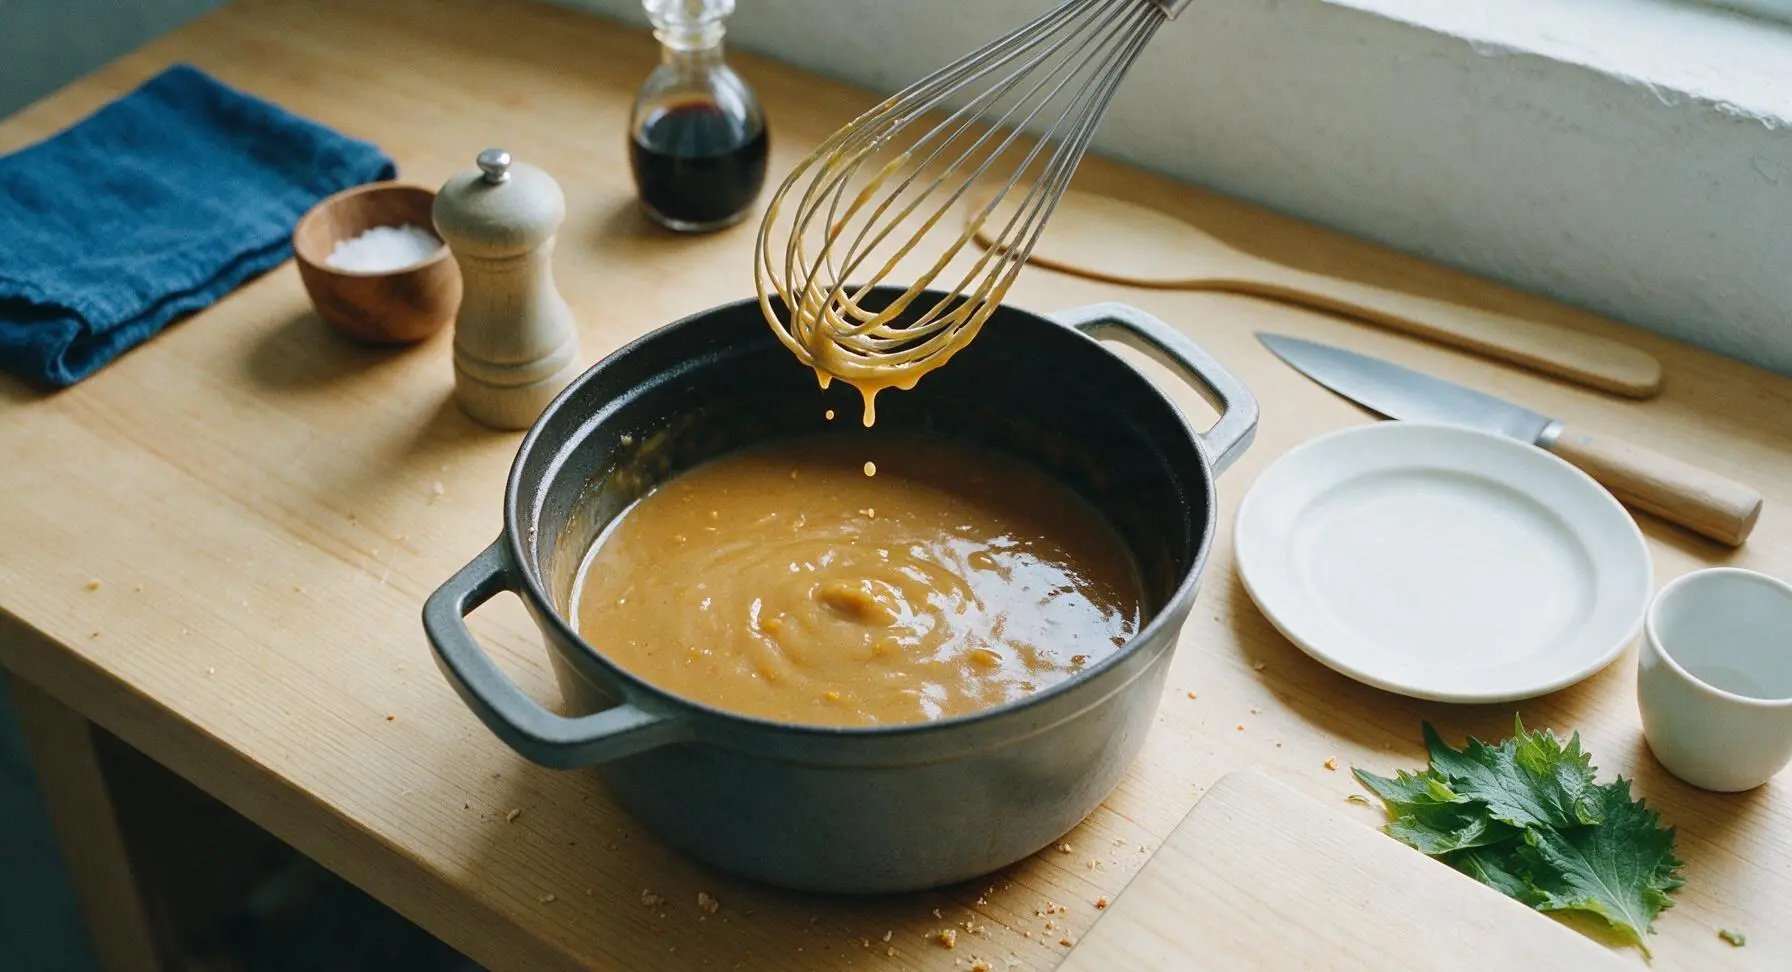
Place the Dutch oven back on the stovetop over medium-low heat. Add 2 tbsp unsalted butter to the pan drippings and vegetables; once melted, whisk in 2 tbsp all-purpose flour to form a roux, cooking for 2 minutes until the roux is light golden and smells nutty. Slowly whisk in all pan drippings, mashing tender vegetables lightly to release their flavor (strain for a completely smooth gravy if preferred), cooking for 3-4 minutes while whisking constantly, until gravy thickens to a consistency that coats the back of a spoon. Season with a pinch of extra salt and pepper if needed.
Slice and Arrange Platter
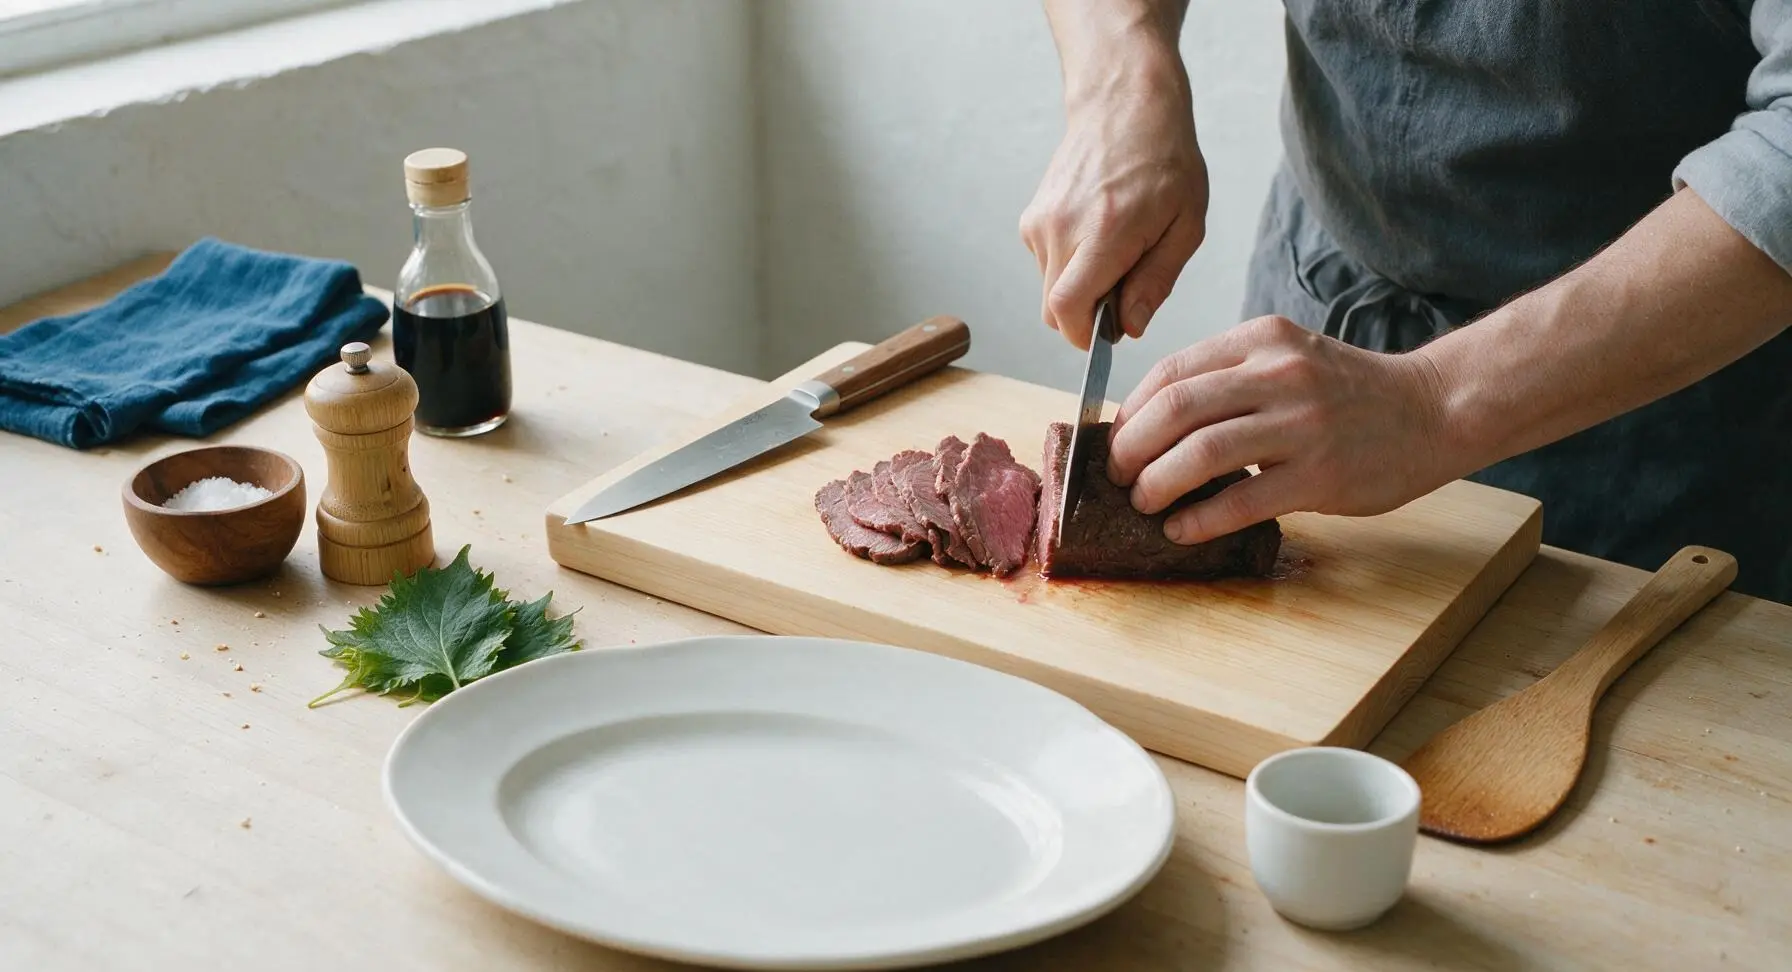
After resting, remove the kitchen twine from the roast, use the walnut-handled chef knife to slice the meat against the grain into 1/4-inch thick slices. Arrange sliced roast fanned across the matte cream oval ceramic platter, spoon tender roasted vegetables alongside the meat, drizzle a thin layer of warm pan gravy over the roast, and garnish with a few extra fresh thyme leaves. Serve remaining gravy in a small pitcher on the side.
Tips
2.Cook to 195°F internal temperature, not medium-rare: Unlike lean tender cuts that are done at 135-145°F, bottom blade roast has tough connective tissue that only melts into silky, juicy gelatin at 190-200°F, preventing tough, chewy slices.
3.Always slice against the grain: Bottom blade roast has long, visible muscle fibers running lengthwise; cutting across (not parallel to) these fibers shortens them, making every bite feel tender even if your slices are slightly thicker than the recommended 1/4 inch.






OMG, this roast was the star of our extended family Sunday dinner last weekend! I was nervous about messing up a cheaper cut because my in-laws are super picky about beef, but it came out fall-apart tender even without a fancy meat smoker. The pan gravy was so rich I didn’t even need to add extra seasoning—my 7 year old asked for thirds! Total game changer for weekly roasts.
I’ve smoked bottom blade roasts for years but decided to try this slow oven method when my smoker died right before my buddy’s potluck. Y’all, I got more compliments on this roast than any brisket I’ve ever made! The gravy was chef’s kiss, I stirred in a tiny splash of bourbon at the end like I do for my steak sauce and it slapped. 10/10 will make again even when my smoker is fixed.
Really solid recipe! I made this on Sunday for meal prep for the week, and the roast stayed tender even when I reheated slices for lunch all week. Only reason I’m not giving 5 stars is I wish the cook time note was clearer about how much it varies by oven—mine was done about 18 minutes early so I almost overcooked it. Still, SO good, will be a regular in my rotation.
First time ever making a roast that didn’t turn out tough as shoe leather!!! I’m a total beginner, usually only make frozen pizza and mac and cheese, but I wanted to impress my girlfriend for our anniversary dinner. The steps were super easy to follow even for me, and she thought I’d been taking secret cooking classes. The gravy came out lumpy at first but I whisked it like the recipe said and it smoothed right out. Obsessed.
My kids are so picky about red meat, they usually turn their nose up at any roast that isn’t smothered in ketchup. I made this last night and they ate every bite on their plates WITHOUT ketchup!!! I served it with mashed potatoes and roasted green beans, and even my husband who says ‘gravy is too much work’ was so impressed how it came together from the pan drippings with barely any extra effort. Will be making this for our next neighborhood potluck for sure.
Made this for my roommates in our janky apartment oven last night, we split the cost of the roast because we were sick of dining hall food. None of us knew what a bottom blade roast even was before this, but the grocery store butcher pointed us right to it. It came out insane! We ate half of it standing up in the kitchen right after it came out, the gravy was so good we dipped our dinner rolls straight in the pan. 10/10, cheap enough for college budgets too.
I was vegan for 6 years and only started eating meat again 3 months ago, so I’ve been super nervous to cook beef at home because I didn’t want to waste money on a cut I’d mess up. This recipe was foolproof! The roast was so juicy and tender, I didn’t even need a sharp knife to cut through the softer pieces. The gravy had such deep flavor I didn’t miss the weird vegan gravy I used to make out of nutritional yeast at all. Already added the ingredients to my grocery list for next week.
Really great base recipe! I cook roasts pretty often for ranch hands during branding season, so I added a little extra garlic powder and a pinch of smoked paprika to the rub, and it turned out fantastic. The gravy method is way simpler than the old roux recipe I’ve been using for 20 years, saved me so much time when I was feeding 8 hungry guys after a long day outside. Only knock is I wish there was a clearer note about resting time— I almost skipped resting it to get food on the table fast, glad I remembered because it would’ve lost all those juices.
Just pulled this out of the oven for my book club potluck tonight, and I had to sneak a taste before everyone gets here—SO good! The outside has that perfect savory crust, the inside is melt-in-your-mouth tender, and the gravy is so smooth I could drink it straight. I’m already planning to make this for Christmas dinner with my extended family later this year. Quick question, though: can I make the gravy a few hours ahead and reheat it when everyone arrives, or does it have to be made right after the roast comes out?
Just polished off this roast for post-hike dinner with my trail crew, and every single person went back for seconds! We were all beat after 12 miles of trail maintenance today, so a warm, hearty meal hit exactly right. The slow cook time was perfect — I popped it in the oven right when we got home, and had time to shower, stretch, and toss a quick salad while it roasted without hovering over the stove. The pan gravy was chef’s kiss over leftover mashed potatoes from last night. Zero leftovers, which is always the best sign of a winning recipe.