
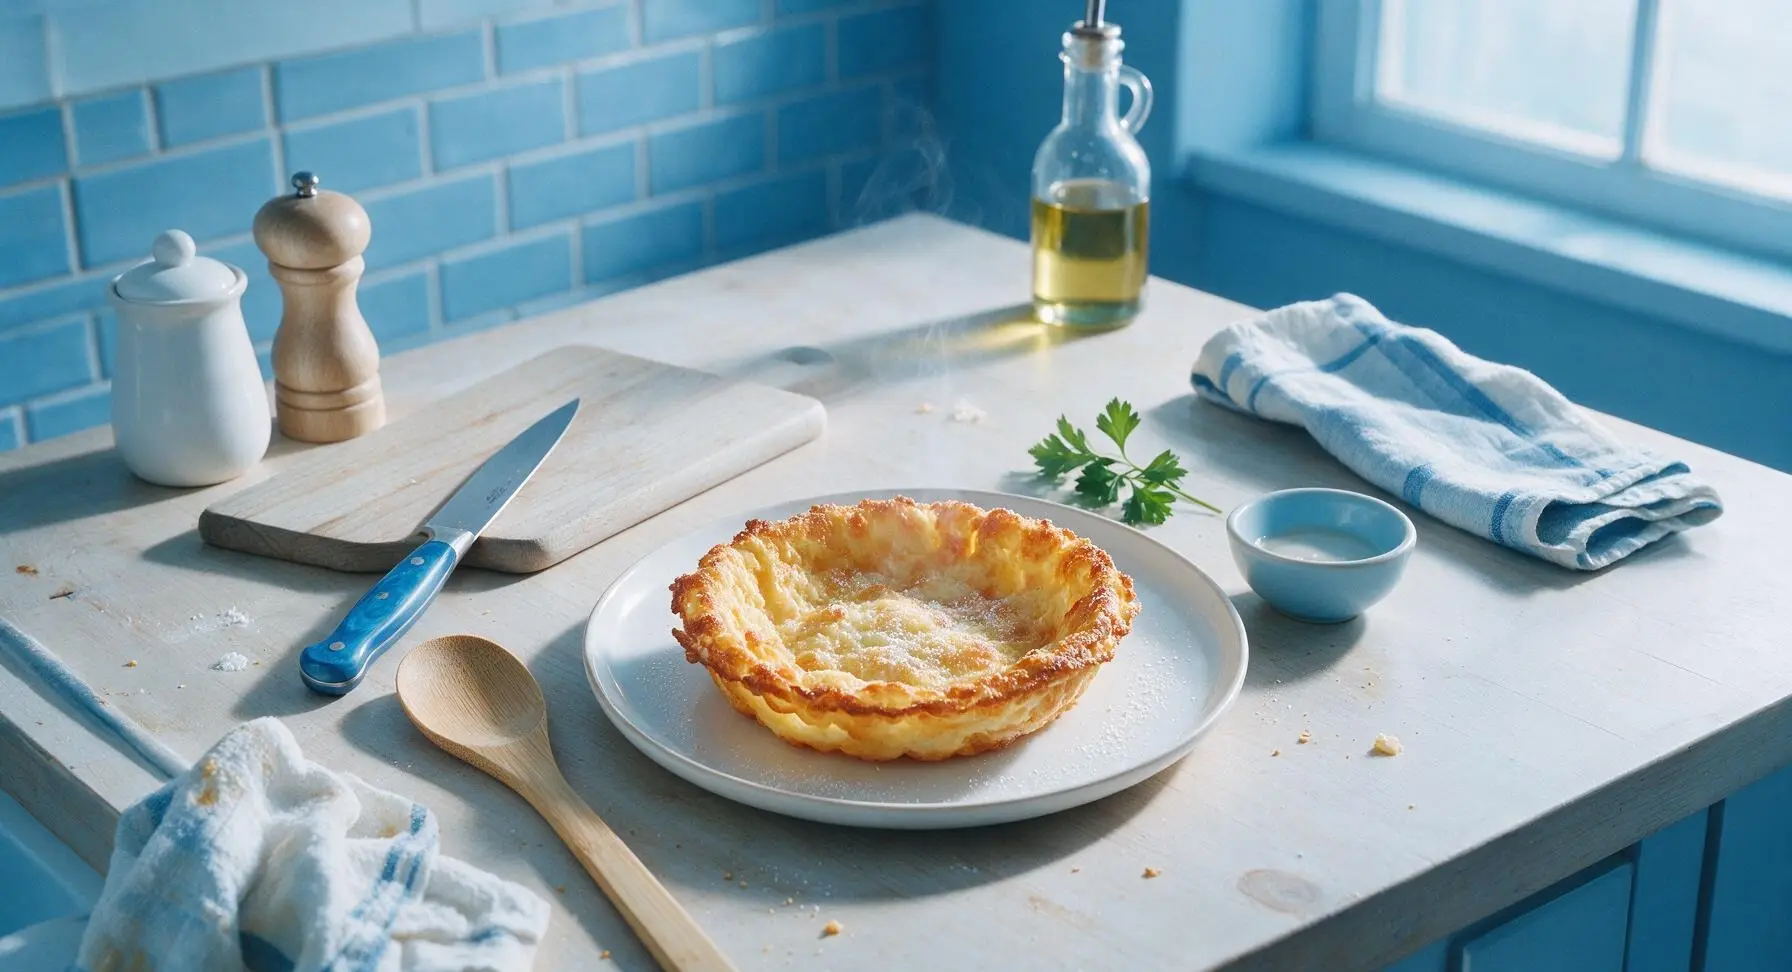
bowl waffle maker

title 1
bowl waffle maker
⏱️ cook time 12 minutes
🍽️ servings 4
⚡ Difficulty easy

intro

Crisp on the edges, fluffy in the center, these deep bowl-shaped waffles hold all your favorite sweet or savory fillings for a fast, customizable meal the whole family will love.

Ingredients
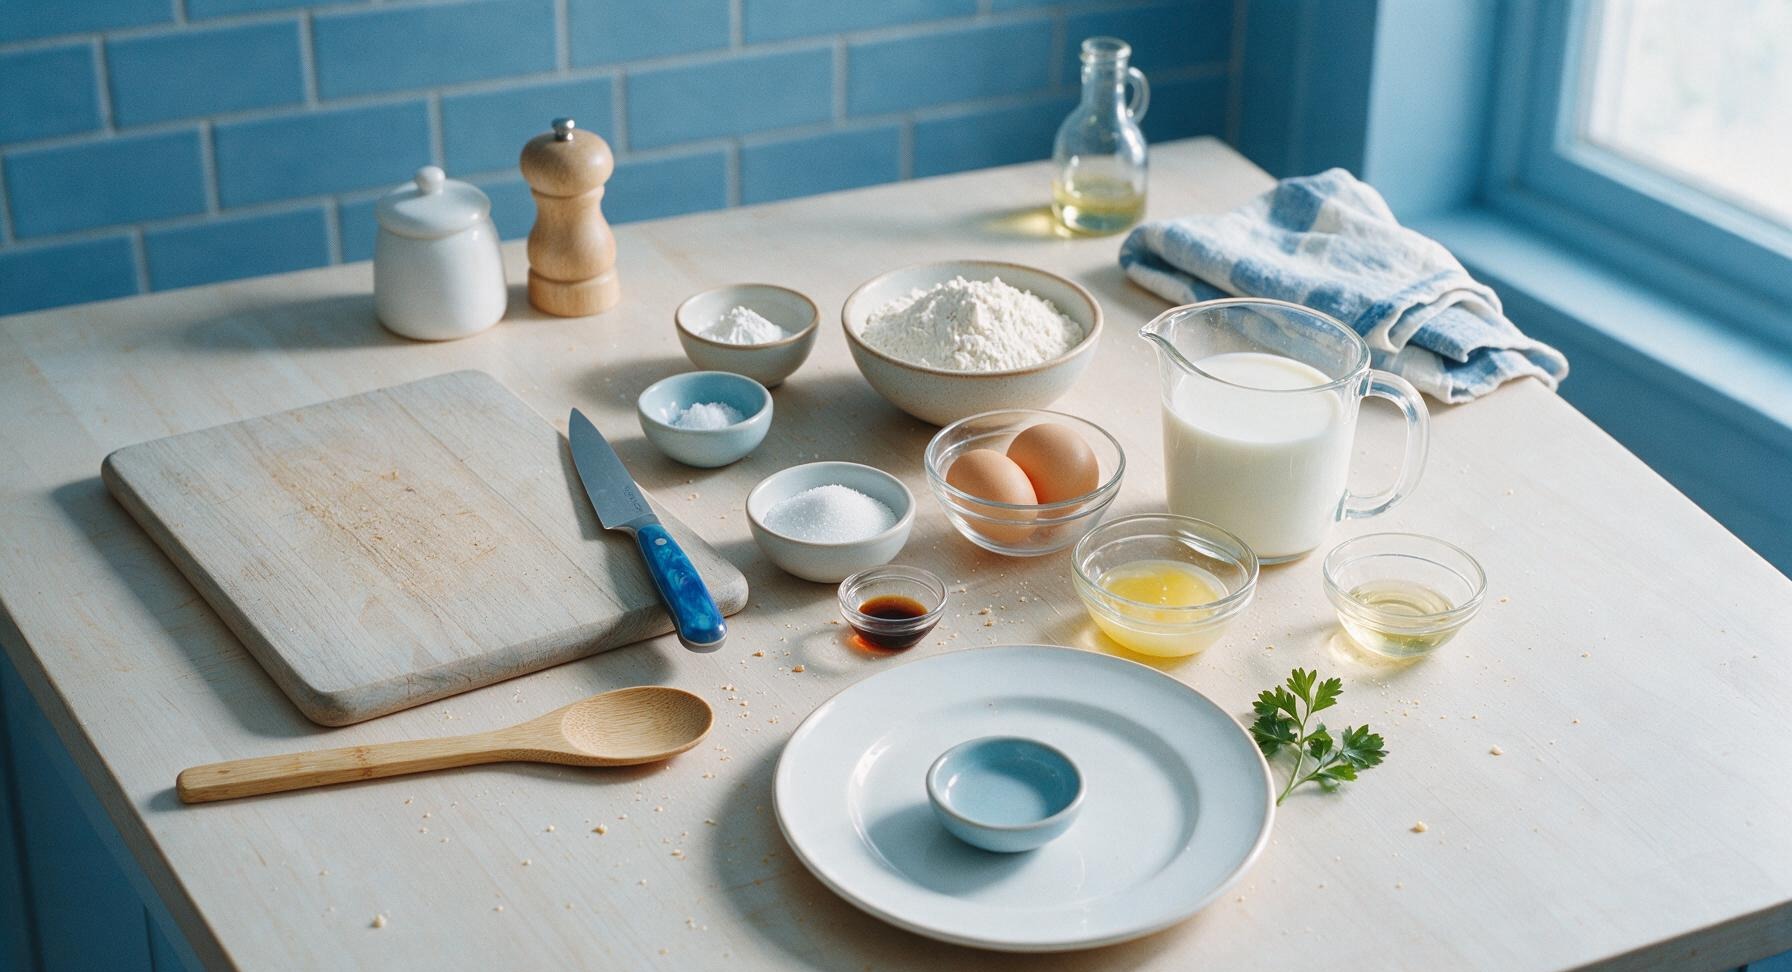
All-purpose flour 2 cups (240g)
Baking powder 2 teaspoons
Fine sea salt 1/2 teaspoon
Granulated sugar 2 tablespoons
Large eggs 2
Whole milk 1 3/4 cups (414ml)
Unsalted butter (melted, cooled) 1/4 cup (57g)
Pure vanilla extract 1 teaspoon
Canola oil spray as needed

Steps

1

Preheat Waffle Maker

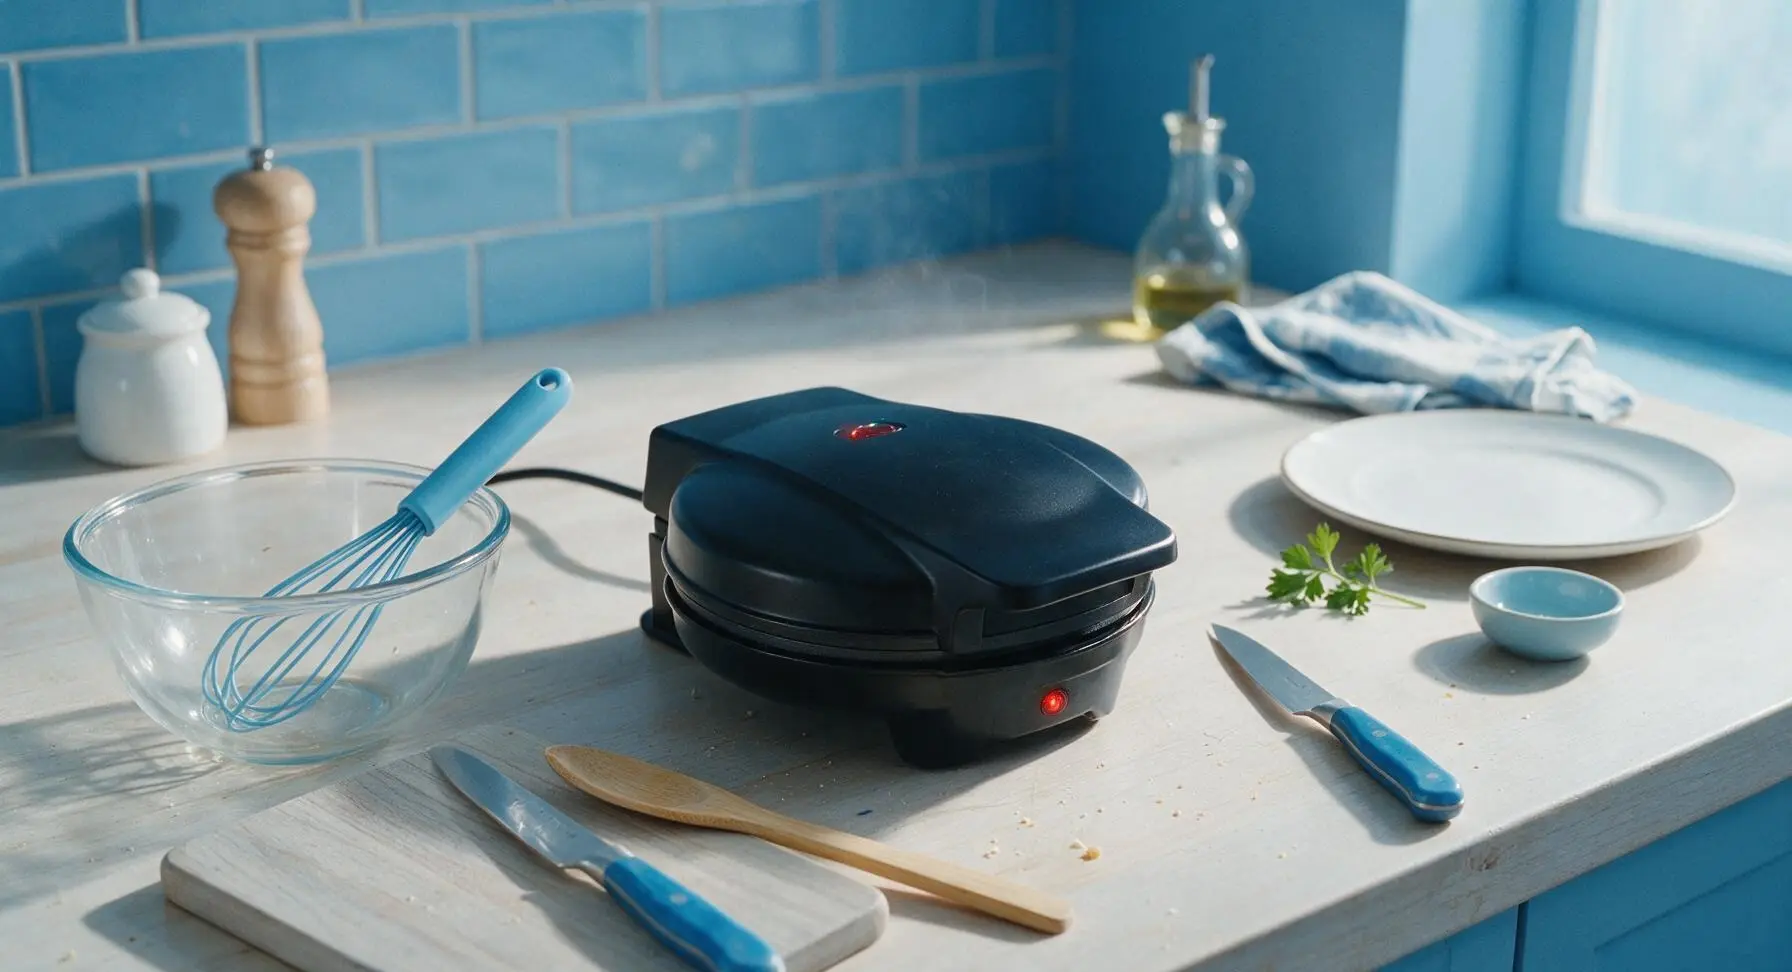
Plug in the bowl waffle maker and close the lid, allowing it to preheat for 3-4 minutes until the green ready indicator light turns on, indicating the plates have reached 375°F (190°C). While it heats, you will mix the batter to avoid wasting time. Do not spray the plates yet, as preheating dry prevents sticky oil residue buildup.
Step 1
step1:Preheat Waffle Maker
2

Whisk Dry Ingredients

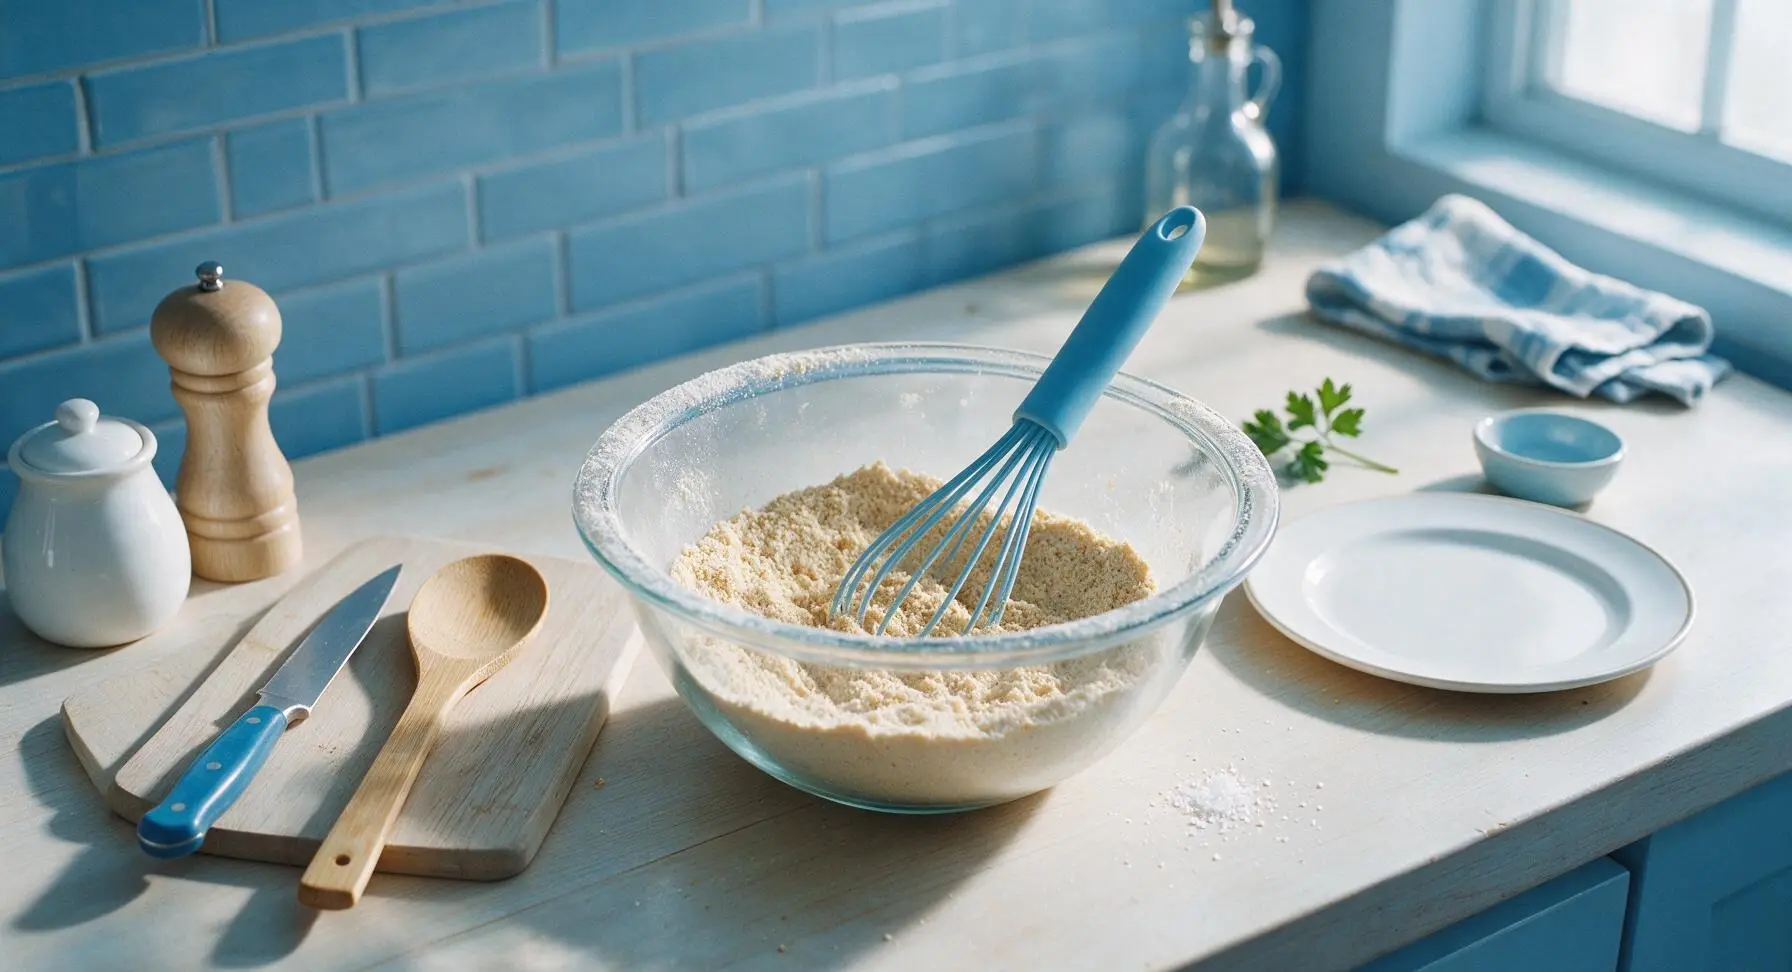
Add the all-purpose flour, baking powder, fine sea salt, and granulated sugar to the glass mixing bowl. Use the sky blue silicone whisk to stir the dry ingredients for 30 seconds until fully combined, with no visible clumps of baking powder. Evenly distributing the leavening prevents uneven, lopsided rise in the finished waffle bowls.
Step 2
step2:Whisk Dry Ingredients
3

Combine Wet Ingredients

Make a 2-inch wide well in the center of the dry ingredient mixture. Crack the two eggs into the well, then pour in the whole milk, cooled melted butter, and vanilla extract. Whisk slowly at first to avoid flour splatters, then increase speed slightly until the batter comes together with small, pea-sized lumps remaining—overmixing will create tough, chewy waffles.
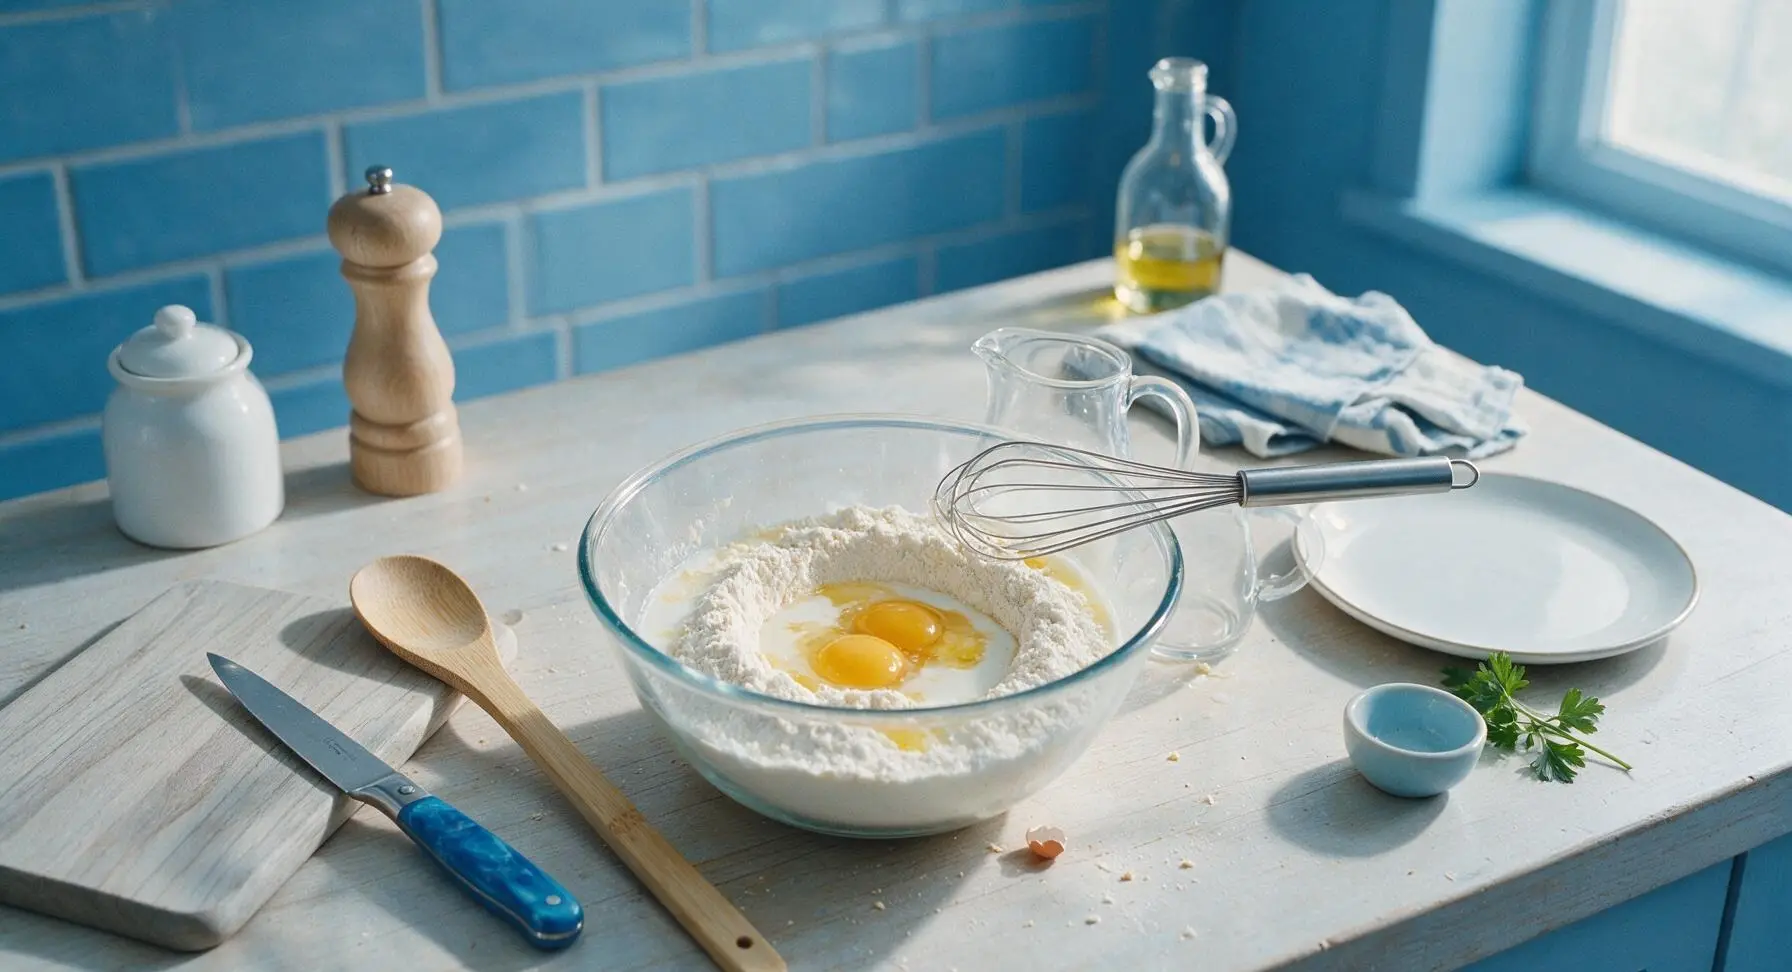
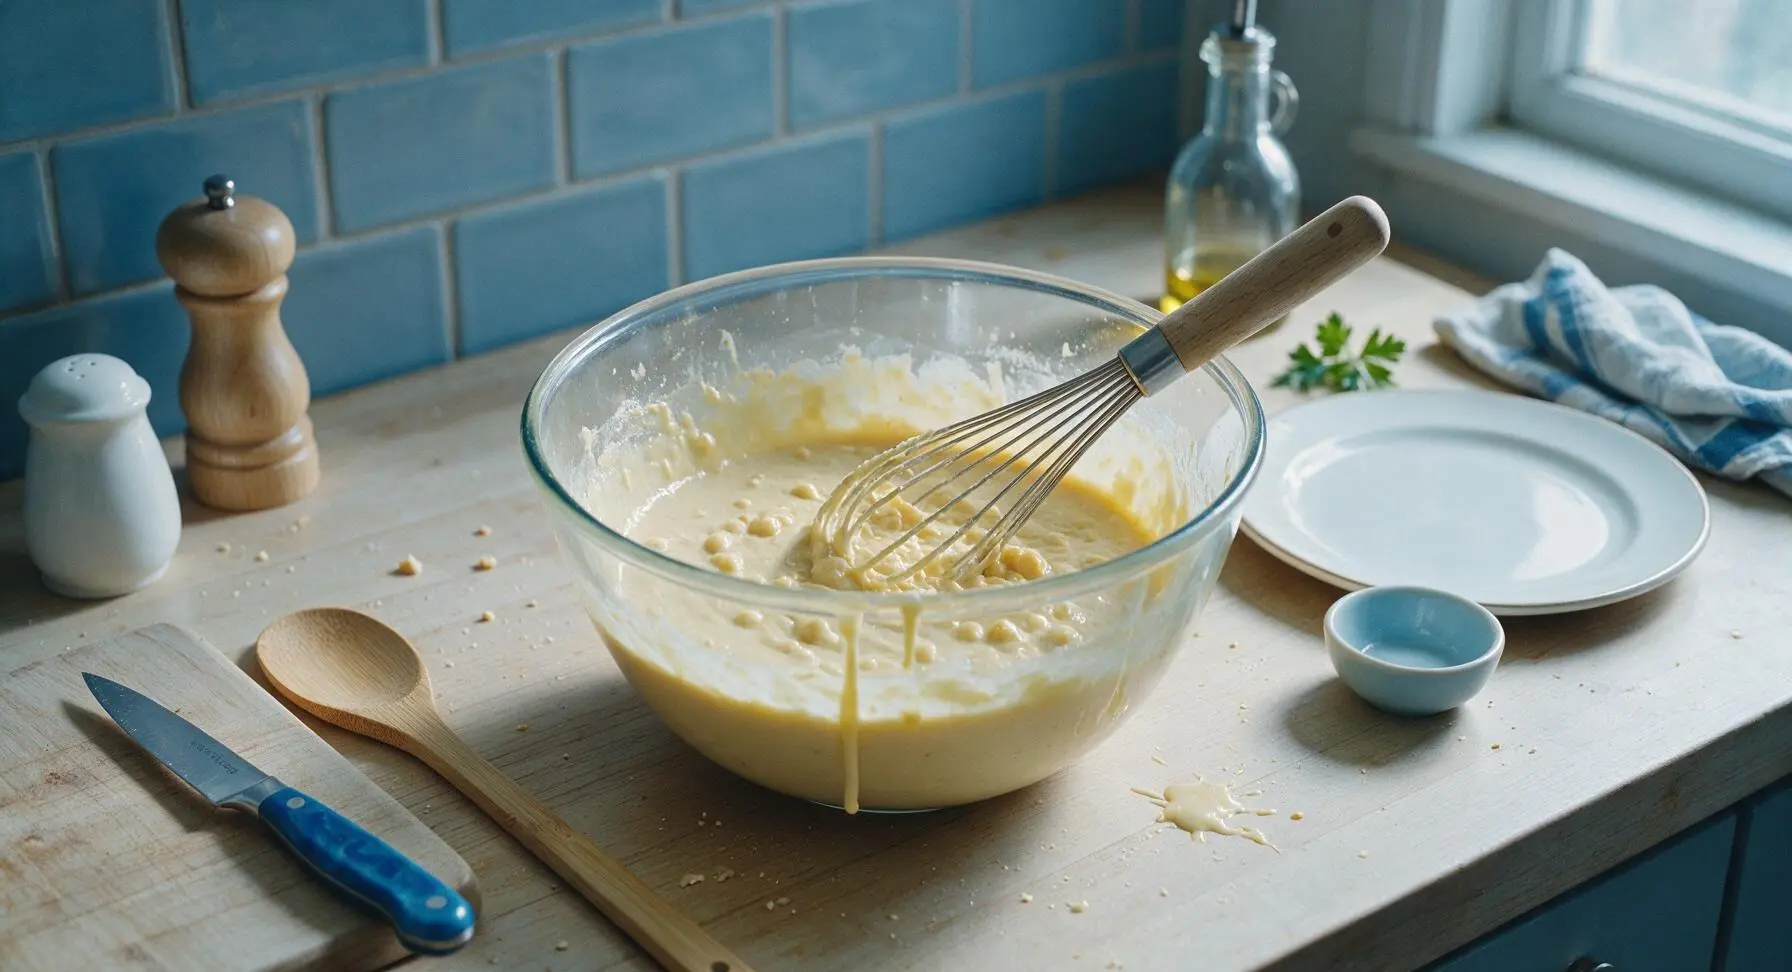
Step 3
step3:Combine Wet Ingredients
Step 3
step3:Combine Wet Ingredients
4

Grease Waffle Plates

Once the waffle maker is fully preheated (green ready light illuminated), open the lid and lightly coat both the top and bottom deep bowl plates with an even layer of canola oil spray. Hold the spray bottle 6 inches away from the plates to avoid over-saturating, which causes greasy, overly dark waffle edges.
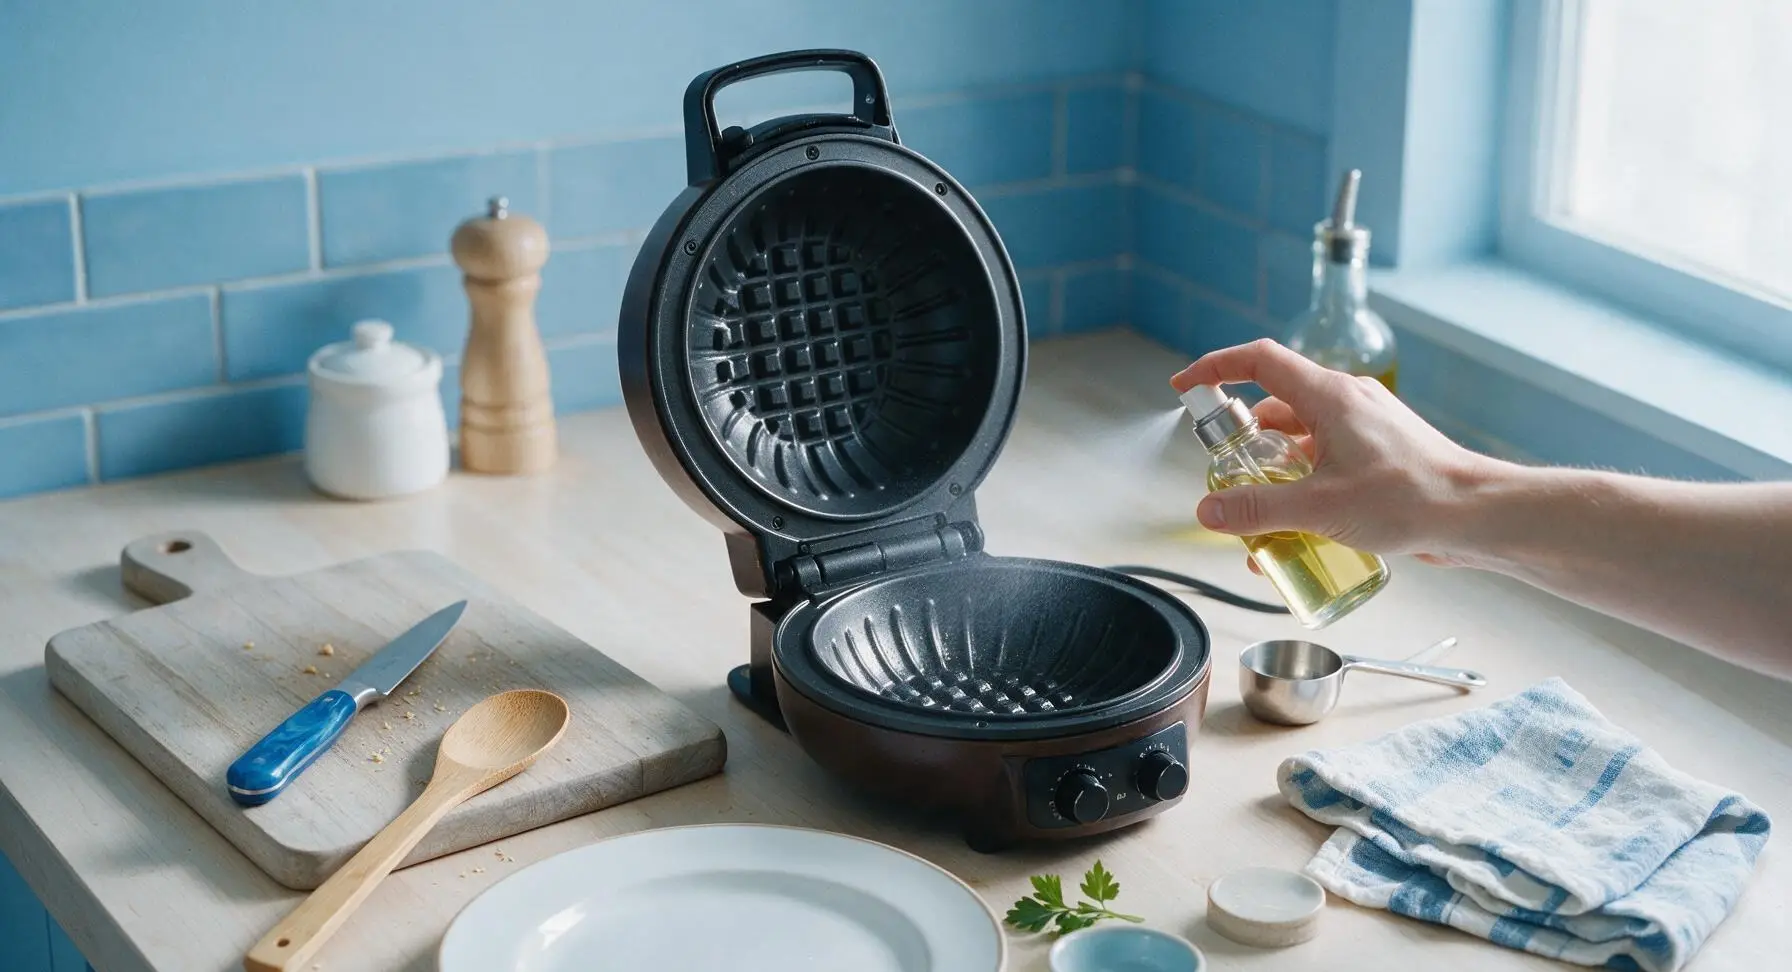
Step 4
step4:Grease Waffle Plates
5

Portion and Cook Waffles

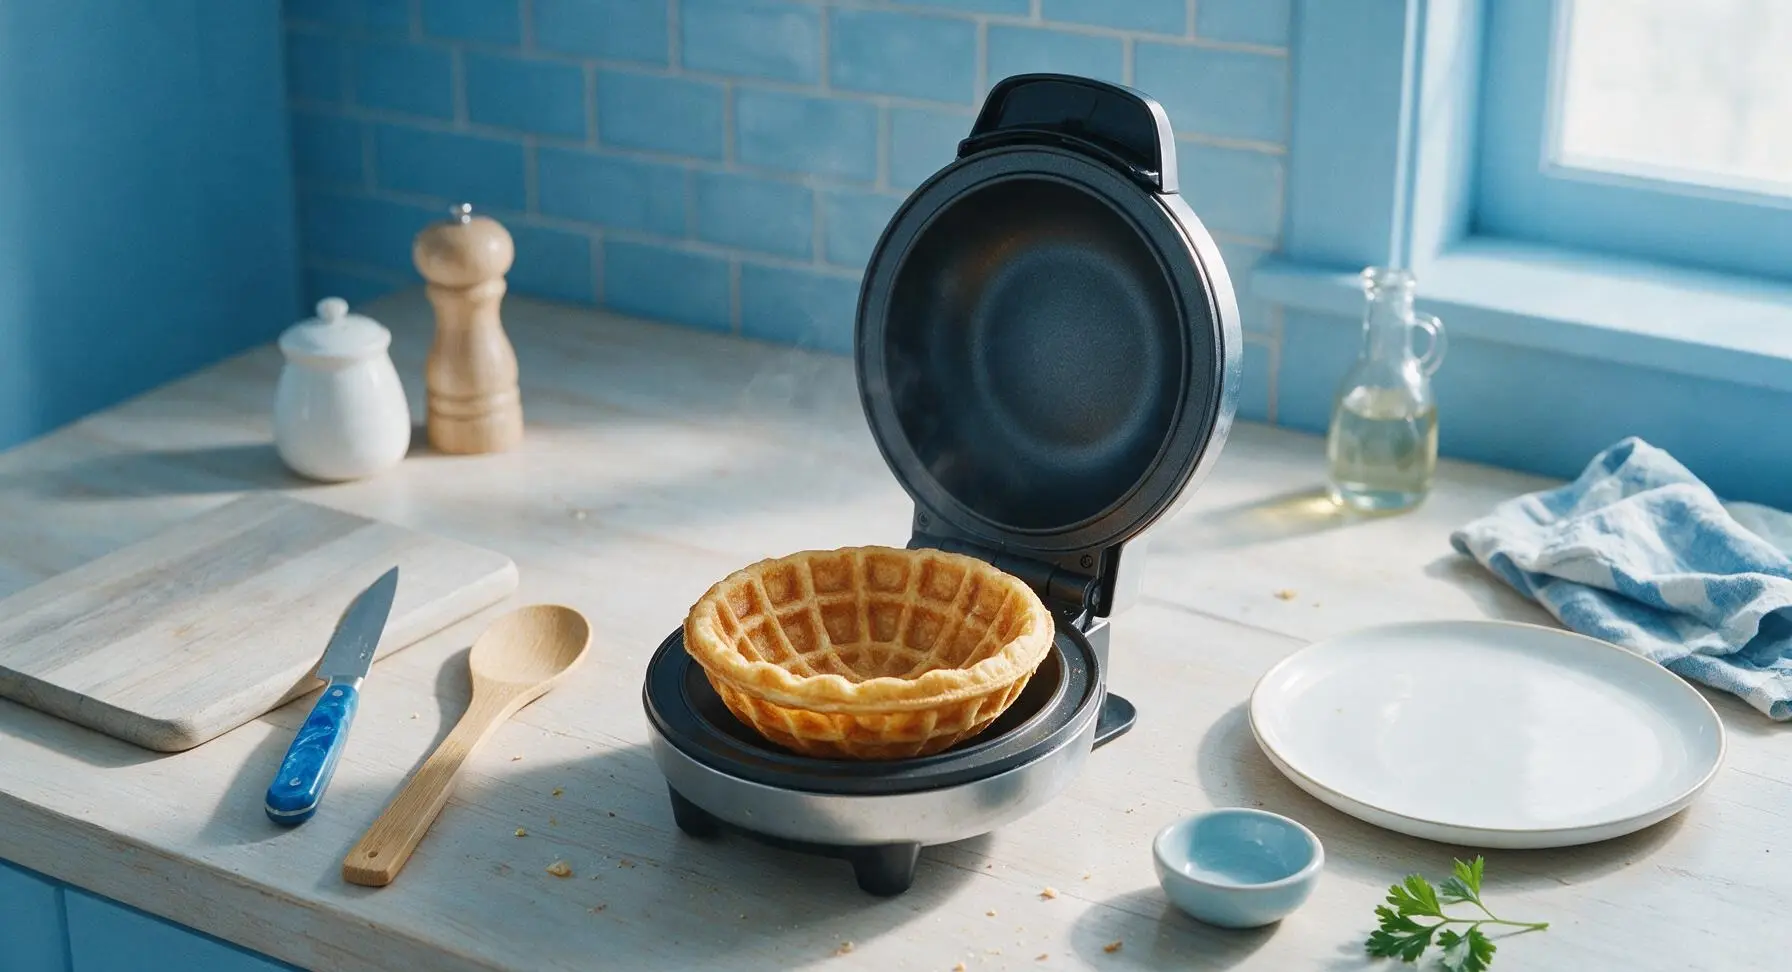
Use the 1/4 cup stainless steel measuring cup to scoop exactly 3/4 cup of batter (three level scoops) into the center of the bottom waffle plate. Close the lid gently (do not press down hard, as this will squeeze batter out the sides) and cook for 3 to 3.5 minutes, until steam stops escaping from the edges of the waffle maker and the green ready indicator light illuminates. The finished waffle will be deep golden brown and release easily from the plates with no sticking.
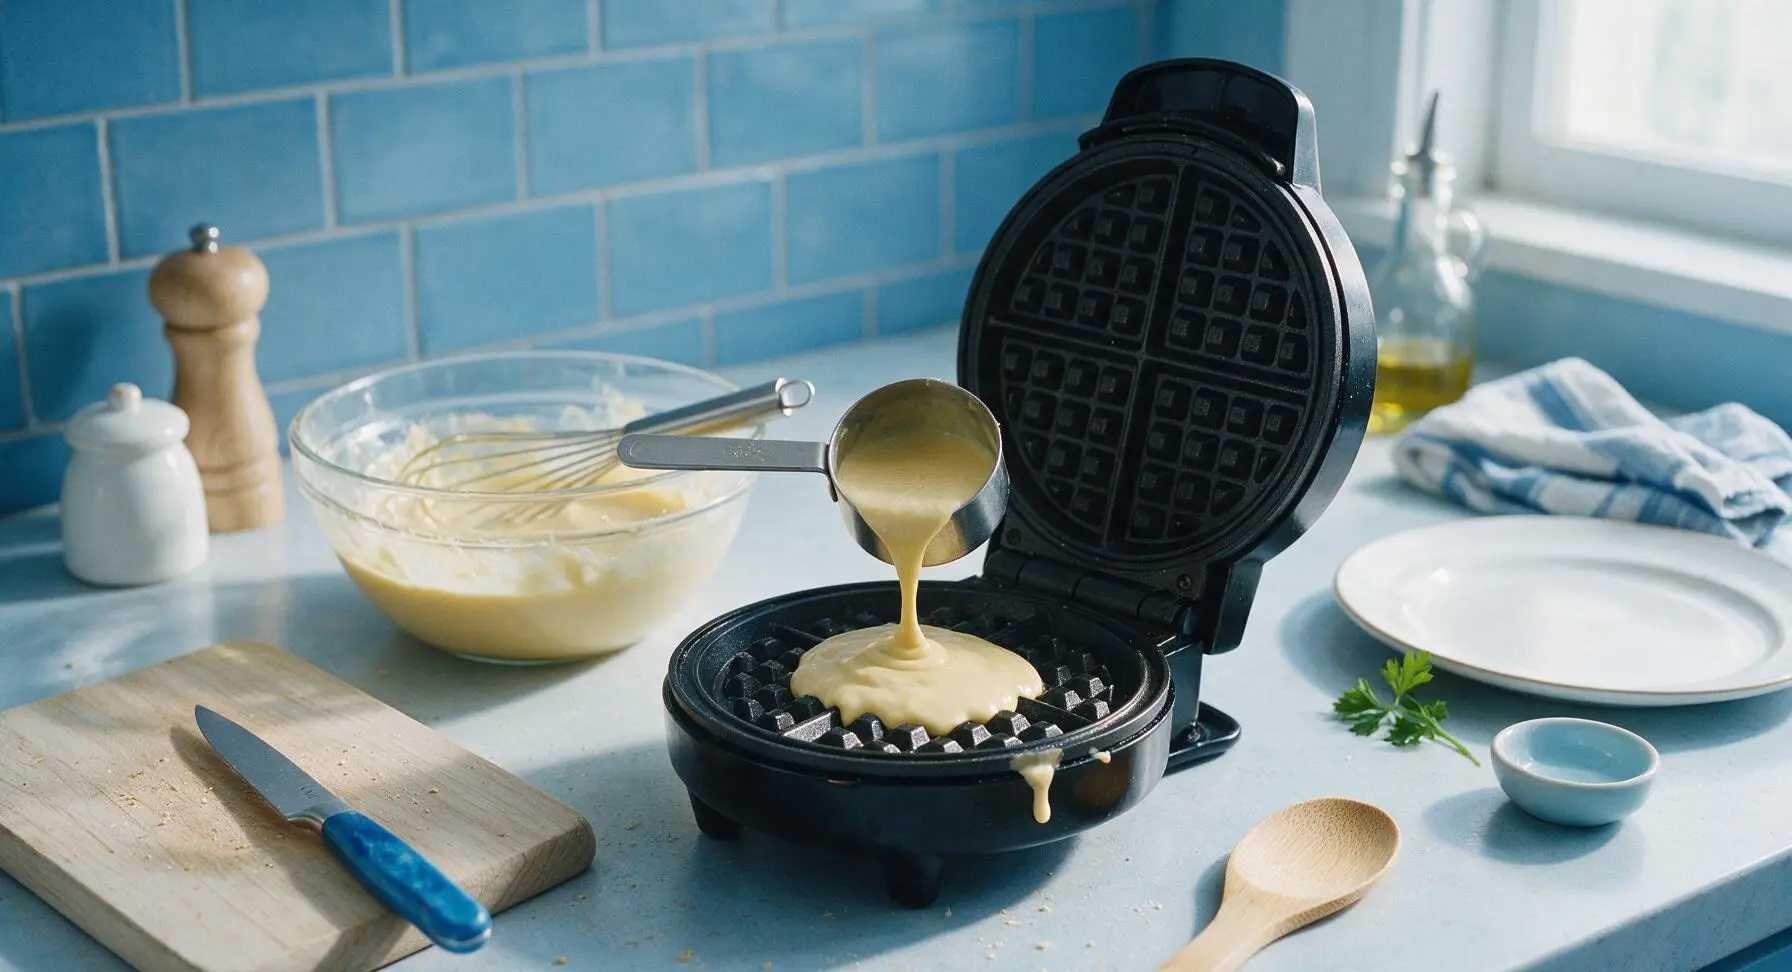
Step 5
step5:Portion and Cook Waffles
Step 5
step5:Portion and Cook Waffles
6

Rest Cooked Waffles

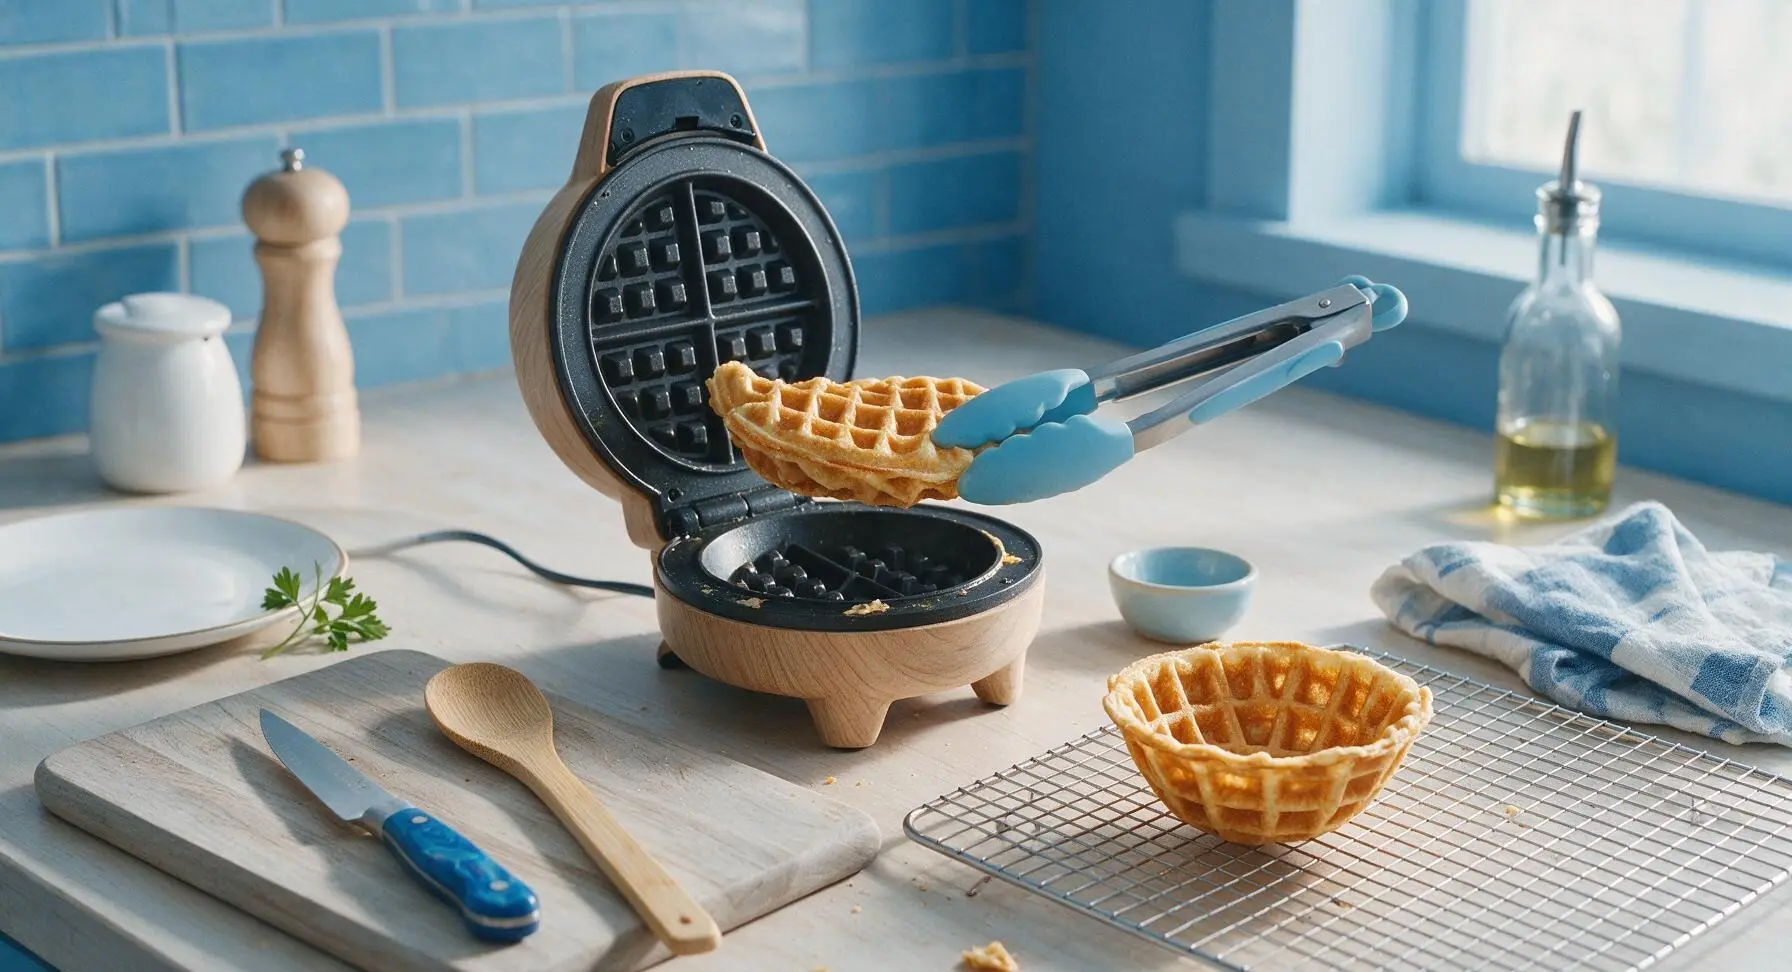
Use the sky blue silicone-tipped tongs to carefully lift the finished waffle bowl out of the maker, and transfer it to the stainless steel wire cooling rack at front right. Let it rest for 1 minute to crisp up the edges—if you plate it immediately, trapped condensation will make the waffle bottom soggy. Repeat the greasing, pouring, and cooking process with the remaining batter to make 4 total waffle bowls.
Step 6
step6:Rest Cooked Waffles
7

Plate and Customize

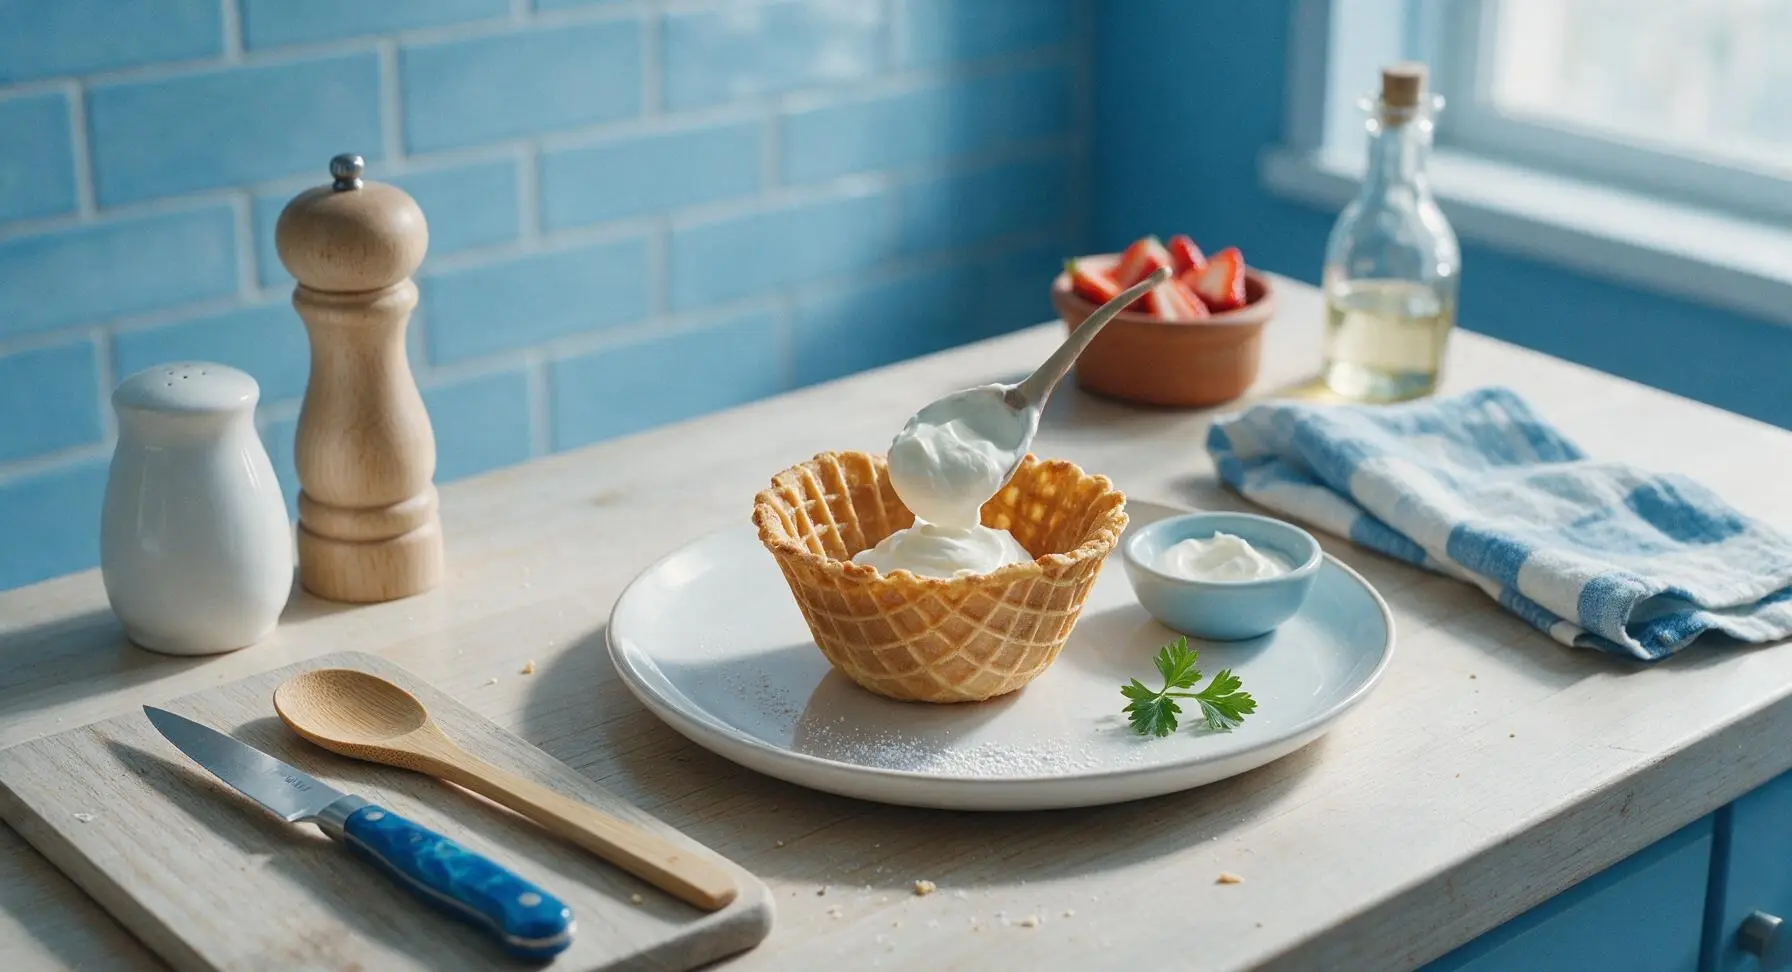
Transfer one crisp, rested waffle bowl to the top matte cream stoneware plate. Fill the center of the bowl with your choice of sweet or savory fillings—classic options include Greek yogurt and fresh berries, crispy fried chicken and hot honey, or vanilla ice cream and fudge sauce. Serve immediately while the waffle is crisp and warm.
Step 7
step7:Plate and Customize

Tips

1.Don’t overmix the batter: Small, pea-sized lumps are completely normal and desirable. Over-stirring develops gluten in the flour, which results in tough, chewy waffles instead of light, crisp ones with a fluffy center. Stop stirring as soon as you no longer see dry streaks of flour.
2.Wait 3 full minutes before opening the waffle maker lid: Peeking too early can cause the half-set waffle to split apart and stick to the plates, ruining the deep bowl shape. You’ll know it’s ready to check when the thin stream of steam escaping from the lid edges slows to almost nothing.
3.Skip placing hot waffles directly on plates to rest: Setting them on the wire rack for 1 minute allows air to circulate under and around the waffle, preventing condensation from softening the crisp crust. This is extra important for bowl waffles, which need to stay sturdy enough to hold wet fillings without leaking.


✨ You May Also Like

Breakfast
🍜 United States

Crisp-edged, fluffy lard griddle cakes are a nostalgic homestyle staple, with rich savoriness from rendered lard, perfect topped with maple syrup or savory gravy.

⏱️ 25 minuteBreakfast ★ 4.8
Breakfast
🍜 United States

Flaky, buttery homemade buttermilk biscuits smothered in creamy, peppery pork sausage gravy: a beloved, hearty Southern American comfort food classic.

⏱️ 35 minuteBreakfast ★ 4.8
Breakfast
🍜 United States

Golden, custardy brioche stuffed with sweet cream cheese and fresh berries, pan-fried to crisp perfection. An indulgent, cozy breakfast perfect for slow weekend mornings.

⏱️ 30 minuteBreakfast ★ 4.7
Breakfast
🍜 United States

Flaky, buttery Southern-style biscuits stuffed with savory salty country ham, a portable, satisfying classic perfect for casual on-the-go meals.

⏱️ 25 minuteBreakfast ★ 4.8
Breakfast
🍜 United States

Iconic puffy baked pancake popularized in Seattle, with crisp golden edges and soft custardy center, served warm with classic sweet toppings.

⏱️ 35 minuteBreakfast ★ 4.6
Breakfast
🍜 United States

Fluffy, golden pancakes studded with juicy peak-summer mixed berries, drizzled with maple syrup for a bright, comforting, crowd-pleasing family breakfast.

⏱️ 25 minuteBreakfast ★ 4.7

bowl waffle maker:Frequently Asked Questions

1.Why aren’t my bowl waffles getting crispy around the edges like the recipe promises? ▾
This almost always traces back to three quick fixes: First, fully preheat your bowl waffle maker to 375°F before adding any batter—cold irons steam instead of crisp. Second, don’t pry the lid open for the first 2 full minutes of cook time. Third, skip overloading the batter well; excess batter creates dense, soggy edges instead of light, crisp ones.
2.Can I make this batter ahead of time for quick weekday breakfasts? ▾
Absolutely! For best results, mix your dry and wet components separately and store them in sealed containers in the fridge for up to 2 days. Combine them right before pouring into the waffle maker to keep the baking powder’s leavening power intact, so your waffles stay light and fluffy instead of falling flat.
3.How much batter should I pour into each bowl waffle mold to avoid messy overflow? ▾
Start with ⅓ to ½ cup of batter per standard 4-inch bowl waffle well, poured right in the center. Resist the urge to add more—baking powder makes the batter puff dramatically as it cooks, and overfilling leads to sticky, burnt overflow down the sides of your maker and misshapen waffle bowls.
4.My waffles are coming out dense instead of fluffy in the center—what am I doing wrong? ▾
Dense centers usually come from overmixing the batter, or using cold eggs straight from the fridge. It’s totally normal (and good!) to have small, pea-sized lumps left after you combine room-temperature large eggs, milk, and dry ingredients. Overstirring develops tough gluten in the all-purpose flour, leading to heavy, dense waffles instead of light, pillowy centers.
5.Can I use this recipe for both sweet and savory fillings, like the intro mentions? ▾
Definitely! The base batter has just a small amount of granulated sugar, so it’s perfectly neutral for any use. For sweet servings, fill with fruit, whipped cream, or ice cream. For savory meals, cut the added sugar in half, toss a pinch of black pepper into the dry mix, and fill with fried chicken, chili, or scrambled eggs.
6.How do I keep finished waffle bowls warm and crisp while I cook a full batch? ▾
Skip stacking them on a plate—trapped steam makes them soggy fast. Set your oven to 200°F, place a wire rack over a baking sheet, and set finished waffles directly on the rack in a single layer as they come off the maker. This lets air circulate to keep edges crisp and centers fluffy until serving.
7.Can I substitute a different flour for the all-purpose flour in this recipe? ▾
You can swap up to half the all-purpose flour for whole wheat pastry flour or white whole wheat flour without losing too much fluff, but I don’t recommend 100% whole grain or generic gluten-free blends without adjustments. Those blends absorb more liquid, so add an extra ¼ teaspoon baking powder and a splash of milk to keep texture right.
8.Do I need to spray my bowl waffle maker with nonstick spray even if it’s labeled nonstick? ▾
A very light coating of neutral nonstick spray is a good safety net, even on nonstick models, because the deep bowl shape has lots of little crevices batter can stick to. Don’t douse it, though—excess spray burns onto the iron over time and leaves a weird, gummy residue on your waffle edges.
9.How long do these waffles need to cook to get the perfect crisp-fluffy balance? ▾
For most standard bowl waffle makers, 3 to 4 minutes total cook time is the sweet spot. Wait for the steam coming out the sides of the maker to slow to almost nothing before you check—if the waffle pulls easily away from the iron without sticking, it’s done. If it tugs, cook 30 more seconds.
10.Can I freeze leftover cooked waffle bowls for later? ▾
Totally! Let cooked waffles cool completely to room temperature first, then stack them between sheets of parchment paper to prevent sticking, and seal them in a freezer-safe bag for up to 3 months. Reheat in the waffle maker for 1 minute or a 350°F oven for 5 minutes to bring back crispness; skip the microwave, which makes them soggy.
11.The recipe calls for fine sea salt—can I use regular table salt instead? ▾
You can, but you’ll need to cut the measurement in half. Table salt is much finer and more densely salty than fine sea salt, so using the same amount will make your waffles taste overly salty. If you only have kosher salt on hand, use 1.5 times the called-for fine sea salt to get a balanced flavor.
12.Why do my waffle bowls crack or break when I try to take them out of the maker? ▾
Cracking usually happens when you try to remove waffles too early, before their structure is fully set. Wait for the full 3 to 4 minute cook time, and use soft silicone-tipped tongs to gently lift the edges first before pulling the waffle out. Skip metal utensils, which scratch your iron and tear delicate waffles.
13.Can I add mix-ins like chocolate chips or shredded cheese directly to the batter? ▾
You bet, but add them strategically to avoid soggy spots or burnt bits. Toss mix-ins like mini chocolate chips, cheddar, or cinnamon with a pinch of dry all-purpose flour first before folding them in—this keeps them from sinking and burning on the iron. Stick to ½ cup total mix-ins per batch for best texture.

Comments (7)

2 days ago

OMG these bowl waffles are a total game changer! I’ve had my bowl waffle maker stashed in the back of my cabinet for 6 months because every other recipe I tried came out either soggy or rock hard, but these were perfectly crispy on the outside and so fluffy inside. My kids went crazy for them — we filled ours with whipped cream and fresh strawberries for Saturday breakfast, and they already begged me to make them again next weekend! 10/10, so easy too, the 12 minute cook time is perfect for rushed school mornings.

1 day ago

Wait did you spray your waffle maker with nonstick first? I tried a different bowl waffle recipe last week and half the batter stuck to the iron, total mess that took forever to scrub off.

1 day ago

So glad your family loved them! Quick tip for anyone dealing with sticking: give your waffle maker a light spritz of neutral oil (like canola or avocado) even if it says it’s nonstick — it makes all the difference for clean, easy removal!

1 week ago

Solid recipe! I was skeptical how fluffy these would get without separating egg whites, but wow, they puff up perfectly in the bowl maker. I filled mine with crispy fried chicken and a drizzle of hot honey for a savory twist, absolute chef’s kiss for Sunday dinner. Only tweak I made was adding a tiny pinch of extra cinnamon to the batter and it went so hard.

6 days ago

That savory fried chicken twist sounds incredible, I’m definitely going to test that cinnamon + hot honey combo myself this week! Thanks so much for sharing the creative hack.

3 days ago

SO good. I live in a tiny dorm and grabbed a cheap mini bowl waffle maker off Amazon last month, and this is the first recipe that didn’t require a million fancy ingredients. I made a batch to meal prep for the week, stored them in the fridge, and just popped them in the toaster oven to reheat — they stayed crispy! I’ve been filling mine with Greek yogurt and granola for quick breakfasts between classes, and it’s saved me so much money on overpriced dining hall runs.

5 days ago

Brought these to our neighborhood block party potluck last weekend and they were the first thing gone! I set up a little topping bar with maple syrup, Nutella, sliced bananas, rainbow sprinkles, and even a slow cooker of chili for folks who wanted savory waffle bowls. Everyone was hounding me for the recipe all night, I can’t believe how low-effort these are for how impressive they turn out. Only tiny hiccup was my first batch came out a little pale and not as crispy, I think I got too excited and poured the batter before the maker was fully preheated!

4 days ago

Oh the topping bar idea is genius! I’m hosting a bridal shower brunch next month and this is gonna be the main event — how far in advance do you think I can mix the batter without it going flat?

3 days ago

So fun to hear these were a potluck hit! For the pale, less crispy first batch, you’re exactly right — just make sure your indicator light says the maker is fully preheated before pouring batter. That extra 30-60 seconds of heat makes all the difference for that deep golden, crispy crust. As for pre-mixing batter, it stays great in the fridge for up to 24 hours if you give it a quick stir right before using!

2 weeks ago

I swapped the all-purpose flour for a 1:1 gluten free baking blend and these still came out perfectly fluffy and crispy! I was so worried gluten free waffles would turn out gummy, but these held their shape even when I loaded them up with vanilla ice cream and hot fudge for a little dessert waffle bowl night with my roommates. Will be making these on repeat all summer long.

2 weeks ago

That’s such a helpful swap to share! So glad the gluten free version worked out — ice cream filled waffle bowls sound like the perfect summer treat, I might have to make a batch for my own backyard BBQ this weekend!

yesterday

Took a chance making these for my teen’s birthday breakfast and got actual, unprompted compliments, which is basically a parenting win for the books. I didn’t have vanilla extract on hand so I used a splash of maple syrup in the batter, and it added such a nice warm, cozy flavor. Crispy edges, soft fluffy middle, zero complaints even from my super picky 10 year old. 10/10, such an easy win for busy weekends.

30 minutes ago

Quick question — is the batter supposed to be a little lumpy? I almost overmixed it trying to get rid of every little clump because I thought that would mess up the texture, but I stopped myself last second and the waffles still came out perfectly crispy and fluffy! Just want to confirm for future batches because these are 100% going into my weekly work breakfast rotation, they’re so fast to throw together.

5 minutes ago

Great question! Lumps in the batter are totally normal and actually preferred — overmixing will develop the gluten in the flour and make your waffles tough instead of light and fluffy, so you did exactly the right thing stopping when you did. So stoked these are making your busy work mornings easier!



