1.What oven temperature works best to get perfectly crispy, evenly browned oven toast?
▾
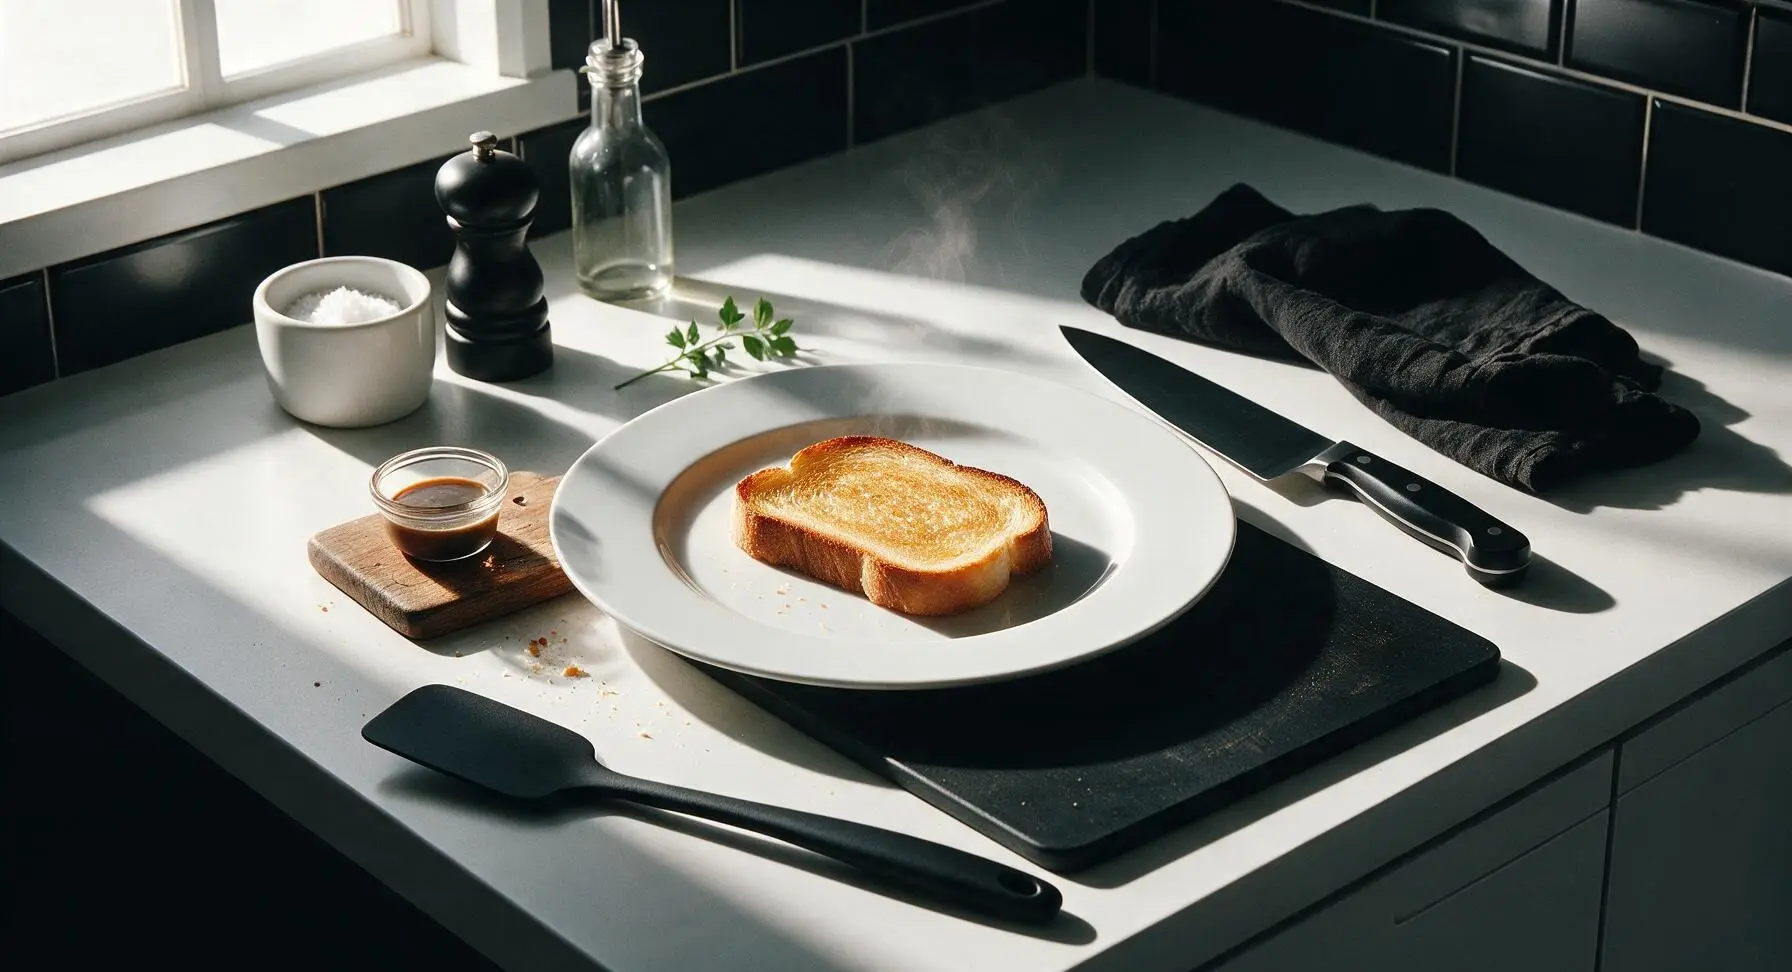
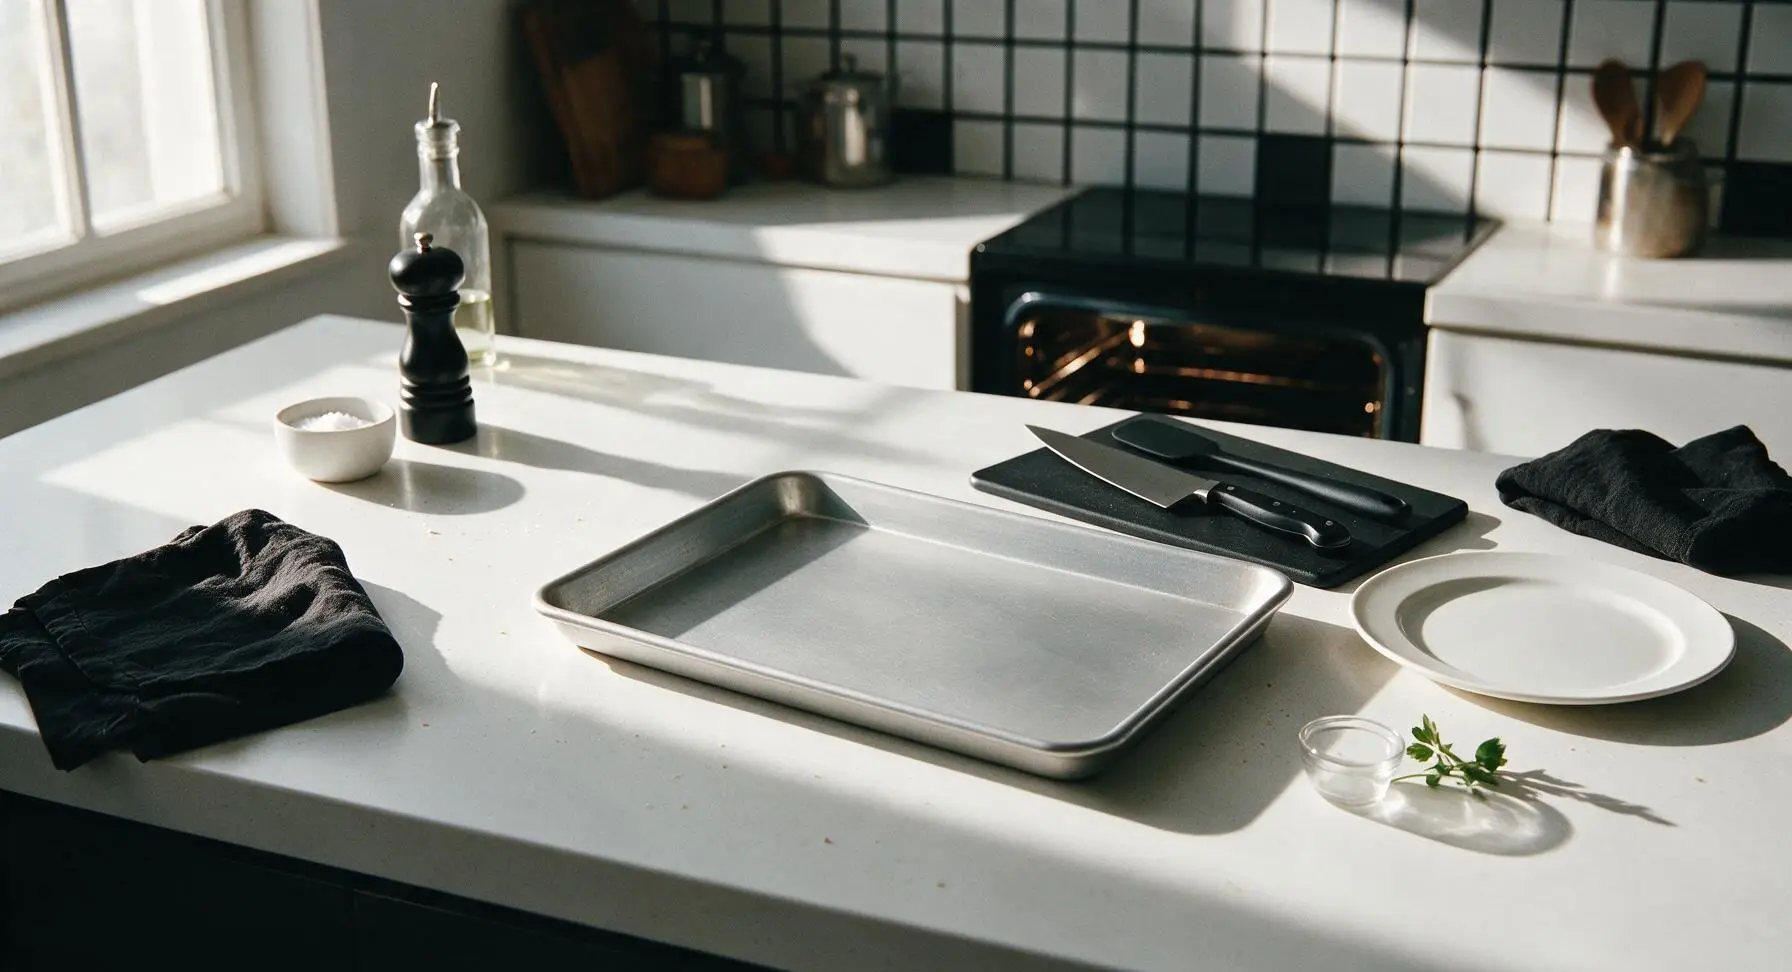
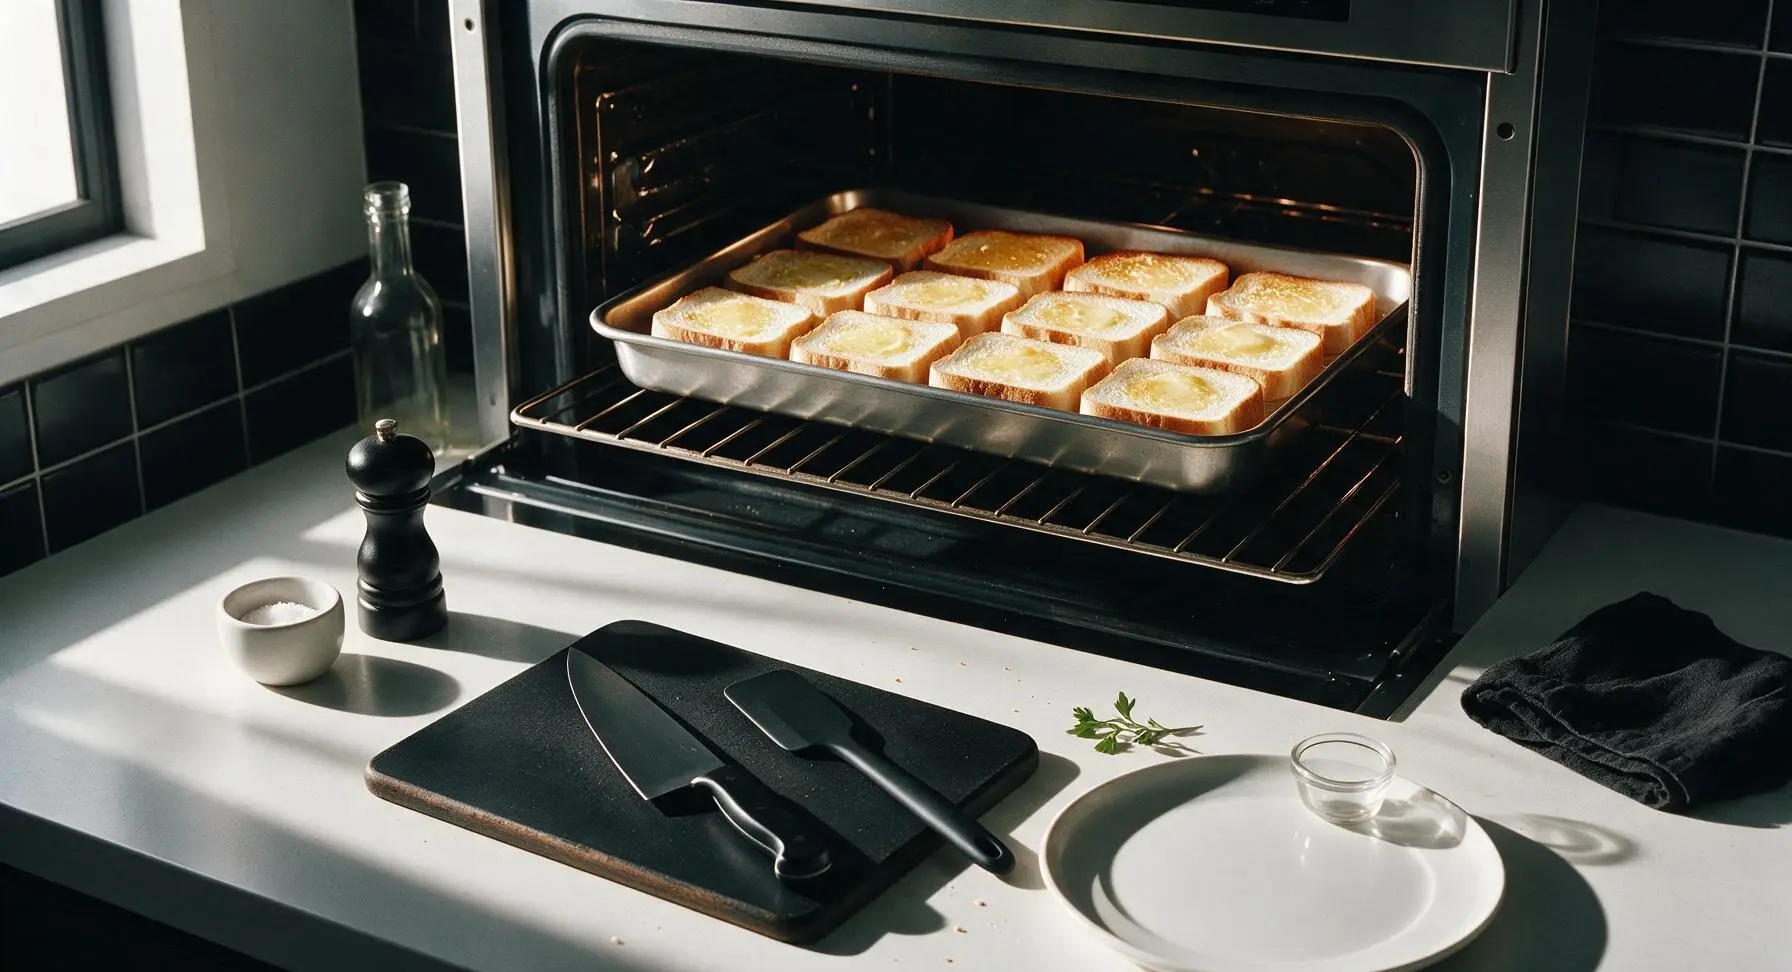
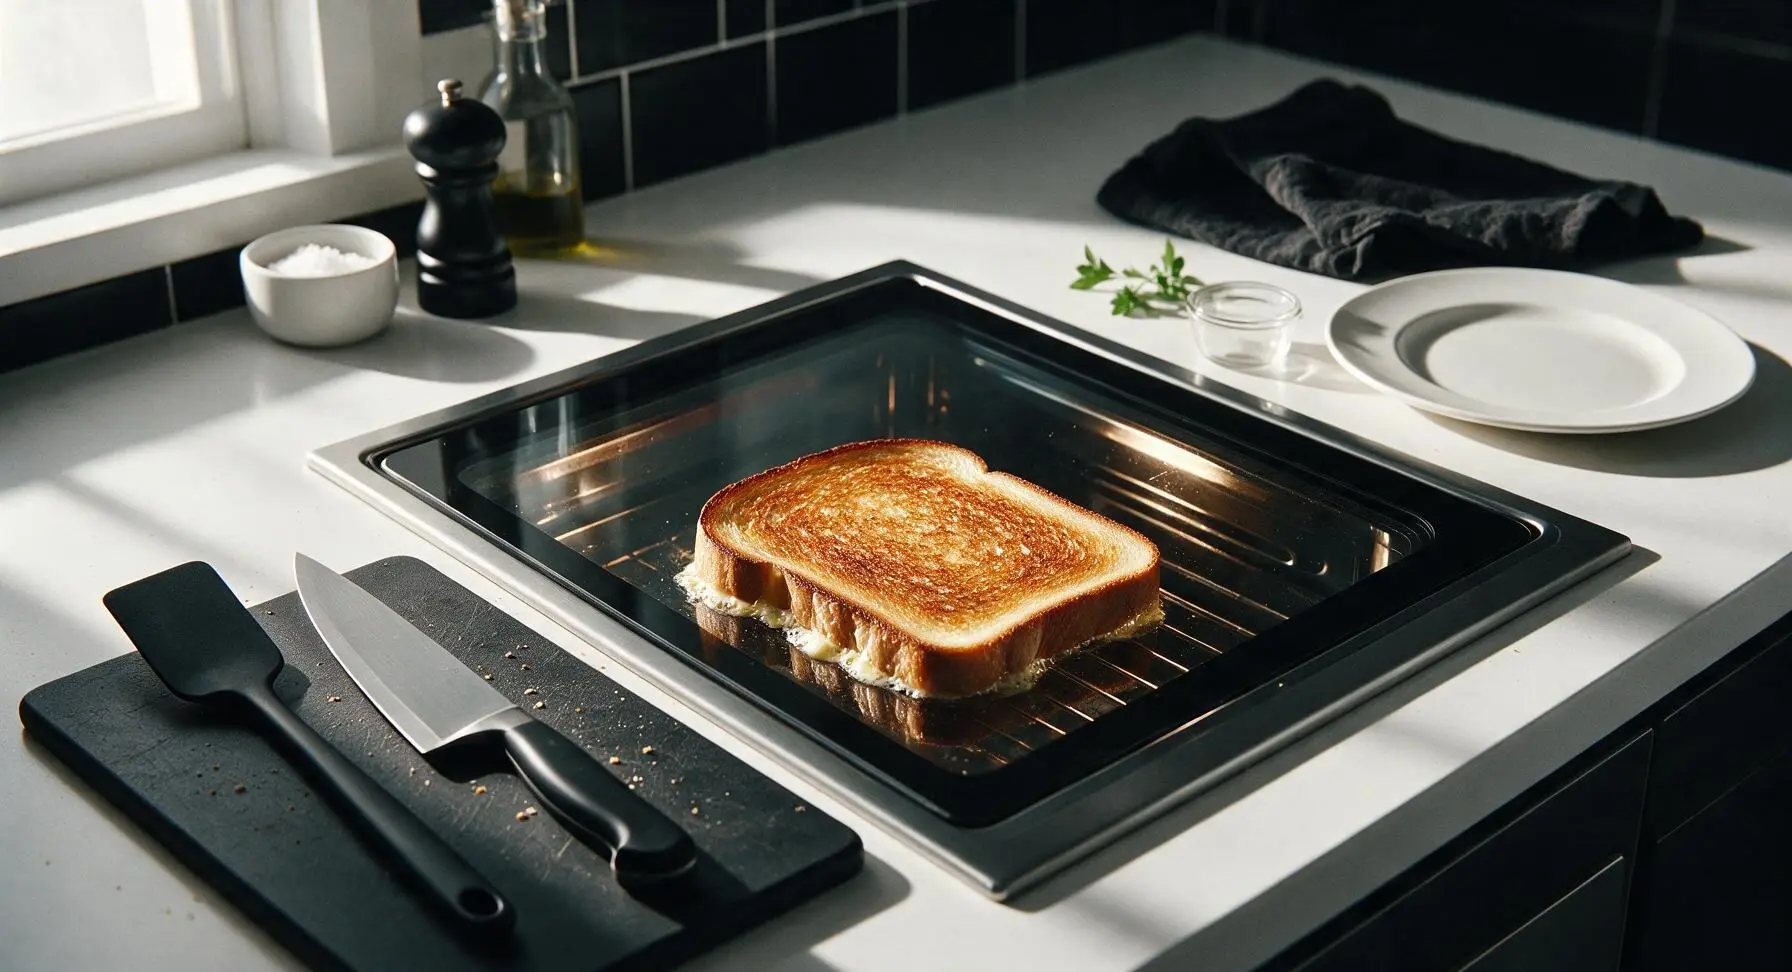
Preheat your oven to 400°F (200°C) with a rack set in the middle position. This temp is hot enough to crisp the bread edges and melt the butter evenly without burning the surface before the center warms through, giving you that ideal golden crust and soft middle in just 10 minutes total.
2.Do I have to use thick-cut sourdough for this recipe, or can I swap in other bread types?
▾
Thick-cut sourdough is our top pick for its tangy depth and sturdy crumb that holds up to butter and toppings, but you can swap in other thick-cut loaves like brioche, whole wheat, or country white. Just avoid thin, pre-sliced sandwich bread, which will turn overly crispy and dry instead of keeping a soft center.
3.Why does the recipe call for softened unsalted butter instead of melted butter?
▾
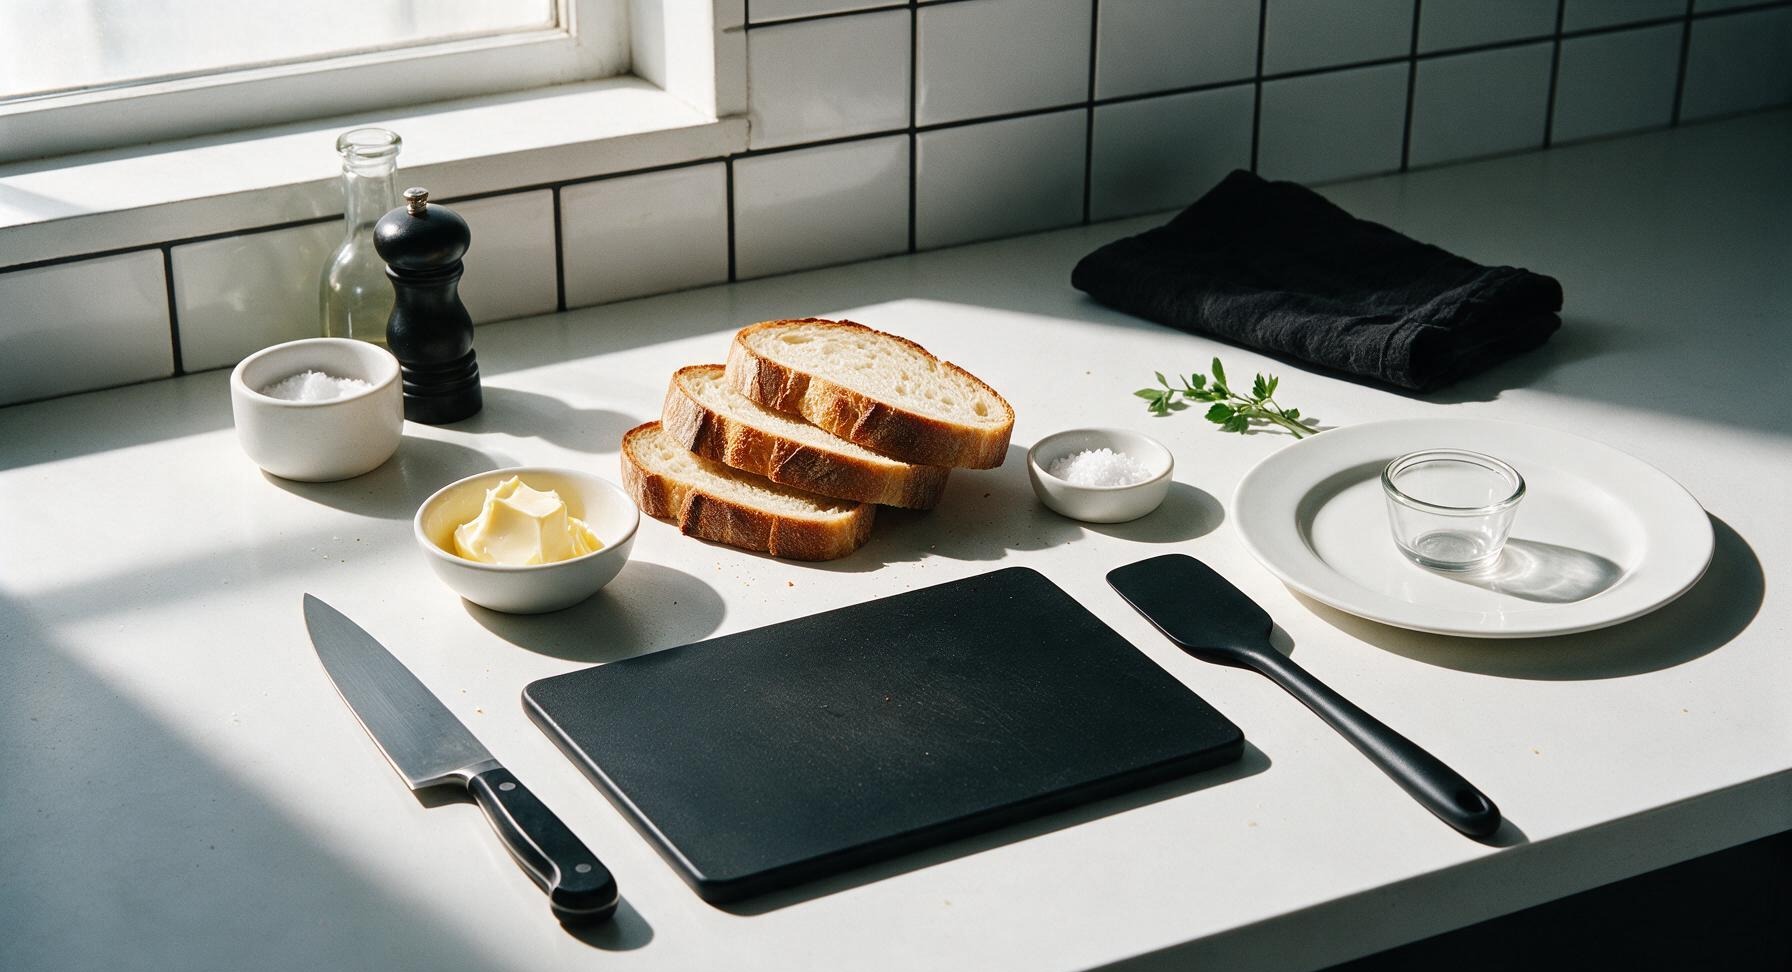
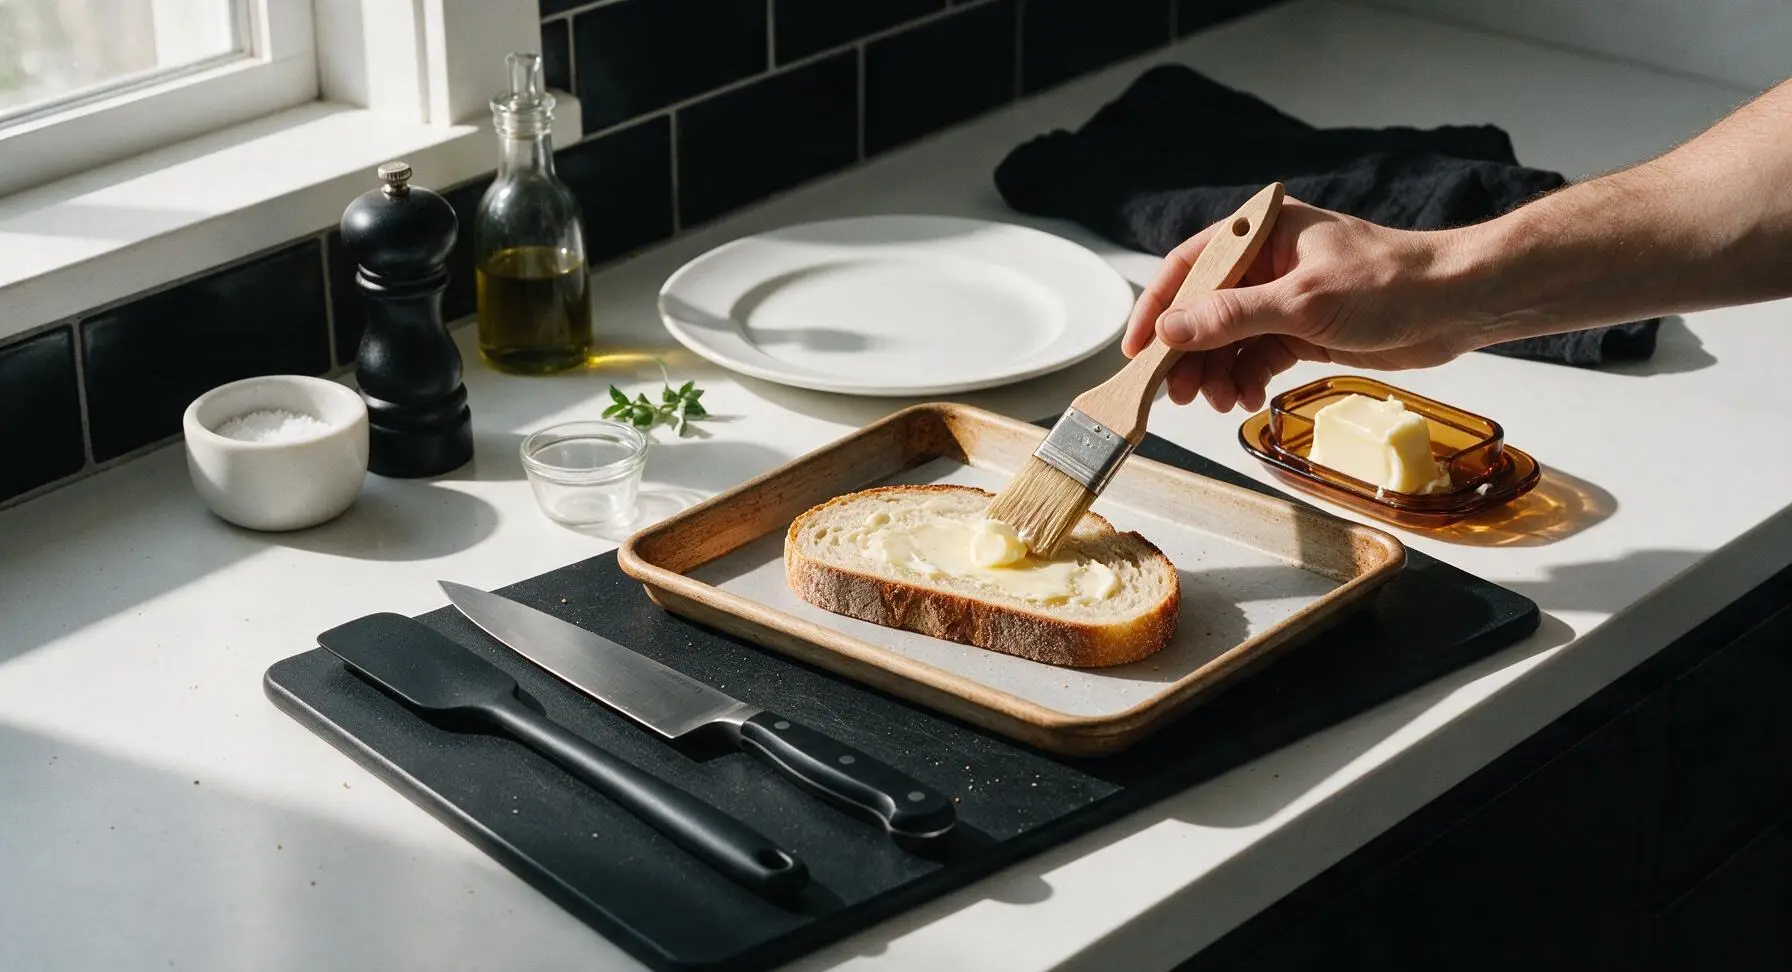
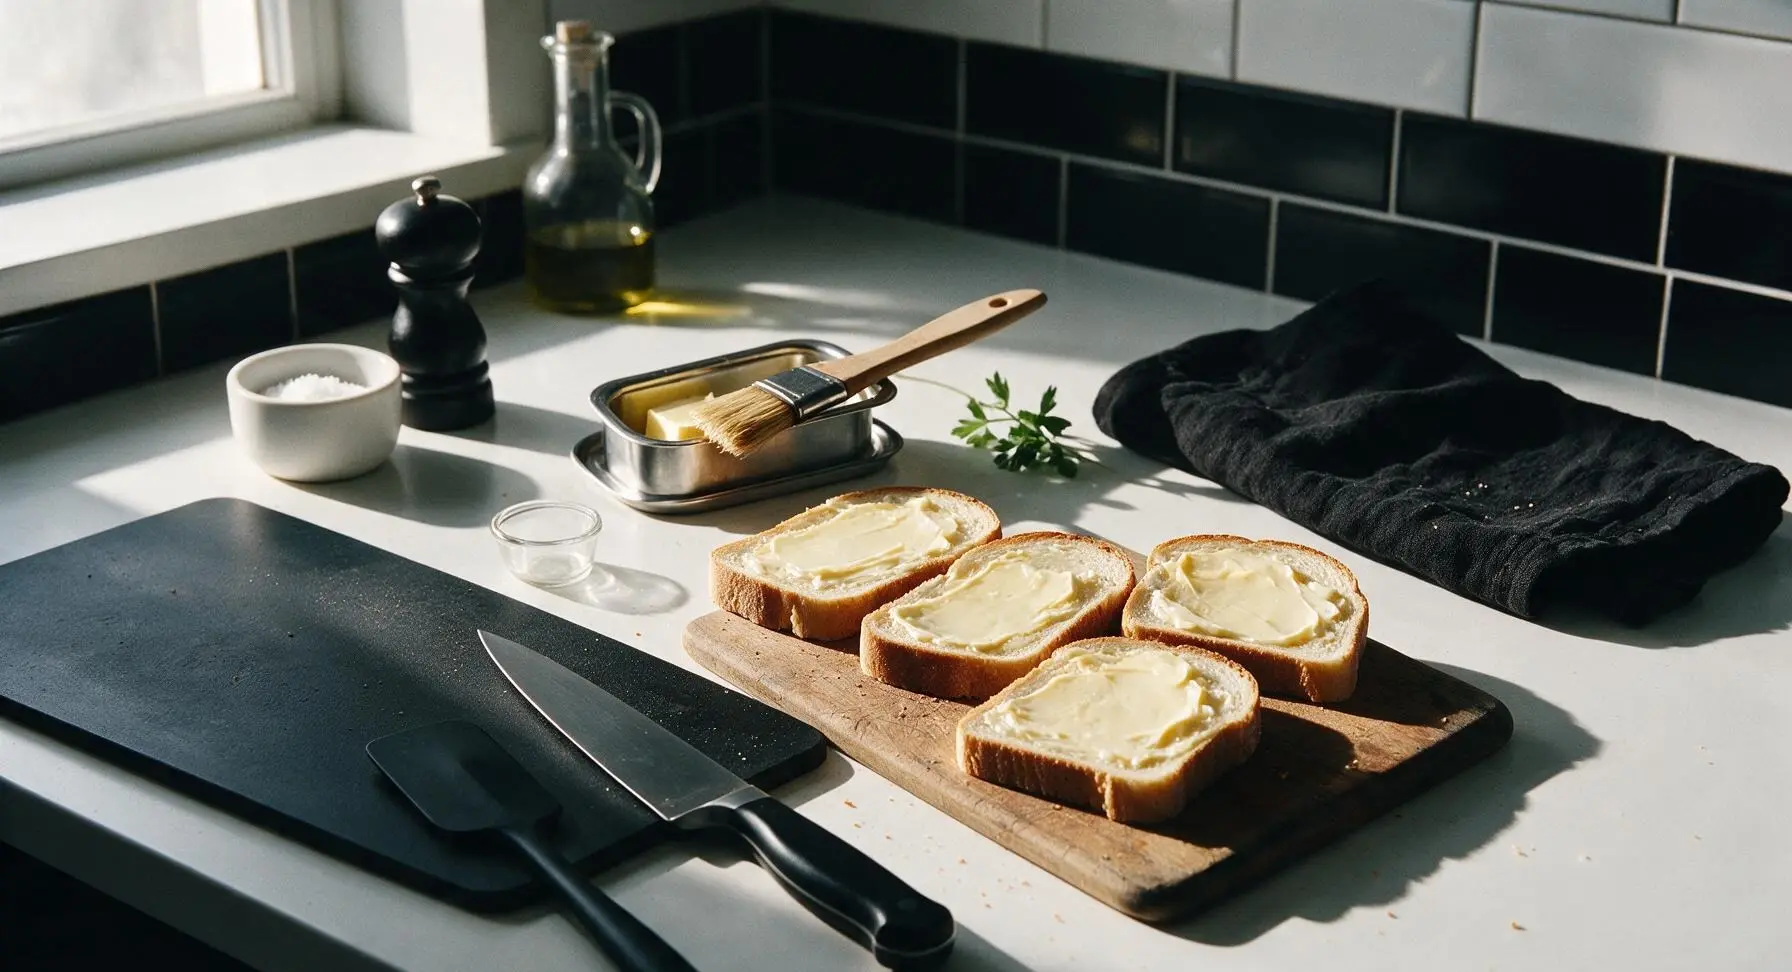
Softened butter spreads evenly across every inch of the bread surface without soaking all the way through the crumb, which prevents soggy spots and creates that uniform golden crisp. Melted butter tends to pool in spots, leading to uneven browning, overly greasy patches, and dry areas where the butter didn’t reach.
4.Do I need to flip the toast halfway through baking to get even crispness?
▾
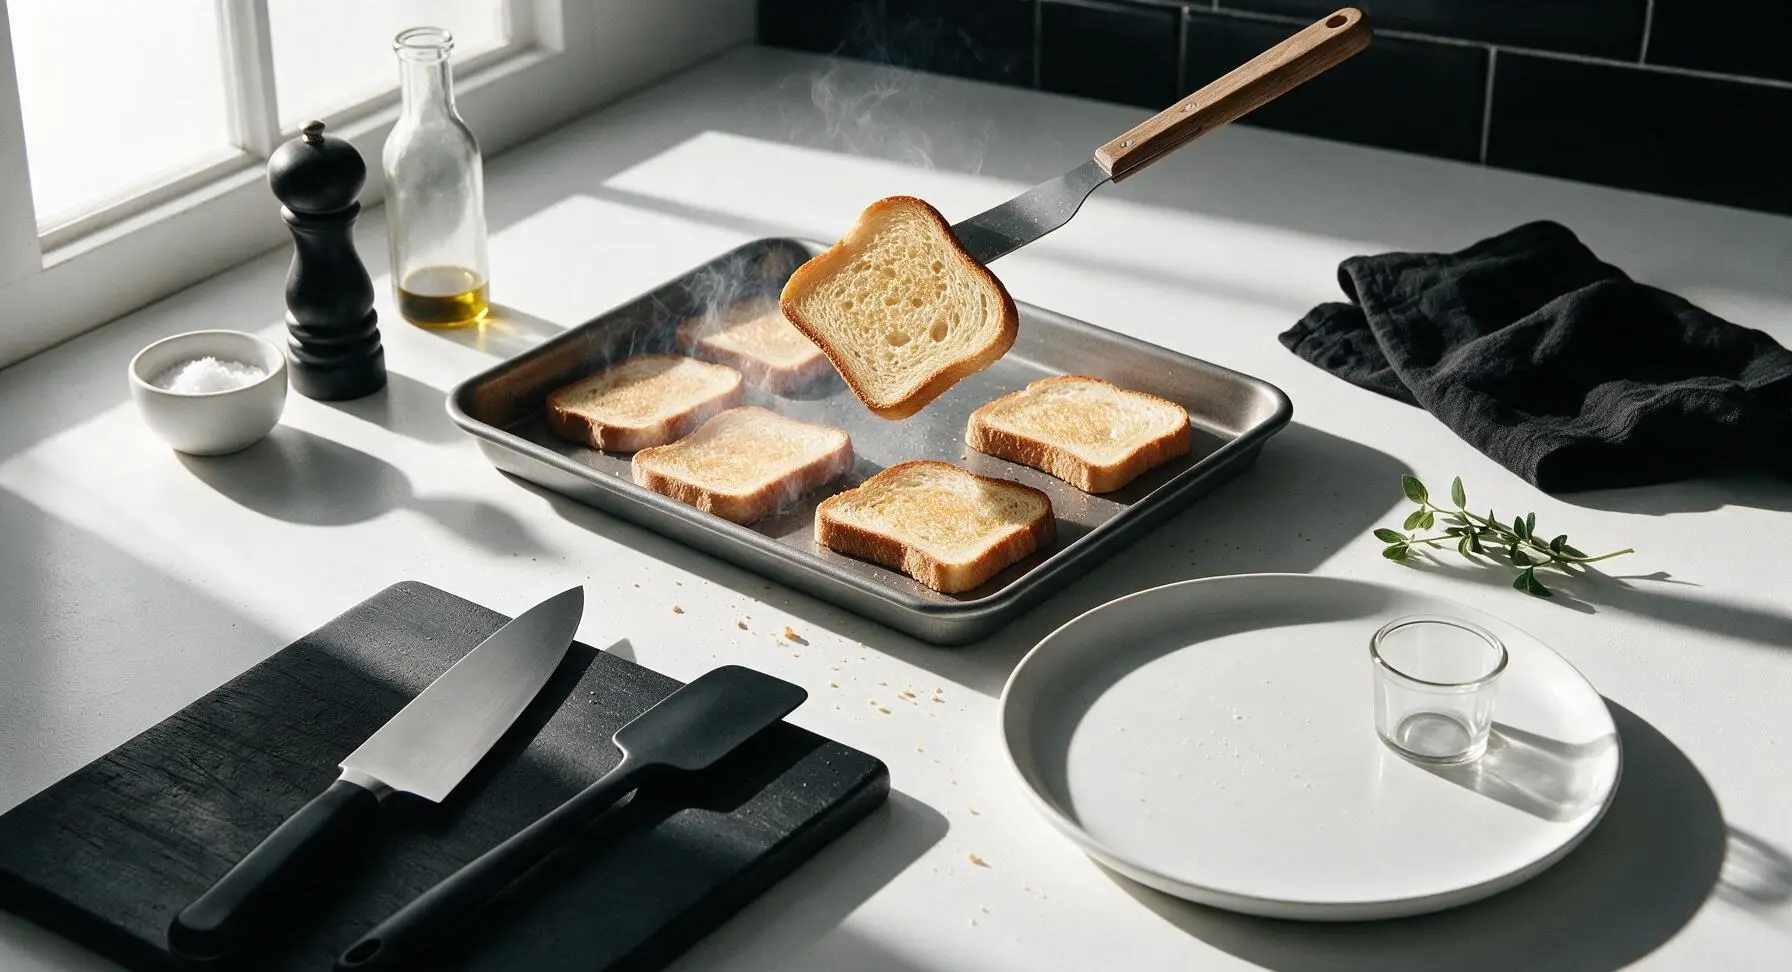
Yes, flip your slices at the 5-minute mark, right when the first side hits that light golden brown. This ensures both sides crisp evenly, eliminates soggy undersides, and prevents the top edge from burning before the bottom has a chance to develop that signature crunchy, golden crust you want.
5.Can I line my baking sheet with parchment paper for easier cleanup without ruining crispness?
▾
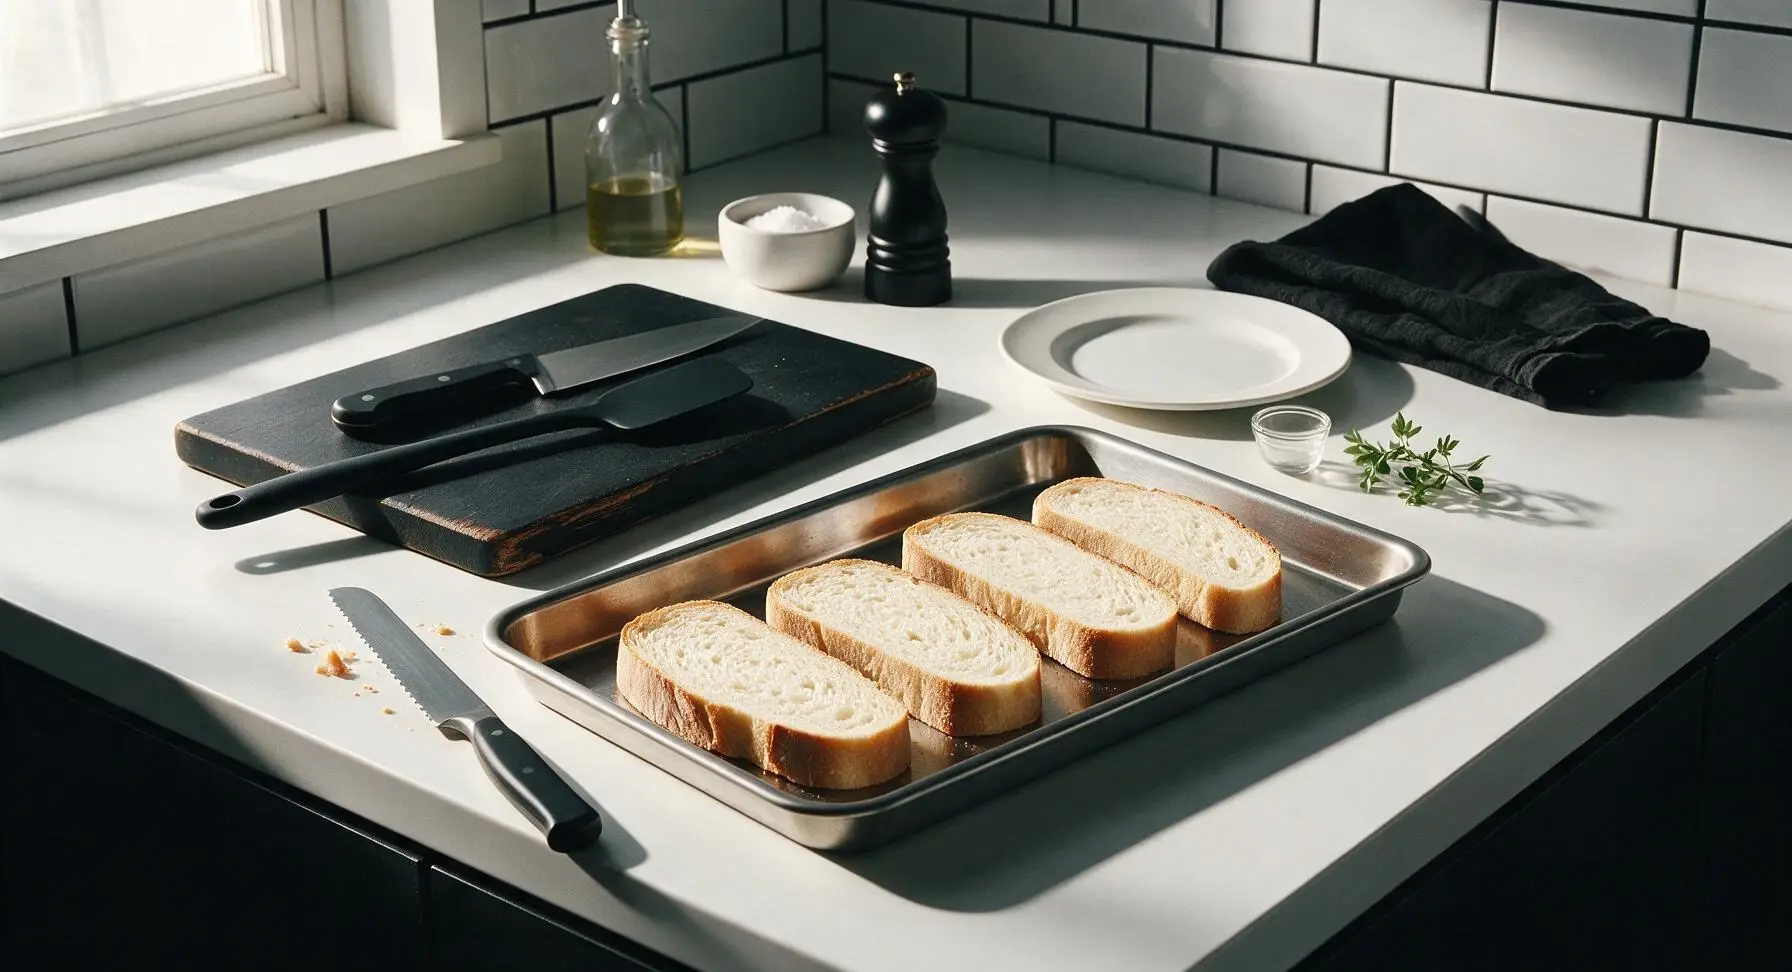
Parchment paper works totally fine for easy cleanup and won’t ruin the crisp texture as long as your oven is fully preheated before you add the tray. Avoid using wax paper, which will smoke at high heat, and don’t crowd slices—leave at least an inch of space between each piece for proper air flow.
6.When should I add the flaky sea salt to get the best flavor payoff?
▾
Sprinkle the flaky sea salt on right after you spread the softened butter on the bread, before you pop the tray in the oven. The gentle oven heat helps the salt crystals adhere to the butter so they don’t fall off when you pick up the toast, and it amplifies the nutty, toasty bread flavor without making it taste overly salty.
7.My toast came out soggy in the middle—what common mistake did I make?
▾
Soggy centers usually come from one of three easy-to-fix missteps: using bread that’s less than 1 inch thick, over-spreading butter so it soaks all the way through the crumb, or crowding too many slices on the baking sheet with no room for air circulation. Stick to 1–1.5 inch slices, a thin even butter layer, and spaced-out slices to fix this.
8.How long does this toast actually take to make from start to finish?
▾
Total time clocks in right at 10 minutes, just like the recipe promises. That includes 2 minutes to pre-spread butter on your slices while the oven finishes preheating, 5 minutes of baking on the first side, and 3 minutes on the second side to hit that perfect golden crisp—no fancy equipment required.
9.Can I make this toast in a toaster oven instead of a full-size oven?
▾
Absolutely! Toaster ovens work fantastically for this recipe, especially if you’re only making 1 or 2 slices. Keep the temperature set to 400°F, use the middle rack, and check slices a minute early since smaller toaster ovens often run hotter than full-size models, to avoid burning the delicate edges.
10.What kind of toppings pair best with this crispy oven toast?
▾
This neutral, perfectly crisp toast pairs beautifully with both sweet and savory toppings. Try savory options like avocado, fried eggs, melted cheese, or smoked salmon, or go sweet with jam, honey, cinnamon sugar, peanut butter, or fresh berries and whipped cream. The sturdy crumb holds even heavy toppings without getting soggy.
11.Should I bake the toast directly on the baking sheet or on a wire rack over the sheet?
▾
You can do either! Baking directly on a preheated baking sheet gives you slightly deeper, crispier edges from direct contact with the hot metal, while a wire rack set over the sheet lets air circulate all around for all-over even crispness with no flip needed. Pick whichever fits your cleanup preference.
12.Can I use salted butter instead of unsalted butter if that’s what I have on hand?
▾
You can absolutely swap in salted butter if that’s what you have on hand, just hold off on adding extra flaky sea salt until after you taste the finished toast. Salted butter has varying sodium levels across brands, so adding extra salt upfront can lead to overly salty toast that overpowers the nutty, sweet flavor of browned bread.
13.My toast edges burn before the center warms through—how do I fix that?
▾
Burnt edges with a cold center usually means your oven is running too hot, or you’re placing the rack too close to the top heating element. Double check your oven temp with an inexpensive oven thermometer, move the rack to the exact middle position, and skip the broiler setting, which chars surfaces fast without heating the bread through.
14.Can I make this toast ahead of time for meal prep or a weekend brunch spread?
▾
This toast is best served immediately after baking for the ideal crisp edge and soft warm center, but if you need to make it ahead, let slices cool completely on a wire rack (don’t stack them!) then store in an airtight container for up to 24 hours. Re-crisp in a 350°F oven for 2 minutes right before serving to bring back that signature crunch.
15.Do I need to preheat the baking sheet before adding the bread for extra crispness?
▾
Preheating the baking sheet for 2–3 minutes while the oven warms up is a great pro hack for extra shatteringly crisp edges, but it’s totally not required. If you’re short on time, you can add buttered bread slices directly to a room-temperature baking sheet and still get evenly browned, crispy toast in 10 minutes.
16.Can I mix garlic, herbs, or other seasonings into the butter for extra flavor?
▾
Absolutely! Mixing finely minced garlic, dried oregano, chopped fresh rosemary, a pinch of paprika, or even a little cinnamon into your softened butter before spreading is an easy way to customize the toast to match your toppings. Just keep the butter layer thin so it doesn’t soak through and cause sogginess.
17.Why is thick-cut bread better for oven toast than thin pre-sliced sandwich bread?
▾
Thin sandwich bread is too delicate for the even dry heat of the oven—it will crisp all the way through into a crouton-like texture with no soft, warm center. Thick 1–1.5 inch slices have enough crumb structure to develop a crunchy golden edge while retaining that soft, pillowy center that makes this toast so satisfying.
18.What’s the best way to store leftover toast if I make too many slices?
▾
Let leftover slices cool fully on a wire rack to prevent trapped steam from making them soggy, then tuck them into an airtight container or zip-top bag at room temperature for up to 2 days. Don’t refrigerate leftover toast, as the dry fridge air will make it go stale fast. Reheat for 2 minutes at 375°F to crisp it back up.

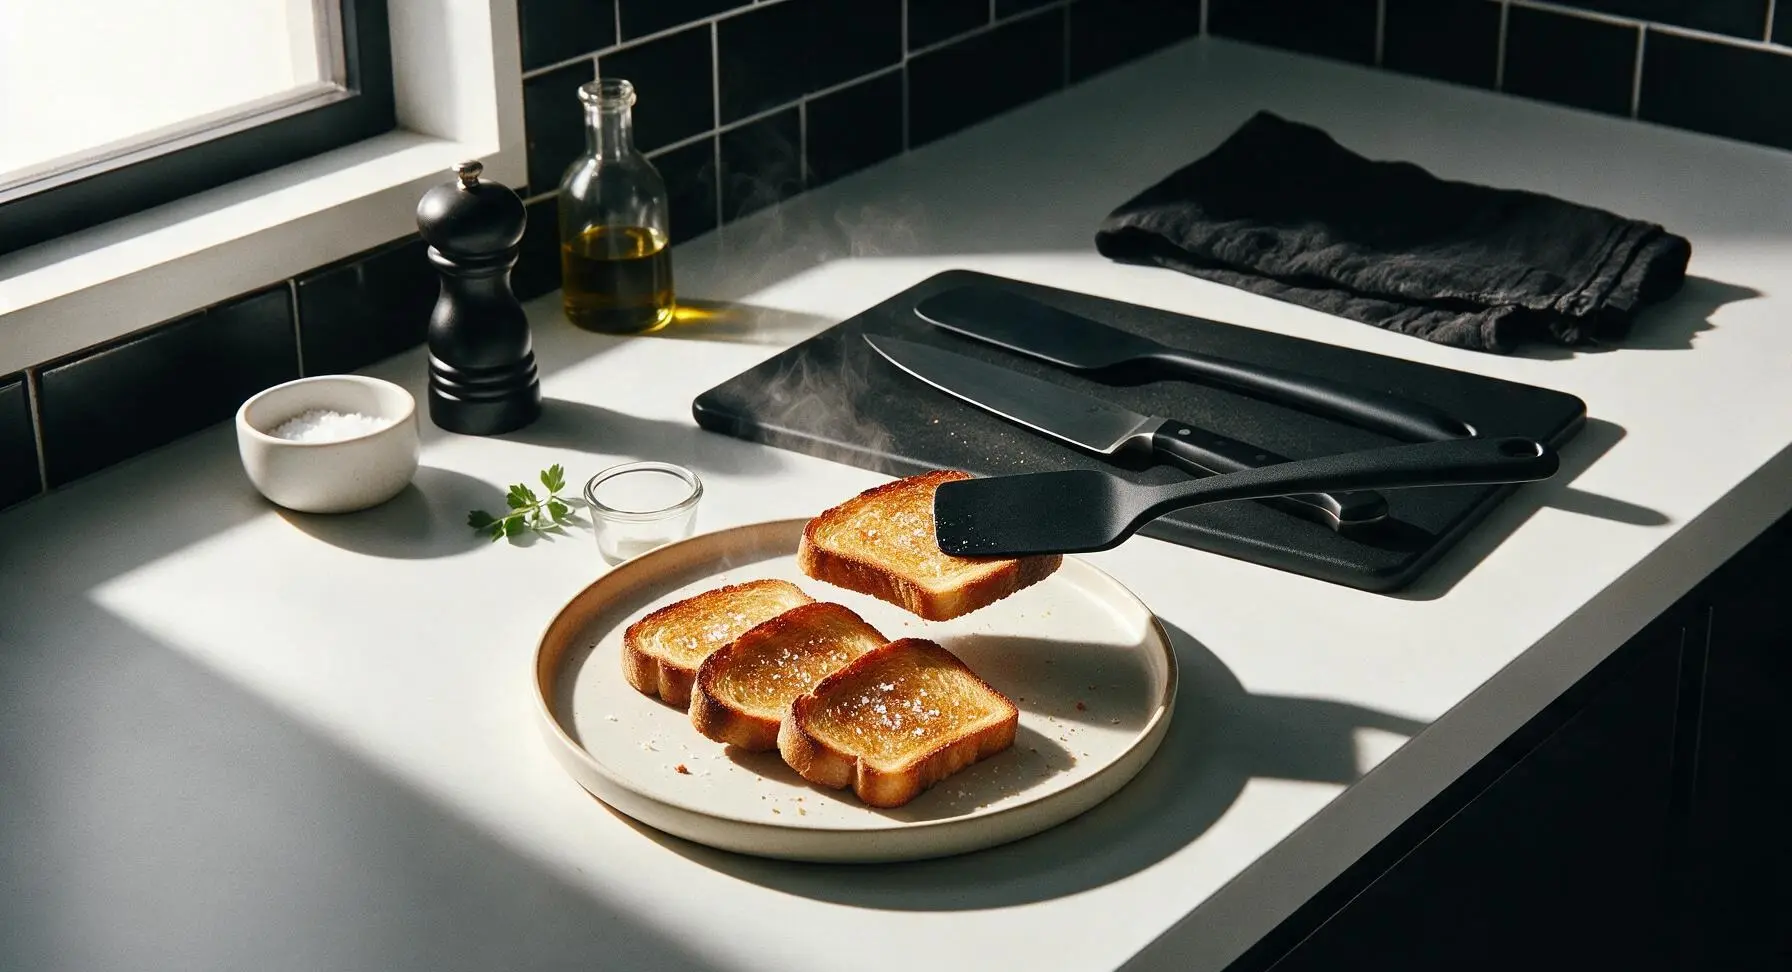






OMG this is such a game changer for busy school mornings! I used sourdough slices, tossed them in the oven while I packed lunches, and they came out perfectly crispy in 7 minutes flat. My kids devoured them with a little cinnamon sugar on top, no more soggy pan toast for us! 10/10
Super easy recipe, no fancy equipment needed. I tossed some garlic powder and parmesan on mine before baking to make quick garlic bread for pasta night. Came out crunchy all the way through, no sad soft spots. Will make again for sure.
Perfect for my tiny dorm oven! I don't have a toaster so this is exactly what I needed. Only thing I will say is make sure you don't walk away because I almost burned my first batch when I got distracted by a text, lol. Still ate it though, no regrets.
Made these for a neighborhood potluck this weekend, cut them into little triangles and served with jam and spinach dip. People kept asking how I got them so evenly crispy! Total crowd pleaser, zero leftovers.
Wait, do I need to flip the toast halfway through? I tried it once without flipping and the bottom was way crispier than the top, wondering if I missed a step?
My grandbabies are obsessed with this toast! I make it every Sunday when they come over for brunch, we top it with fresh strawberries and whipped cream. So much easier than standing over the stove watching a pan.
I make a batch of these before day hikes, they hold up so much better than regular toast when I pack them with peanut butter and banana. No sogginess at all even after a few hours in my pack!
Tried this with my gluten-free sandwich bread and it worked perfectly! I was worried GF bread would get too dried out in the oven but it was crispy on the outside, still a little soft in the middle exactly how I like it.
Wait 7 minutes? That’s faster than waiting for my pop-up toaster to finish! I never thought to just use the oven for toast, this feels like a life hack I should have known about years ago.
SO good with a little avocado and red pepper flakes on top! My go-to quick breakfast now, I don’t even bother with my toaster anymore. The edges get that perfect little crunch that regular toast never has.
First time making this and I messed up the oven temp? I set it to 400F like I do for other roasted stuff and my first batch got a little too dark around the edges. What temp do you all use?
Made a double batch of this for family dinner last night to go with our soup, everyone fought over the last slice! Even my super picky 7 year old who hates all crunchy foods ate two pieces with butter.
Do you think this would work with frozen bread slices? I keep a loaf of whole grain in the freezer for quick breakfasts and would love to skip thawing it if possible.
This tastes exactly like the crispy toast they serve at old school diners! I can’t believe how simple it is, I’ve been wasting so much time with my finicky toaster that burns half the time. Total win.
Made this at 1am when I got home from a concert and it hit SO good. Topped it with Nutella and sea salt, no mess, no waiting for a toaster, perfect midnight snack. 10/10 would make again during late night munchies.