
breakfast burritos to go

title 1
breakfast burritos to go
⏱️ cook time 20 minutes
🍽️ servings 4
⚡ Difficulty easy

intro

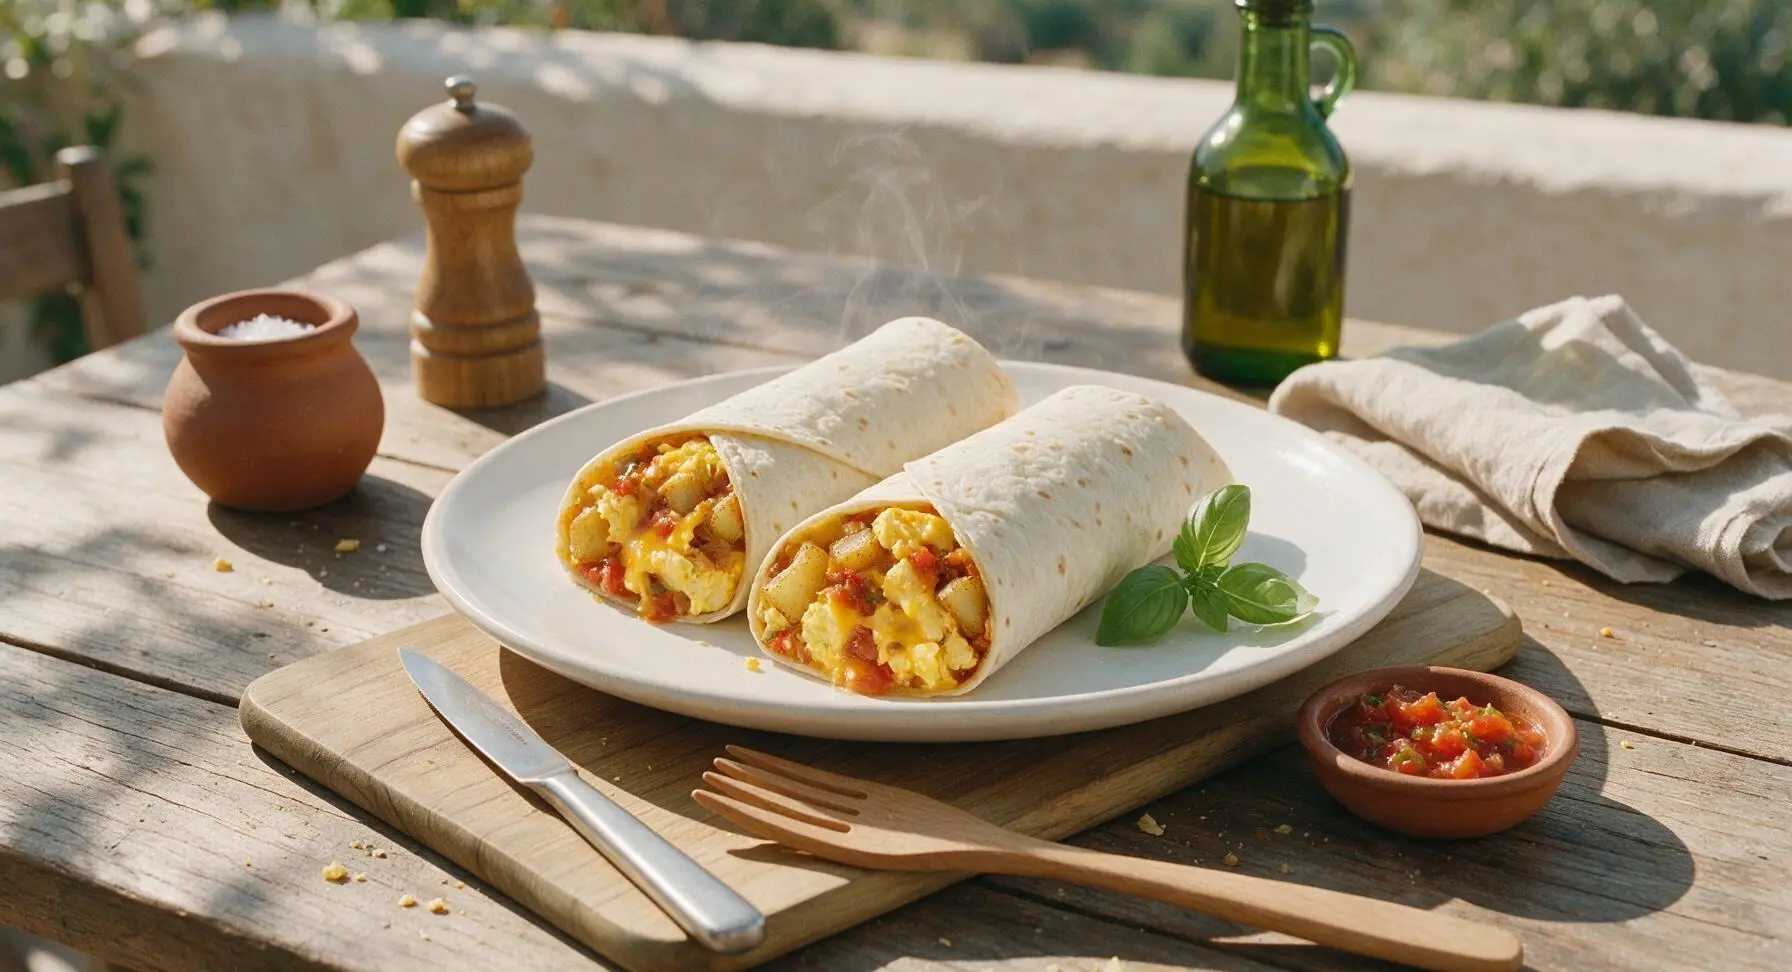
Hearty, portable Tex-Mex breakfast burritos loaded with fluffy eggs, crispy potatoes, melted cheddar, and zesty salsa—ideal for grab-and-go busy autumn days.

Ingredients
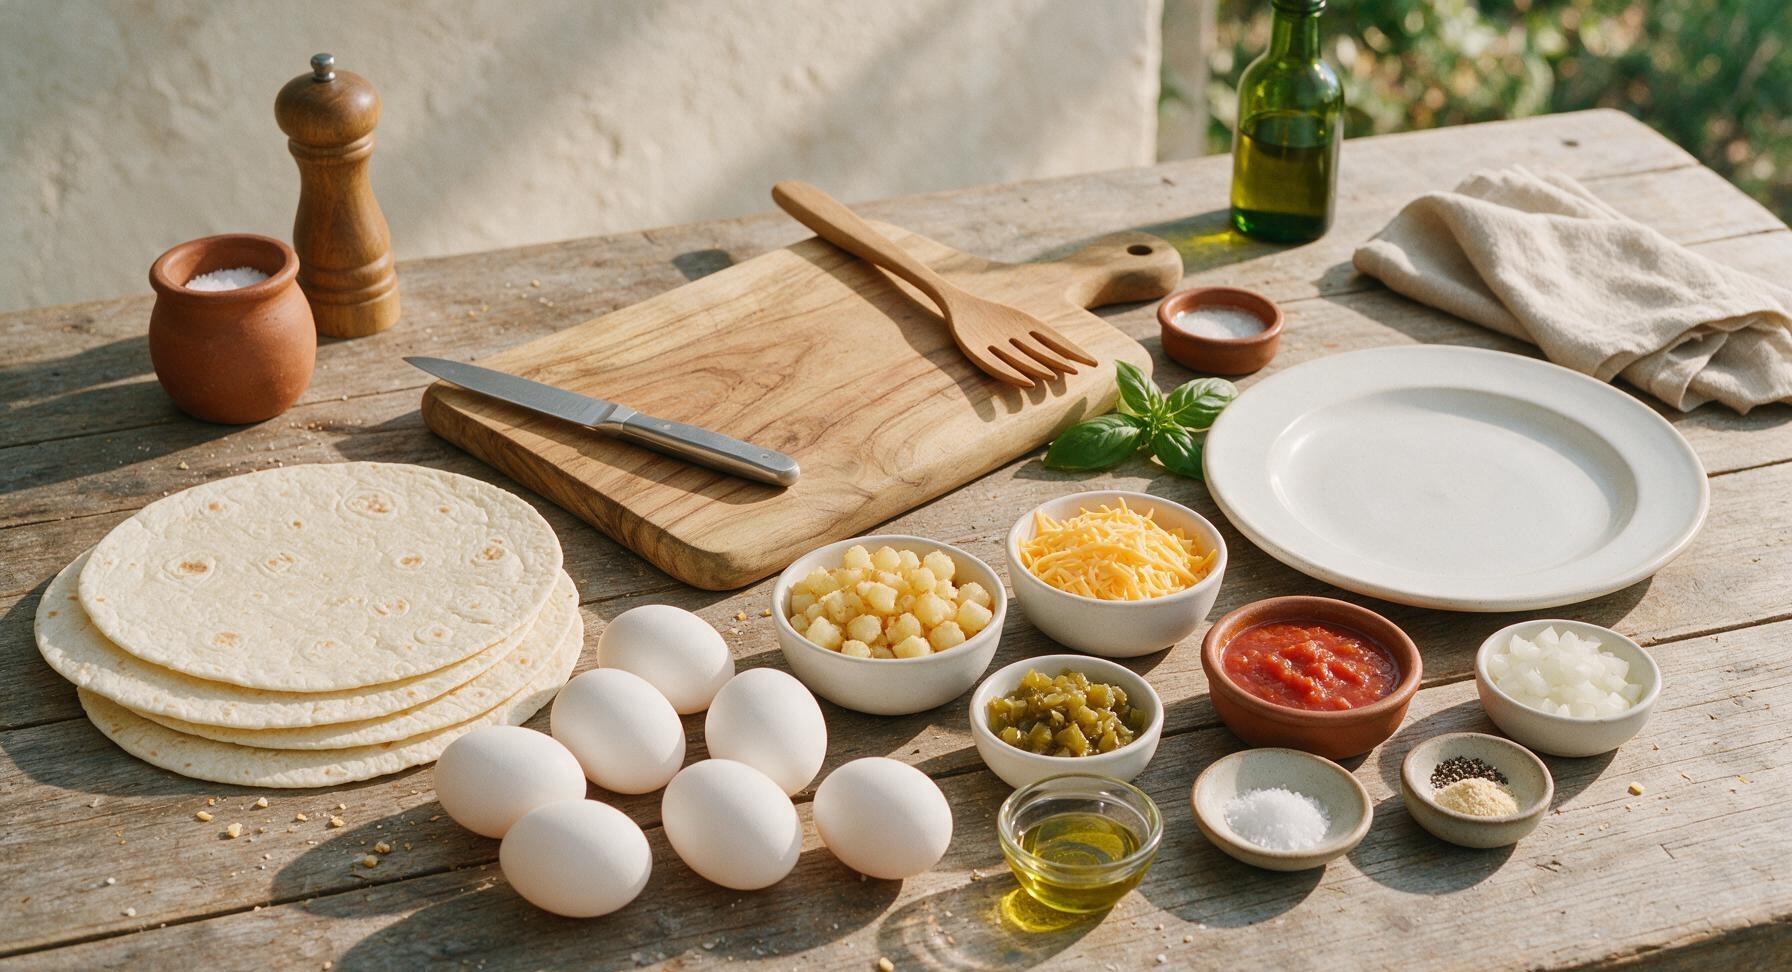
10-inch flour tortillas 4 each
Large eggs 8 each
Frozen diced hash brown potatoes 1 cup
Shredded sharp cheddar cheese 1 cup
Canned diced green chiles, drained 1/2 cup
Diced yellow onion 1/4 cup
Mild red salsa 1/2 cup
Extra-virgin olive oil 1 tbsp
Kosher salt 1/2 tsp
Black pepper 1/4 tsp
Garlic powder 1/4 tsp

Steps

1

Cook Potato Filling

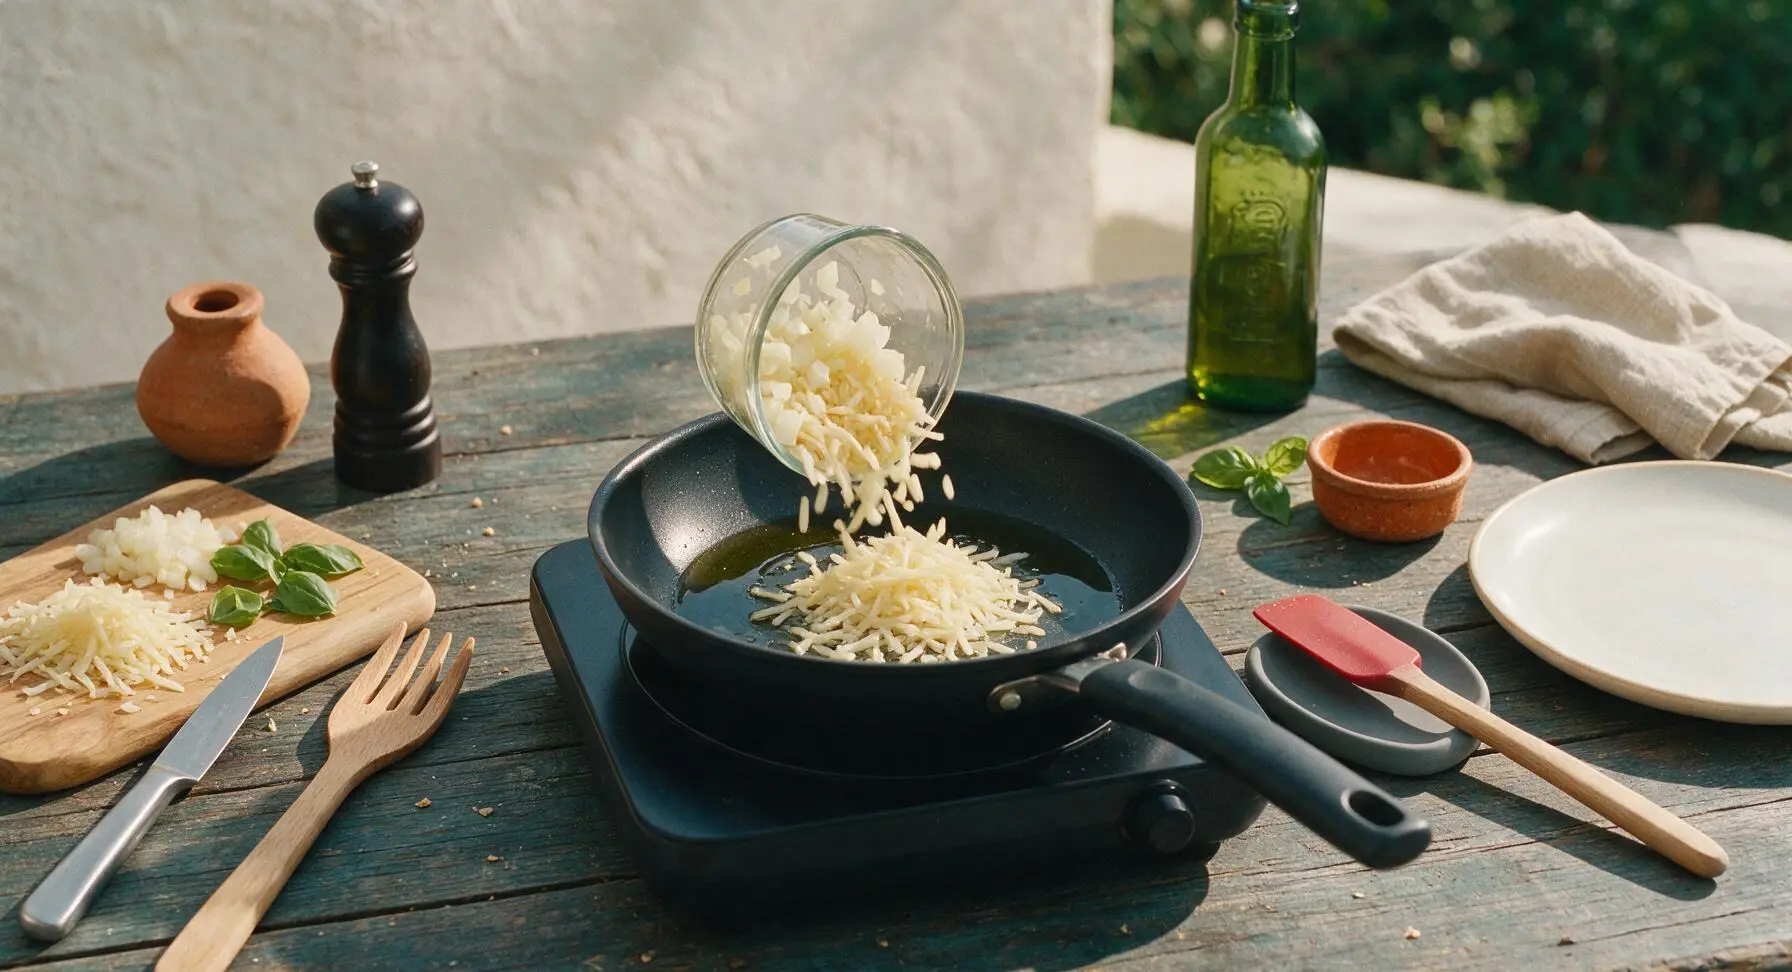
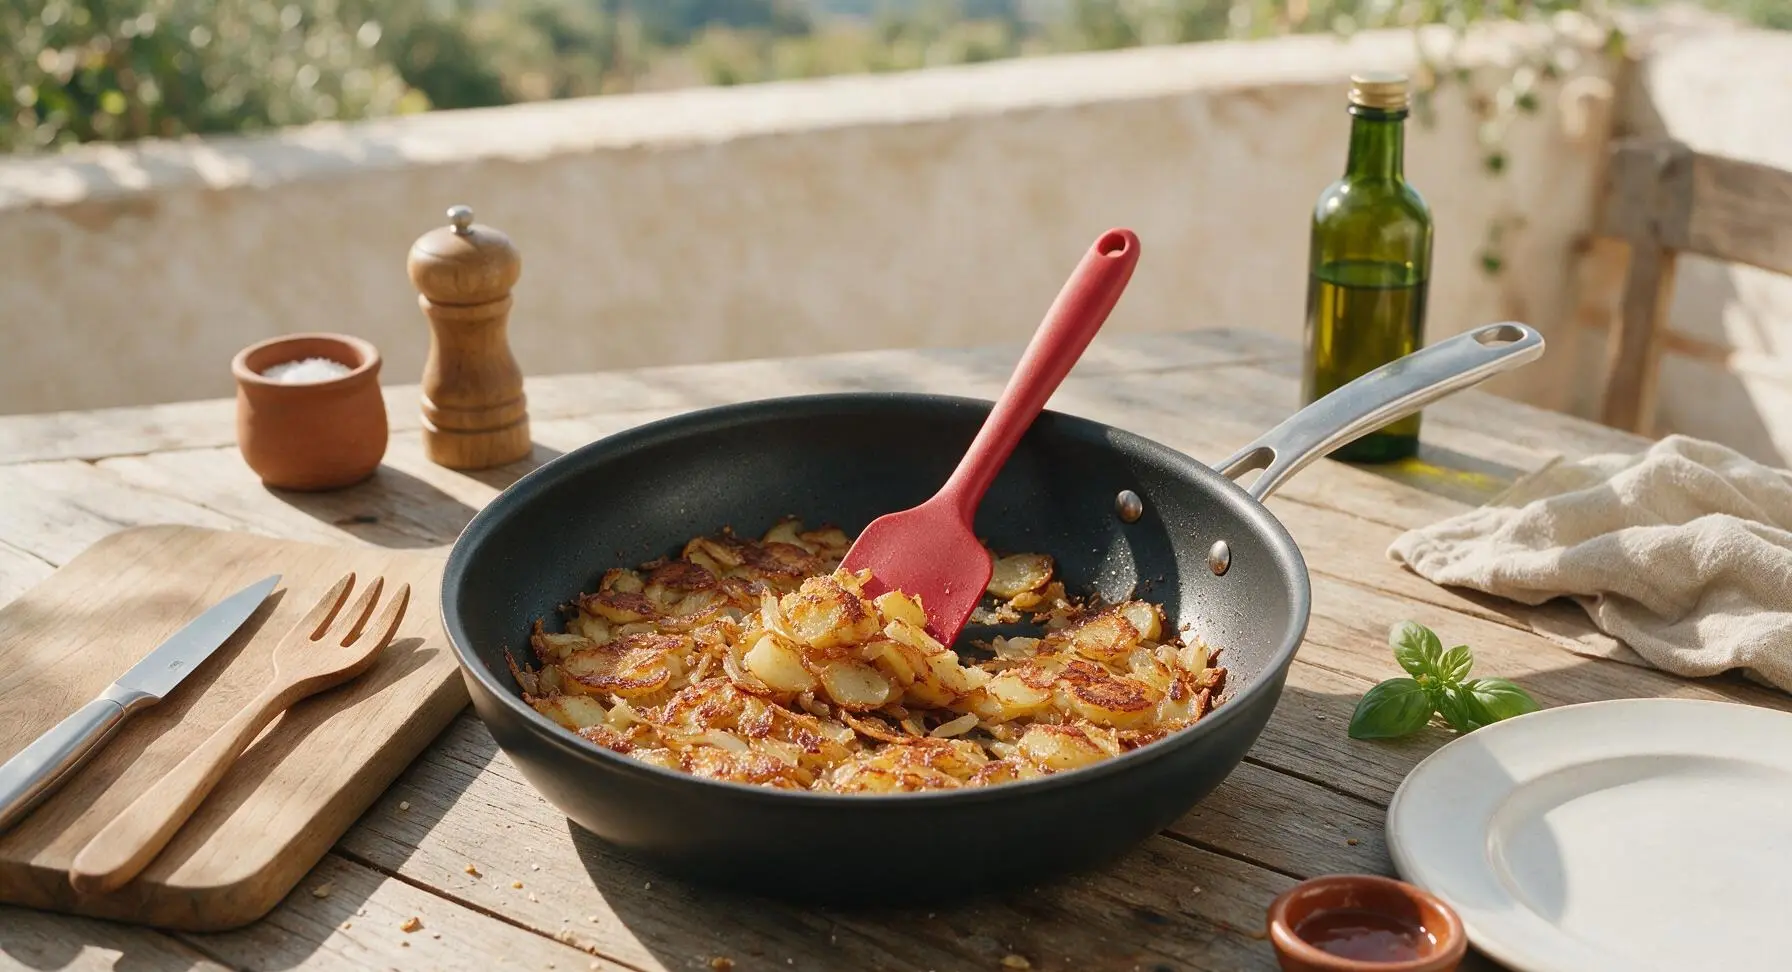
Heat 1 tablespoon olive oil in the 10-inch matte black nonstick skillet over medium heat (350°F). Add diced yellow onion and frozen hash brown potatoes, season with 1/4 teaspoon kosher salt, 1/8 teaspoon black pepper, and 1/4 teaspoon garlic powder. Cook for 8-10 minutes, stirring occasionally with the matte red silicone spatula, until potatoes are golden brown and crispy on all edges and onion is soft and translucent. Transfer cooked potato mixture to the matte cream white ceramic plate and set aside.
Step 1
step1:Cook Potato Filling
Step 1
step1:Cook Potato Filling
2

Whisk Seasoned Eggs

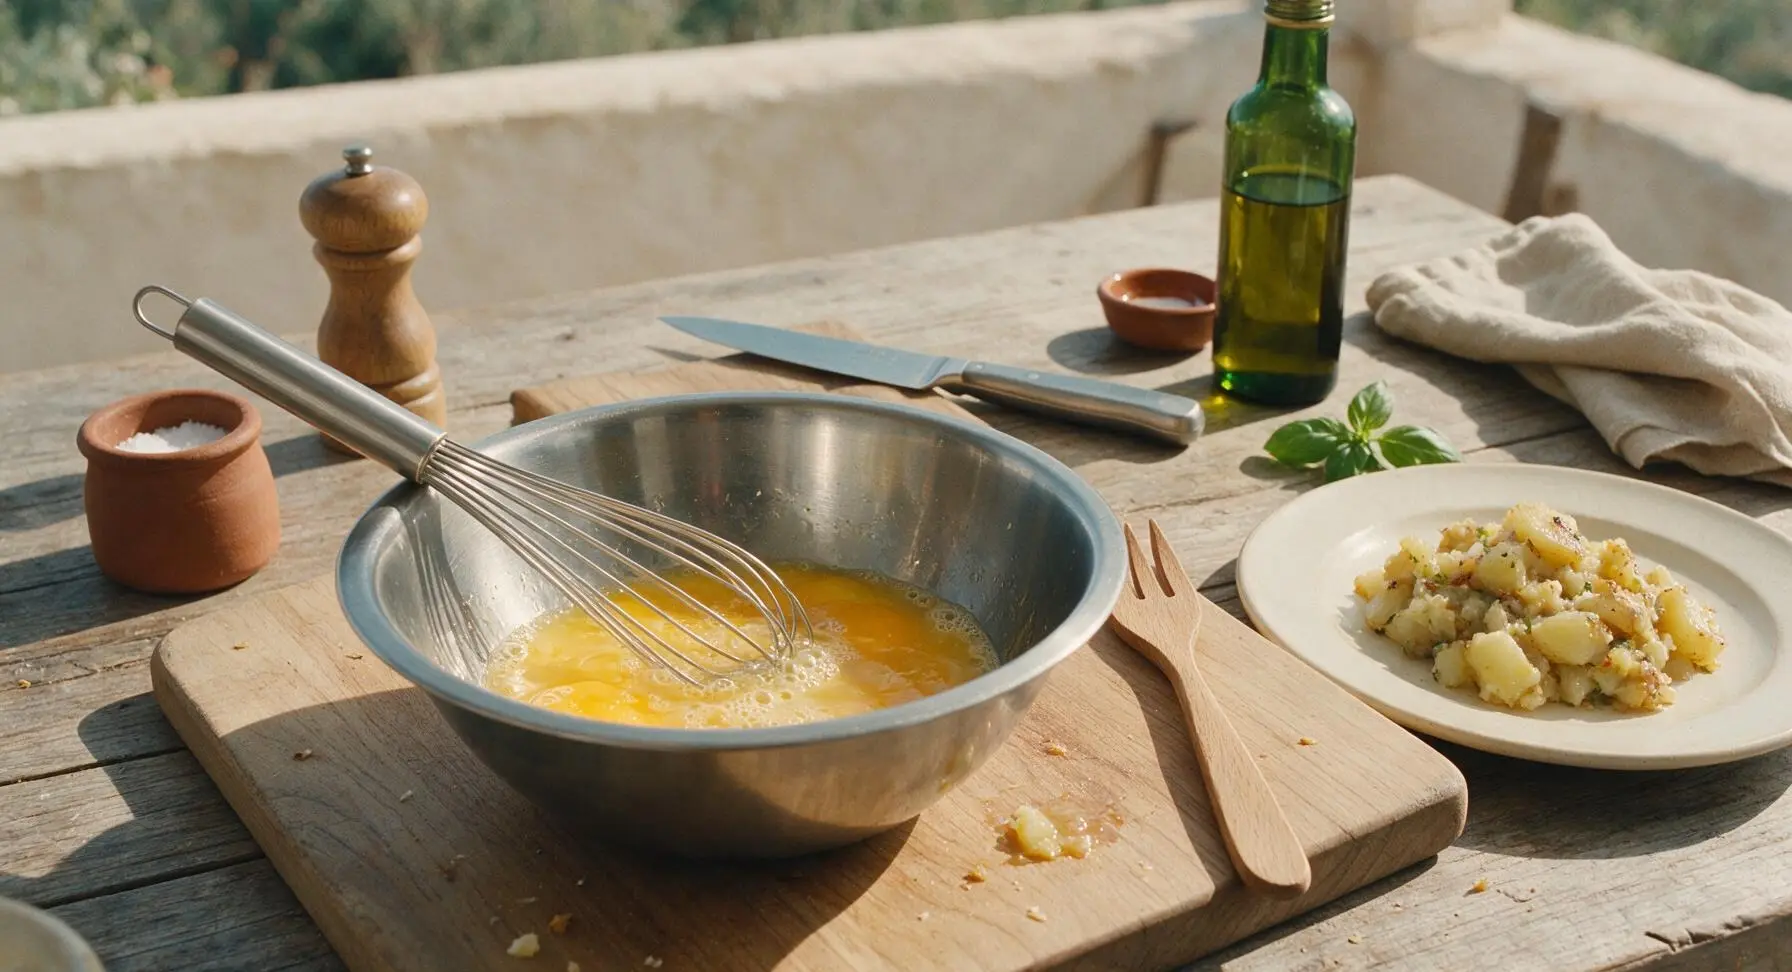
Crack all 8 large eggs into the 2-quart stainless steel mixing bowl. Add the remaining 1/4 teaspoon kosher salt and 1/8 teaspoon black pepper. Use the stainless steel wire whisk to beat the eggs for 30-45 seconds until yolks and whites are fully combined, with a pale uniform yellow color and no streaks of clear egg white remaining.
Step 2
step2:Whisk Seasoned Eggs
3

Scramble Soft Eggs

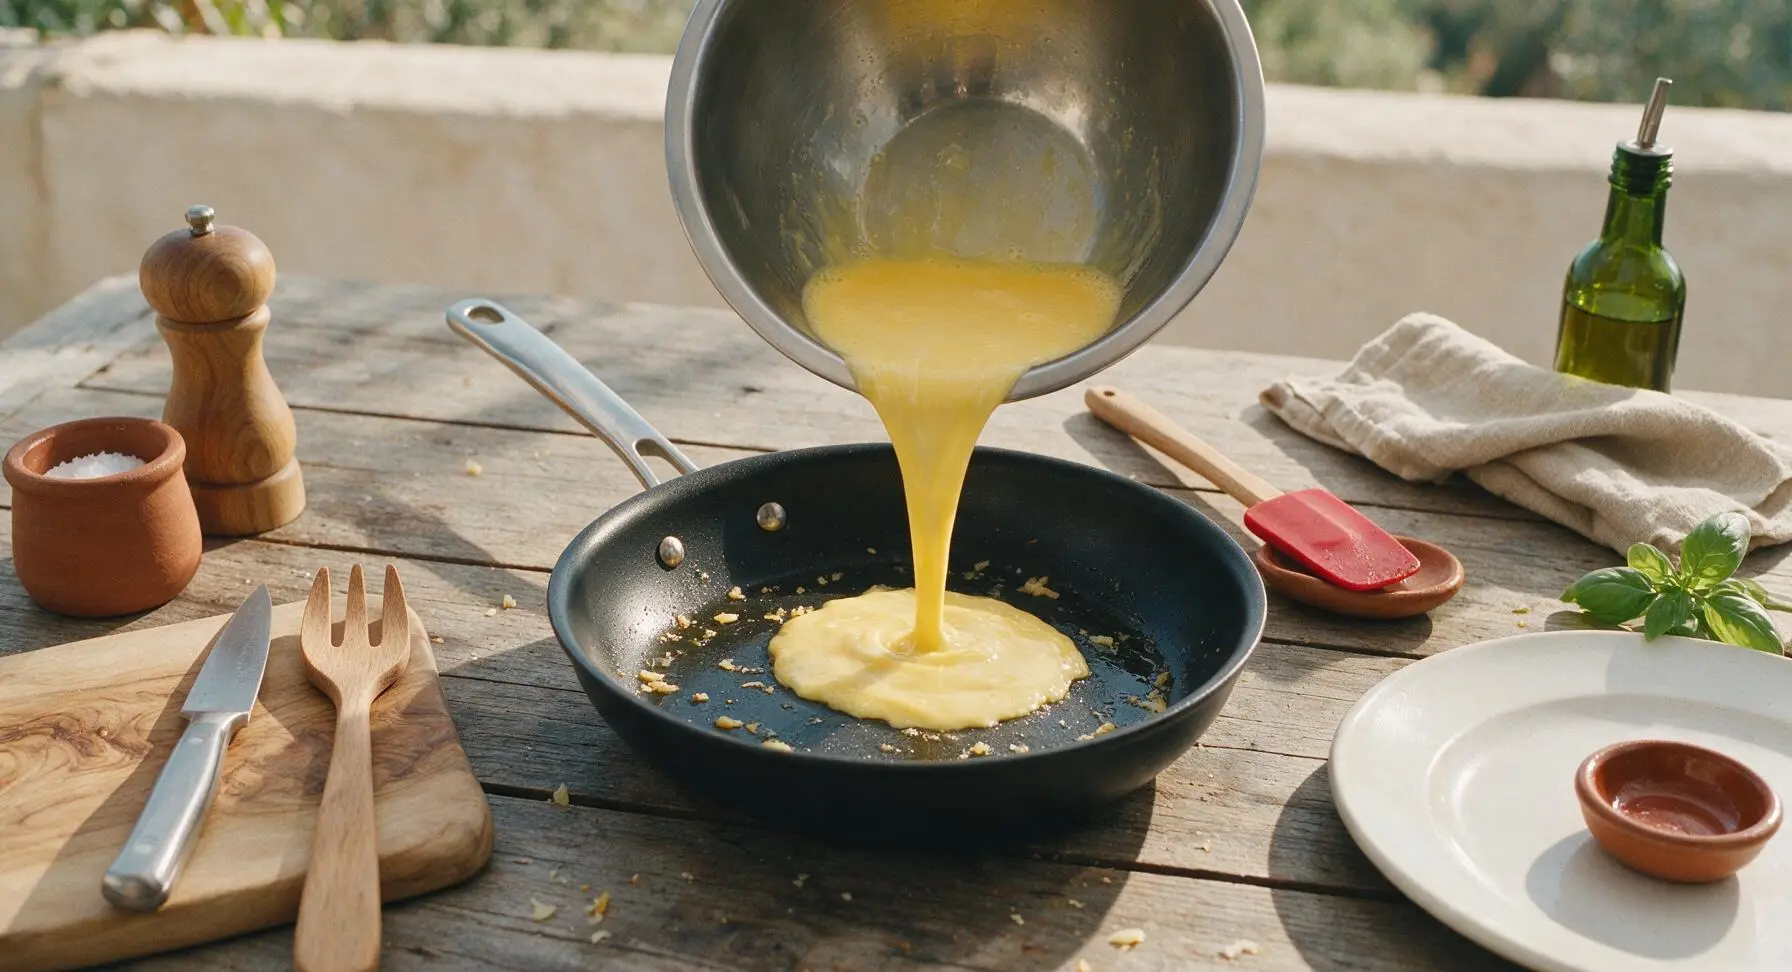
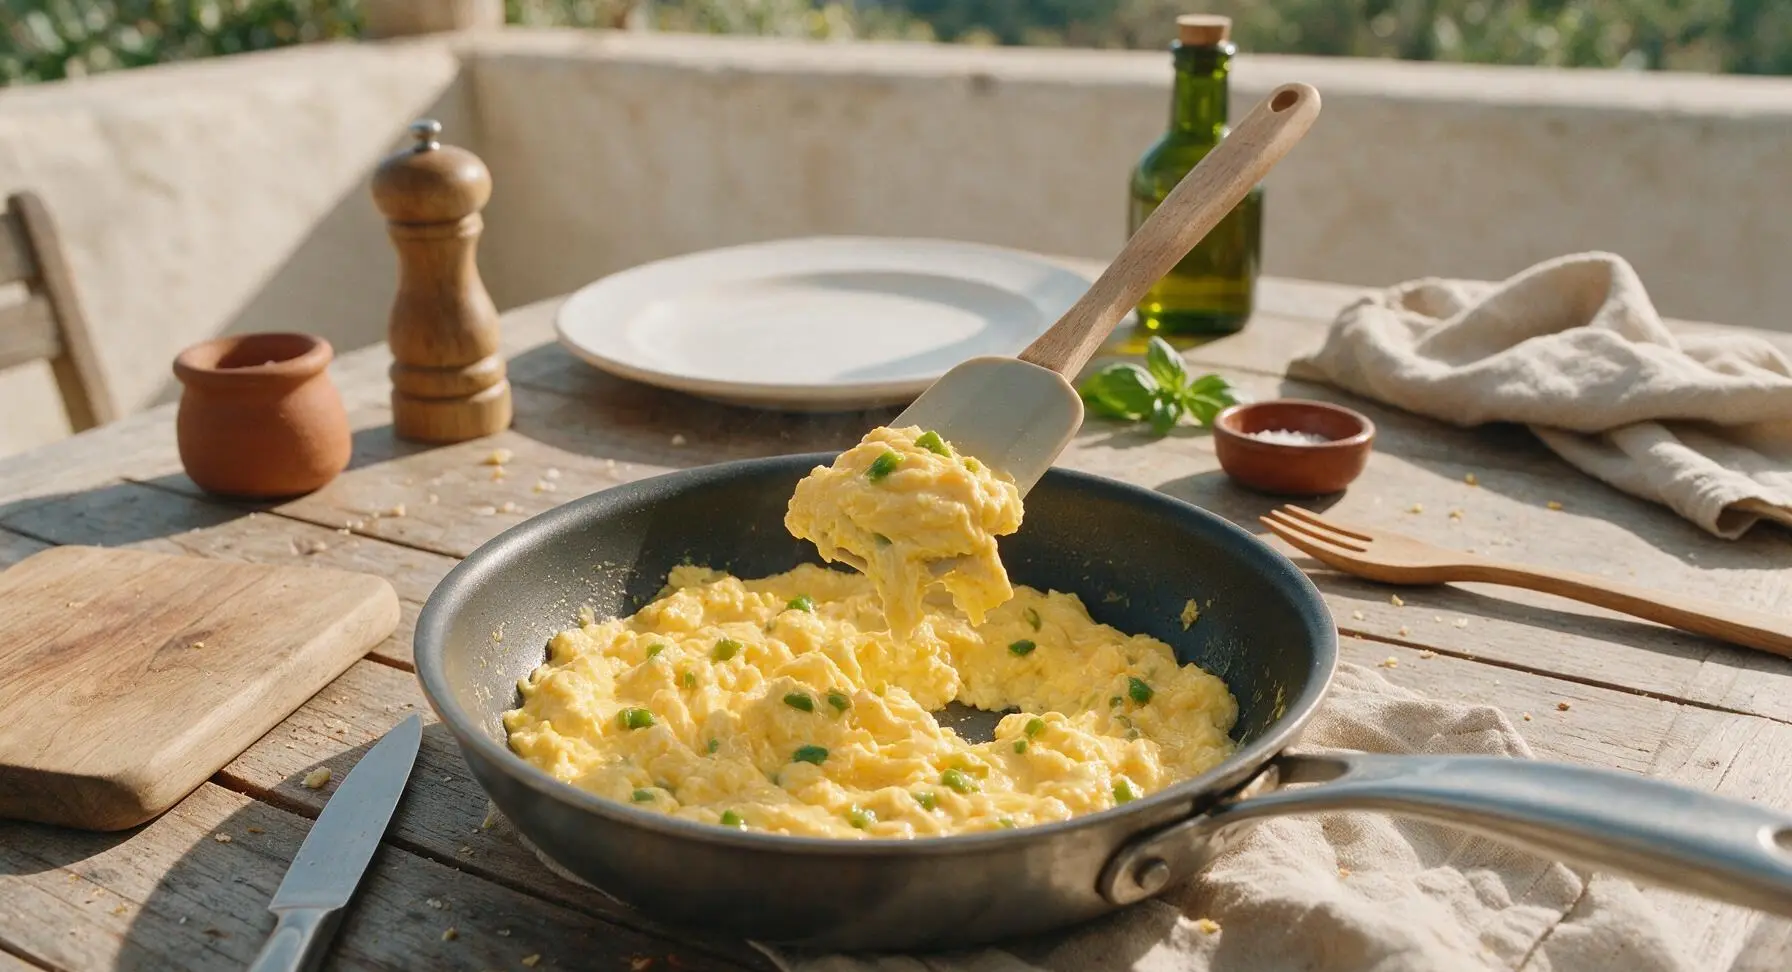
Reduce skillet heat to medium-low (300°F; no need to wipe out the pan after cooking potatoes). Pour the whisked eggs into the skillet. Cook for 3-4 minutes, stirring gently and constantly with the silicone spatula, pushing soft curds from the edge of the pan to the center, until eggs are just set, soft, and slightly creamy—do not overcook, as they will continue to cook from residual heat. Fold in drained diced green chiles, then transfer the egg mixture to the plate with the cooked potatoes.
Step 3
step3:Scramble Soft Eggs
Step 3
step3:Scramble Soft Eggs
4

Warm Flour Tortillas

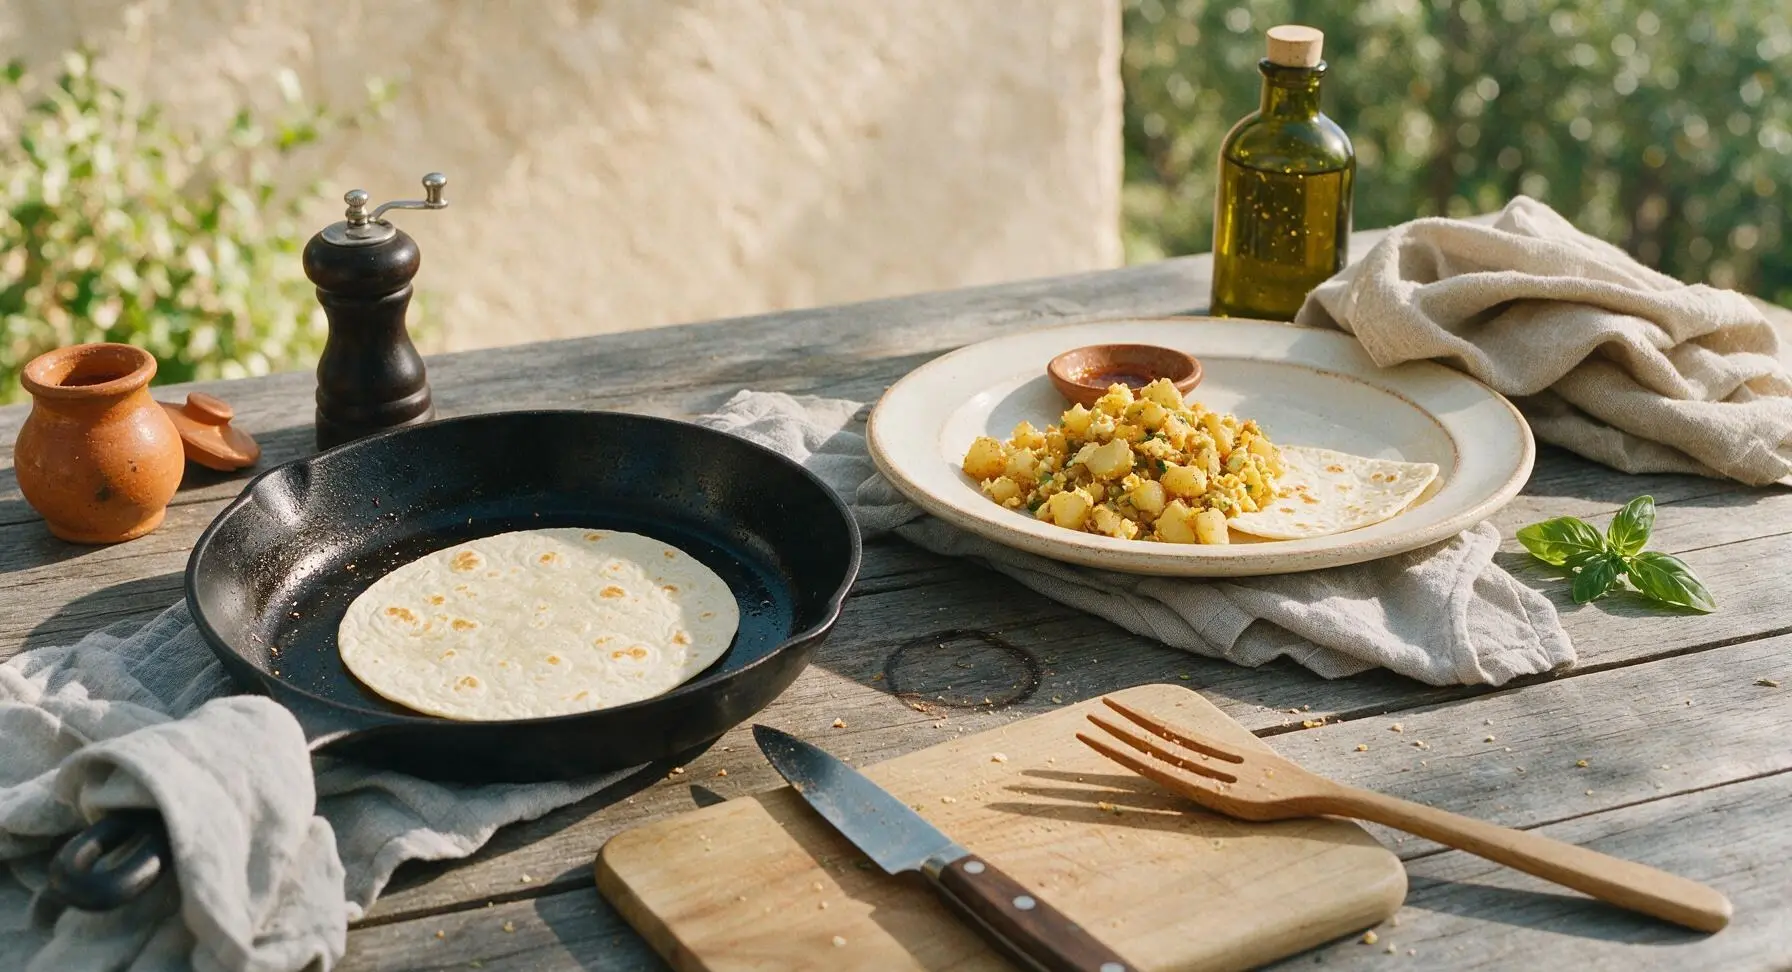
Wipe the skillet clean with a paper towel, then return to medium-low heat. Warm each tortilla for 10-15 seconds per side, until soft and pliable, with tiny faint air bubbles forming on the surface. Warming tortillas prevents cracking when rolling. Stack warmed tortillas on the cream white plate next to the fillings.
Step 4
step4:Warm Flour Tortillas
5

Layer Burrito Fillings

Lay one warm tortilla flat on the bamboo cutting board. Sprinkle 2 tablespoons of shredded cheddar cheese down the center of the tortilla in a 2-inch wide line, leaving 2 inches of space at the top and bottom edges. Top cheese with 1/4 of the potato mixture, 1/4 of the scrambled egg mixture, 2 more tablespoons of cheddar, and 1 tablespoon of red salsa. Do not overfill, or the burrito will burst when rolling.
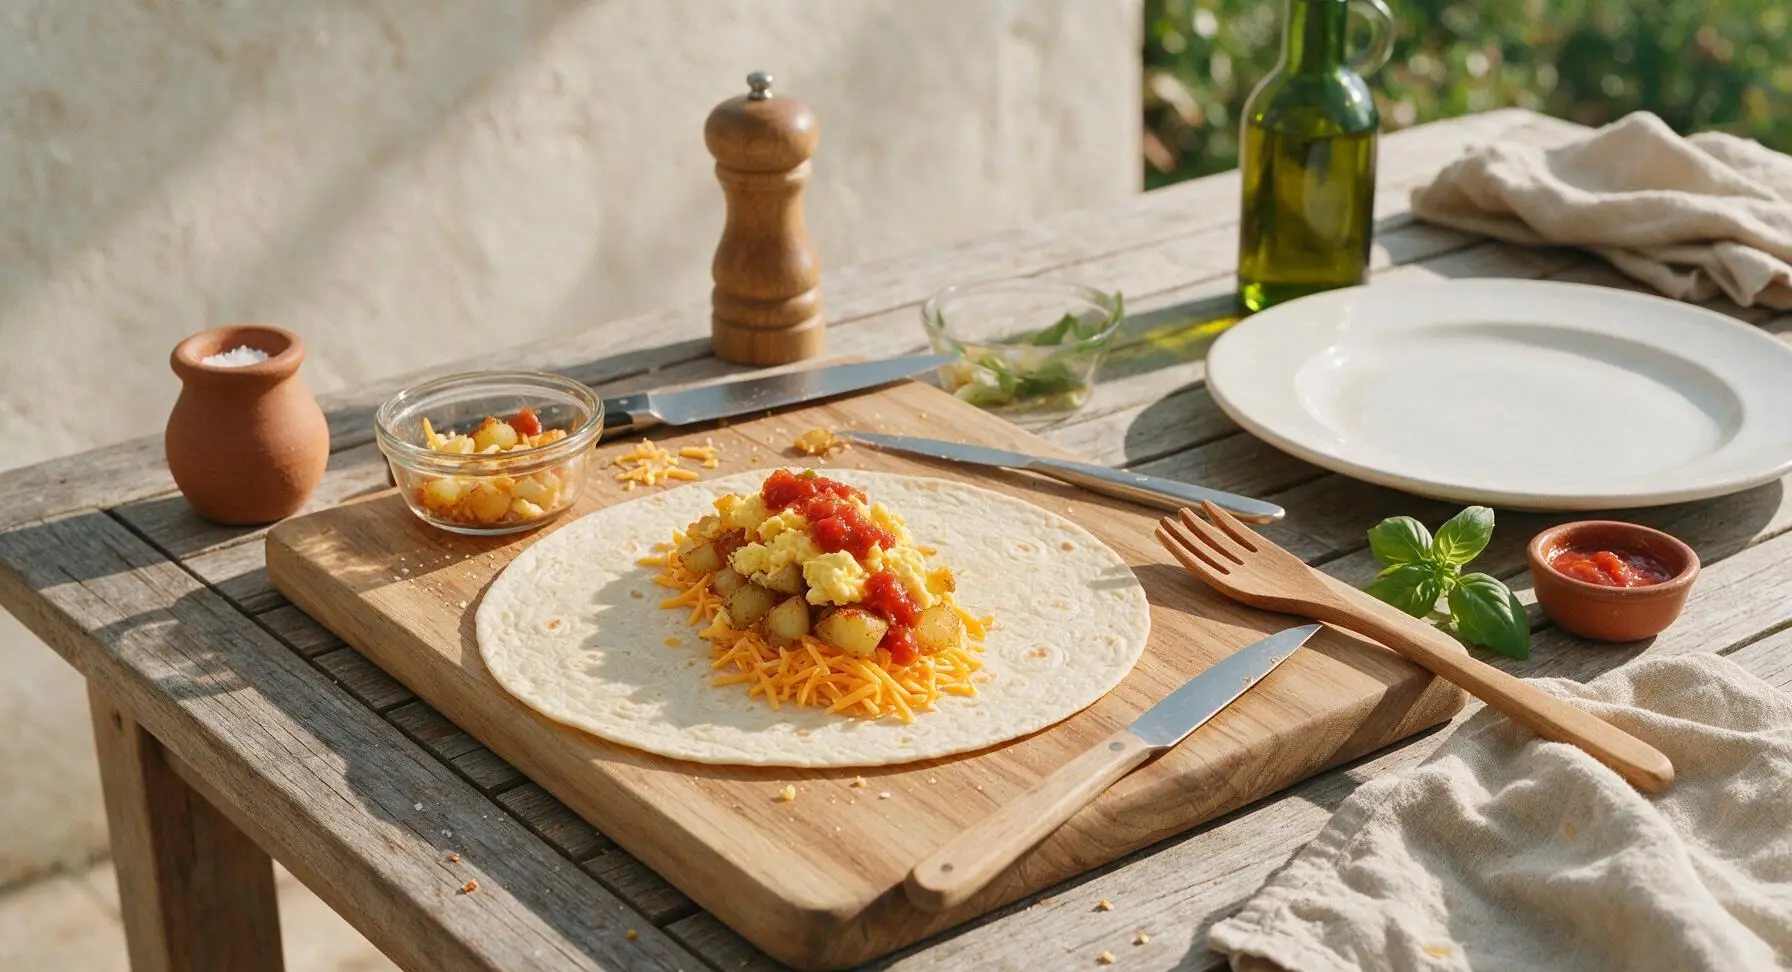
Step 5
step5:Layer Burrito Fillings
6

Roll Burritos Tightly

Fold the top and bottom 2-inch edges of the tortilla in over the filling. Then, starting from the side closest to you, roll the tortilla tightly over the filling, pressing gently as you roll to create a firm, sealed cylinder that will not leak when eaten. Repeat with remaining tortillas and fillings.
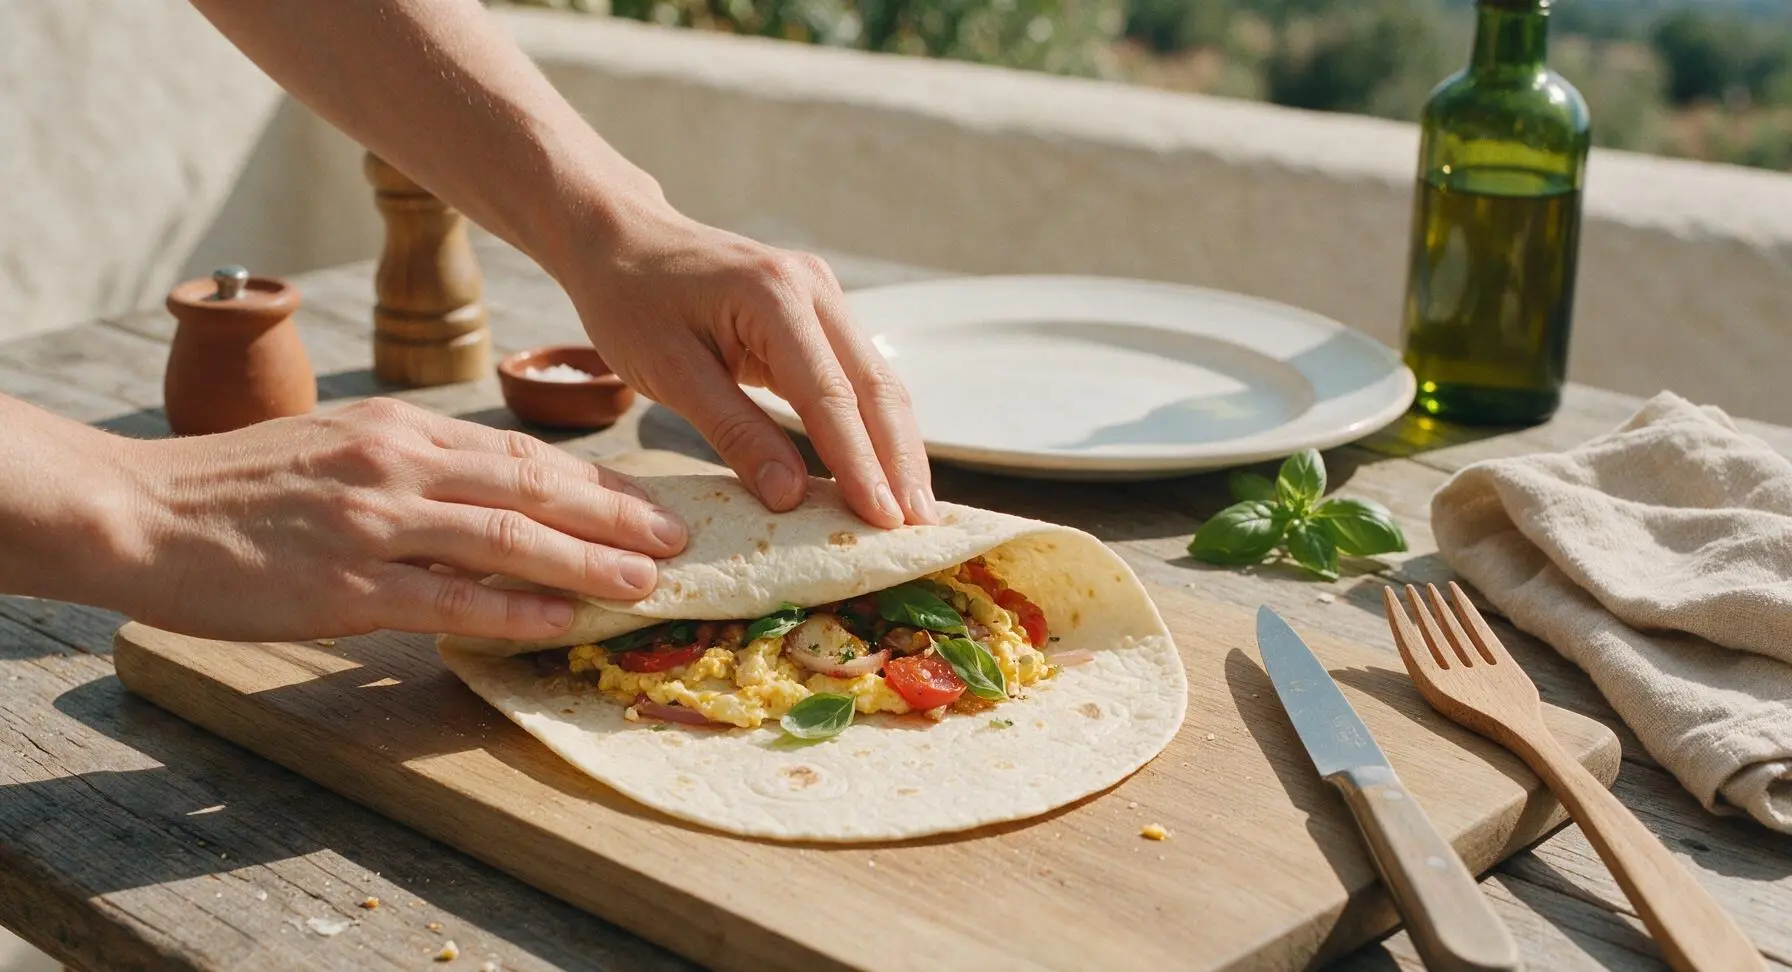
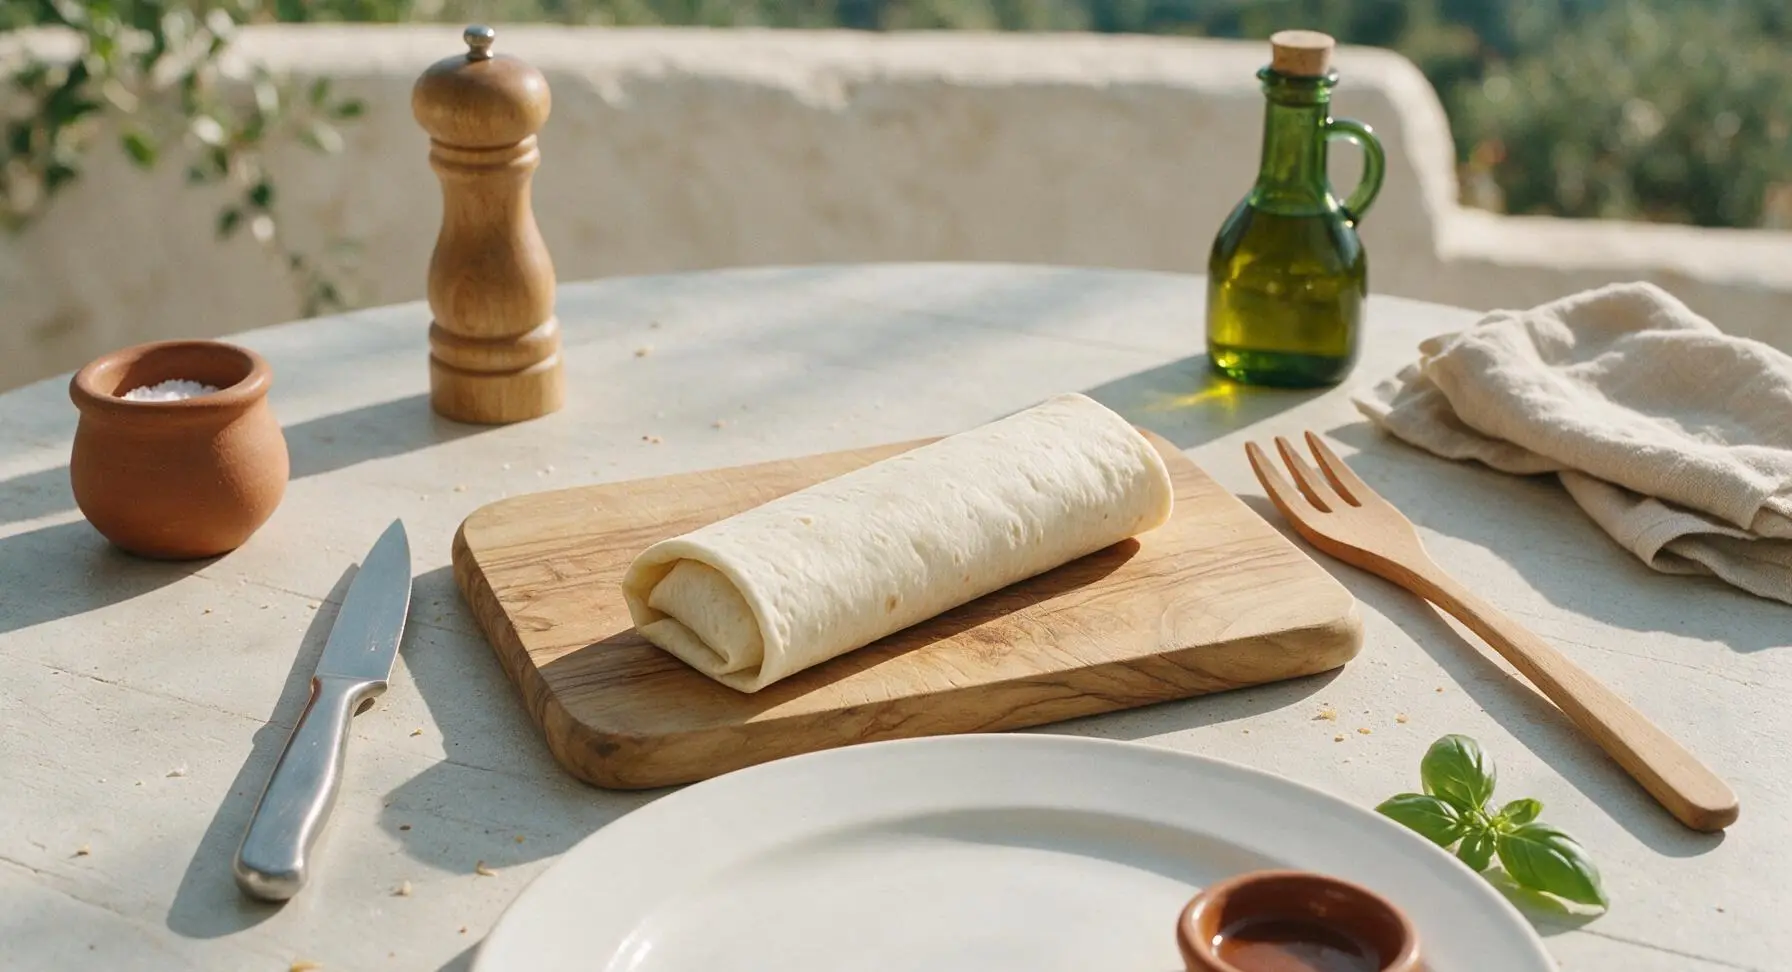
Step 6
step6:Roll Burritos Tightly
Step 6
step6:Roll Burritos Tightly
7

Seal Burrito Seams

Return all rolled burritos to the skillet over medium-low heat, seam-side down. Cook for 1-2 minutes per side, until the tortilla is lightly golden and crispy, and the seam is sealed shut. This step melts the cheese inside and keeps the burrito from unrolling while wrapped.
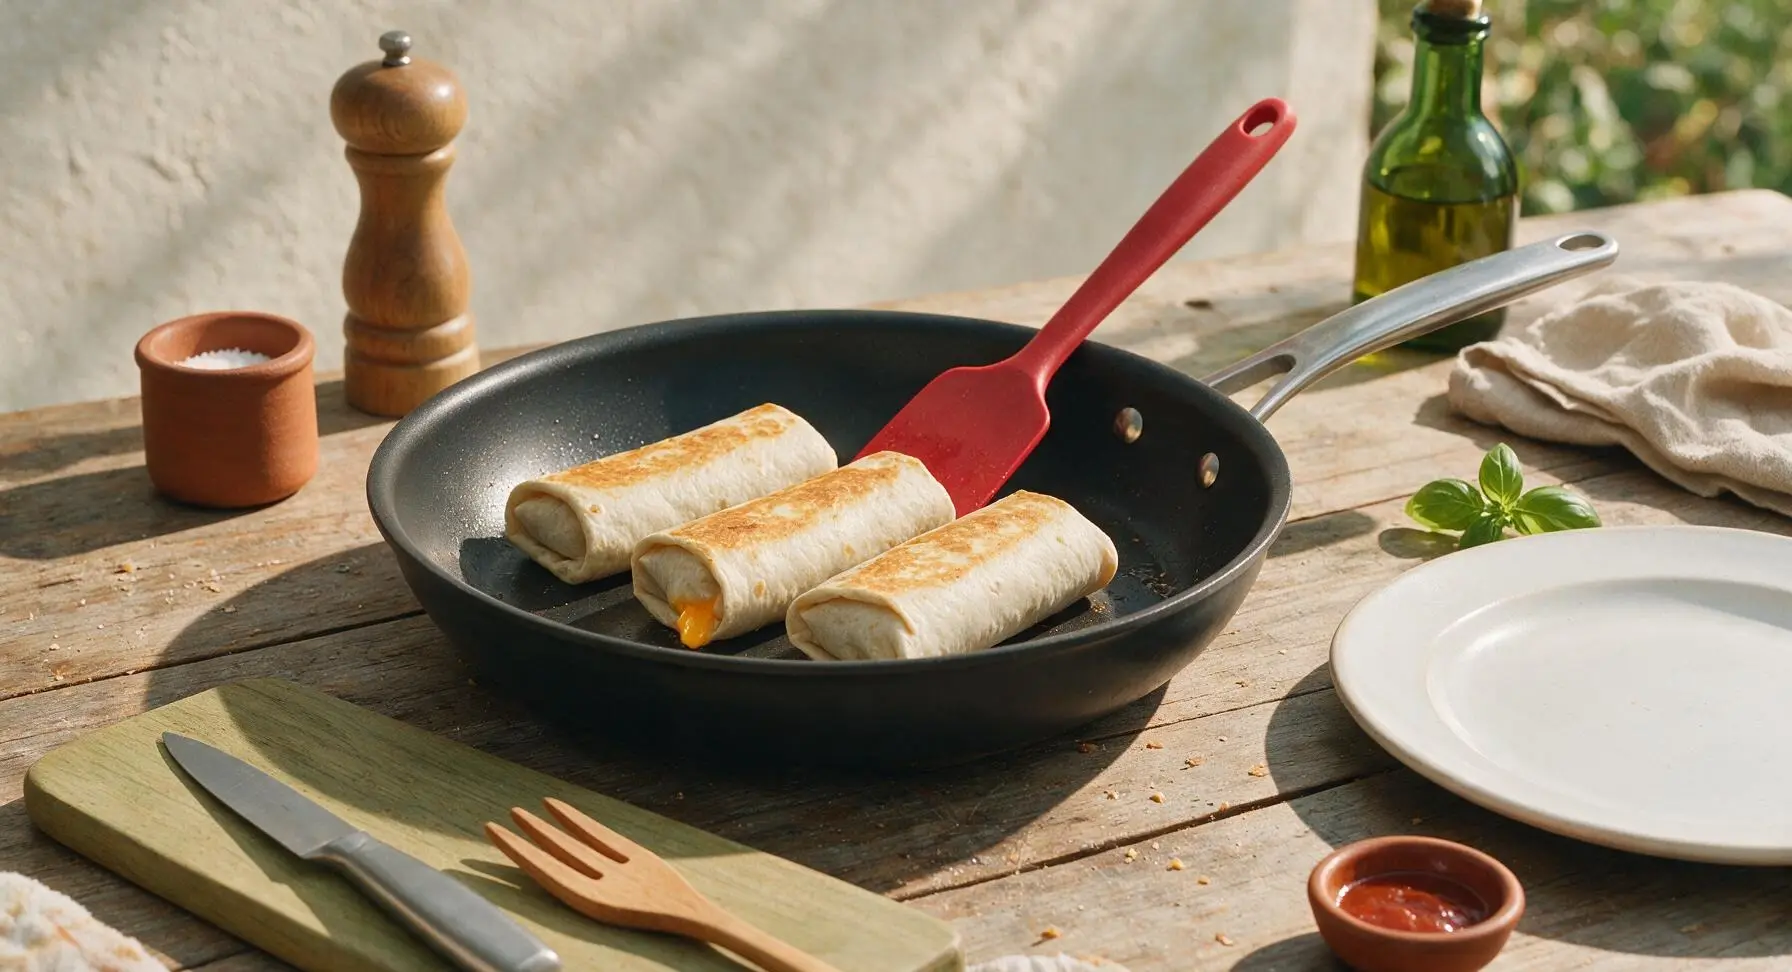
Step 7
step7:Seal Burrito Seams
8

Wrap For Portability

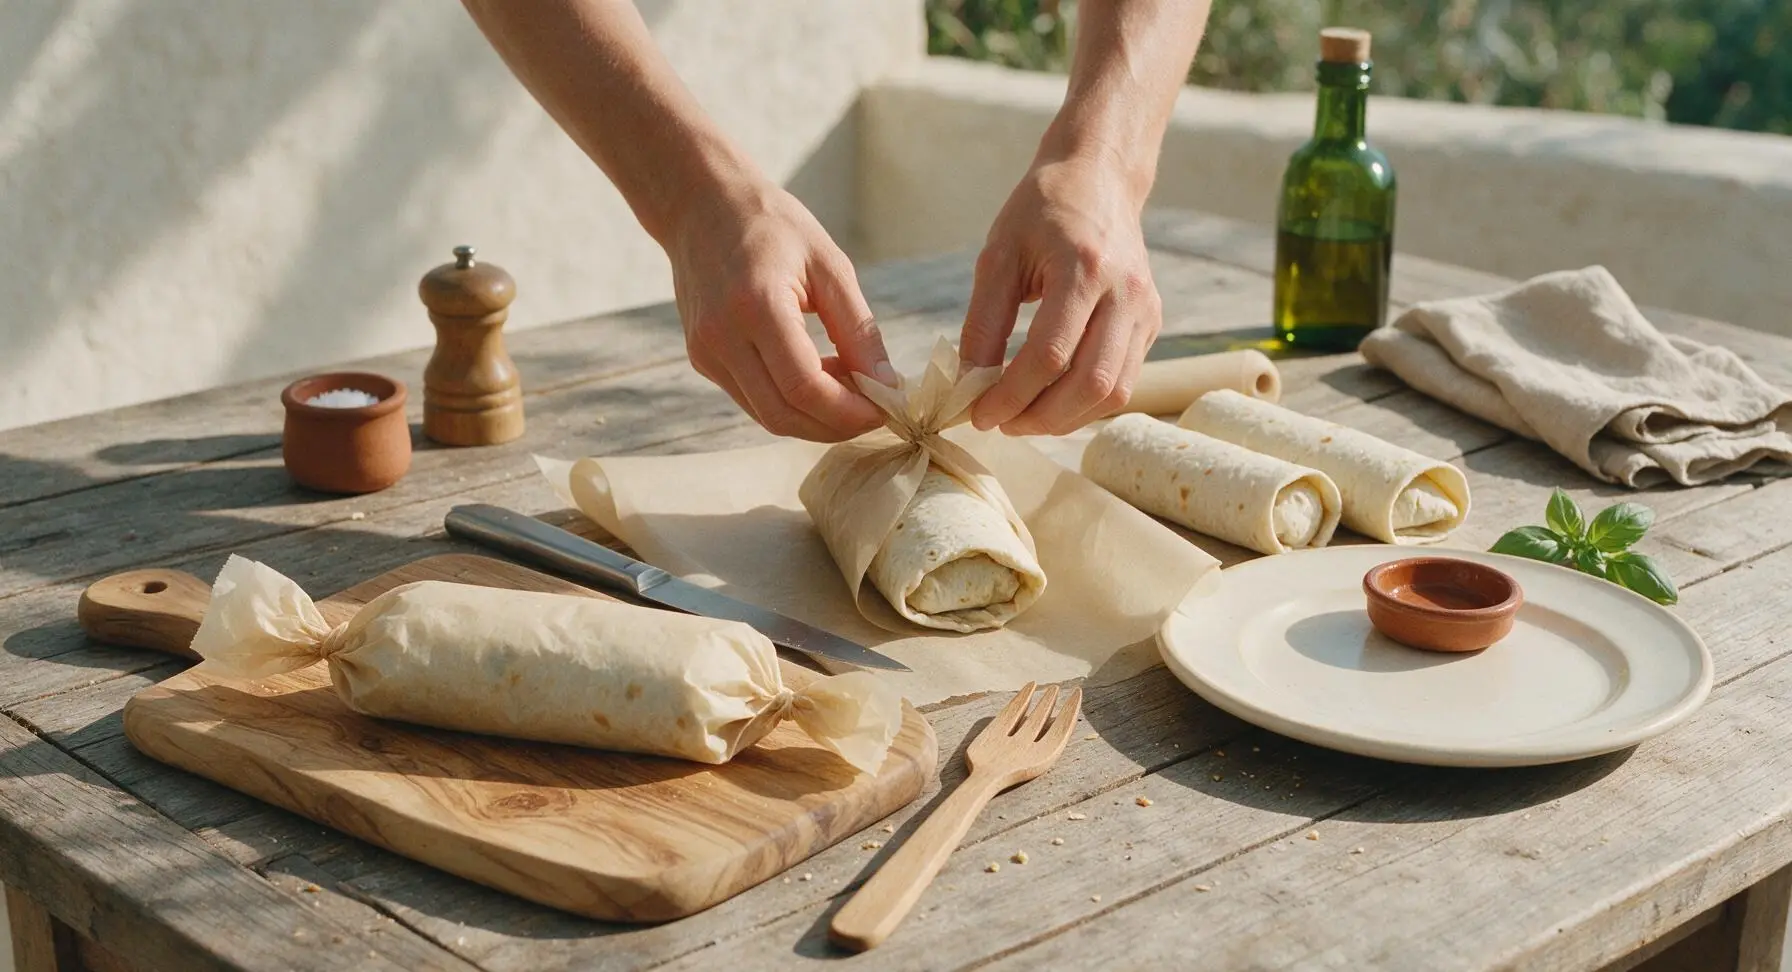
Cut four 12x12 inch squares of unbleached parchment paper. Wrap each burrito tightly in parchment, twisting the ends to secure like a candy wrapper, for easy grab-and-go storage. Burritos can be eaten immediately, stored in the fridge for 3 days, or frozen for up to 1 month.
Step 8
step8:Wrap For Portability

Tips

1.Always squeeze excess moisture from canned green chiles before adding them to eggs—trapped liquid will make tortillas soggy, especially if storing burritos in the fridge or freezer for later use.
2.Stick to 1/2 cup of total filling per 10-inch tortilla: overstuffing will cause burritos to burst during rolling or leak fillings while you eat them on the go.
3.For frozen burritos, reheat directly from frozen: microwave for 2 minutes (flip halfway) or bake at 350°F for 15 minutes wrapped in foil, no thawing required for a quick meal.


✨ You May Also Like

Breakfast
🍜 United States

Crisp-edged, fluffy lard griddle cakes are a nostalgic homestyle staple, with rich savoriness from rendered lard, perfect topped with maple syrup or savory gravy.

⏱️ 25 minuteBreakfast ★ 4.8
Breakfast
🍜 United States

Flaky, buttery homemade buttermilk biscuits smothered in creamy, peppery pork sausage gravy: a beloved, hearty Southern American comfort food classic.

⏱️ 35 minuteBreakfast ★ 4.8
Breakfast
🍜 United States

Golden, custardy brioche stuffed with sweet cream cheese and fresh berries, pan-fried to crisp perfection. An indulgent, cozy breakfast perfect for slow weekend mornings.

⏱️ 30 minuteBreakfast ★ 4.7
Breakfast
🍜 United States

Flaky, buttery Southern-style biscuits stuffed with savory salty country ham, a portable, satisfying classic perfect for casual on-the-go meals.

⏱️ 25 minuteBreakfast ★ 4.8
Breakfast
🍜 United States

Iconic puffy baked pancake popularized in Seattle, with crisp golden edges and soft custardy center, served warm with classic sweet toppings.

⏱️ 35 minuteBreakfast ★ 4.6
Breakfast
🍜 United States

Fluffy, golden pancakes studded with juicy peak-summer mixed berries, drizzled with maple syrup for a bright, comforting, crowd-pleasing family breakfast.

⏱️ 25 minuteBreakfast ★ 4.7

breakfast burritos to go:Frequently Asked Questions

1.How long do these grab-and-go burritos stay fresh in the fridge or freezer? ▾
When wrapped tightly in plastic wrap or stored in sealed airtight containers, these burritos keep for up to 4 days in the fridge and up to 3 months in the freezer. Press out as much excess air as possible when wrapping to prevent freezer burn, and label freezer batches with the prep date to easily track freshness.
2.What’s the best way to reheat these burritos without ending up with a soggy tortilla? ▾
For the best texture, reheat refrigerated burritos in a 350°F toaster oven or air fryer for 8–10 minutes, flipping halfway. If using a microwave, wrap the burrito in a damp paper towel, heat in 30-second bursts, then crisp the exterior for 1 minute in a dry skillet. Frozen burritos need an extra 5–7 minutes of total cook time.
3.Can I use fresh potatoes instead of frozen diced hash browns if I don’t have any on hand? ▾
Absolutely! Dice 2 medium russet potatoes into ½-inch cubes, parboil them for 5 minutes, then pan-fry in a little oil over medium heat for 8–10 minutes until crispy and golden. Be sure to pat the cooked potatoes dry with a paper towel before adding them to filling to cut down on excess moisture that causes soggy tortillas.
4.How do I keep fillings from making tortillas soggy during weeklong storage? ▾
The top cause of soggy stored burritos is trapped heat and excess moisture, so let cooked eggs, potatoes, and chiles cool completely for 15–20 minutes before assembling. Drain canned green chiles extra well, and place a thin layer of shredded cheddar against the tortilla to create a protective moisture barrier between the wrap and wet fillings.
5.How do I roll these burritos so fillings don’t leak out when I reheat them on the go? ▾
First, warm tortillas for 10 seconds in the microwave or on a dry skillet to make them flexible and less likely to crack. Pile fillings in a tight line down the lower third of the tortilla, fold in the two side edges first, then roll tightly upward from the bottom. Store burritos seam-side down to keep the seal tight as they chill.
6.What add-ins work well for these burritos without ruining their shelf life? ▾
Sturdy, low-moisture mix-ins hold up best for prepped batches: crumbled cooked breakfast sausage, crispy bacon bits, well-drained sautéed bell peppers and onions, or pepper jack cheese all work great. Skip wet ingredients like fresh pico de gallo, sour cream, or sliced avocado until serving, as these turn mushy and make tortillas soggy in storage.

Comments (6)

2 weeks ago

OMG these are a total game changer for my chaotic weekday mornings! I spent 20 minutes Sunday night prepping a whole batch, wrapped them individually in foil, and now my teens can just grab one on their way out to school. No more skipping breakfast or begging for fast food runs! Even my picky 14 year old said they’re SO good, already asked me to make a double batch next week. 10/10, perfect for meal prep.

1 week ago

Super easy to throw together, even for someone who burns toast half the time! I swapped the regular sausage for turkey sausage to cut a few calories and added a handful of spinach, and it turned out amazing. Only note is I wish I’d added a little extra hot sauce on the ones for me, but that’s just personal preference. Will definitely be adding these to my weekly meal prep rotation.

5 days ago

Great swap with the turkey sausage and spinach, that sounds delicious! So glad the recipe worked out for you — feel free to load up on all the hot sauce you want, these are totally customizable. Happy meal prepping!

3 days ago

Made these for a quick work potluck last weekend and they were gone in 10 minutes flat! Coworkers were asking for the recipe before I even finished my own. Cook time was exactly 20 minutes like it said, no fancy ingredients needed, total no-brainer. My 6 year old helped me scramble the eggs and had a blast, too.

2 days ago

Wait did you freeze them or keep them in the fridge for the potluck? I’m making these for a tailgate next month and trying to figure out the best way to transport them!

yesterday

Love that you got your kid involved in the cooking! For transport to tailgates or potlucks, you can keep them warm in a lined cooler, or freeze them ahead and reheat on a grill pan once you get there — works like a charm.

yesterday

So happy this recipe works with gluten free tortillas! I was worried they’d tear when I rolled them, but I warmed the tortillas up for 10 seconds in the microwave first and they folded perfectly. Stuffed mine with bell peppers, onion, and a little pepper jack, and they freeze so well. Reheats in the microwave in 90 seconds, tastes just as good as the day I made them. Only knocking a star because I wish the recipe had a note about warming tortillas first to prevent tearing, but otherwise it’s perfect!

2 hours ago

As a broke college student with barely a working fridge and 20 minutes between classes, these are a lifesaver. I made a batch on Sunday with eggs, leftover frozen hash browns, shredded cheese, and the cheap pre-cooked bacon from the grocery store, and I haven’t bought an overpriced campus breakfast sandwich all week. Saved me like $30 already, no cap.

30 minutes ago

Wait do they get soggy if you leave them in the fridge all week? I tried making breakfast wraps once and they got all mushy by Wednesday, total waste of food.

30 minutes ago

Wait, can you freeze these for longer than a week? I do big monthly meal prep sessions and would love to stock my freezer with these for crazy work weeks. I followed the recipe exactly for a test batch last night and they’re chef’s kiss, just need to know how long they hold up in the freezer!

5 minutes ago

I froze mine for 3 weeks once and they were still totally fine! Just wrap them super tight in plastic wrap then foil so they don’t get freezer burn, works like a dream.

just now

Great question! These burritos will hold up great in the freezer for up to 3 months if wrapped tightly to prevent freezer burn. Just reheat straight from frozen in the microwave for 2-3 minutes, flipping halfway, and you’re good to go! So glad you loved the test batch.



