
breakfast recipes using tater tots

title 1
breakfast recipes using tater tots
⏱️ cook time 25 minutes
🍽️ servings 4
⚡ Difficulty easy

intro

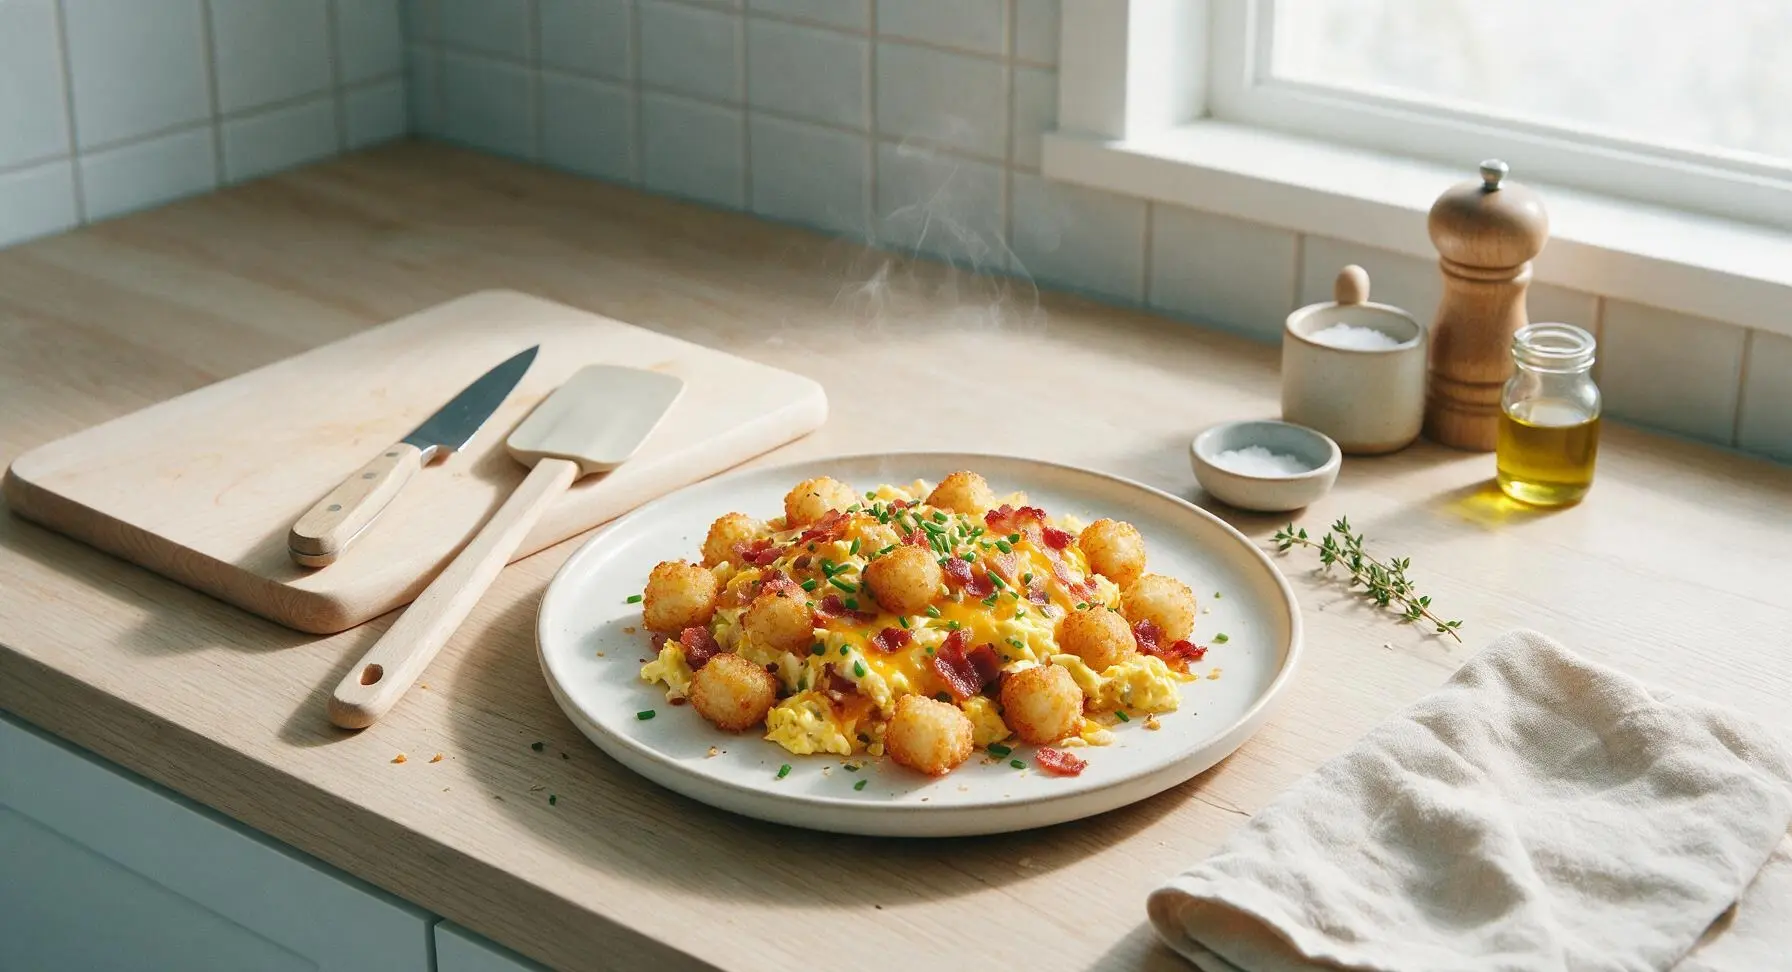
Crispy golden tater tots loaded with fluffy eggs, melted cheddar, smoky bacon, and bright chives—this one-pan, 35-minute meal is cozy, satisfying, and perfect for busy mornings or quick weeknight dinners.

Ingredients
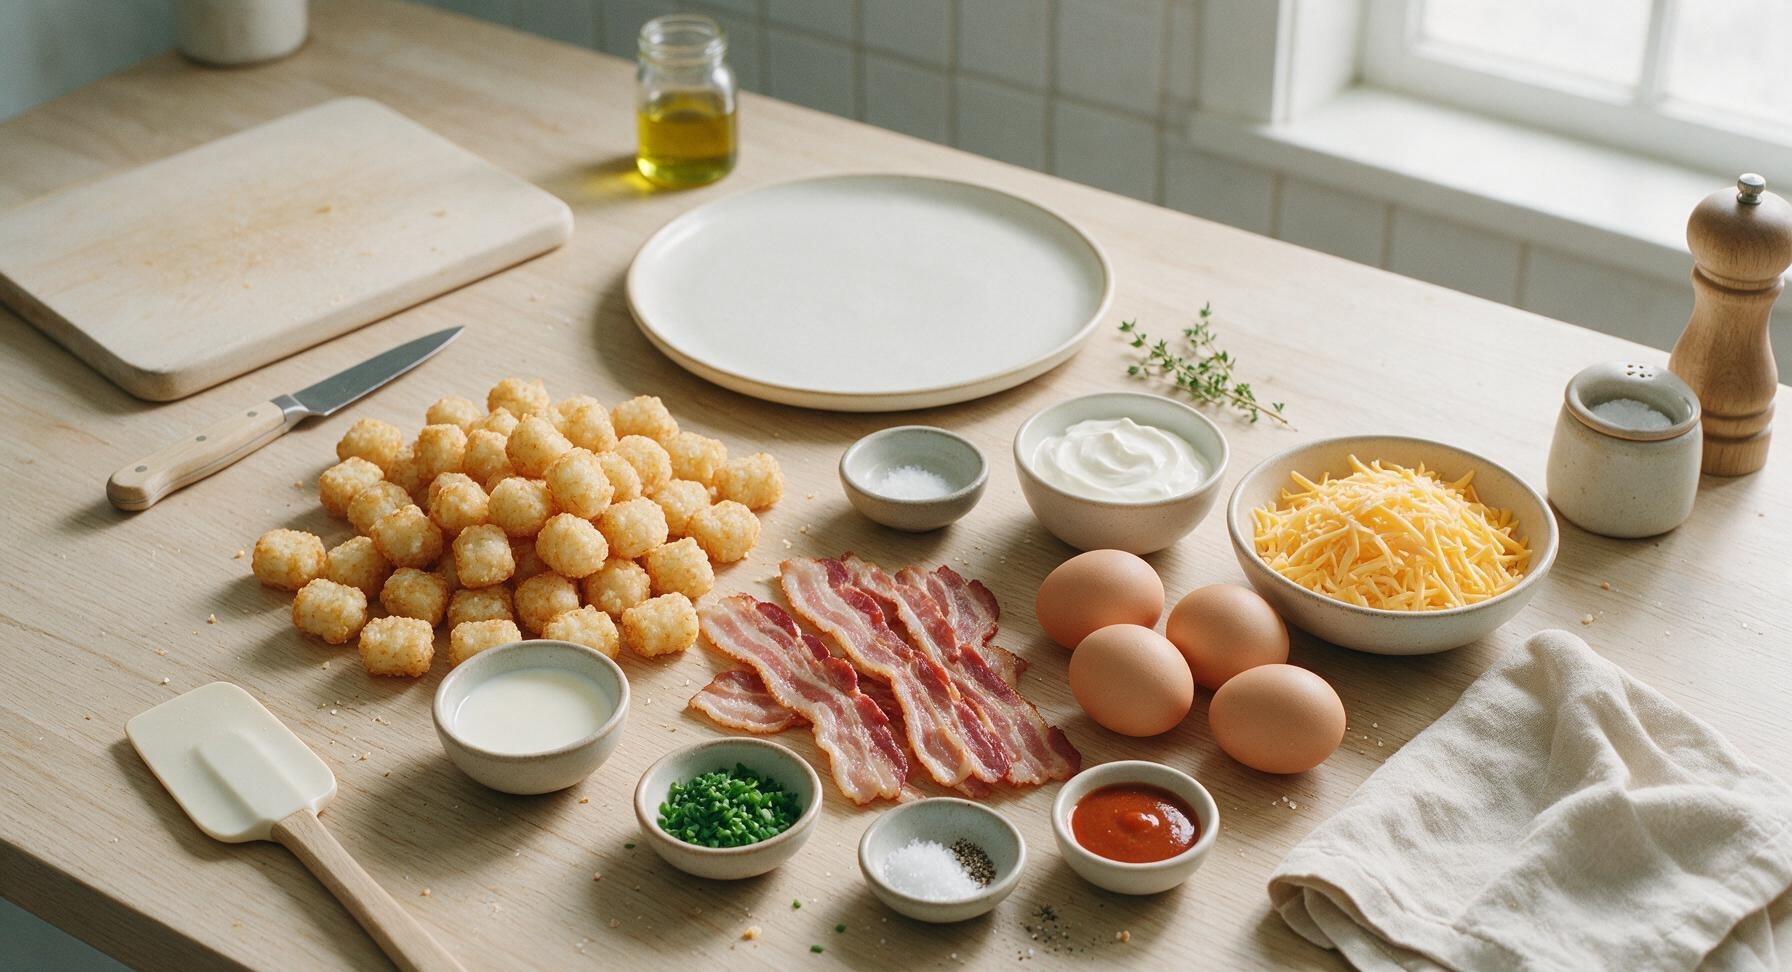
Frozen tater tots 500g (approx 4 cups)
Thick-cut bacon 170g (6 strips)
Large eggs 4 units
Shredded sharp cheddar cheese 170g (1.5 cups)
Whole milk 2 tablespoons
Sour cream 113g (1/2 cup)
Fresh chives 2 tablespoons, finely chopped
Kosher salt 1/2 teaspoon
Freshly ground black pepper 1/4 teaspoon
Hot sauce 2 tablespoons, plus extra for serving

Steps

1

Cook bacon until crispy

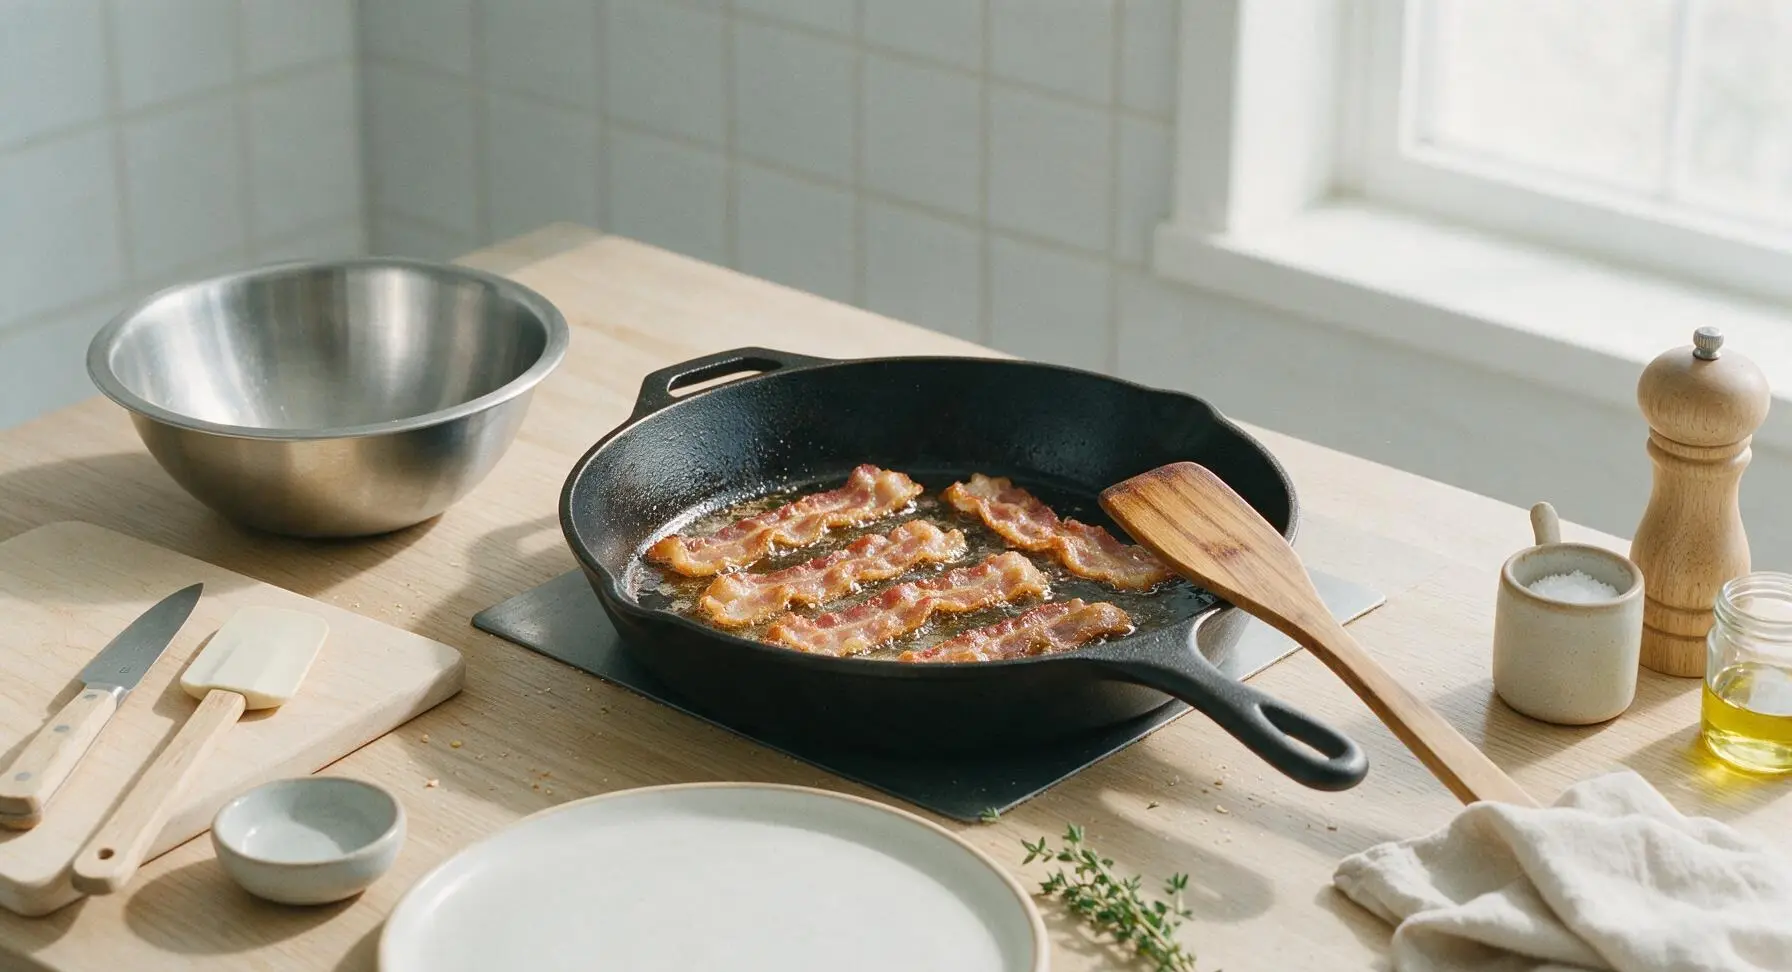
Place the cast iron skillet on the integrated stovetop burner over medium heat. Add the 6 bacon strips in a single layer, and cook for 6-8 minutes, flipping occasionally with the acacia wood turner, until fat is fully rendered and bacon is deep golden and crispy. Use the wood turner to transfer cooked bacon to a paper-towel lined plate to drain, leaving all rendered bacon fat in the skillet.
Step 1
step1:Cook bacon until crispy
2

Crisp tater tots in fat

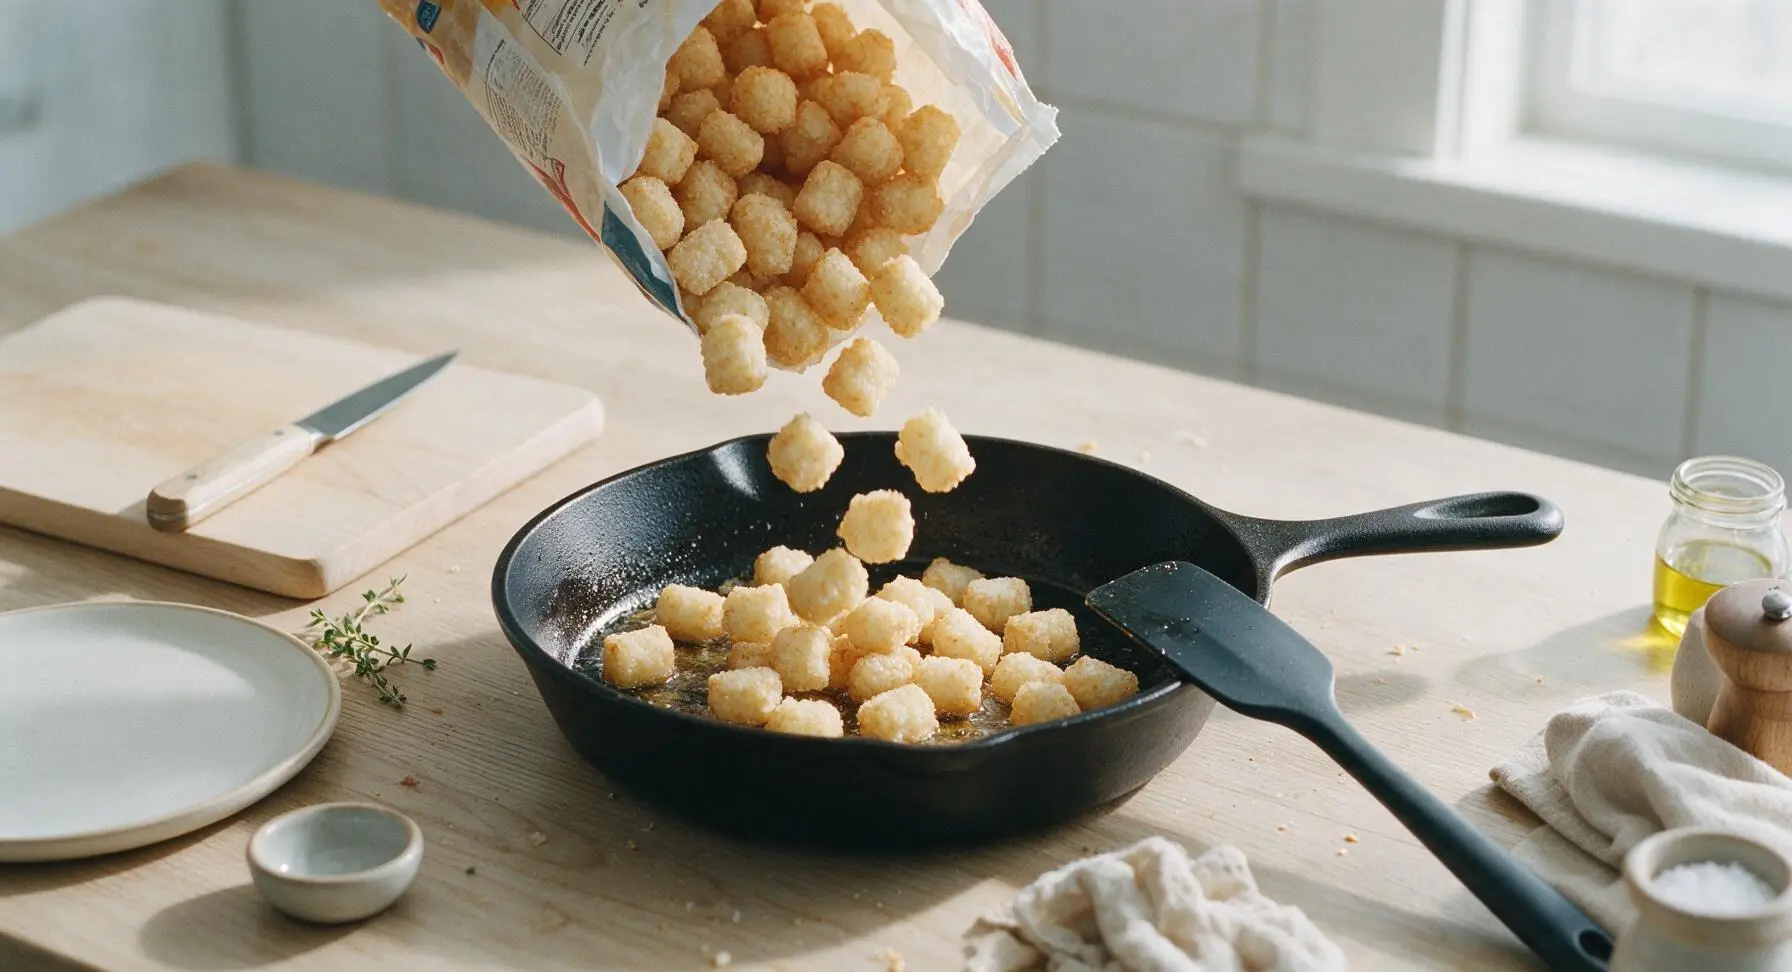
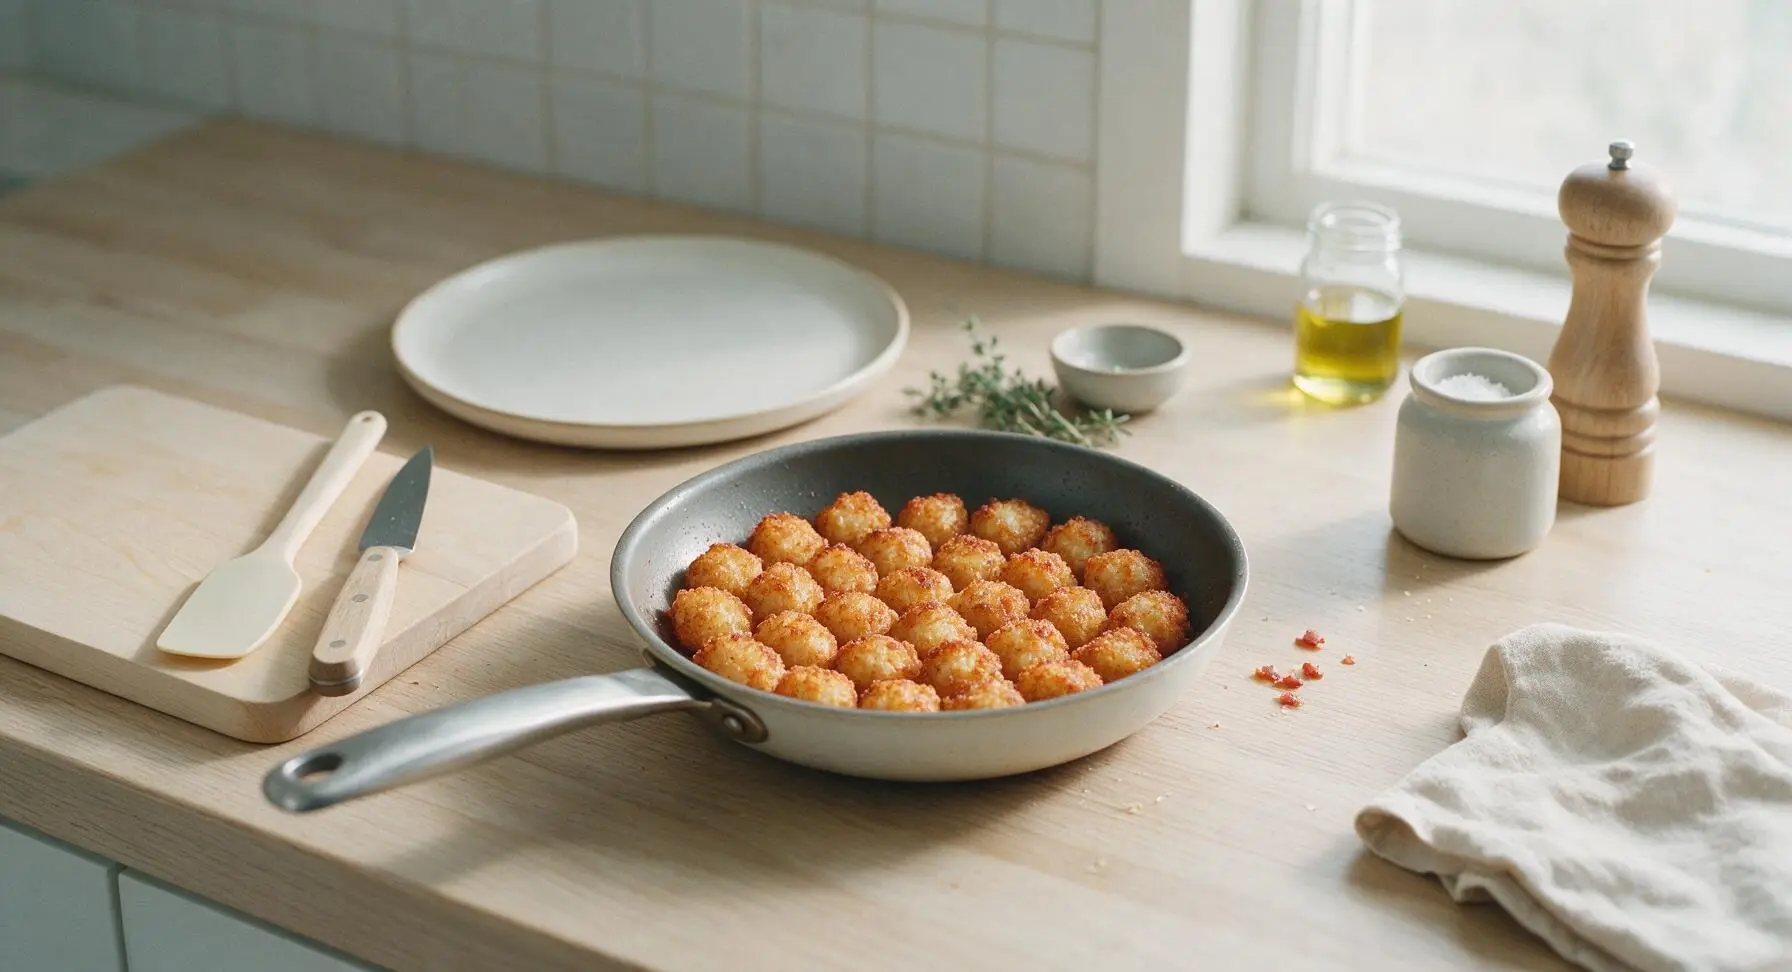
Carefully add the frozen tater tots to the hot bacon fat in the skillet, stirring with the matte black silicone spatula to coat every tot in fat. Arrange tots in a single even layer, and cook for 12 minutes over medium heat, flipping halfway with the wood turner, until tots are deep golden and crispy on all sides. While tots cook, crumble the cooled bacon into small bite-sized pieces.
Step 2
step2:Crisp tater tots in fat
Step 2
step2:Crisp tater tots in fat
3

Whisk seasoned egg base

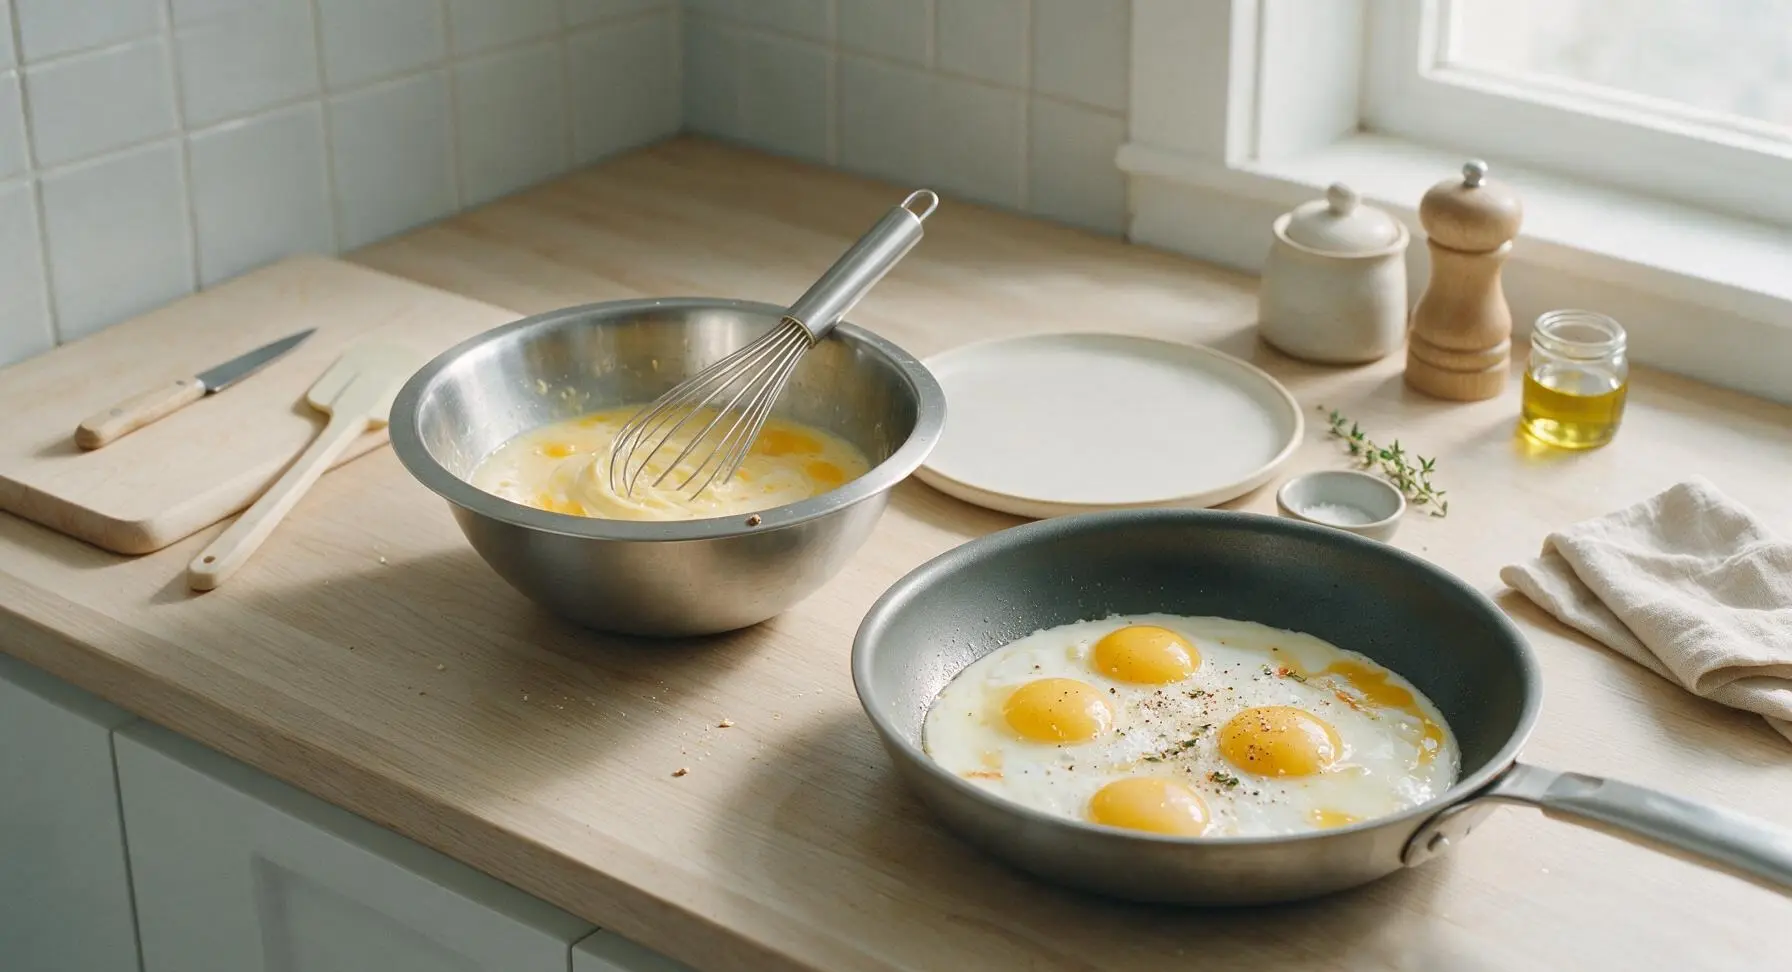
While tater tots cook, crack the 4 eggs into the stainless steel mixing bowl. Add 2 tablespoons whole milk, 1/2 teaspoon kosher salt, 1/4 teaspoon black pepper, and 1 tablespoon hot sauce. Whisk vigorously with the stainless steel wire whisk for 30 seconds until the mixture is completely smooth, pale yellow, with no visible streaks of egg white.
Step 3
step3:Whisk seasoned egg base
4

Pour eggs over tots

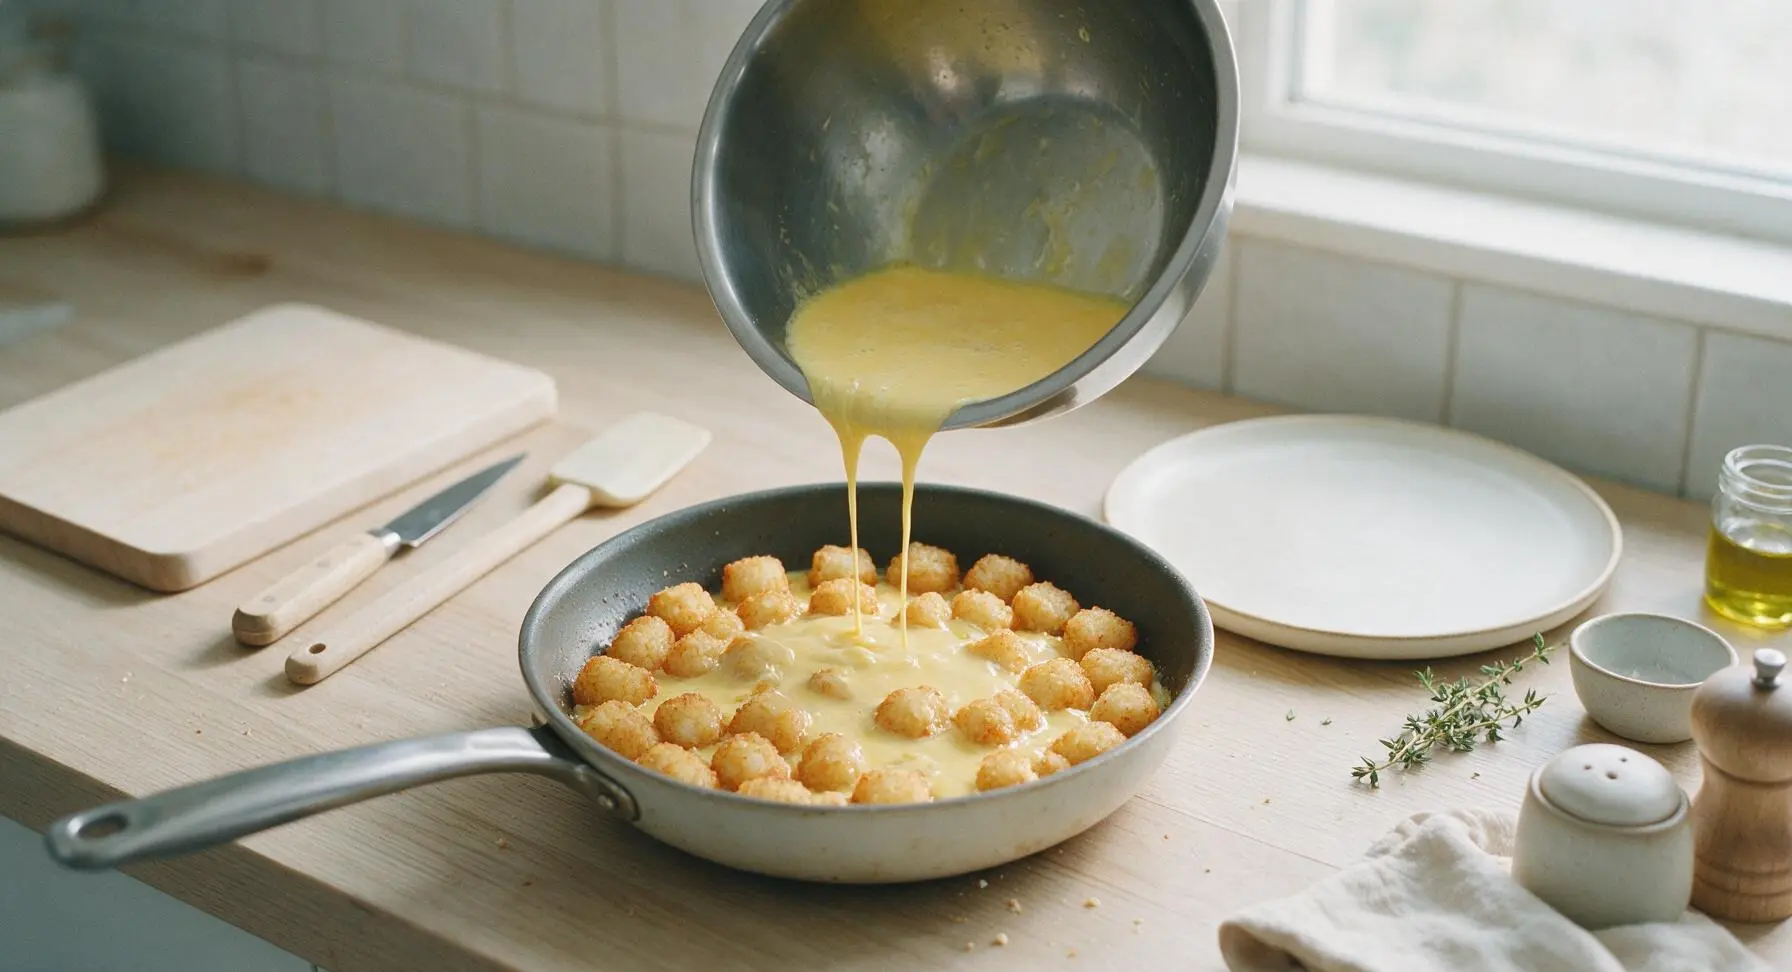
Once tater tots are fully crispy, reduce stovetop heat to medium-low. Pour the whisked egg mixture evenly over the top of the tater tots, tilting the skillet slightly to let the egg flow into all the gaps between the tots. Do not stir—let the egg settle around the tots.
Step 4
step4:Pour eggs over tots
5

Add cheese and bacon

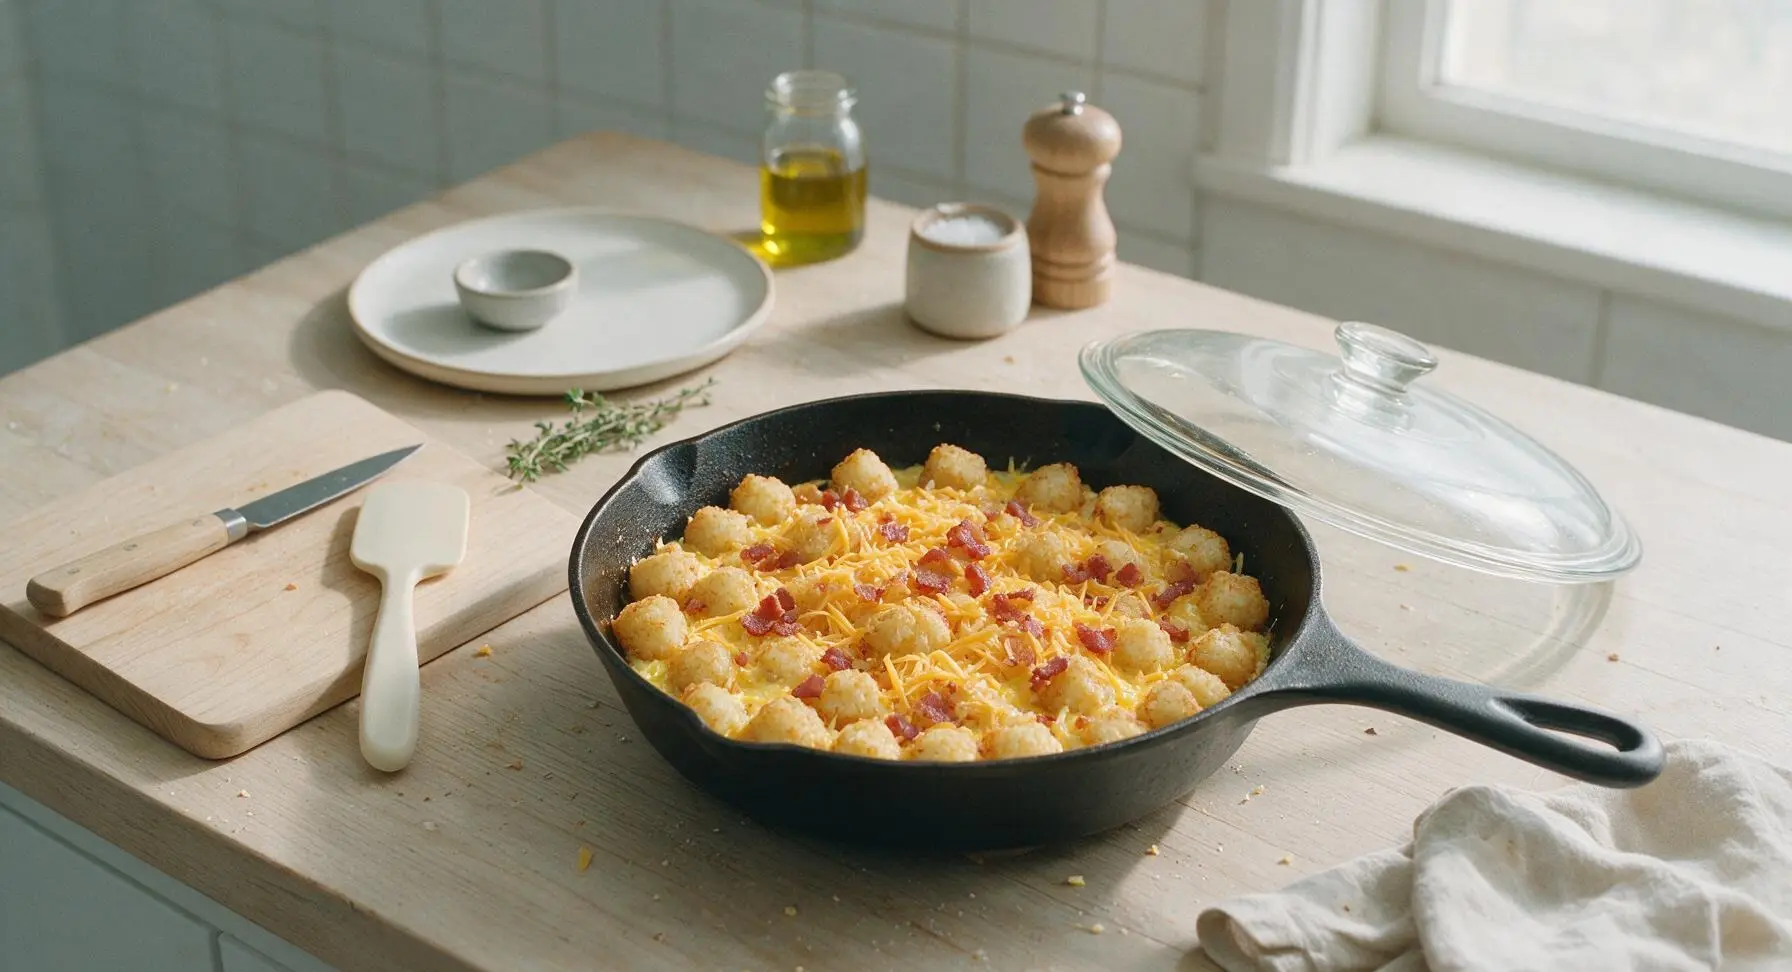
Immediately after pouring the eggs, sprinkle the shredded sharp cheddar cheese evenly over the top of the tots and eggs, then scatter the crumbled cooked bacon across the cheese. Reduce heat to low, cover the skillet with a clear glass lid, and cook for 5 minutes, until eggs are just set around the edges and cheese is starting to melt.
Step 5
step5:Add cheese and bacon
6

Cook until eggs set

Remove the lid after 5 minutes, and continue cooking for 2-3 more minutes uncovered, until eggs are fully set in the center (no runny liquid when you tilt the pan) and cheese is fully melted and bubbly around the edges. Turn off the heat, and let the skillet rest for 2 minutes.
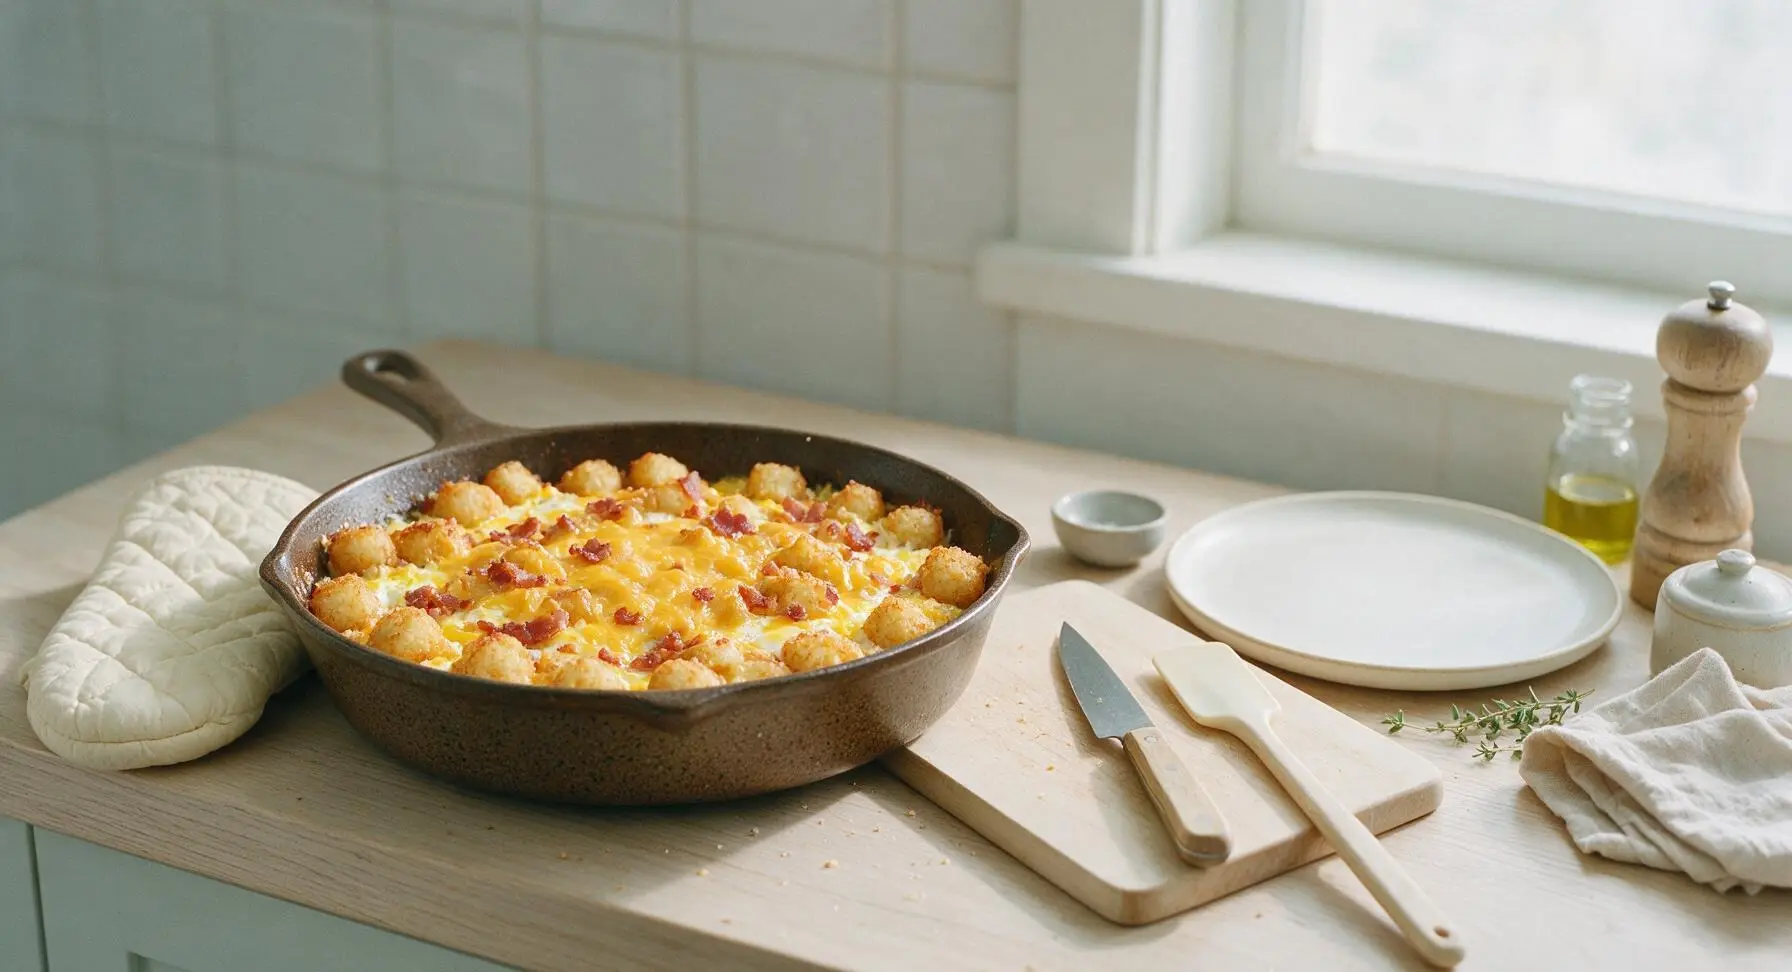
Step 6
step6:Cook until eggs set
7

Garnish with fresh toppings

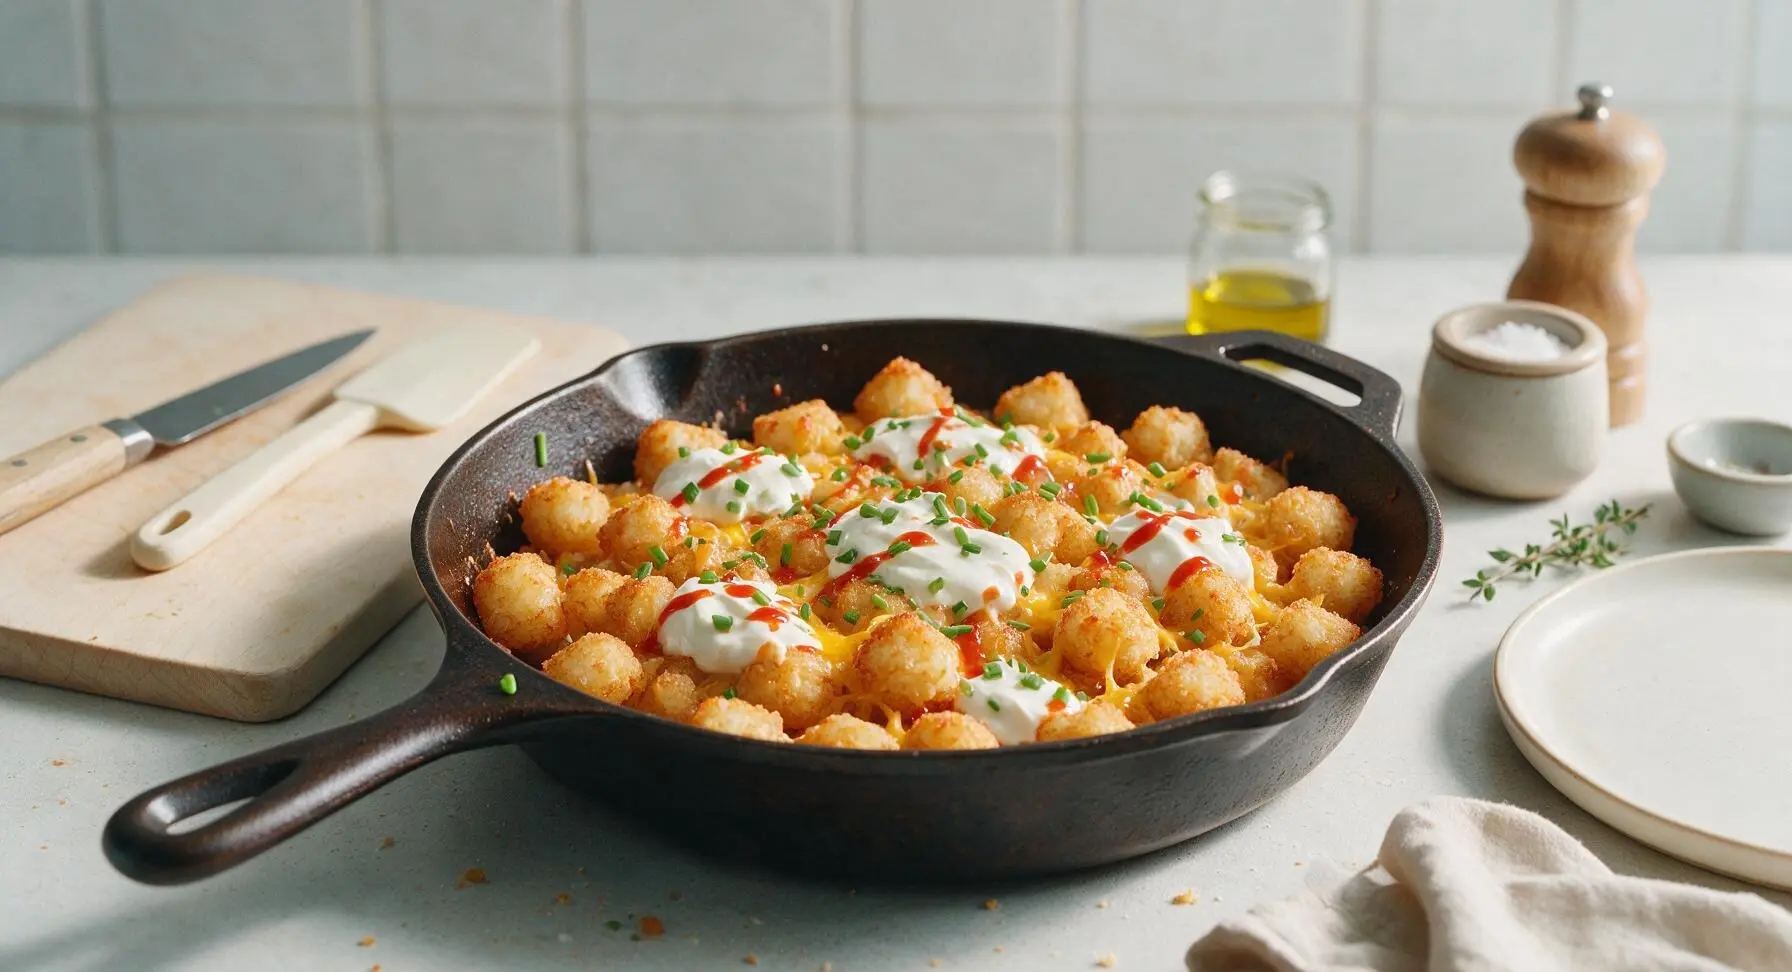
Finely chop the fresh chives. Dollop the sour cream in small spoonfuls across the top of the hot skillet, sprinkle the chopped chives evenly over the sour cream and cheese, and drizzle with the remaining 1 tablespoon of hot sauce.
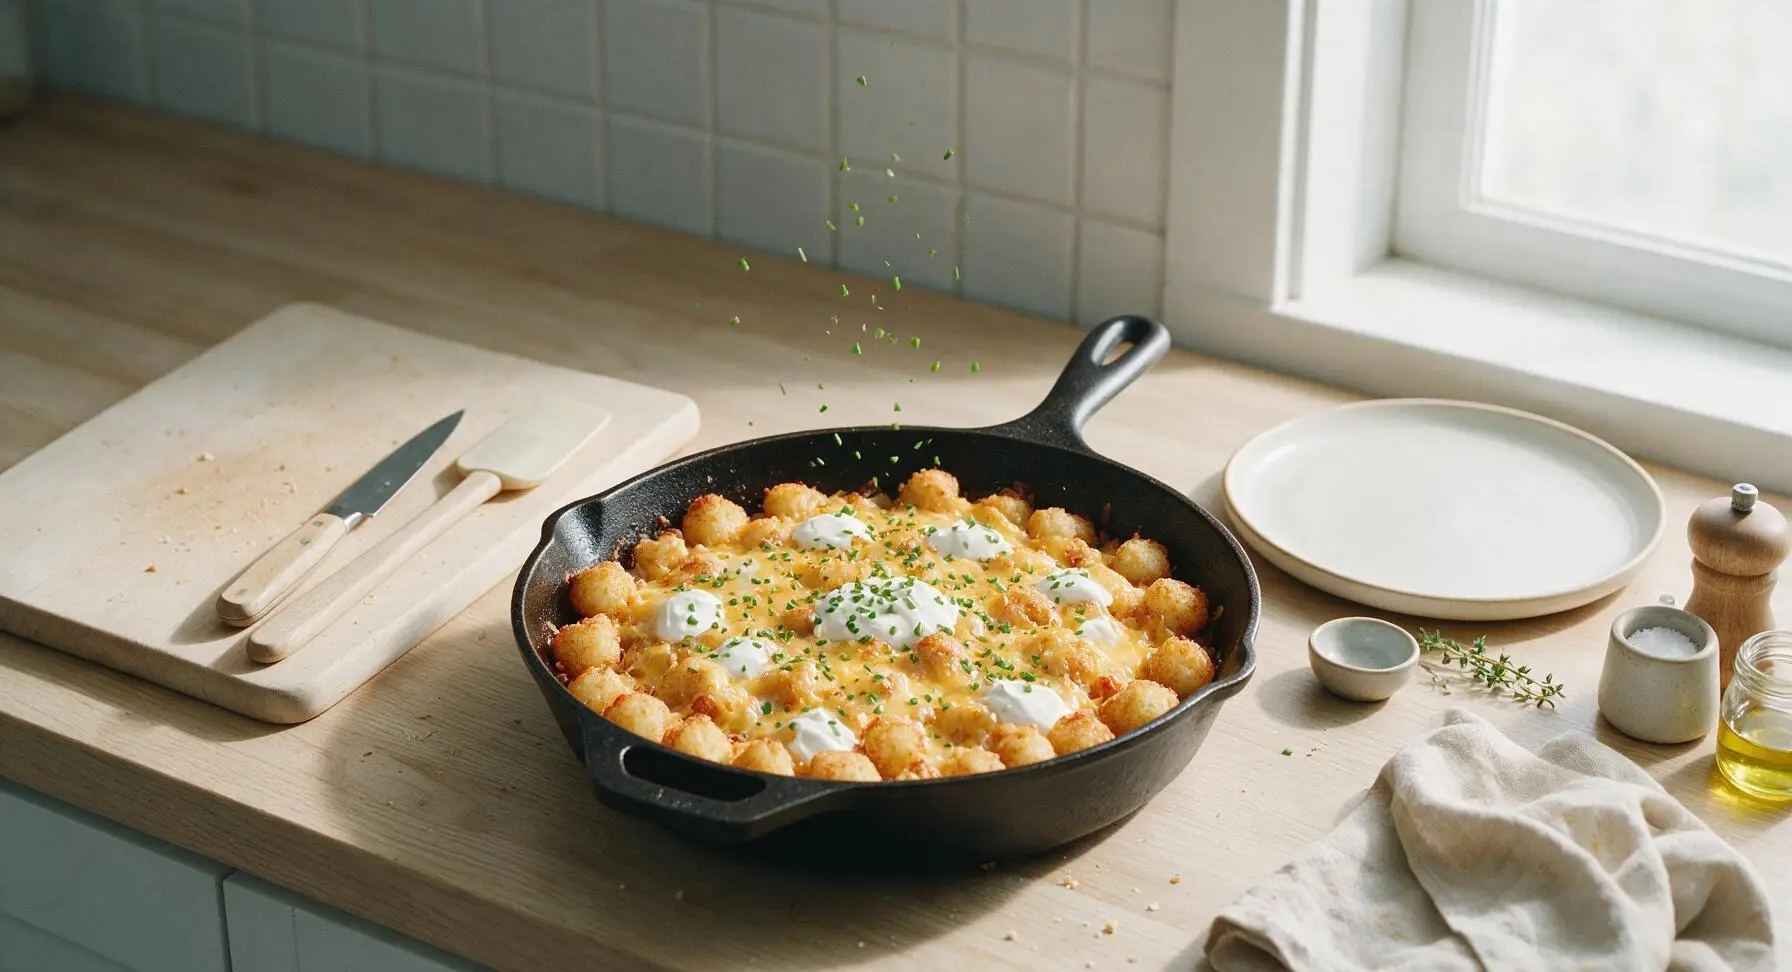
Step 7
step7:Garnish with fresh toppings
Step 7
step7:Garnish with fresh toppings
8

Plate and serve hot

Use the acacia wood turner to scoop generous portions of the tater tot breakfast onto the matte cream ceramic dinner plates. Fill the small clear glass ramekin with extra hot sauce to serve on the side, and offer additional sour cream if desired.
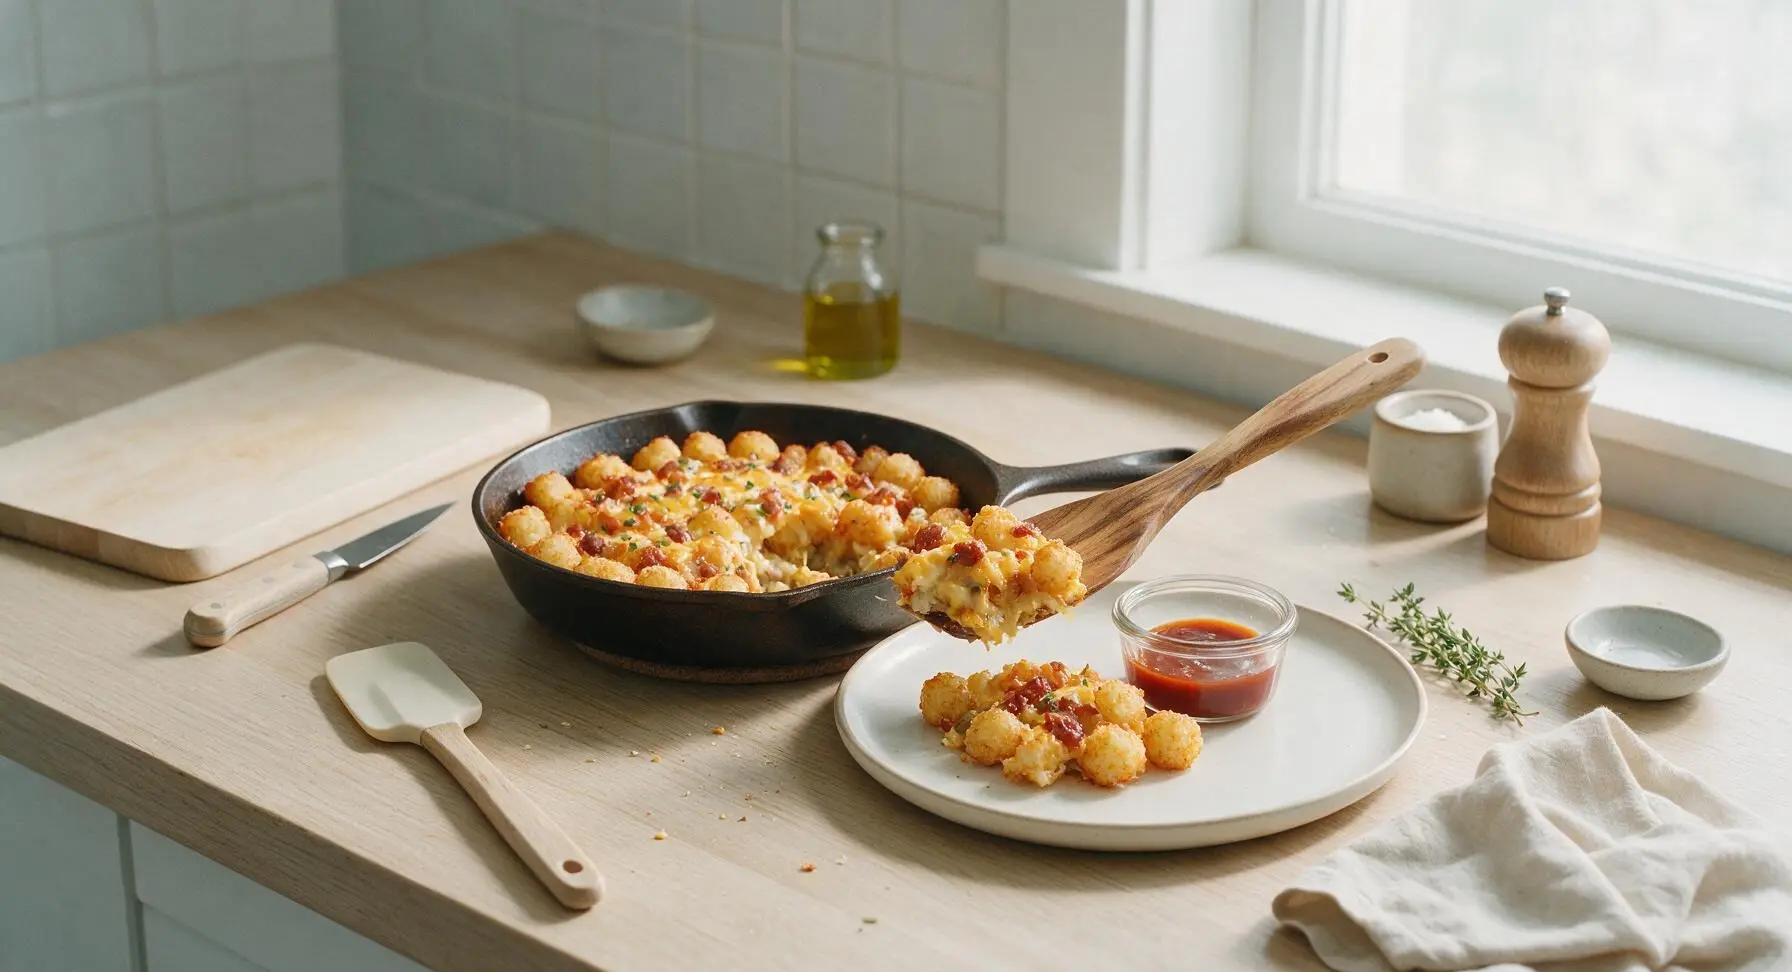
Step 8
step8:Plate and serve hot

Tips

1.Keep tater tots frozen until you are ready to add them to the skillet: thawed tater tots release excess moisture as they cook, resulting in a soggy, mushy texture instead of the desired crispy, crunchy exterior.
2.Let tater tots cook undisturbed for 6 full minutes before flipping them: constant stirring breaks up the tender tots and prevents them from developing a deep, golden, crunchy crust on all sides.
3.For a vegetarian version, swap the bacon for 1/2 cup diced sautéed bell pepper and onion, and use 1 tablespoon of olive oil to crisp the tots instead of bacon fat; all other cook times and steps remain identical.


✨ You May Also Like

Breakfast
🍜 United States

Crisp-edged, fluffy lard griddle cakes are a nostalgic homestyle staple, with rich savoriness from rendered lard, perfect topped with maple syrup or savory gravy.

⏱️ 25 minuteBreakfast ★ 4.8
Breakfast
🍜 United States

Flaky, buttery homemade buttermilk biscuits smothered in creamy, peppery pork sausage gravy: a beloved, hearty Southern American comfort food classic.

⏱️ 35 minuteBreakfast ★ 4.8
Breakfast
🍜 United States

Golden, custardy brioche stuffed with sweet cream cheese and fresh berries, pan-fried to crisp perfection. An indulgent, cozy breakfast perfect for slow weekend mornings.

⏱️ 30 minuteBreakfast ★ 4.7
Breakfast
🍜 United States

Flaky, buttery Southern-style biscuits stuffed with savory salty country ham, a portable, satisfying classic perfect for casual on-the-go meals.

⏱️ 25 minuteBreakfast ★ 4.8
Breakfast
🍜 United States

Iconic puffy baked pancake popularized in Seattle, with crisp golden edges and soft custardy center, served warm with classic sweet toppings.

⏱️ 35 minuteBreakfast ★ 4.6
Breakfast
🍜 United States

Fluffy, golden pancakes studded with juicy peak-summer mixed berries, drizzled with maple syrup for a bright, comforting, crowd-pleasing family breakfast.

⏱️ 25 minuteBreakfast ★ 4.7

breakfast recipes using tater tots:Frequently Asked Questions

1.Do I need to thaw my frozen tater tots before making this skillet? ▾
No need to thaw them at all! For the crispiest results, cook tater tots straight from the freezer, right from the bag—thawing leads to soggy, mushy spuds that won’t hold up to loaded toppings. Just spread them in a single even layer in your preheated skillet to build that perfect golden, crunchy crust before adding other ingredients.
2.What type of skillet works best to get that signature crispy tater tot texture? ▾
A 12-inch cast iron skillet is ideal, since it retains consistent, even high heat to crisp tots perfectly and moves seamlessly from stovetop to oven for this one-pan meal. If you don’t have cast iron, use any heavy-bottomed, oven-safe nonstick skillet; skip thin, lightweight pans that create hot spots that burn tots before they crisp.
3.How do I keep the eggs from turning rubbery when baking this skillet? ▾
Pull the skillet out of the oven when the eggs are just barely set around the edges and slightly jiggly in the center—residual heat from the hot pan will finish cooking them in 2 to 3 minutes off the heat. Whisking the recommended splash of whole milk into your lightly beaten eggs before adding them also keeps the texture light and fluffy, not tough.
4.My tater tots always turn out soggy when I make skillet meals—what am I doing wrong? ▾
The two most common culprits are overcrowding the pan and stirring too early. Spread tots in a single, even layer with small gaps between them so unwanted steam can escape instead of getting trapped and softening spuds. Let them cook undisturbed for the first 12 to 15 minutes so the bottom forms a firm, golden crust before flipping.
5.Can I swap the thick-cut bacon for a different protein to fit my dietary preferences? ▾
Absolutely! Swap thick-cut bacon for smoky turkey bacon, crumbled breakfast sausage, diced ham, or spicy chorizo if you want to mix up the flavor to suit your taste. For a meatless version, use crispy smoked tempeh or roasted garlic mushroom bits to get that same savory, umami punch that pairs perfectly with cheesy tots.
6.Do I have to use sharp cheddar cheese, or can I use a different variety? ▾
Classic sharp cheddar brings that tangy, bold flavor that cuts through rich bacon and starchy tots, but you can easily swap it for other melty cheeses. Try pepper jack for a little spicy kick, Monterey Jack for a milder, creamier melt, or a cheddar-mozzarella blend for that extra gooey, stretchy cheese pull everyone loves.
7.Can I prep components of this 35-minute meal ahead to make busy mornings even faster? ▾
You bet! Cook and crumble the bacon 2 to 3 days ahead, shred your cheddar, and chop fresh chives in advance to cut down on active prep time for busy mornings or quick weeknight dinners. I don’t recommend cooking tater tots ahead, though—they lose their crispiness quickly when refrigerated, so cook those fresh right before assembling the rest of the skillet.
8.Can I scale this recipe up to serve a crowd for weekend brunch? ▾
This standard one-pan recipe easily feeds 4 people for a hearty casual weekend brunch, and you can scale it up with a 15-inch oven-safe skillet for larger groups. Just be sure to keep tater tots in a single layer when scaling—if you stack them, you’ll end up with soggy spuds, so use a second pan if needed.

Comments (6)

2 days ago

OMG this was such a game changer for our lazy Sunday brunch! I was scrambling (pun totally intended) to find something quick to make for my husband and two teens before we headed out to my son’s soccer game, and this only took 25 minutes like it said? The tater tots got SO crispy even when I loaded them up with shredded cheddar, crumbled bacon, and a dollop of sour cream. My kids loved it so much they begged me to add this to our weekly rotation. 10/10 no notes!

yesterday

Did you add any extra veggies? I’m thinking of tossing in some diced bell peppers and mushrooms next time I make it for my book club brunch!

yesterday

So glad your family loved it! Bell peppers and mushrooms are a fantastic add-in – just sauté them for 2-3 minutes before tossing in the tater tots so they don’t release extra moisture and make the tots soggy.

3 days ago

Made this for my camping crew last weekend and it was a total hit! Only knock is I cooked mine on a cast iron over the camp stove and the tots on the bottom got a little more charred than crispy, but that’s 100% user error for cranking the heat too high. Loaded mine up with pickled jalapeños, leftover pulled pork, and a drizzle of hot honey, would absolutely make again.

2 days ago

Love the camp stove hack and the pulled pork + hot honey addition sounds chef’s kiss! Next time try stirring the tots every 5-7 minutes over medium-low heat to keep them evenly crispy without burning the bottom layer.

1 week ago

SO good and so easy! I live in a tiny dorm with just a hot plate and a small 8-inch cast iron, and I was able to pull this off no problem. I used frozen pre-shredded cheddar I had in my mini fridge and some pre-cooked sausage crumbles, and my roommate stole half the skillet before I even got a second serving. Will 100% be making this for late night study sessions and post-game hangouts too.

5 days ago

I brought this to my neighborhood potluck brunch last weekend and people were asking me for the recipe before I even set the skillet down! I topped it with sliced avocado and a sprinkle of everything bagel seasoning right before serving, and it elevated the whole thing so much. Even my picky sister-in-law who swears she “hates breakfast food” went back for seconds.

3 days ago

The everything bagel seasoning addition is genius! I’m hosting a girls’ brunch next weekend and I’m definitely stealing that tip, thanks so much for sharing!

yesterday

Tasted great, but my tots came out kind of soggy? I followed the cook time exactly but used a regular non-stick skillet instead of cast iron, maybe that’s the issue? I loaded them with diced ham and Swiss cheese but the sogginess was kind of a bummer. Will try again with a hotter pan next time.

2 hours ago

I had the same issue my first time making this! I cranked the heat up a little higher and made sure not to overcrowd the pan, and it worked like a charm the second go around.

30 minutes ago

Great tip from Hank! Cast iron works best for maximum crispiness, but if you’re using non-stick, make sure your pan is fully preheated before adding the tots, and avoid stirring them too often while they cook so they have time to crisp up on each side. Hope it turns out perfect next time!

2 weeks ago

Perfect for meal prep! I made a big batch on Sunday, portioned it out into containers, and it reheated beautifully in the air fryer all week for quick breakfasts before work. I topped each serving with a runny fried egg when I was ready to eat and it kept me full straight through until lunch, zero mid-morning vending machine runs. Such an easy, filling recipe that doesn’t feel like sad “diet food” — thank you for sharing!



