
breakfast sandwich maker
intro
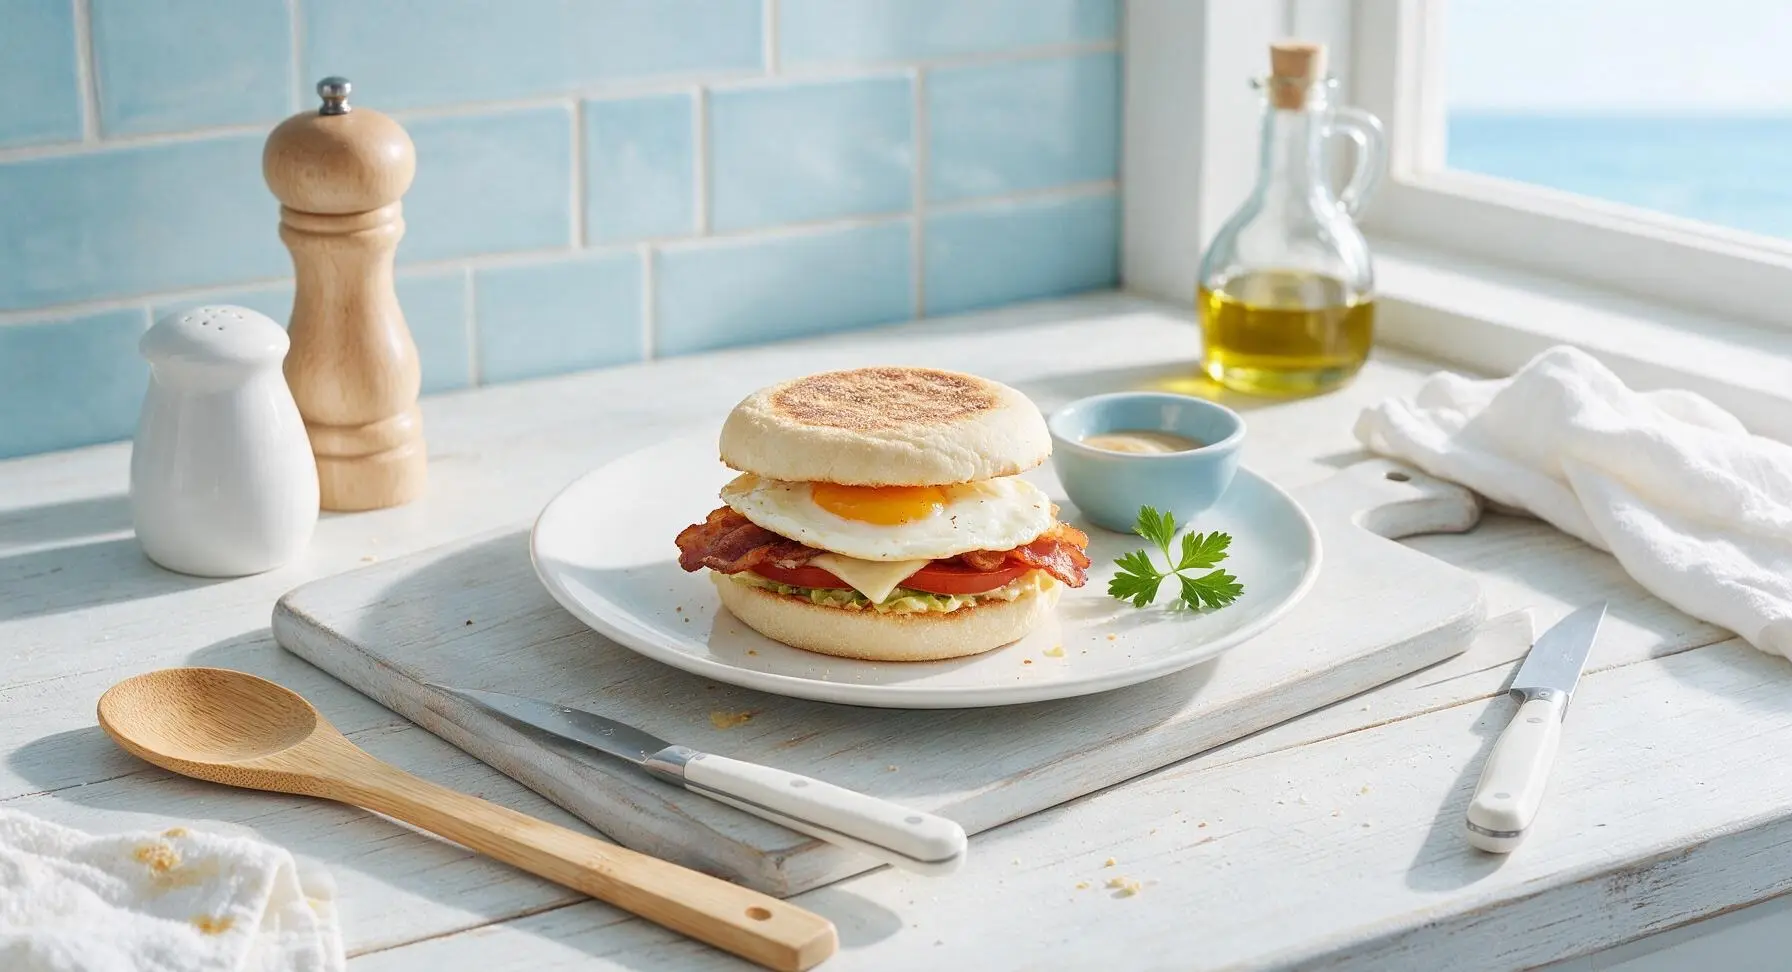
Crisp toasted English muffin layers packed with fluffy egg, melted sharp cheddar, and savory sausage, made in minutes with a countertop breakfast sandwich maker for zero-fuss, cozy mornings.
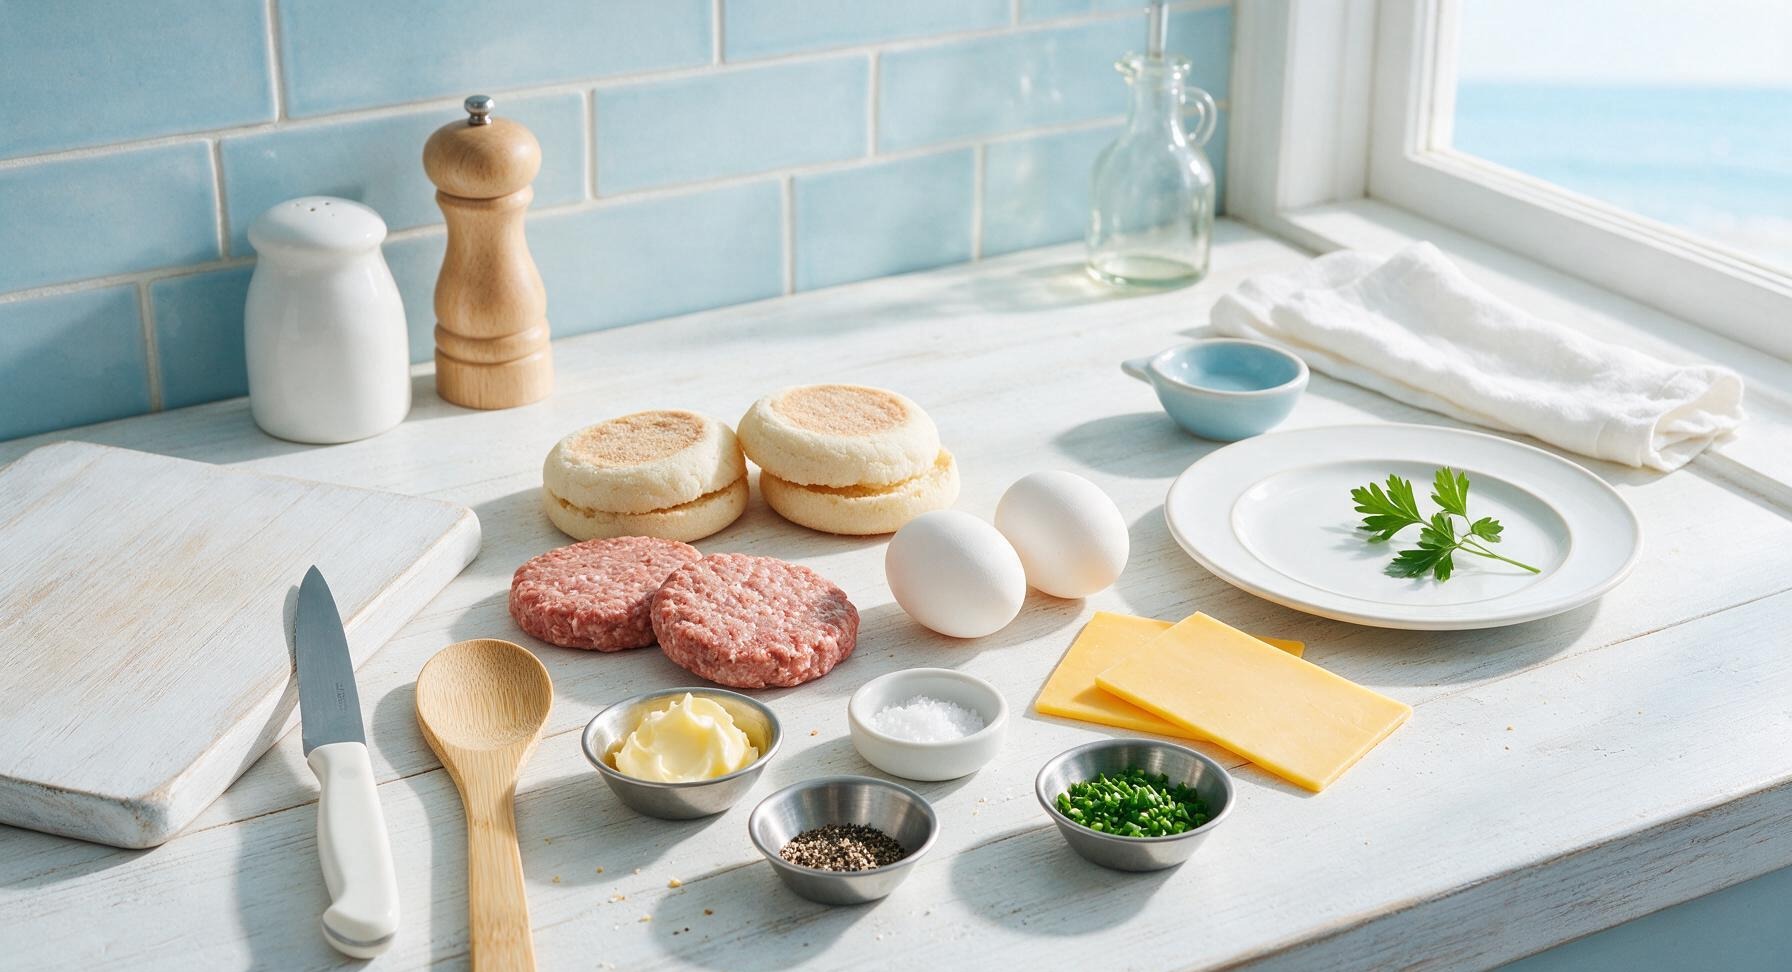
Ingredients
Steps
Preheat and Butter Muffins
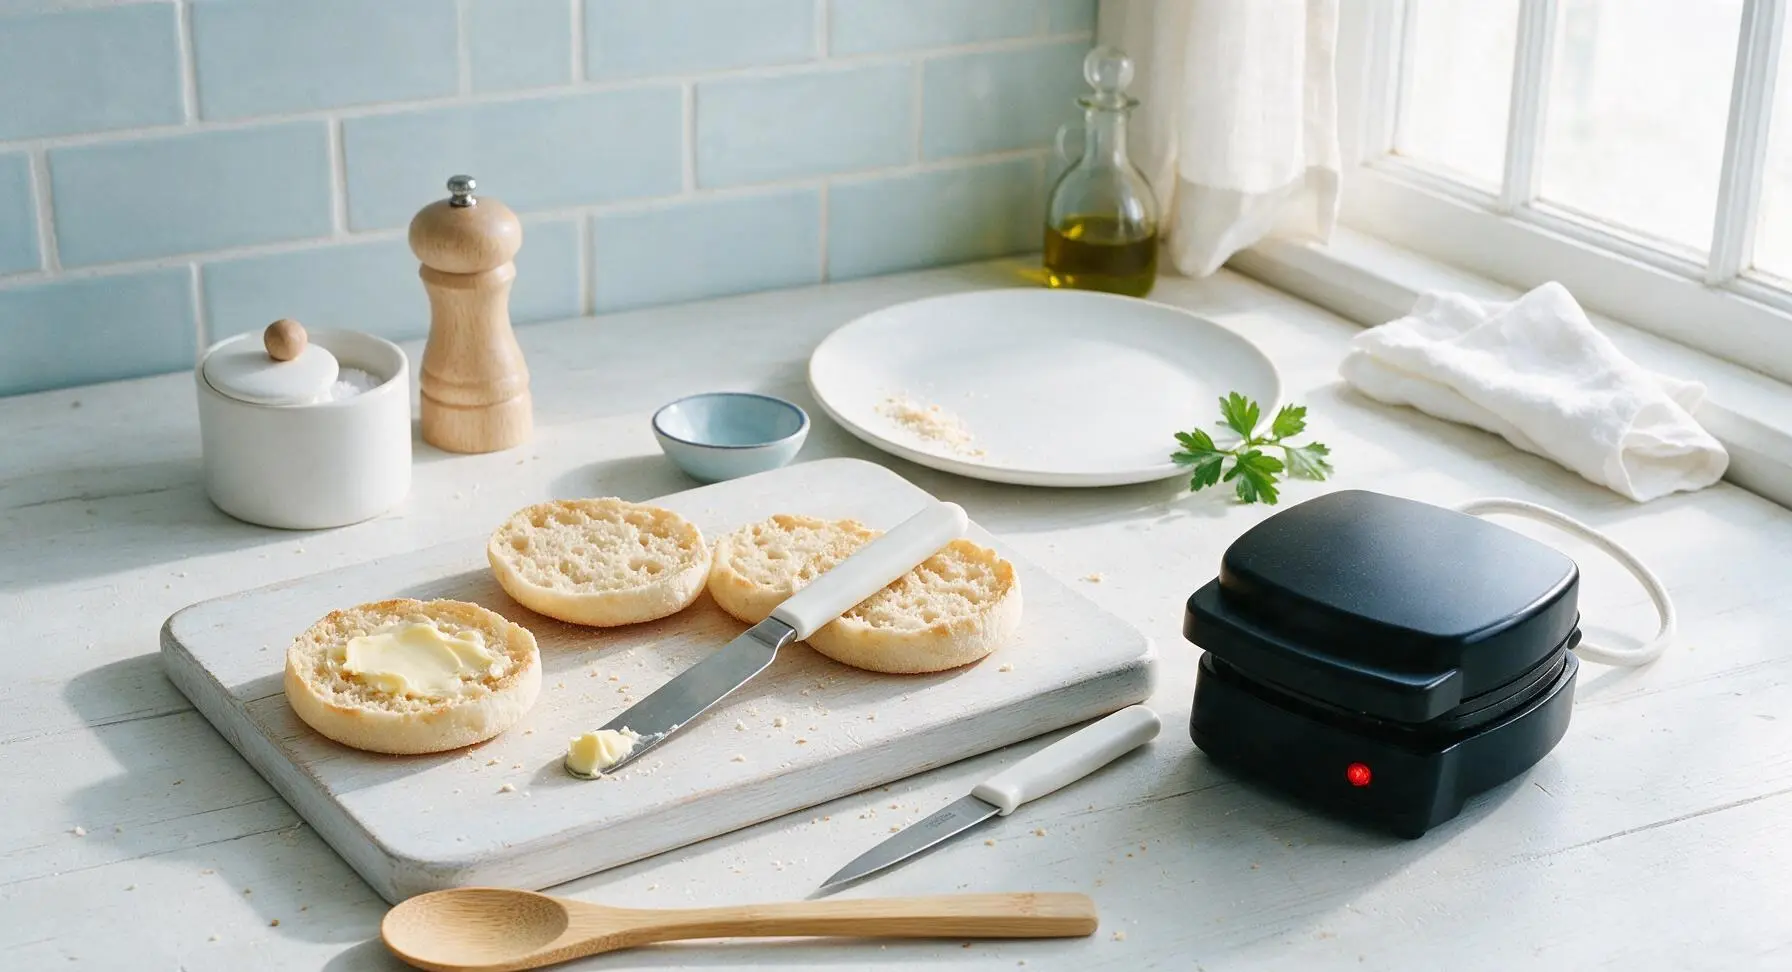
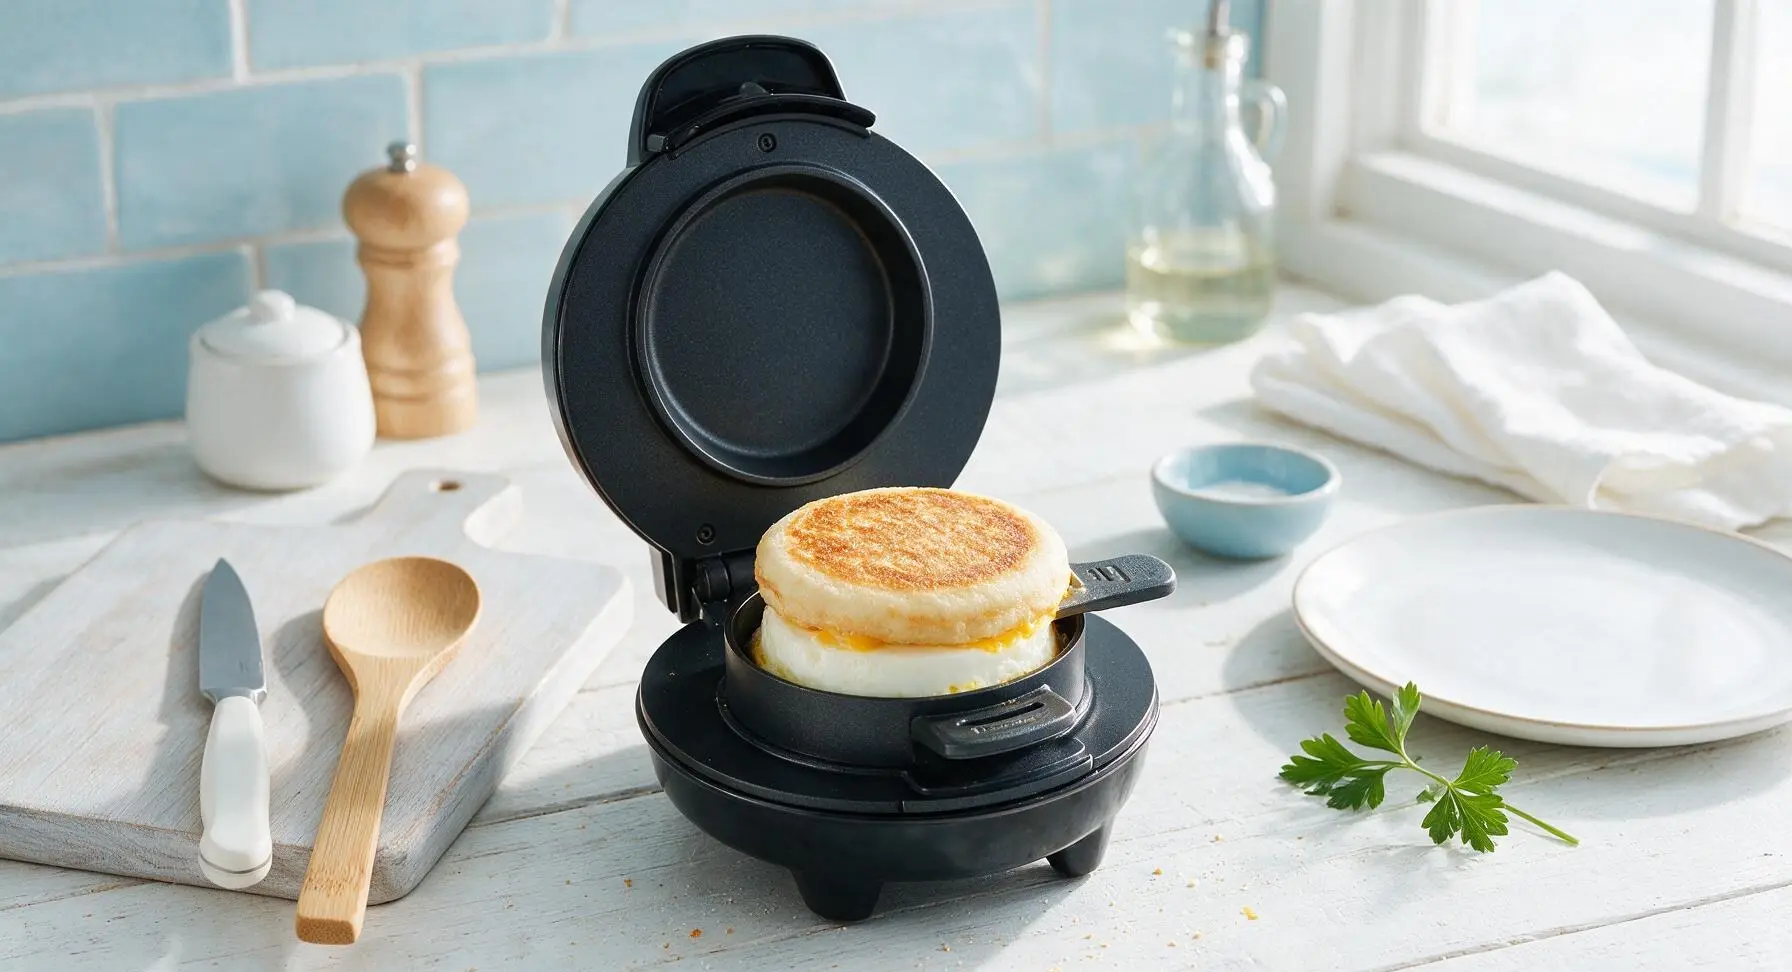
Plug in the matte black breakfast sandwich maker, close the lid, and preheat for 2 full minutes until the ready indicator light illuminates (the non-stick plates will reach roughly 375°F, ideal for crisping muffins and cooking egg evenly). While preheating, use the stainless steel butter knife to spread 1/2 tsp of softened butter evenly across the cut side of each of the four English muffin halves. Lightly season the buttered surfaces with a small pinch of kosher salt.
Add Bottom Muffin Layer
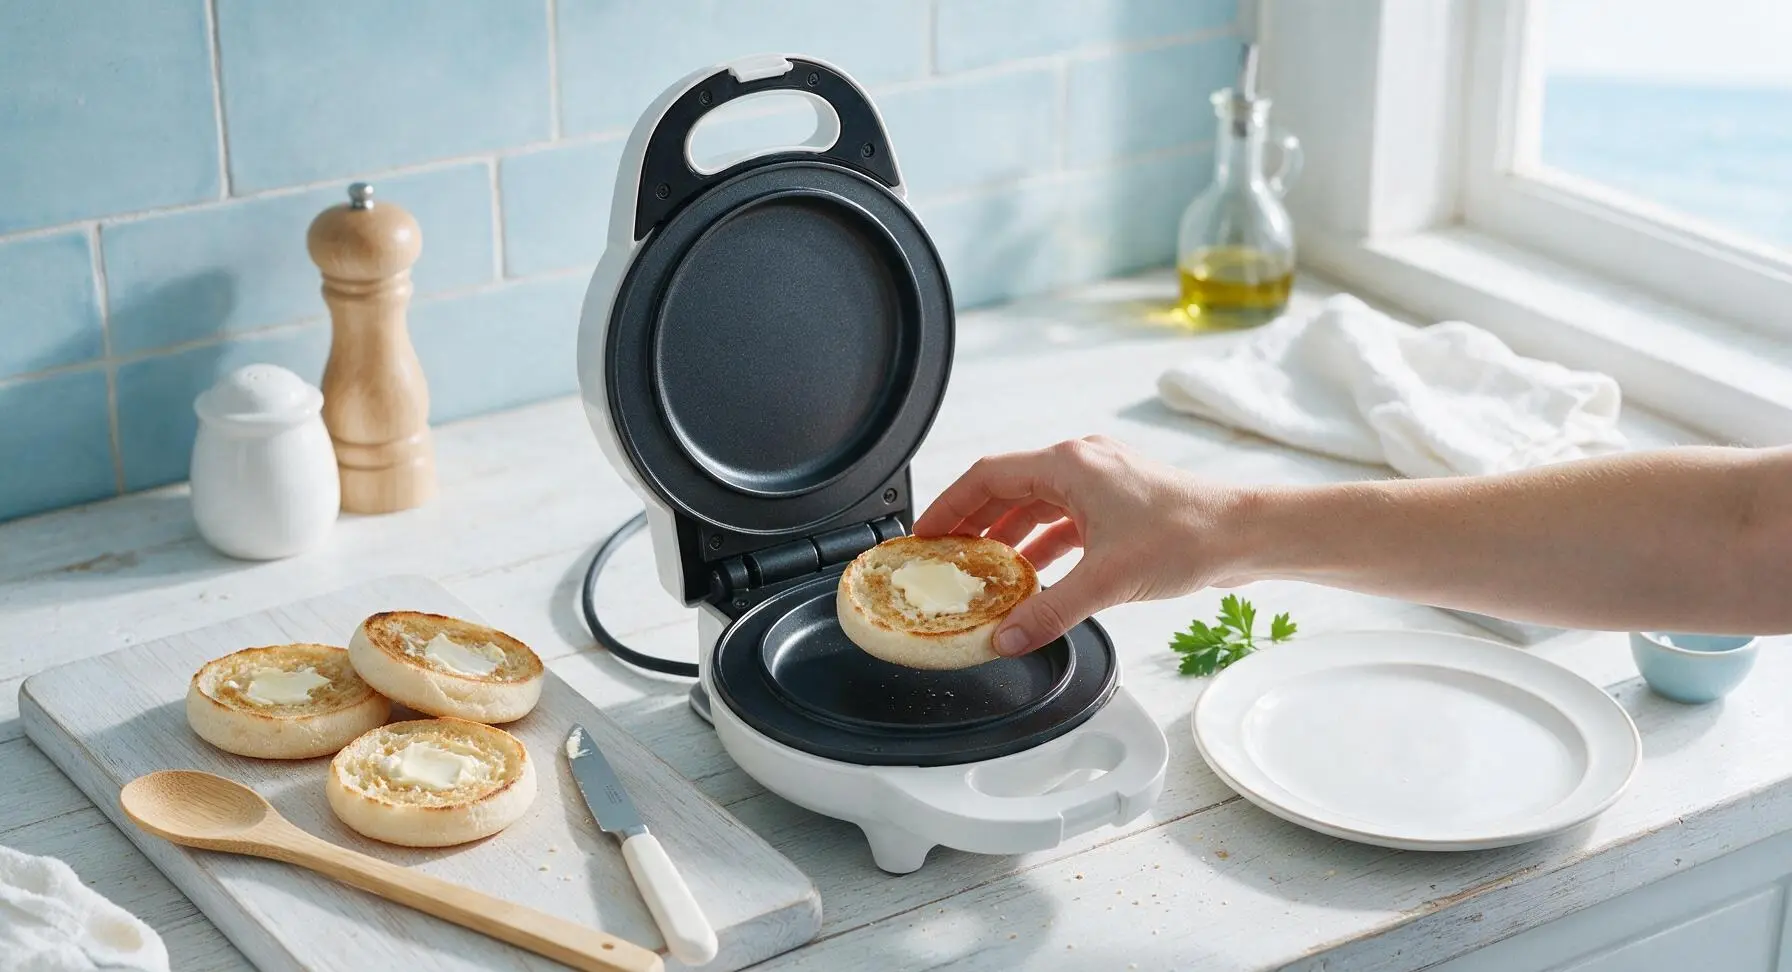
Once preheated, open the sandwich maker lid. Place one buttered English muffin half, buttered-side down, onto the bottom cooking plate. Press gently to ensure full contact with the hot non-stick surface for even, golden toasting.
Layer Sausage and Cheese
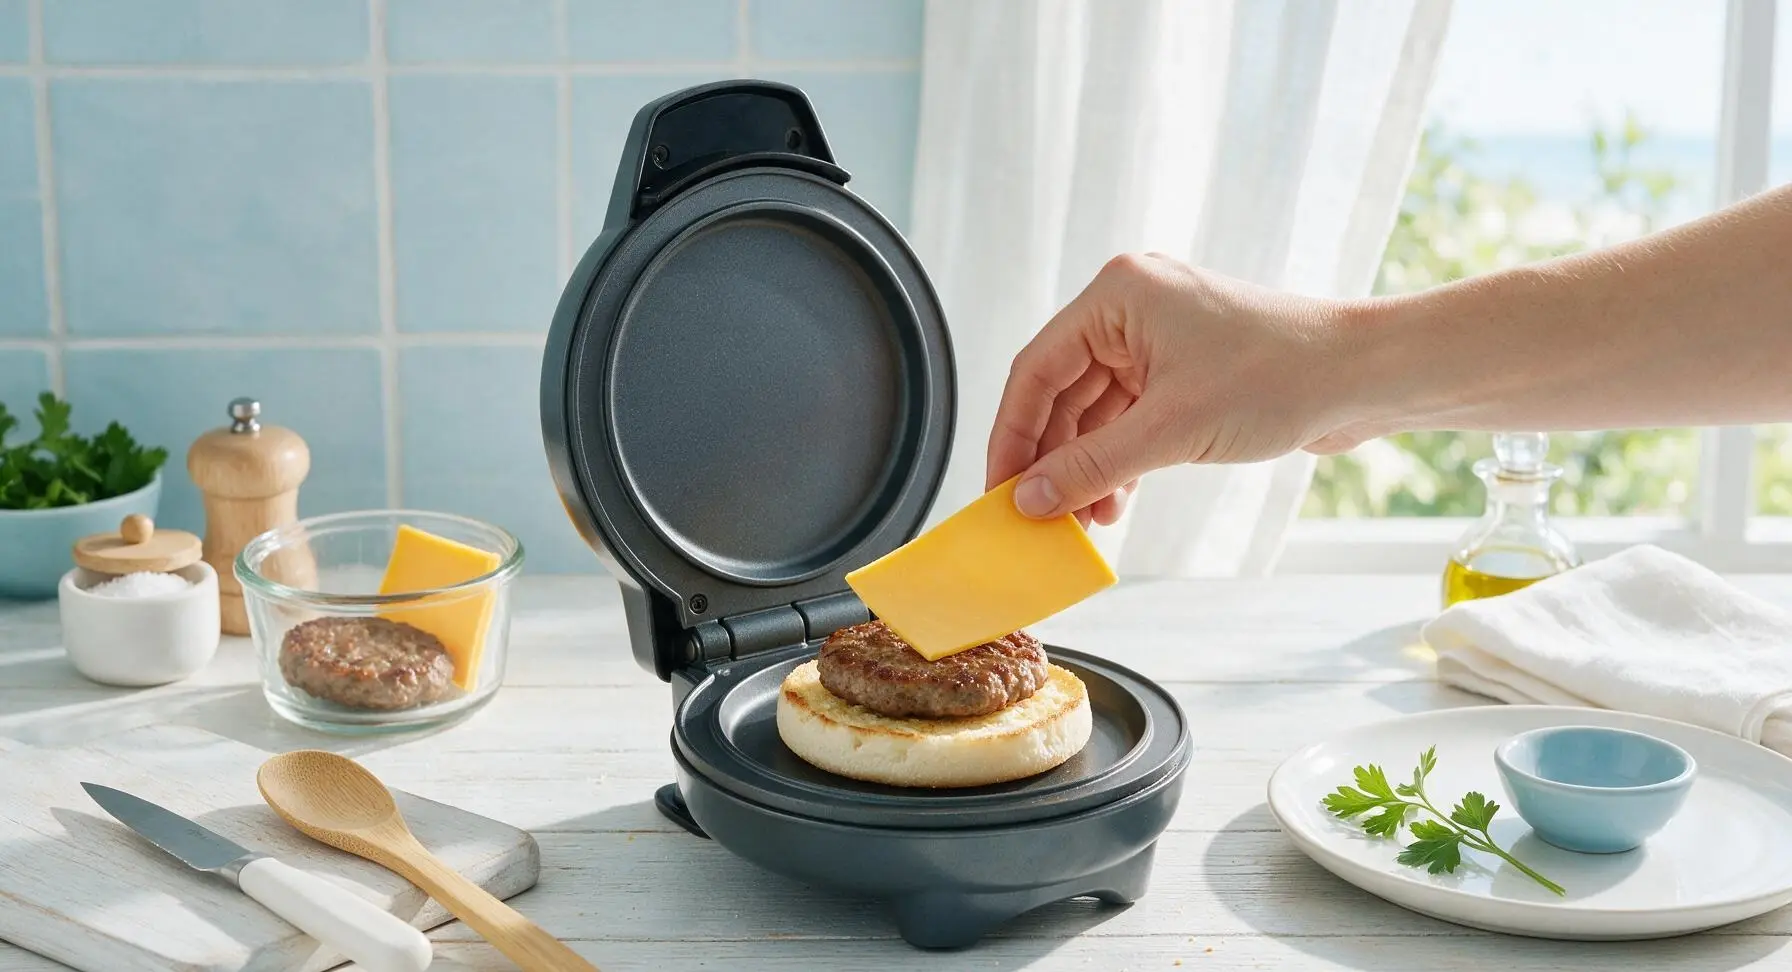
Take one pre-formed 1.5oz sausage patty from the glass ramekin and place it directly on top of the bottom English muffin half in the maker. Lay one 3/4oz slice of sharp cheddar cheese centered directly on top of the sausage patty, so it will melt evenly without dripping over the plate edges as it cooks.
Add Egg Layer
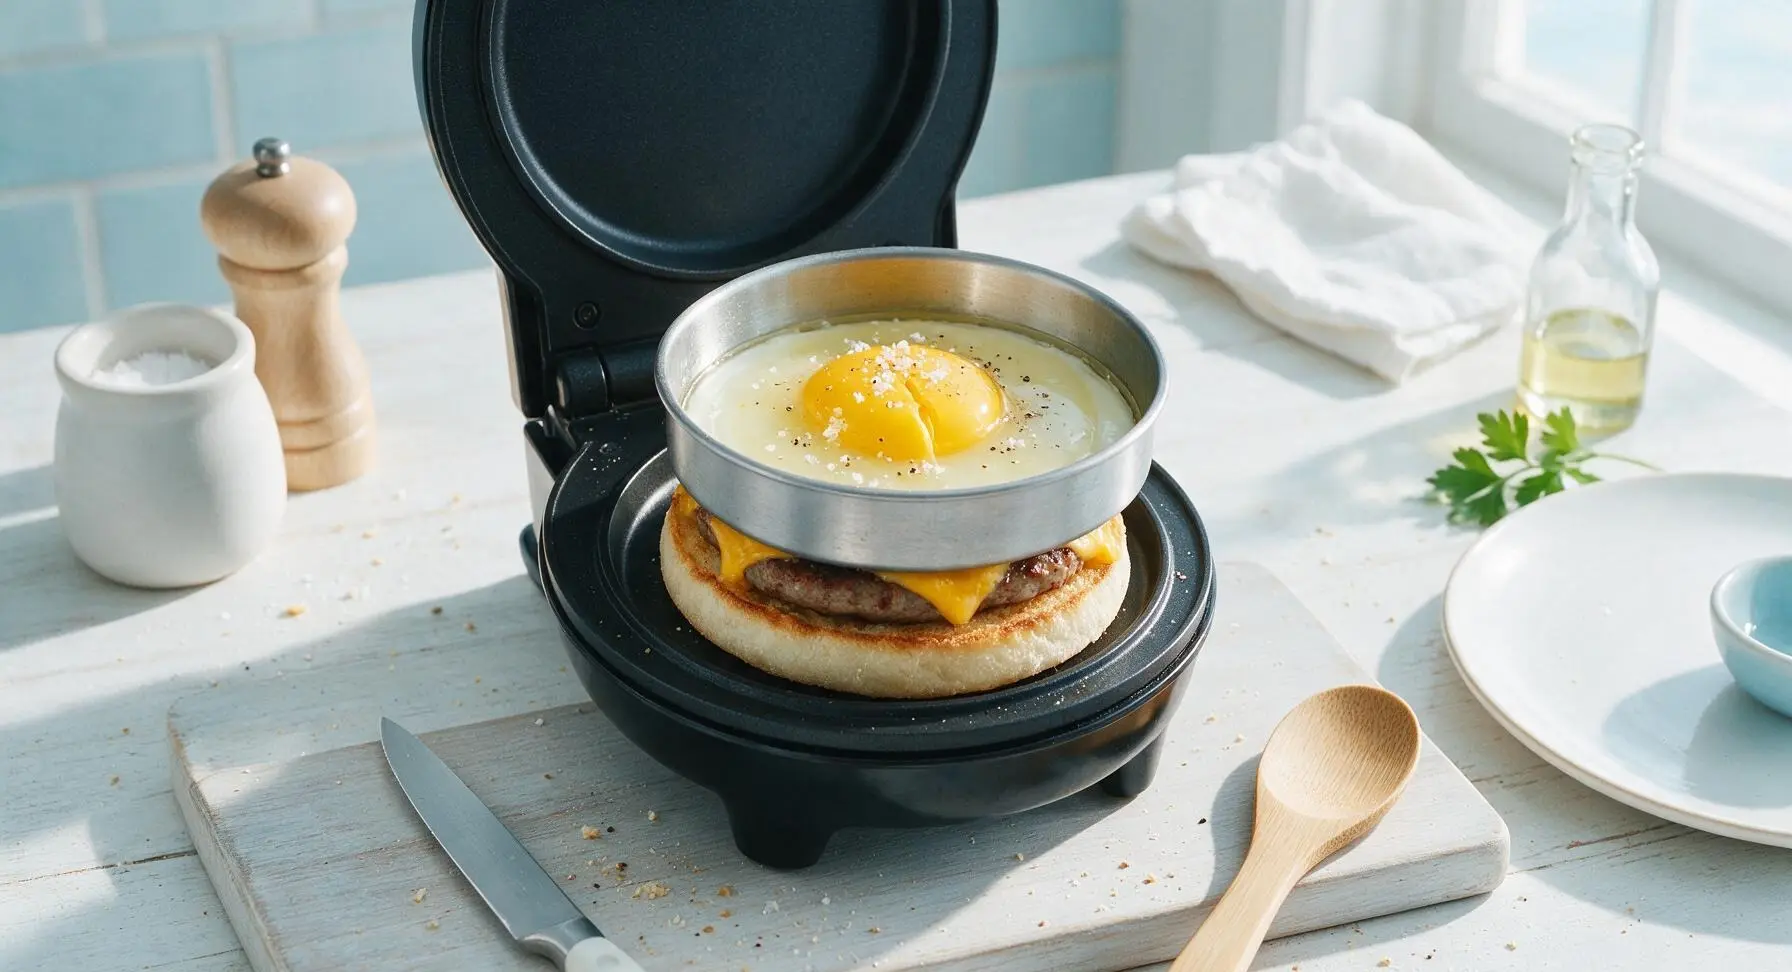
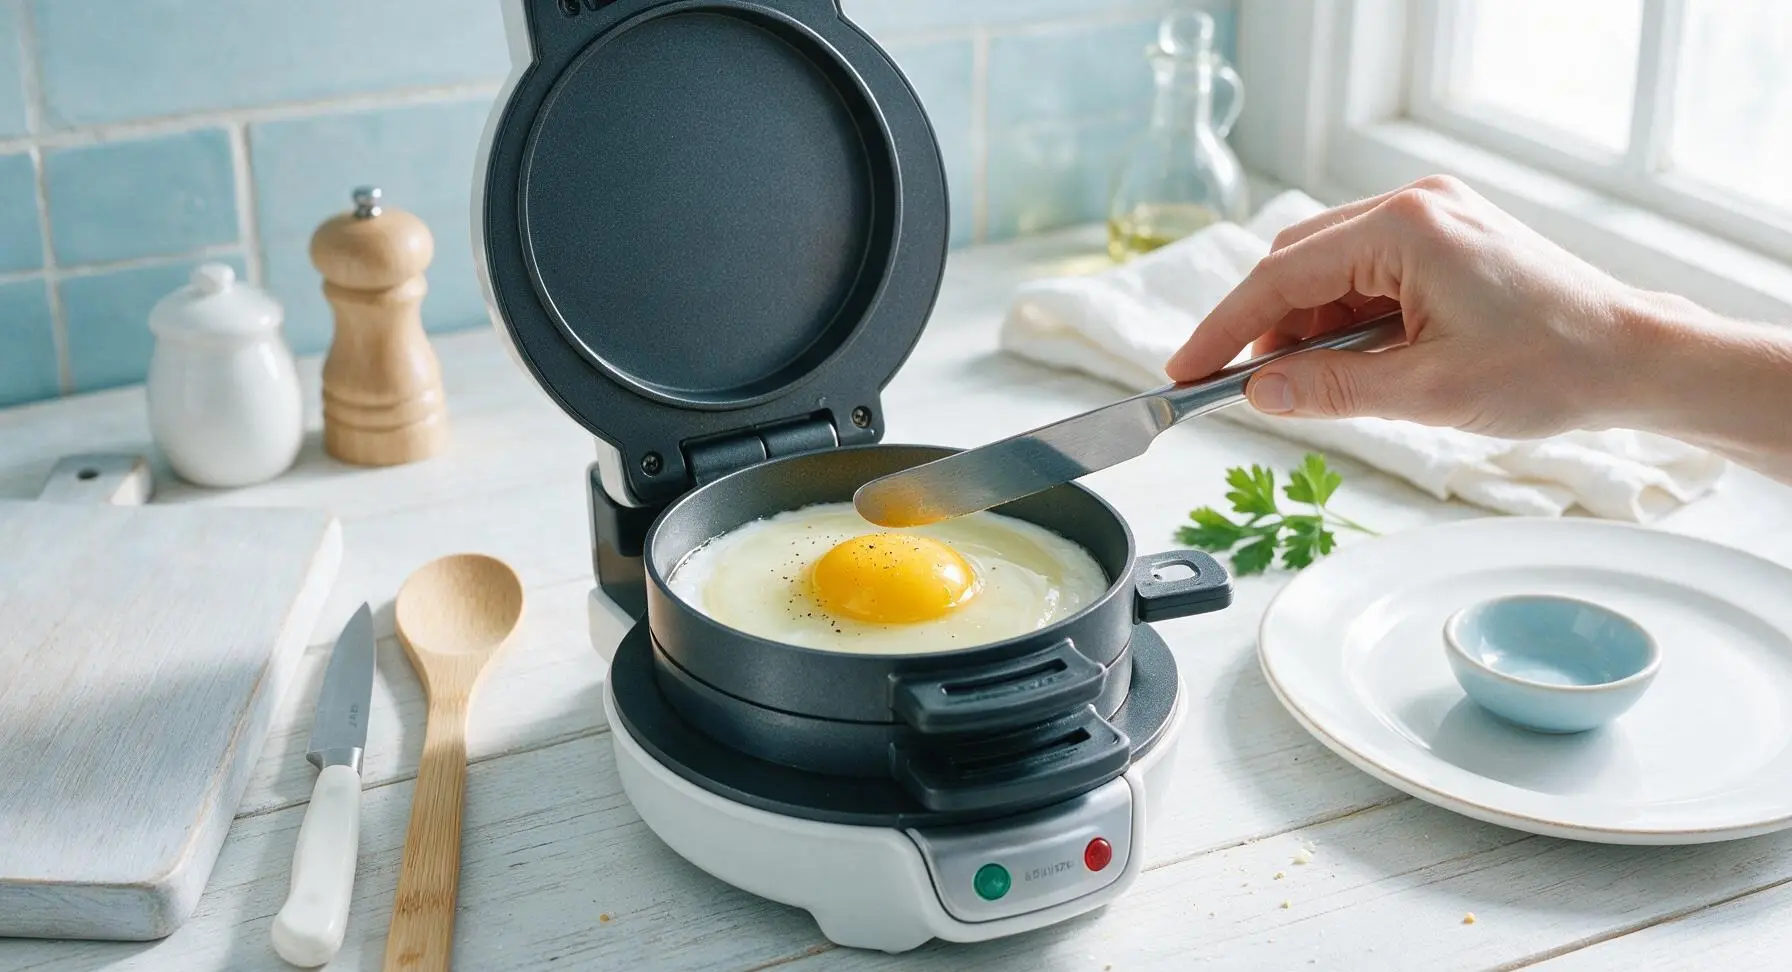
Lower the middle circular cooking ring/plate of the sandwich maker down over the cheese and sausage layer, ensuring it sits level. Crack one large egg directly into the recessed middle ring, pierce the yolk gently with the tip of the butter knife to prevent steam buildup and popping, then season with a pinch of kosher salt and a light crack of black pepper.
Top Muffin and Cook
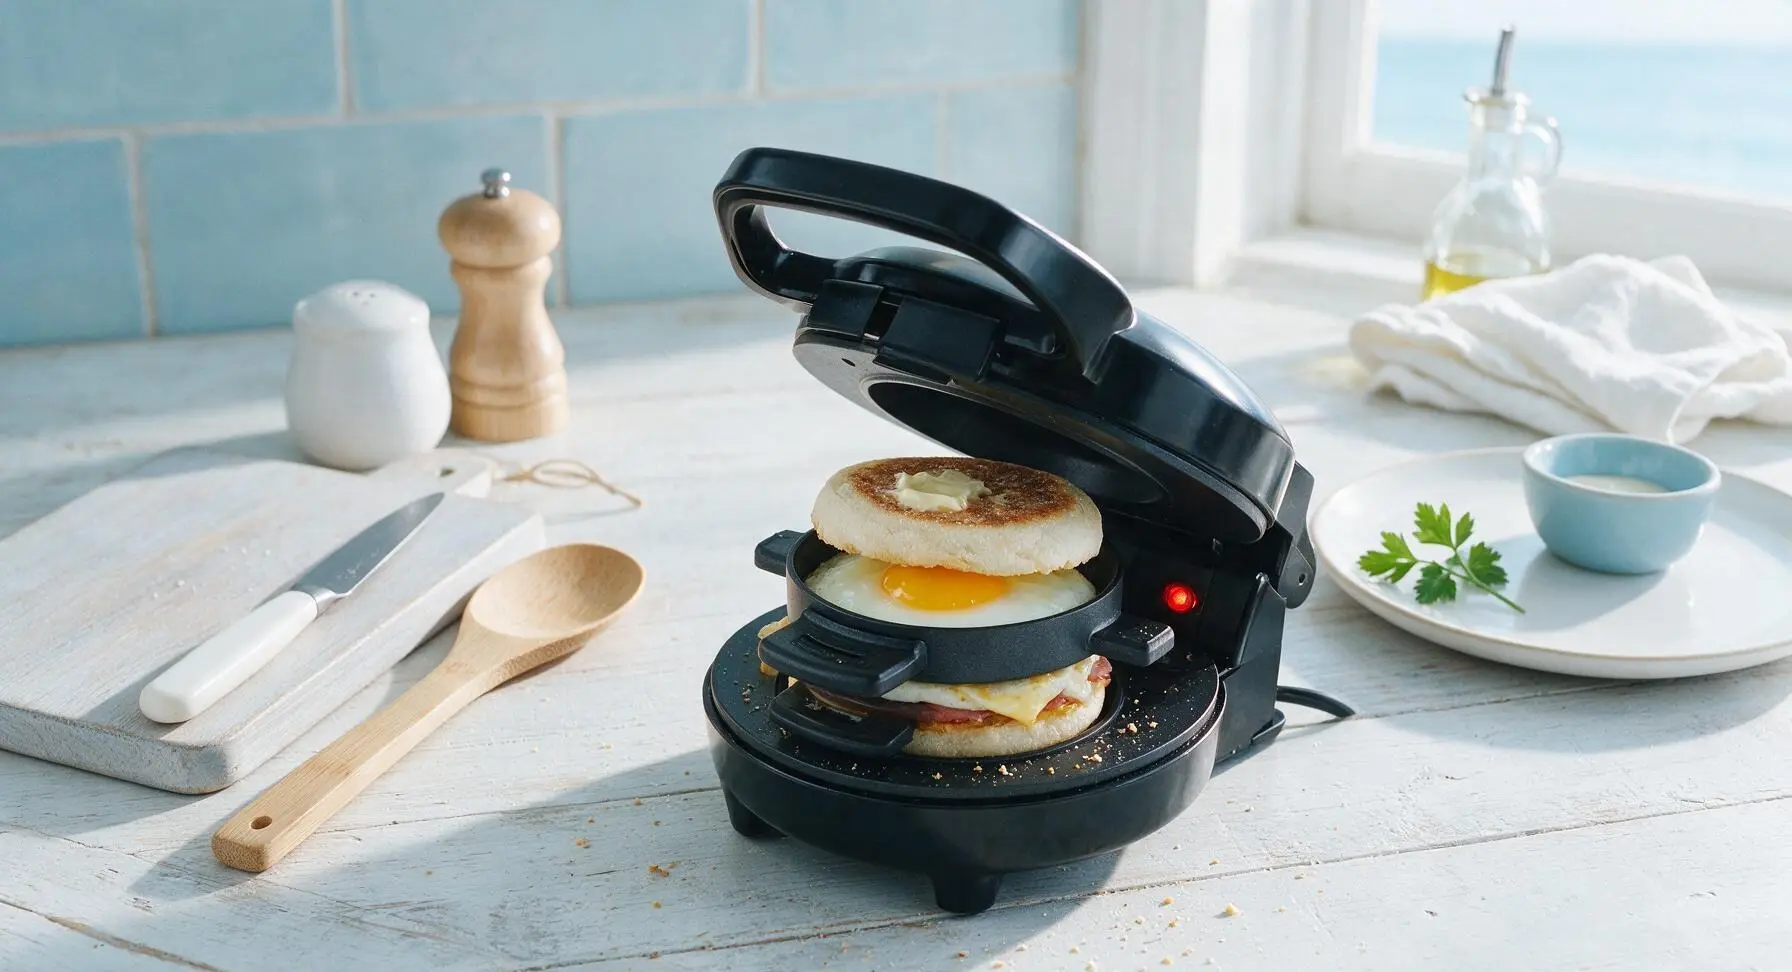
Place the second buttered English muffin half for the first sandwich, buttered-side up, on top of the raw egg in the middle ring. Close the sandwich maker lid fully, latch the cool-touch handle if your model includes a latch, and cook for exactly 4 minutes. Resist the urge to open the lid during cooking, as this releases trapped heat and will lead to unevenly set egg or partially melted cheese.
Remove Cooked Sandwich
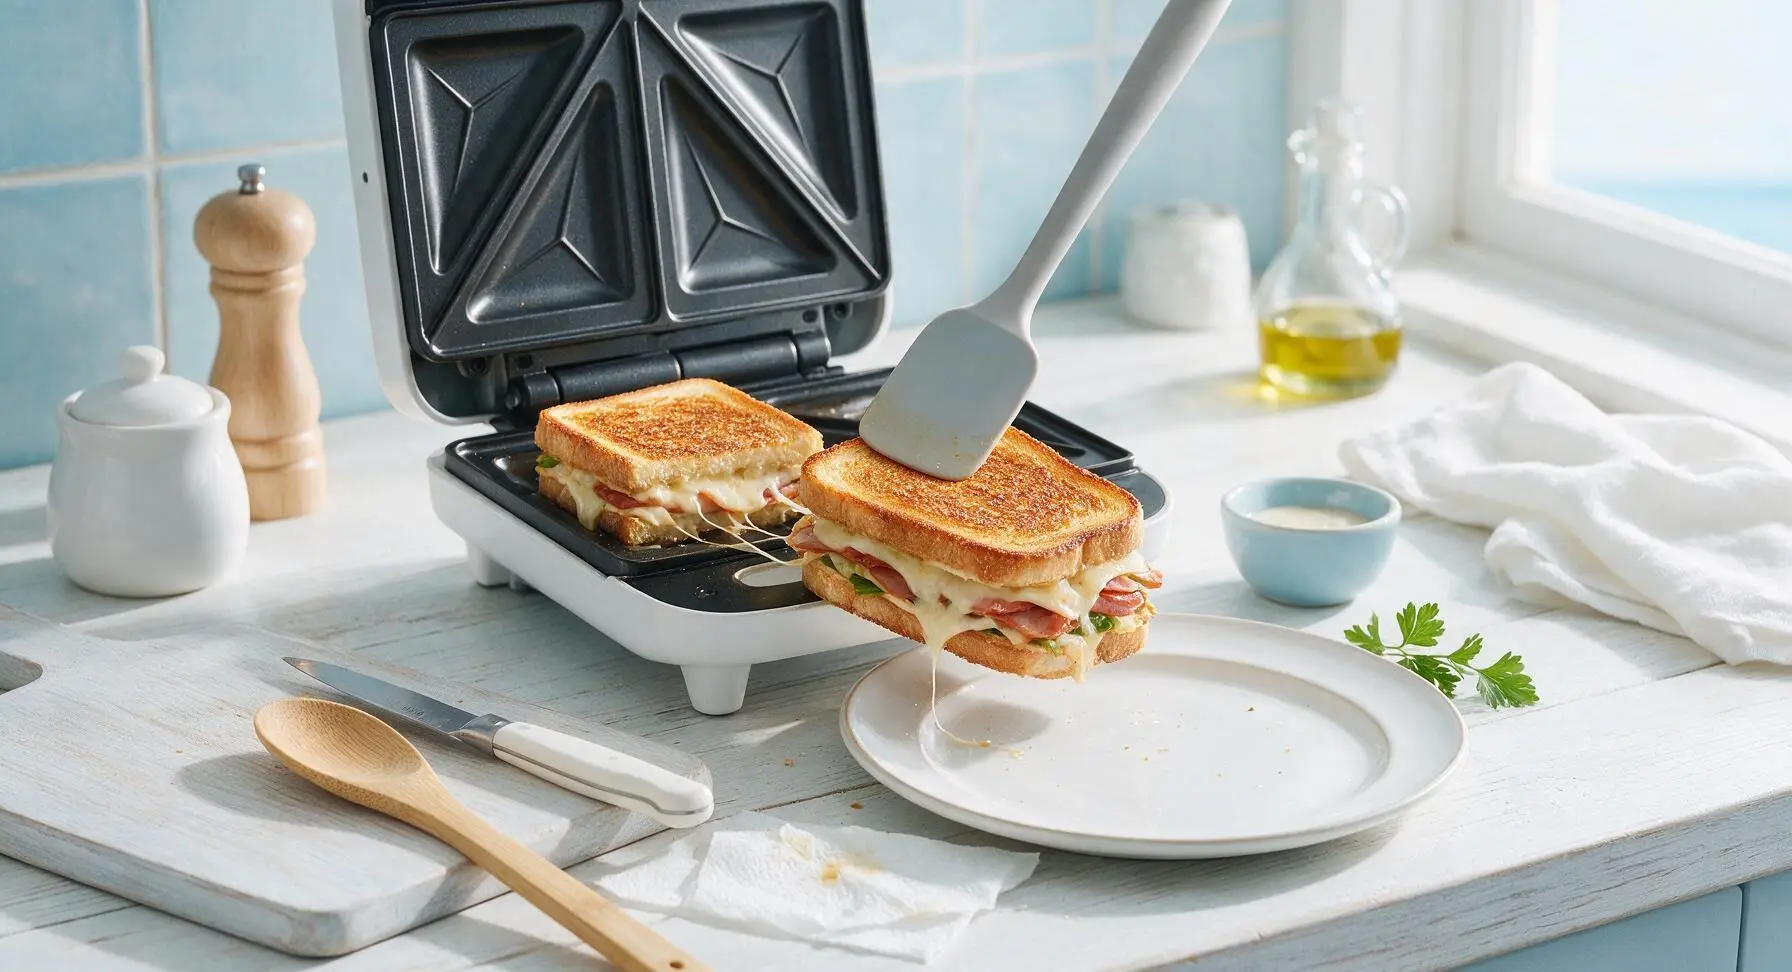
After 4 minutes of cook time, open the lid fully. Lift the middle cooking ring carefully using its built-in cool-touch tab, then use the silicone-tipped spatula to lift the fully assembled, golden-brown sandwich out of the maker and onto the warm white ceramic serving plate. Wipe any stray egg drips or crumbs from the non-stick plates with the folded paper towel, then repeat the full layering process (bottom muffin, sausage, cheese, egg, top muffin) to cook the second sandwich for another 4 minutes.
Garnish and Serve
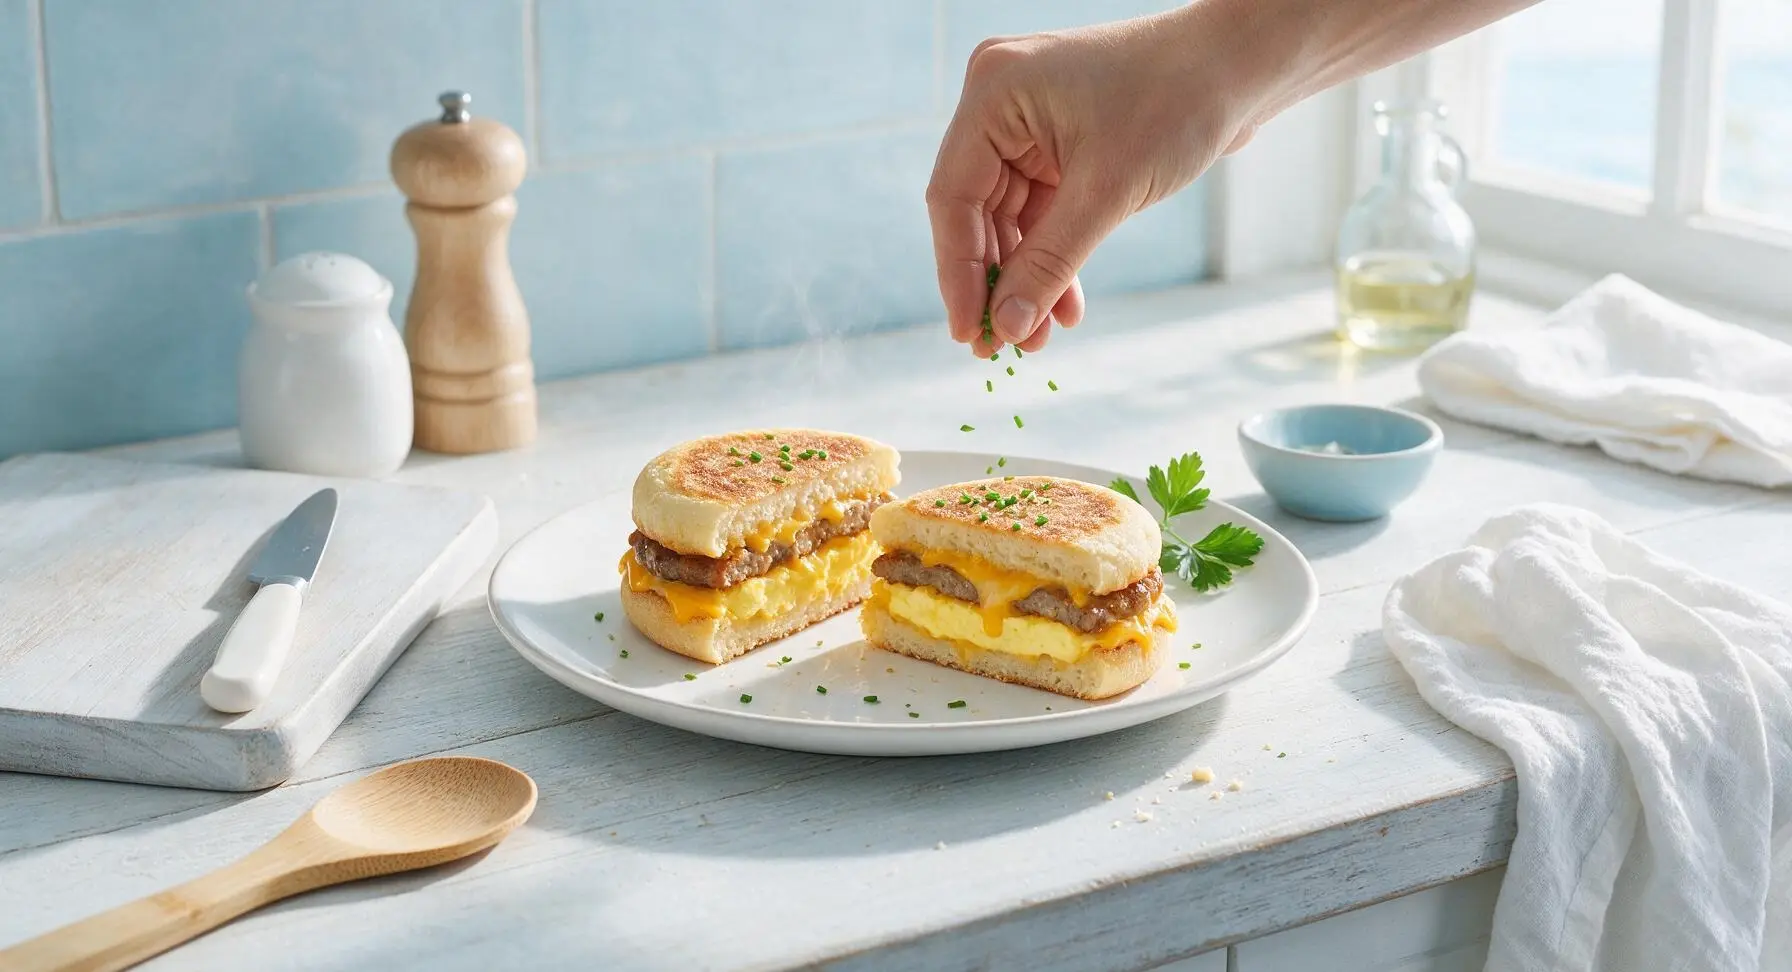
Once both sandwiches are cooked and resting on the serving plate, cut each diagonally in half with the stainless steel butter knife. Sprinkle the tops with finely chopped fresh chives, add one final light crack of black pepper if desired, and serve immediately while the cheese is melted and the muffin edges are crisp.
Tips
2.Avoid overstuffing sandwich layers: if using homemade sausage patties thicker than 1/2 inch, press them to 1/3 inch thickness before cooking, as overfilled layers will prevent the lid from latching fully, leading to uneven toasting, undercooked egg, and cheese drips down the sides of the appliance.
3.Let the finished sandwich rest for 60 seconds after removing it from the maker: this short rest lets the melted cheese set slightly so it does not slide out when you take the first bite, and cools the very hot egg and cheese to a temperature that won’t burn your tongue.






OMG this is such a game changer for busy school mornings! I used to drag my feet making breakfast before dropping the kids off, but 8 minutes total? I threw a slice of American cheese, some crumbled cooked bacon, and a beaten egg in my sandwich maker and it came out perfectly crispy on the outside, no messy drips! My kids devoured theirs and asked for seconds, which never happens on a weekday.
Tried this for the first time this morning after digging my old sandwich maker out of the back of my pantry. Used sourdough English muffins instead of regular bread, added a little hot sauce to the egg, and it tasted exactly like the sandwiches I used to get at my hometown diner after late nights in high school. SO good, will be making this every weekend from now on.
I swapped the egg for a chickpea flour egg, used dairy-free cheddar, and added some sautéed spinach, and it worked perfectly in my sandwich maker! Super customizable, even for plant-based folks. The cook time was exactly spot on too, no burnt edges.
Wait, is there a trick to not having the egg ooze out the sides of the sandwich maker when I close it? I made this yesterday and half the egg cooked onto the plates instead of staying in the sandwich. Tasted great, just messy to clean up lol.
Made these for my poker night with the guys last weekend instead of ordering takeout, and everyone was begging for the recipe. I did half with sausage patties and half with Canadian bacon, both were a total hit. Way cheaper than hitting up the diner down the street too.
Perfect recipe for my tiny dorm! I don’t have a full kitchen, just a mini fridge and a cheap sandwich maker, and this came together with no fancy equipment. Used pre-cooked microwavable bacon to keep it extra easy, 10/10.
I followed the recipe exactly and it was good, but I found the bread got a little soggier than I like when I added the egg. Any ideas for crispier bread?
Game. Changer. I added a hash brown patty (the frozen kind you crisp up in the toaster) inside the sandwich and it was like the ultimate diner breakfast, all in one little package. My roommate walked in, smelled it, and immediately asked me to make him one too.
My 7 year old is super picky and usually turns up his nose at any hot breakfast, but he ate this entire sandwich without a single complaint! I cut it into little sticks for him to dip in ketchup, and he asked if we can have “pocket egg sandwiches” every Saturday.
I keep a sandwich maker in my RV for camping trips, and this recipe is going straight into the regular rotation. No messy pans to wash, done in 8 minutes, filling enough to keep us full for hours of hiking. Absolute win.
I don’t have a dedicated sandwich maker, can I make this in a regular panini press? I don’t want to buy a whole new appliance just for this, but it looks so good.
I made a batch of 6 of these on Sunday for my work breakfasts this week, and they’re holding up so good! I wrapped each one in parchment paper and stuck them in the fridge, and they heat up perfectly in the office toaster oven. Way better than spending $5 on a breakfast sandwich every morning at the café near my job.
Added a slice of pepper jack cheese, some pickled jalapeños, and a sprinkle of cajun seasoning to mine, and it had the perfect little kick. If you like spicy food you have to try this combo, trust me.
Made these for a neighborhood potluck brunch last weekend, served them alongside mimosas and a big fruit salad, and everyone raved. They’re so quick to make that I didn’t even have to stress about prepping a fancy dish, I just popped them in the sandwich maker one after another while we chatted.
Perfect quick breakfast before early shifts. I can throw this together while my coffee brews, eat it on my drive to the job site, and I’m not hungry again until lunch. Way more filling than a granola bar, that’s for sure.