
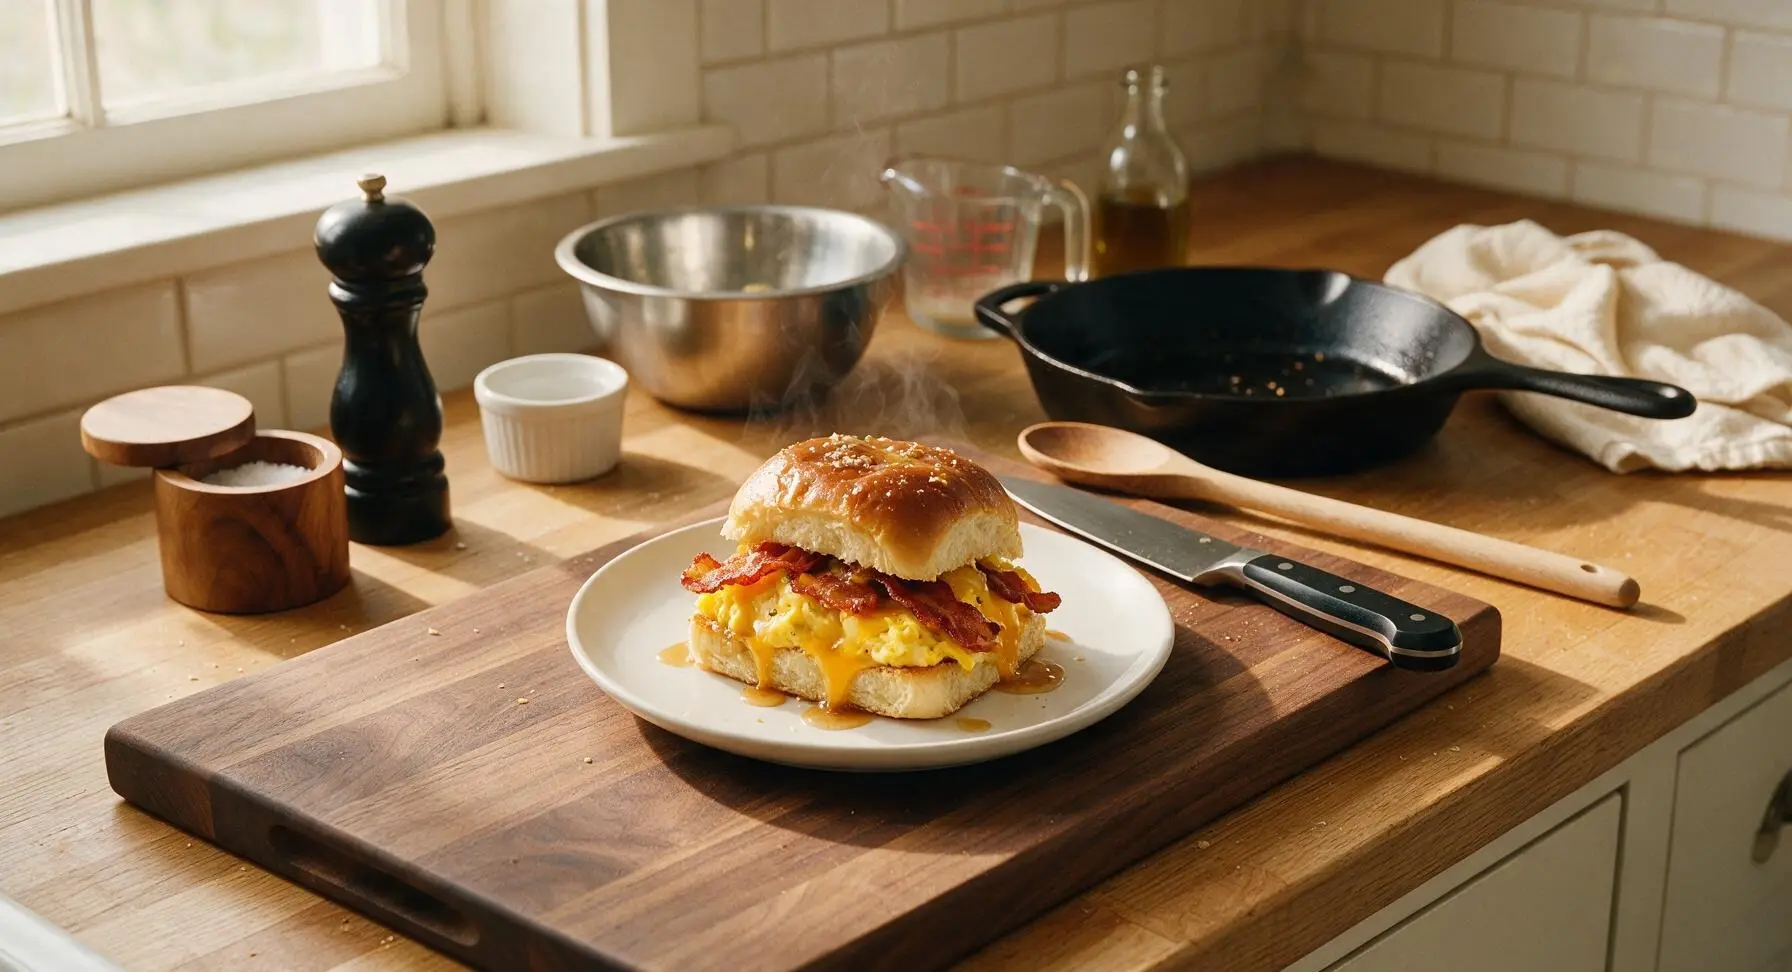
Breakfast Slider

title 1
Breakfast Slider
⏱️ cook time 25 minutes
🍽️ servings 6
⚡ Difficulty easy

intro

Soft Hawaiian rolls loaded with crispy bacon, fluffy eggs, melted cheddar, and a sweet maple-butter glaze—perfect handheld, shareable bites for casual gatherings.

Ingredients
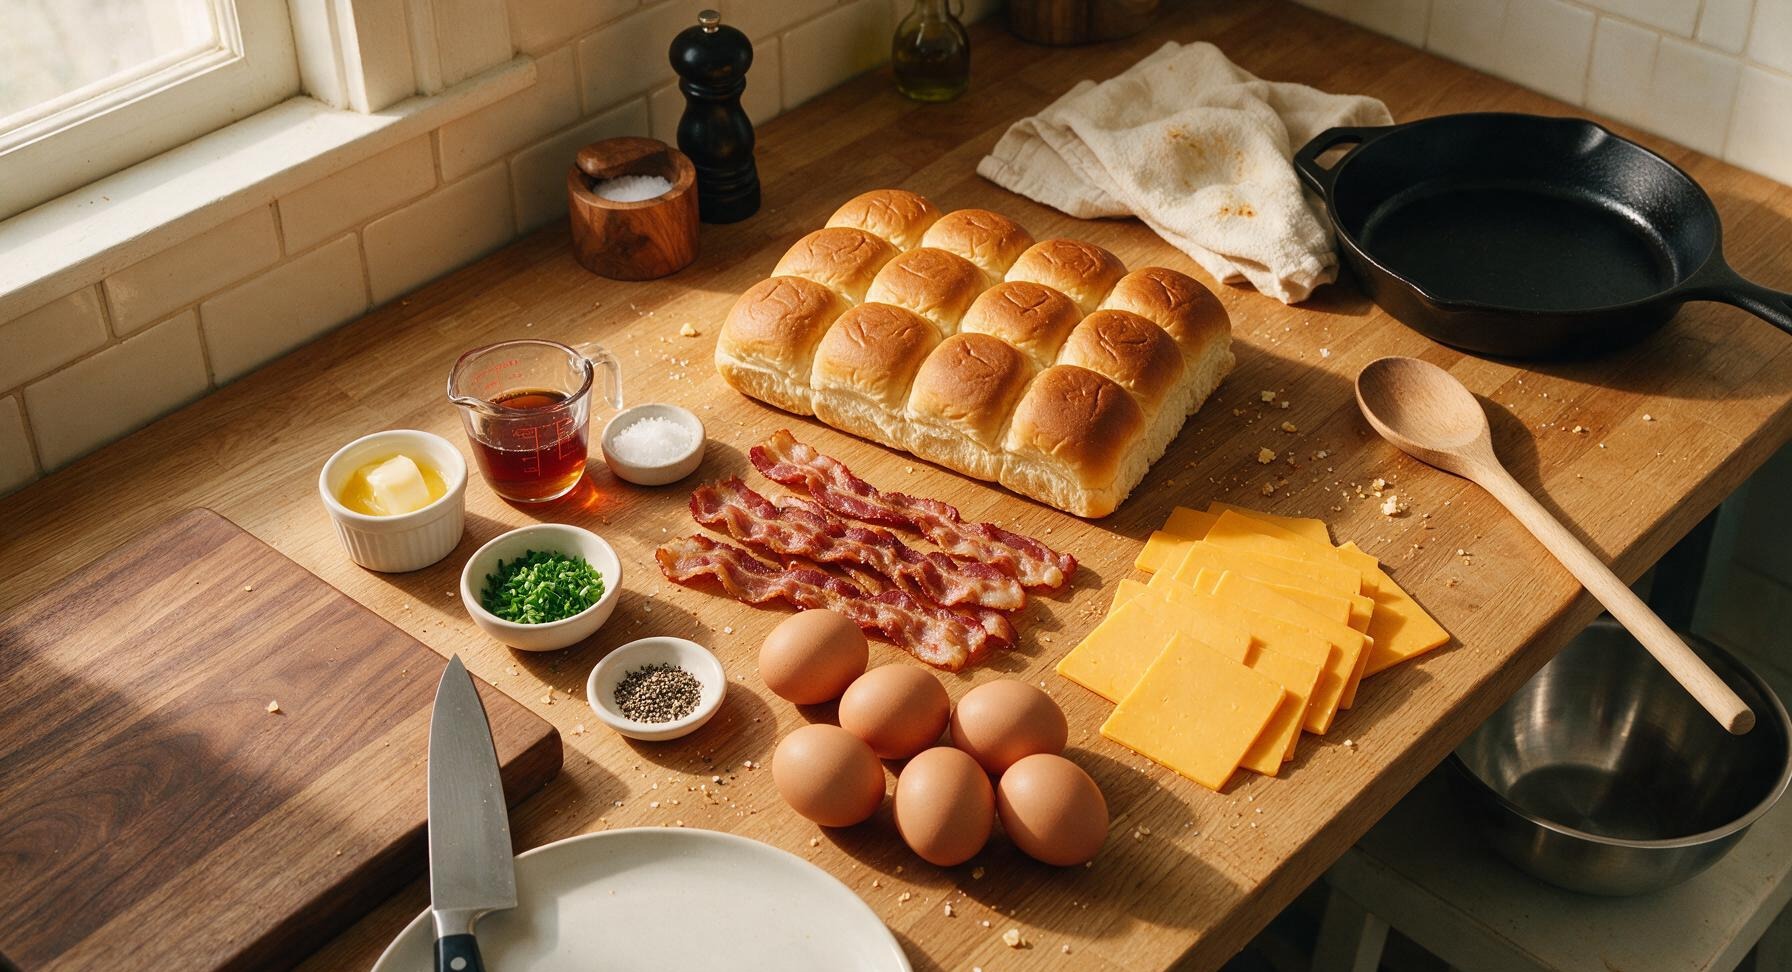
Hawaiian sweet dinner rolls 12 count (1 12oz pack, connected slab)
Thick-cut bacon 8 slices (225g)
Large eggs 6 each
Sharp cheddar cheese 12 slices (225g)
Unsalted butter 4 tbsp (56g, melted)
Pure maple syrup 2 tbsp
Flaky sea salt 1/2 tsp
Freshly ground black pepper 1/4 tsp
Fresh chives 2 tbsp (chopped)

Steps

1

Cook Crispy Bacon

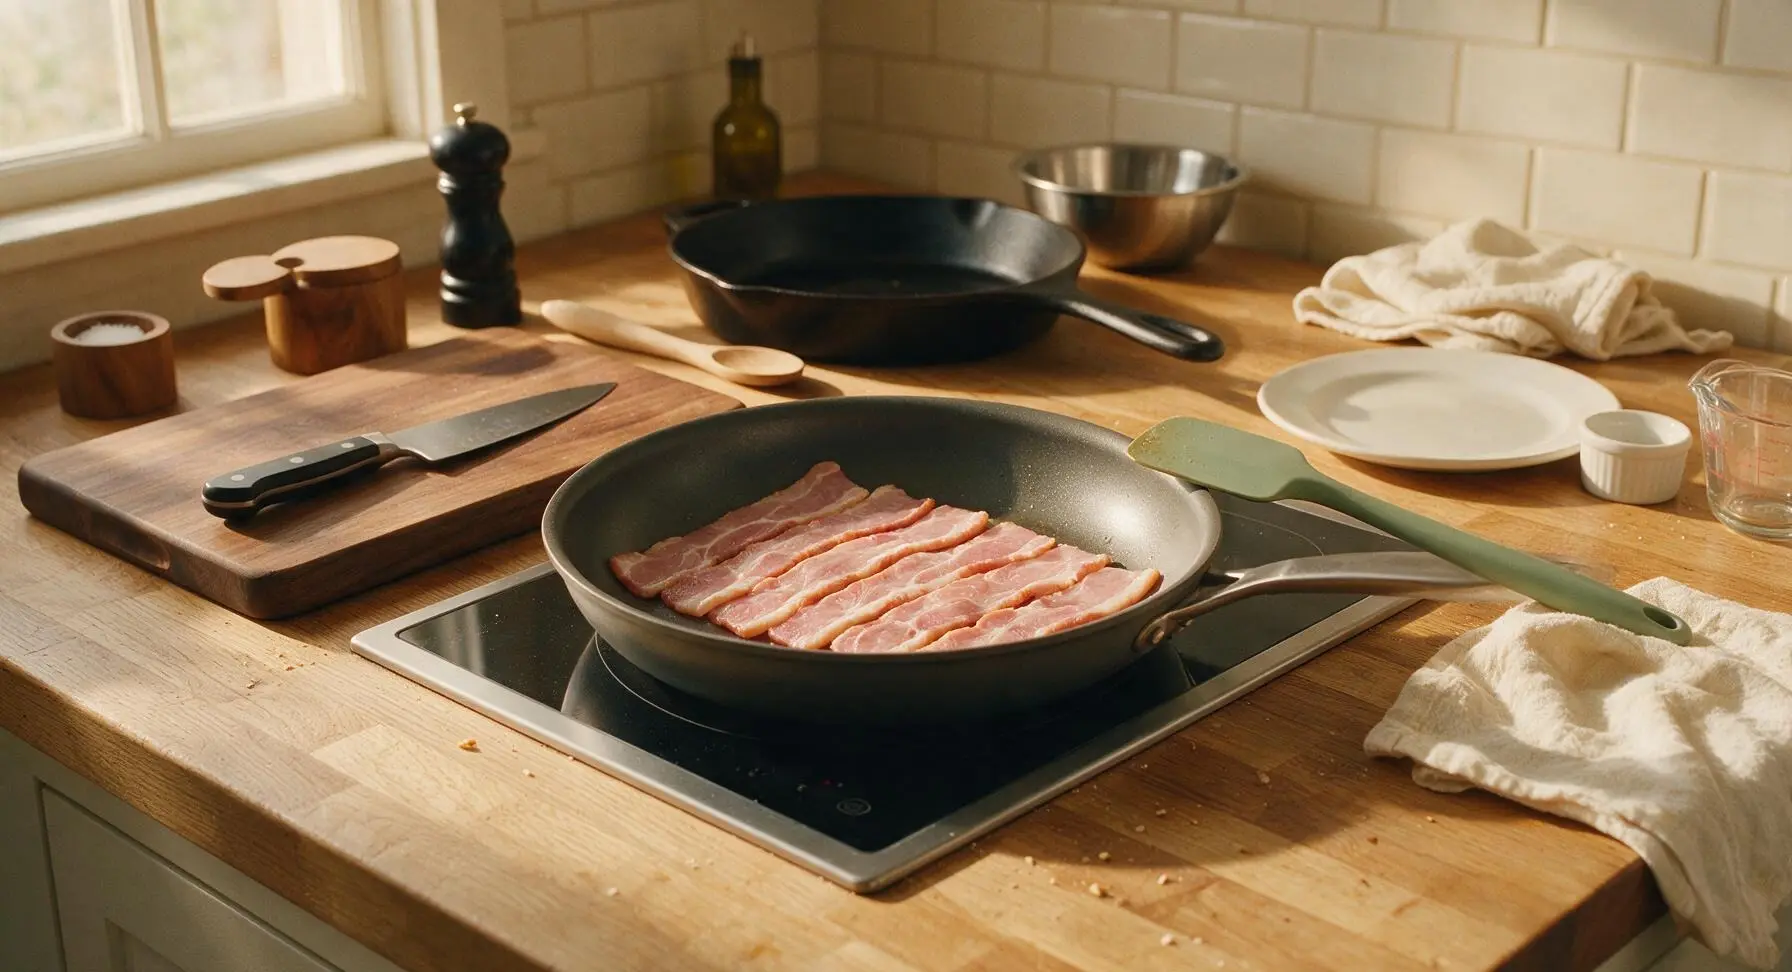
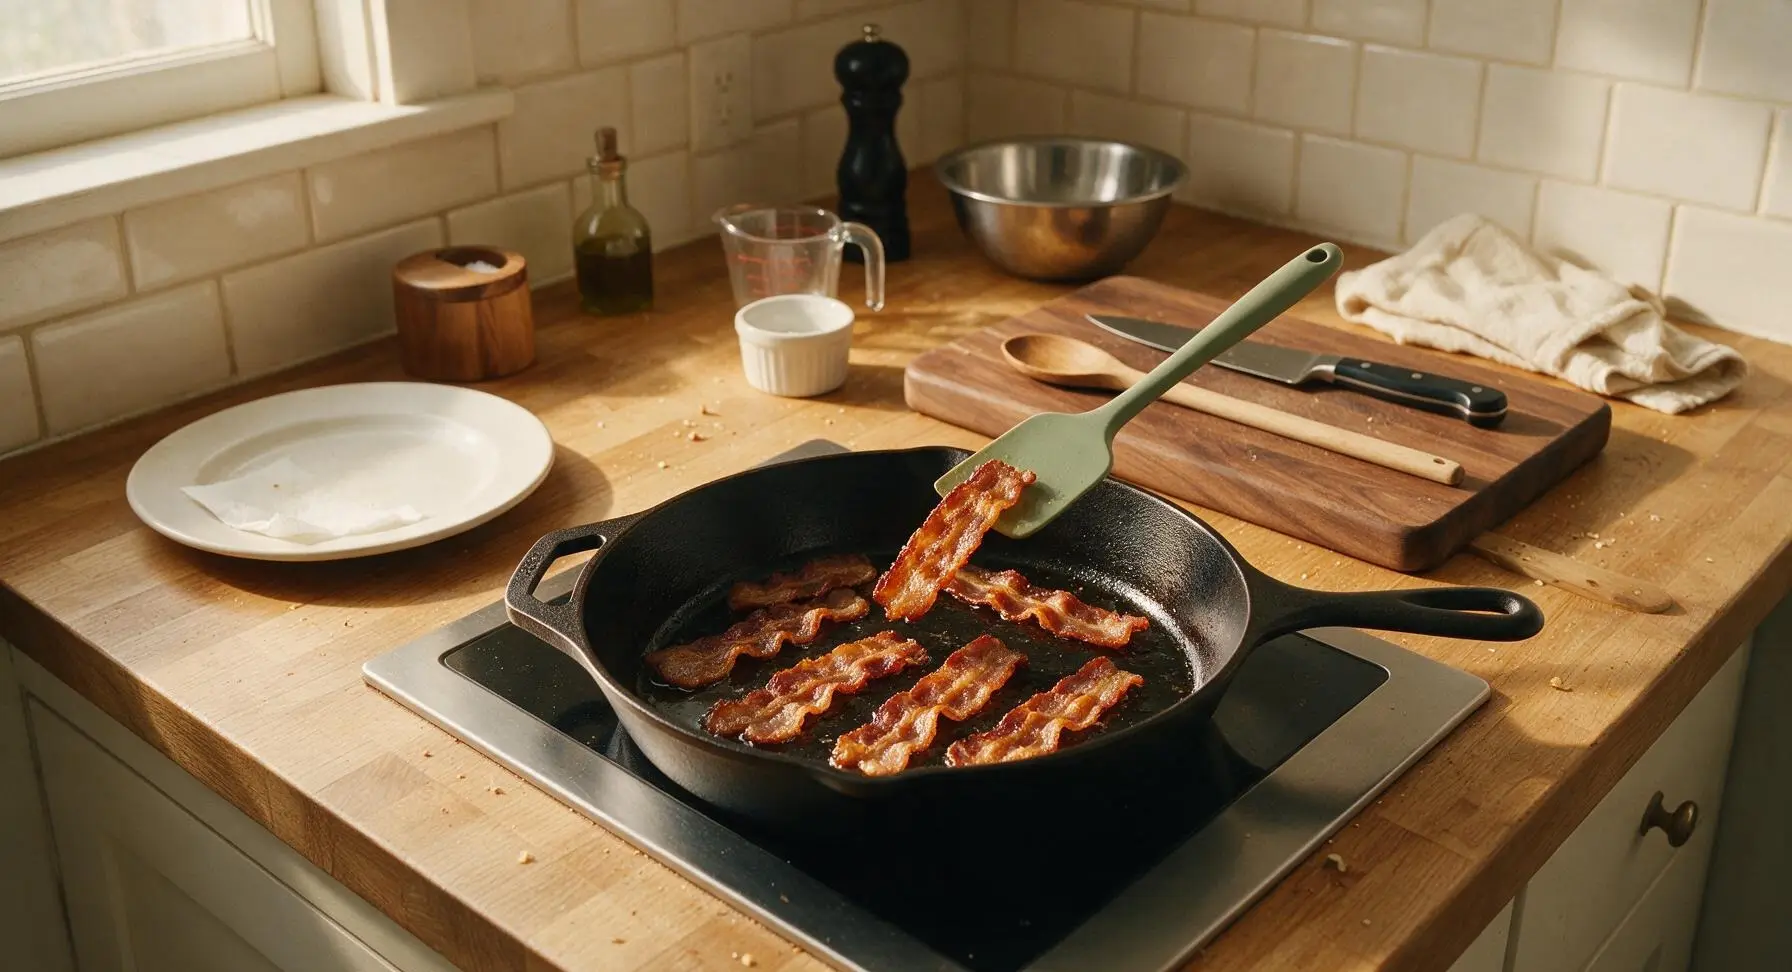
Set the 10-inch matte charcoal non-stick skillet on the flush-mount induction cooktop over medium heat. Lay 8 slices of thick-cut bacon in a single layer in the cold skillet, cooking 6-8 minutes total, flipping once with the sage green silicone spatula halfway through, until bacon is deep golden and crispy around the edges. Transfer cooked bacon to a small plate lined with a scrap of paper towel set near the left edge of the counter to drain excess grease, set aside. Leave 1 teaspoon of rendered bacon grease in the skillet to cook the eggs; pour off any excess. Visual cue: bacon will shrink slightly and turn deep amber, with curled crispy edges when done.
Step 1
step1:Cook Crispy Bacon
Step 1
step1:Cook Crispy Bacon
2

Cook Fluffy Eggs

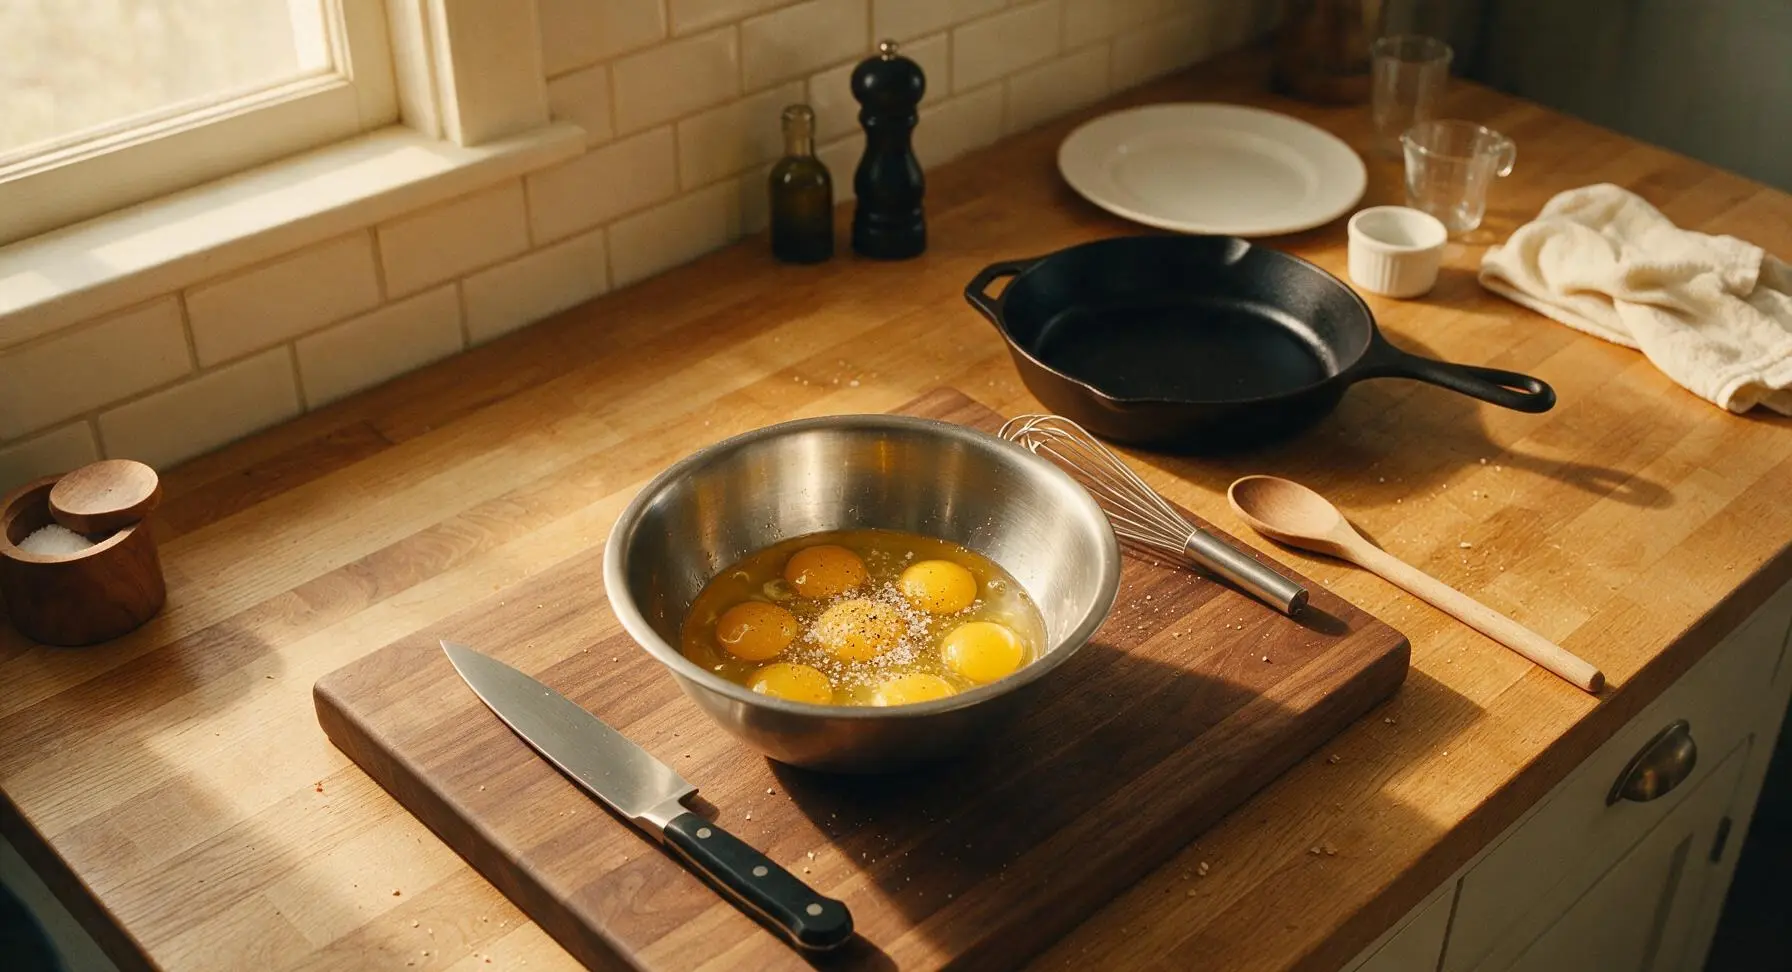
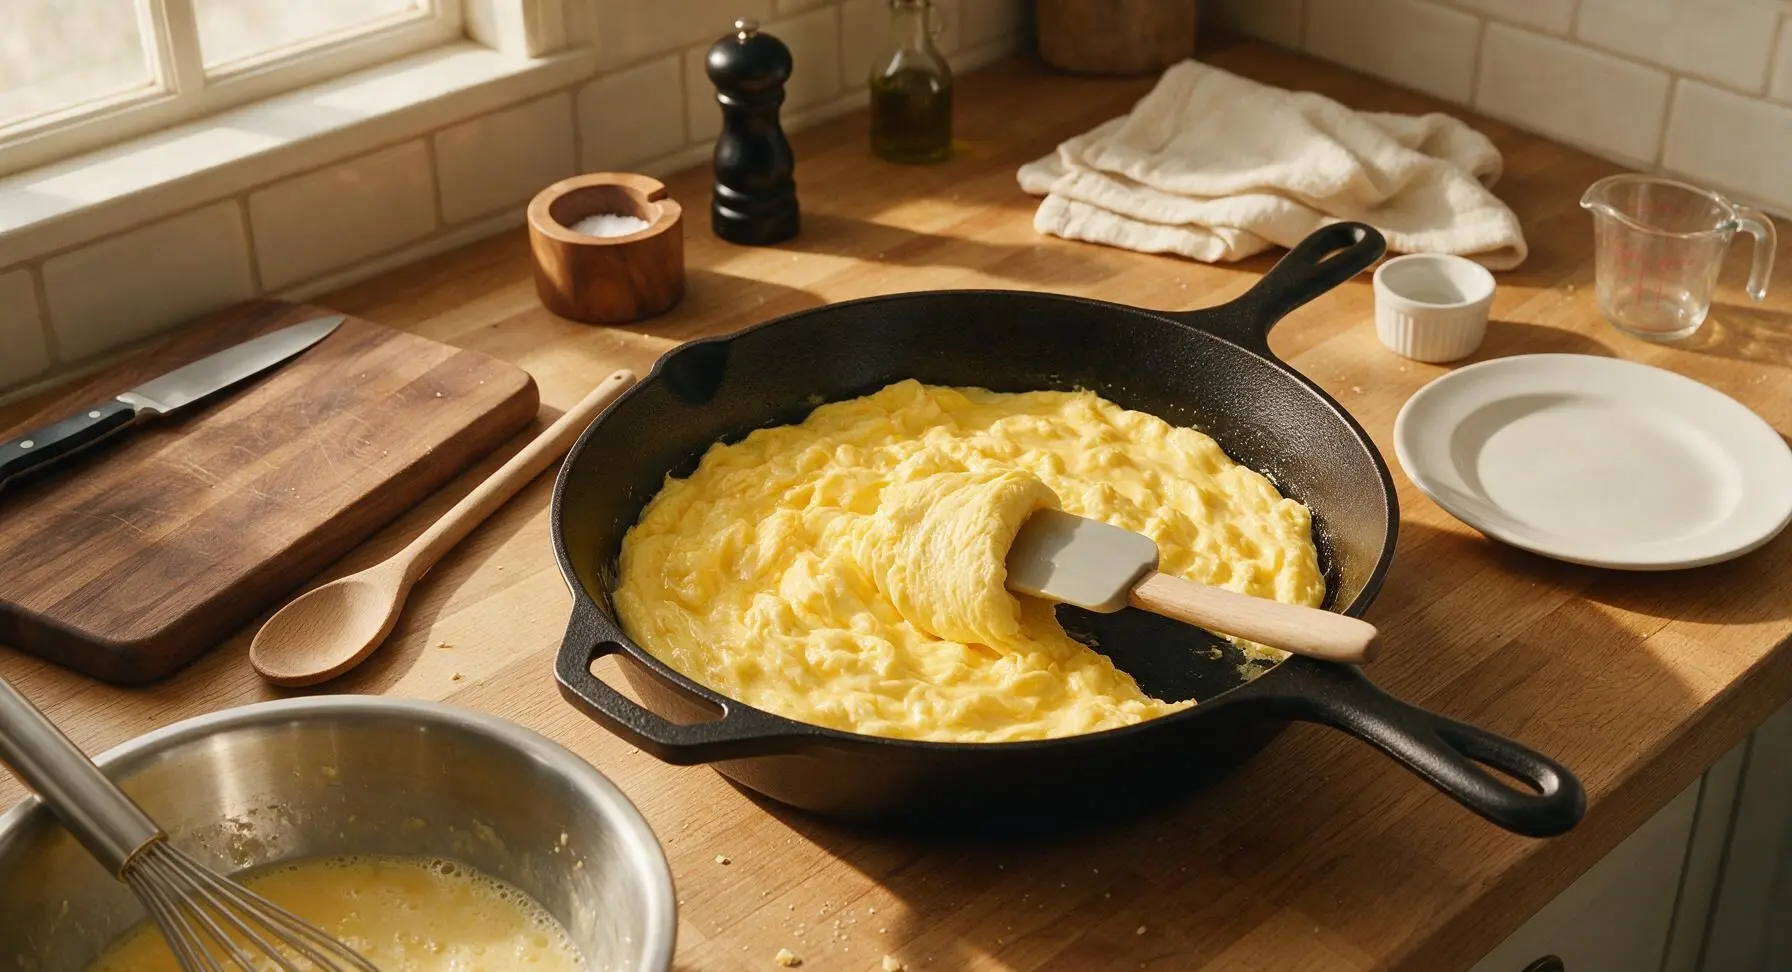
Crack 6 large eggs into the medium brushed stainless steel mixing bowl, add 1/4 tsp flaky sea salt and 1/8 tsp freshly ground black pepper, whisk vigorously with the stainless steel whisk for 30 seconds until yolks and whites are fully combined, pale yellow, with tiny bubbles across the surface. Reduce skillet heat to medium-low, pour the egg mixture into the reserved teaspoon of bacon grease in the skillet. Use the silicone spatula to gently push cooked egg curds from the pan edges to the center every 10 seconds for 3-4 minutes, until eggs are soft, fluffy, and just set with no visible runny liquid, but not dry or browned. Transfer cooked eggs to a clean plate and set aside.
Step 2
step2:Cook Fluffy Eggs
Step 2
step2:Cook Fluffy Eggs
3

Slice Roll Slab

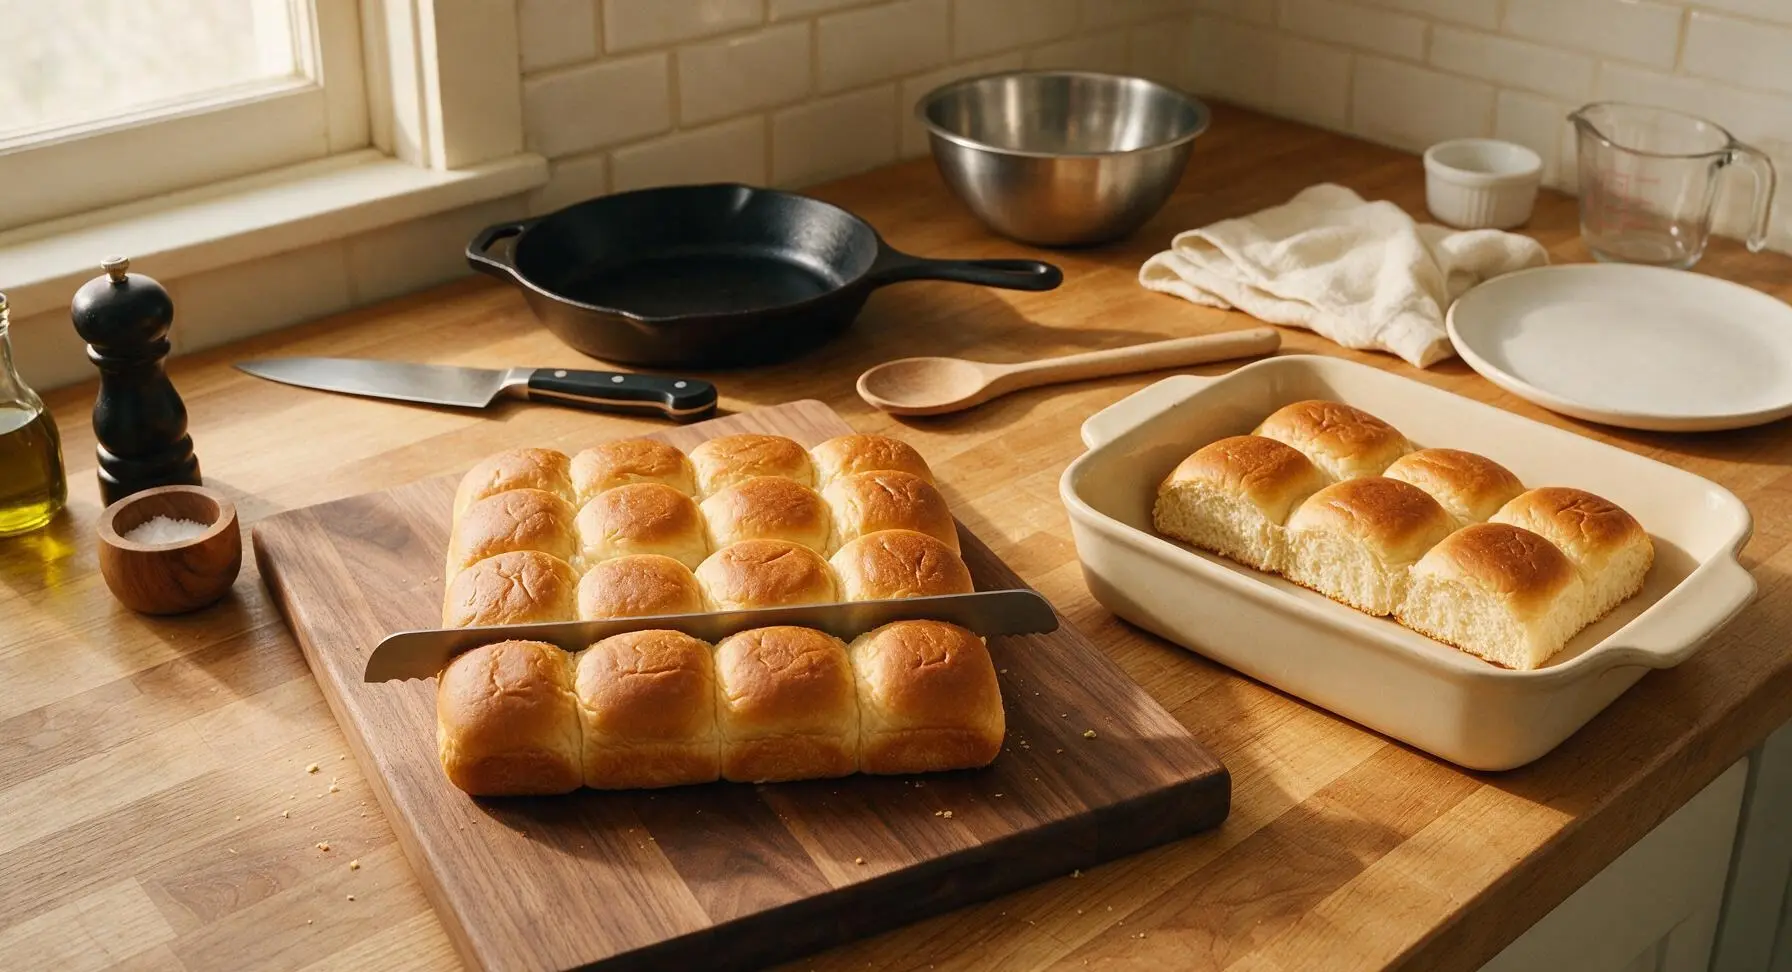
Place the full connected 12-pack of Hawaiian sweet rolls (do not separate individual rolls) on the maple cutting board. Use the serrated bread knife to slice the entire slab horizontally in half, creating one connected top roll layer and one connected bottom roll layer, keeping all rolls attached to their neighbors. Lay the bottom half of the roll slab cut-side up inside the 9x13 inch cream ceramic baking dish.
Step 3
step3:Slice Roll Slab
4

Layer Slider Fillings

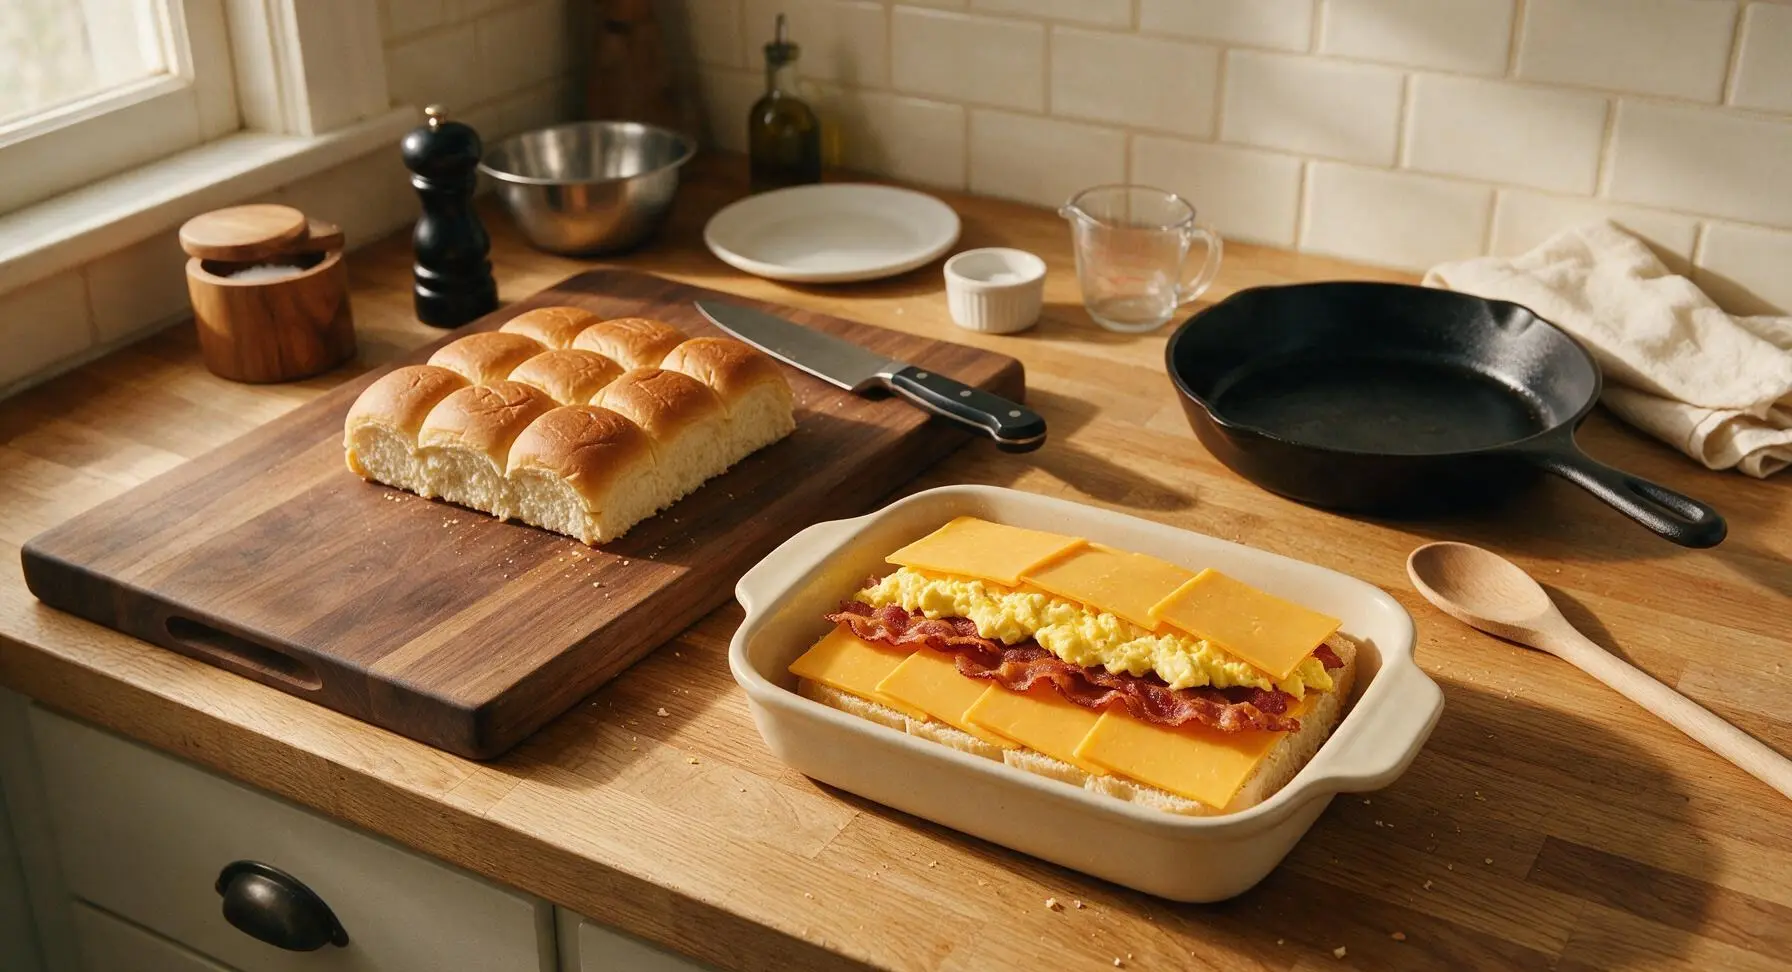
Layer fillings evenly over the bottom roll layer in the baking dish in order: first, 6 slices of sharp cheddar cheese, overlapped slightly to cover the full roll surface; next, all cooked crispy bacon laid in a single even layer; next, all fluffy scrambled eggs, spread gently to cover the bacon; finally, top with the remaining 6 slices of cheddar cheese. Place the top half of the roll slab cut-side down over the fillings, pressing gently with the palm of your hand to compact layers slightly.
Step 4
step4:Layer Slider Fillings
5

Brush Maple Glaze

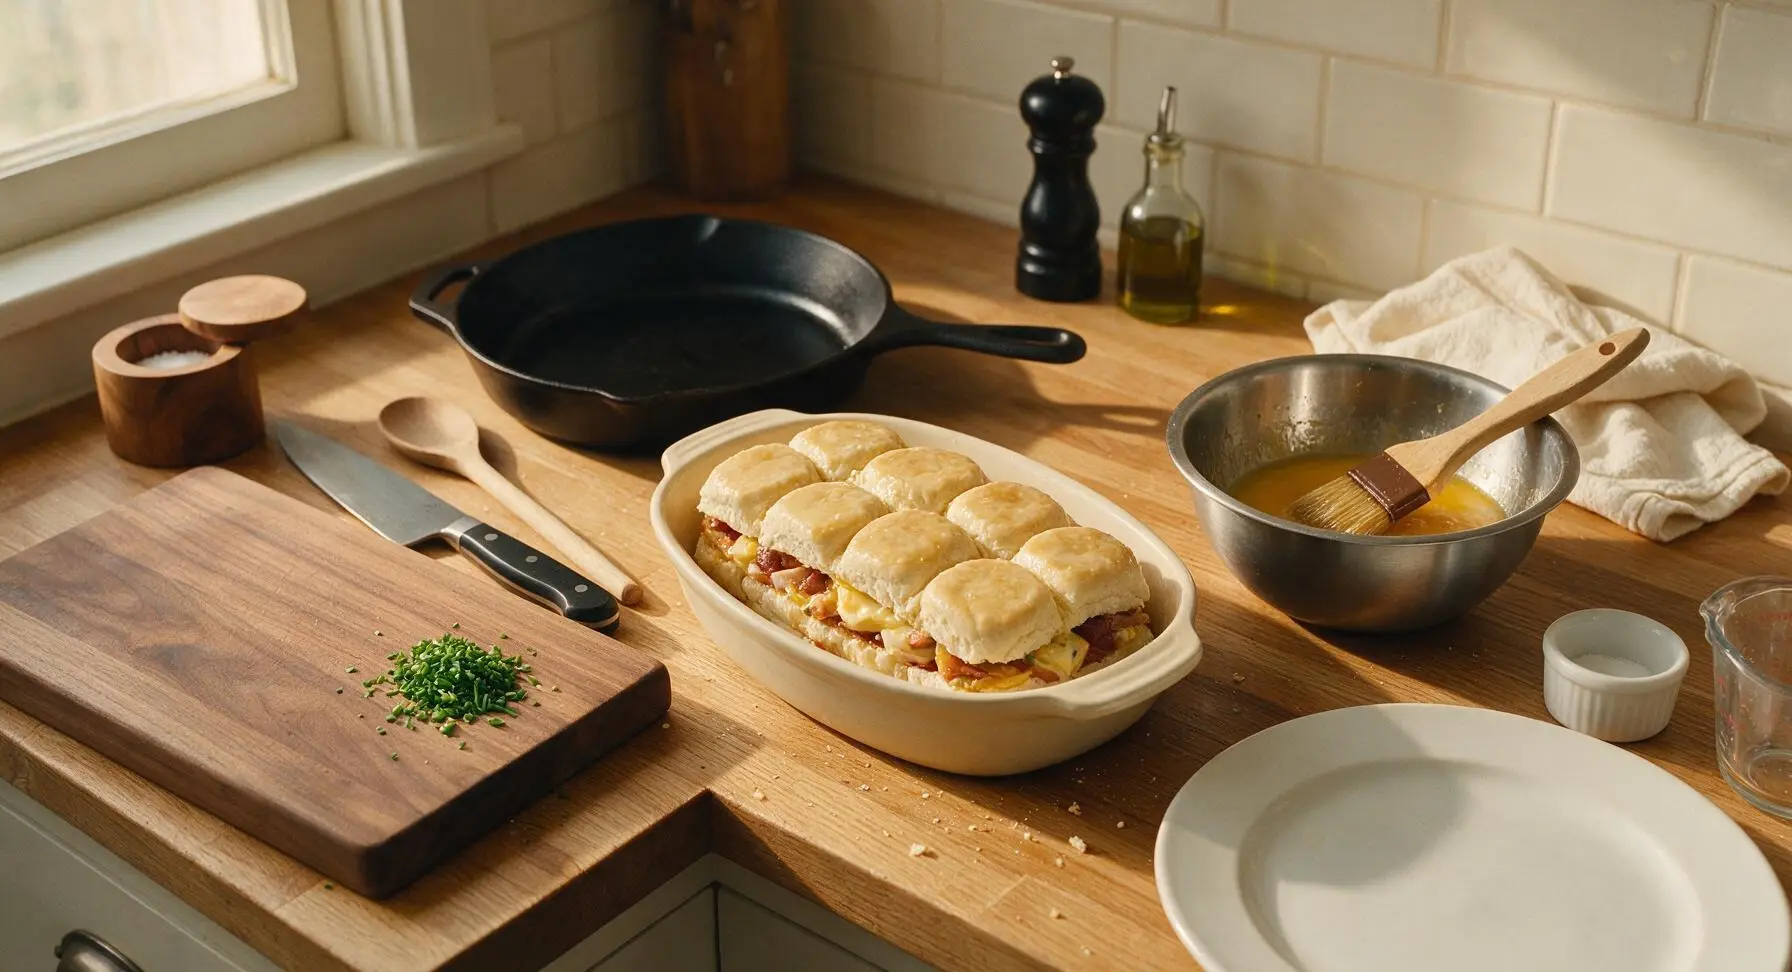
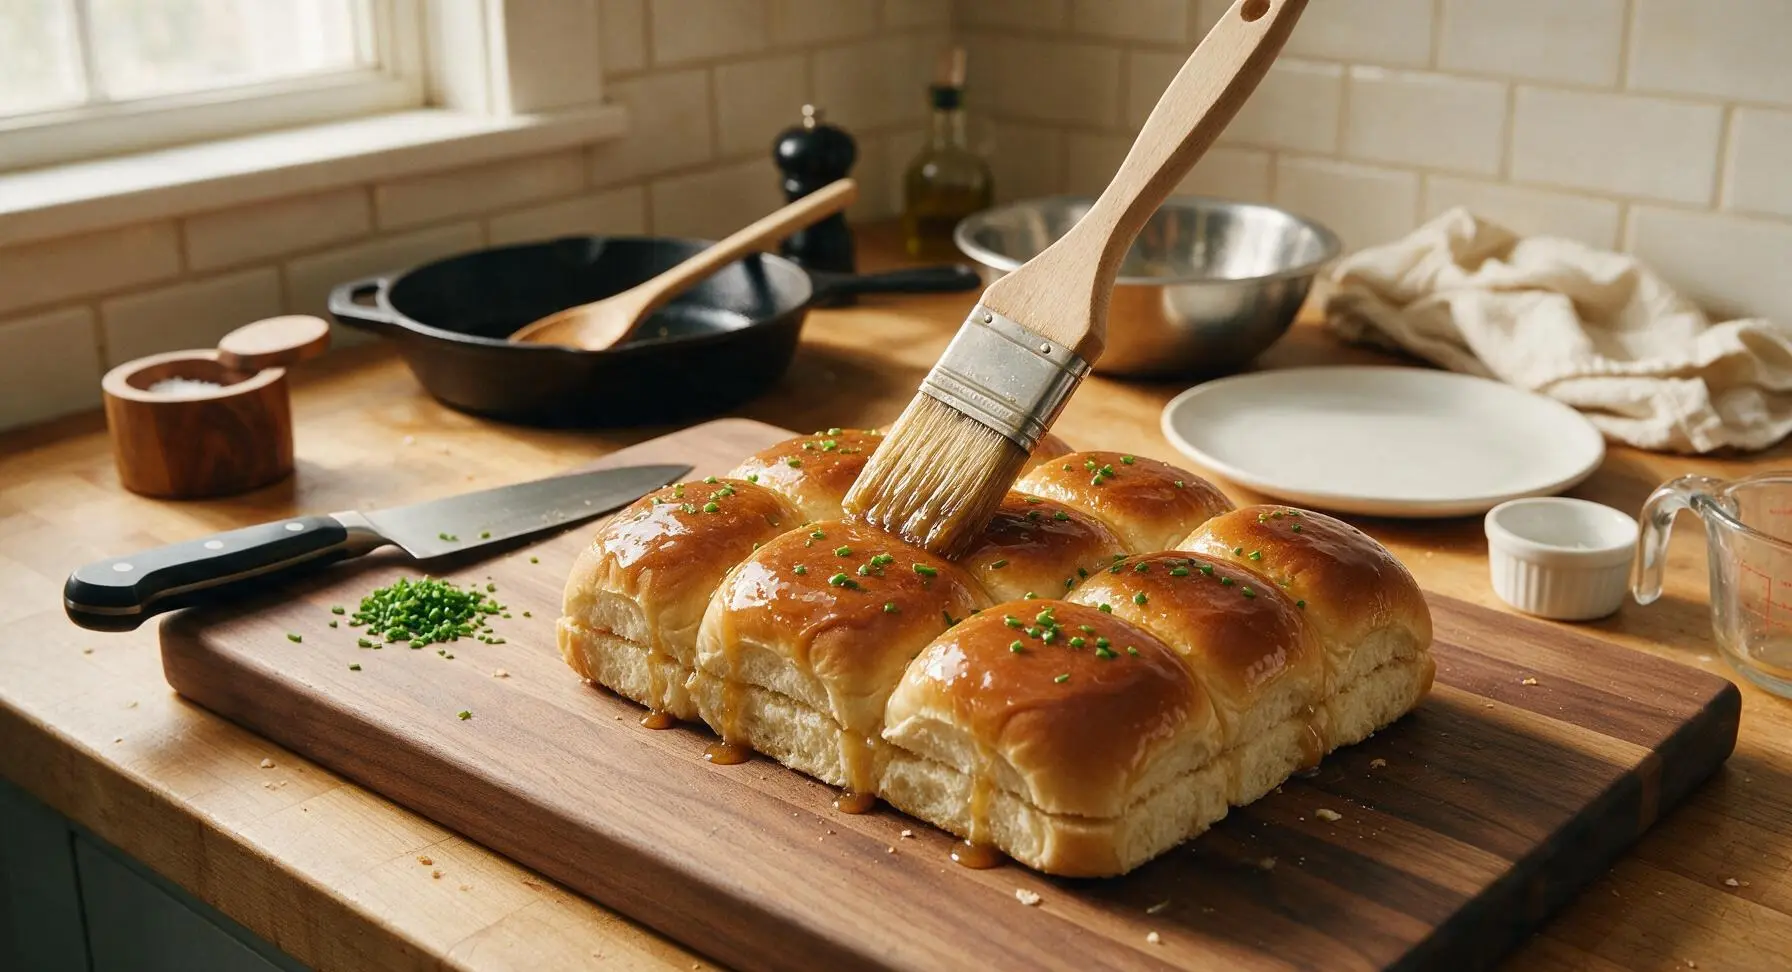
Use the 8-inch chef knife to chop fresh chives into 1/4 inch pieces on the maple cutting board, set aside. In the medium stainless steel mixing bowl, combine 4 tablespoons melted unsalted butter, 2 tablespoons pure maple syrup, remaining 1/4 tsp flaky sea salt, and 1/8 tsp black pepper, stirring with the pastry brush until fully mixed. Use the boar-bristle pastry brush to coat the entire top surface of the assembled sliders evenly with the maple-butter glaze, allowing a small amount of glaze to drip down the sides between rolls. Sprinkle 1 tablespoon of chopped chives evenly over the glazed tops.
Step 5
step5:Brush Maple Glaze
Step 5
step5:Brush Maple Glaze
6

Bake Until Golden

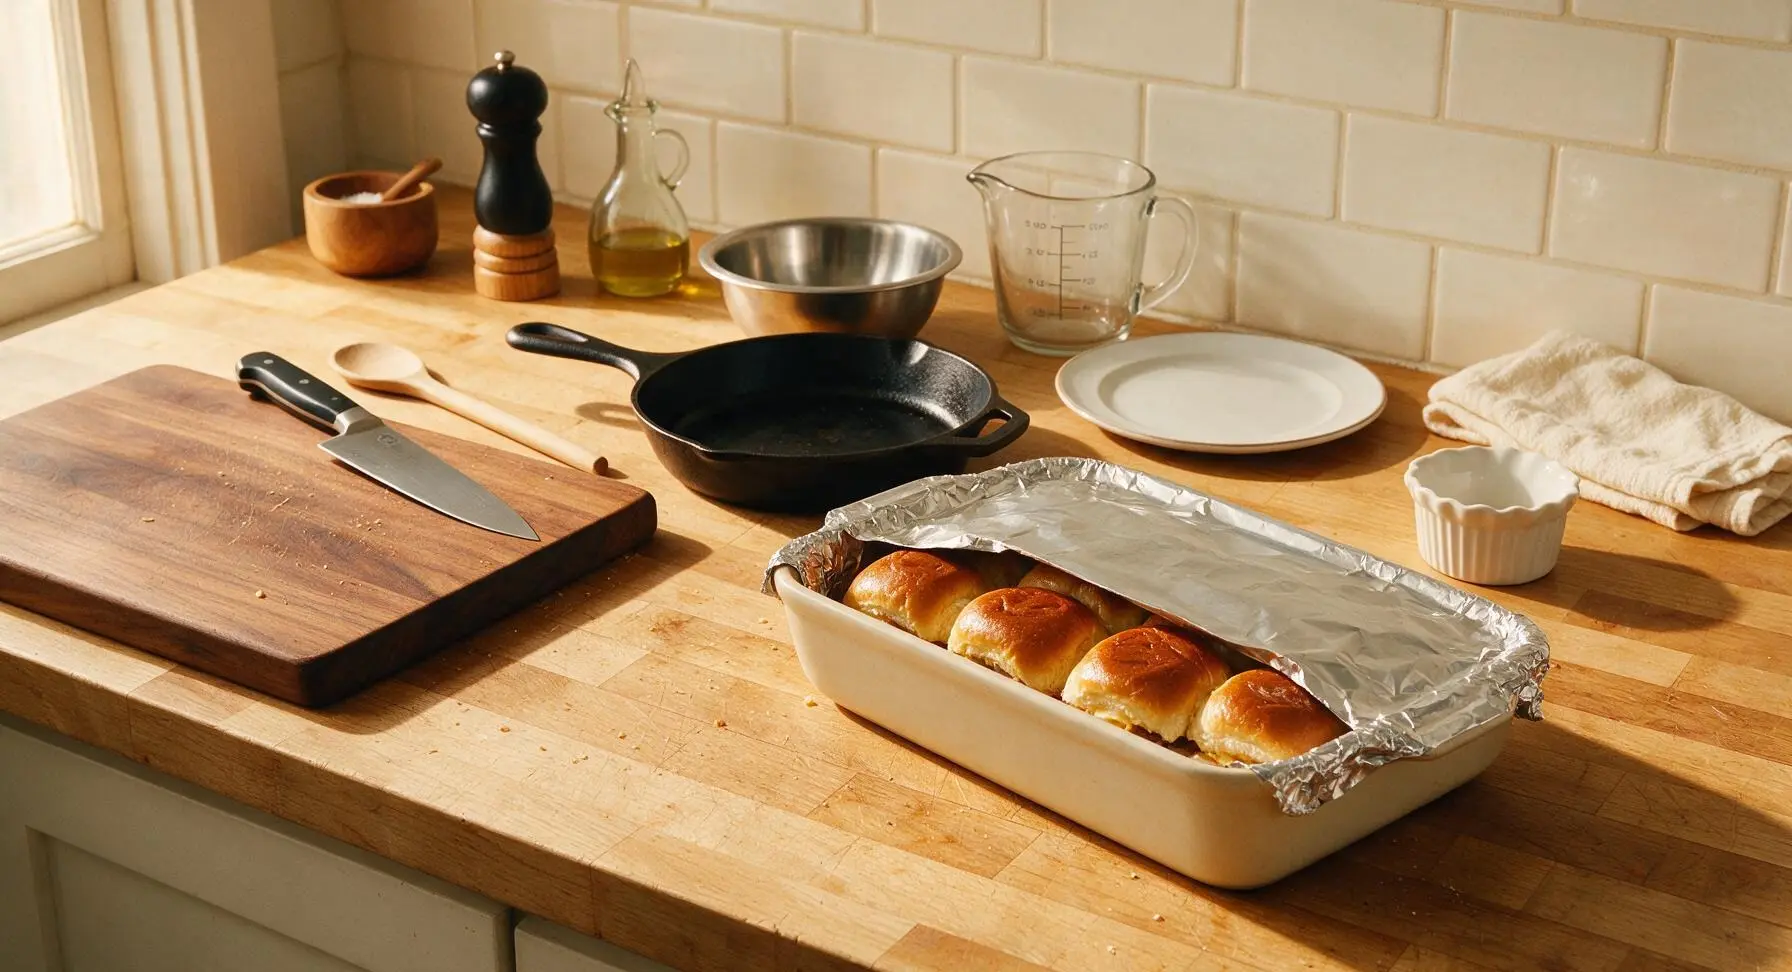
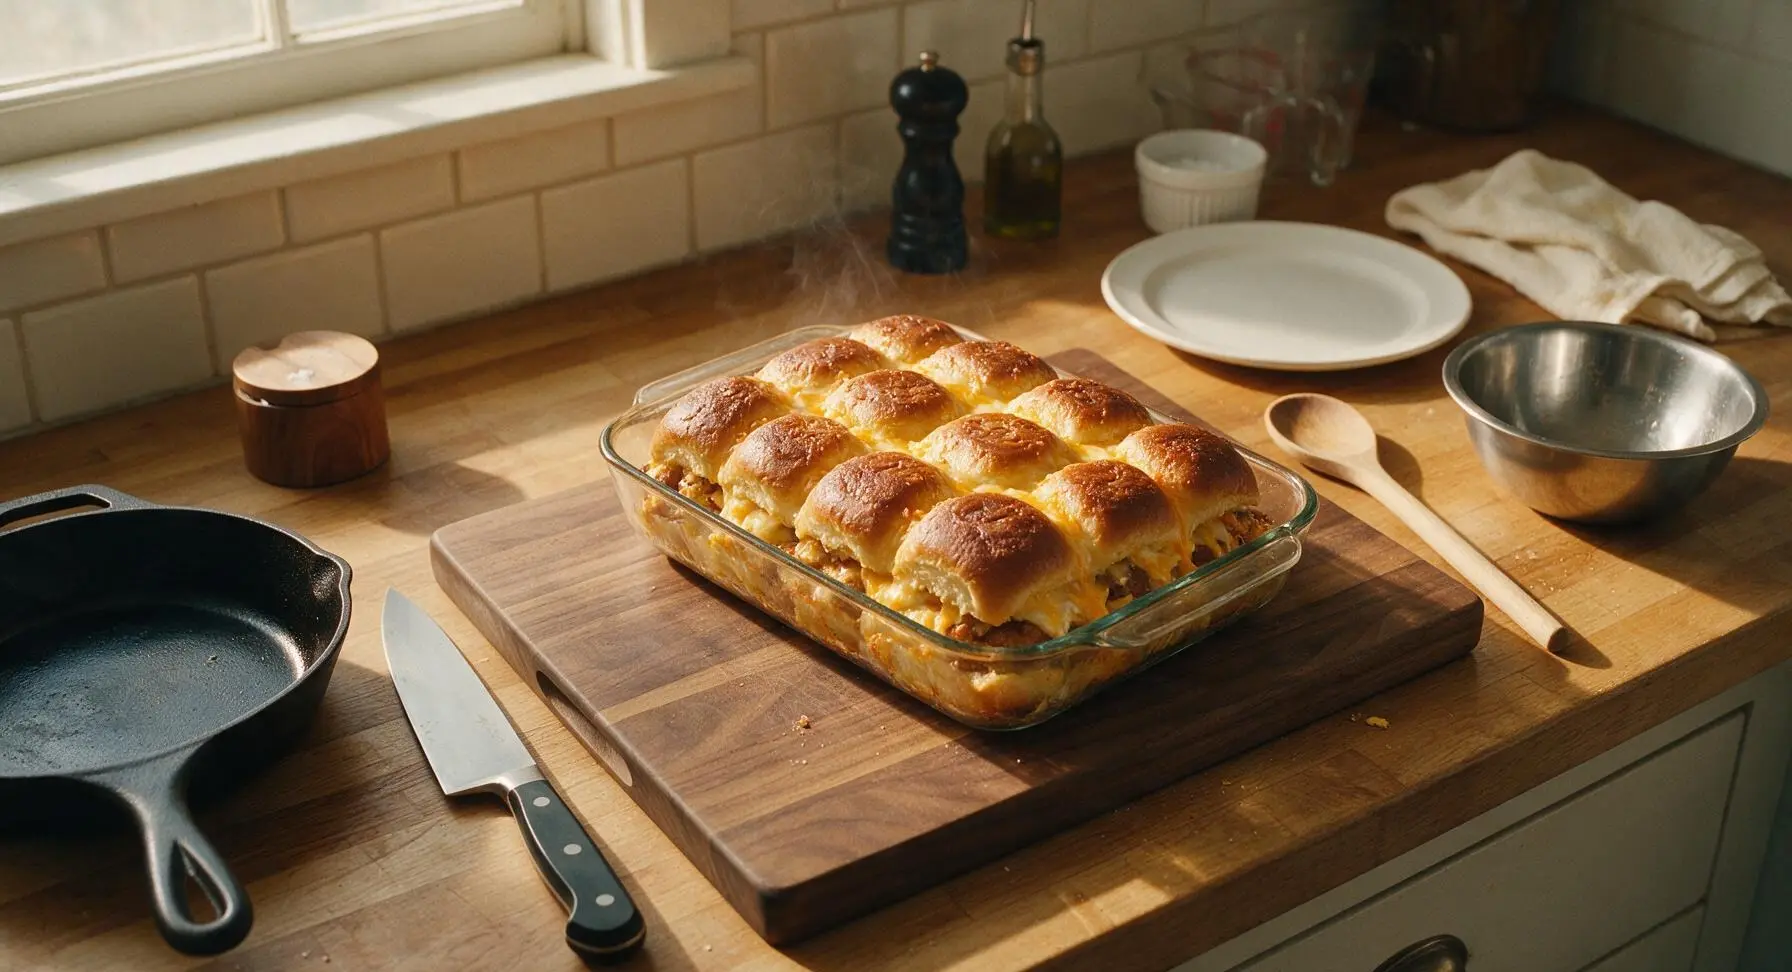
Preheat oven to 350°F (175°C). Cover the baking dish tightly with aluminum foil, crimping edges to seal in steam. Bake for 15 minutes covered, then remove foil and bake for an additional 8-10 minutes, until cheddar cheese is fully melted and bubbling out from roll edges, and glazed roll tops are deep golden and slightly crisp. Remove from oven and let sliders rest 5 minutes to allow cheese to set.
Step 6
step6:Bake Until Golden
Step 6
step6:Bake Until Golden
7

Slice and Plate

Use the serrated bread knife to slice through the baked slider slab along the natural seams between individual rolls, creating 12 separate sliders. Arrange sliders on the large rectangular white ceramic serving platter, sprinkle with the remaining 1 tablespoon of chopped chives, and serve warm with extra maple syrup for dipping if desired.
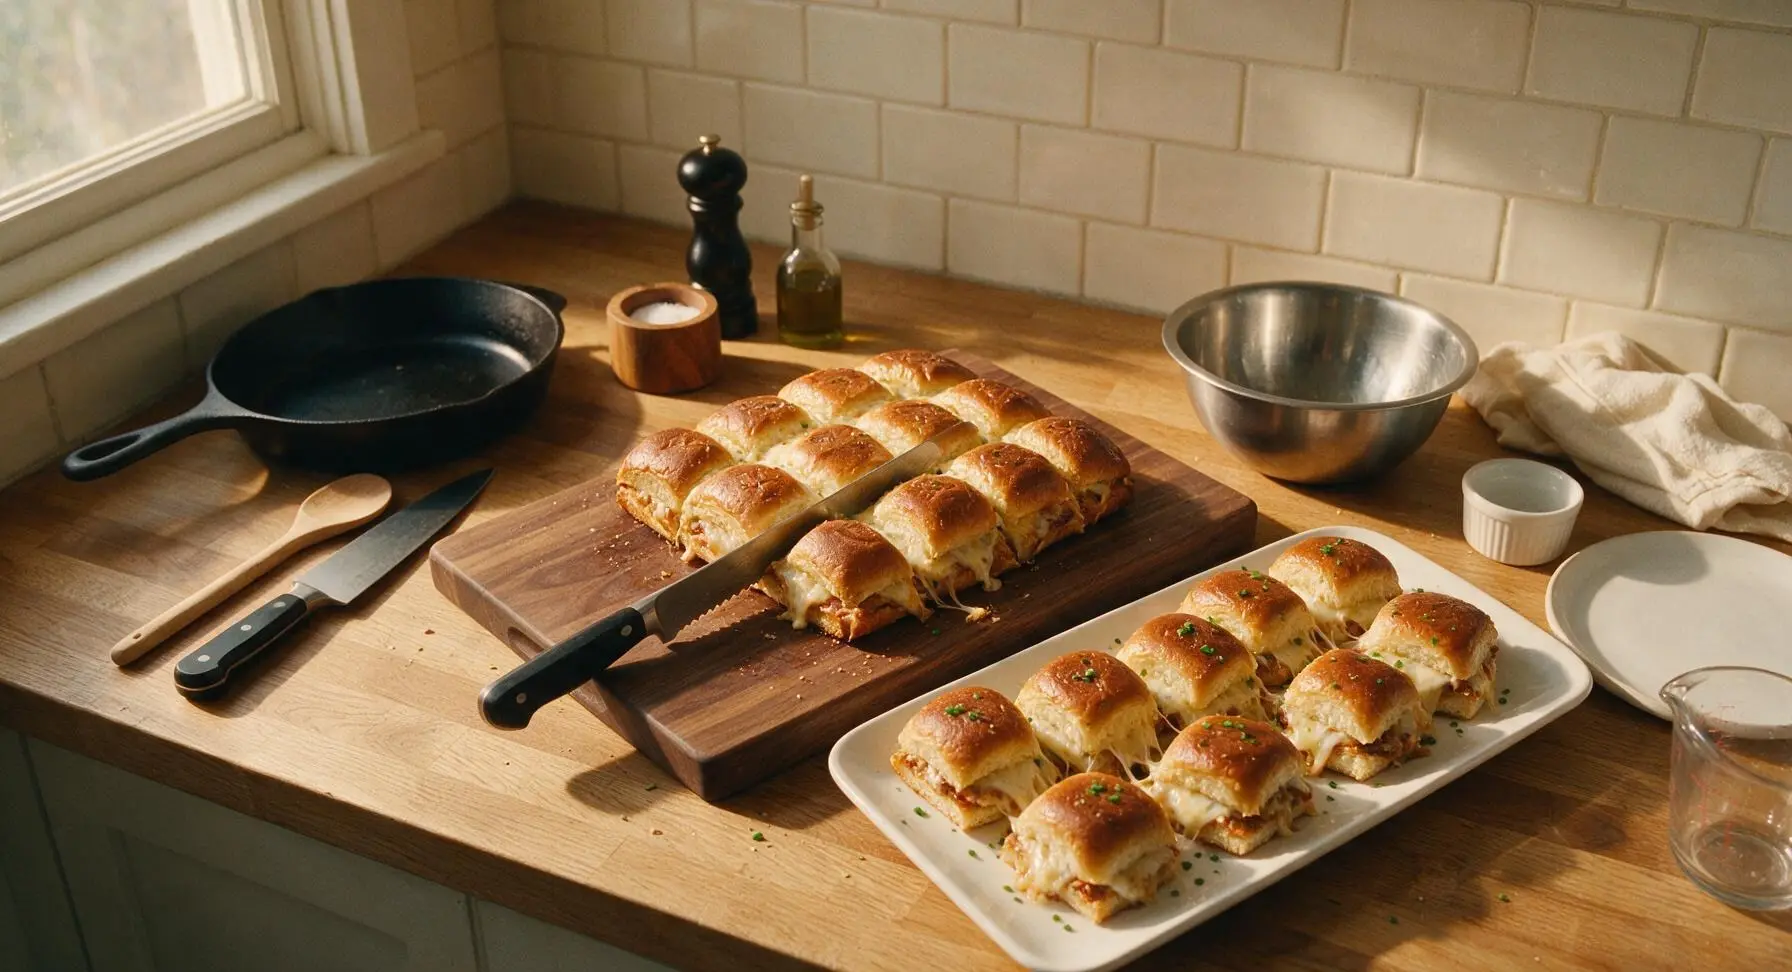
Step 7
step7:Slice and Plate

Tips

1.Keep rolls connected during assembly: Slicing the entire slab in half instead of separating individual rolls cuts prep time in half, and creates a tight seal that prevents fillings from falling out when sliders are picked up.
2.Slightly undercook scrambled eggs: Eggs will finish cooking during the 25 minute bake time, so removing them from the skillet when soft and slightly runny ensures they stay light and fluffy, rather than turning tough and rubbery.
3.Rest sliders 5 minutes post-bake: This short rest lets melted cheddar set slightly, so it doesn’t gush out when you slice into the sliders, making them far less messy to eat as handheld bites.


✨ You May Also Like

Breakfast
🍜 United States

Crisp-edged, fluffy lard griddle cakes are a nostalgic homestyle staple, with rich savoriness from rendered lard, perfect topped with maple syrup or savory gravy.

⏱️ 25 minuteBreakfast ★ 4.8
Breakfast
🍜 United States

Flaky, buttery homemade buttermilk biscuits smothered in creamy, peppery pork sausage gravy: a beloved, hearty Southern American comfort food classic.

⏱️ 35 minuteBreakfast ★ 4.8
Breakfast
🍜 United States

Golden, custardy brioche stuffed with sweet cream cheese and fresh berries, pan-fried to crisp perfection. An indulgent, cozy breakfast perfect for slow weekend mornings.

⏱️ 30 minuteBreakfast ★ 4.7
Breakfast
🍜 United States

Flaky, buttery Southern-style biscuits stuffed with savory salty country ham, a portable, satisfying classic perfect for casual on-the-go meals.

⏱️ 25 minuteBreakfast ★ 4.8
Breakfast
🍜 United States

Iconic puffy baked pancake popularized in Seattle, with crisp golden edges and soft custardy center, served warm with classic sweet toppings.

⏱️ 35 minuteBreakfast ★ 4.6
Breakfast
🍜 United States

Fluffy, golden pancakes studded with juicy peak-summer mixed berries, drizzled with maple syrup for a bright, comforting, crowd-pleasing family breakfast.

⏱️ 25 minuteBreakfast ★ 4.7

Breakfast Slider:Frequently Asked Questions

1.Can I prep these Loaded Savory Breakfast Sliders the night before serving? ▾
Absolutely! Assemble the filled sliders (hold the maple-butter glaze) the night before, wrap the pan tightly in plastic, and stash it in the fridge. Right before baking, brush on the glaze, cover with foil, bake at 350°F for 15 minutes, then uncover for 5 minutes to crisp the top and melt cheese perfectly.
2.Why use Hawaiian sweet dinner rolls instead of regular slider buns? ▾
The soft, subtly sweet texture of Hawaiian rolls is the perfect balance for salty bacon, sharp cheddar, and savory eggs. Their tight, pillowy crumb holds fillings really well without falling apart, and the slight sweetness pairs beautifully with the maple-butter glaze for that iconic sweet-savory breakfast balance.
3.How do I keep the eggs fluffy instead of rubbery for the sliders? ▾
Cook your eggs low and slow over medium-low heat, stirring gently with a silicone spatula to form soft, large curds, and pull them off the heat right when they’re just set. They’ll keep cooking a little from residual heat, so avoid overcooking them pre-assembly, since they’ll warm through again when the sliders bake.
4.Can I substitute turkey bacon for the thick-cut bacon in this recipe? ▾
You absolutely can! Just note that turkey bacon is leaner, so it will crisp up faster than thick-cut pork bacon. Cook it until evenly crisp, and add a tiny pinch of extra salt to make up for its milder flavor, so it still stands up to the sweet rolls and maple glaze.
5.What’s the best way to get the maple-butter glaze to stick to the roll tops? ▾
Melt your unsalted butter completely, stir in the maple syrup until fully combined, then brush the mixture generously over the tops of the assembled sliders right before baking. For extra adhesion, poke a few tiny holes in the roll tops with a toothpick first so the glaze seeps in instead of running off.
6.Do I need to keep the rolls connected when assembling the sliders? ▾
Yes, that’s the easiest slider hack! Keep the entire slab of Hawaiian rolls connected, slice the whole block horizontally in one even cut to make a top and bottom layer, add all your fillings across the bottom slab, then replace the top before glazing and baking. Slice into individual sliders right after baking for clean cuts.
7.Can I use a different cheese instead of sharp cheddar? ▾
Sharp cheddar is ideal for its bold, tangy flavor that cuts through the sweet rolls and rich bacon, but you can absolutely swap it. Great alternatives include pepper jack for a little kick, smoked gouda for extra depth, or Monterey Jack for a milder, super melty texture that works beautifully with breakfast flavors.
8.How do I prevent the bottom of the sliders from getting soggy? ▾
A quick, easy trick is to add a thin layer of shredded cheddar directly to the bottom half of the rolls before adding other fillings. The melted cheese creates a barrier between the moist eggs and bacon and the soft roll, keeping the bottom sturdy. You can also toast the bottom roll slab lightly for 2 minutes before assembling.
9.How long do I bake these sliders for, and at what temperature? ▾
Bake them at 350°F, covered tightly with aluminum foil, for 15 minutes to let the cheese melt and fillings warm through, then remove the foil and bake 5 more minutes. This lets the glaze set on the roll tops without burning, and ensures the center of the slider slab is fully heated all the way through.
10.Can I add extra veggies to these sliders? ▾
Definitely! Great savory add-ins include sautéed spinach (squeezed completely dry to avoid sogginess), caramelized onions, or diced roasted bell peppers. You can even add sliced avocado right after baking. Just pat any cooked veggies dry before adding so they don’t make the rolls soggy during baking.
11.How should I store leftover sliders? ▾
Let leftover sliders cool completely to room temperature, then wrap individual sliders tightly in plastic wrap or place them in an airtight container. They’ll keep in the fridge for up to 3 days. I don’t recommend freezing them, as the eggs and soft rolls will develop a grainy, mushy texture when thawed.
12.What’s the best way to reheat leftover sliders? ▾
For the best texture, reheat sliders in a 325°F oven wrapped in foil for 8 to 10 minutes, until the cheese is remelted and the rolls are soft again. Skip the microwave if you can—it makes the rolls rubbery and the bacon soggy, though a 30-second microwave zap works in a total pinch.
13.How should I cook the thick-cut bacon for these sliders? ▾
Cook thick-cut bacon until it’s crisp but not brittle—you want it to hold a little texture without being so crunchy it crumbles when you bite into the slider. Drain it really well on paper towels after cooking to blot off excess grease, which prevents soggy rolls and keeps the flavor balanced.
14.Can I make these sliders for a large crowd? ▾
These are perfect for crowds! You can easily scale the recipe up by using multiple packs of Hawaiian rolls, and assembling full slabs in 9x13 inch baking pans. They bake all in one pan, so you don’t have to cook individual servings, and they’re easy for guests to grab and eat without plates or utensils.
15.Do I need to grease my baking pan before adding the sliders? ▾
It’s a smart, quick step to prevent sticking! Lightly grease the bottom and sides of your 9x13 pan with a little extra butter or nonstick cooking spray before laying the bottom roll slab in. The maple butter glaze can drip down and caramelize as it bakes, so greasing makes cleanup way easier too.
16.Can I add breakfast sausage to these sliders instead of, or in addition to, bacon? ▾
Absolutely! Crumbled, cooked breakfast sausage makes a delicious swap or add-in alongside bacon. Just make sure you drain the cooked sausage really well to remove excess grease, just like you would with bacon, to keep the sliders from getting greasy or soggy as they bake. A bacon-sausage mix is a real crowd favorite.
17.Why does the recipe use unsalted butter instead of salted butter for the glaze? ▾
Using unsalted butter lets you control the exact salt level of the glaze, so you don’t end up with overly salty sliders paired with salty bacon and sharp cheddar. If you only have salted butter on hand, just skip adding any extra salt to the glaze, and it will work perfectly without throwing off the sweet-savory balance.
18.Can I make a dairy-free version of these sliders? ▾
You sure can! Swap the sharp cheddar for your favorite dairy-free sharp cheddar-style shred, use dairy-free unsalted butter for the glaze, and double check that your Hawaiian rolls don’t contain dairy. The sweet-savory flavor balance will stay almost identical, and the sliders will still have that soft, gooey texture everyone loves.
19.Should I season the eggs for these sliders? ▾
Yes! Lightly season your beaten eggs with a pinch of salt and black pepper before scrambling them to add depth—you don’t want bland eggs against the bold bacon, cheese, and sweet glaze. Skip adding extra salt to the glaze, though, since the bacon, cheese, and seasoned eggs will already have plenty of savoriness.
20.What can I serve alongside these breakfast sliders? ▾
These sliders pair perfectly with simple brunch sides! Try serving them with crispy hash browns, a light fresh fruit salad, tangy coleslaw, or a bowl of mixed berries. For drinks, hot coffee, mimosas, or iced cold brew complement the sweet-savory flavor of the sliders really well for a casual, laid-back brunch spread.

Comments (6)

3 days ago

OMG these sliders are a total game changer for our chaotic school mornings! I prepped all the fillings the night before, popped them in the oven for 20 mins, and my three kids devoured them before the bus even got here. Even my picky 7 year old asked for seconds! SO good, will be making these every Sunday for meal prep.

2 days ago

Wait did you assemble them fully the night before too? I’m worried the buns will get soggy if I leave them in the fridge overnight.

yesterday

Great question! If you’re prepping ahead, we recommend storing the cooked fillings separately and assembling the sliders right before baking to keep the Hawaiian rolls nice and crisp — though if you’re tight on time, a quick toast of the buns first helps prevent sogginess too!

1 week ago

Brought these to our neighborhood tailgate last Saturday and they were gone in 10 minutes flat! I added a little extra crispy bacon and a drizzle of hot honey on top, chef’s kiss. Super easy to throw together even when I was half asleep making coffee for everyone, the difficulty rating is totally accurate, no fancy skills needed.

5 days ago

Love the hot honey add-in, that sounds incredible! So glad these were a hit at your tailgate — they’re perfect for feeding a crowd without a ton of work.

30 minutes ago

As someone who only has a tiny toaster oven in my dorm and can barely cook mac and cheese without burning it, these were foolproof! I used pre-crumbled sausage and pre-shredded cheese to cut down on prep, total cook time was right at 25 minutes just like the recipe said. Way better than the sad dining hall breakfast sandwiches. Only knock is I wish I’d bought extra buns because I ate three in one sitting lmao

2 weeks ago

Added these to my weekly meal prep rotation! I wrap each slider individually in foil and toss them in the freezer, they reheat perfectly in the microwave for 1 minute on busy work mornings. No more skipping breakfast because I’m running late for meetings.

1 week ago

Wait how long do they stay good in the freezer for? I’m always looking for easy camping breakfast ideas I can make ahead so I don’t have to mess with a bunch of gear over the camp stove.

5 days ago

Great freezer hack! They’ll stay good for up to 3 months in the freezer if wrapped tightly — perfect for camping, work mornings, or last-minute potlucks.

yesterday

Made these for my friend’s bridal brunch last weekend and everyone was begging for the recipe! I used a mix of cheddar and pepper jack for a little kick, and served them with a side of salsa for dipping. So easy to make for a group, I didn’t even break a sweat hosting.

2 hours ago

Oh the salsa dip idea is genius! I would’ve never thought to pair these with salsa, trying that this weekend when I make them for my kid’s soccer team snack.

just now

Let’s be real, I hate complicated breakfast recipes that use 100 dishes and take an hour to make. These were so easy, only used one baking sheet, and the whole house smelled amazing while they cooked. My partner even said they’re better than the breakfast sliders we get at our local diner. Will 100% be making these again for our lazy Sunday football marathons.



