
breakfast wrap ideas

title 1
breakfast wrap ideas
⏱️ cook time 10 minutes
🍽️ servings 4
⚡ Difficulty easy

intro

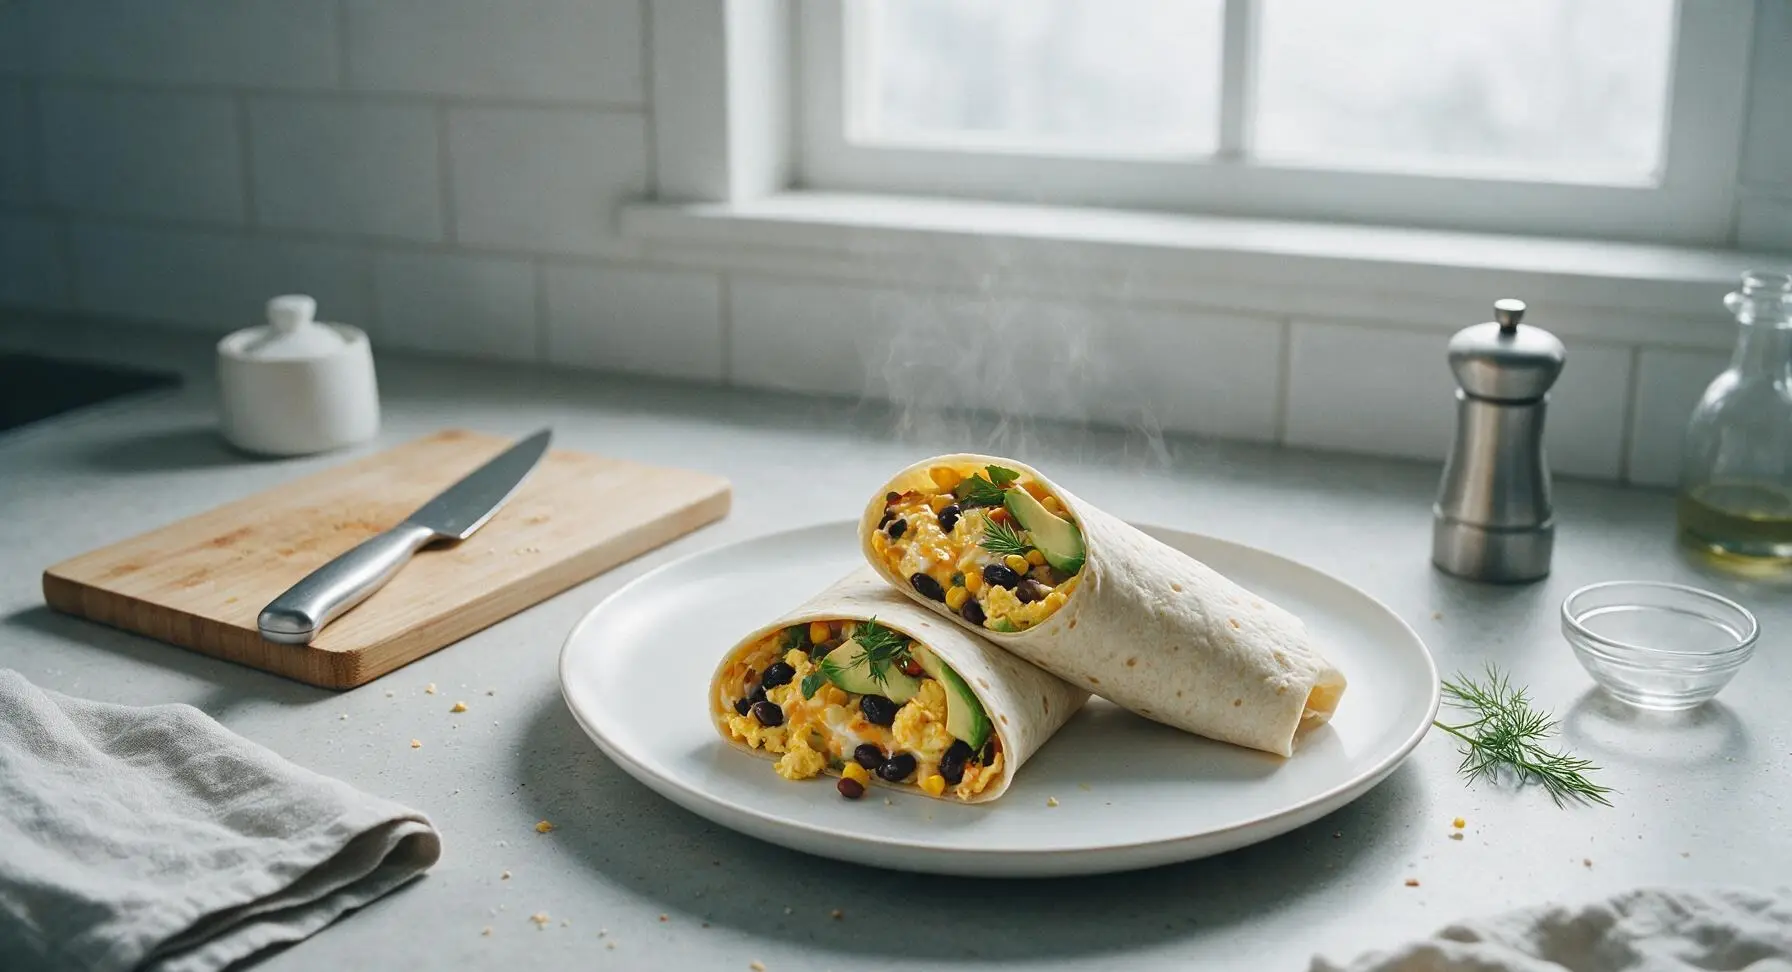
Protein-packed, customizable Tex-Mex breakfast wraps with fluffy eggs, melted cheese, and fresh veggies, ready in 20 minutes, with endless filling swaps for every taste.

Ingredients
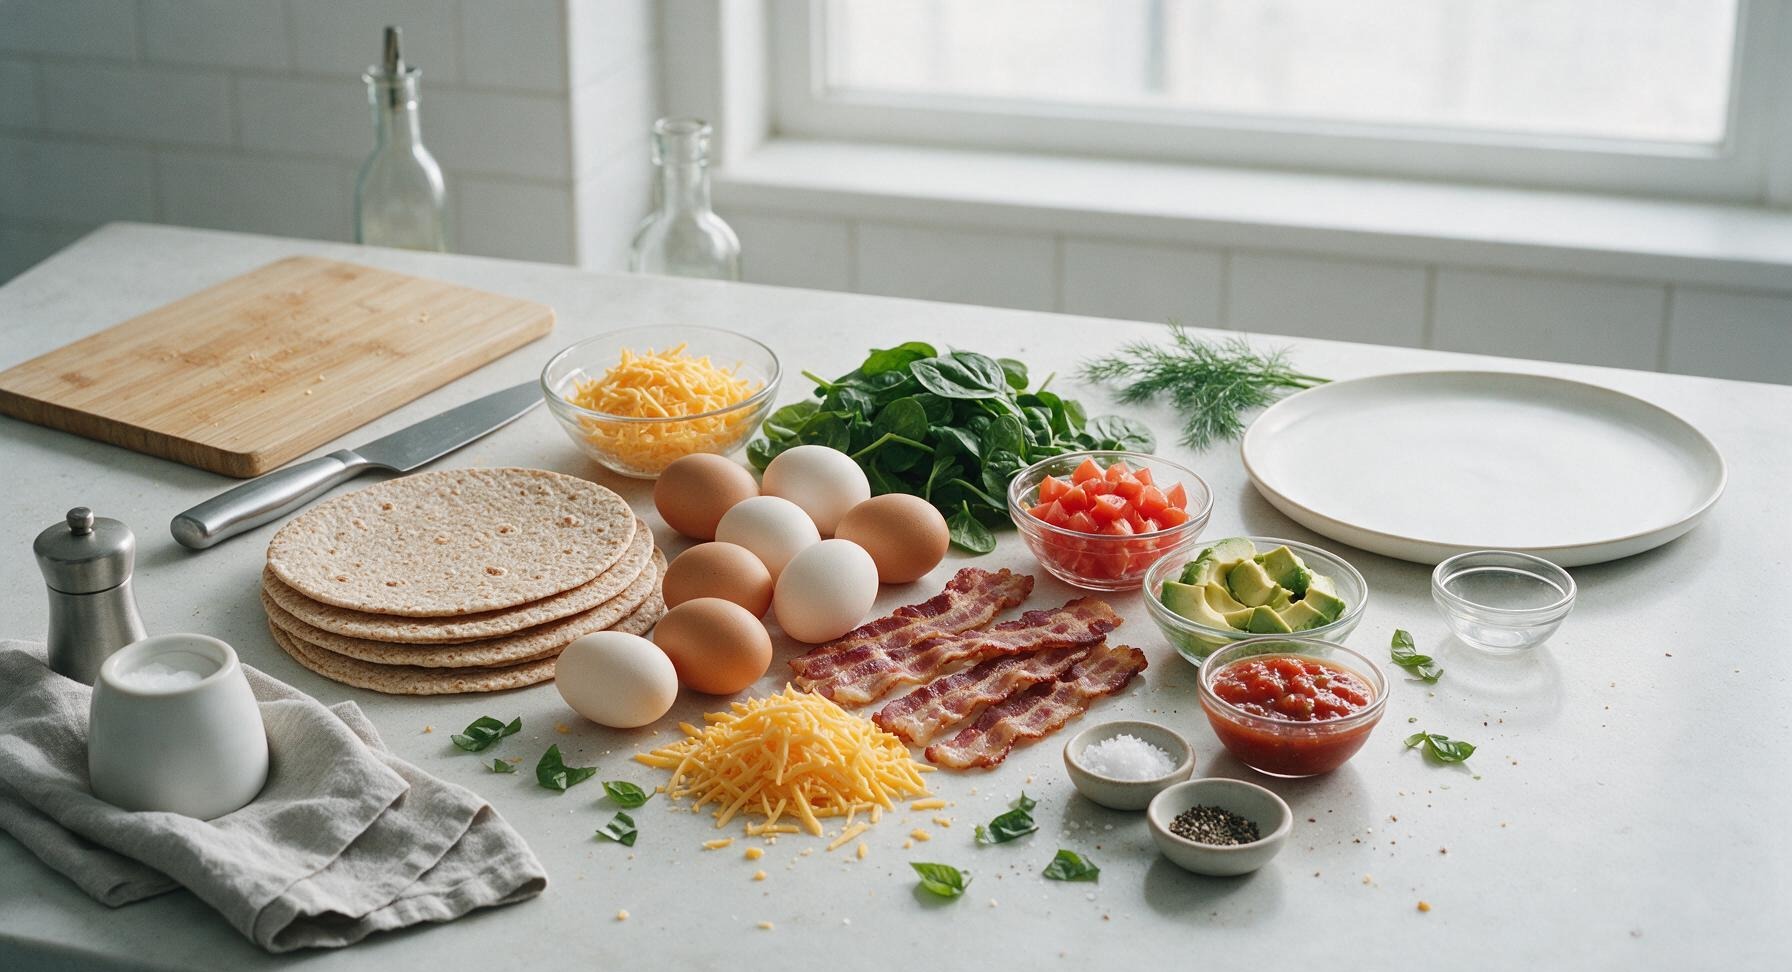
10-inch whole wheat tortillas 4
Large eggs 8
Thick-cut bacon strips 4 slices (120g)
Shredded sharp cheddar cheese 3/4 cup (85g)
Fresh baby spinach 2 cups (60g)
Roma tomato 1 medium (120g, diced)
Ripe avocado 1/2 medium (70g, diced)
Mild restaurant-style salsa 1/4 cup (60g)
Flaky sea salt 1/2 teaspoon
Freshly ground black pepper 1/4 teaspoon
Fresh basil leaves 2 tablespoons (chopped, for garnish)

Steps

1

Chop and Prep Fillings

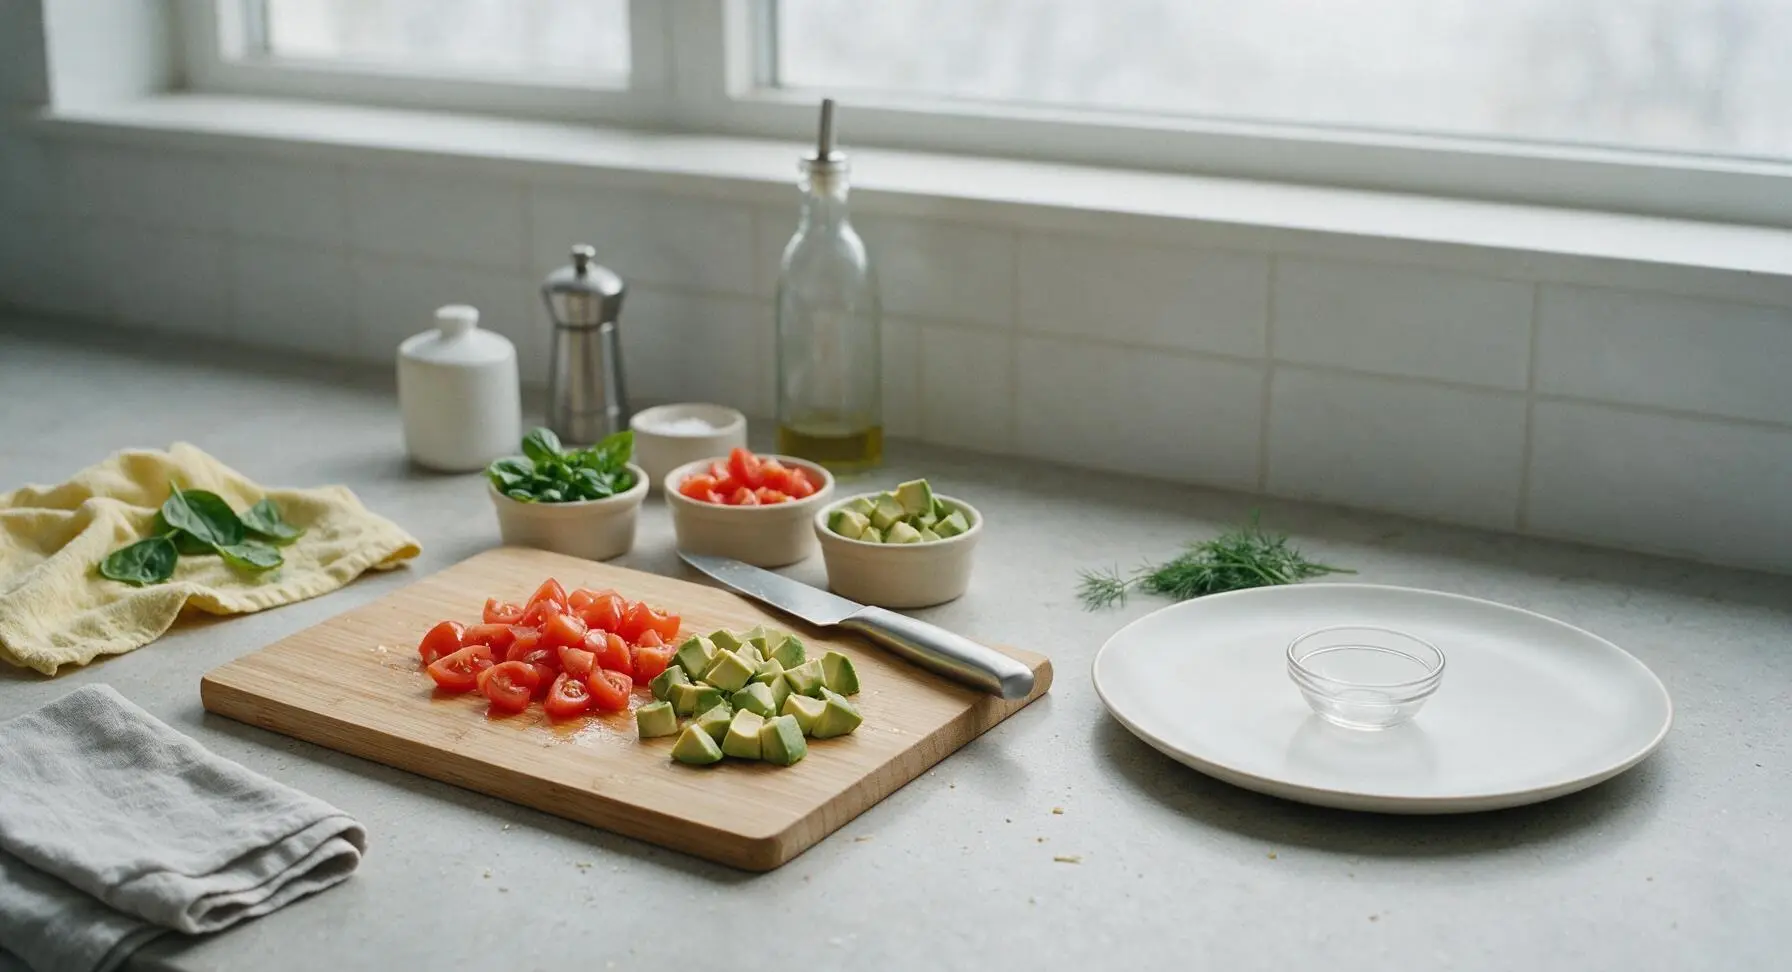
Place the light maple cutting board center-left on the counter. Dice the Roma tomato into 1/2-inch pieces, dice the 1/2 avocado into 1/2-inch cubes, and chop the fresh basil leaves, placing each prepped ingredient into separate small cream ramekins. Pat the baby spinach dry with a corner of the pale yellow linen towel to remove excess moisture that would make wraps soggy. Set prepped ingredients aside near the back of the counter.
Step 1
step1:Chop and Prep Fillings
2

Cook Crispy Bacon

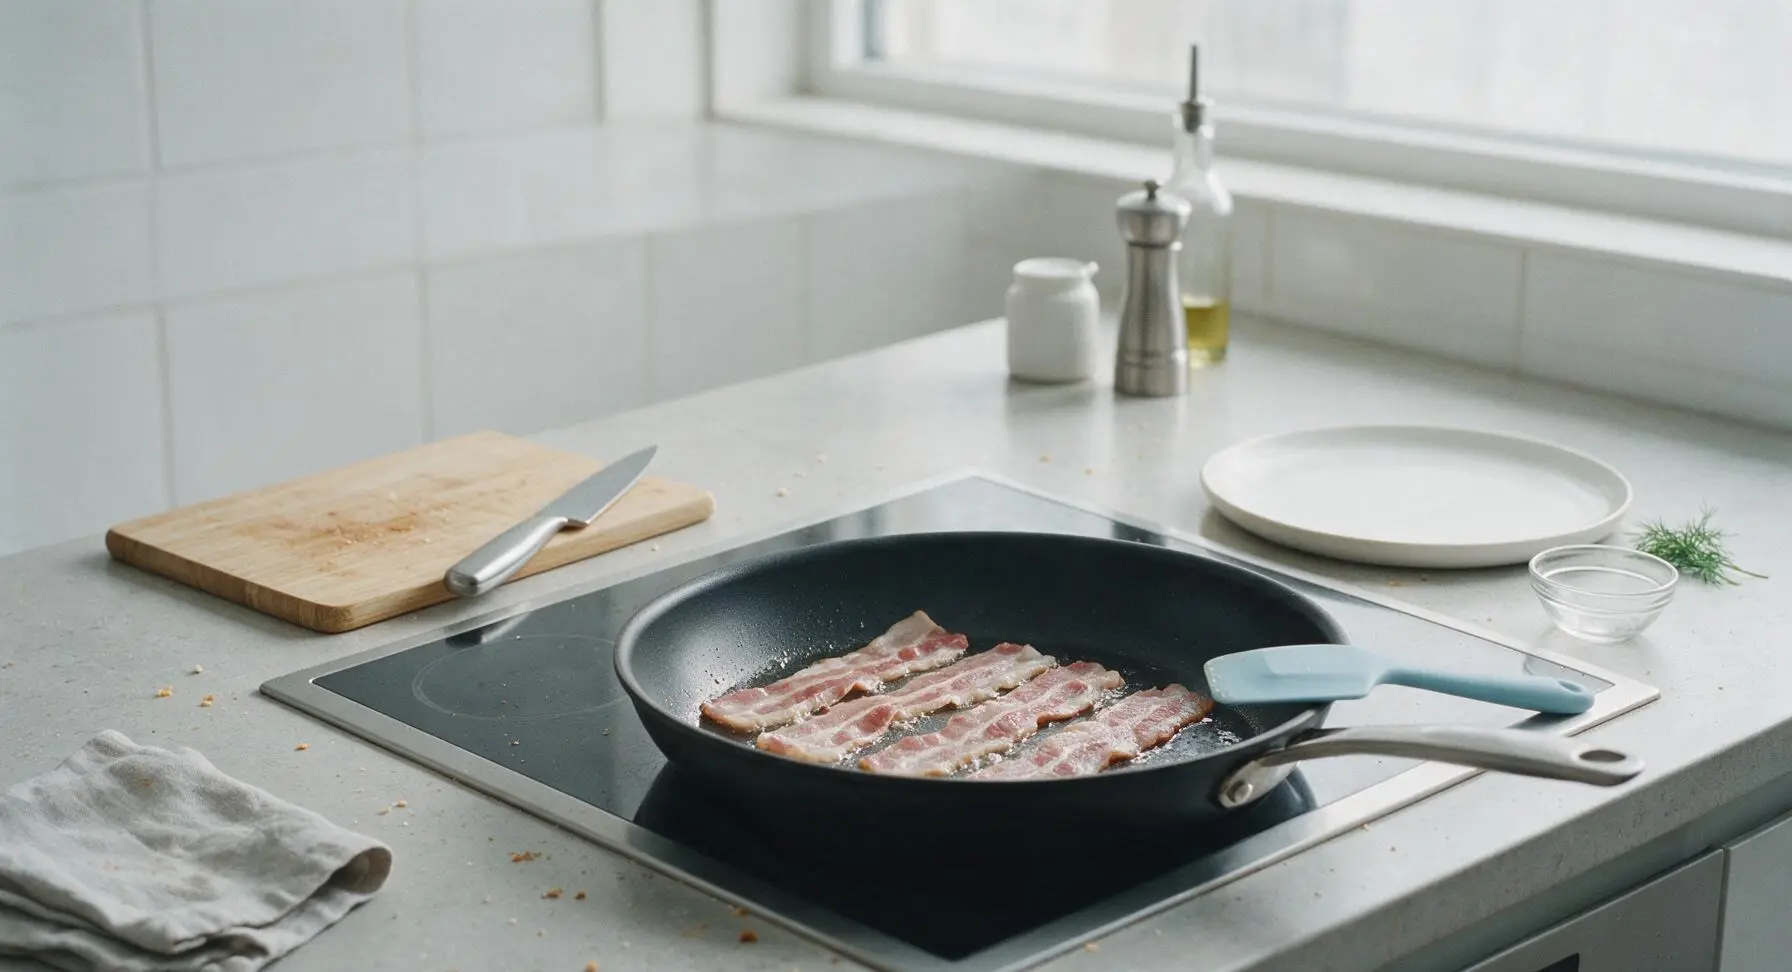
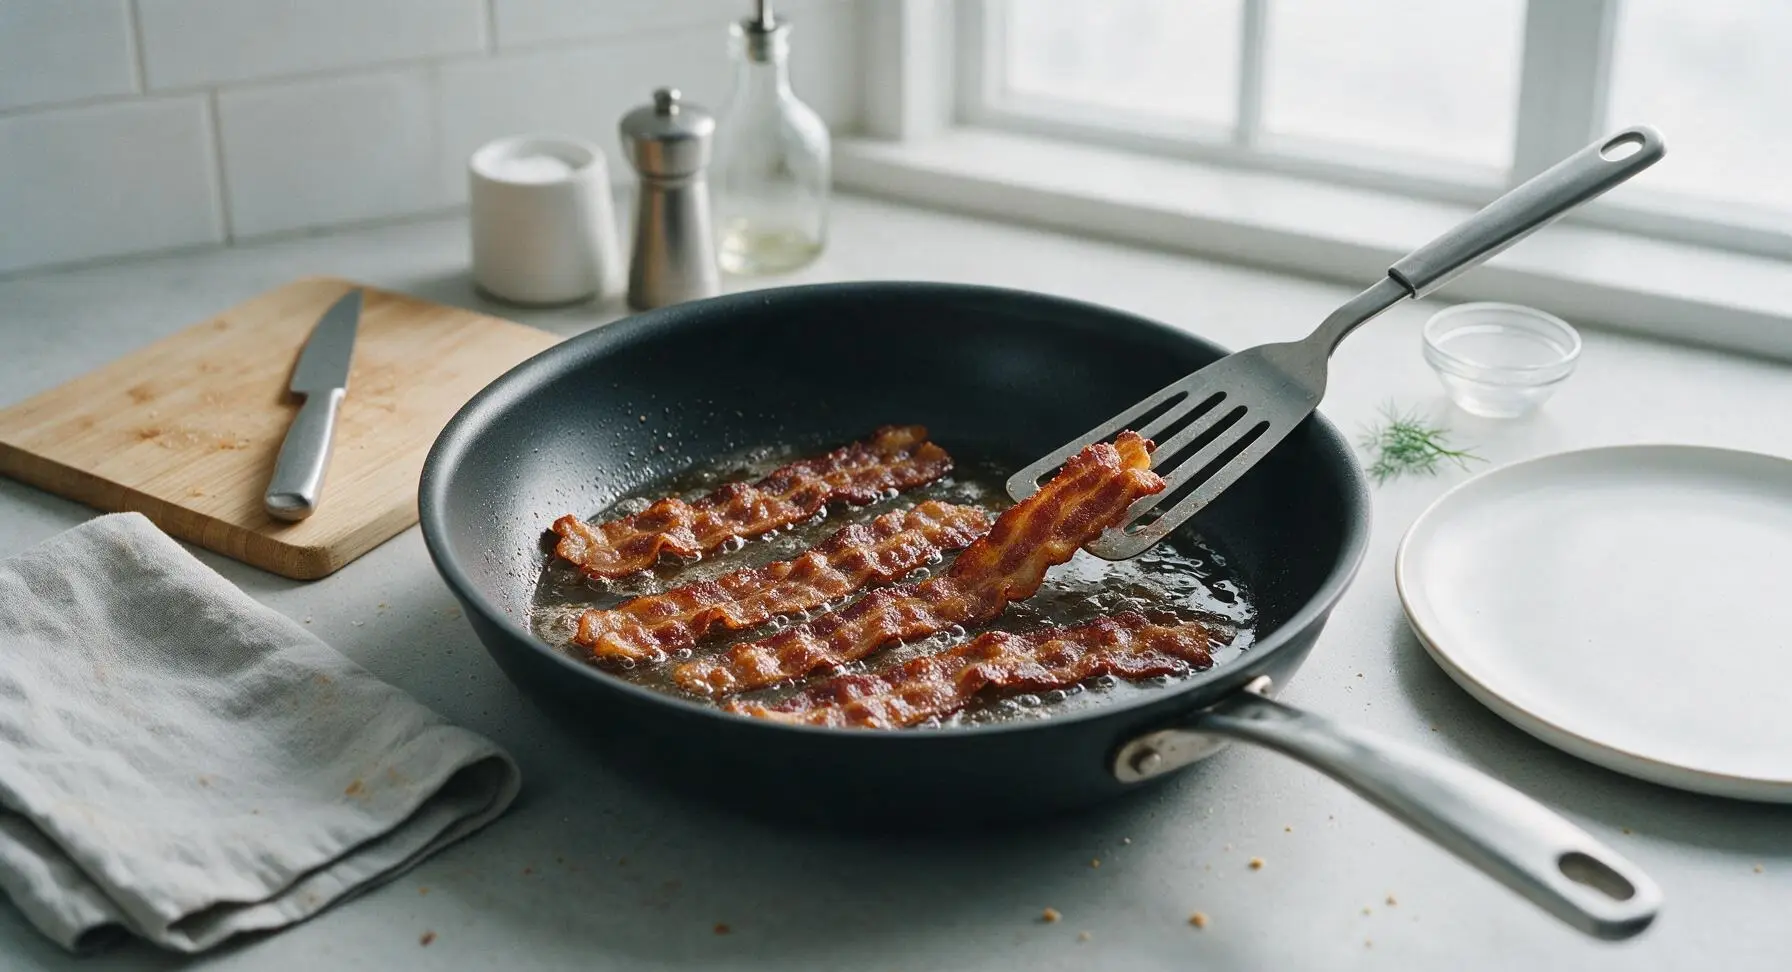
Place the 12-inch matte black nonstick skillet on the center of the cooktop, heat over medium heat (350°F / 175°C). Lay the 4 bacon strips in a single layer in the skillet, cook for 4-5 minutes per side until deep golden and crispy, adjusting heat as needed to prevent burning (bacon will darken quickly once fat renders). Transfer cooked bacon to the top matte cream ceramic plate to drain excess fat, then crumble into 1/2-inch pieces once cool enough to handle, about 2 minutes.
Step 2
step2:Cook Crispy Bacon
Step 2
step2:Cook Crispy Bacon
3

Whisk Seasoned Eggs

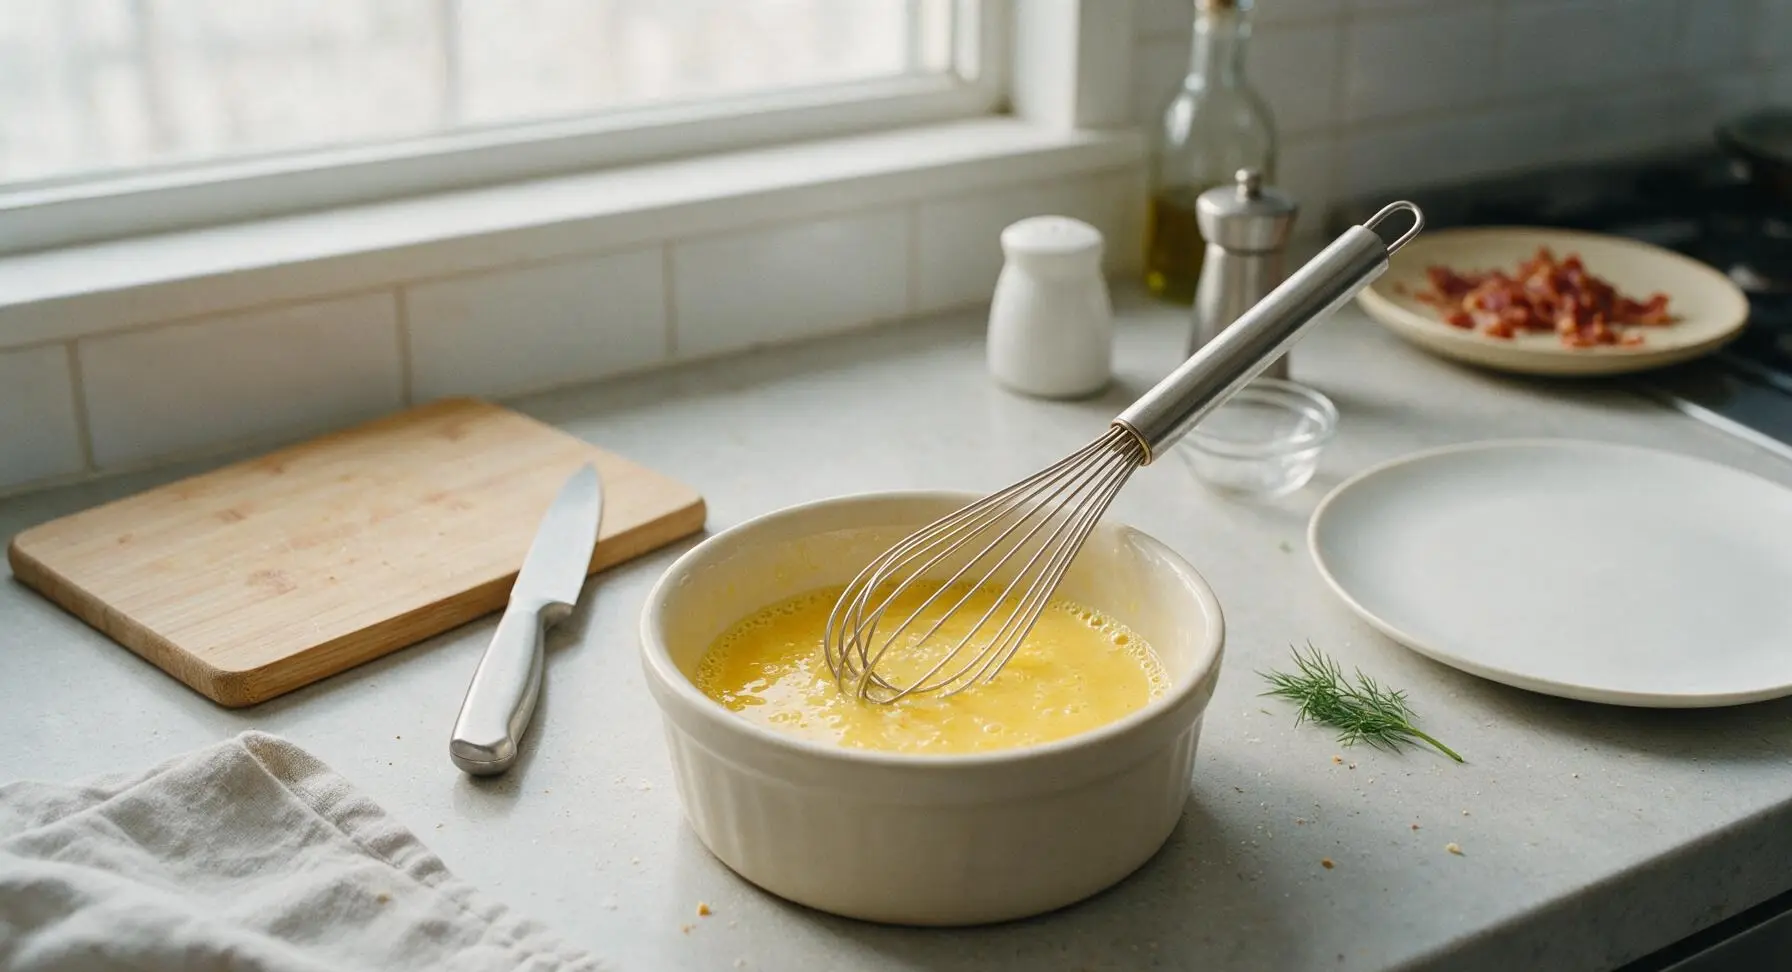
Crack all 8 large eggs into a clean cream ramekin, add 1/4 teaspoon salt and 1/8 teaspoon black pepper. Use the stainless steel wire whisk to beat the eggs for 30-45 seconds until the yolks and whites are fully combined, with a pale uniform yellow color and no visible streaks of egg white remaining.
Step 3
step3:Whisk Seasoned Eggs
4

Scramble Egg Base

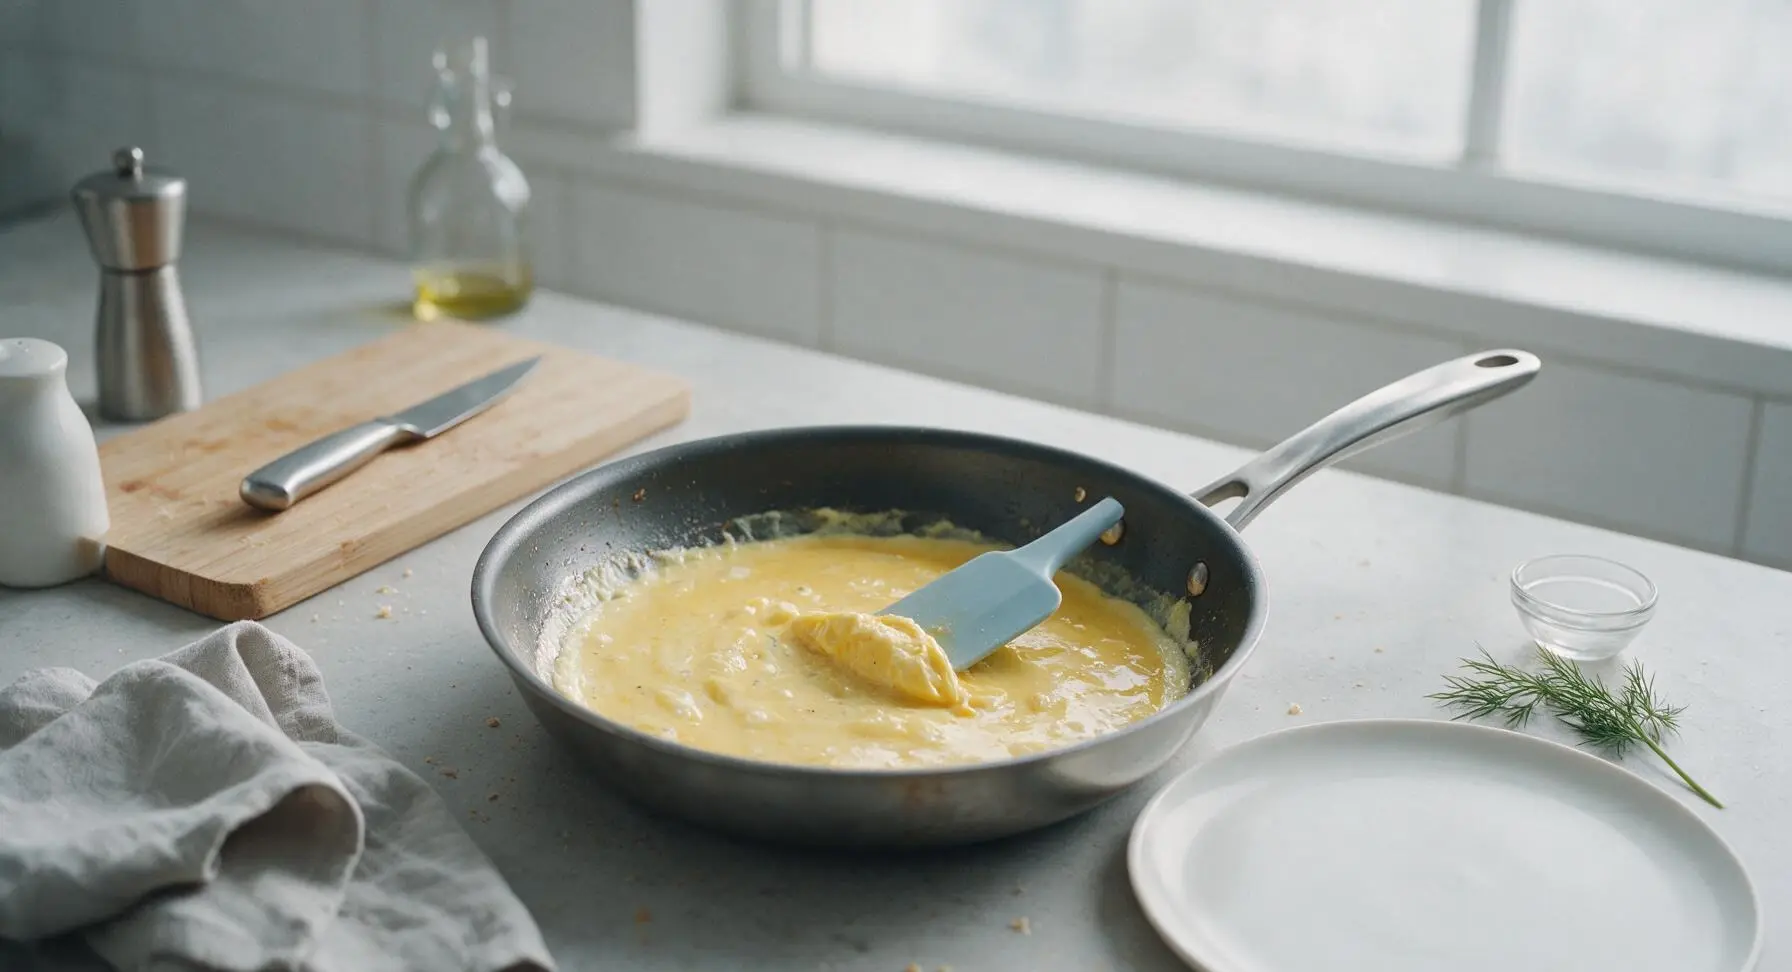
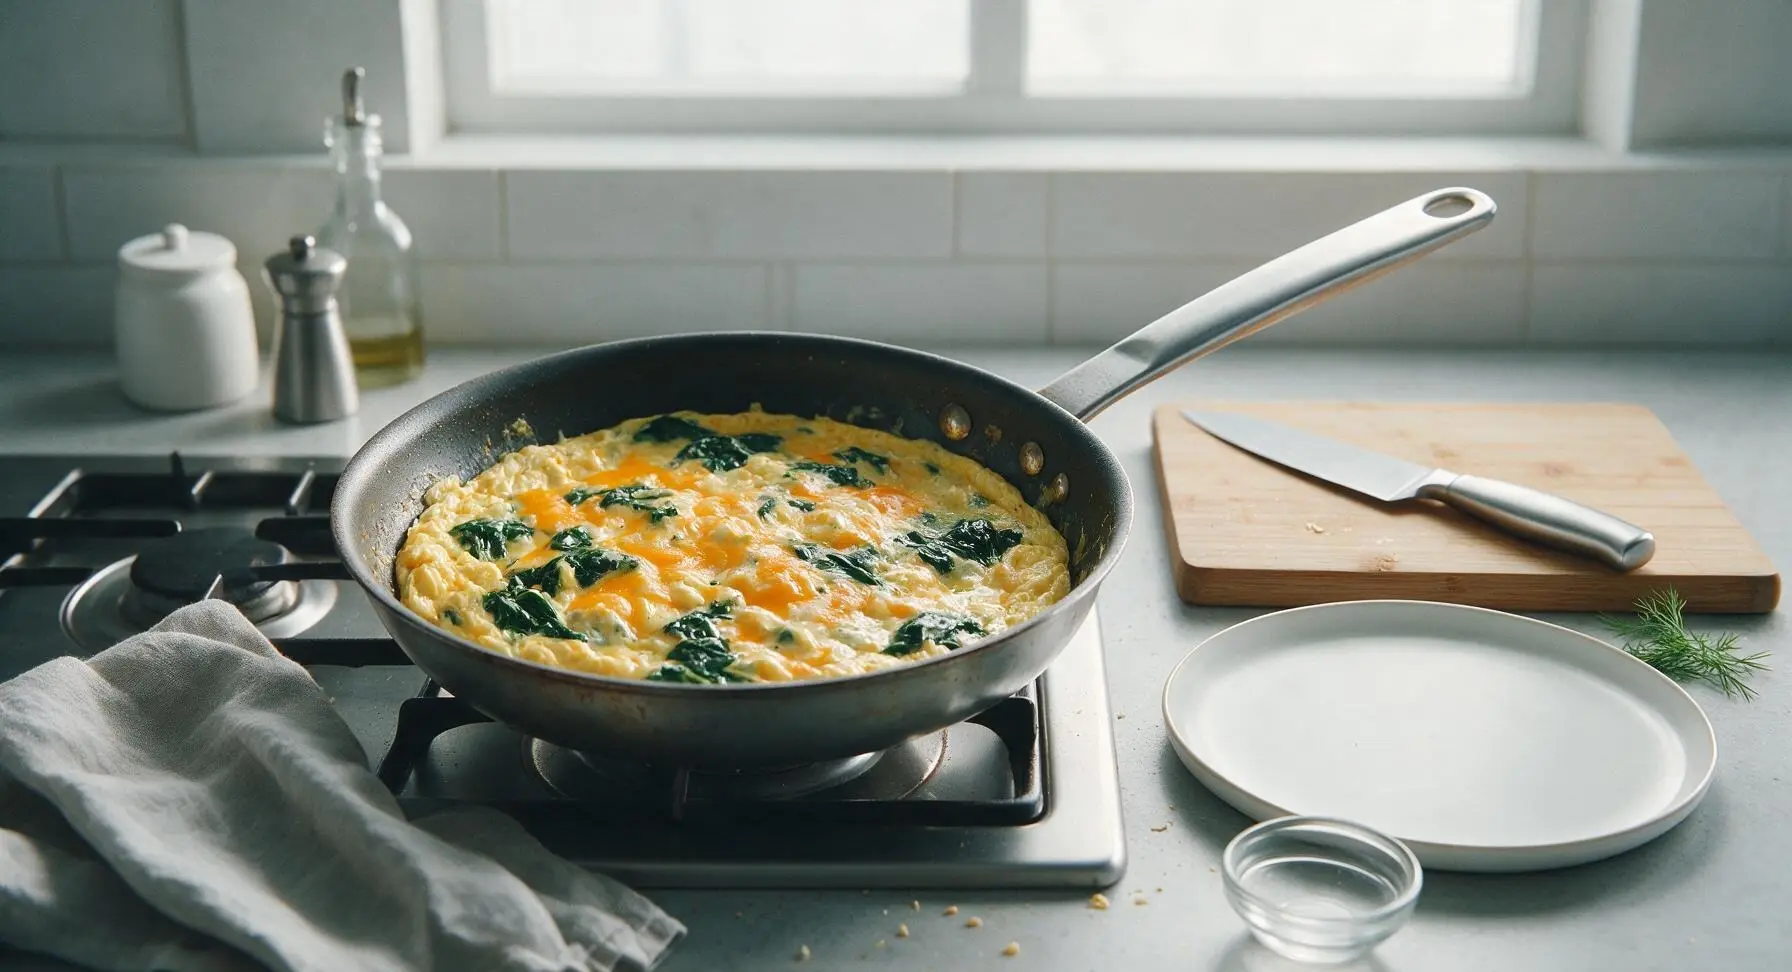
Pour off all but 1 teaspoon of rendered bacon fat from the skillet, return to medium-low heat (325°F / 160°C). Pour the whisked eggs into the skillet, use the light blue silicone spatula to push the eggs from the edge of the pan to the center every 10-15 seconds, forming soft, large curds. When the eggs are 80% set (still slightly wet and runny in spots, about 3 minutes total cook time), add the baby spinach and shredded cheddar cheese, stirring gently to combine for 30 seconds until spinach is just wilted and cheese starts to melt into glossy streaks. Remove the pan from heat immediately—residual heat will finish cooking the eggs without making them rubbery.
Step 4
step4:Scramble Egg Base
Step 4
step4:Scramble Egg Base
5

Warm Tortillas Briefly

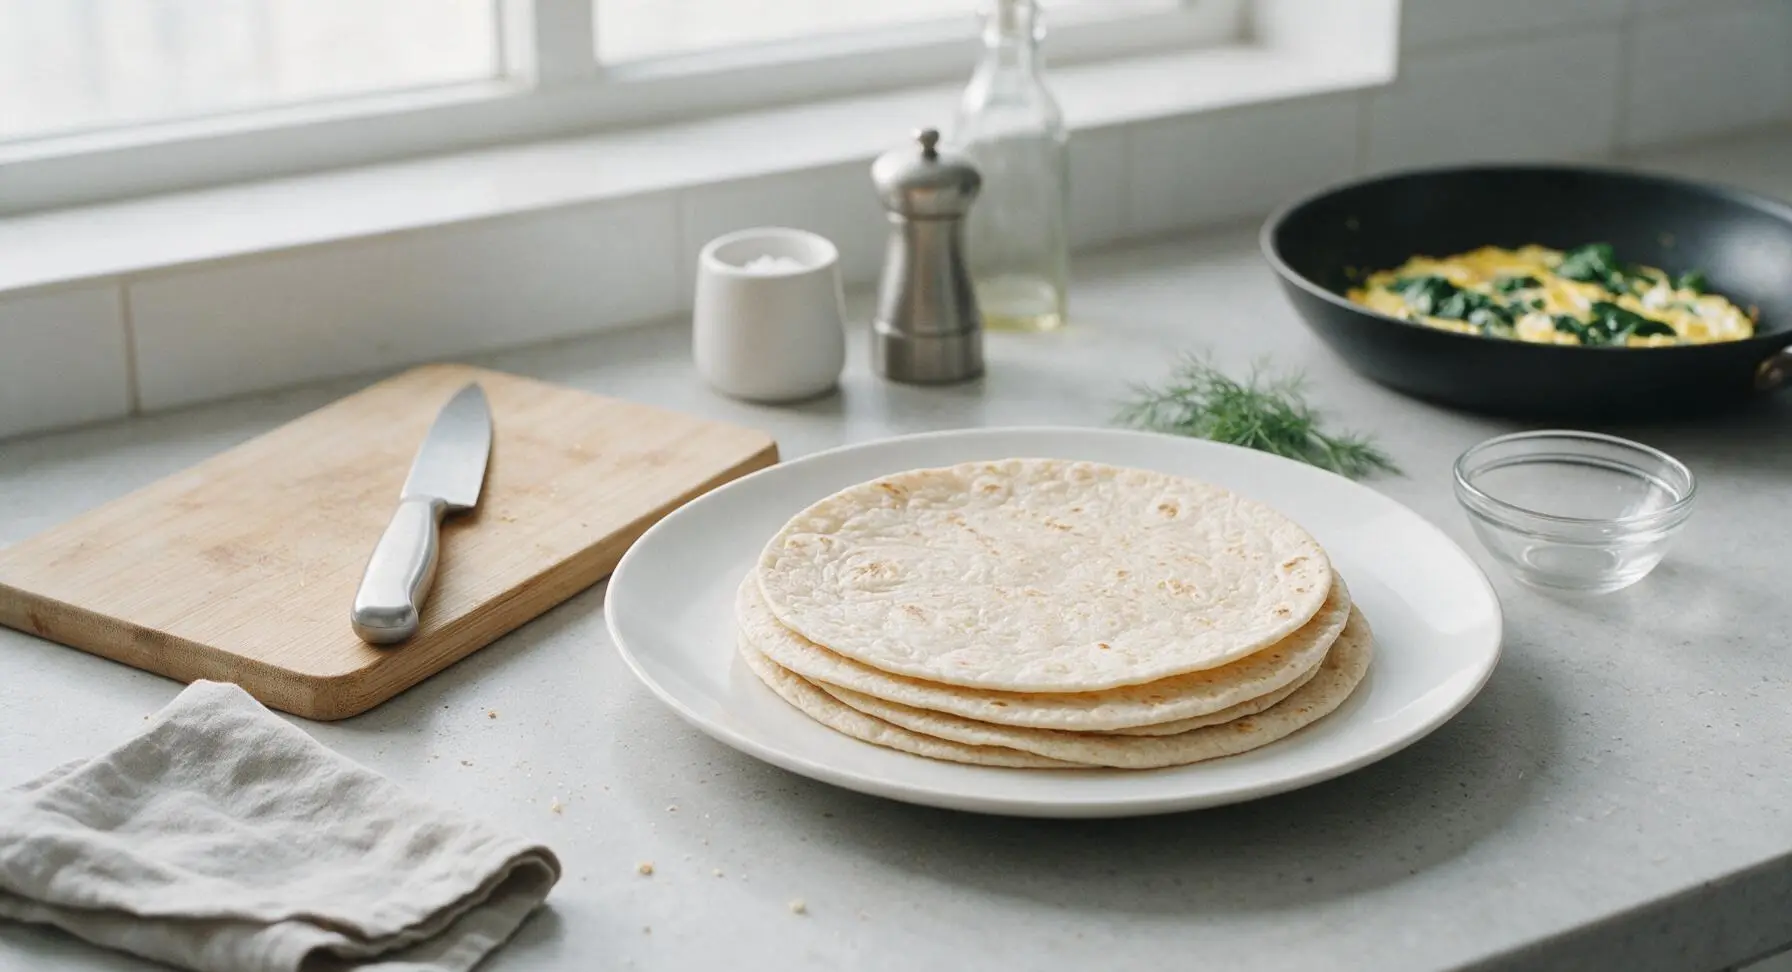
Stack the 4 whole wheat tortillas on a clean cream plate, microwave for 20 seconds on high (or warm directly on a low stovetop burner for 10 seconds per side) until soft, pliable, and slightly steamy. Warming prevents tortillas from cracking or splitting when rolling tight wraps.
Step 5
step5:Warm Tortillas Briefly
6

Layer Wrap Fillings

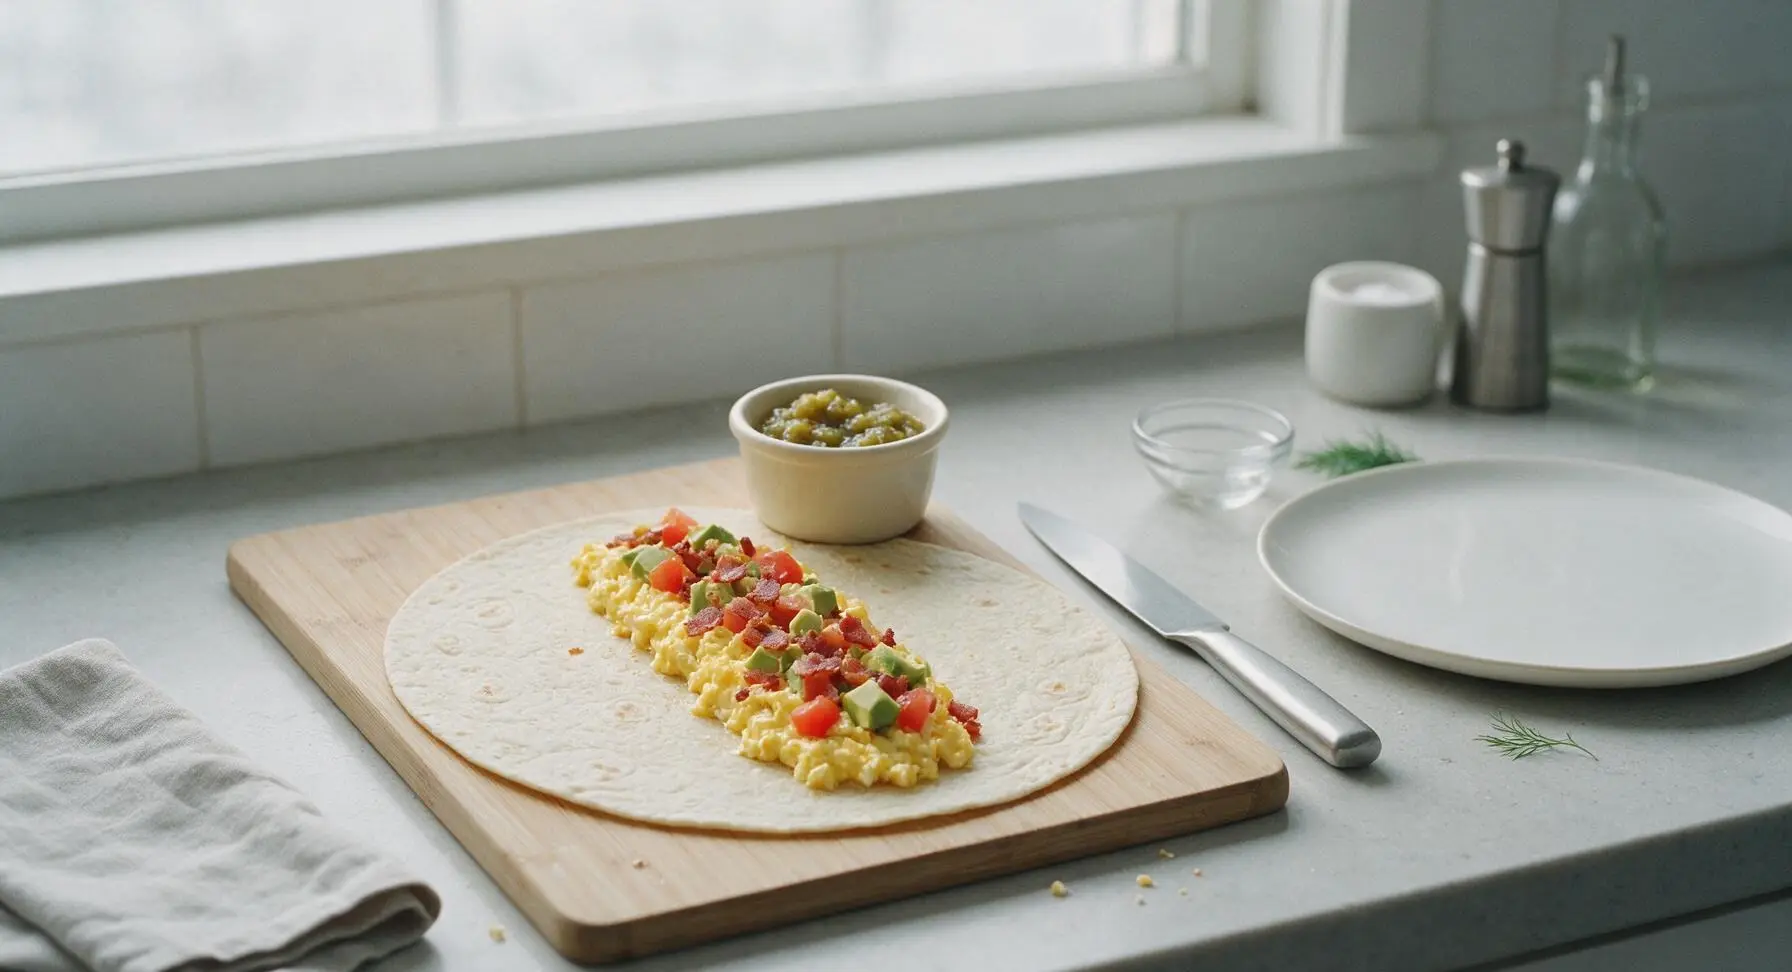
Return the light maple cutting board to center-left counter for assembly. Lay one warm tortilla flat on the board. Spoon 1/4 of the egg and cheese mixture down the center third of the tortilla, leaving a 1-inch clear border at the top and bottom edges. Top the egg mixture with 1/4 of the crumbled bacon, diced tomato, diced avocado, and 1 tablespoon of salsa, adding a pinch of extra salt and pepper if desired. Do not overfill—too much filling will cause the wrap to burst open when rolling.
Step 6
step6:Layer Wrap Fillings
7

Roll Wraps Tightly

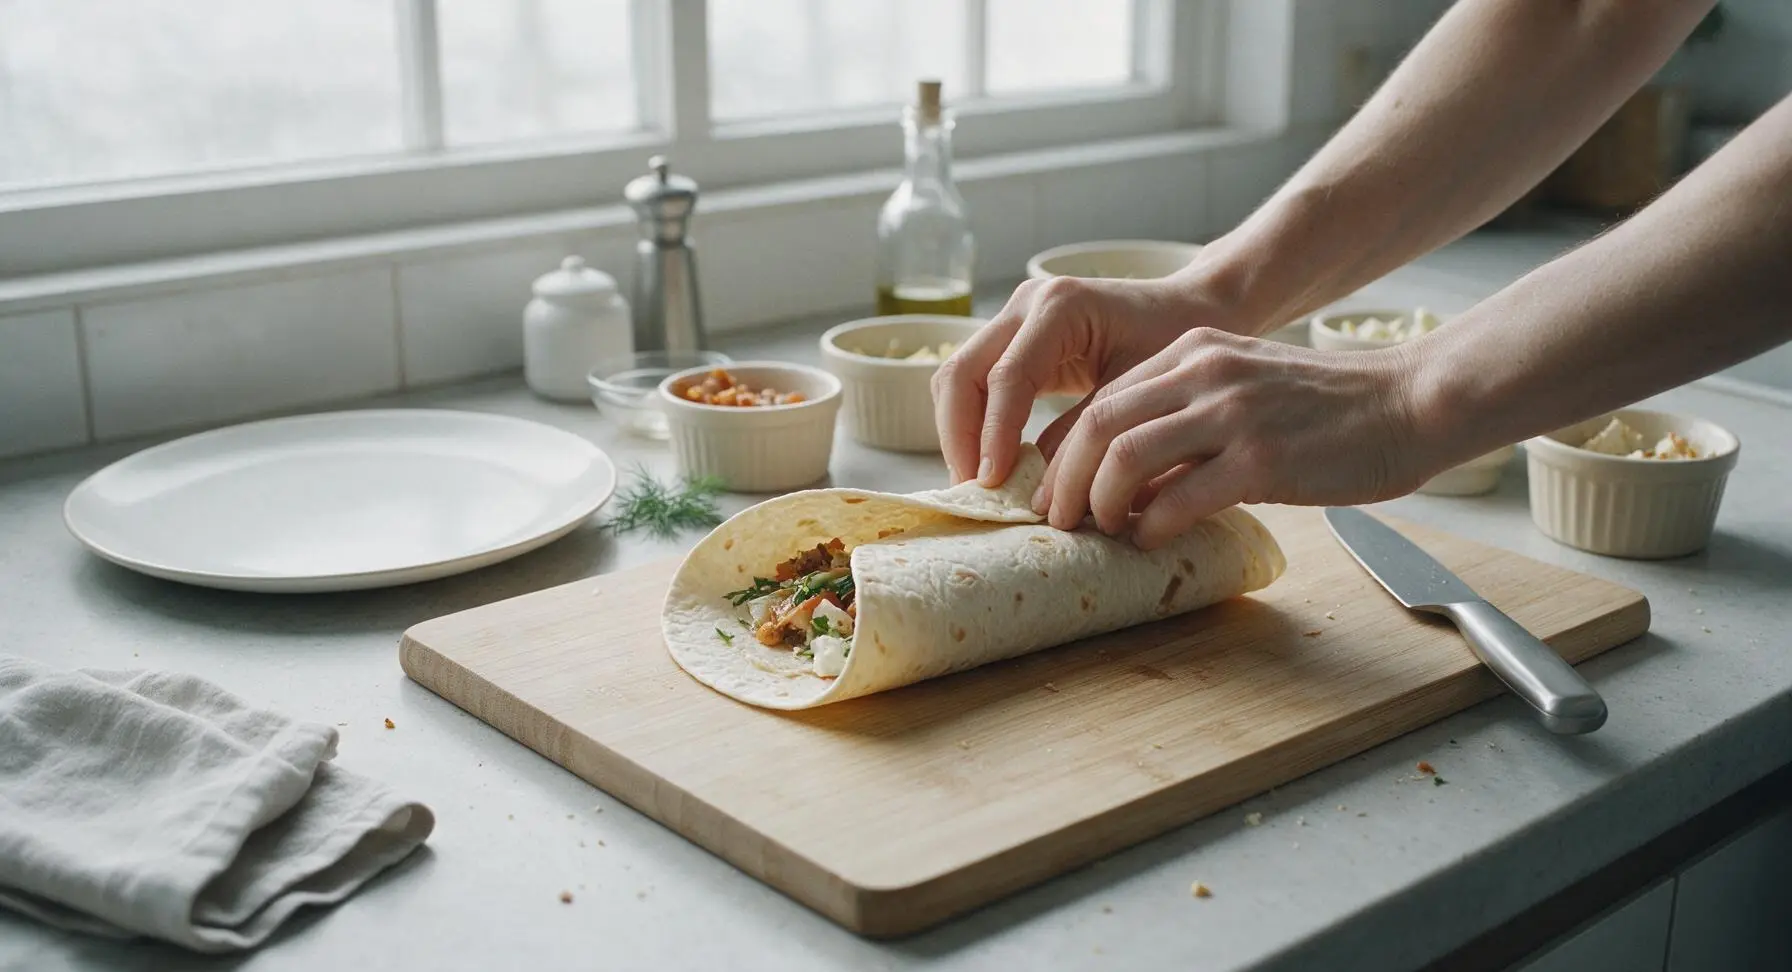
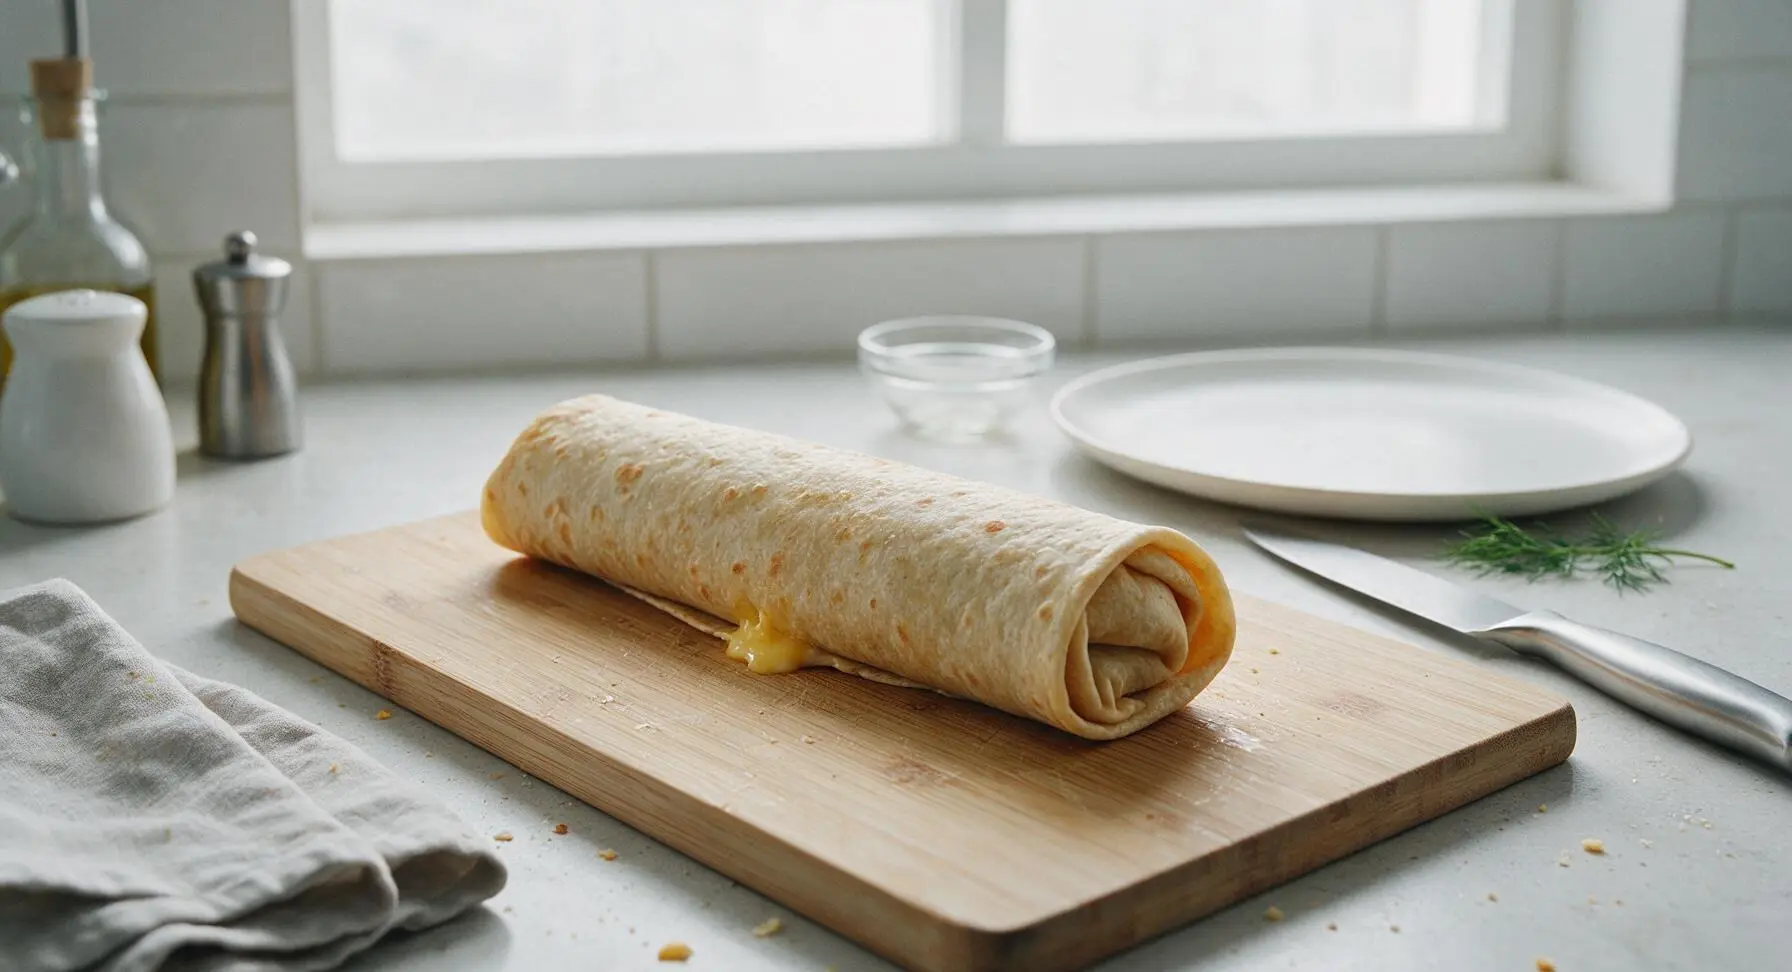
Fold the 1-inch top and bottom borders of the tortilla in over the filling to seal the ends, then roll the tortilla tightly from one long side to the other, forming a neat, sealed cylinder. Apply gentle, even pressure as you roll to tuck fillings in tightly, so the wrap holds its shape and does not unroll when cut. Repeat assembly and rolling with the remaining 3 tortillas and fillings.
Step 7
step7:Roll Wraps Tightly
Step 7
step7:Roll Wraps Tightly
8

Slice and Serve Wraps

Place each rolled wrap seam-side down on the maple cutting board, use the 8-inch chef’s knife to cut each diagonally at a 45-degree angle across the center. Arrange the cut wraps on the matte cream dinner plate, sprinkle with chopped fresh basil, and serve immediately while the filling is warm and cheese is melted.
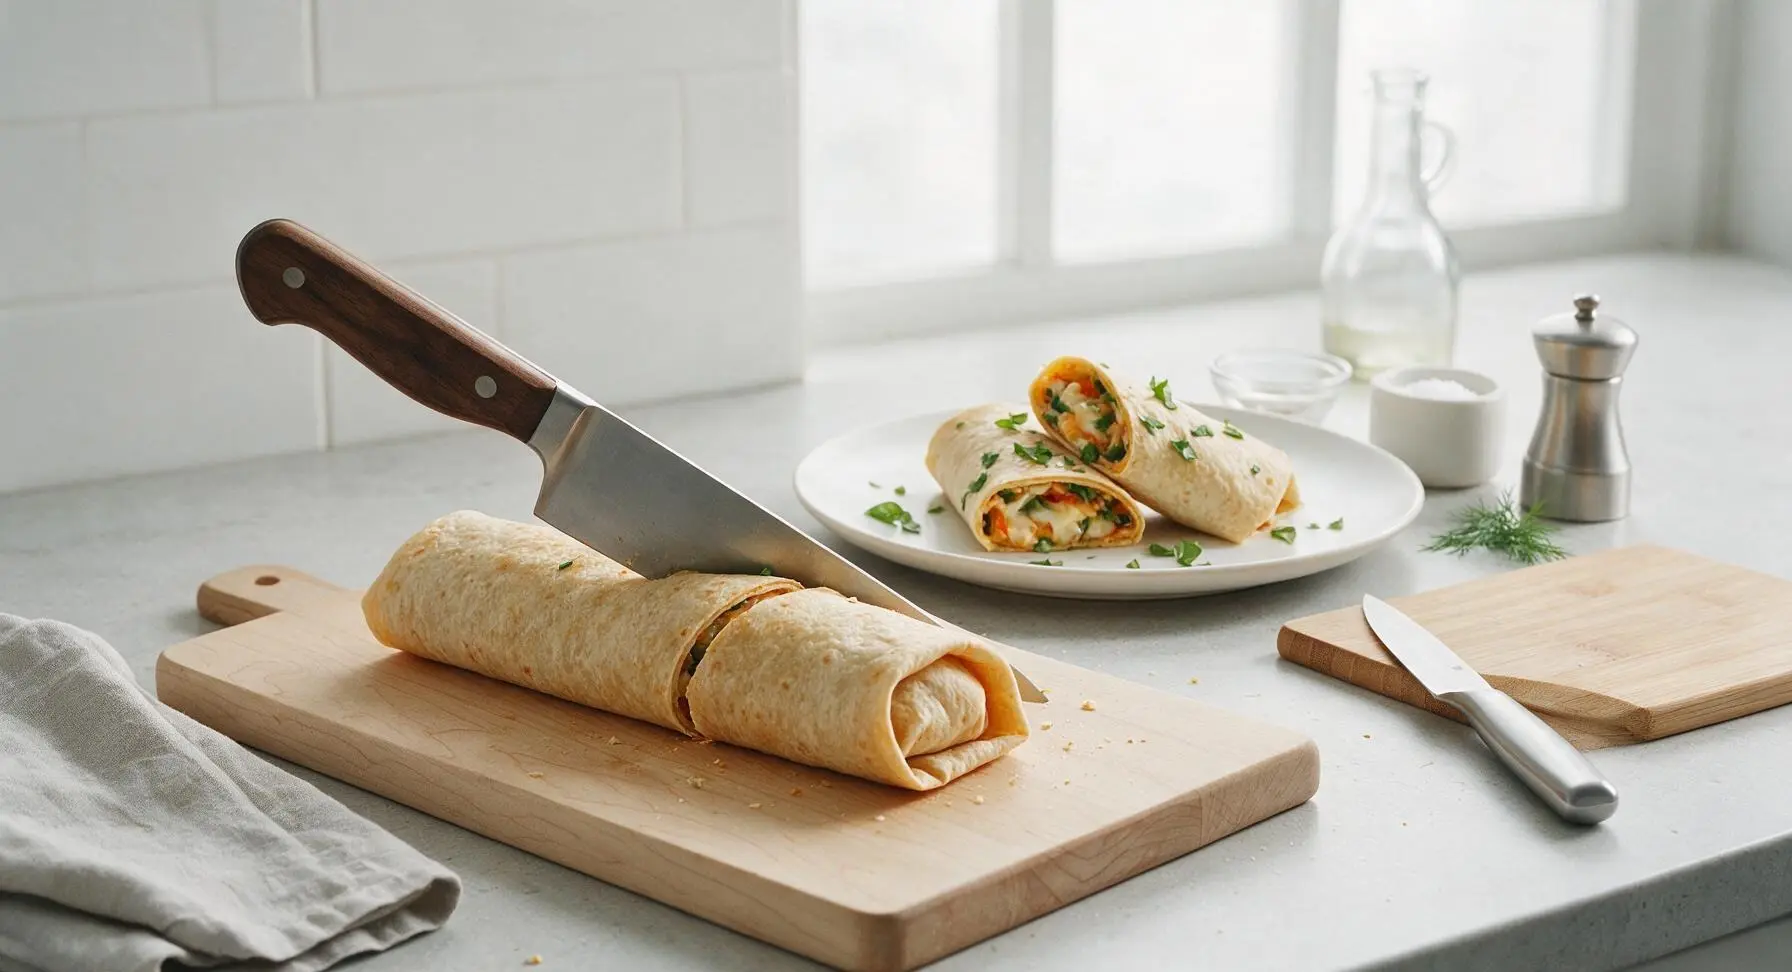
Step 8
step8:Slice and Serve Wraps

Tips

1.Pat diced tomato and baby spinach completely dry with the linen towel before adding to wraps: excess moisture from wet produce will soak through the tortilla and make it soggy, especially if prepping wraps ahead for weekly meals.
2.Avoid overcooking the eggs: remove the skillet from heat when eggs are 80% set (still slightly wet in spots), as residual pan heat will finish cooking them to soft, fluffy perfection without turning them rubbery.
3.Mix and match fillings for endless wrap ideas: swap bacon for turkey sausage or seasoned black beans for a vegetarian version, add pickled jalapeños for heat, or trade cheddar for crumbled feta and roasted red peppers for a Mediterranean twist; stick to 1/2 cup of filling per wrap to avoid bursting when rolling.


✨ You May Also Like

Breakfast
🍜 United States

Crisp-edged, fluffy lard griddle cakes are a nostalgic homestyle staple, with rich savoriness from rendered lard, perfect topped with maple syrup or savory gravy.

⏱️ 25 minuteBreakfast ★ 4.8
Breakfast
🍜 United States

Flaky, buttery homemade buttermilk biscuits smothered in creamy, peppery pork sausage gravy: a beloved, hearty Southern American comfort food classic.

⏱️ 35 minuteBreakfast ★ 4.8
Breakfast
🍜 United States

Golden, custardy brioche stuffed with sweet cream cheese and fresh berries, pan-fried to crisp perfection. An indulgent, cozy breakfast perfect for slow weekend mornings.

⏱️ 30 minuteBreakfast ★ 4.7
Breakfast
🍜 United States

Flaky, buttery Southern-style biscuits stuffed with savory salty country ham, a portable, satisfying classic perfect for casual on-the-go meals.

⏱️ 25 minuteBreakfast ★ 4.8
Breakfast
🍜 United States

Iconic puffy baked pancake popularized in Seattle, with crisp golden edges and soft custardy center, served warm with classic sweet toppings.

⏱️ 35 minuteBreakfast ★ 4.6
Breakfast
🍜 United States

Fluffy, golden pancakes studded with juicy peak-summer mixed berries, drizzled with maple syrup for a bright, comforting, crowd-pleasing family breakfast.

⏱️ 25 minuteBreakfast ★ 4.7

breakfast wrap ideas:Frequently Asked Questions

1.Can I make these breakfast wraps ahead for weekly meal prep? ▾
Absolutely! Let cooked wraps cool fully after assembling, then wrap each tightly in plastic wrap or aluminum foil and store in the fridge for up to 4 days, or the freezer for 3 months. Reheat in the microwave for 1–2 minutes, or crisp in a dry skillet for 3 minutes per side. Pat veggies dry first to avoid sogginess during storage.
2.What easy swaps work if I don’t eat bacon? ▾
No problem at all! Swap thick-cut bacon for crumbled breakfast sausage, diced ham, smoked turkey slices, or rinsed sautéed black beans for a vegetarian option. Just make sure any protein swap is fully cooked before adding to the wrap to keep total cook time right around that quick 20-minute mark for the recipe.
3.Why does the recipe call for 10-inch whole wheat tortillas? ▾
10-inch tortillas are the ideal size to hold all your fillings without tearing or overflowing when folded, so you won’t deal with messy spills mid-bite. Whole wheat adds a nutty, hearty flavor and extra fiber to keep you full longer, but you can easily swap for equal-sized flour, spinach, or gluten-free tortillas to fit your diet.
4.How do I keep my breakfast wraps from getting soggy? ▾
Sogginess almost always comes from excess moisture in fillings, so pat baby spinach dry before adding, drain all excess grease from cooked bacon, and let hot fillings cool 2–3 minutes before assembling. If adding juicy veggies like tomatoes, scoop out the seedy watery center, and use cheese as a moisture barrier between wet ingredients and the tortilla.
5.Can I make these wraps dairy-free? ▾
Definitely! Swap the shredded sharp cheddar for your favorite dairy-free shredded cheddar-style blend—look for one formulated to melt well to get that same gooey, savory pull. You can also skip cheese entirely and add a few slices of ripe avocado for extra creaminess, with zero sacrifice to that satisfying, hearty wrap texture.
6.What’s the best way to fold wraps so fillings don’t fall out? ▾
Start by tucking the left and right side edges of the tortilla in toward the center first, then roll the bottom edge up tightly over the fillings, keeping the sides tucked as you go. Don’t overstuff—stick to roughly ¼ cup of each filling per 10-inch tortilla to avoid tears, and sear the seam side for 30 seconds to lock it shut.
7.How do I get the light, fluffy eggs the recipe mentions? ▾
For perfectly fluffy eggs, whisk them vigorously for 20–30 seconds before cooking to work in extra air, then cook over medium-low heat, stirring gently with a silicone spatula as they set. Never crank the heat too high, as that makes eggs tough and rubbery. Pull them off heat right when they’re just set, since residual heat will finish cooking them.
8.What quick veggie add-ins pair well with the base recipe? ▾
The fresh baby spinach in the base recipe is just a starting point! Great quick add-ins include diced bell pepper, sautéed mushrooms, thinly sliced green onion, seeded diced Roma tomato, or pickled jalapeños for a spicy kick. Most can be sautéed in the same pan you cook bacon in while eggs cook, so you won’t add extra total prep time.
9.Can I scale this recipe up to serve for a weekend brunch crowd? ▾
Absolutely! The recipe scales seamlessly for groups. Keep assembled wraps warm in a 200°F oven on a foil-lined baking sheet for up to 30 minutes before serving, covered loosely with foil to prevent them from drying out. Set out a small topping bar with salsa, hot sauce, and extra fillings so guests can customize their wraps to their taste.
10.How can I add extra protein to keep me full through the morning? ▾
The base recipe is already packed with protein from eggs, bacon, and sharp cheddar, but easy boosts include a scoop of scrambled firm tofu, rinsed black beans, a sprinkle of crumbled queso fresco, or a dollop of plain Greek yogurt. These add-ins won’t add to the 20-minute total cook time, and help prevent mid-morning energy crashes.

Comments (5)

2 days ago

OMG these are a total game changer for our chaotic school mornings! I prepped a bunch of fillings over the weekend—scrambled eggs, crispy bacon, sautéed peppers, shredded cheddar—and let my kids pick what they wanted in their wraps. Even my super picky 7-year-old ate every bite and asked for a second one for after-school snack! 10 minute cook time is no joke, I can throw one together even when we’re running late for the bus. SO good.

yesterday

Wait do you freeze these ahead? I’ve been looking for easy grab-and-go breakfasts I can stock my freezer with for my husband’s work commute!

2 hours ago

Great question! You can absolutely freeze these assembled—just wrap them tightly in plastic wrap or foil, and reheat in the microwave for 1-2 minutes or in a skillet for a crispy tortilla when you’re ready to eat. They stay great for up to 3 months in the freezer!

1 week ago

Made these for my Sunday football watch party pre-game spread and they were a hit! I did a southwest twist with chorizo, pepper jack, avocado, and a little hot sauce, and my buddies were raving the whole first quarter. Super easy to customize so everyone could build their own exactly how they liked it, no fancy ingredients required. Would 100% make again for our next tailgate.

5 days ago

Love that southwest twist with chorizo and pepper jack, that sounds absolutely delicious! Build-your-own wrap bars are such a perfect low-fuss option for game days and tailgates—no one leaves hungry, and you don’t have to spend the whole pre-game stuck in the kitchen instead of hanging out with your crew. Thanks for sharing your fun variation!

30 minutes ago

As someone who’s terrible at cooking and usually just eats cereal for breakfast, this was so approachable! I loaded mine up with scrambled tofu, roasted sweet potato, spinach, and a dollop of hummus, and it honestly tasted like something I’d pay $12 for at my local brunch spot. The cook time really is only 10 minutes, no complicated steps, and you can toss in whatever veggies you have lying around in the fridge so nothing goes to waste. Already added this to my weekly rotation.

yesterday

Took these camping last weekend and they worked perfectly! I pre-scrambled eggs at home, brought along pre-cooked sausage crumbles, cheese, and salsa, and we cooked them up on our camp griddle over the fire. Tortillas got nice and crispy, everyone got to customize their own, and cleanup was basically nonexistent. Way better than the sad instant oatmeal we usually bring for camping breakfasts.

2 hours ago

Oh that’s such a smart camping idea! I’m always struggling to find easy camp meals that don’t require a ton of prep or specialized gear, definitely stealing this for our state park trip next month!

3 days ago

I’ve been making these for meal prep every Sunday for the past month and I’m not sick of them yet! I do a few different filling combos so I don’t get bored—one with turkey sausage and mozzarella, one with feta and spinach, one with black beans and salsa. I wrap them up and keep them in the fridge, and they reheat perfectly in the microwave in 90 seconds. Saved me so much money on stopping for breakfast sandwiches on my way to work!

2 days ago

How long do these stay good in the fridge? I usually prep my weekday meals 4 days at a time, would these hold up that long without getting soggy?

yesterday

Great question! These will stay fresh in an airtight container in the fridge for up to 4 days, which is perfect for your weekly prep routine. To keep them from getting soggy, try packing wet ingredients like salsa or hummus separately if you’re prepping ahead, or add a layer of cheese against the tortilla to act as a barrier. If you want to keep them longer, pop them in the freezer for up to 3 months! So glad these are helping you save time and money on busy workdays.



