
Broccoli Cheddar Mac and Cheese

title 1
Broccoli Cheddar Mac and Cheese
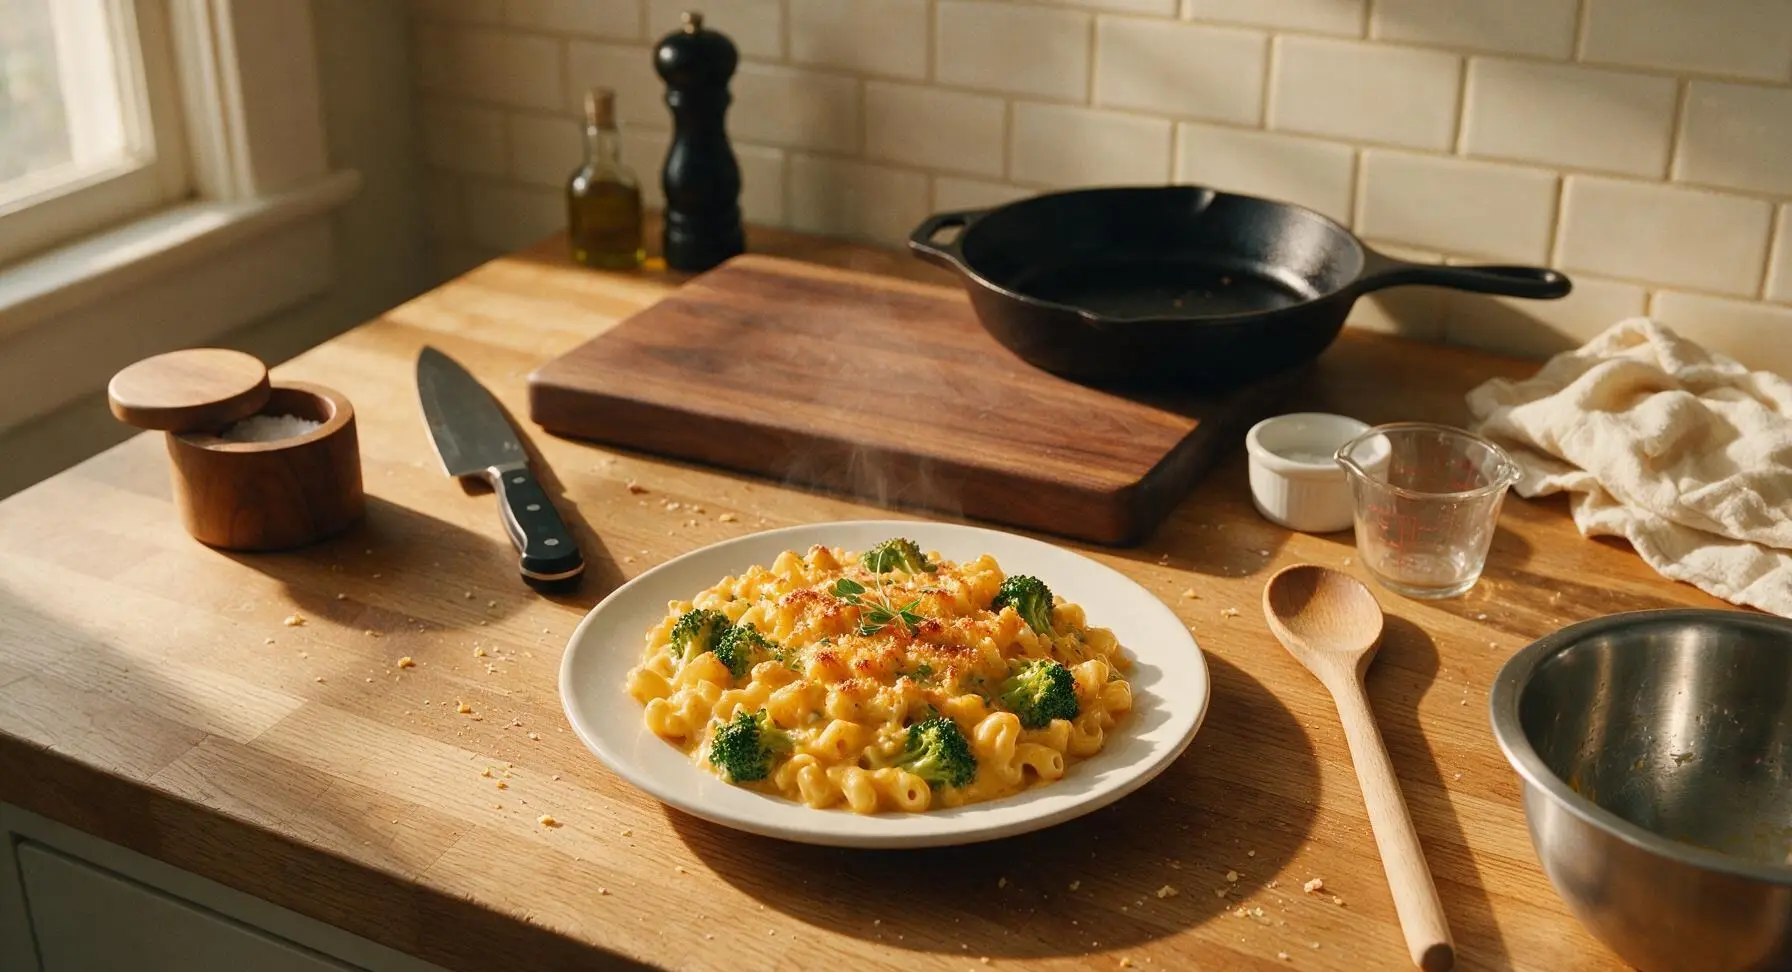
⏱️ cook time 25 minutes
🍽️ servings 4
⚡ Difficulty easy

intro

Velvety sharp cheddar sauce coats tender pasta and bright broccoli florets, baked to bubbly, golden-crusted perfection for cozy, satisfying weeknight comfort.

Ingredients
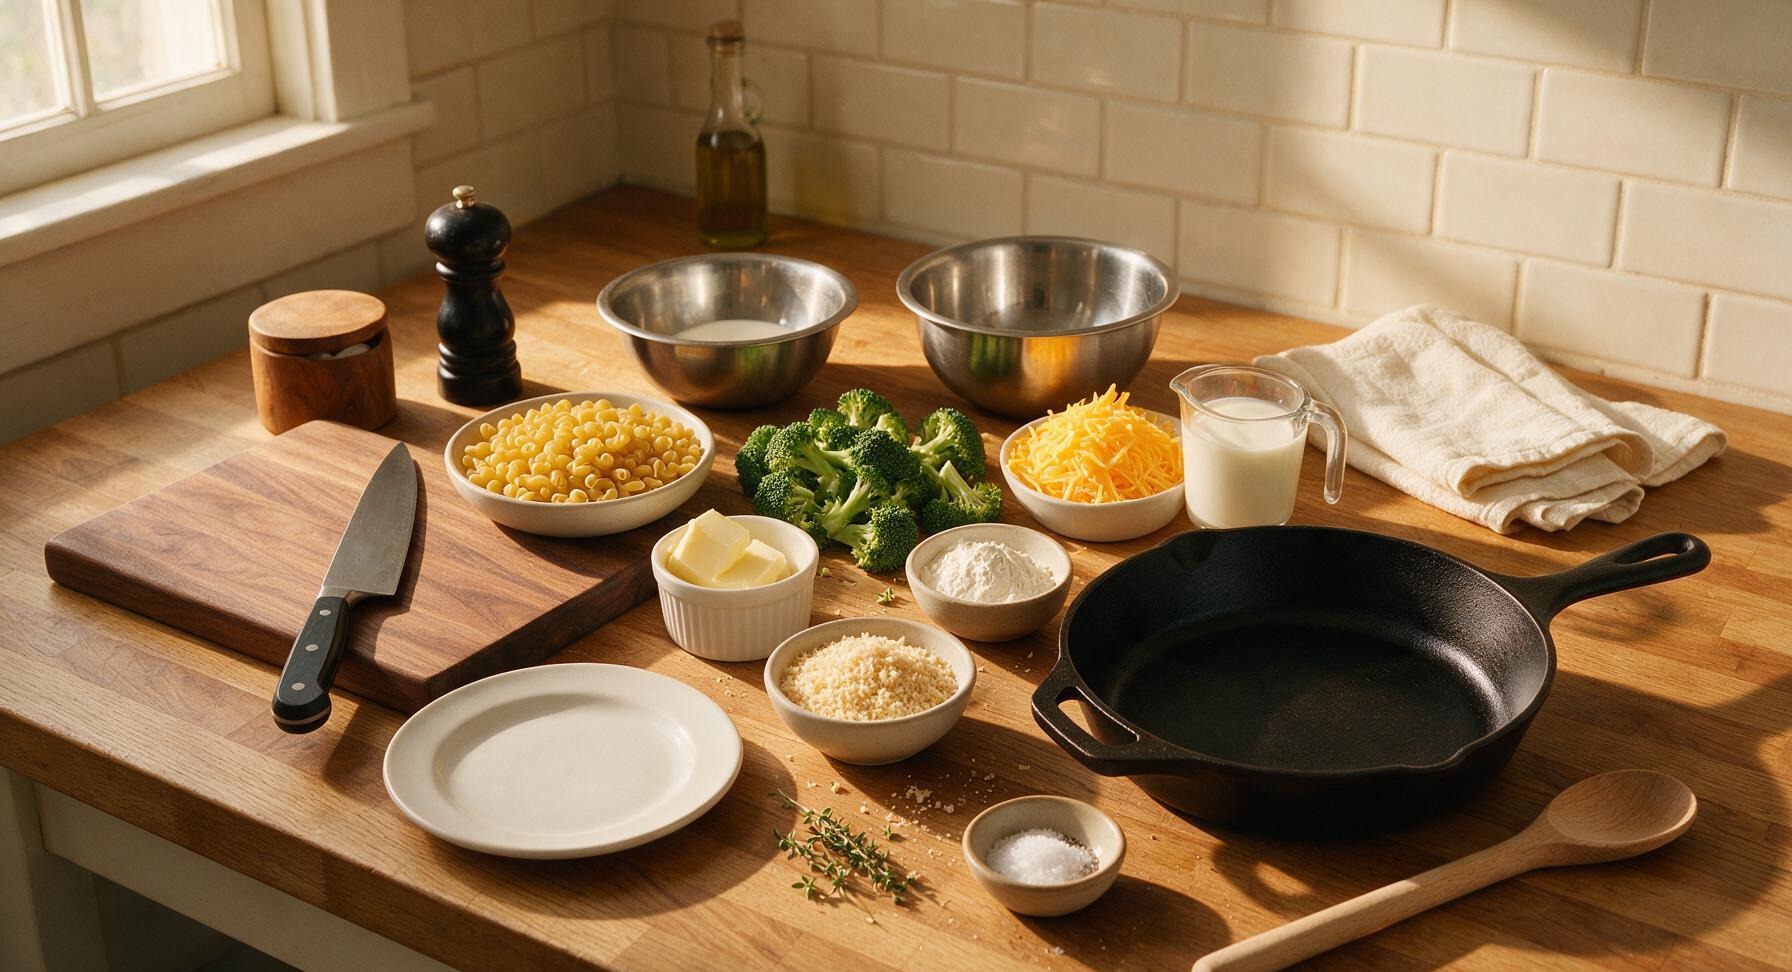
Dry elbow macaroni 225g (8oz)
Fresh broccoli 150g (2 cups bite-sized florets)
Sharp yellow cheddar cheese 220g (2 cups, freshly grated)
Whole milk 360ml (1.5 cups)
Unsalted butter 42g (3 tablespoons)
All-purpose flour 16g (2 tablespoons)
Panko breadcrumbs 25g (1/4 cup)
Kosher salt 1 teaspoon, plus extra for pasta water
Freshly ground black pepper 1/2 teaspoon
Fresh thyme 1 teaspoon leaves (optional garnish)

Steps

1

Prep Base Ingredients

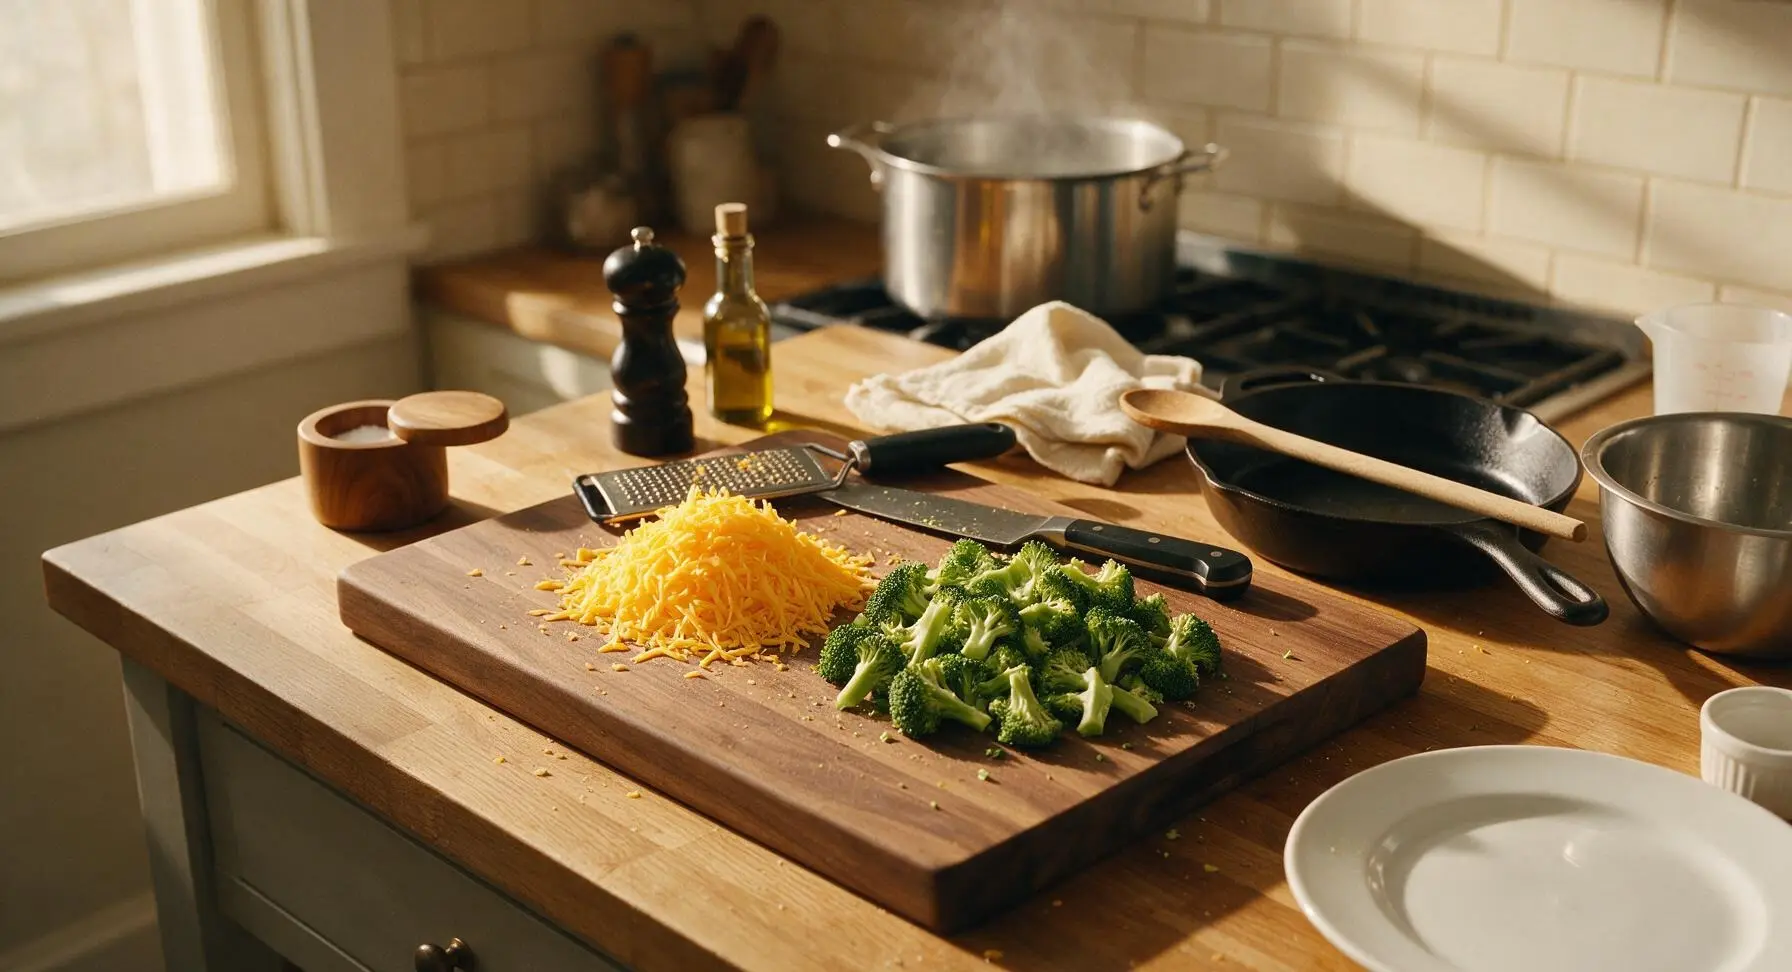
Fill the 6-quart stock pot with 4 liters of water, add 1 tablespoon of kosher salt, and bring to a rolling boil over high heat. While waiting for the water to heat, use the box grater to shred the sharp cheddar cheese into a loose pile on the acacia cutting board. Use the chef knife to chop the broccoli into 2.5cm (1-inch) bite-sized florets, discarding thick, woody lower stems. Set grated cheese and chopped broccoli aside.
Step 1
step1:Prep Base Ingredients
2

Cook Pasta and Broccoli

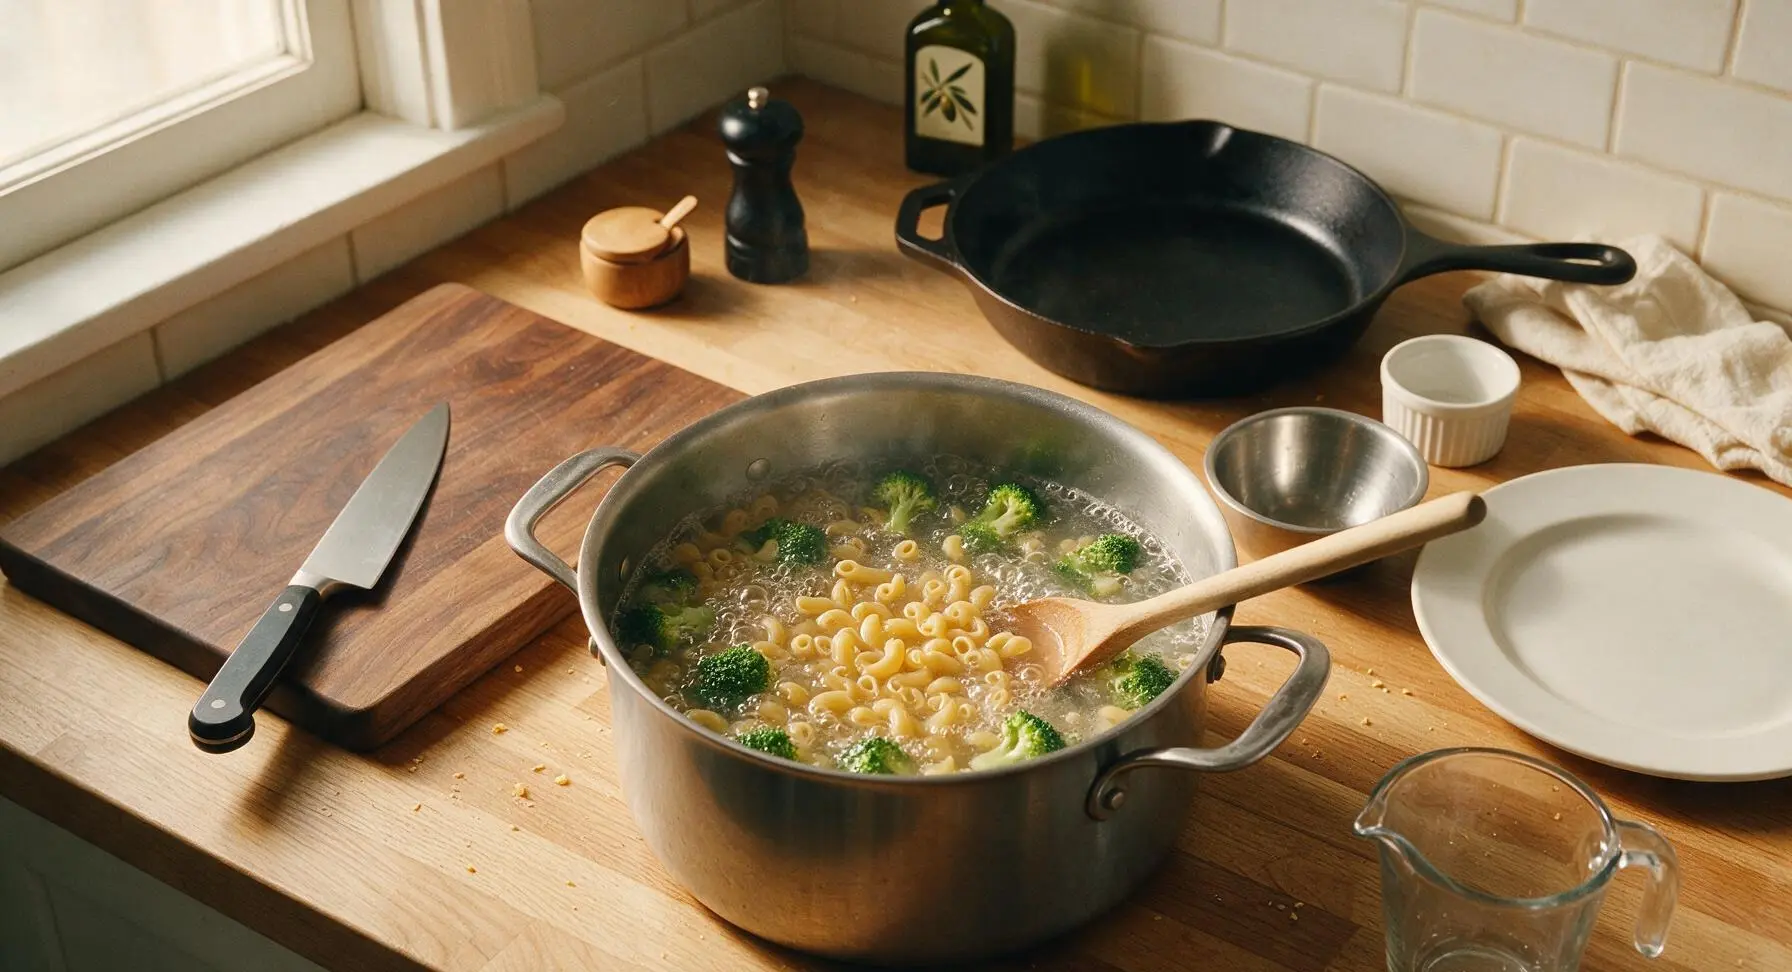
Once the salted water reaches a rolling, bubbling boil, add the dry elbow macaroni, stirring once with the beech wood spoon to prevent noodles from sticking to the pot bottom. Cook for 6 minutes (2 minutes less than the package’s al dente recommendation), then add the broccoli florets to the same pot. Cook for 2 additional minutes, until pasta is just firm to the bite and broccoli is bright, vivid green and crisp-tender. Do not overcook, as both pasta and broccoli will continue to soften during baking.
Step 2
step2:Cook Pasta and Broccoli
3

Drain Cooked Components

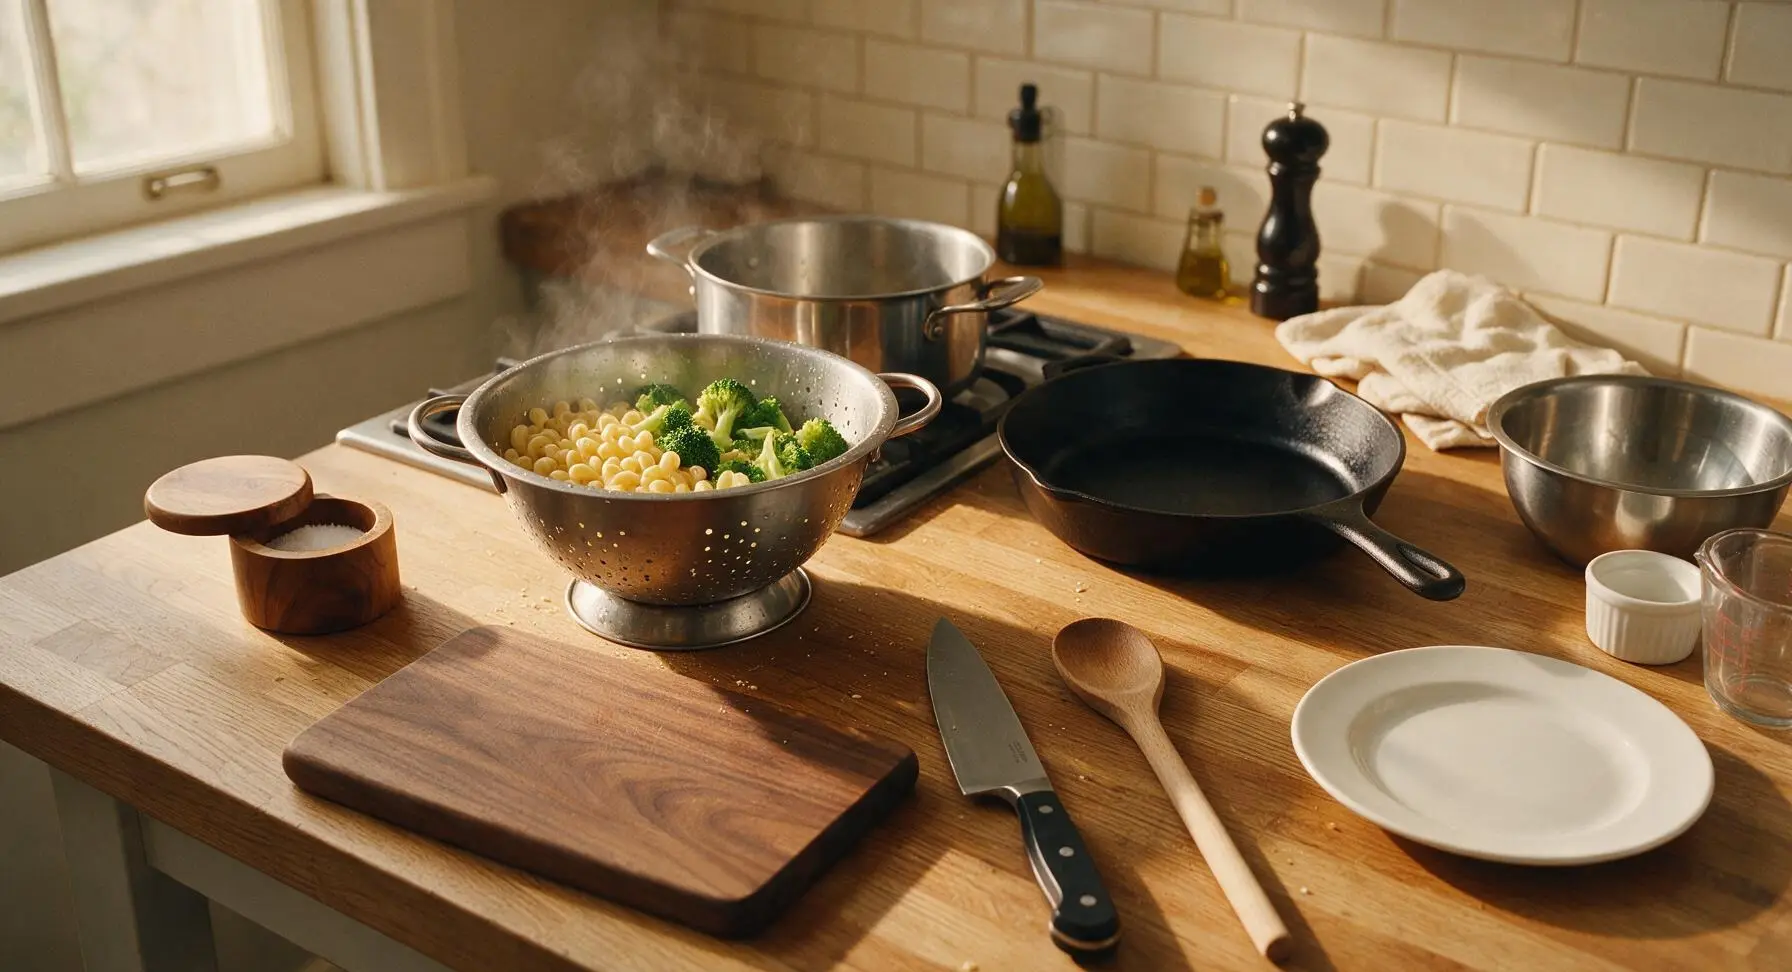
Carefully pour the pasta and broccoli mixture into the stainless steel colander set in the sink, shaking the colander gently for 10 seconds to remove all excess starchy water. Do not rinse the pasta or broccoli—residual surface starch helps the cheese sauce cling tightly to every noodle and floret. Set the colander with drained mixture aside while you prepare the sauce.
Step 3
step3:Drain Cooked Components
4

Build Roux for Sauce

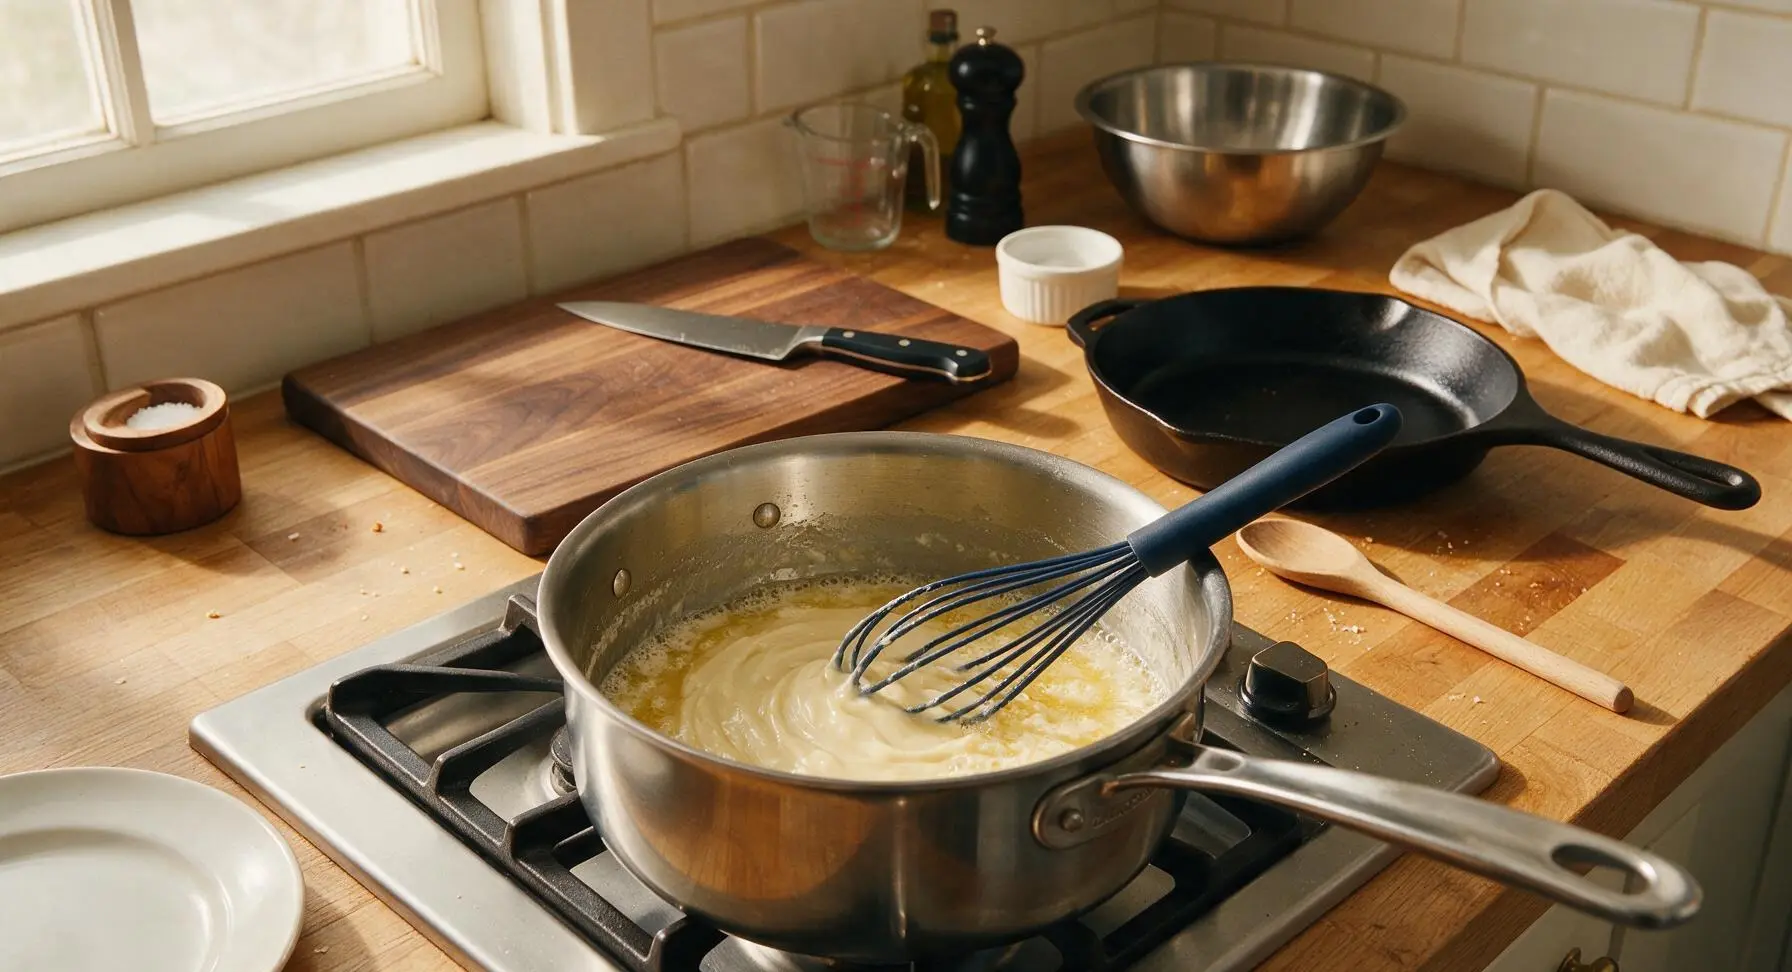
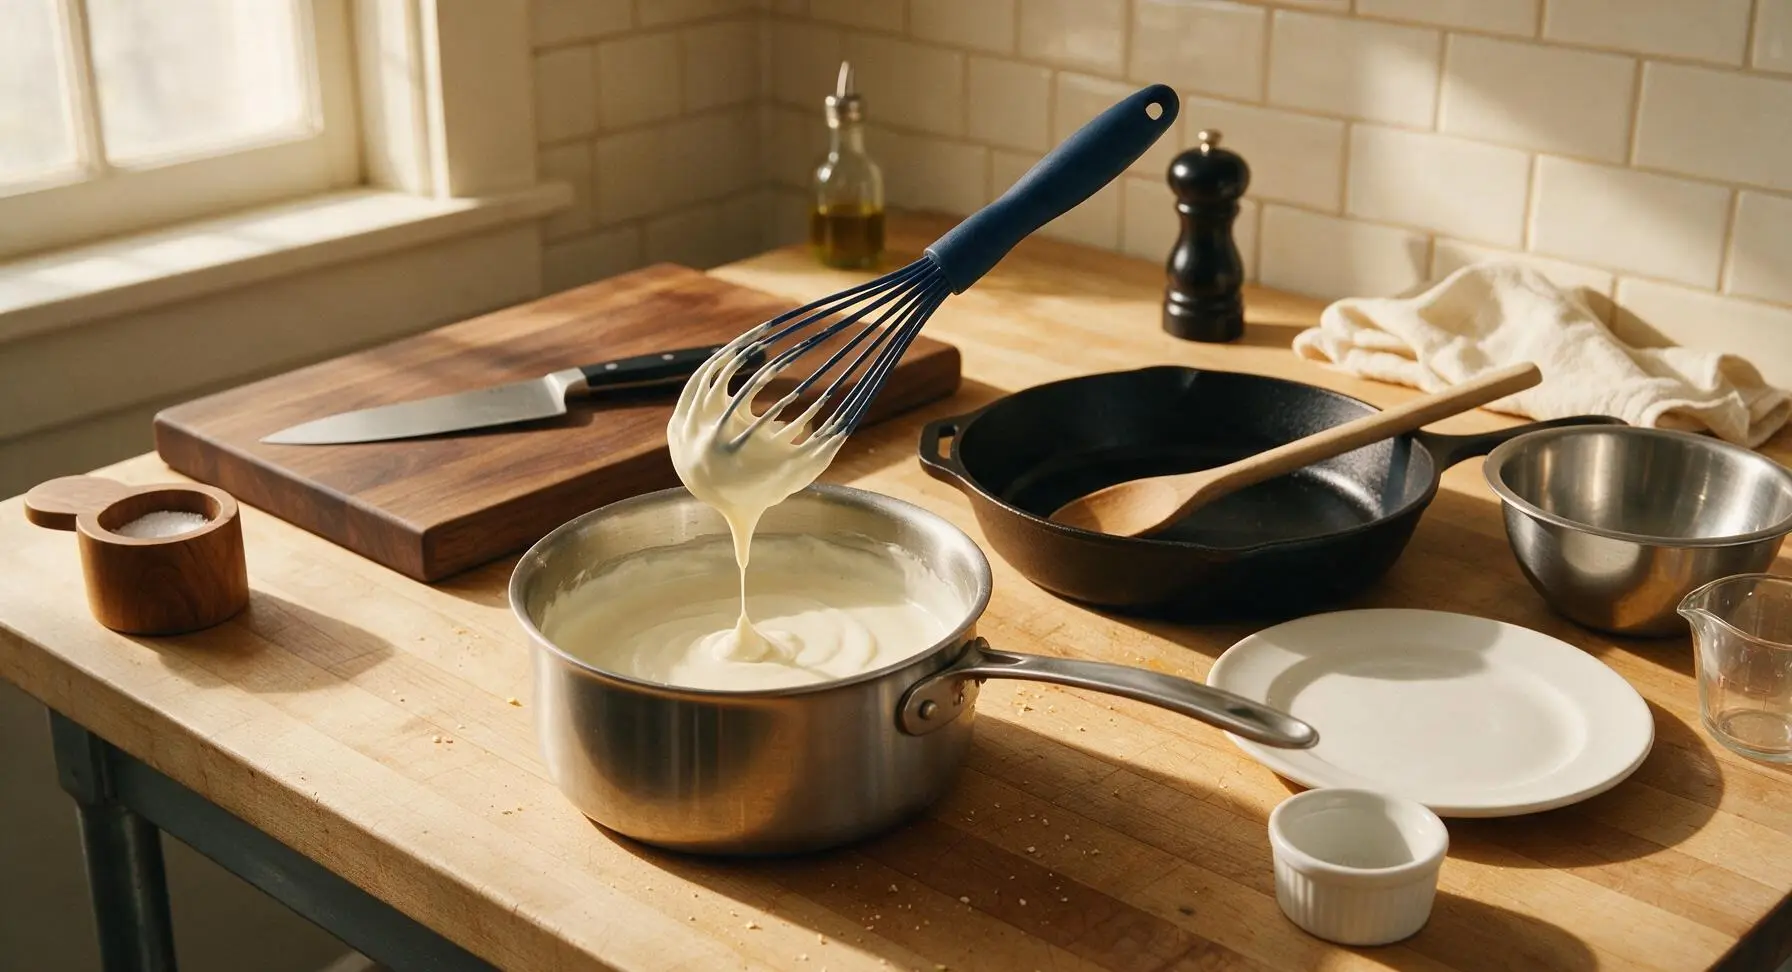
Place the 2-quart stainless steel saucepan over medium heat. Add the unsalted butter, swirling the pan until butter is fully melted and foamy, with no browned bits. Add the all-purpose flour, whisking constantly with the navy silicone whisk for 2 full minutes, until the roux is pale golden and smells faintly of toasted nuts, with no visible raw flour lumps. Slowly pour in 1/4 cup of the whole milk while whisking vigorously to prevent lumps from forming, then gradually stream in the remaining milk, continuing to whisk until the sauce thickens enough to coat the back of a spoon (about 3 minutes). Season with 1 teaspoon kosher salt and 1/2 teaspoon freshly ground black pepper.
Step 4
step4:Build Roux for Sauce
Step 4
step4:Build Roux for Sauce
5

Melt Cheddar Into Sauce

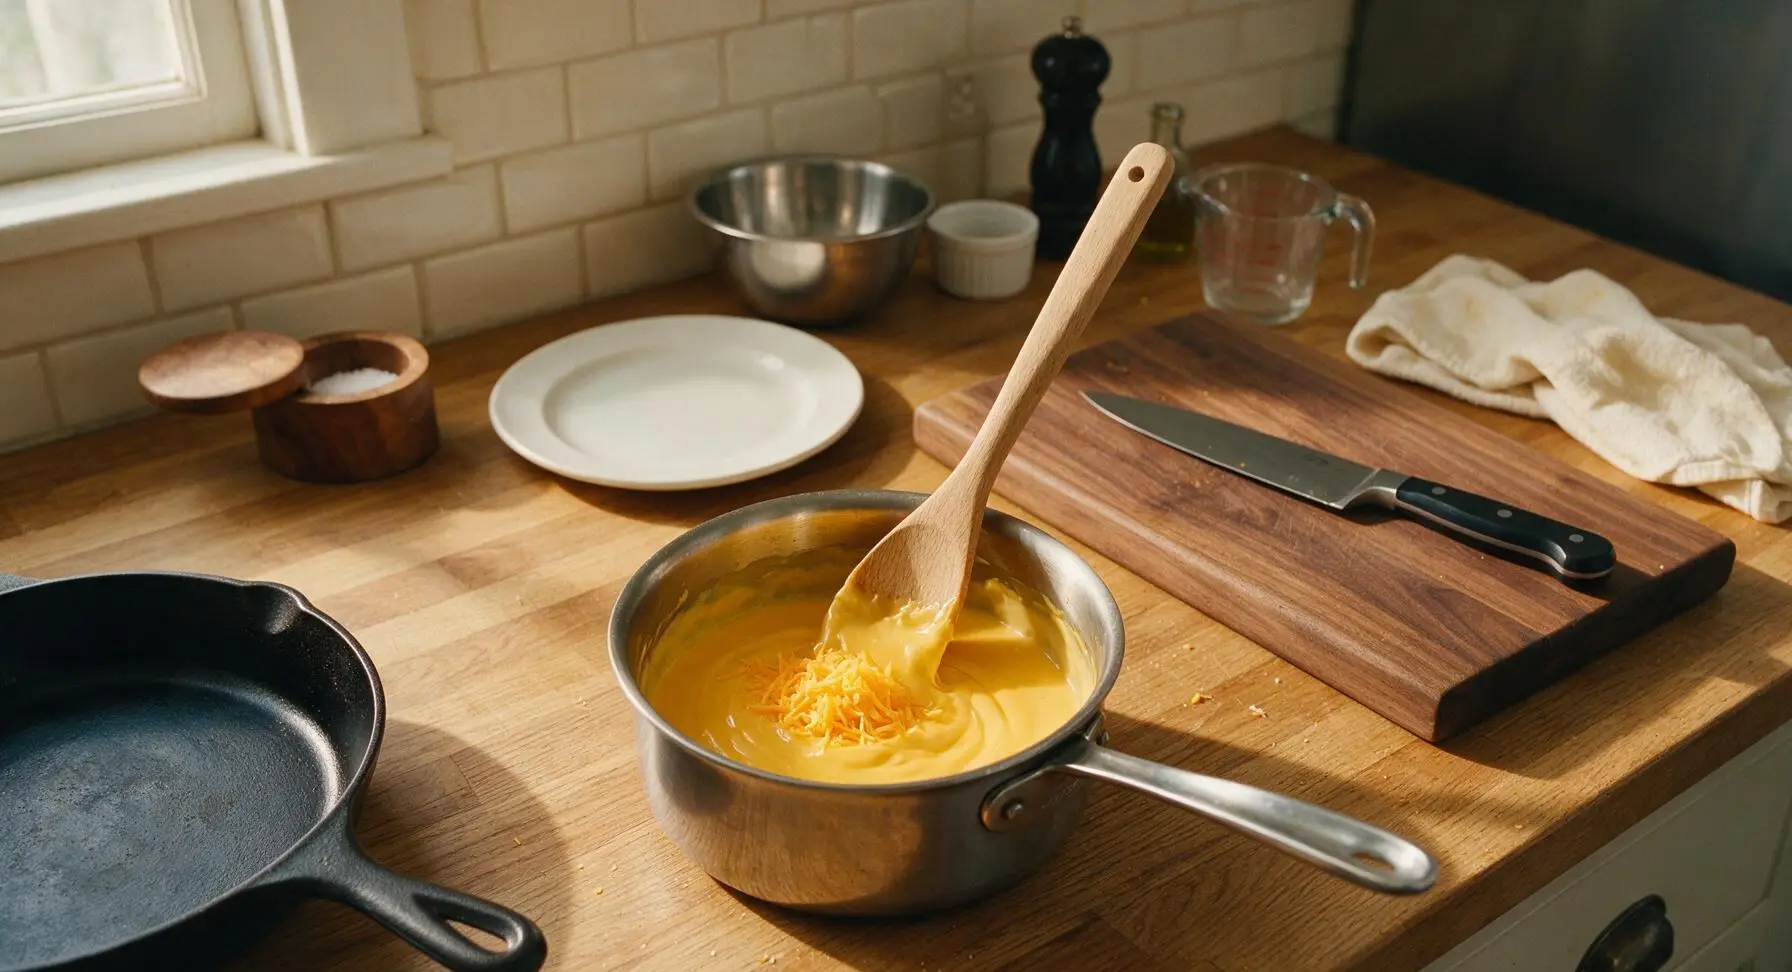
Remove the saucepan from direct heat to prevent the cheese from seizing. Add 1.75 cups of the grated cheddar (reserving 1/4 cup for the topping) in three small batches, stirring with the beech wood spoon after each addition until the cheese is fully melted and smooth, with no stringy lumps. The finished sauce will be thick but easily pourable; if it feels overly thick, stir in 1-2 tablespoons of extra milk to reach a velvety, heavy cream consistency.
Step 5
step5:Melt Cheddar Into Sauce
6

Mix Pasta With Sauce

Pour the drained pasta and broccoli from the colander into the matte off-white 9x9 inch baking dish. Pour the warm cheddar sauce evenly over the top of the pasta mixture, then use the beech wood spoon to gently toss until every pasta piece and broccoli floret is fully coated in sauce. Spread the mixture into a smooth, even layer across the bottom of the baking dish.
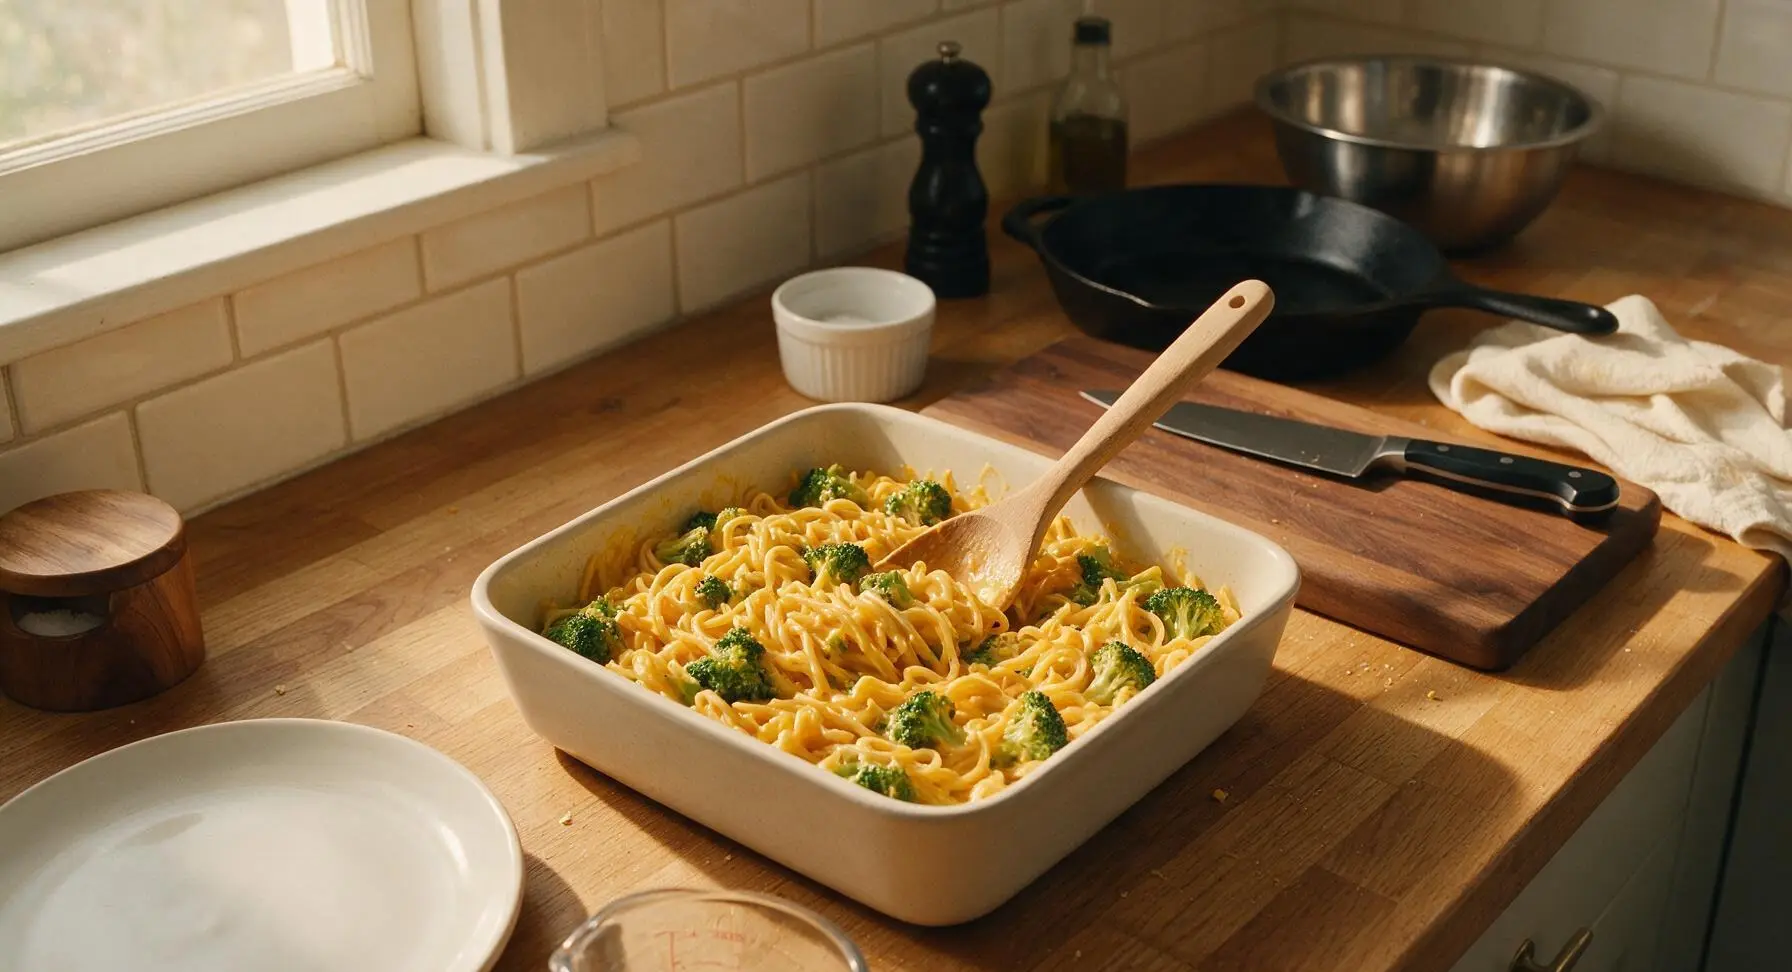
Step 6
step6:Mix Pasta With Sauce
7

Add Crispy Topping

Sprinkle the reserved 1/4 cup of grated cheddar evenly over the top of the sauced pasta, then scatter the panko breadcrumbs in a thin, uniform layer across the surface. For extra crispiness, you can mist the crumbs lightly with olive oil, but this is optional.
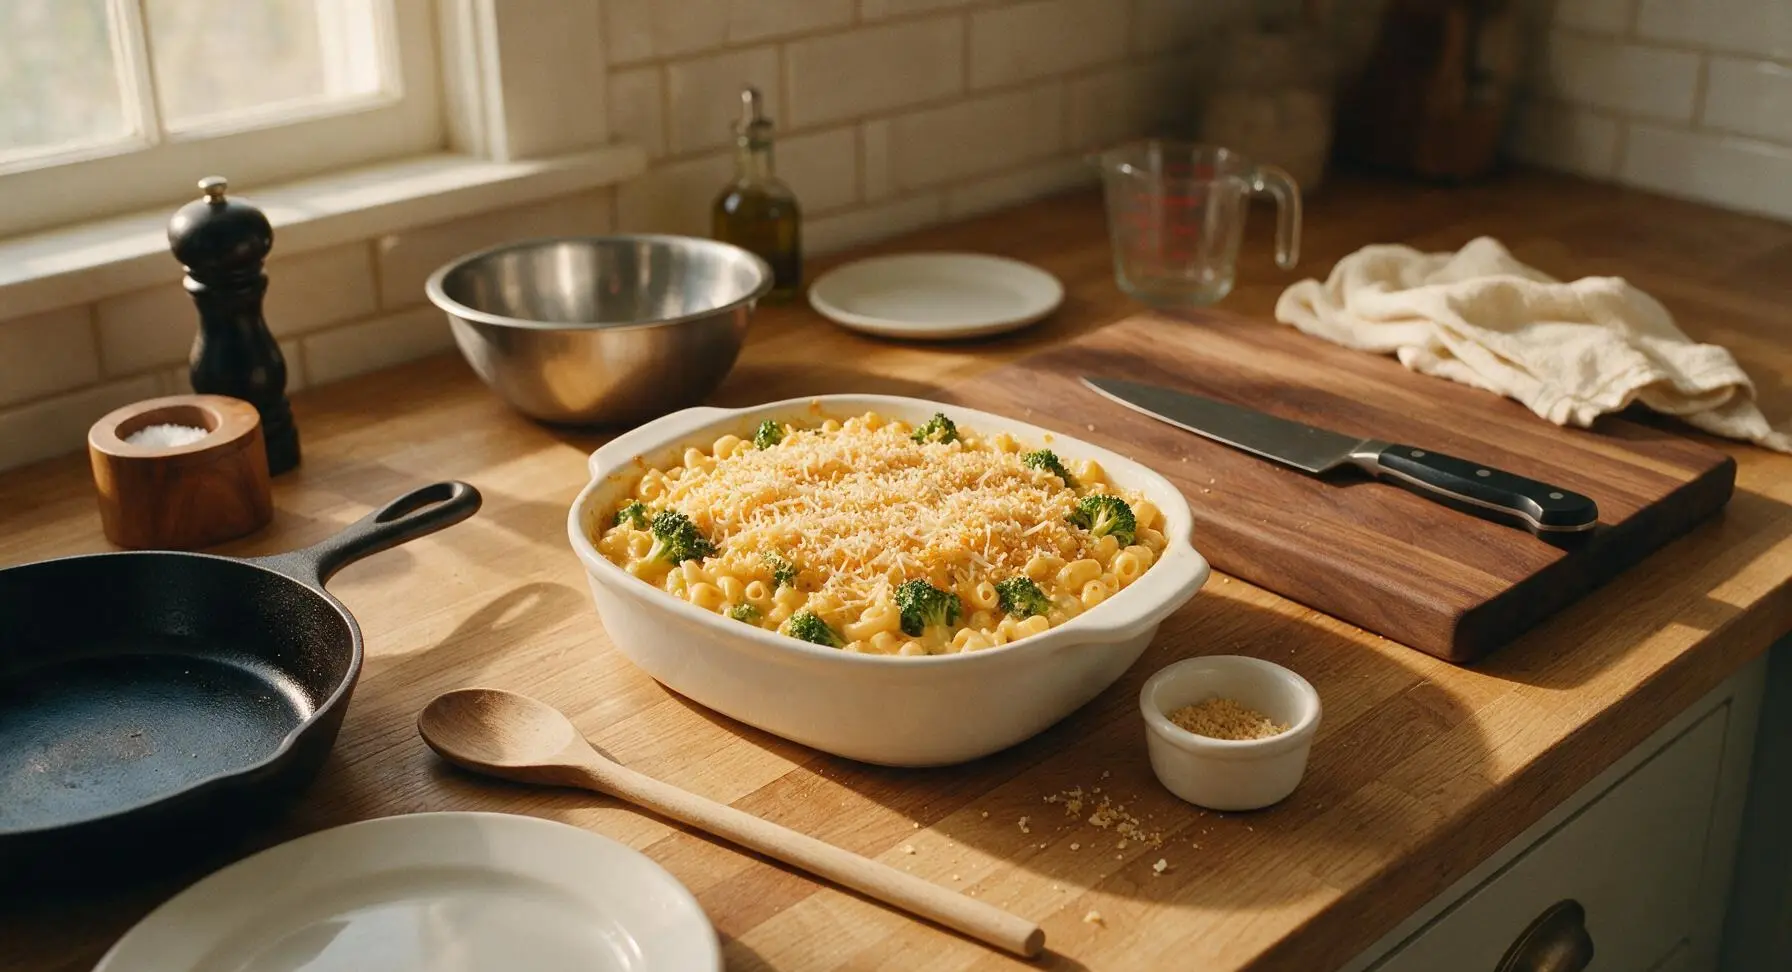
Step 7
step7:Add Crispy Topping
8

Bake to Golden Perfection

Place the baking dish in a preheated 200C (400F) oven, baking for 15 minutes until the sauce is actively bubbling around the dish edges and the panko topping is deep golden brown and crisp. Remove the dish from the oven and let it rest for 5 full minutes before serving, to allow the sauce to set. Garnish with fresh thyme leaves if desired.
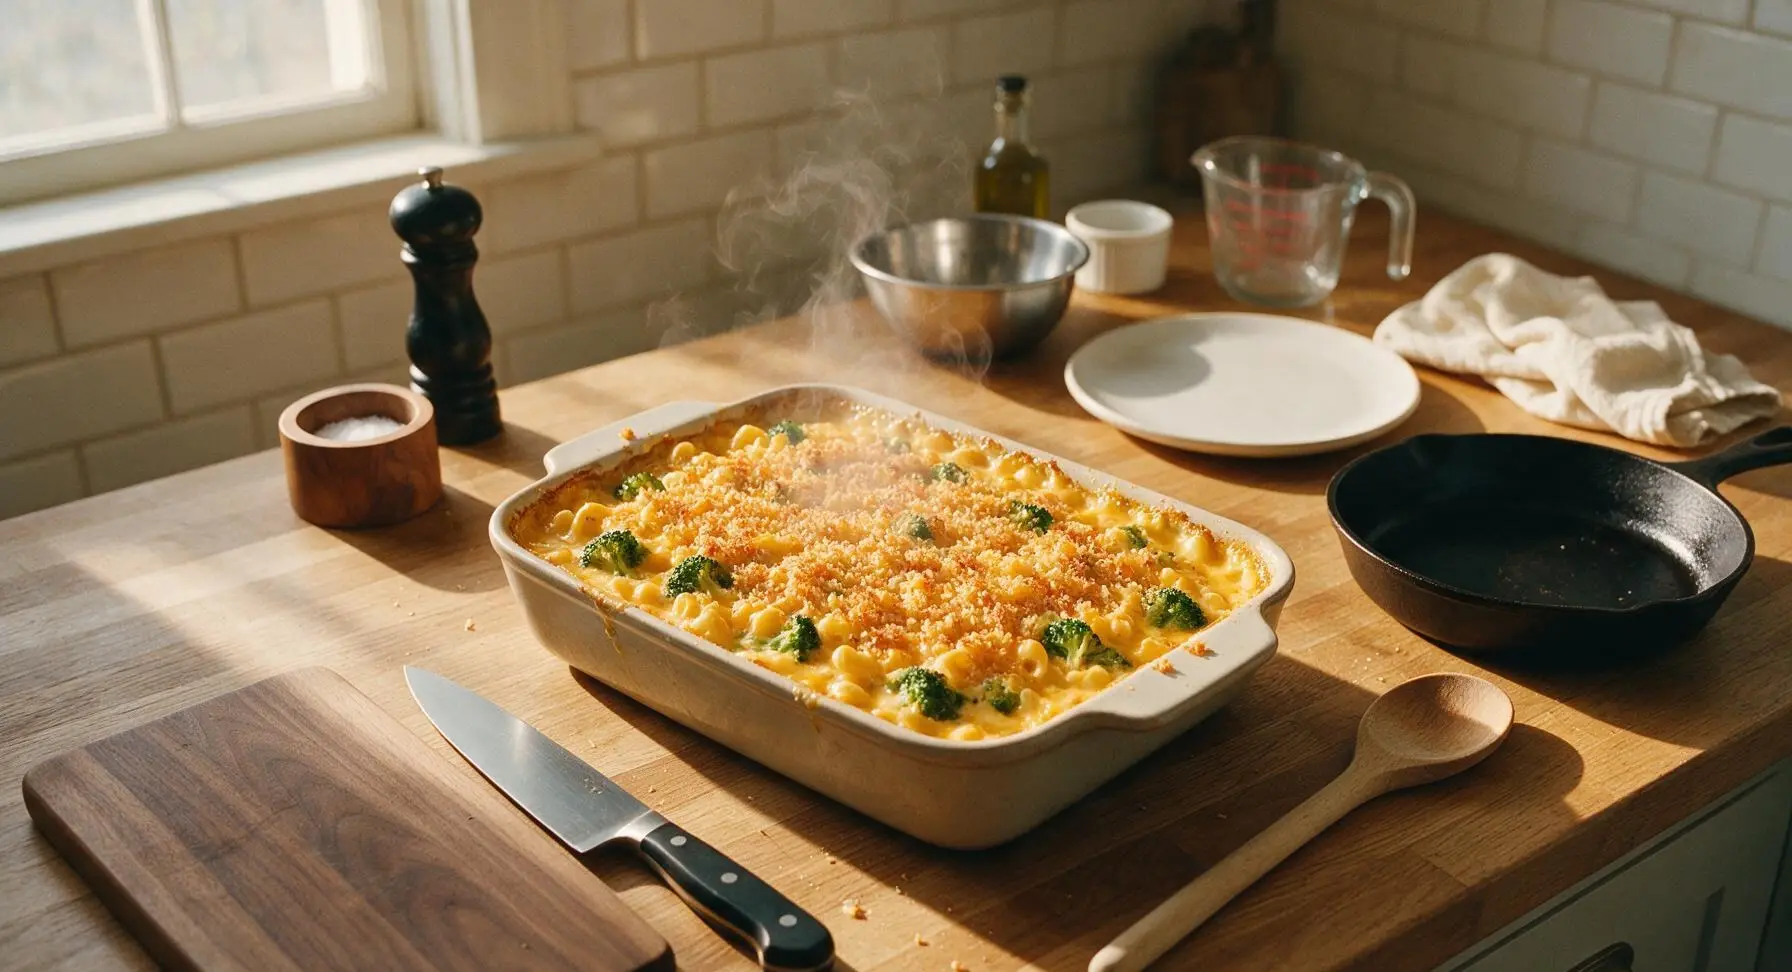
Step 8
step8:Bake to Golden Perfection

Tips

1.Grate your own cheddar from a block instead of using pre-shredded store-bought cheese. Pre-shredded cheese is coated in potato starch and anti-caking agents that prevent it from melting smoothly, resulting in a grainy, less velvety cheese sauce.
2.Cook pasta 2 minutes shorter than the package’s al dente recommendation. The pasta will absorb cheese sauce and continue to cook during the 15-minute bake time, and undercooking it slightly prevents mushy, over-soft noodles in the finished dish.
3.Resist the urge to serve immediately after baking. Letting the mac and cheese rest for 5 minutes allows the hot cheese sauce to thicken and cling to the pasta, instead of running across the plate when served, and reduces the risk of burning your mouth on overly hot sauce.


✨ You May Also Like

Main Course
🍜 United Kingdom

A showstopping classic of tender seared beef, savory mushroom duxelles, and crisp prosciutto wrapped in flaky golden puff pastry, baked to juicy perfection.

⏱️ 2 hours 1Main Course ★ 4.7
Main Course
🍜 India

Tender charred marinated chicken simmered in a rich, spiced creamy tomato sauce, this iconic Anglo-Indian curry pairs perfectly with basmati rice or warm naan.

⏱️ 50 minuteMain Course ★ 4.6
Main Course
🍜 Thailand

Classic tangy, sweet, and savory Thai stir-fried rice noodles with shrimp, tofu, and crunchy garnishes, balancing all five core Thai flavor profiles.

⏱️ 30 minuteMain Course ★ 4.5
Main Course
🍜 United Kingdom

Crispy golden beer-battered cod and fluffy double-fried chips, served with tangy tartar sauce and malt vinegar: the timeless, beloved British pub comfort classic.

⏱️ 45 minuteMain Course ★ 4.7
Main Course
🍜 Mexico

Smoky, chile-marinated pork tacos with caramelized pineapple, fresh cilantro, and lime: a beloved classic Mexican street food perfect for casual summer gatherings.

⏱️ 1 hour 45Main Course ★ 4.8
Main Course
🍜 United States

Crunchy Fritos corn chips layered with savory beef chili and melted cheddar, topped with cool, zesty fixings for a beloved, cozy Tex-Mex comfort food.

⏱️ 35 minuteMain Course ★ 4.8

Broccoli Cheddar Mac and Cheese:Frequently Asked Questions

1.Can I use pre-shredded sharp cheddar instead of shredding a block myself? ▾
I recommend shredding your own block of sharp yellow cheddar for the silkiest sauce. Pre-shredded bags are coated in potato starch and anti-caking agents that keep shreds separate in the bag, but they make cheese sauce grainy and prevent it from clinging smoothly to pasta and broccoli. Pre-shredded works in a total pinch, but fresh-shredded gives far better results.
2.How do I keep the broccoli from turning mushy when I bake this mac and cheese? ▾
Blanch your fresh broccoli florets for just 2 minutes in salted boiling water, then shock them in ice water right before mixing them in to stop the cooking process. Cut florets into uniform 1-inch pieces so they cook evenly, and don’t overmix them into hot cheese sauce before baking to keep them bright, tender-crisp, and never soggy.
3.Do I have to bake this mac and cheese, or can I serve it stovetop? ▾
You absolutely can skip the bake for a faster stovetop version! Toss cooked al dente macaroni and blanched broccoli directly into the finished cheddar sauce on the stovetop, and serve immediately. Baking gives that signature crispy golden top and deeper melded flavor, but the stovetop twist cuts 20 minutes off cook time for extra busy nights.
4.What’s the best way to get that crispy, golden top crust without burning it? ▾
For a perfect bubbly, golden crust, top your assembled mac and cheese with a thin layer of extra shredded cheddar and an optional sprinkle of panko breadcrumbs, then bake at 375°F on the middle oven rack. If the top browns too fast before the center is bubbly, tent a loose piece of aluminum foil over the dish for the last 10 minutes of bake time.
5.Can I use a different pasta shape instead of dry elbow macaroni? ▾
Elbow macaroni is classic because its ridges and hollow center trap cheese sauce perfectly, but you can swap in any short, ridged pasta shape you have on hand. Cavatappi, rotini, small shells, or campanelle all work great—just cook pasta 1 minute less than package directions for al dente, so it doesn’t turn mushy when baked in sauce.
6.Why does my cheddar sauce sometimes turn out grainy instead of velvety? ▾
Grainy cheese sauce almost always comes from overheating the base once you add cheese. Make your roux with unsalted butter and flour first, warm your whole milk slowly before whisking it in, then take the pan off direct heat before stirring in shredded cheddar a handful at a time. Never boil the sauce after adding cheese, as high heat makes cheese proteins seize and turn gritty.
7.How do I keep the broccoli from sinking to the bottom of the baking dish? ▾
To keep broccoli evenly distributed instead of sinking, pat your blanched, cooled broccoli florets completely dry with paper towels before tossing them with the cooked pasta first, then pouring cheese sauce over top. Coating dry florets in a light layer of pasta starch helps them stay suspended in sauce instead of dropping to the bottom as it bakes.
8.Can I use low-fat milk or a milk alternative instead of whole milk? ▾
Whole milk gives the richest, creamiest sauce base thanks to its higher fat content, but you can use 2% milk in a pinch—just expect a slightly thinner sauce. Unsweetened oat milk works for dairy-free swaps, but avoid skim milk, as its high water content will make your sauce watery and less velvety, even with extra cheese.
9.How should I store leftovers, and how long will they keep? ▾
Let leftover baked mac and cheese cool completely to room temperature within 2 hours of cooking for food safety, then transfer it to an airtight container and stash it in the fridge for up to 4 days. Reheat individual portions in the microwave or oven with a tiny splash of extra milk stirred in to loosen thickened cheese sauce back to its original creamy consistency.
10.Do I need to add extra flour or thickener if my sauce feels too thin before baking? ▾
If your cheese sauce feels too thin right after mixing, don’t rush to add extra flour. Remember that the sauce will thicken significantly as it bakes, as pasta and broccoli release a small amount of starch while cooking. If it’s still very runny after adding all the cheese, simmer it 2 to 3 minutes on low heat, stirring constantly, before assembling the bake.
11.Can I add extra protein like chicken or bacon to this recipe to make it more filling? ▾
Absolutely! This recipe is super customizable for heartier weeknight meals. Crispy crumbled bacon, diced cooked chicken breast, or even crumbled cooked sausage make delicious additions. Just make sure any cooked add-ins are patted dry of excess grease or moisture before mixing them in, so they don’t thin the cheddar sauce or make the final dish soggy.
12.Can I use frozen broccoli instead of fresh if I don’t have any on hand? ▾
You can use frozen broccoli in a pinch, but you’ll need to prep it properly to avoid a watery final dish. Thaw the florets completely first, then squeeze out as much excess moisture as you can with paper towels or a clean kitchen towel before tossing them in. Skip blanching frozen broccoli, as it’s already par-cooked, to avoid mushy florets.

Comments (5)

3 days ago

OMG this broccoli cheddar mac and cheese is a total game changer! My kids usually turn their noses up at any veggie in their pasta, but they cleaned their plates and asked for seconds last night for family dinner. I used whole wheat elbows because that’s what I had in the pantry, and it still turned out SO creamy and good. 10/10, adding this to our weekly meal rotation!

2 days ago

Wait, did you steam the broccoli first before mixing it in? I tried a similar recipe once and the broccoli was rock hard, total fail 😅

2 days ago

Great question! I recommend chopping the broccoli into small florets and boiling them for the last 3 minutes right alongside the pasta — no extra steamer needed! That way they’re perfectly tender but not mushy. So glad your family loved the recipe!

5 days ago

Brought this to our neighborhood block party potluck this weekend and people were coming up to me all night asking for the recipe! It was so easy to throw together even after running errands all Saturday, only took 25 minutes total like the recipe says. I added a little extra crispy panko on top because I love that crunch, chef’s kiss.

4 days ago

Love the panko topping idea! That crispy, salty crunch pairs so perfectly with the creamy cheese sauce and tender broccoli. So happy it was a hit at your potluck — thanks for sharing!

1 week ago

Made a big batch of this on Sunday for my work lunches this week and it reheats like a DREAM! No weird grainy cheese sauce after microwaving, which is usually my biggest complaint about homemade mac. The broccoli doesn’t get all mushy either. Super easy, minimal cleanup, absolutely worth making.

2 weeks ago

As someone who basically burns toast half the time, I was shocked how easy this was to make! No fancy ingredients, no complicated roux that I mess up every time, just creamy, cheesy pasta with broccoli that actually tastes like something I’d pay $15 for at a cafe. Already texted the recipe to my roommates.

1 week ago

That makes me so happy to hear! This recipe is intentionally designed to be foolproof for new cooks, no fussy roux tricks required. Hope you and your roommates get lots of yummy meals out of it!

1 week ago

Swapped the regular elbows for gluten-free chickpea pasta and it worked perfectly! I was worried the cheese sauce wouldn’t stick to the GF pasta, but it coated every bite. Finally a mac and cheese recipe that doesn’t make my gluten sensitivity feel like a bummer at dinner time.

5 days ago

Ooh thanks for the tip! I’m gluten free too and have been searching for a good mac recipe that doesn’t get all gummy with GF pasta, can’t wait to try this!

4 days ago

So glad the GF swap worked for you! I’ve had a few other testers use brown rice pasta too with great results, just make sure to cook it al dente so it doesn’t get mushy in the sauce.



