
Brown Gravy Pot Roast
intro
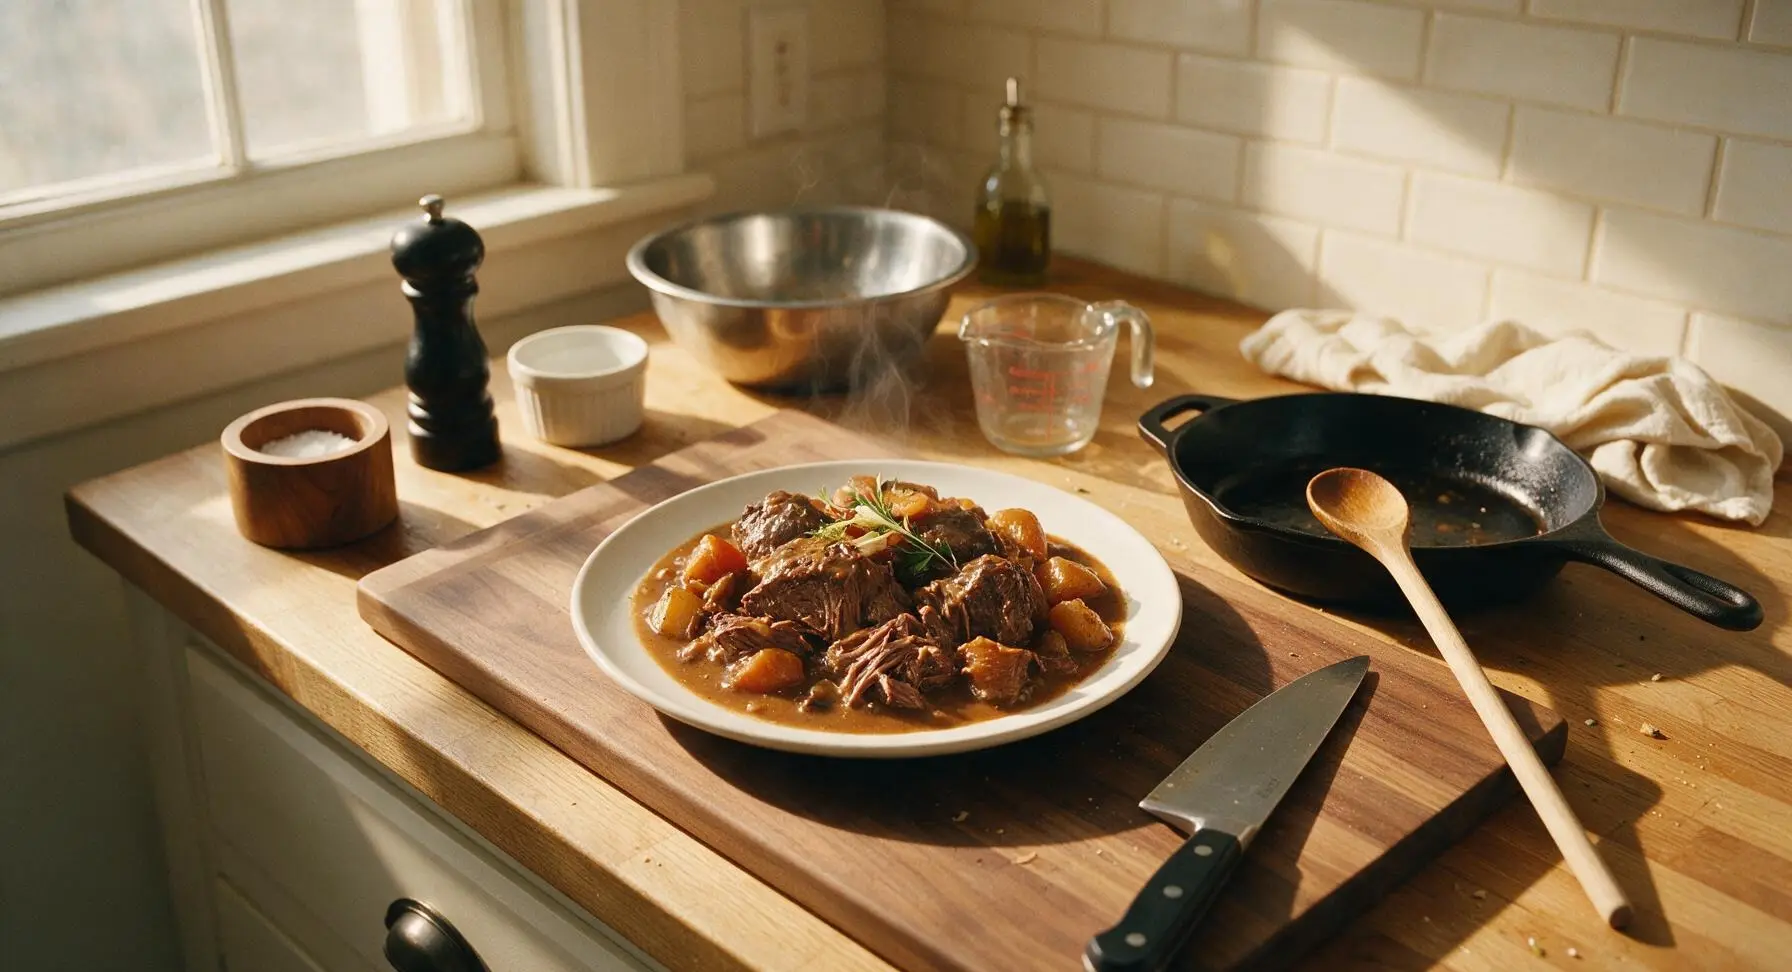
Tender, fall-apart beef chuck braised in rich, silky brown gravy with root vegetables, this one-pot classic is the ultimate cozy, nostalgic family meal.
Ingredients
Steps
Season the Chuck Roast
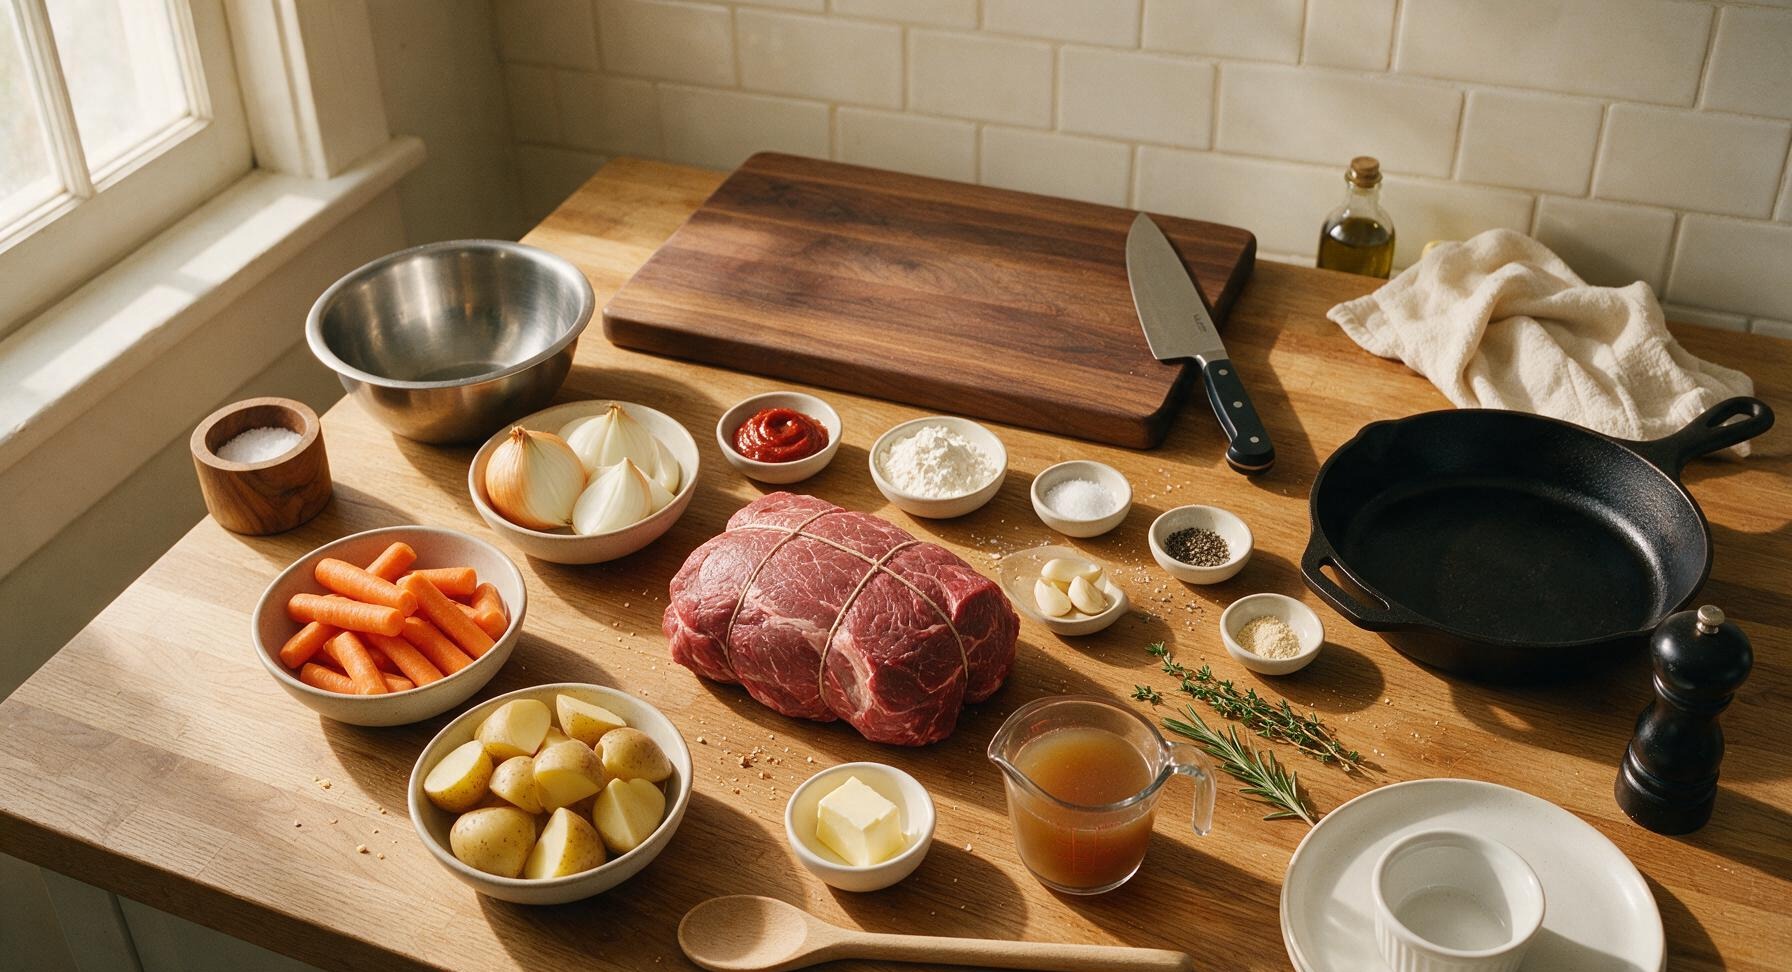
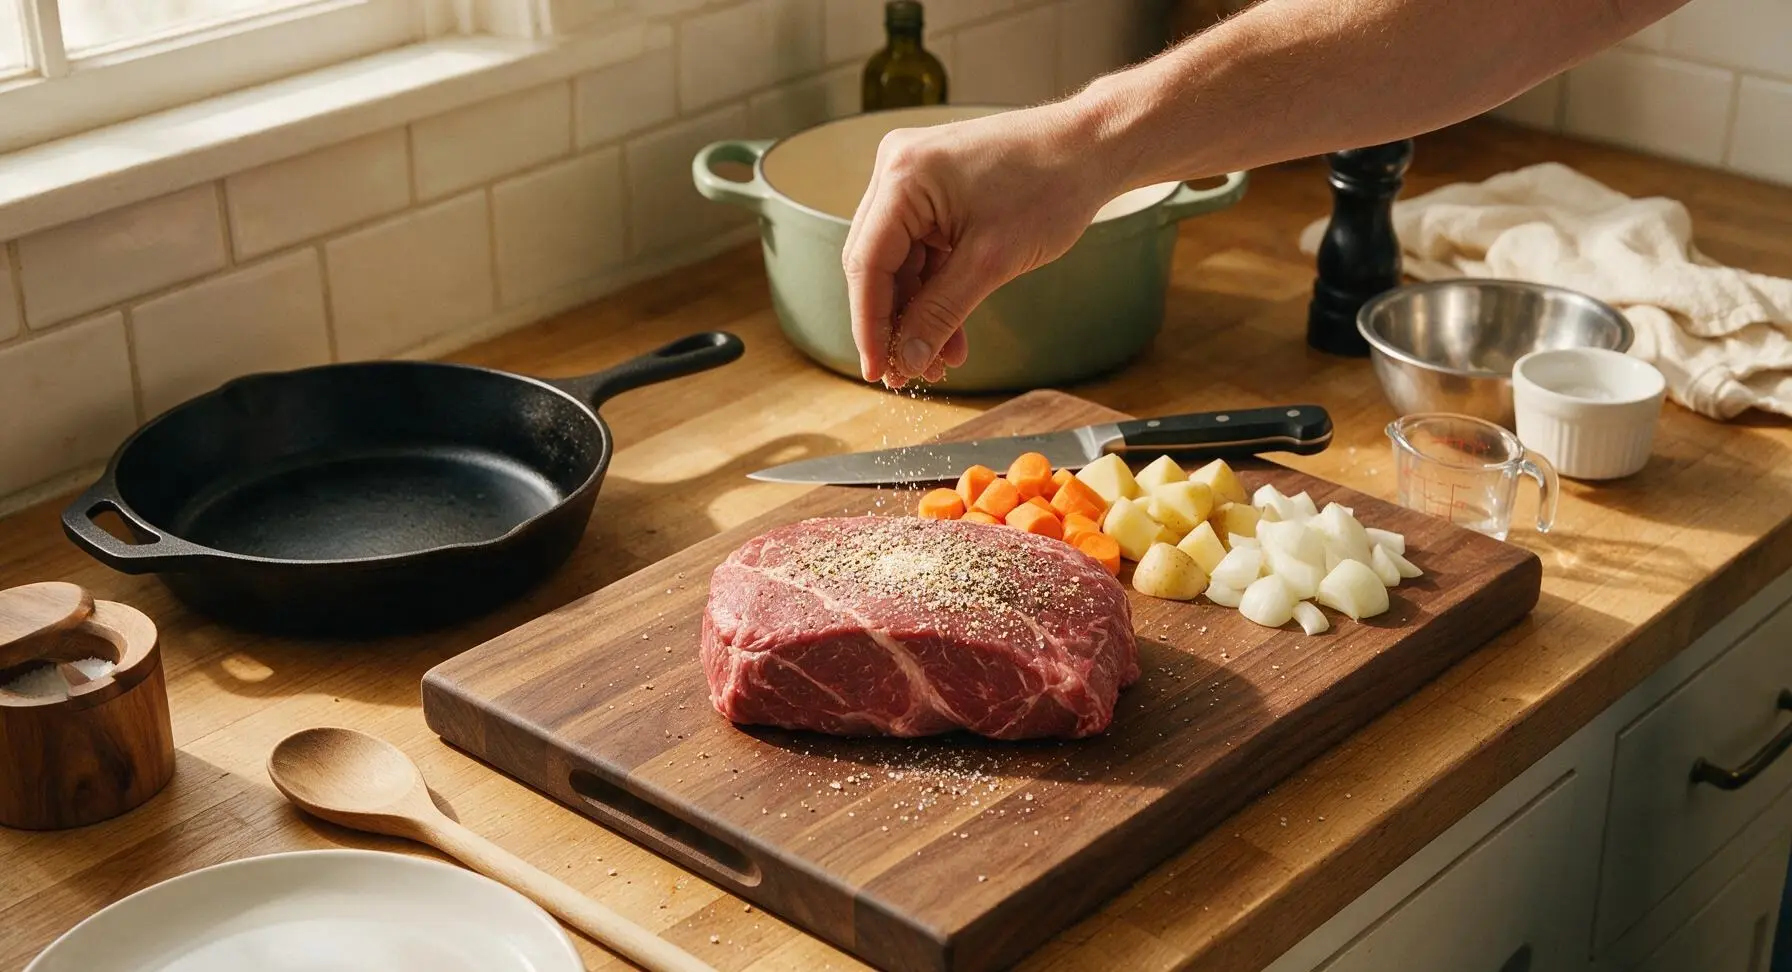
Pat the 3lb boneless beef chuck roast completely dry on all sides with paper towels. Use the stainless steel measuring spoons to portion 1 teaspoon kosher salt, ½ teaspoon black pepper, and ½ teaspoon garlic powder, then season evenly across every surface of the roast, pressing the seasoning gently into the meat to adhere. Let the roast rest at room temperature for 15 minutes while you prep the vegetables, cutting carrots, potatoes, and onion into uniform chunks with the chef knife on the maple cutting board.
Sear Roast on All Sides
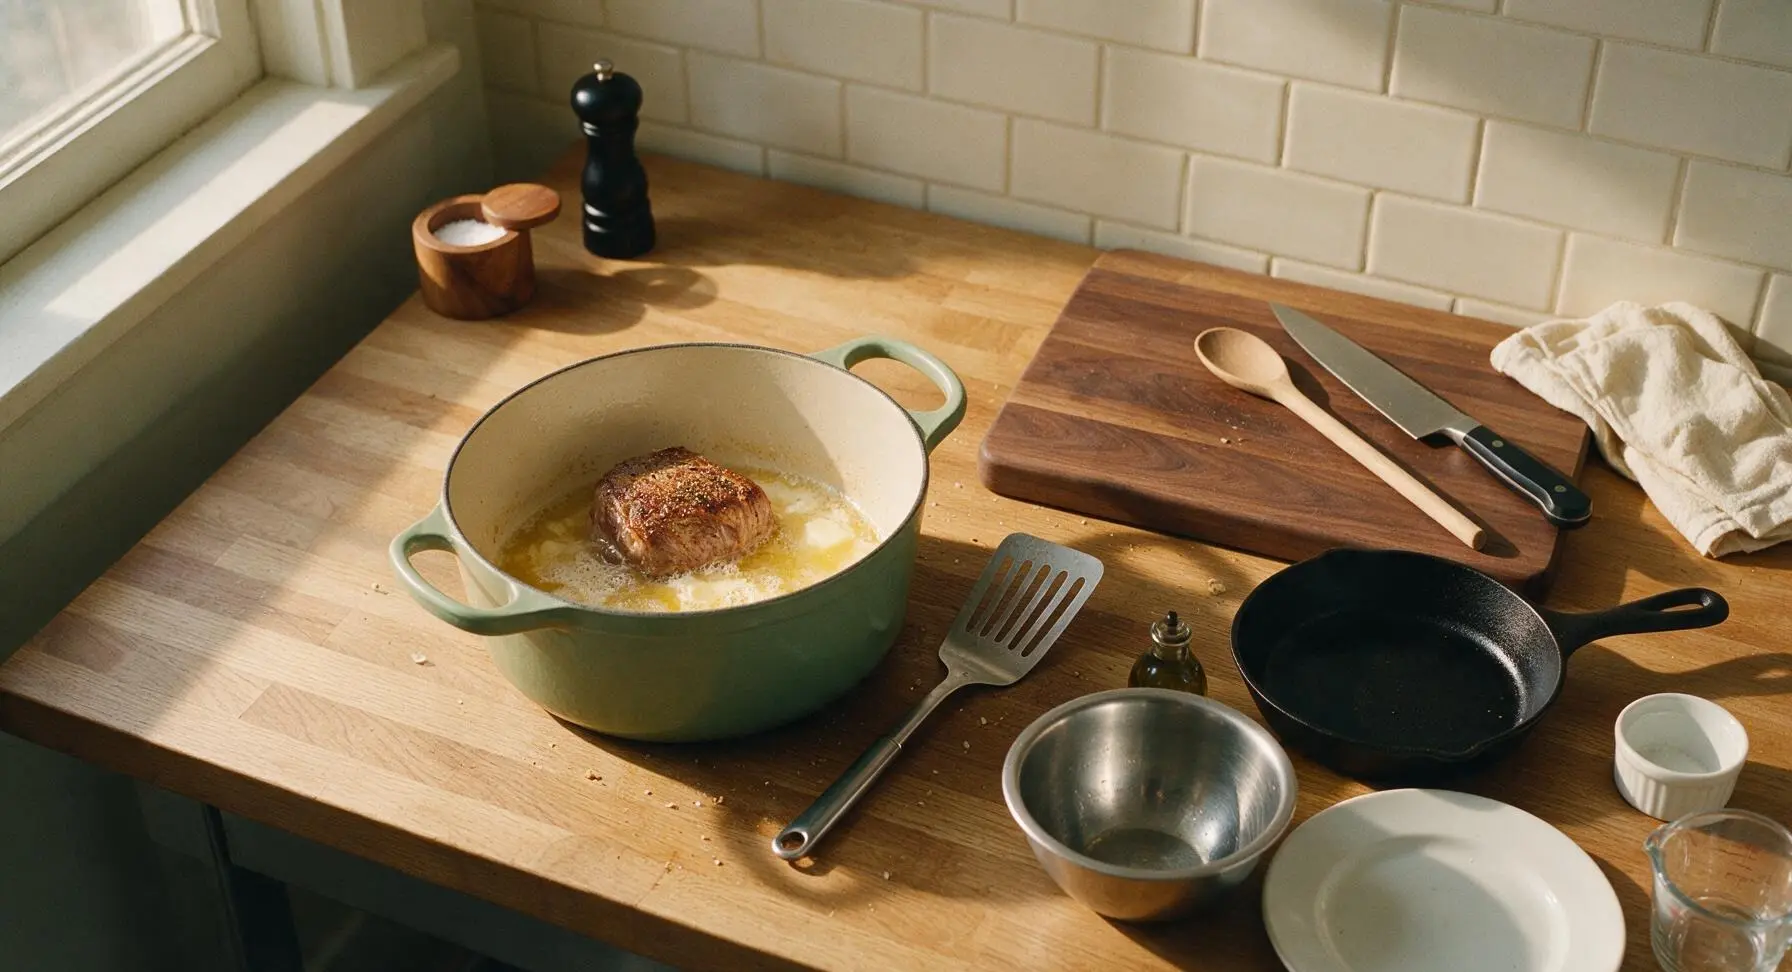
Melt 2 tablespoons of unsalted butter in the 6-quart enameled cast iron Dutch oven over medium-high heat. Once the butter is foaming and just starting to turn pale golden, carefully place the seasoned roast in the pot. Sear for 4-5 minutes per side, using the slotted stainless steel turner to flip, until a deep mahogany crust forms on every surface (top, bottom, and all four edges). Do not shift the roast while searing each side to build a thick, flavorful crust and leave dark brown fond bits on the pot bottom.
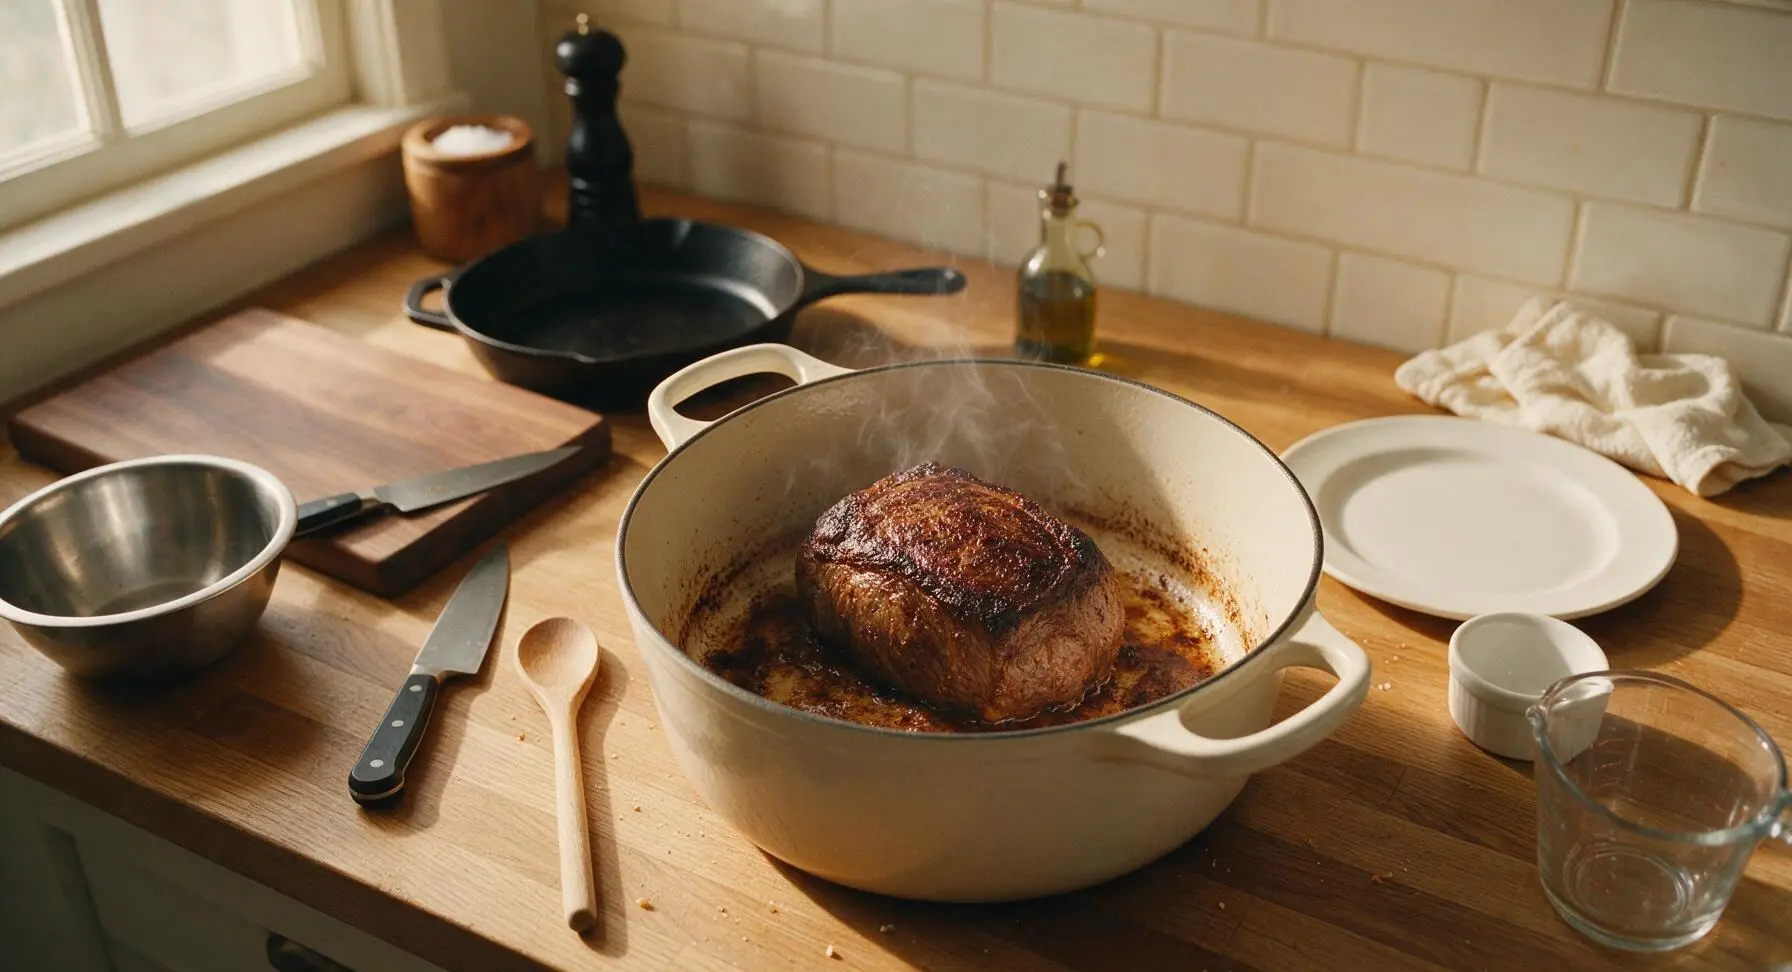
Sauté Aromatic Vegetables
Use the slotted turner to lift the seared roast from the pot and set it temporarily on the matte cream dinner plate. Reduce heat to medium, add the cut onion wedges to the remaining butter and beef fat in the Dutch oven. Sauté for 3 minutes until soft and translucent at the edges, then add crushed garlic and 2 tablespoons tomato paste. Cook, stirring with the beech wood basting spoon, for 1 minute until the tomato paste darkens to a deep rust red and smells fragrant, then add the carrot chunks and stir to coat in fat.
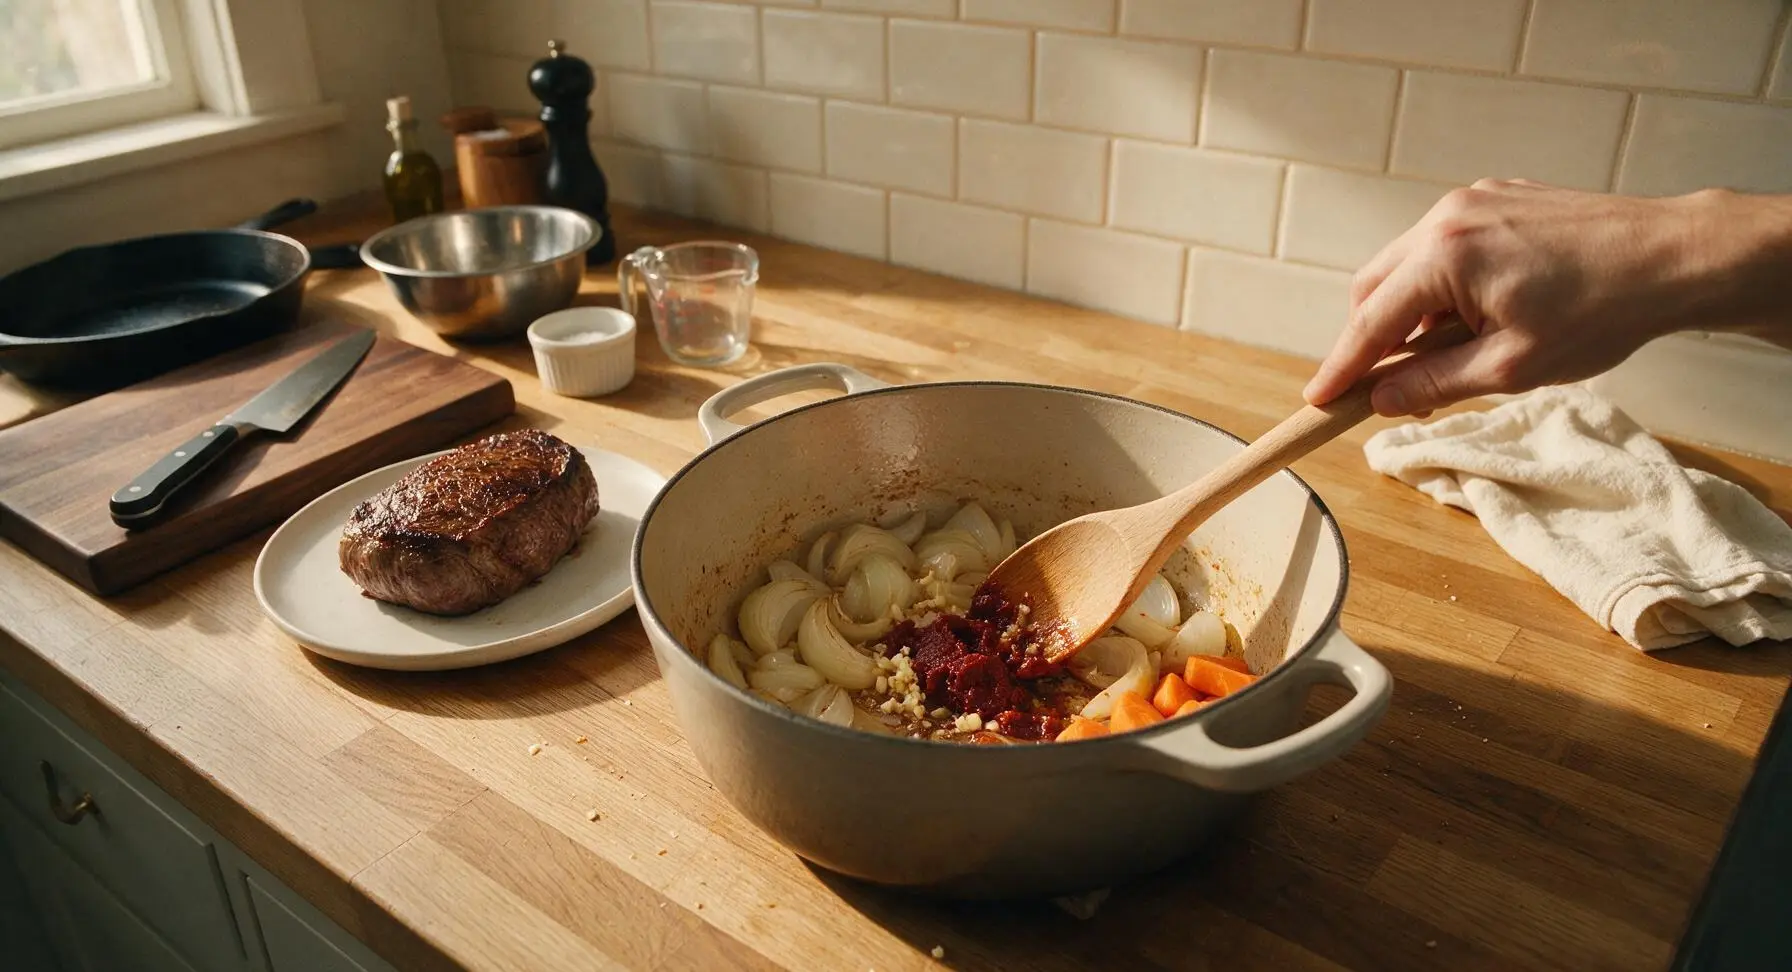
Build Brown Gravy Base
Sprinkle 2 tablespoons all-purpose flour over the sautéed vegetables in the Dutch oven, stirring constantly with the stainless steel whisk for 2 minutes to cook out raw flour taste, until the flour coats all vegetables and turns a light golden tan. Slowly pour 1 cup of beef broth from the clear glass measuring cup into the pot, whisking constantly to scrape up all browned fond bits from the pot bottom until no lumps remain. Pour in the remaining 2 cups beef broth, add thyme and rosemary sprigs, remaining ½ teaspoon kosher salt and ½ teaspoon black pepper, stir to combine, and bring to a gentle simmer.
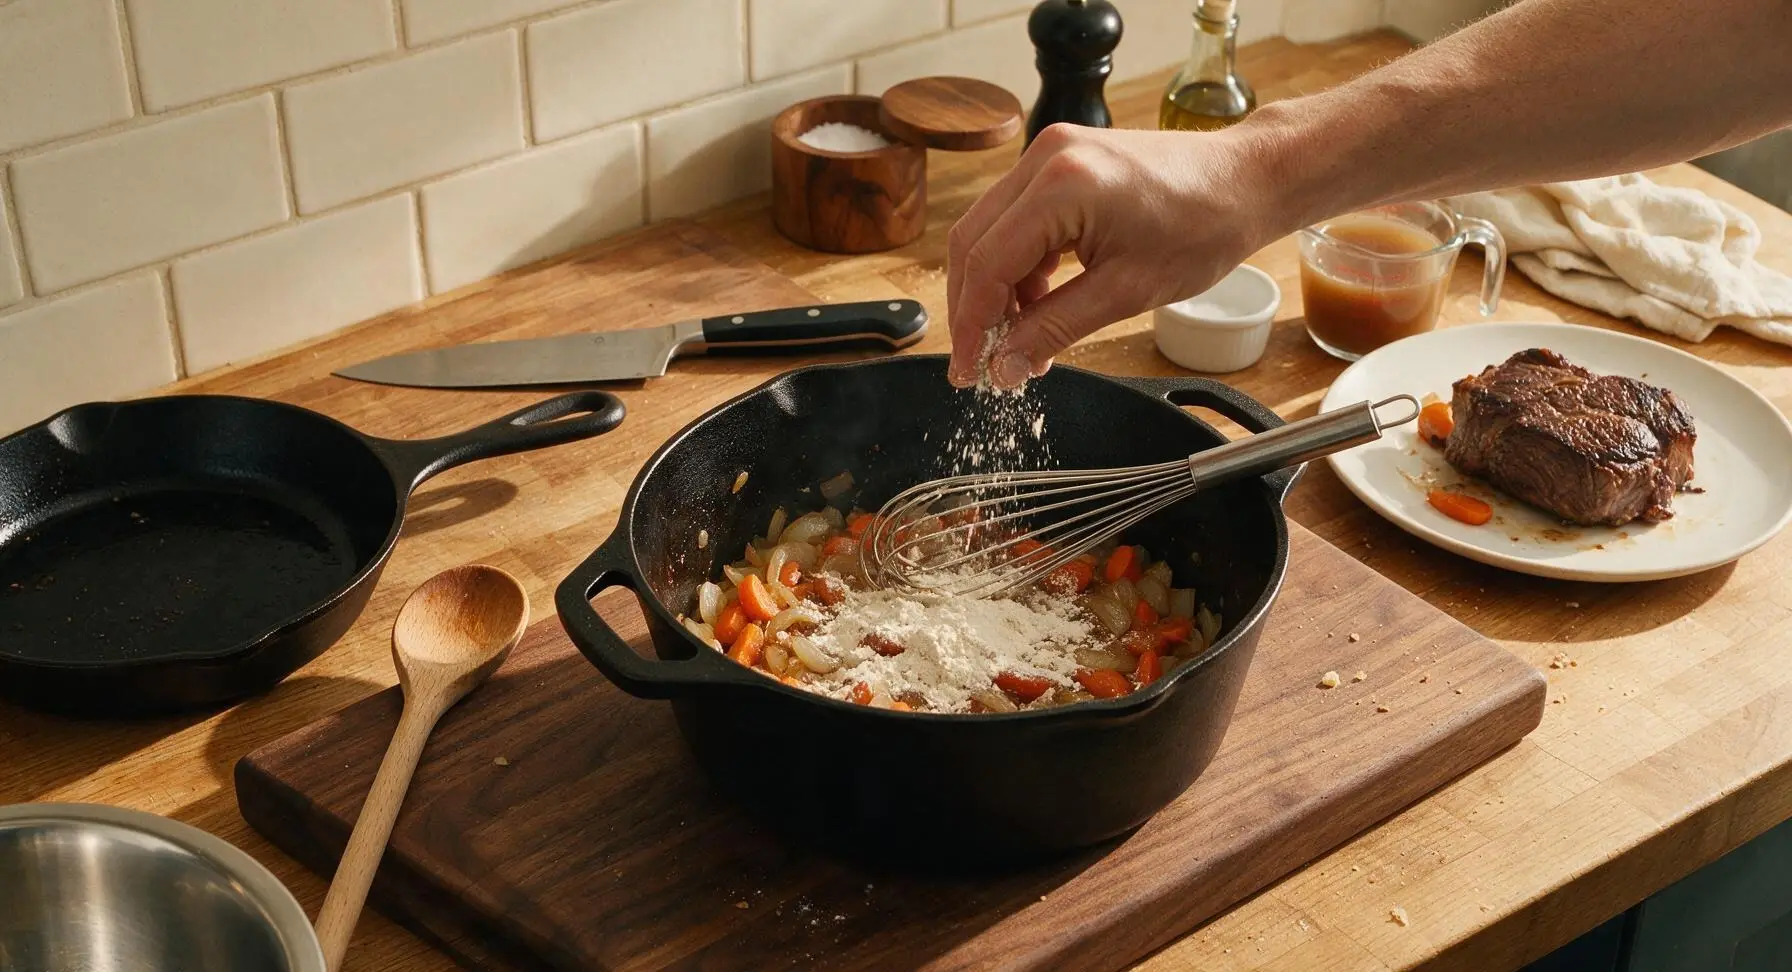
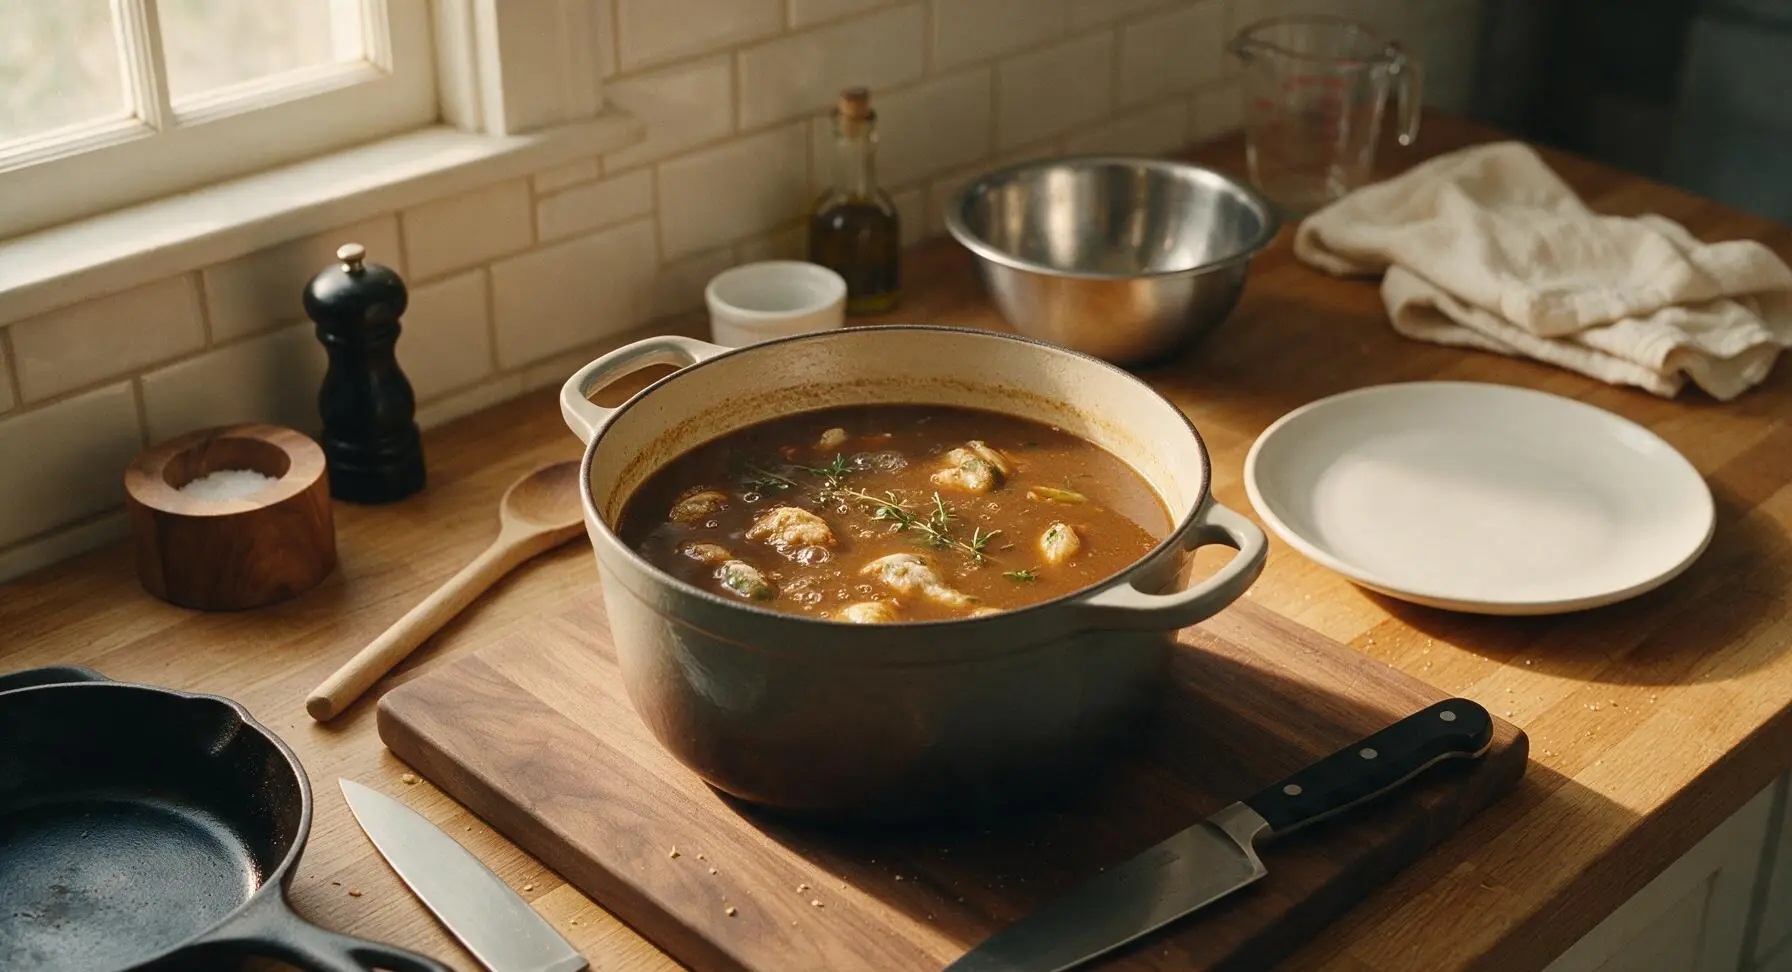
Braise Roast Low and Slow
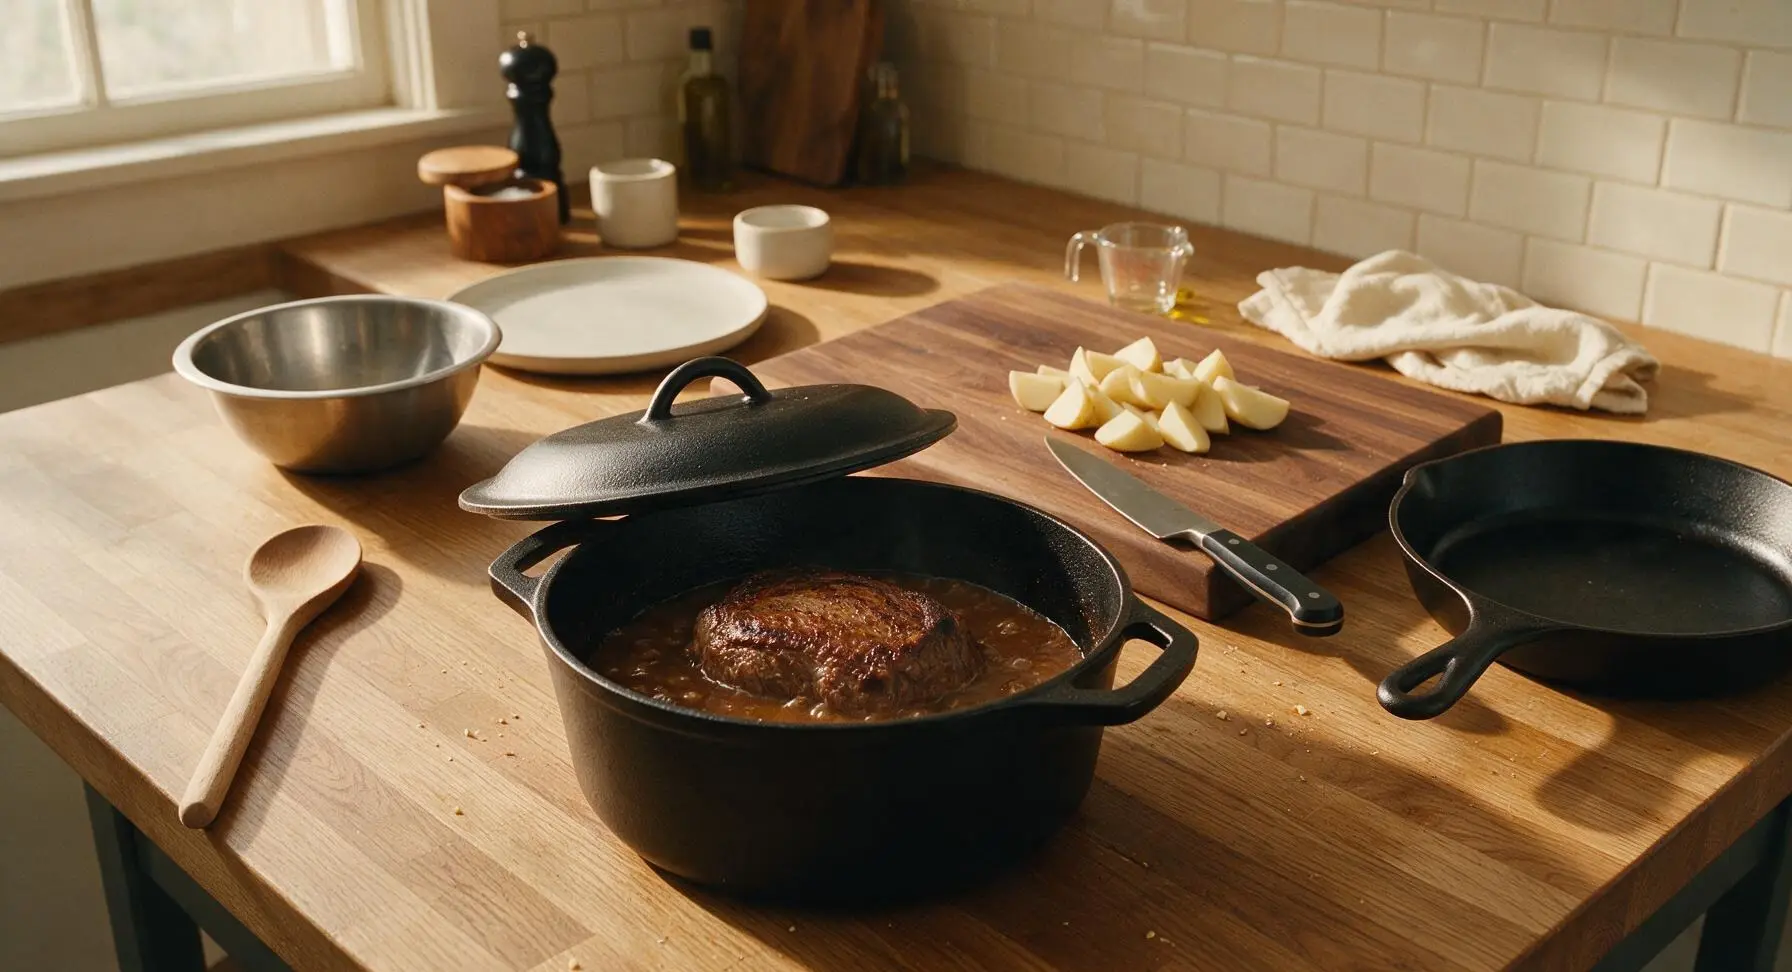
Nestle the seared roast back into the gravy and vegetable mixture, pouring any collected juices from the plate into the pot. Place the tight-fitting lid on the Dutch oven, then transfer to a preheated 325°F (165°C) oven. Cook for 2 hours and 15 minutes, then carefully remove the lid, tuck the potato wedges into the liquid around the roast, replace the lid, and cook for an additional 45 minutes. The roast is done when a fork inserted into the thickest part twists easily with no resistance, and potatoes and carrots are fork-tender.
Rest Roast and Finish Gravy
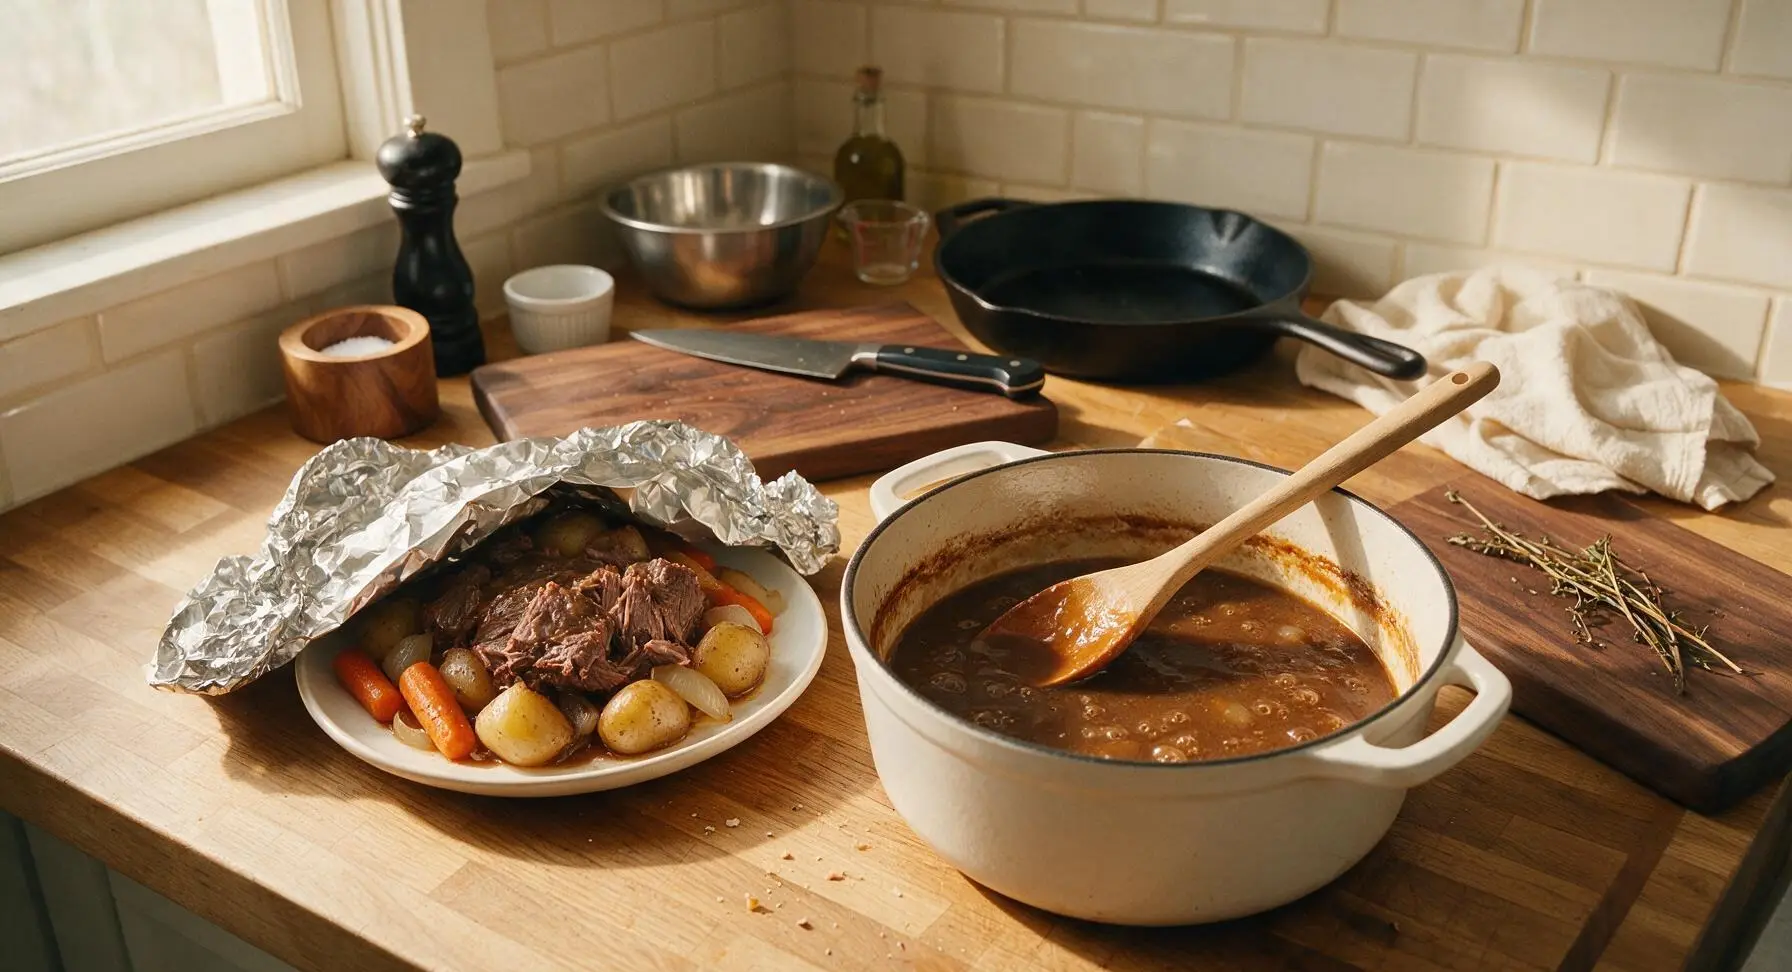
Carefully remove the Dutch oven from the oven and set it on the soapstone counter, then transfer the roast and cooked vegetables to the matte cream dinner plate, tent loosely with a crumpled piece of aluminum foil to rest for 15 minutes. While the roast rests, bring the gravy in the Dutch oven to a gentle simmer over medium-low heat. Simmer 3-5 minutes if too thin to reach a nappe consistency (coats the back of a spoon), or stir in a splash of extra broth if too thick. Fish out woody herb stems, then taste and adjust salt and pepper as needed.
Slice and Plate Dish
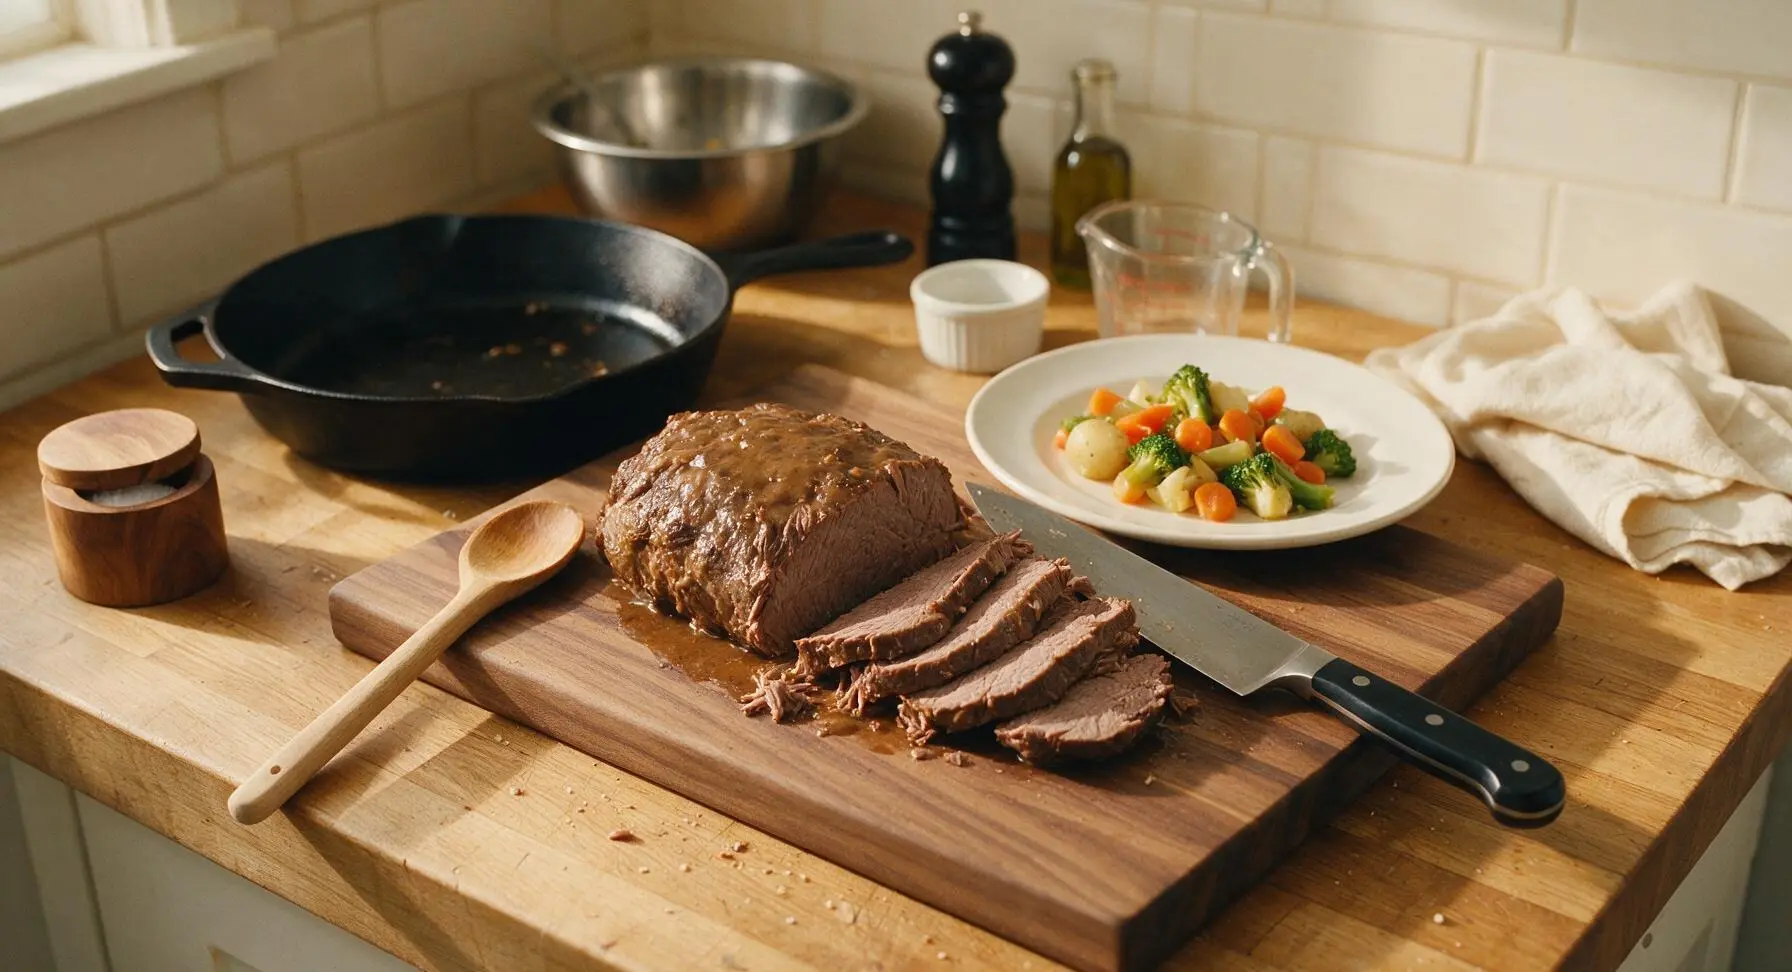
After resting, transfer the roast back to the maple cutting board, slice against the grain into even ½-inch thick slices using the chef knife. Arrange the slices on the cream dinner plate alongside the cooked vegetables, spoon generous amounts of smooth brown gravy over the roast and vegetables. Garnish with a fresh sprig of thyme before serving.
Tips
2.Do not skip cooking the flour for 2 full minutes when building the gravy base: this toasts the flour to remove raw, pasty flour taste, creates a nuttier deeper flavor, and prevents lumps from forming when you add cold broth.
3.Let the roast rest for a full 15 minutes after removing it from the oven before slicing: this gives the muscle fibers time to reabsorb their juices, so every slice stays moist and tender instead of leaking flavorful juice onto the plate.






OMG this brown gravy pot roast was an absolute game changer for our Sunday family dinner! My kids are super picky and they all went back for seconds, even the one who hates beef! The gravy came out so rich and velvety, I poured it over everything — mashed potatoes, roasted carrots, even the dinner rolls. 10/10 will be making this at least twice a month now.
Made this for my weekly meal prep and it held up all week in the fridge! The gravy got even better after a day or two, honestly. Threw in some extra mushrooms and onions like the recipe note suggested, no regrets. Only note is make sure you don’t skimp on the browning step for the meat — that’s where all that deep gravy flavor comes from.
Has anyone tried making this with a gluten-free flour blend for the gravy? I have celiac so regular all-purpose is a no-go for me, but this looks too good to pass up for our potluck next week.
3 hour cook time is totally worth it, y’all. I was worried it’d be too much effort for a weeknight but I popped it in the oven right after I got home from work, helped the kids with homework while it cooked, and dinner was ready by 7. The meat was so tender it pulled apart with a fork, no knife needed. SO good.
First time making pot roast ever and I was so nervous it’d turn out dry, but this recipe was foolproof! The brown gravy is better than the packet stuff my mom used to make, no cap. I served it with buttery mashed potatoes and roasted green beans, my roommate said it’s the best meal she’s had all year.
I added a splash of red wine to the gravy like my grandma used to do and it elevated this so much! The base recipe is perfect on its own but that little extra depth from the wine was chef’s kiss. Don’t sleep on adding a pinch of smoked paprika either, trust me.
Solid high protein meal for bulk season. Each serving has like 40g of protein, and the gravy isn’t loaded with a ton of weird processed ingredients like the store-bought pot roast meals I used to buy. Makes 6 big servings so I don’t have to cook every night, which is perfect for my work and gym schedule.
Made this for my wife for our first anniversary dinner at home and she cried happy tears! She said it tasted just like her dad’s pot roast that he makes when we go visit for holidays. I was worried I’d mess up the gravy because I’ve never made it from scratch before, but the step by step instructions were super easy to follow even for a medium difficulty recipe.
Wait, my gravy came out super lumpy when I made this yesterday :( what did I do wrong? I followed the recipe exactly but when I added the flour it got all clumpy and I couldn’t get the lumps out even after whisking for 10 minutes. The roast itself was amazing but the gravy texture was off.
Brought this to our neighborhood block party last weekend and it was the first dish gone! Everyone was asking me for the recipe, I must have shared the link 8 times before the night was over. I made it in my big Dutch oven and kept it warm on the buffet table, it stayed tender the whole time. 10/10 for a crowd.
Medium difficulty my butt, I’m a 20 year old who only knows how to make microwave mac and cheese and I pulled this off no problem! Only thing I messed up was I forgot to buy fresh thyme so I used dried, and it still turned out great. Spent like $15 total on ingredients and fed me and my 3 roommates for two nights, total steal.
This is so good but I’m trying to cut down on carbs — any tips for thickening the gravy without flour? I was thinking maybe cornstarch slurry but I don’t want to mess up the flavor.
I’ve tried probably a dozen pot roast recipes over the years and this one is top tier. The balance of savory, umami, and that little hint of sweetness from the onion is exactly what I want in a brown gravy pot roast. I let mine rest for 15 minutes before slicing like the recipe says and all the juices stayed in, no dry slices at all. Will be my go-to from now on.
Wait can I make this ahead of time and freeze it? I’m due with my second baby in a couple weeks and I’m stocking my freezer with easy reheat meals for after the baby comes, this would be perfect if it freezes well.