

brown waffle

title 1
brown waffle
⏱️ cook time 15 minutes
🍽️ servings 4
⚡ Difficulty easy

intro

Crisp-edged, fluffy-centered deep brown waffles with rich malty, toasty flavor, ideal for topping with maple syrup, butter, or seasonal fruit. Ready in under 30 minutes for cozy, satisfying meals.

Ingredients
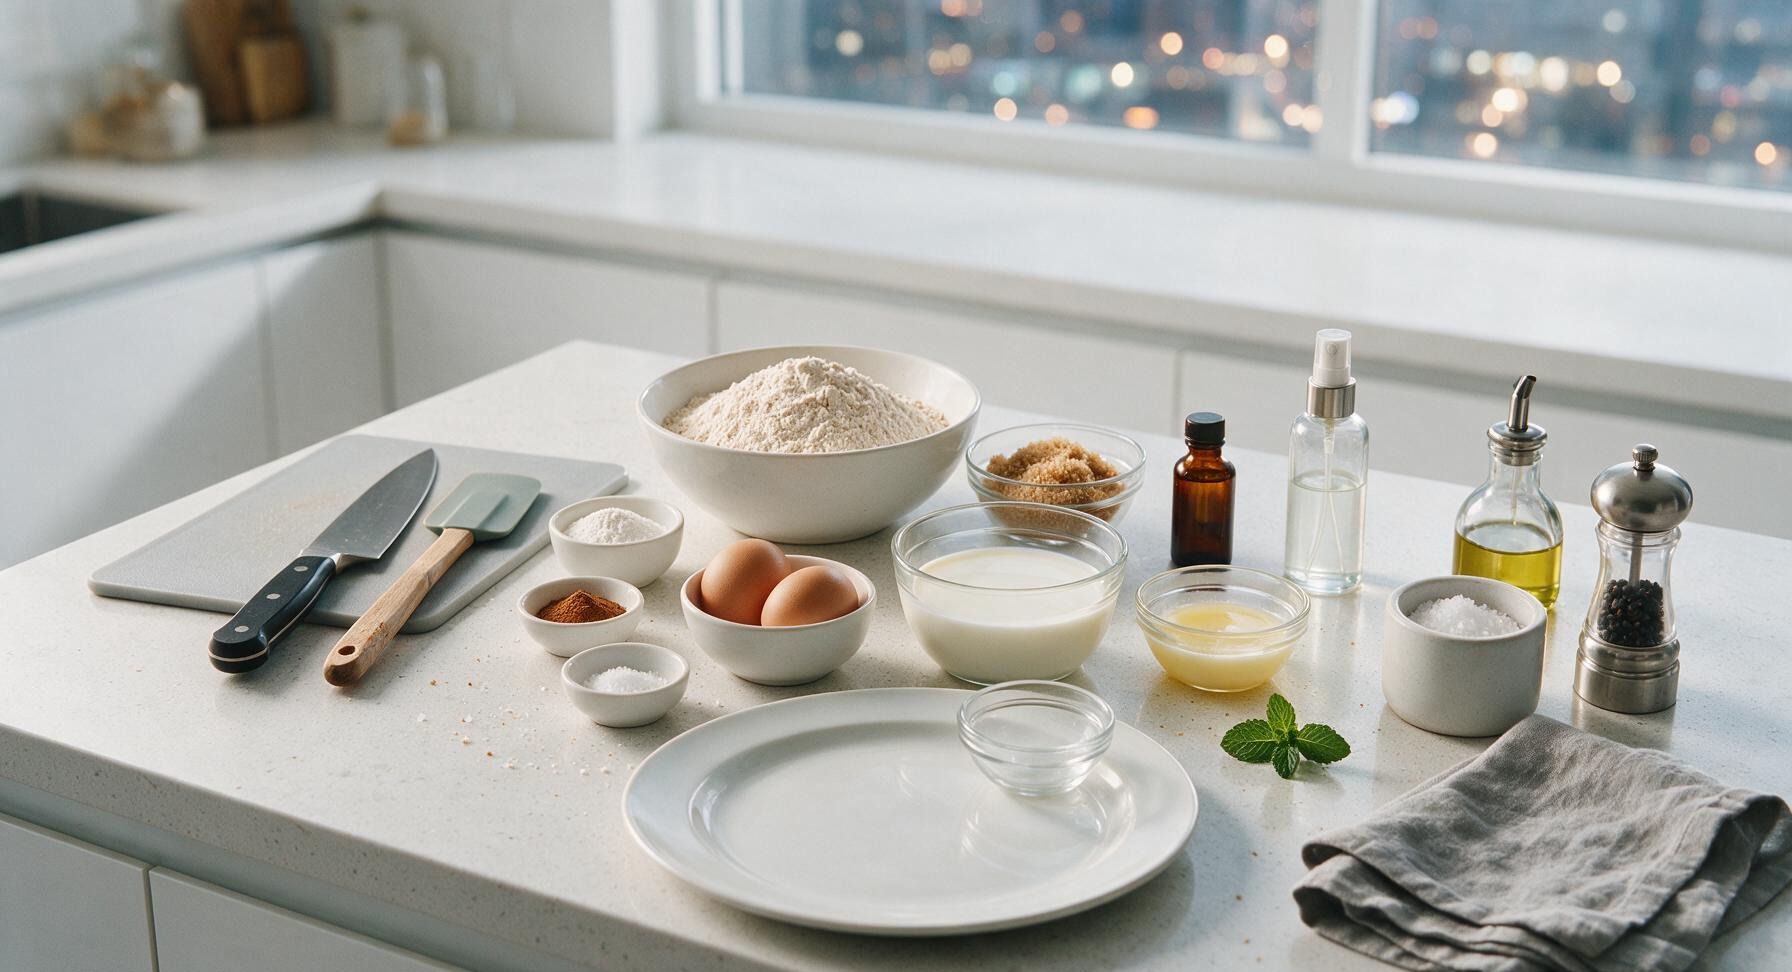
Whole wheat pastry flour 1 ½ cups
Light brown sugar 2 tbsp
Baking powder 2 tsp
Ground cinnamon ½ tsp
Fine sea salt ¼ tsp
Large eggs 2
Whole milk 1 ¼ cups
Unsalted butter, melted and cooled 4 tbsp (½ stick)
Pure vanilla extract 1 tsp
Neutral cooking spray 1 short spray

Steps

1

Preheat the Waffle Iron

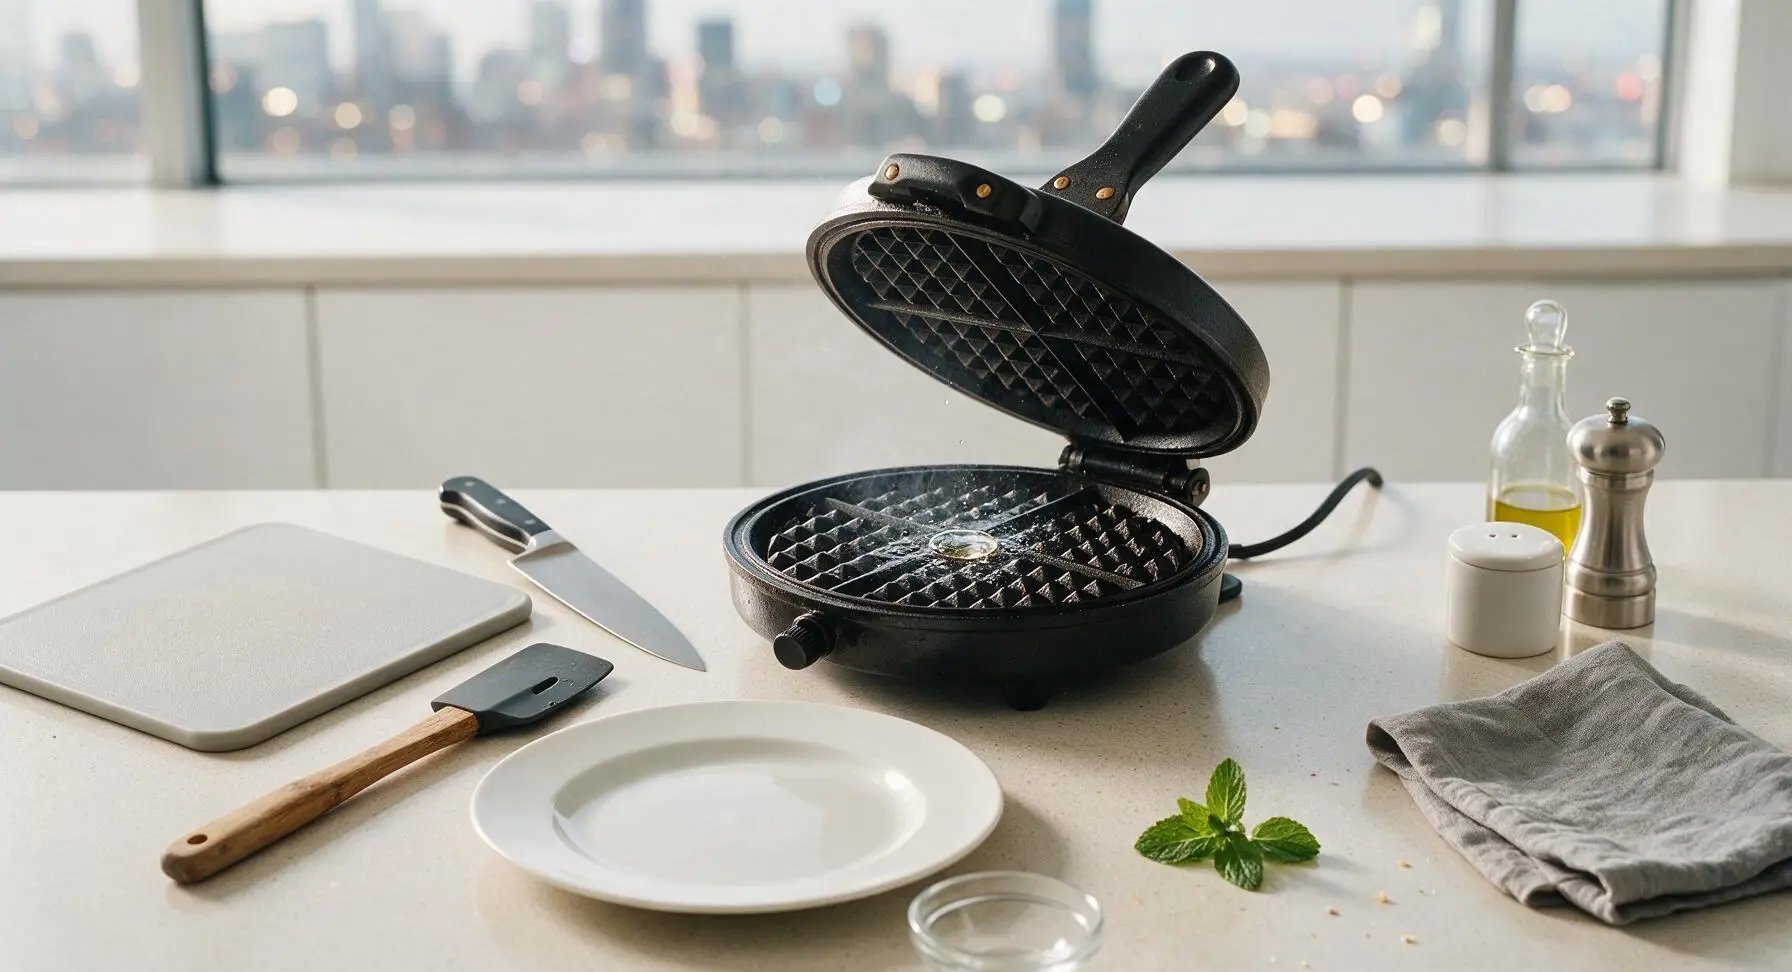
Plug in the matte black cast iron waffle maker, set it to medium-high heat (375°F / 190°C). Close the lid and allow it to preheat for 5 minutes, until a drop of water flicked onto the surface sizzles and evaporates in 2 seconds. Do not grease the iron yet.
Step 1
step1:Preheat the Waffle Iron
2

Whisk Dry Ingredients

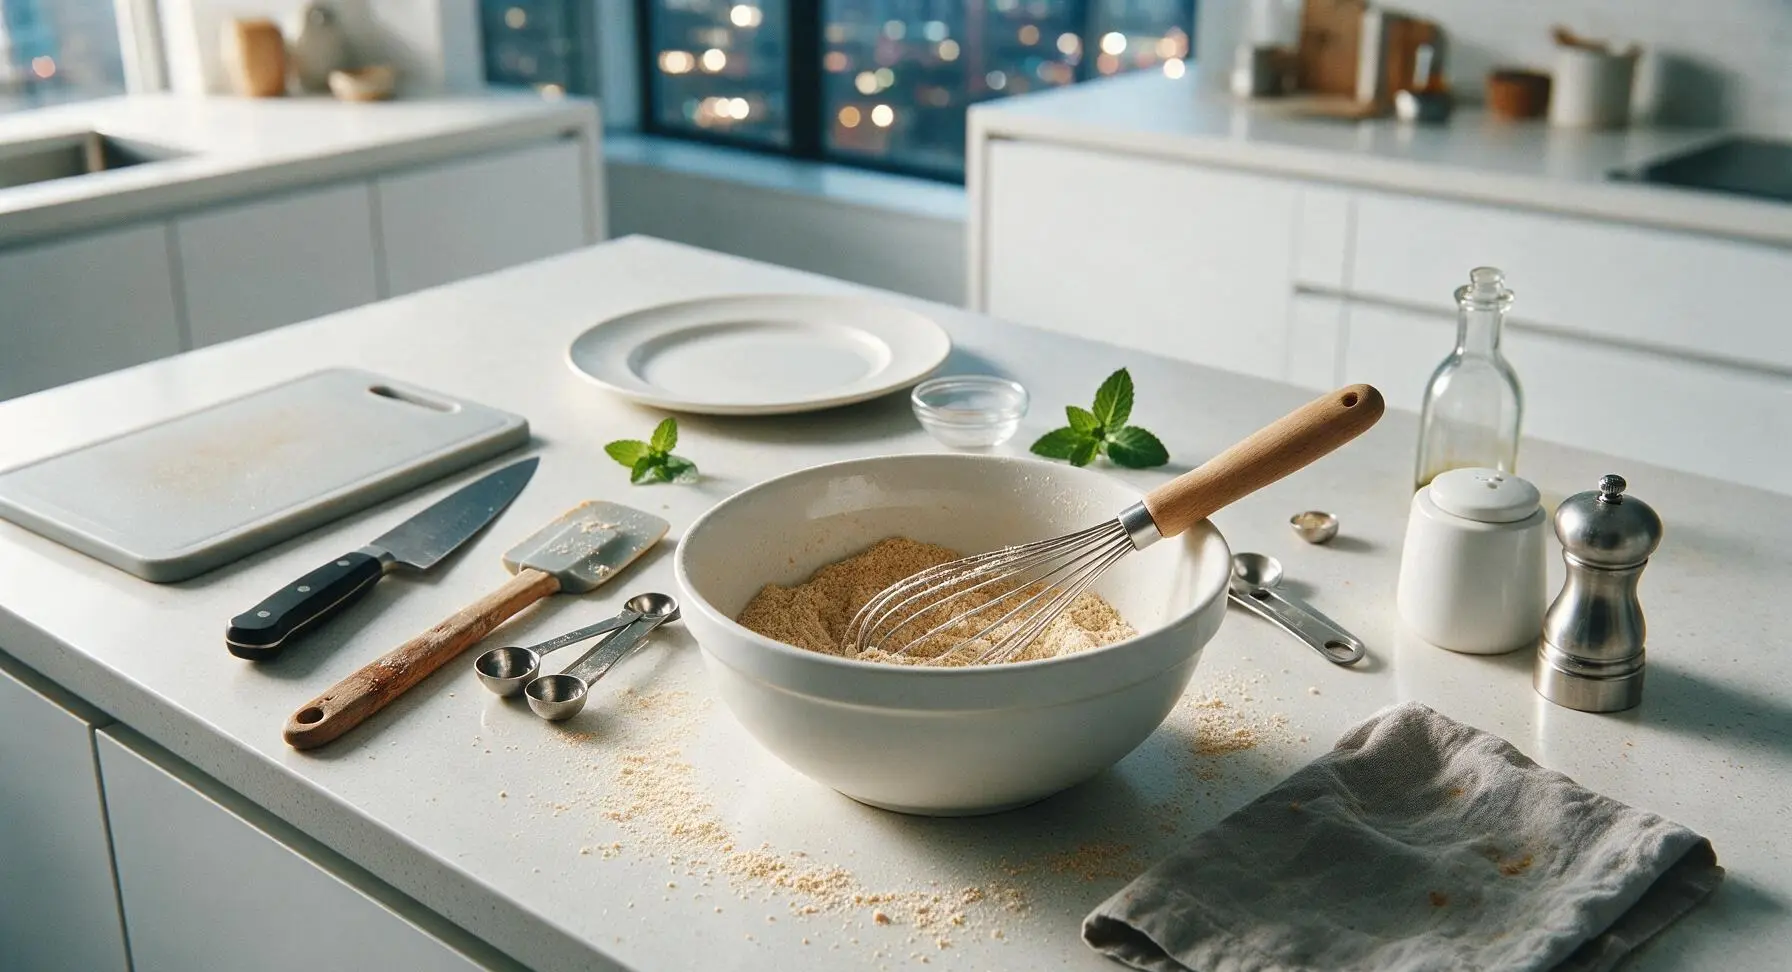
Add 1 ½ cups whole wheat pastry flour, 2 tablespoons light brown sugar, 2 teaspoons baking powder, ½ teaspoon ground cinnamon, and ¼ teaspoon fine sea salt to the 2-quart matte white ceramic mixing bowl. Use the stainless steel whisk with maple handle to stir the ingredients for 30 seconds, until fully combined with no clumps of brown sugar remaining.
Step 2
step2:Whisk Dry Ingredients
3

Combine Wet Ingredients

Add the 2 large eggs to the 1-cup clear glass measuring cup. Use the tip of the stainless steel whisk to lightly beat the eggs until yolks and whites are fully blended. Pour in 1 ¼ cups whole milk, 4 tablespoons cooled melted butter, and 1 teaspoon vanilla extract, stirring gently until the mixture is smooth with no streaks of egg visible.

Step 3
step3:Combine Wet Ingredients
4

Mix the Waffle Batter

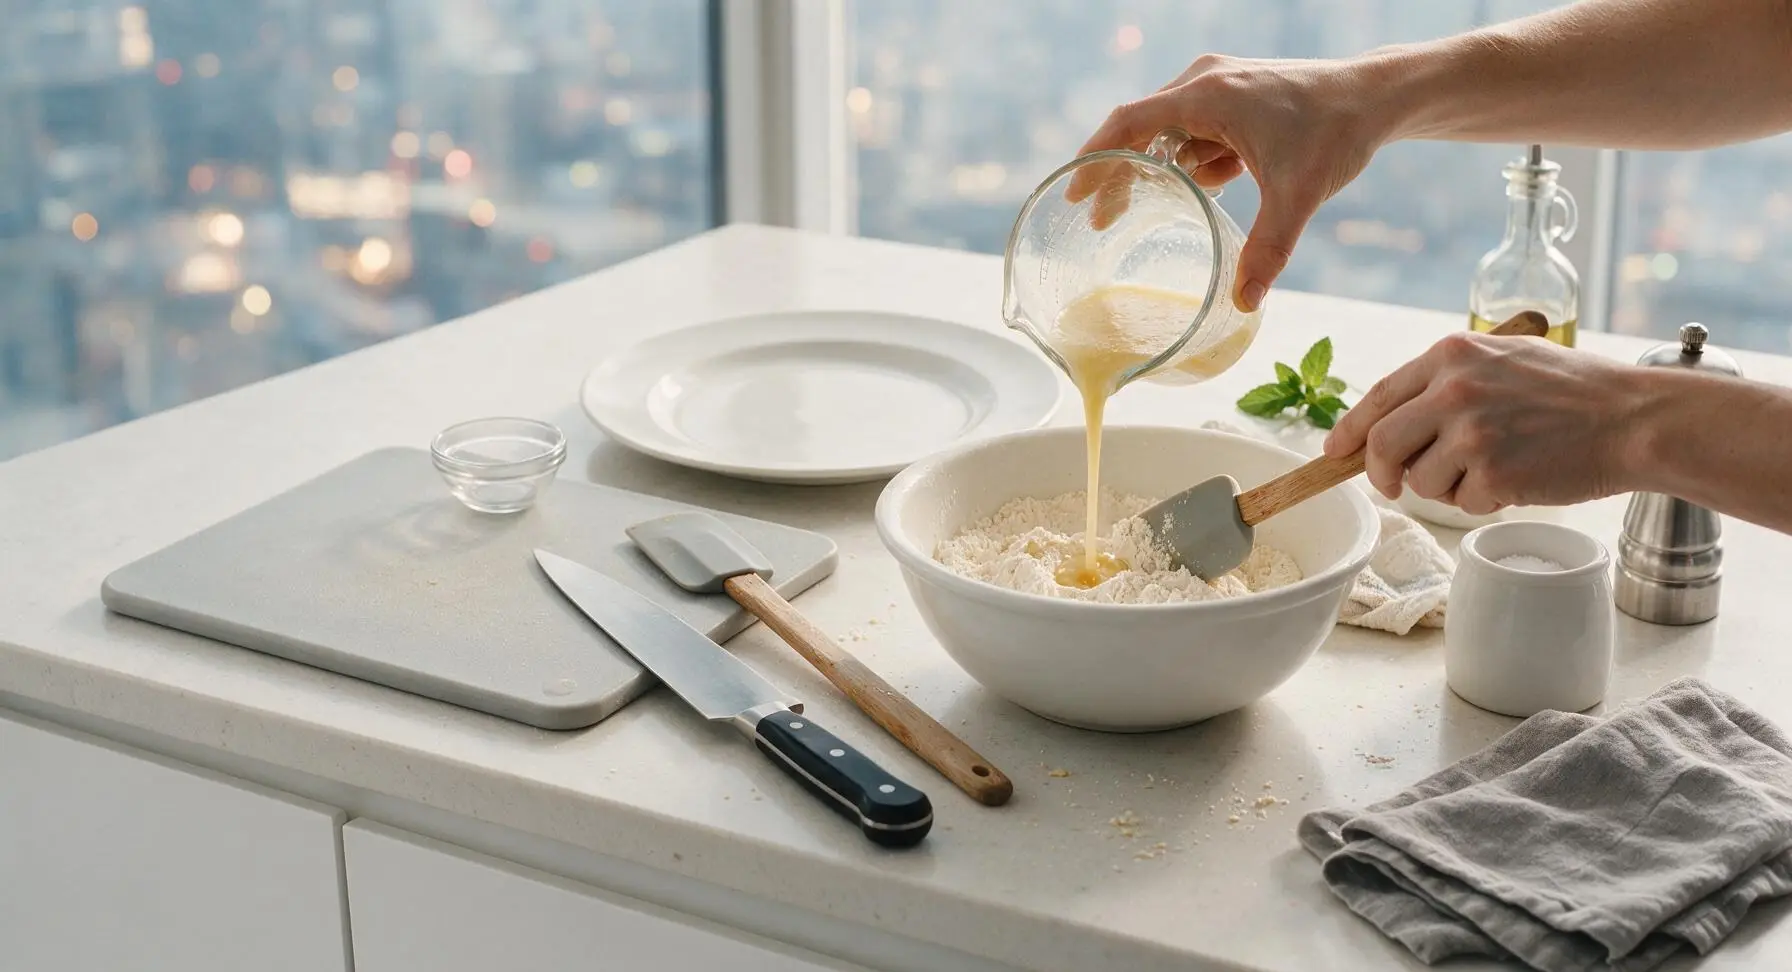
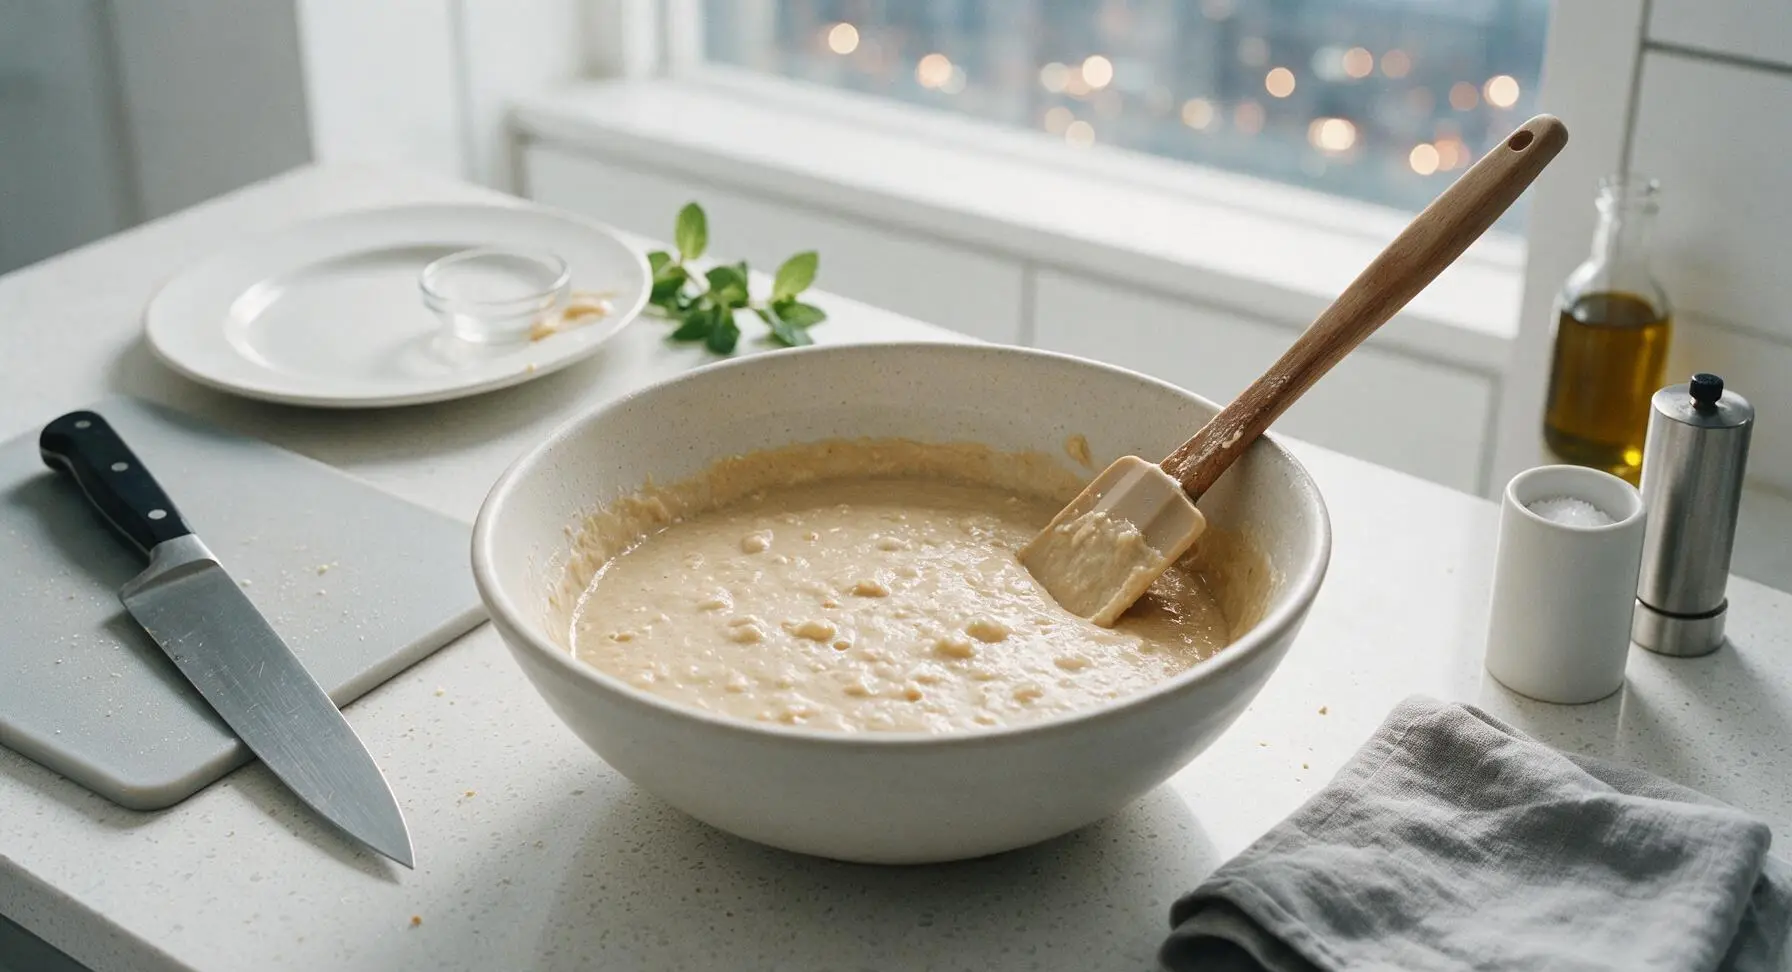
Pour the entire wet ingredient mixture into the mixing bowl with the dry ingredients. Use the bamboo-handled silicone spatula to gently fold the ingredients together, stirring only until no large dry flour streaks remain. The batter will be slightly lumpy—do not overmix, as overstirring will develop gluten and make tough waffles. Let the batter rest for 3 minutes to allow the baking powder to activate; small bubbles will form on the surface.
Step 4
step4:Mix the Waffle Batter
Step 4
step4:Mix the Waffle Batter
5

Grease Hot Waffle Iron

Once the waffle iron is fully preheated and the batter has rested, open the waffle iron lid. Lightly coat both top and bottom grid plates with a 1-second spray of neutral cooking spray, holding the can 6 inches away from the surface to avoid excess oil buildup. Wipe any drips of oil off the iron edges with a corner of the fixed burnt orange linen napkin.

Step 5
step5:Grease Hot Waffle Iron
6

Cook Waffles Evenly

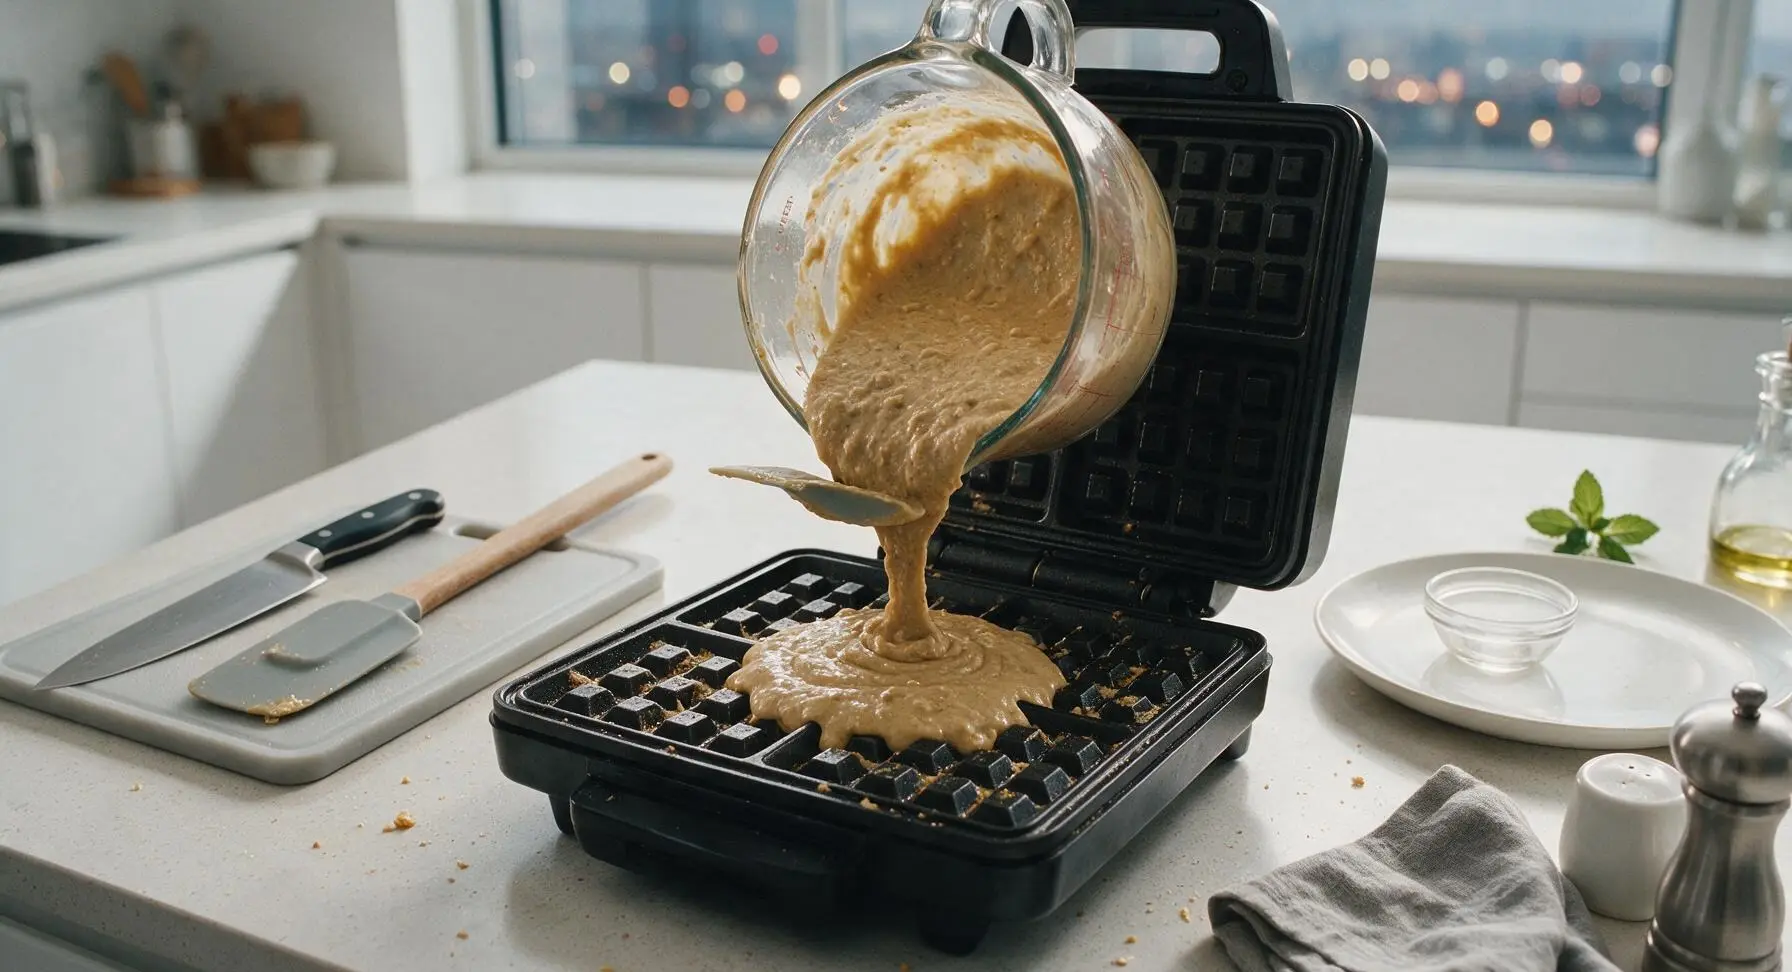
Pour ⅓ cup of batter onto the center of the bottom waffle iron grid, using the silicone spatula to scrape every bit of batter from the measuring cup. Close the lid gently—do not press down hard, as this will squeeze out batter and create thin, tough waffles. Cook for 3 to 4 minutes, until steam stops escaping from the waffle iron edges and the waffle is a deep, even rich brown. Repeat with remaining batter, re-greasing the iron lightly only if waffles begin to stick.

Step 6
step6:Cook Waffles Evenly
Step 6
step6:Cook Waffles Evenly
7

Transfer Waffles to Plate

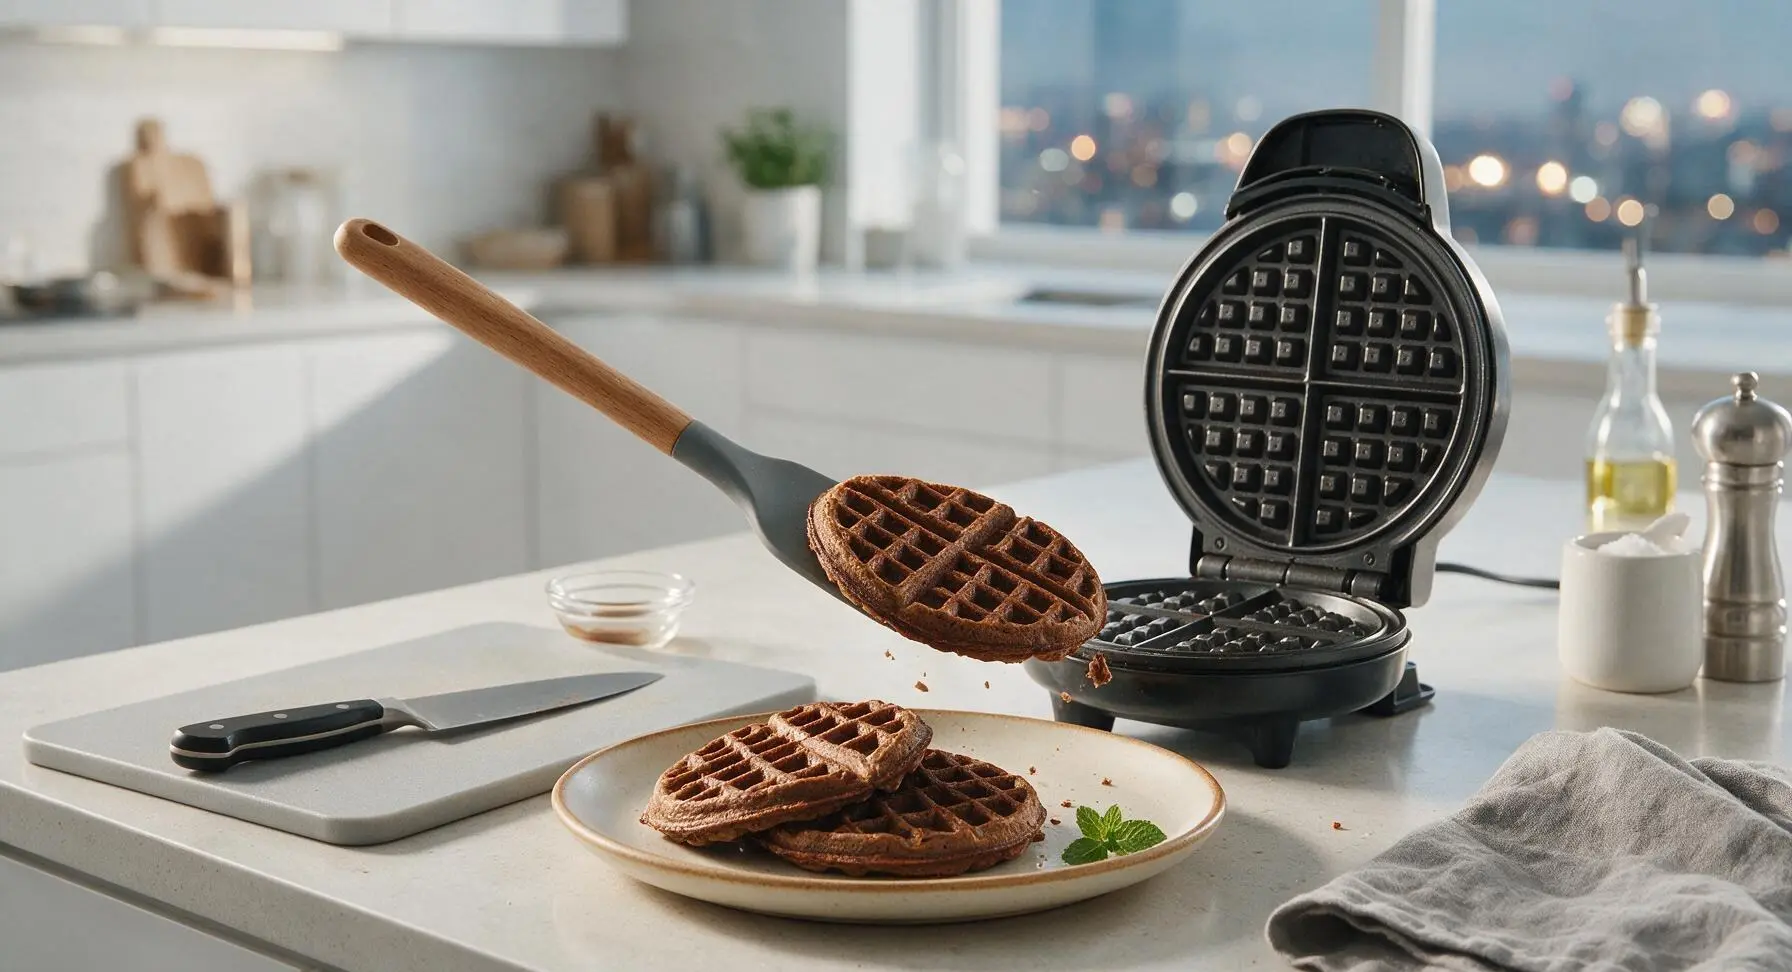
Use the silicone spatula to lift the cooked waffle gently from the iron, taking care not to tear the crisp edges. Place the waffle directly on the matte cream ceramic dinner plate with toasted tan rim, and repeat the cooking process with the remaining batter, stacking finished waffles loosely on the plate to keep them crisp (do not wrap in foil or stack tightly, as this will trap steam and make them soggy).
Step 7
step7:Transfer Waffles to Plate
8

Add Finishing Touches

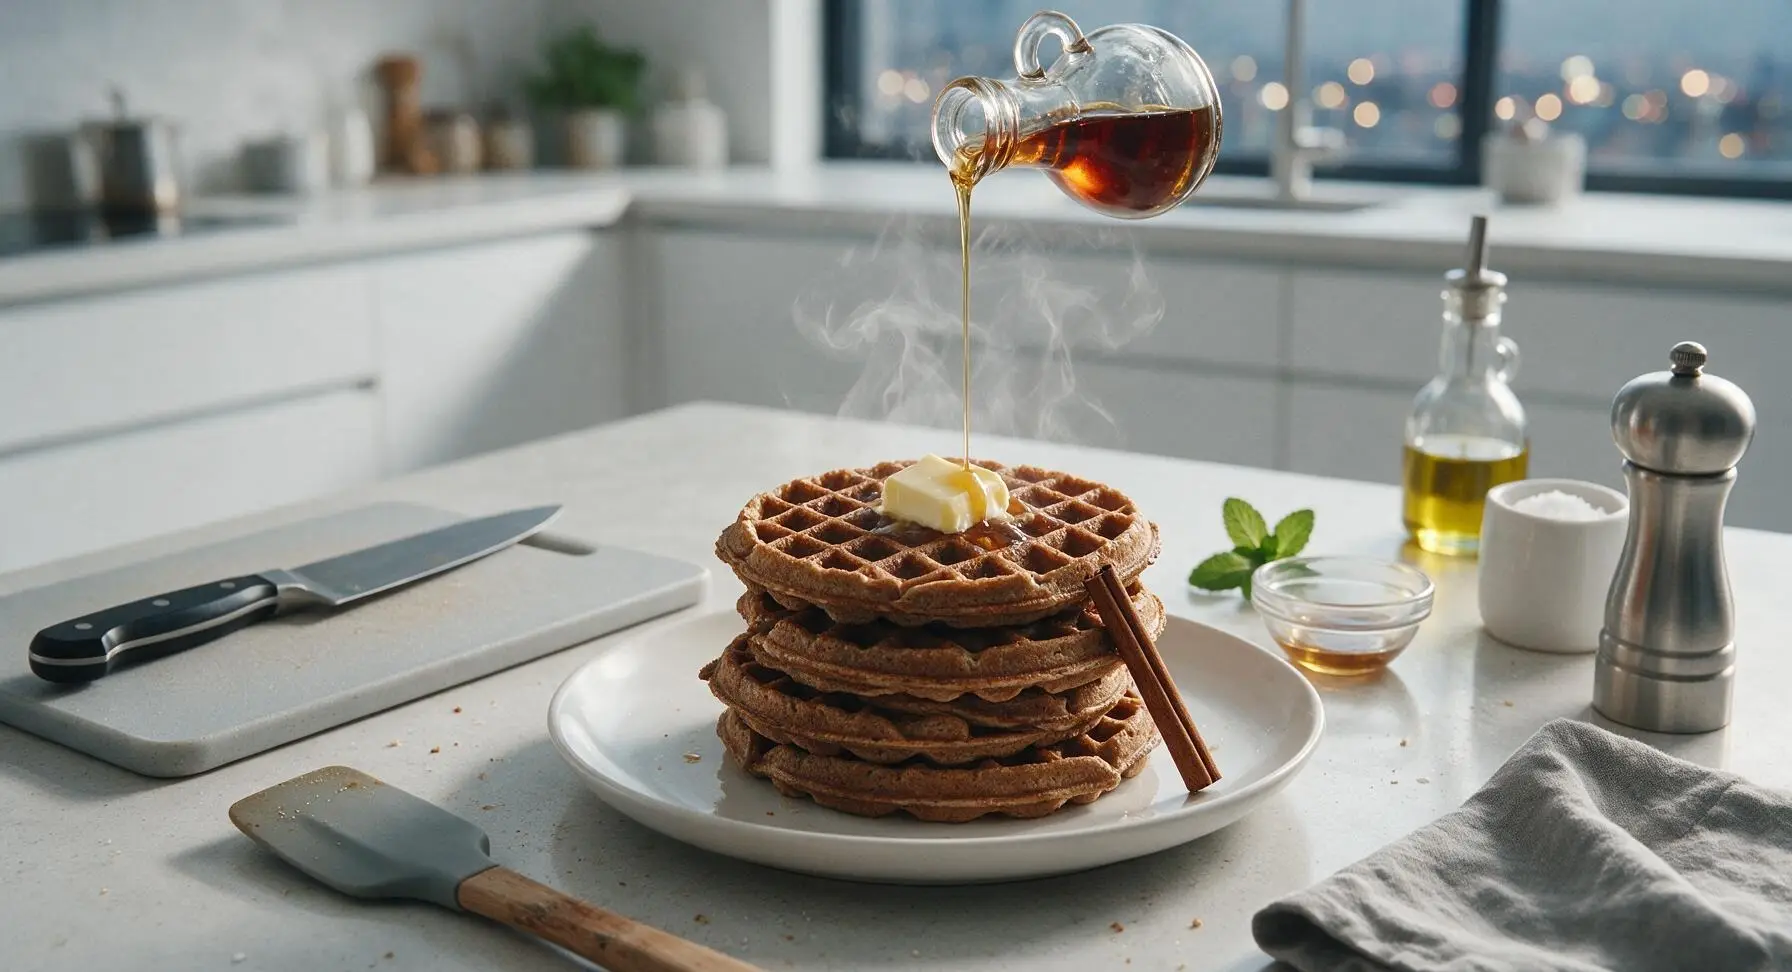
Top the stacked waffles with a 1-tablespoon pat of room temperature unsalted butter, allowing it to melt slightly into the grid ridges. Drizzle 2 tablespoons of pure maple syrup over the top of the stack, and lean one cinnamon stick against the side of the stack for garnish. Serve immediately while hot and crisp.
Step 8
step8:Add Finishing Touches

Tips

1.Avoid overmixing the batter: A few small lumps are completely desirable, as overstirring develops gluten in the whole wheat flour that will turn light, crisp waffles dense, chewy, and tough. Stop folding as soon as you no longer see large dry flour streaks.
2.Let the batter rest 3 full minutes before cooking: This short rest gives the baking powder time to activate and create tiny air bubbles for taller, fluffier waffles, and allows the coarse whole wheat flour to absorb moisture for a deeper, richer brown color and nuttier flavor.
3.Don’t peek at the waffle too early: Lifting the waffle iron lid before steam stops escaping from the edges will tear the partially set waffle and cause it to stick. Wait until steam slows to a faint wisp (3-4 minutes total) for perfectly intact, evenly browned crisp waffles.


✨ You May Also Like

Breakfast
🍜 United States

Crisp-edged, fluffy lard griddle cakes are a nostalgic homestyle staple, with rich savoriness from rendered lard, perfect topped with maple syrup or savory gravy.

⏱️ 25 minuteBreakfast ★ 4.8
Breakfast
🍜 United States

Flaky, buttery homemade buttermilk biscuits smothered in creamy, peppery pork sausage gravy: a beloved, hearty Southern American comfort food classic.

⏱️ 35 minuteBreakfast ★ 4.8
Breakfast
🍜 United States

Golden, custardy brioche stuffed with sweet cream cheese and fresh berries, pan-fried to crisp perfection. An indulgent, cozy breakfast perfect for slow weekend mornings.

⏱️ 30 minuteBreakfast ★ 4.7
Breakfast
🍜 United States

Flaky, buttery Southern-style biscuits stuffed with savory salty country ham, a portable, satisfying classic perfect for casual on-the-go meals.

⏱️ 25 minuteBreakfast ★ 4.8
Breakfast
🍜 United States

Iconic puffy baked pancake popularized in Seattle, with crisp golden edges and soft custardy center, served warm with classic sweet toppings.

⏱️ 35 minuteBreakfast ★ 4.6
Breakfast
🍜 United States

Fluffy, golden pancakes studded with juicy peak-summer mixed berries, drizzled with maple syrup for a bright, comforting, crowd-pleasing family breakfast.

⏱️ 25 minuteBreakfast ★ 4.7

brown waffle:Frequently Asked Questions

1.Why do these waffles turn a deep brown color instead of the pale gold of standard homemade waffles? ▾
That rich, deep brown comes from two core ingredients: light brown sugar’s molasses content, which caramelizes as the waffle cooks, and toasty whole wheat pastry flour, which browns faster than refined all-purpose flour. A fully preheated waffle iron amplifies this browning for a crisp crust without any burnt flavor.
2.Can I swap regular whole wheat flour for the whole wheat pastry flour the recipe calls for? ▾
You can, but regular whole wheat flour has higher protein content that will create denser, chewier waffles instead of the light, fluffy center we’re going for. For a closer match, mix ¾ cup regular whole wheat flour with ¼ cup cornstarch per cup of pastry flour to mimic that tender, delicate crumb.
3.How do I keep these waffles crispy instead of letting them get soggy right after cooking? ▾
Skip stacking waffles straight on a plate, because trapped steam turns crisp crusts soggy in minutes. As you pull each waffle off the iron, set it on a wire rack placed over a baking sheet in a 200°F oven. This lets air circulate around every waffle, keeping edges crisp enough to hold up to maple syrup, butter, and fruit toppings until you’re ready to serve.
4.Do I really need to mix dry and wet ingredients separately for this batter? ▾
Absolutely—this simple step prevents overmixing, which develops excess gluten and leads to tough, dense waffles. Whisk all your dry ingredients (flour, brown sugar, baking powder, cinnamon, fine sea salt) together first; the salt cuts cloying sweetness to highlight the malty, toasty flavor. Stir in wet ingredients just until no large dry clumps remain; a few small lumps are totally fine.
5.Will the ground cinnamon in the recipe make these taste like spiced holiday waffles? ▾
The small measured amount of cinnamon won’t give a strong, spice-forward flavor at all. It actually amplifies the malty, toasty notes from the whole wheat flour and brown sugar, making that rich depth feel more pronounced. If you’re extra sensitive to cinnamon, you can cut the amount in half without ruining the recipe.
6.Can I mix up this waffle batter the night before to save time in the morning? ▾
I don’t recommend mixing wet and dry ingredients more than 30 minutes before cooking. The baking powder will start activating as soon as it touches wet ingredients, and waiting too long leads to flat, less fluffy waffles. Luckily, the batter comes together in 5 minutes flat, so you can have fresh waffles in under 30 minutes with no advance prep.
7.My waffles always stick to the iron—what am I doing wrong with this recipe? ▾
First, make sure your waffle iron is fully preheated before adding batter; pouring onto a cool surface is the top cause of sticking. Even with a non-stick iron, give it a light spritz of neutral cooking oil before the first batch, and don’t pry waffles early—wait until steam stops billowing from the iron edges to lift them.
8.What’s the best way to store leftover waffles for quick meals later? ▾
Let cooked waffles cool completely on a wire rack first, then stack them between sheets of parchment paper in an airtight freezer bag. They’ll keep in the fridge for 3 days, or the freezer for up to 3 months. Reheat straight from frozen in a toaster or 350°F oven for 5 minutes to bring back that crisp edge—skip the microwave, which makes them soggy.
9.I only have dark brown sugar at home—can I use that instead of light brown sugar? ▾
You absolutely can, just know it will add a slightly deeper molasses flavor and darker final waffle color. If you want to mimic light brown sugar more closely, mix 2 tablespoons of granulated white sugar into every ¾ cup of dark brown sugar to mellow that strong molasses note, but the recipe works perfectly even without that adjustment.
10.How much batter should I pour per waffle to avoid messy overflow all over my counter? ▾
Most standard 7-inch waffle irons need ⅓ to ½ cup of batter per batch, poured right in the center of the iron plates. Resist the urge to spread the batter to the edges—when you close the lid, it will press the batter out evenly. If you get small overflow bits, just scrape them off once the waffle is done for easy cleanup.
11.Can I use regular table salt instead of the fine sea salt listed in the ingredients? ▾
You can, but you’ll need to adjust the amount, because table salt is much denser and sharper-tasting than fine sea salt. Use half the called-for amount of table salt to avoid overly salty waffles. That small hit of salt cuts sweetness and amplifies the malty, toasty flour and brown sugar flavors for a perfectly balanced bite.

Comments (10)

2 days ago

OMG these brown waffles are SO good! I made them for Saturday brunch last weekend and my whole family devoured them before I even got a second one. The crisp factor is no joke, way better than the boxed mix I usually grab. That 15 minute cook time is chef’s kiss for busy school mornings too!

3 days ago

These taste amazing, but quick question – do these stay crispy if I make them ahead for meal prep? I usually make a big batch of waffles on Sunday to reheat for weekday breakfasts for me and my roommate, but I’m worried they’ll get all soggy in the fridge like other homemade recipes I’ve tried.

2 days ago

Great question! If you let them cool completely on a wire rack before storing in an airtight container, they’ll stay nice and crisp for up to 3 days. Reheat them in a toaster instead of the microwave for best results!

1 week ago

Game changer!!! I added a handful of mini chocolate chips to the batter and topped mine with salted caramel and whipped cream, and my partner said these are better than the diner waffles we wait 45 minutes in line for on Sundays. 10/10 will make every week from now on.

5 days ago

Wait the chocolate chip add-in sounds insane! Did you adjust the cook time at all when you added them? I feel like extra mix-ins usually make my waffles come out mushy :(

3 days ago

Great question! If you’re adding mix-ins like chocolate chips or chopped nuts, you don’t need to adjust cook time at all – just fold them in gently right before pouring the batter so they don’t sink to the bottom and cause sogginess!

yesterday

My kids loved it! I’ve been struggling to find breakfasts that my two picky toddlers will actually eat without complaining, and they asked for seconds (and thirds??) of these waffles. We topped them with fresh strawberries and a little drizzle of maple syrup, zero fights at the breakfast table this morning, total win.

12 hours ago

Ugh I feel this so hard! My youngest turns his nose up at literally every breakfast food, I’m definitely trying these tomorrow for him. Fingers crossed it works as well as it did for your kids!

5 days ago

Made these for our post-hike potluck with the trail group last weekend and everyone was asking for the recipe! They were crispy on the outside, fluffy on the inside, and had that perfect deep brown, nutty flavor you just don’t get from regular waffle mix. So easy to whip up too, I didn’t even have to run to the store for special ingredients.

30 minutes ago

I’ve heard nothing but great things about this recipe and I’m so excited to make it for brunch tomorrow! Quick question: is there a substitute for buttermilk here? I never have it on hand and I don’t have time to run to the grocery store tonight before I prep the batter.

20 minutes ago

I use the milk + white vinegar trick all the time for waffles! 1 tablespoon of vinegar per cup of milk, let it sit 5 minutes and it works exactly like buttermilk. I made these last week with that swap and they came out perfectly crispy!

10 minutes ago

That swap works perfectly! You can also use plain whole milk yogurt thinned with a little milk if you have that on hand, too. Enjoy your brunch!

5 minutes ago

SO good, and so easy! I’m a broke college student with a tiny hand-me-down waffle iron and even I didn’t mess these up. Way cheaper than buying frozen waffles every week, and they taste a million times better. I’ve already made them twice this week.

2 minutes ago

Love that! So glad this recipe works even with a smaller, older waffle iron – that’s the best part of easy, forgiving recipes like this. Thanks for giving it a try!

2 weeks ago

These were good but mine came out a little softer than I expected, not as crispy as the photos look. Did I do something wrong? I followed the measurements exactly, I think?

1 week ago

I had the same issue the first time I made them! Turns out my waffle iron wasn’t fully preheated before I poured the batter in. Wait until the indicator light goes off (or you can feel a lot of steam coming out when you open it a crack) before pouring, that made all the difference for me!

6 days ago

That’s such a great tip from Rick! Also, make sure you’re not overmixing the batter – a few lumps are totally fine, overmixing develops gluten and can lead to softer, less crispy waffles. Give it another try next time, I bet they turn out perfect!

just now

I was skeptical that a 15 minute easy recipe could actually produce crispy brown waffles, but wow, these delivered. I served them with fried chicken for a casual weeknight chicken and waffle dinner, and my husband asked if we could add it to our regular weekly dinner rotation. Total win!

2 hours ago

I made these for my non-GF family last weekend and they were a hit! Quick question though – has anyone tried making these with a 1:1 gluten free flour blend? I have celiac and I want to be able to eat them too next time I make a batch, since they were so crispy and delicious for everyone else.

1 hour ago

I made them last week with Bob’s Red Mill 1:1 GF flour and they were perfect! Didn’t change a single other thing, still got that crispy brown outside and fluffy inside. You’re gonna love them!



