
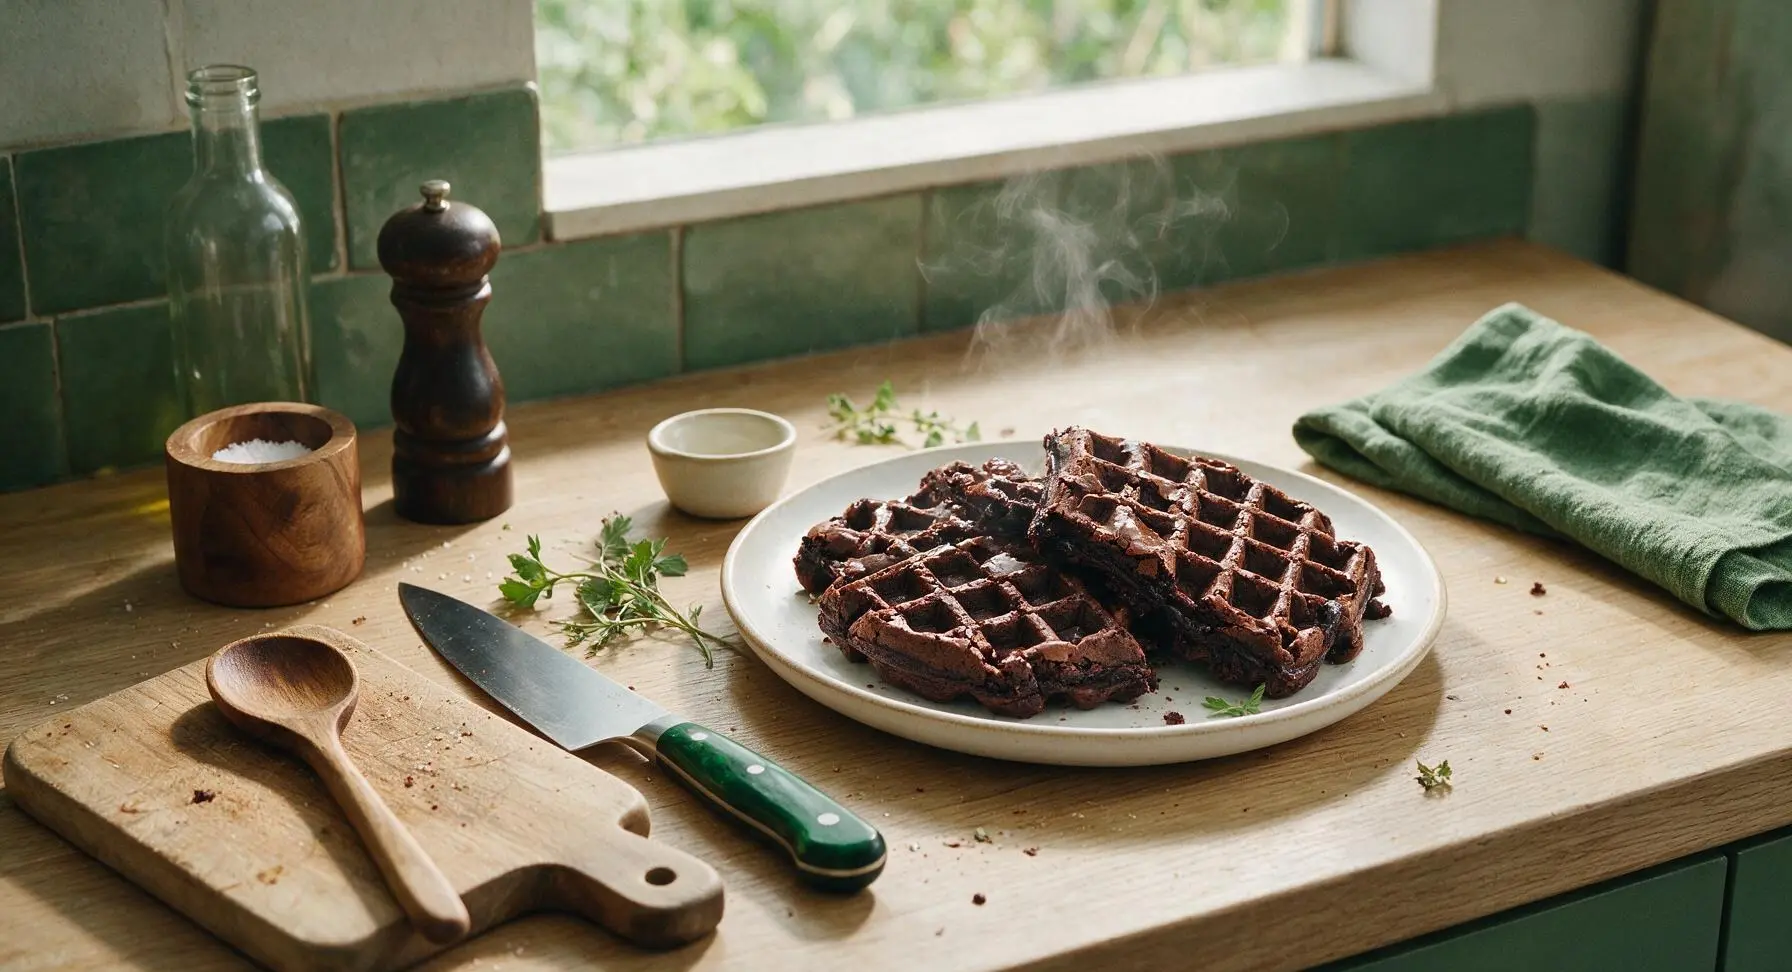
brownie mix waffles

title 1
brownie mix waffles
⏱️ cook time 10 minutes
🍽️ servings 4
⚡ Difficulty easy

intro

Fudgy, crisp-edged chocolate waffles made from pantry-staple brownie mix, ready in 15 minutes with that classic cracked brownie top and soft, gooey center.

Ingredients
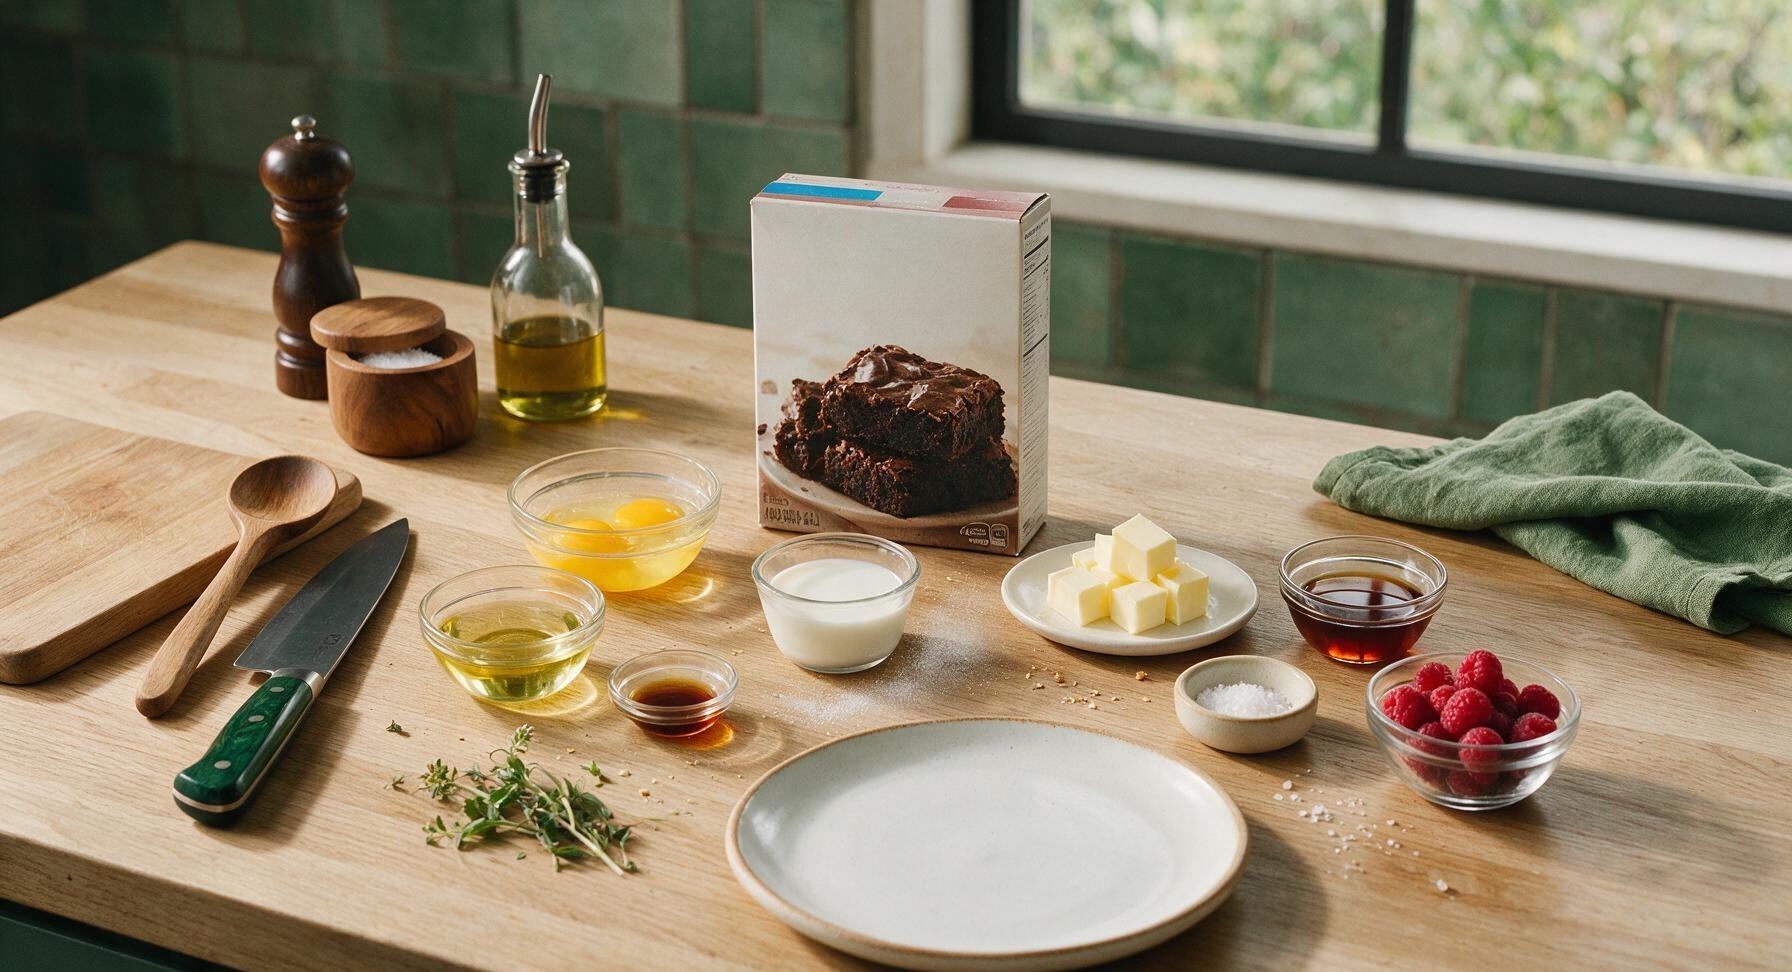
Fudge brownie mix (boxed) 18 oz (510g)
Large eggs 2
Vegetable oil 1/3 cup
Whole milk 1/4 cup
Pure vanilla extract 1 tsp
Non-stick cooking spray 2-second light coat
Salted butter (for serving) 2 tbsp
Pure maple syrup (for serving) 1/4 cup
Flaky sea salt (for serving) 1/4 tsp
Fresh raspberries (for serving) 1/2 cup

Steps

1

Preheat the Waffle Iron

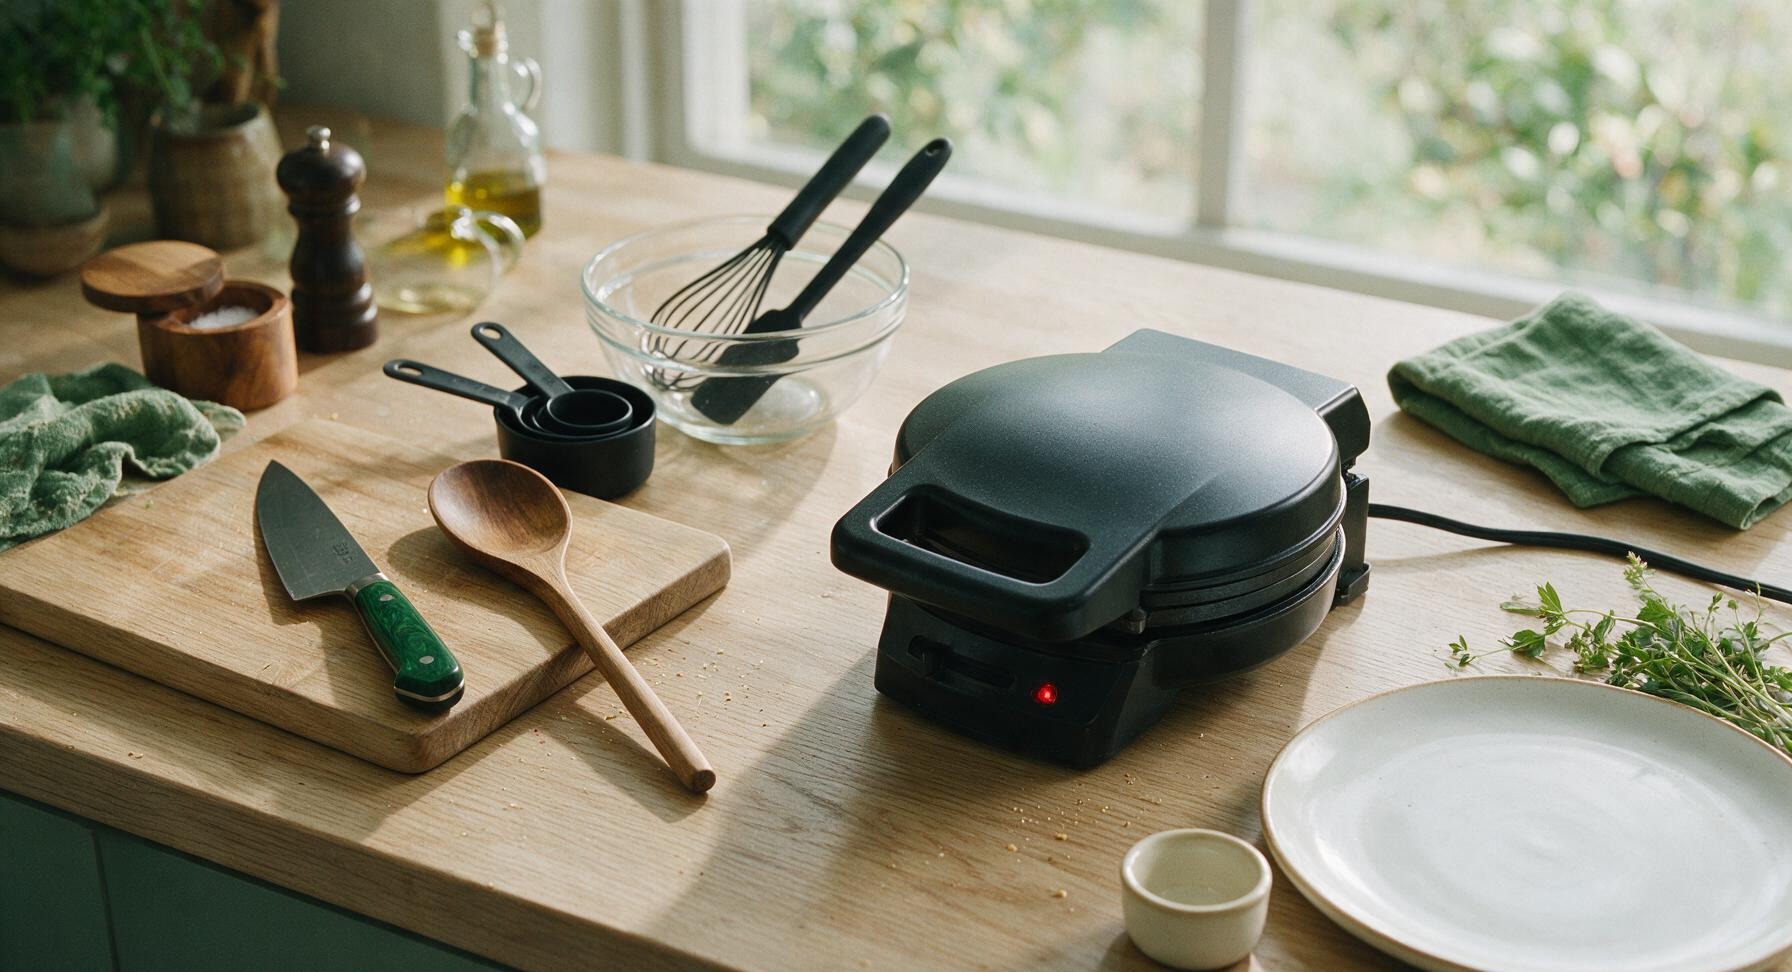
Plug in the matte black waffle iron, set the temperature dial to medium-high (375°F/190°C), and close the lid to preheat for 5 minutes. Test for doneness by flicking a single drop of water onto the cooking plates: the iron is ready when the water sizzles and evaporates completely in 2 seconds. Do not grease the plates before the iron is fully preheated, as this will cause spray to burn and create sticky residue.
Step 1
step1:Preheat the Waffle Iron
2

Mix the Brownie Batter

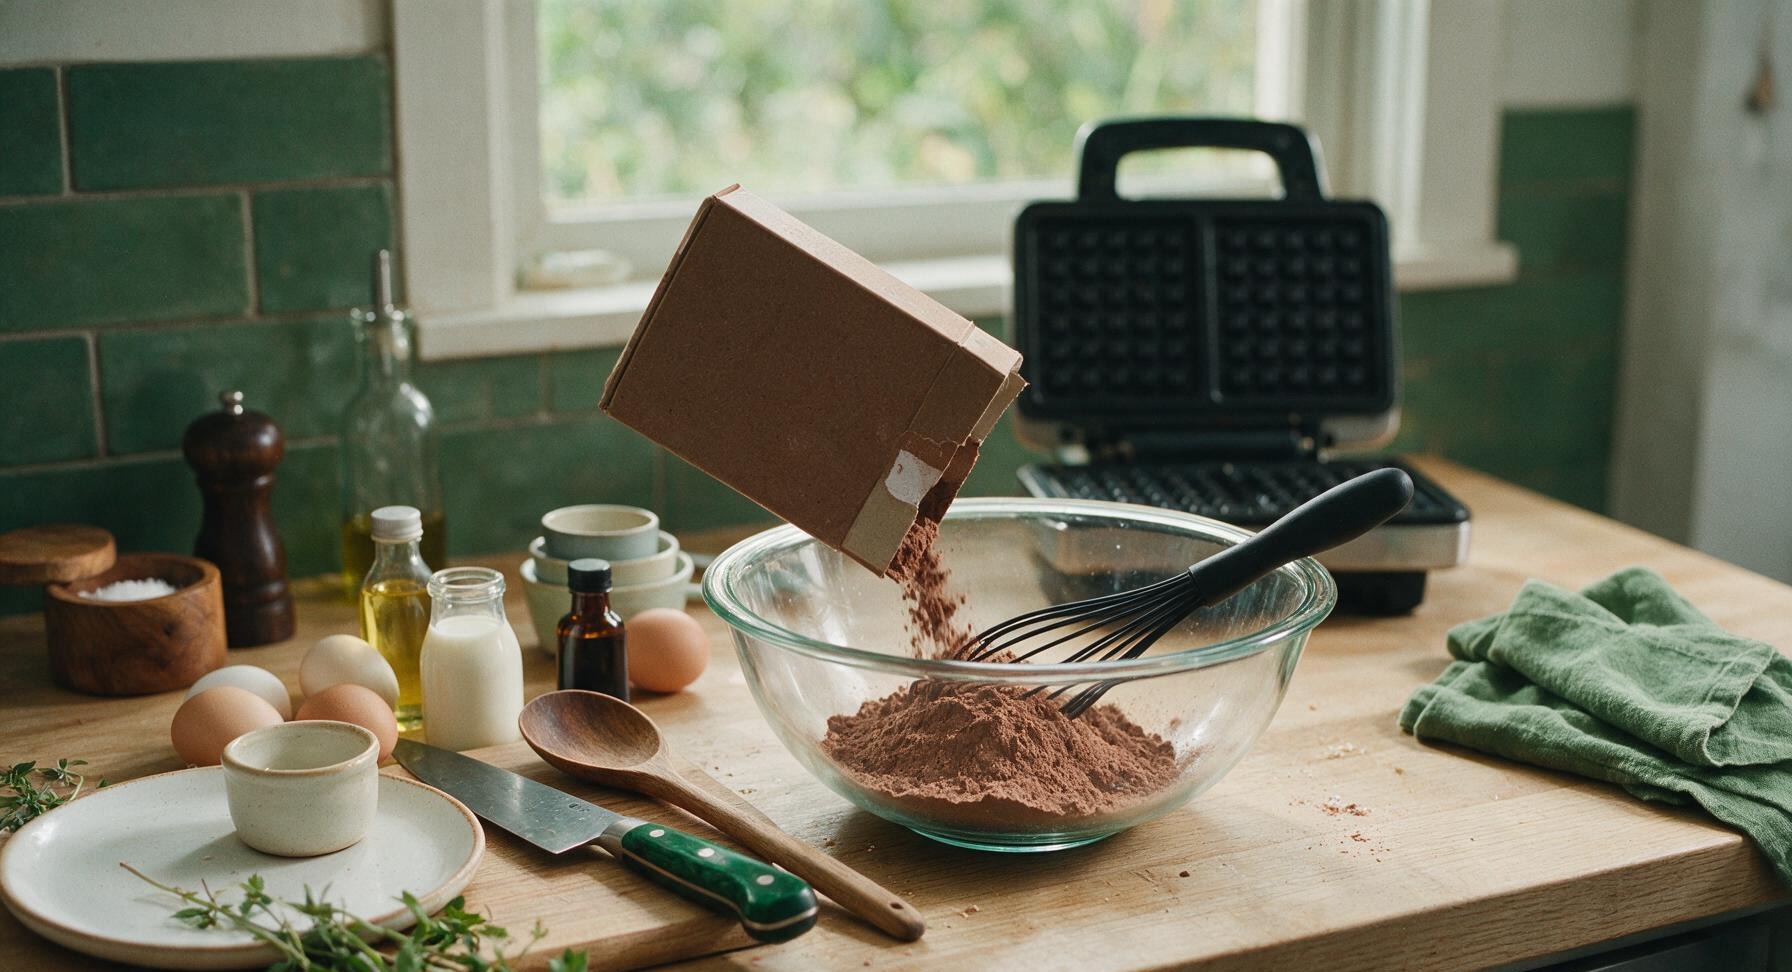
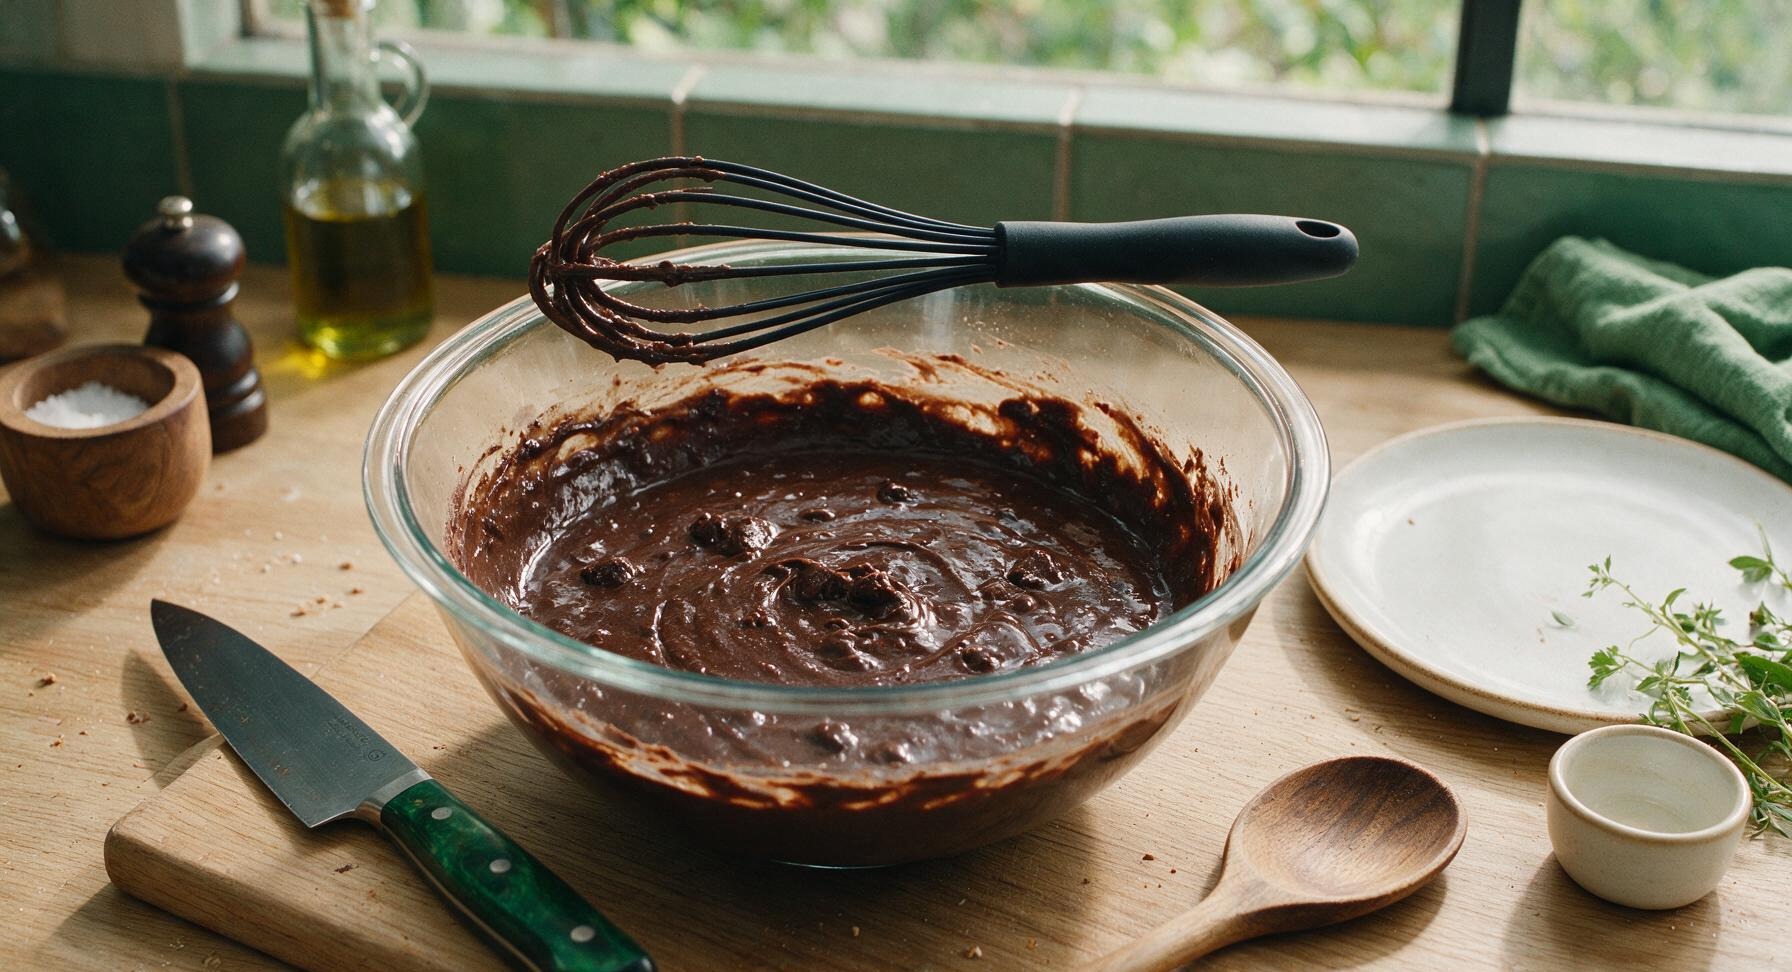
Open the 18oz box of fudge brownie mix and pour the entire dry contents into the clear glass mixing bowl. Add 2 large eggs, 1/3 cup vegetable oil, 1/4 cup whole milk, and 1 teaspoon pure vanilla extract. Use the black silicone whisk to stir the ingredients for 45 to 60 seconds, until just combined. Stop mixing as soon as no dry powder remains; a few small lumps in the thick, glossy dark batter are normal and desirable, as overmixing will create tough, cakey waffles.
Step 2
step2:Mix the Brownie Batter
Step 2
step2:Mix the Brownie Batter
3

Grease the Waffle Plates

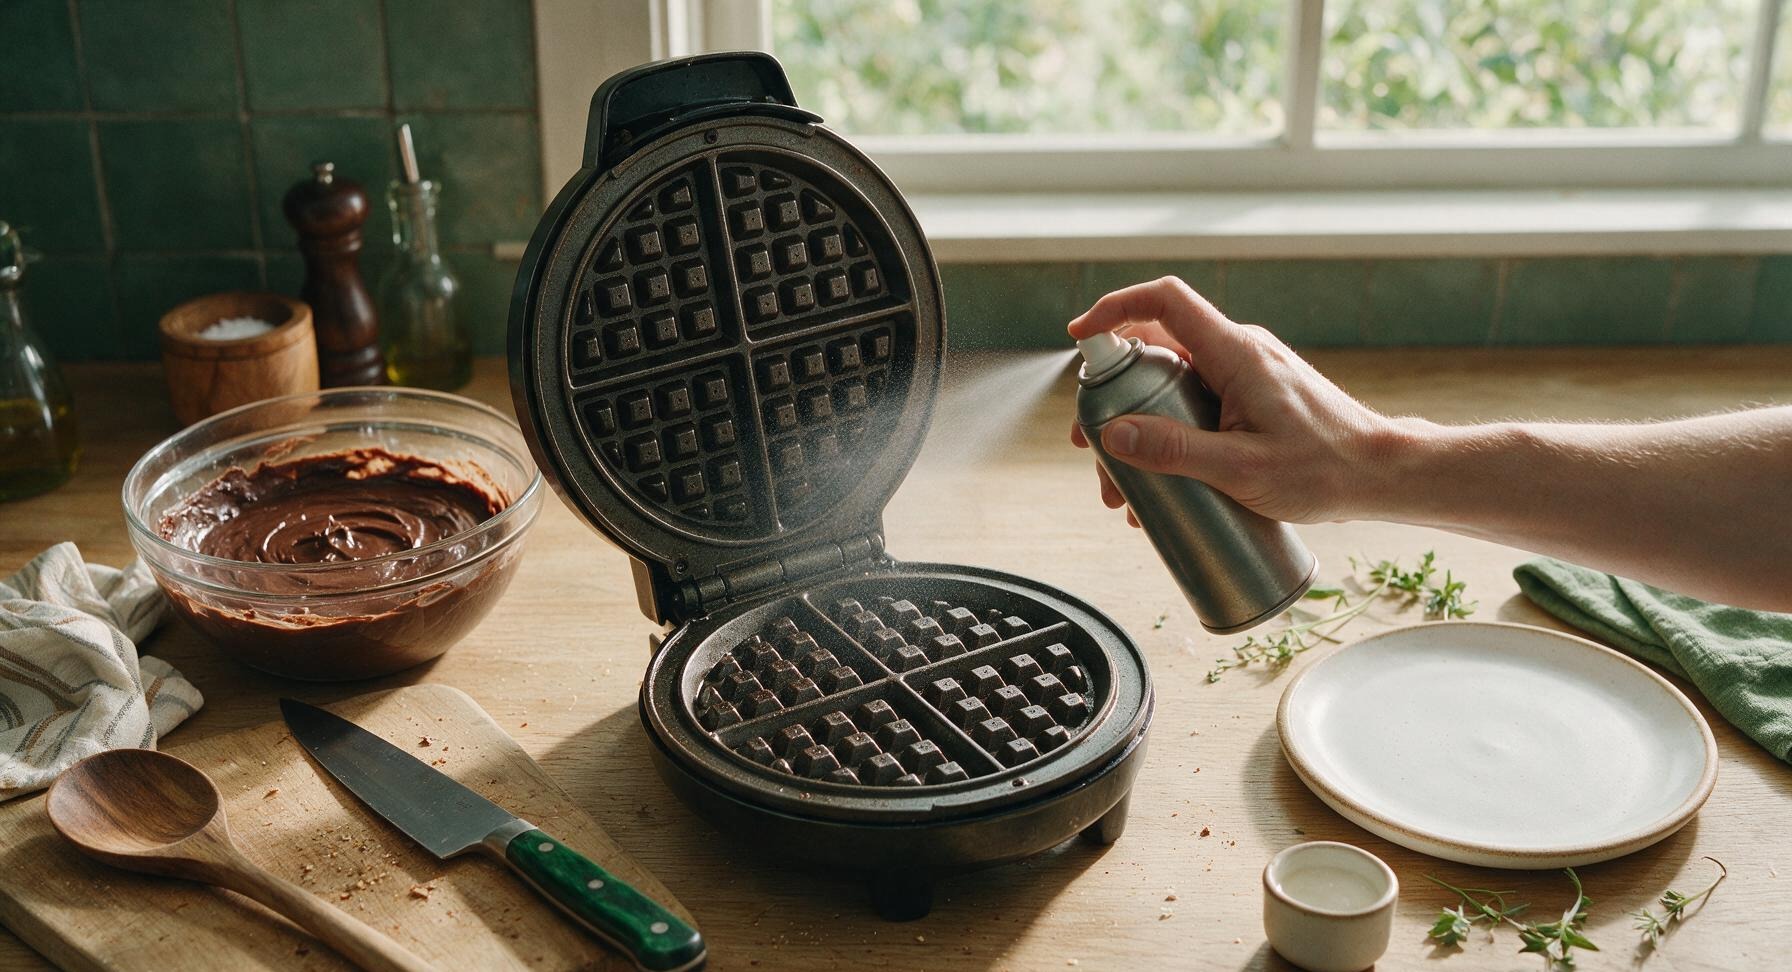
Once the waffle iron is fully preheated, open the lid and hold the non-stick cooking spray can 6 inches away from the plates, applying a light, even coat to both top and bottom cooking surfaces. Wipe any excess spray that drips onto the outer housing of the iron with the corner of the striped cotton kitchen towel to prevent burnt residue during cooking.
Step 3
step3:Grease the Waffle Plates
4

Pour Batter Into Iron

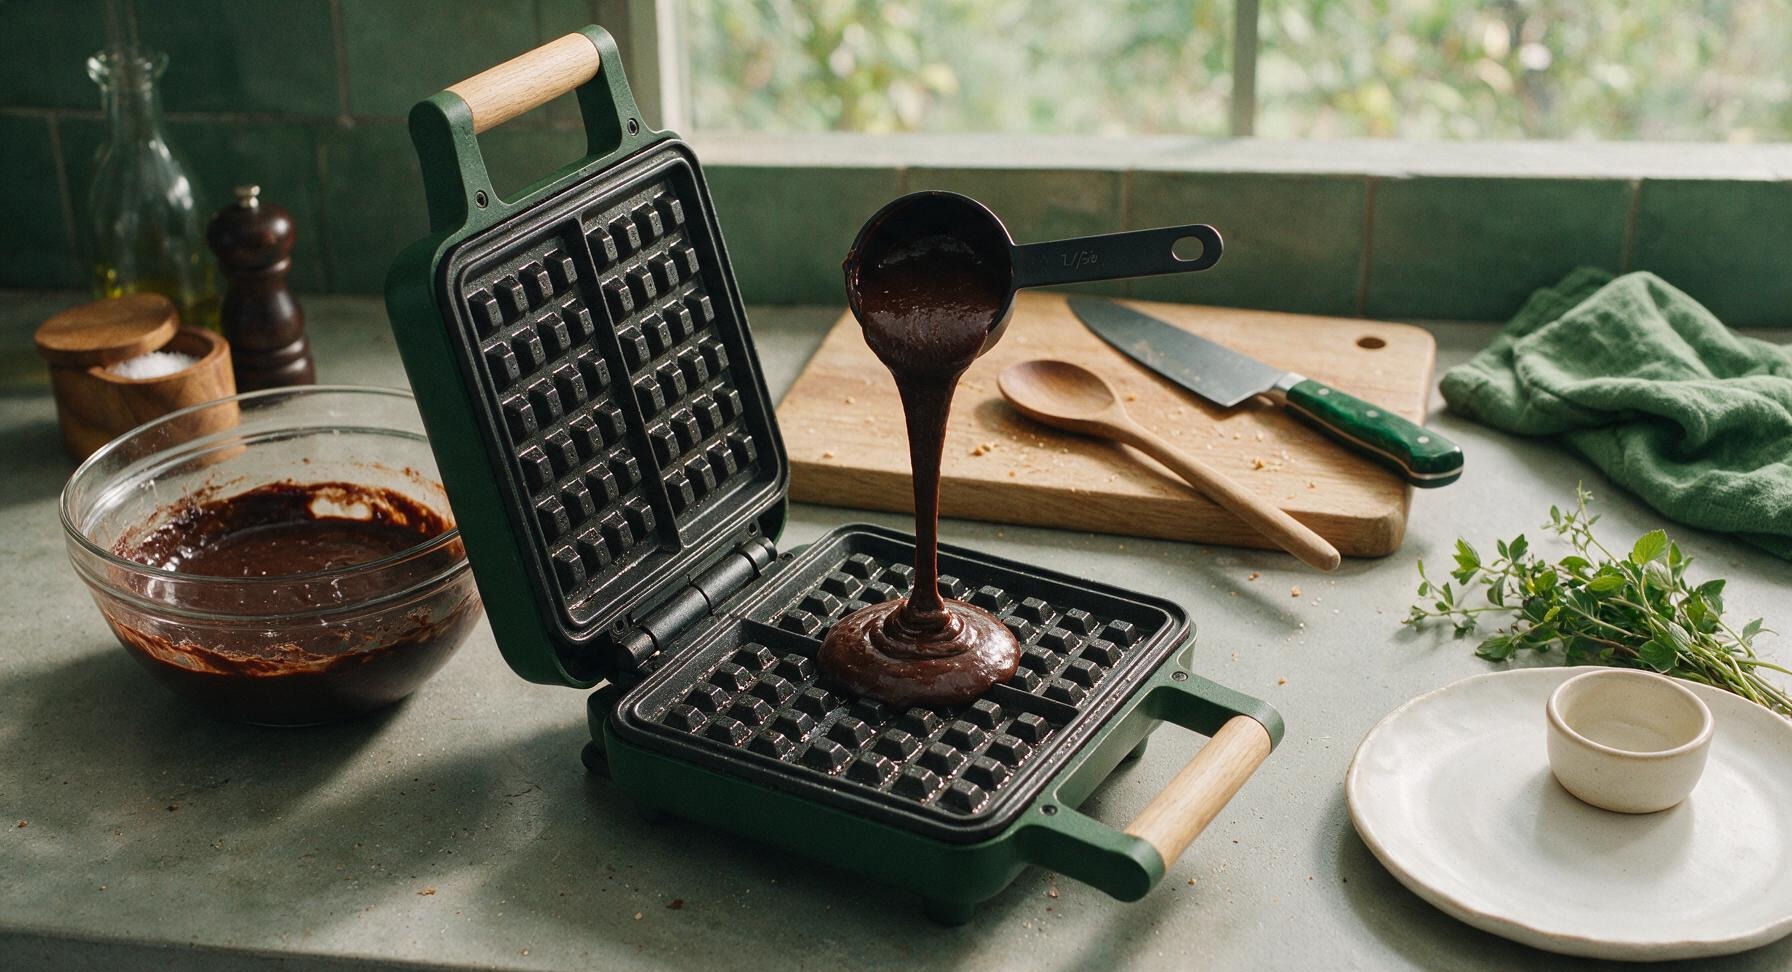
Use the 1/2 cup size from the nested black measuring cup set to scoop thick brownie batter, pouring it directly into the exact center of the greased bottom waffle plate. Do not spread the batter across the plate — it will spread evenly across the grid when the lid is closed. Use exactly 1/2 cup of batter per waffle to prevent overflow as the batter rises and cooks.
Step 4
step4:Pour Batter Into Iron
5

Cook Waffles Until Set

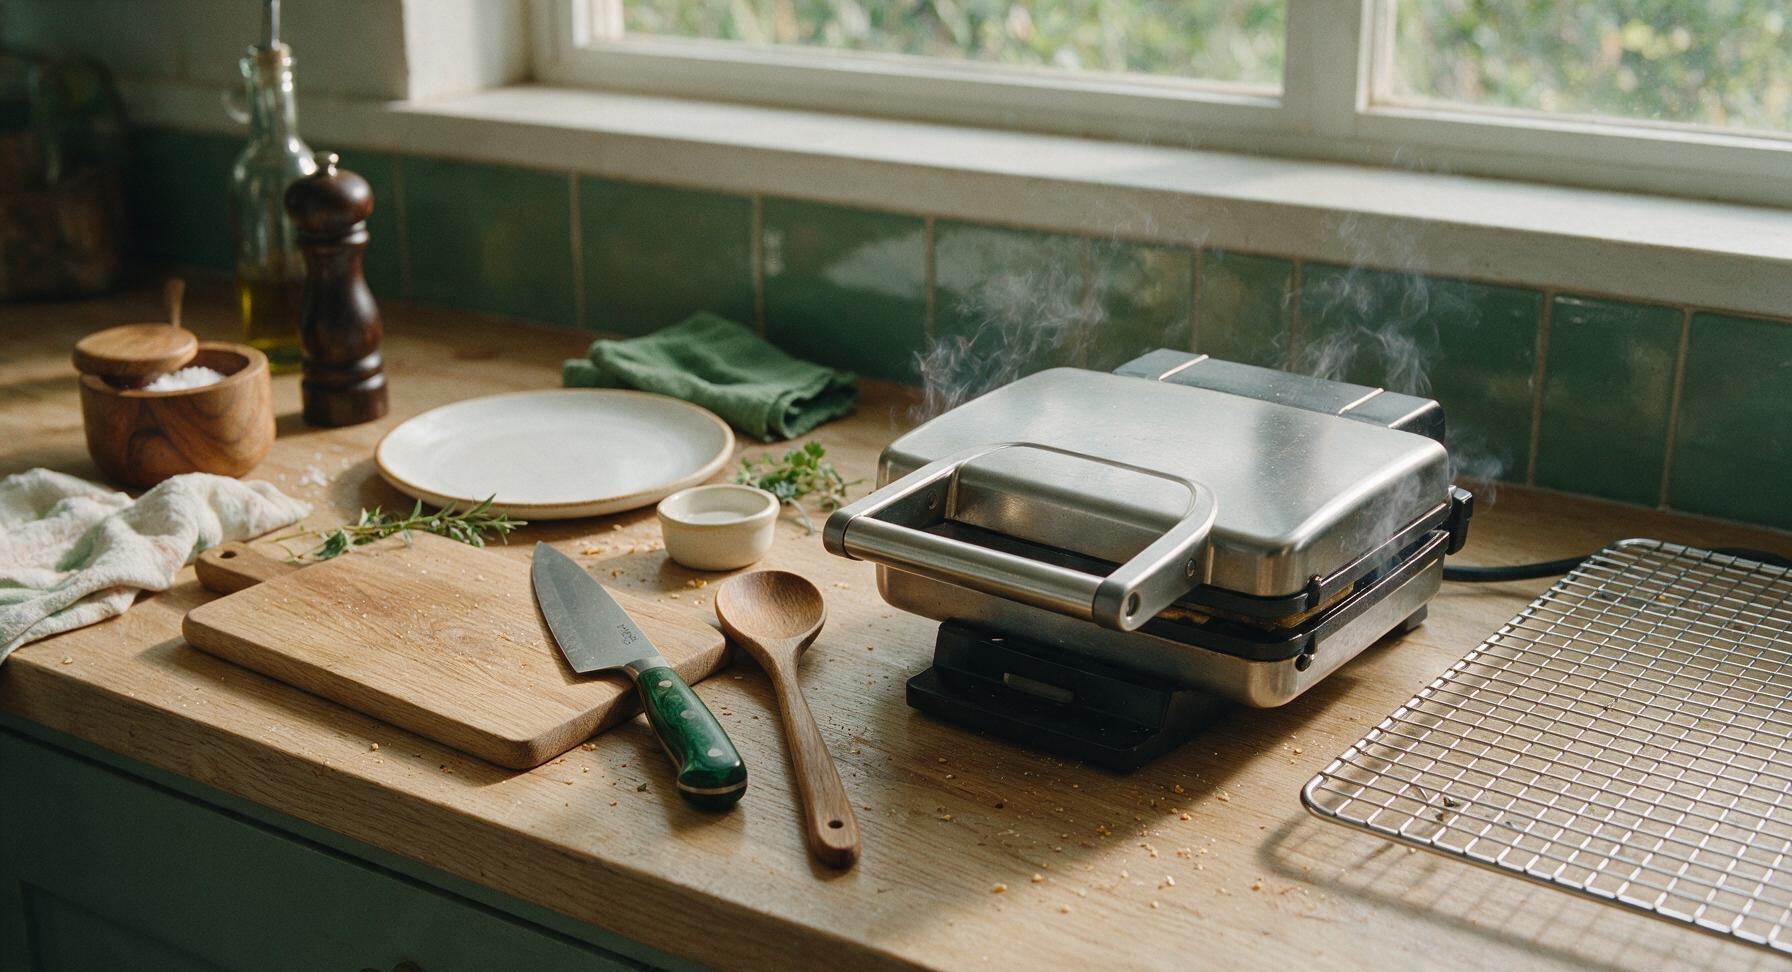
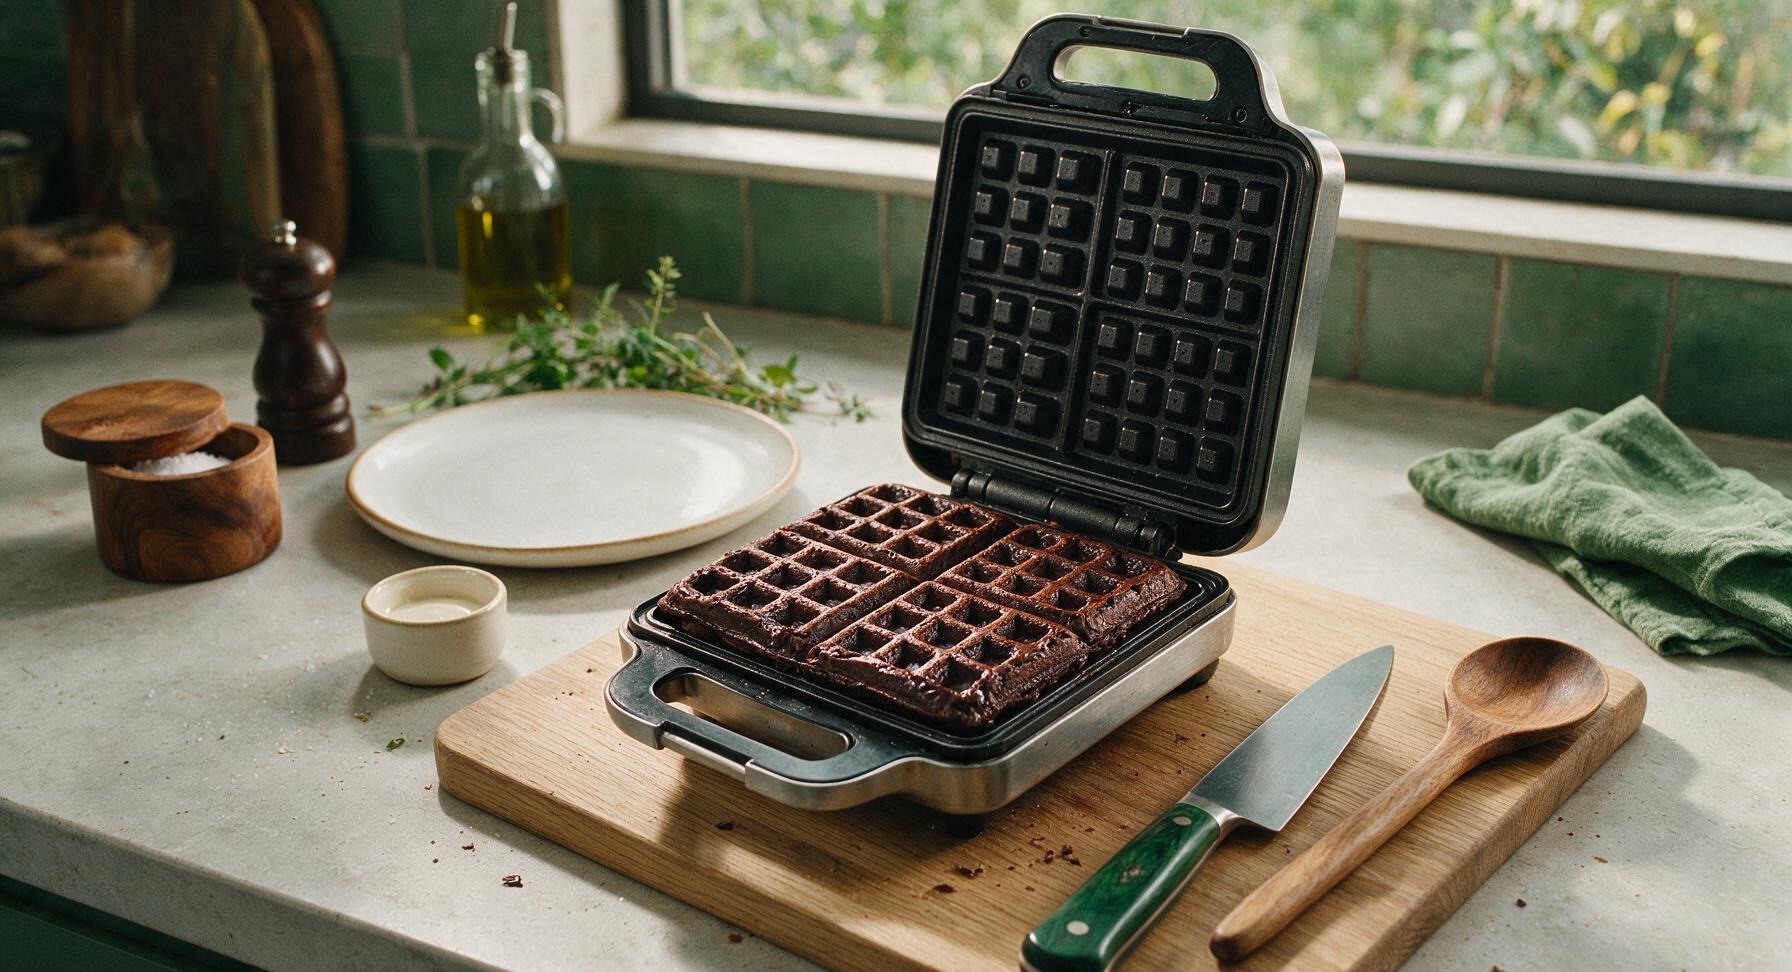
Close the waffle iron lid and cook for 3 to 4 minutes, resisting the urge to open the lid for the first 2 minutes (this causes waffles to split and stick). The waffle is fully cooked when thin streams of steam stop escaping from the edges of the iron, the edges are dark and crisp with slightly cracked brownie-like tops, and the center is set but still soft to the touch. Overcooking will result in dry, crunchy waffles instead of the desired fudgy center.
Step 5
step5:Cook Waffles Until Set
Step 5
step5:Cook Waffles Until Set
6

Rest Waffles on Rack

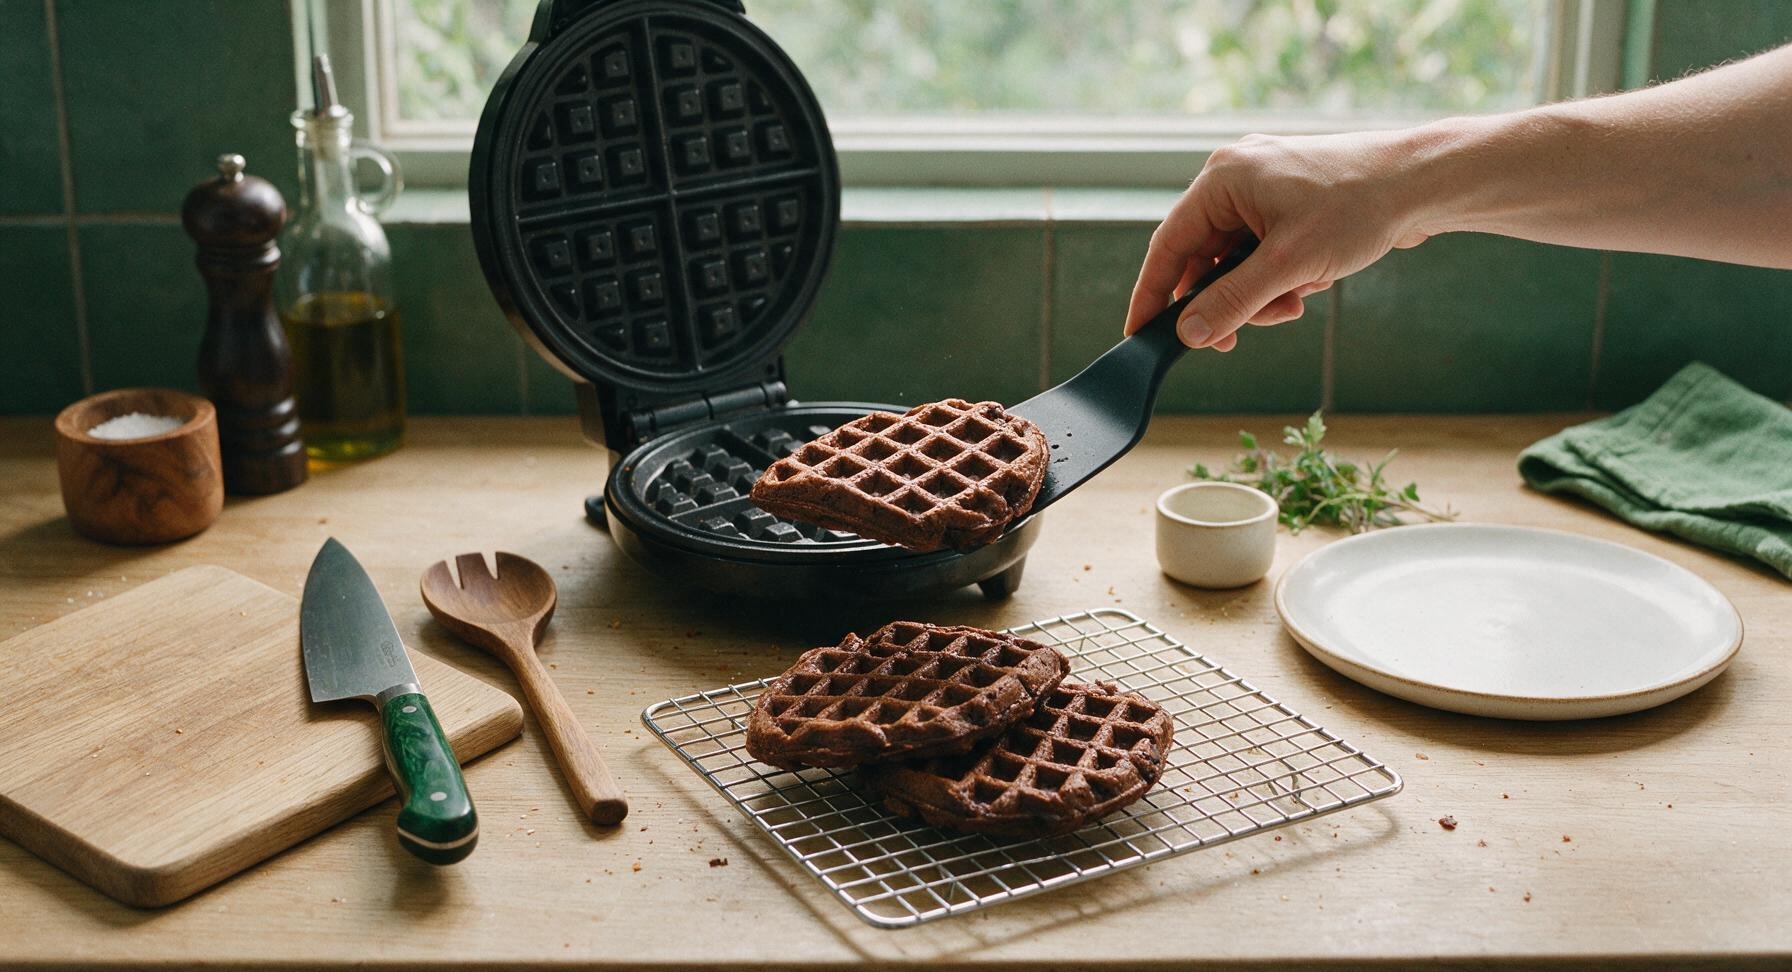
Use the flexible black silicone spatula to gently lift the cooked waffle from the iron, taking care not to scratch the non-stick surface, and transfer it to the chrome wire cooling rack. Repeat the greasing, pouring, and cooking process with the remaining batter, placing cooked waffles in a loose stack on the rack as you work. Do not place hot waffles directly on a solid plate while cooking the batch, as trapped steam will turn crisp edges soggy.
Step 6
step6:Rest Waffles on Rack
7

Plate and Garnish Waffles

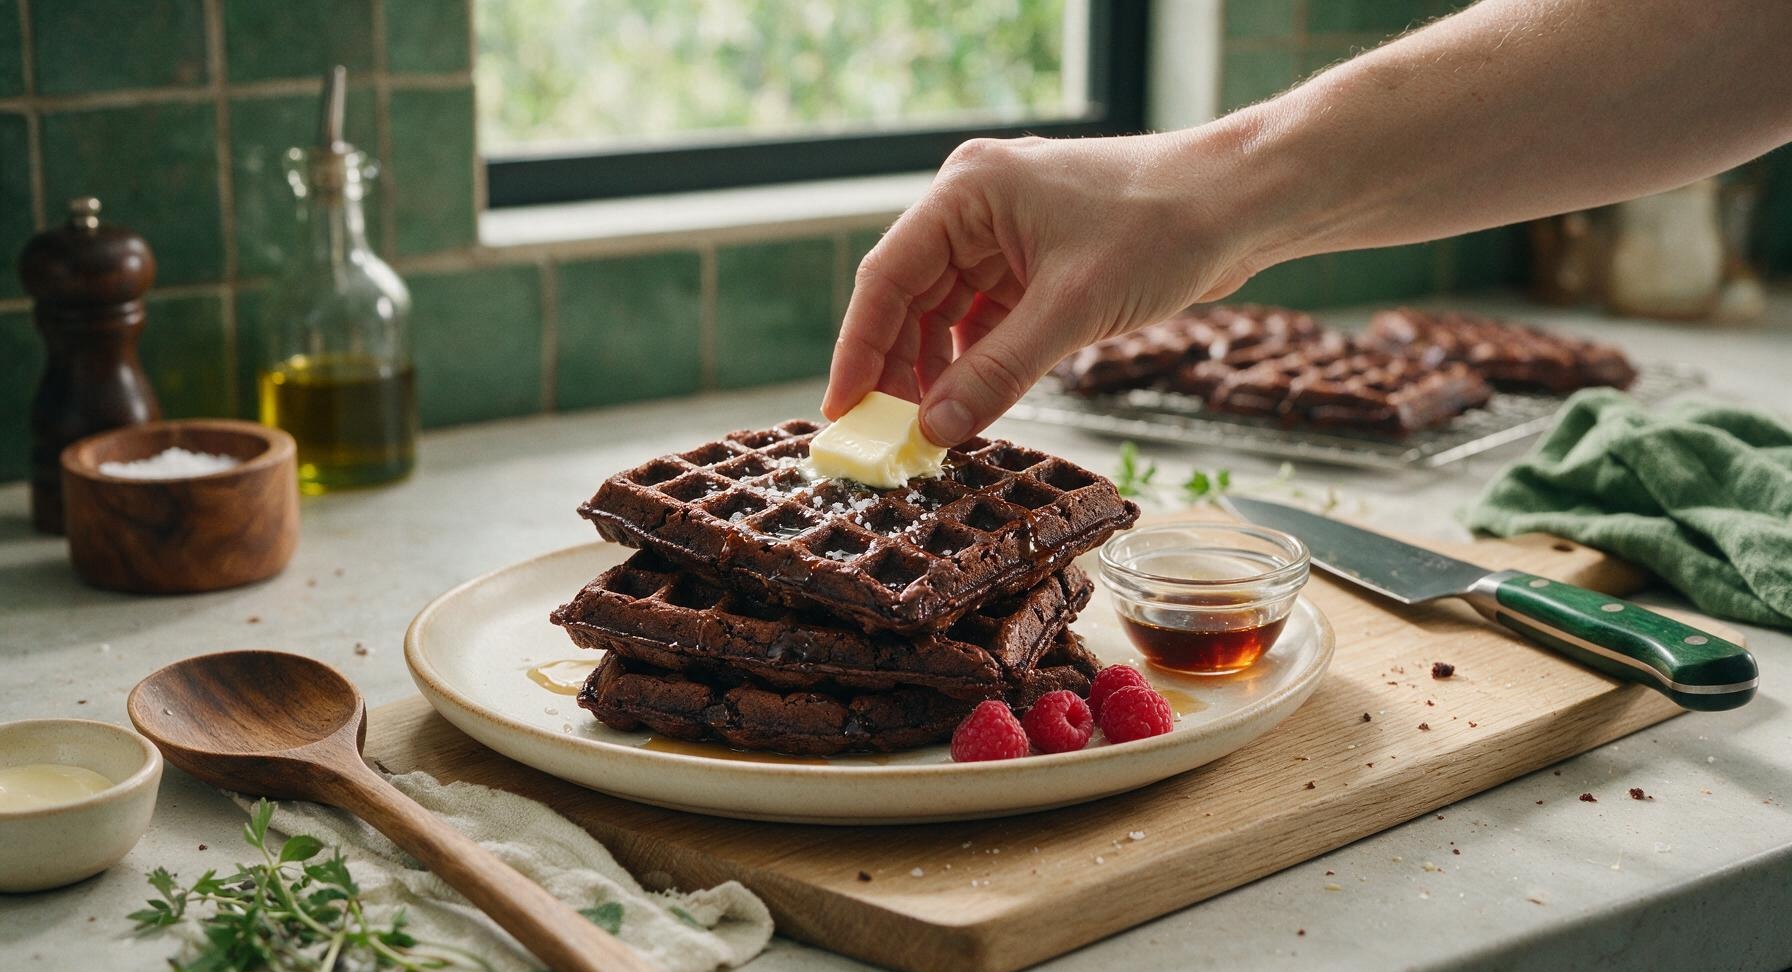
Once all waffles are cooked, transfer three waffles to the matte cream ceramic dinner plate, stacking them slightly offset to showcase the crisp, cracked edges. Top the stack with a 1-tablespoon pat of salted butter, allowing it to melt slightly from the residual heat, then drizzle with 2 tablespoons of warm maple syrup. Sprinkle a pinch of flaky sea salt across the top waffle, and arrange 3 to 4 fresh raspberries on the plate rim for a bright, tart contrast. Pour the remaining maple syrup into the small clear glass ramekin to serve on the side.
Step 7
step7:Plate and Garnish Waffles

Tips

1.Replace the water called for on your brownie mix box with whole milk: the extra milk fat creates a richer, fudgier crumb and prevents waffles from turning dry and crumbly as they cool.
2.Resist the urge to open the waffle iron early: opening the lid before the first 2 minutes of cook time will cause the partially set waffle to split and stick to the plates, ruining the crisp edge.
3.Rest cooked waffles on a wire rack instead of a plate: hot waffles release steam that gets trapped under them on a solid plate, turning perfectly crisp edges soft and soggy in under a minute.


✨ You May Also Like

Breakfast
🍜 United States

Crisp-edged, fluffy lard griddle cakes are a nostalgic homestyle staple, with rich savoriness from rendered lard, perfect topped with maple syrup or savory gravy.

⏱️ 25 minuteBreakfast ★ 4.8
Breakfast
🍜 United States

Flaky, buttery homemade buttermilk biscuits smothered in creamy, peppery pork sausage gravy: a beloved, hearty Southern American comfort food classic.

⏱️ 35 minuteBreakfast ★ 4.8
Breakfast
🍜 United States

Golden, custardy brioche stuffed with sweet cream cheese and fresh berries, pan-fried to crisp perfection. An indulgent, cozy breakfast perfect for slow weekend mornings.

⏱️ 30 minuteBreakfast ★ 4.7
Breakfast
🍜 United States

Flaky, buttery Southern-style biscuits stuffed with savory salty country ham, a portable, satisfying classic perfect for casual on-the-go meals.

⏱️ 25 minuteBreakfast ★ 4.8
Breakfast
🍜 United States

Iconic puffy baked pancake popularized in Seattle, with crisp golden edges and soft custardy center, served warm with classic sweet toppings.

⏱️ 35 minuteBreakfast ★ 4.6
Breakfast
🍜 United States

Fluffy, golden pancakes studded with juicy peak-summer mixed berries, drizzled with maple syrup for a bright, comforting, crowd-pleasing family breakfast.

⏱️ 25 minuteBreakfast ★ 4.7

brownie mix waffles:Frequently Asked Questions

1.Do I need a special waffle iron to make these brownie mix waffles? ▾
Nope, any standard home waffle iron works, whether it’s a classic Belgian or thin American-style model. Just preheat it fully, give the grids a light spray of nonstick cooking spray, and follow your iron’s cook time guide—usually 3 to 4 minutes for that crisp edge and cracked, brownie-like top.
2.Why do my brownie waffles come out cakey instead of fudgy and gooey? ▾
The most common culprit is overmixing the batter, using a cake-style brownie mix instead of fudge, or overcooking. For that perfect soft, gooey center, mix batter just until no dry streaks remain (small lumps are totally fine!), stick to the measured liquid amounts, and pull waffles as soon as edges are crisp and set.
3.Can I swap the vegetable oil for a different fat in this recipe? ▾
You sure can! Melted unsalted butter is a fantastic 1:1 swap that adds a richer, nuttier depth to the chocolate flavor. Skip strongly flavored oils like extra virgin olive or toasted sesame, though—those will overpower the deep, sweet fudge taste of the brownie base and throw off the classic flavor.
4.How do I get that signature cracked brownie top on these waffles? ▾
That iconic cracked top comes from two key steps: first, make sure your waffle iron is fully preheated before pouring batter, and second, don’t overthin the batter with extra milk. The quick burst of high heat sets the top fast as the center rises and settles, creating those perfect crinkly, cracked fissures just like a pan of baked brownies.
5.Can I make these waffles without eggs for a dietary swap? ▾
For egg-free versions, swap each large egg for ¼ cup unsweetened plain applesauce, or a commercial powdered egg replacer mixed per package directions. Note the texture will be slightly less chewy and gooey than the standard egg-based version, but you’ll still get a rich, chocolatey waffle with satisfyingly crisp edges.
6.How long do these take to make, start to finish? ▾
These are perfect for quick breakfasts or late-night chocolate cravings, clocking in at just 15 minutes total from pantry to plate! Preheating your waffle iron takes roughly 5 minutes, stirring together the brownie mix, eggs, oil, milk, and vanilla takes 3 minutes max, and each waffle cooks in 3 to 4 minutes, so you can serve a small group fast.
7.What toppings go best with these fudgy brownie waffles? ▾
The options are endless! For dessert-style servings, top with a scoop of vanilla ice cream, a drizzle of hot fudge or salted caramel, or a dollop of whipped cream. For breakfast, try fresh berries, a light dusting of powdered sugar, a spread of peanut butter, or a handful of mini chocolate chips folded into the batter.
8.Can I store leftover brownie waffles for later? ▾
Absolutely! Let leftover waffles cool fully to room temperature, then stack them between sheets of parchment paper in an airtight container. They keep for 3 days in the fridge, or up to 3 months in the freezer. Reheat in a toaster or toaster oven to crisp edges back up—skip the microwave, which turns the fudgy center rubbery and soggy.
9.How much batter should I pour per waffle to avoid messy overflow? ▾
A good rule of thumb is to pour just enough batter to cover two-thirds of the preheated waffle iron grid—usually ⅓ to ½ cup for standard thin waffle makers, or ¾ cup for large Belgian models. The batter spreads and rises as it cooks, so overpouring is the number one cause of messy, burnt batter overflow.
10.Do I have to use whole milk, or can I use a different milk variety? ▾
You don’t have to stick to whole milk! 2%, skim, oat, soy, or unsweetened almond milk all work as a 1:1 swap. Just note that lower-fat dairy or plant-based milks will make the center slightly less rich and creamy than whole milk, but you’ll still get that signature fudgy texture and crisp, chocolatey edge on every waffle.
11.Why are my brownie waffles sticking to the waffle iron? ▾
Sticking almost always traces back to one of three issues: your iron isn’t fully preheated, you skipped greasing the grids, or you’re prying waffles out too early. Even nonstick irons need a light spritz of nonstick cooking spray for these sugary, fudgy waffles, and waiting until edges are fully set makes lifting them out totally mess-free.

Comments (8)

2 days ago

OMG these are a total game changer!!! I had a box of fudgy brownie mix sitting in my pantry I forgot about and threw this together for my kids’ after school snack yesterday. Cooked in 10 minutes exactly like the recipe says, so fudgy on the inside and crispy on the waffle edges. My kids are already begging me to make them again for Saturday breakfast, topped with vanilla ice cream obviously 😂

yesterday

Wait do you use the regular waffle iron setting? I burned my first batch last night because I thought it needed longer like regular waffles 😅

yesterday

So glad your kids loved them! We recommend using the medium heat setting on your waffle iron and pulling them as soon as the indicator light goes off — since brownie batter has more sugar than regular waffle batter, it burns much faster!

1 week ago

Brought these to our neighborhood block party potluck last weekend and they were gone in 10 minutes flat! I set out a little topping bar with caramel drizzle, sprinkles, whipped cream, and chopped peanuts so people could customize. People kept asking me for the recipe, I can’t believe how easy it is — literally just brownie mix, no fancy ingredients! SO good.

5 days ago

Love the topping bar idea! That’s such a fun touch for gatherings — we’re definitely stealing that for our next brunch. So happy they were a hit at the potluck!

3 days ago

Perfect for my dorm meal prep lmao. I don’t have a fancy kitchen, just a tiny waffle maker I got from the campus bookstore, and a box of cheap brownie mix. These come together so quick, I make a batch on Sunday and grab one on my way to 8am lectures all week. Way better than the dining hall pastries.

5 days ago

Wait has anyone tried this with gluten free fudgy brownie mix? I have a celiac kiddo and I’m dying to make these for his birthday breakfast, but I don’t want them to turn out dry or weird. Any tips would be appreciated!

3 days ago

I made these last week with GF brownie mix! Added an extra tablespoon of vegetable oil to the batter to keep it fudgy, turned out perfect, none of my kids even noticed it was GF!

2 days ago

Great tip from DenverMomof3! Gluten free brownie mix works beautifully here — the extra splash of oil prevents that crumbly dry texture you sometimes get with GF baked goods. Hope your kiddo loves his birthday breakfast!

30 minutes ago

Made these at 2am after coming home from the bar last night and I swear they’re the best thing I’ve ever cooked in my life. Topped em with Nutella and leftover Halloween candy, no regrets. 10/10, no notes.

5 minutes ago

LMAO this is exactly why I need to make these this weekend. Late night snack game just got a major upgrade

yesterday

These are my new go-to brunch staple! I’ve made them three times in the last two weeks for different friend groups, and everyone is obsessed. I love that they’re so low effort I don’t have to wake up super early to prep, but they taste like I spent hours in the kitchen. Only note: don’t overfill the waffle iron, I learned that the hard way when batter oozed all over my counter the first time lmao.

2 hours ago

So happy these are making brunch easier for you! Great note about not overfilling — brownie batter rises a little as it cooks, so filling each waffle grid about ⅔ full is perfect to avoid messy overflow!

2 weeks ago

Wait, do these actually come out fudgy? I tried a different brownie waffle recipe a few months ago and they were super cakey, almost like regular chocolate waffles, not the dense fudgy texture I wanted. I need that real brownie chew, not cake!

1 week ago

They’re SO fudgy! Just make sure you don’t overcook them — I take mine out right when the waffle iron stops steaming, even if it feels a little soft, it firms up as it cools for a minute. Way better than that other recipe I tried too that was cakey as hell.

1 week ago

Sara is exactly right! Overcooking is the #1 reason these turn out cakey instead of fudgy. We also recommend using a fudgy (not cake-style) brownie mix as the base for that dense, chewy brownie texture you’re looking for!

just now

I swapped the eggs for flax eggs and used a dairy free fudgy brownie mix for my vegan roommate and I, and these turned out INSANE. Topped with dairy free whipped cream and fresh raspberries, we ate the whole batch in one sitting. So easy, will be making these every Friday night from now on.



