
brunch waffles

title 1
brunch waffles
⏱️ cook time 20 minutes
🍽️ servings 4
⚡ Difficulty easy

intro

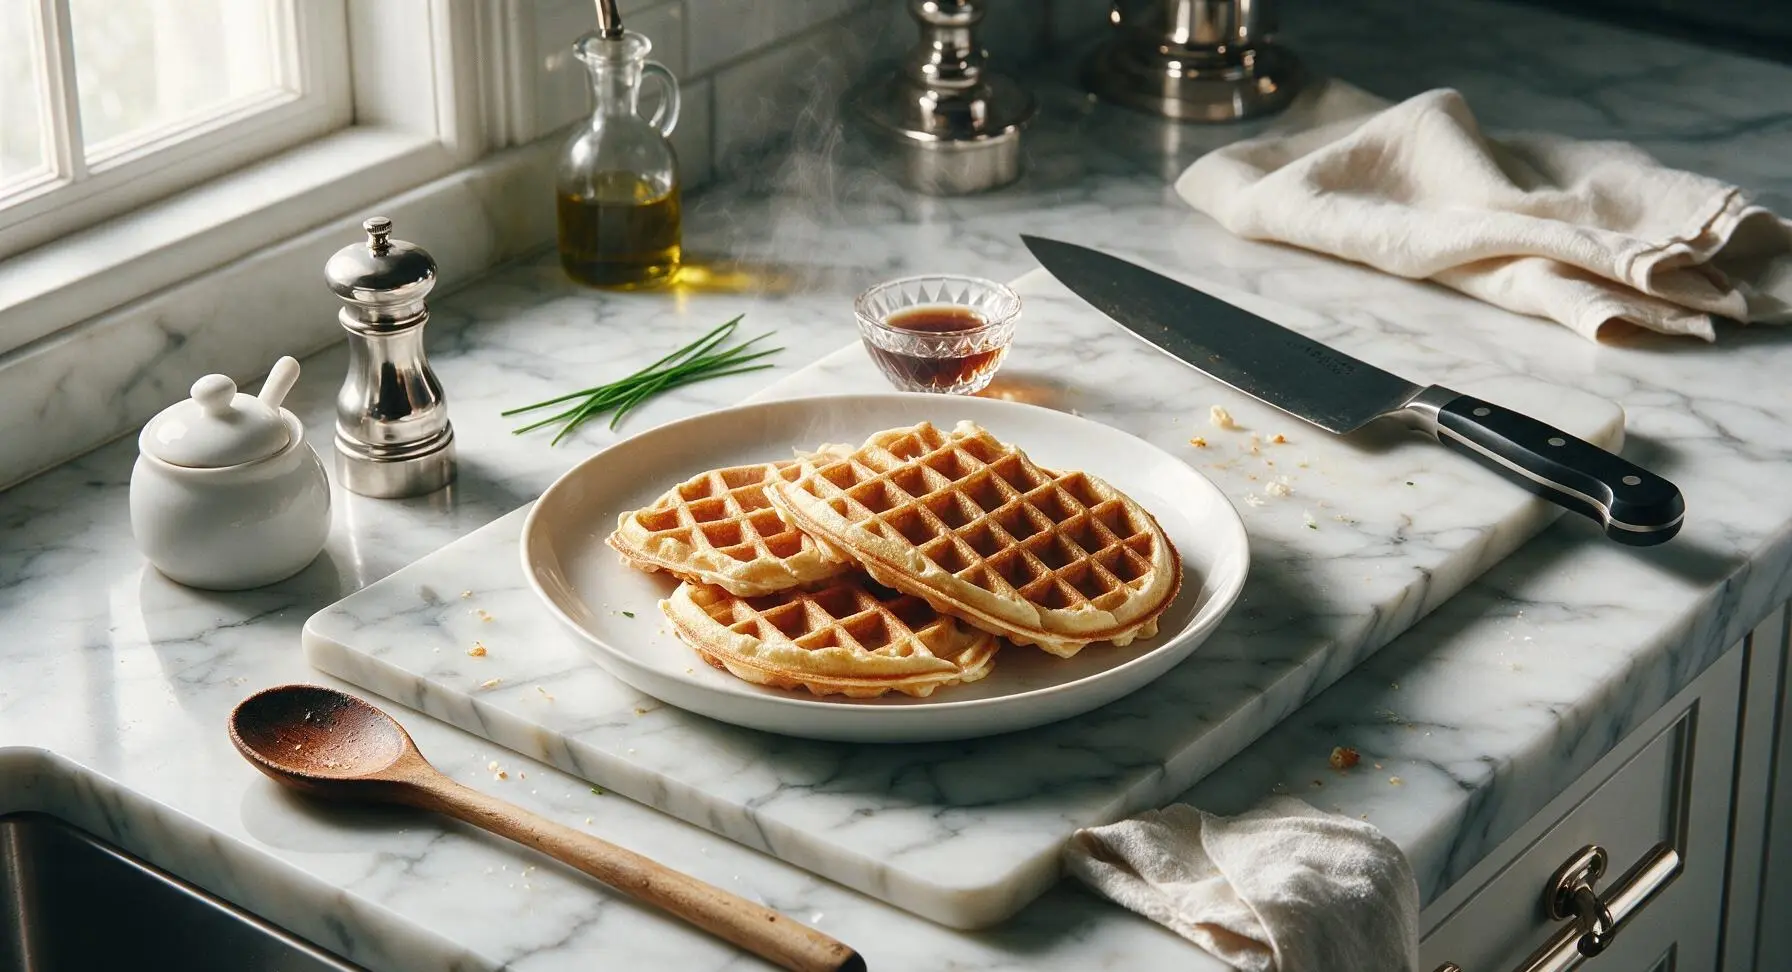
Crisp golden edges, light fluffy tender centers, these classic buttermilk brunch waffles are the perfect centerpiece for a slow, cozy weekend family spread.

Ingredients
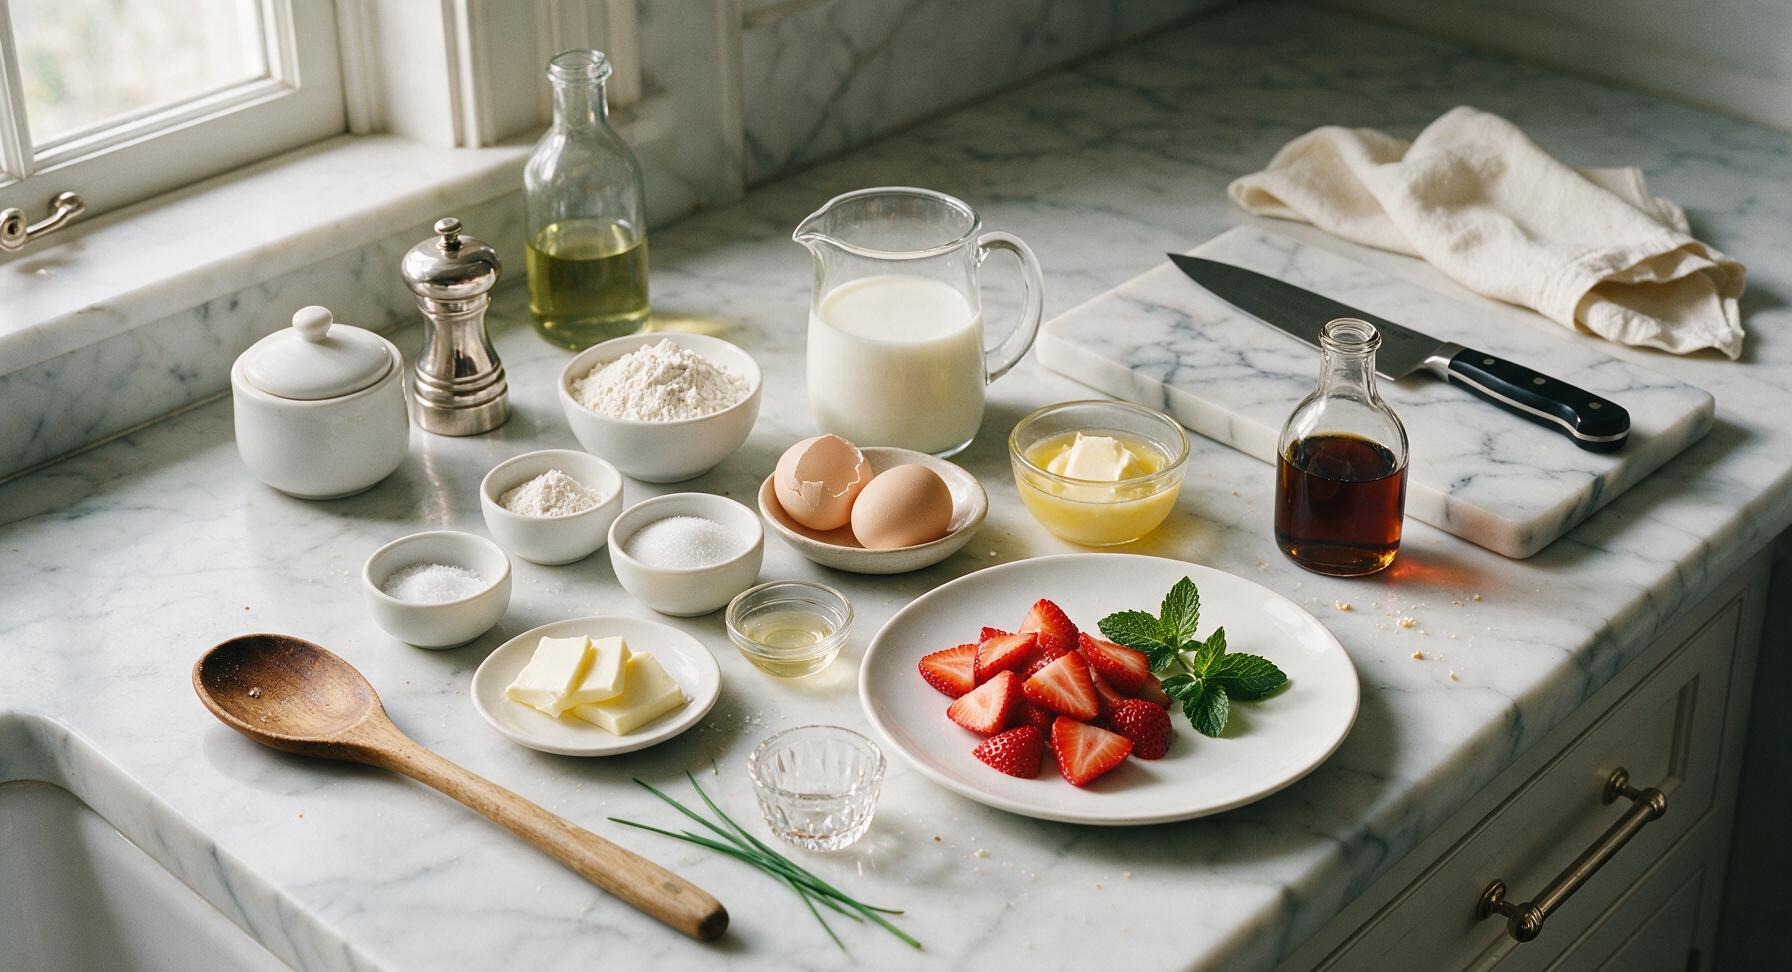
All-purpose flour 2 cups (240g)
Baking powder 2 teaspoons
Baking soda 1/2 teaspoon
Fine sea salt 1/2 teaspoon
Granulated sugar 2 tablespoons
Whole buttermilk 2 cups (480ml)
Large eggs 2, separated
Unsalted butter (for batter) 6 tablespoons (85g), melted and cooled
Pure vanilla extract 1 teaspoon
Unsalted butter (for serving) 4 thin pats (20g total)
Pure maple syrup (for serving) 1/2 cup (120ml)
Fresh strawberries 1 cup (150g), sliced
Fresh mint sprigs 4, for garnish

Steps

1

Preheat Waffle Iron

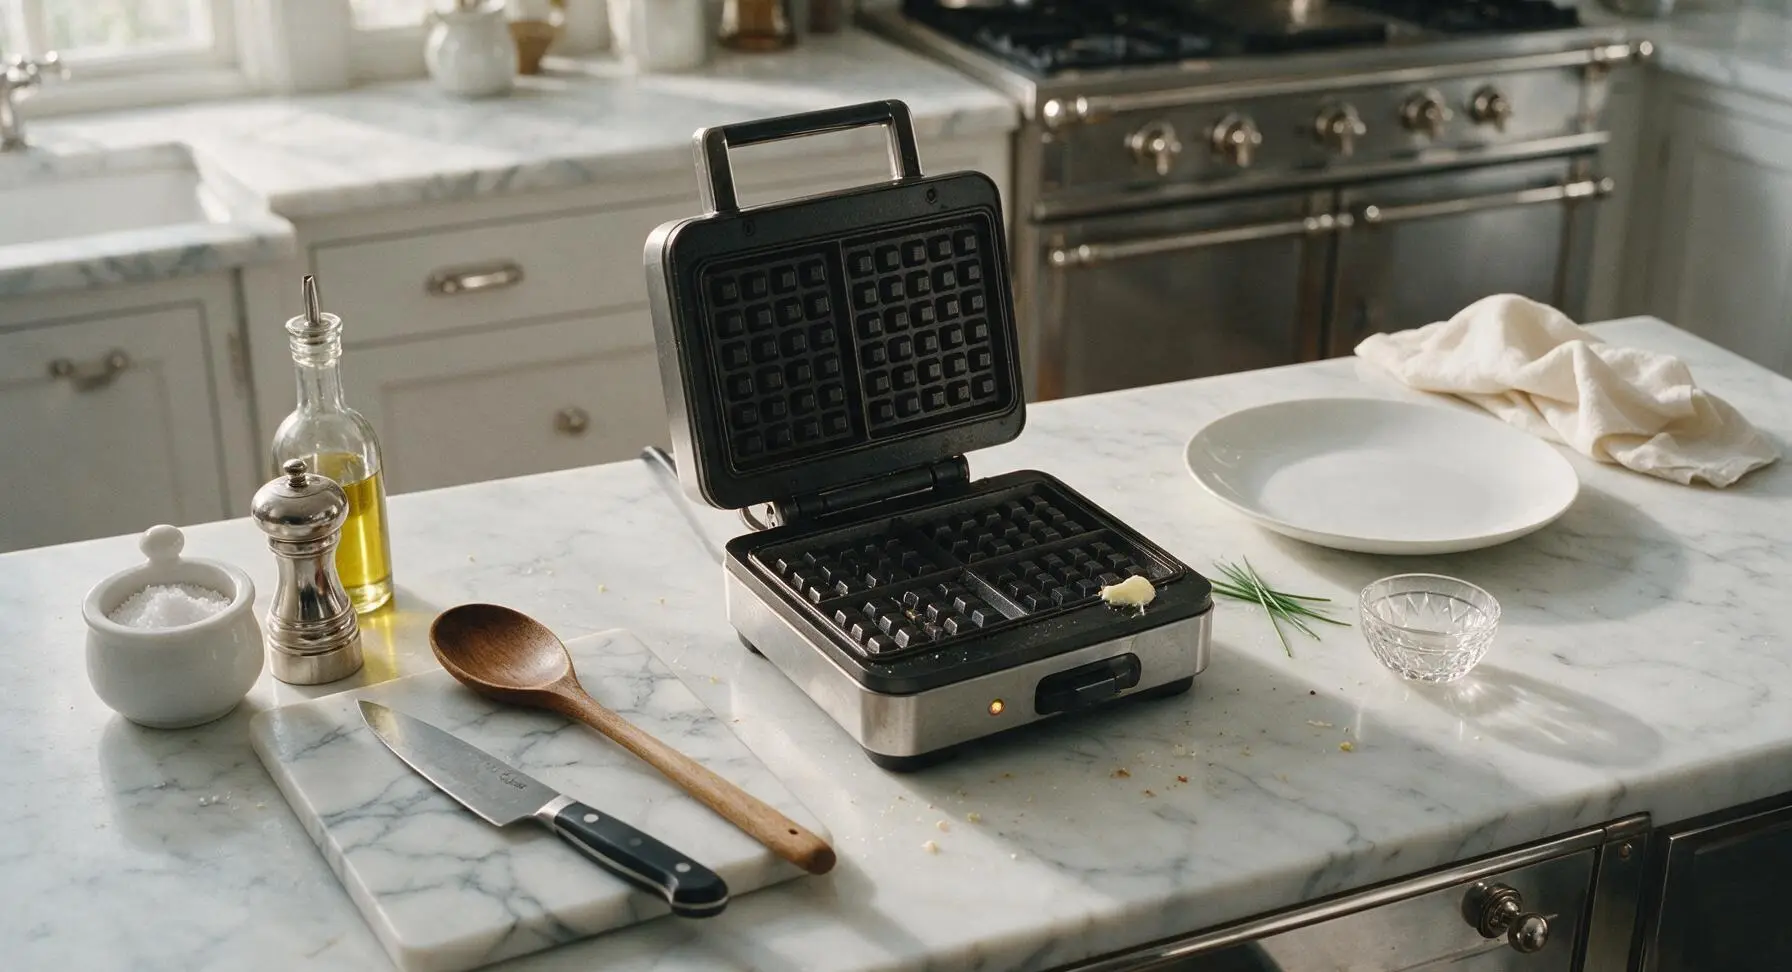
Plug in the stainless steel waffle iron and preheat to medium-high (375°F/190°C) while you prepare the batter. Lightly coat the preheated grids with a thin layer of melted butter to prevent sticking. The iron is ready when a drop of water sizzles and evaporates immediately on contact with the metal surface.
Step 1
step1:Preheat Waffle Iron
2

Whisk Dry Ingredients

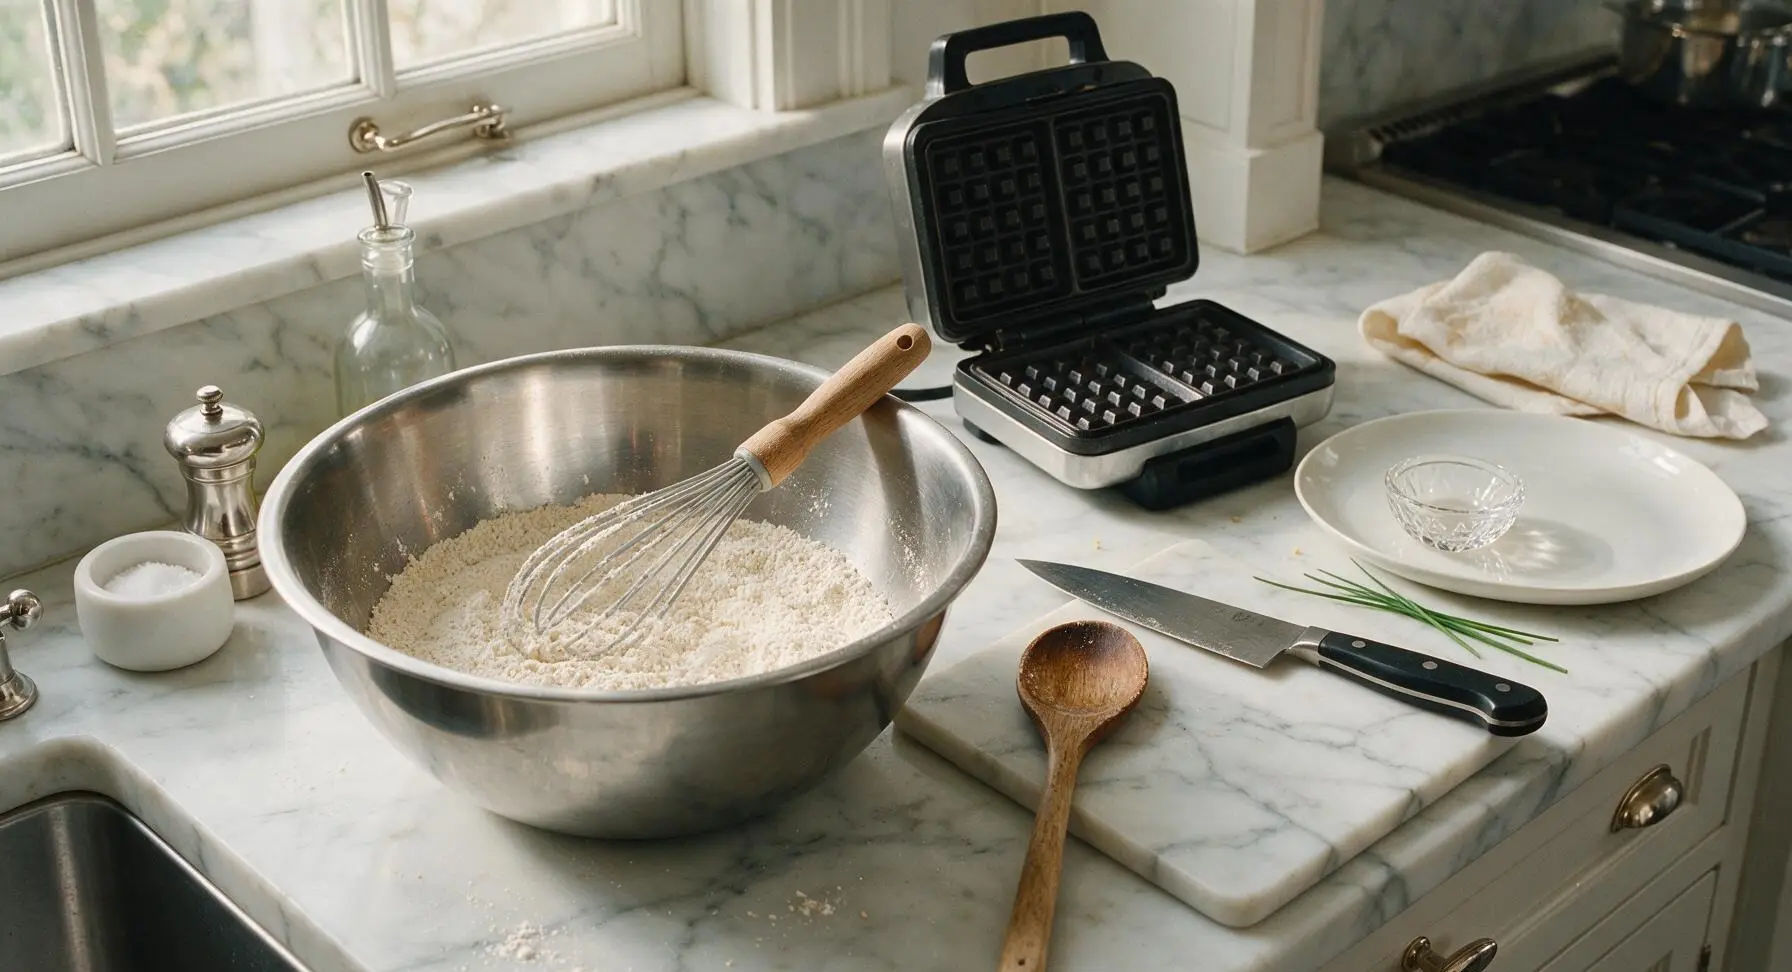
Place the large 24cm stainless steel mixing bowl in the left-center counter area. Add 2 cups all-purpose flour, 2 teaspoons baking powder, 1/2 teaspoon baking soda, 1/2 teaspoon fine sea salt, and 2 tablespoons granulated sugar to the bowl. Use the wood-handled silicone whisk from the utensil crock to stir the dry ingredients for 30 seconds until fully combined, with no visible clumps of leavening.
Step 2
step2:Whisk Dry Ingredients
3

Combine Wet Ingredients

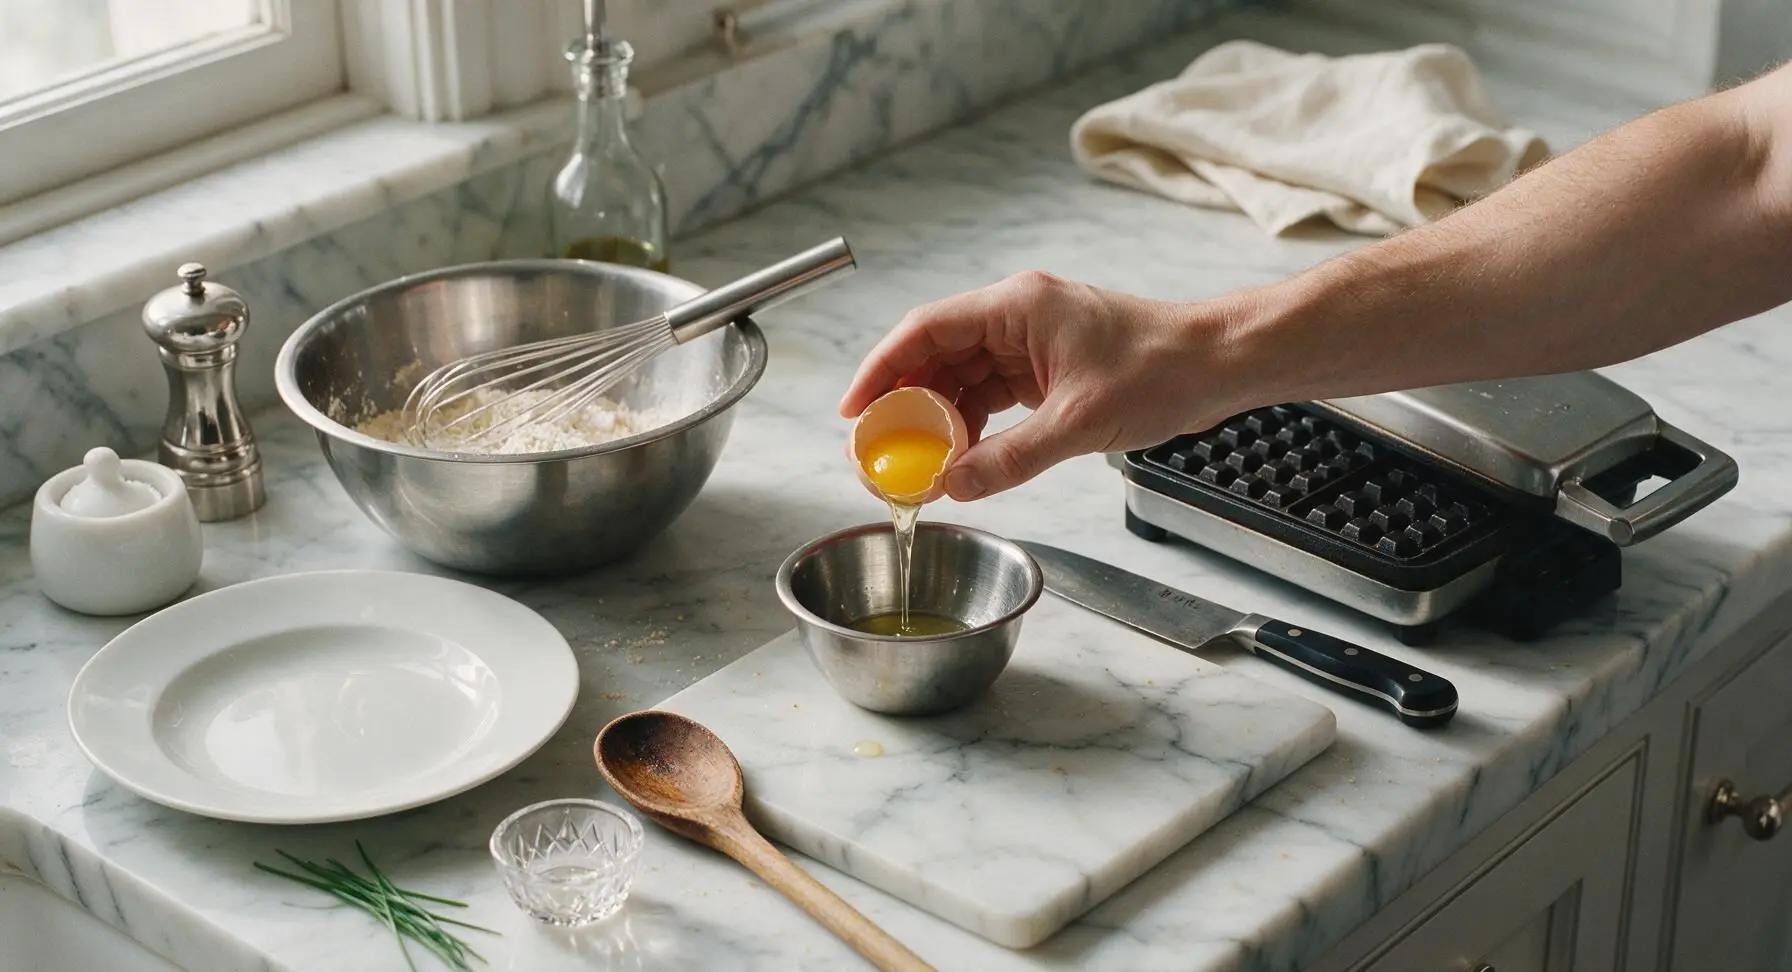
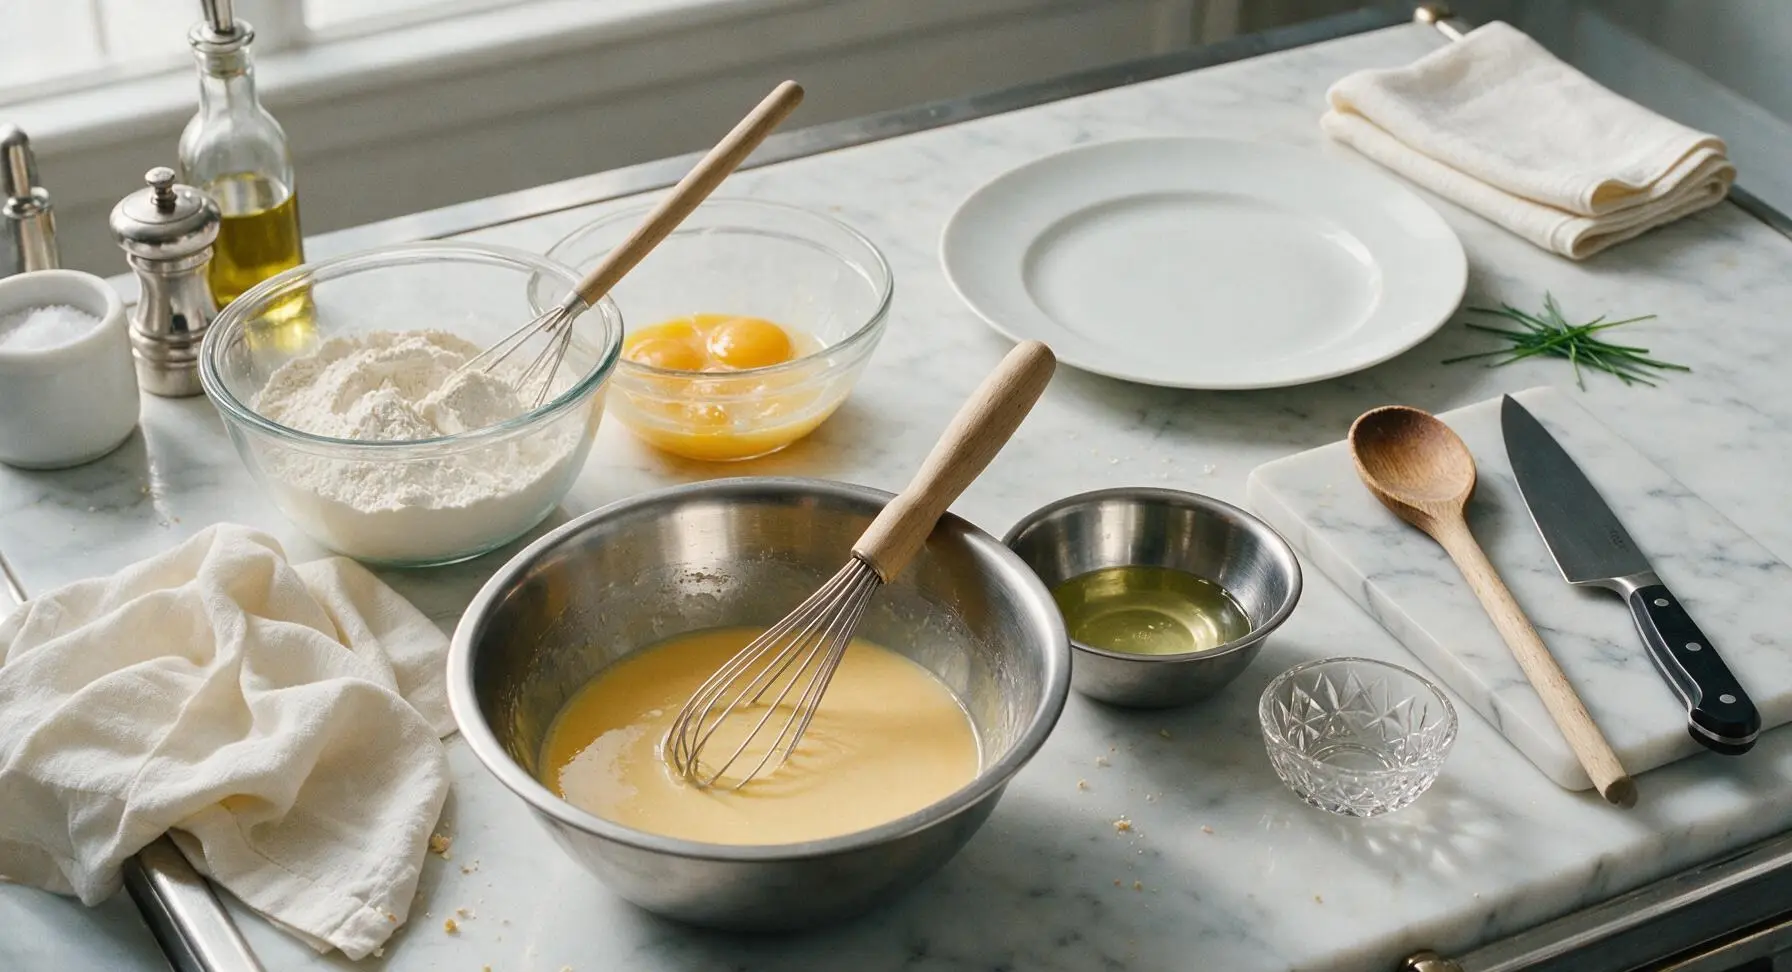
Place the medium 20cm stainless steel mixing bowl next to the dry ingredient bowl. Separate the 2 large eggs, adding yolks to the medium bowl and placing whites in the small 12cm stainless steel bowl. Add 2 cups whole buttermilk, 6 tablespoons cooled melted unsalted butter, and 1 teaspoon vanilla extract to the egg yolks. Whisk until completely smooth, with no streaks of yolk remaining.
Step 3
step3:Combine Wet Ingredients
Step 3
step3:Combine Wet Ingredients
4

Fold Light, Airy Batter

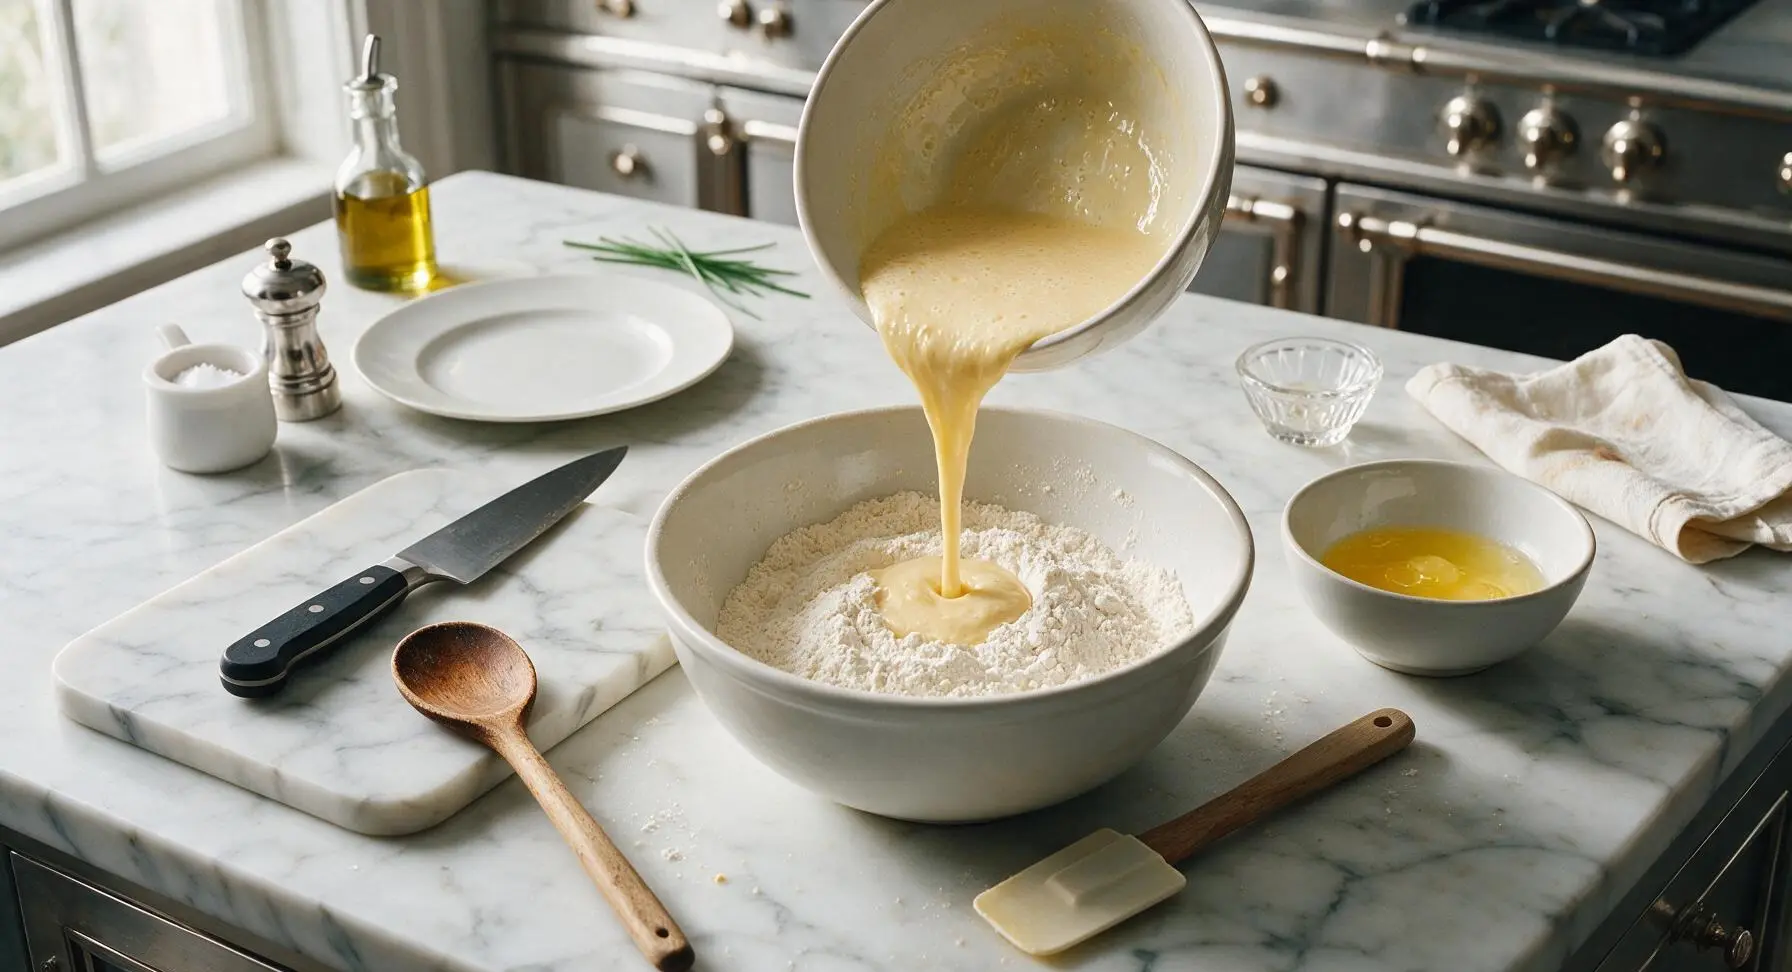
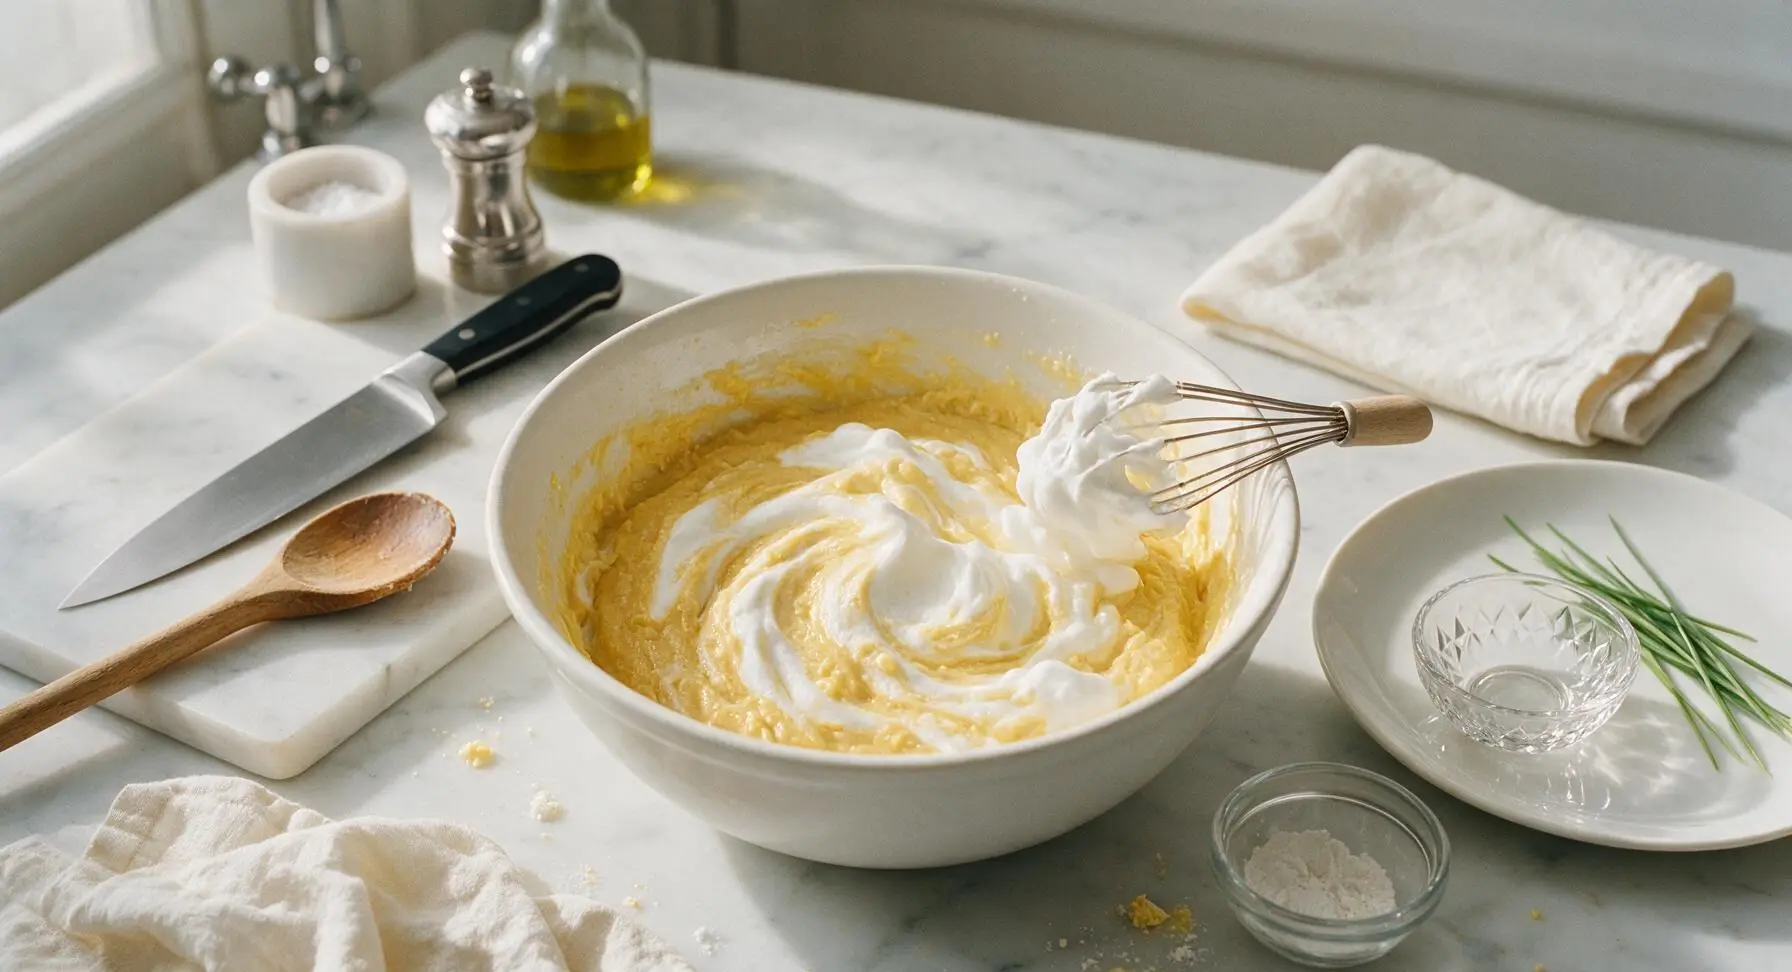
Pour the wet buttermilk mixture into the large bowl of dry ingredients. Use the wood-handled rubber spatula to gently fold the ingredients together, stopping as soon as no dry flour streaks remain; the batter will be thick and slightly lumpy. Whip the reserved egg whites with the clean whisk until they form soft, droopy peaks when lifted, then gently fold them into the batter until just incorporated, taking care not to deflate the whipped whites. Do not overmix, as this creates tough waffles.
Step 4
step4:Fold Light, Airy Batter
Step 4
step4:Fold Light, Airy Batter
5

Cook Waffles in Batches

Use the stainless steel 1/4-cup measuring scoop to pour 1/2 cup of batter (two scoops) onto the center of the preheated waffle iron grid. Close the lid and cook for 3 to 4 minutes, until the waffle is deep golden brown, crisp at the edges, and no steam escapes from the iron sides. Transfer cooked waffles to the chrome wire cooling rack set over a baking sheet, and keep warm in a 200°F (95°C) oven while cooking the remaining batter, making 8 total waffles. Do not stack hot waffles directly on top of each other, as trapped steam creates soggy texture.
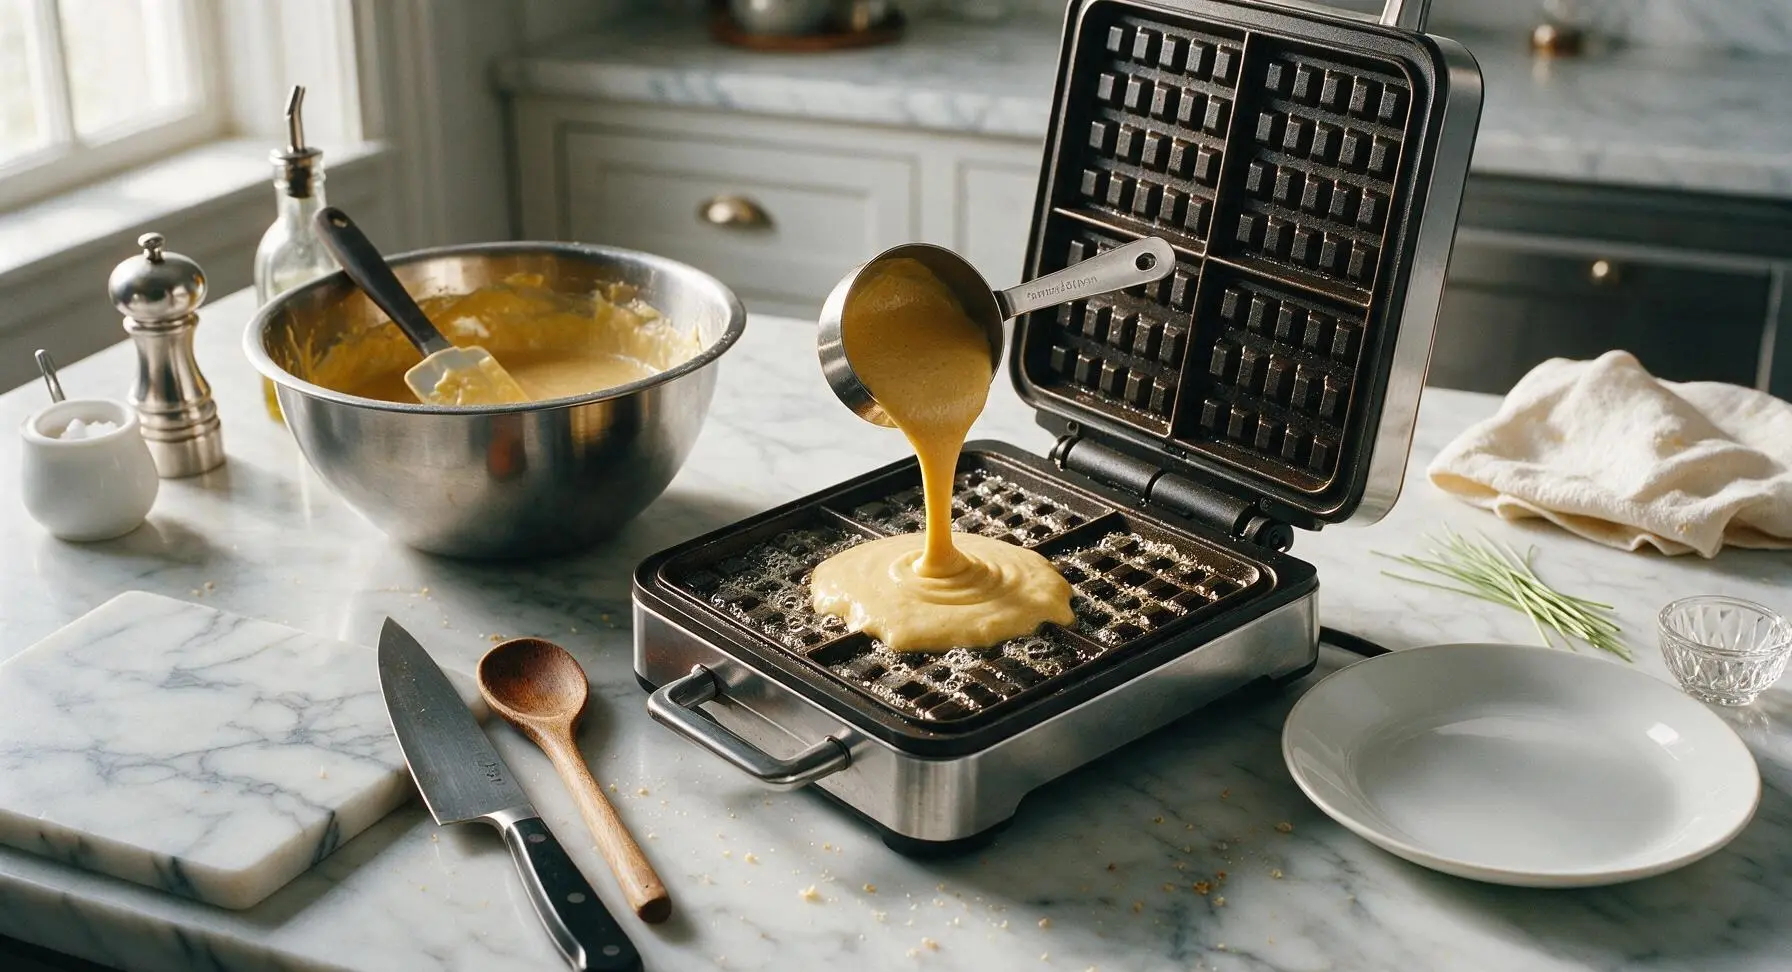
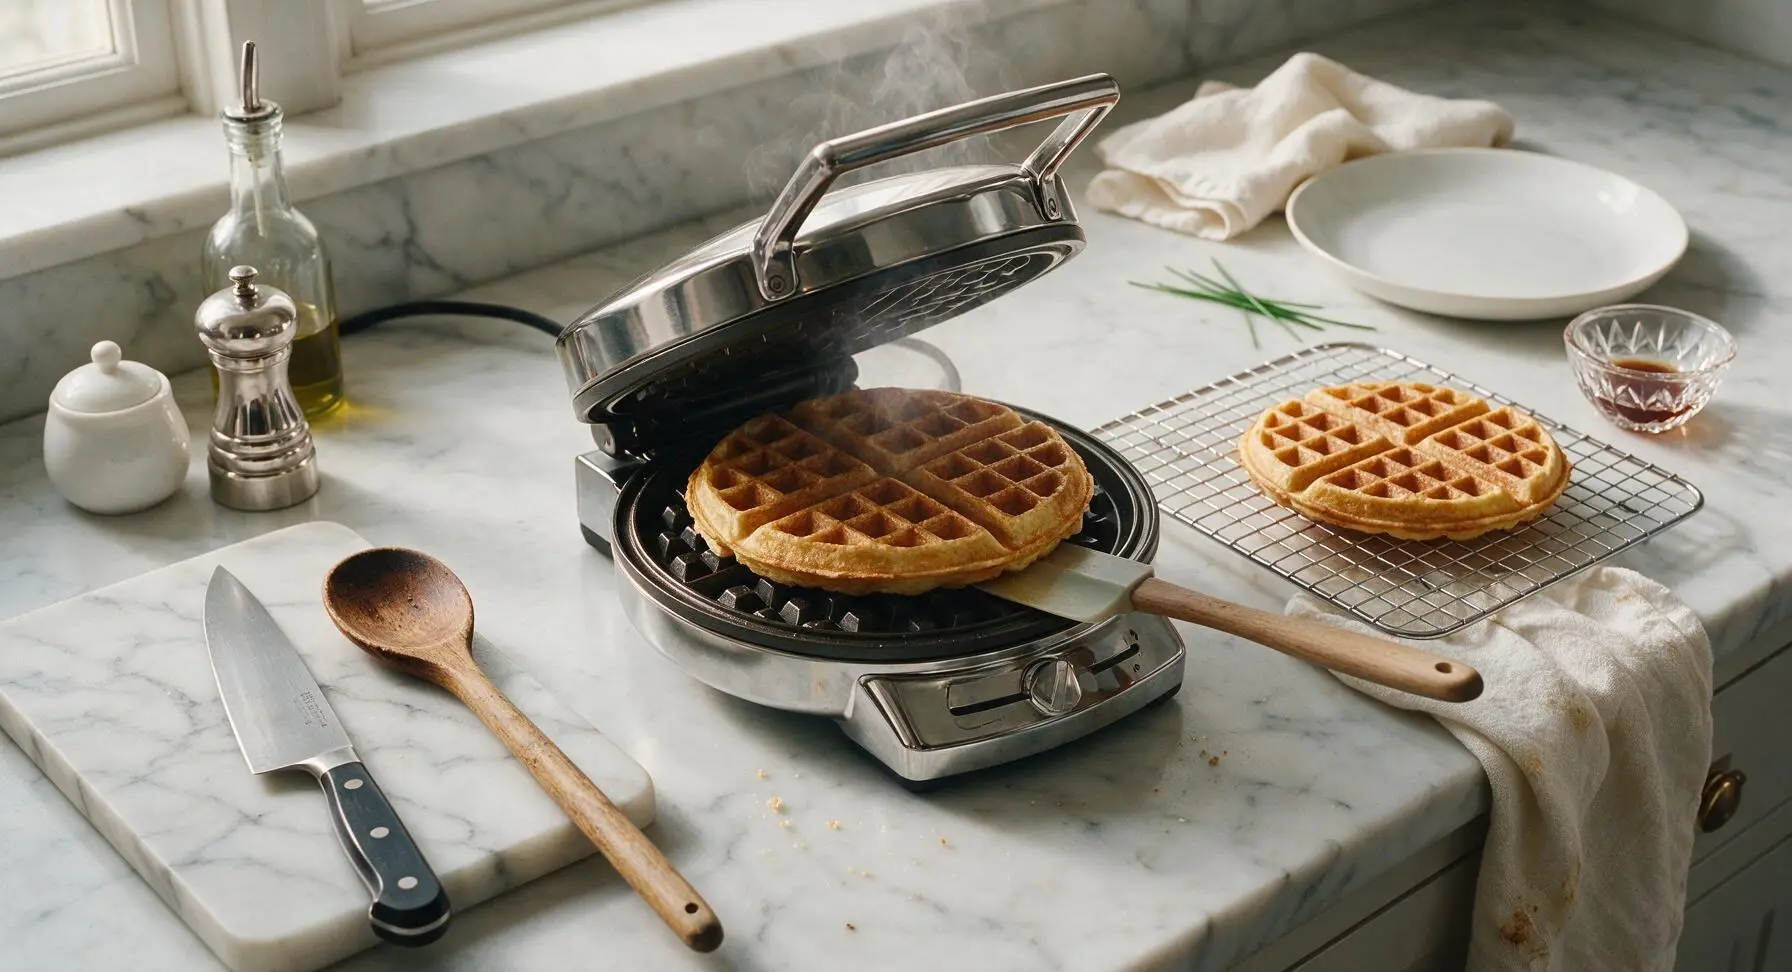
Step 5
step5:Cook Waffles in Batches
Step 5
step5:Cook Waffles in Batches
6

Prep Fresh Toppings

Place the beech wood cutting board in the left prep area. Rinse 1 cup fresh strawberries, pat dry with the corner of the linen towel, and slice into 1/4-inch thick slices using the paring knife from the utensil crock. Pick 4 small fresh mint sprigs for garnish, and slice the remaining serving butter into 4 thin pats.
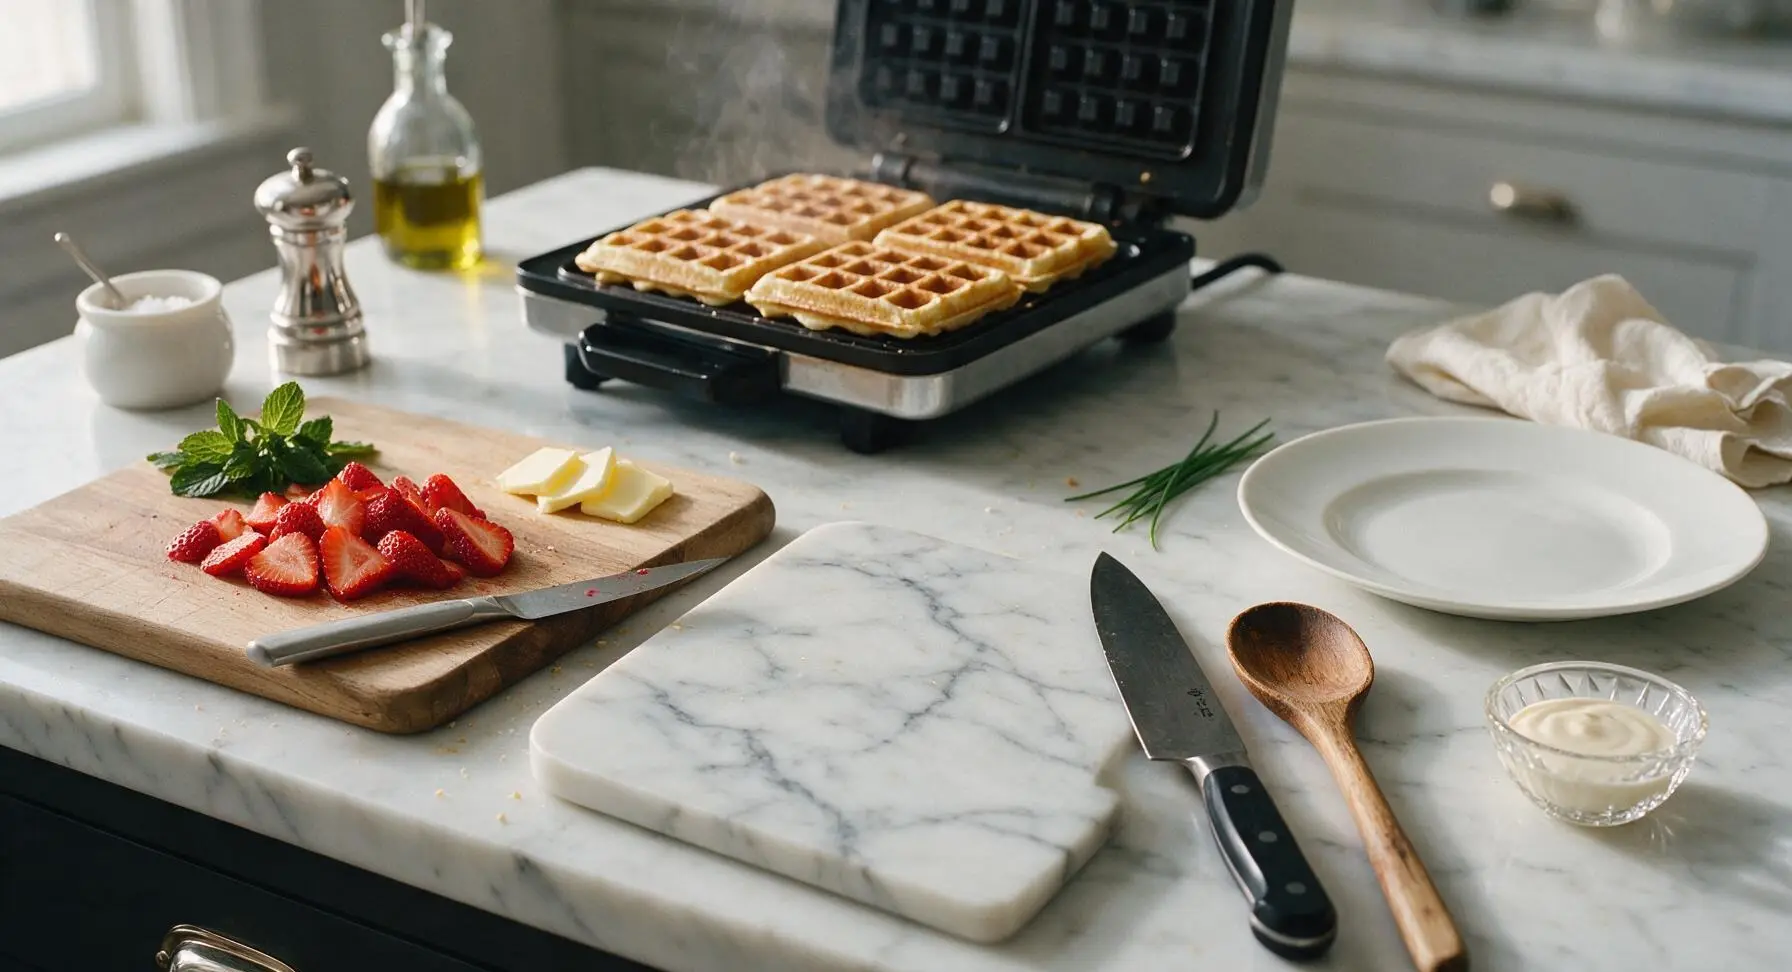
Step 6
step6:Prep Fresh Toppings
7

Plate and Serve Warm

Stack two warm waffles on a matte cream white dinner plate. Top the stack with one thin pat of butter, letting it melt slightly into the grid pockets. Drizzle 2 tablespoons of maple syrup over the top, letting it run down the waffle sides. Arrange a small handful of sliced strawberries and a mint sprig next to the stack, then serve immediately while the waffles are crisp and warm.
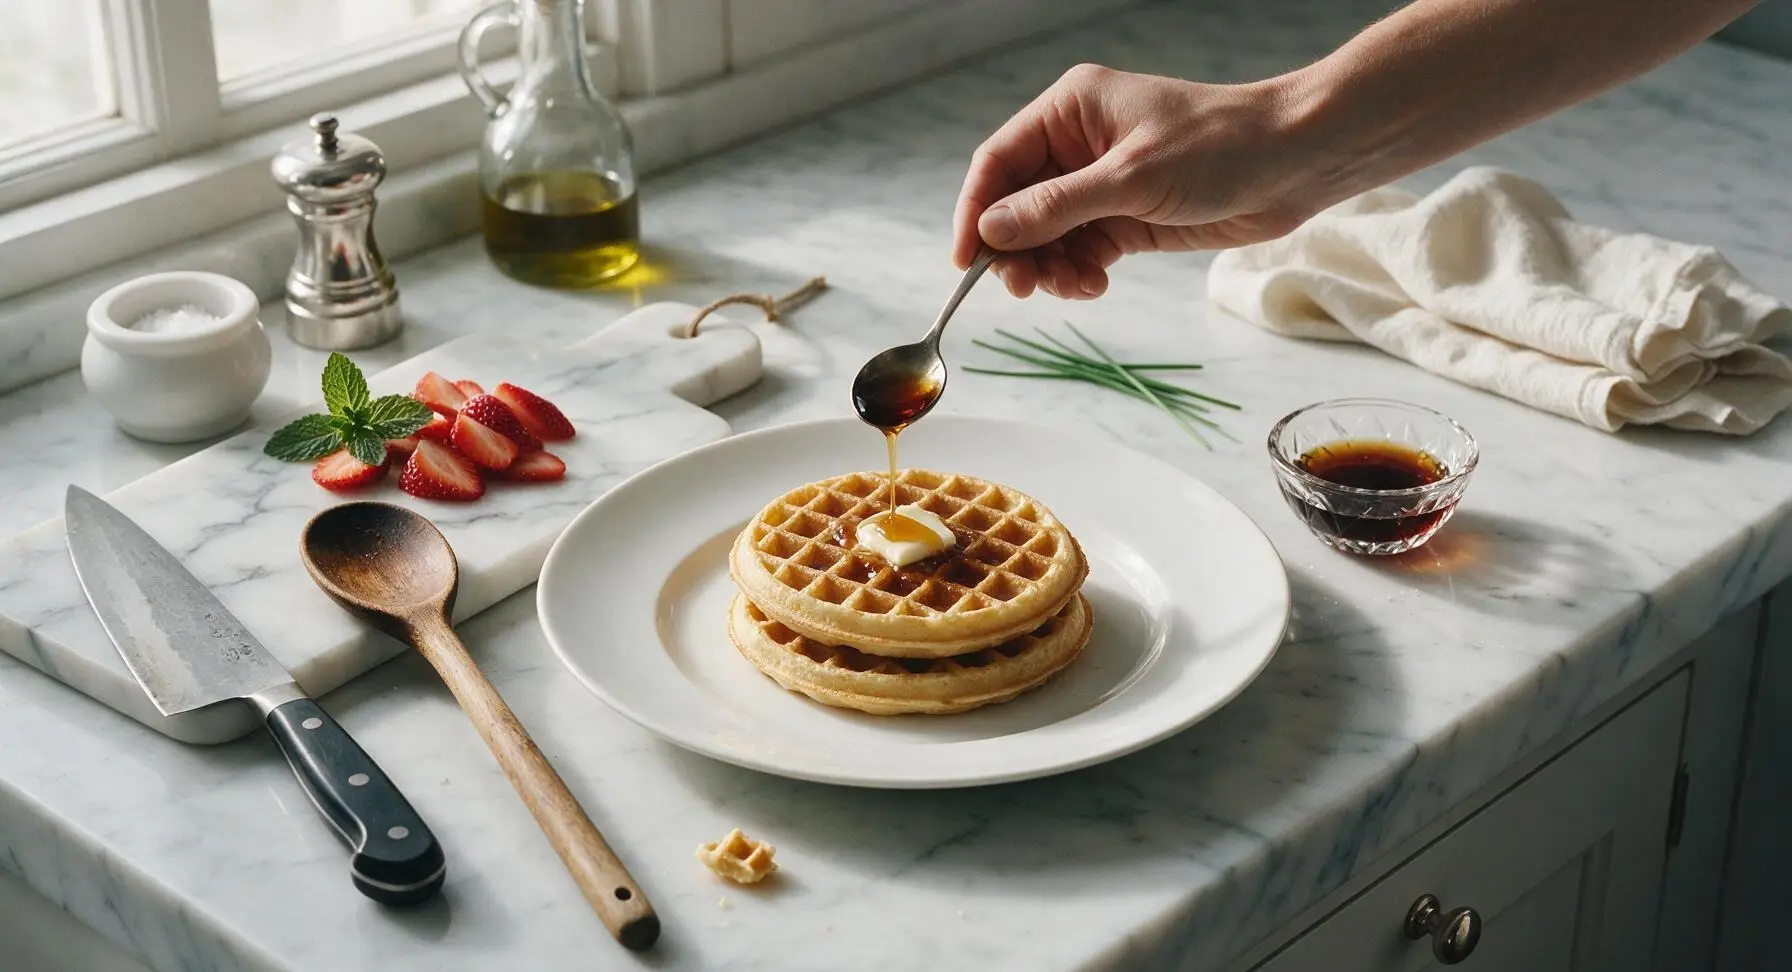
Step 7
step7:Plate and Serve Warm

Tips

1.Avoid overmixing the batter: Lumps are completely normal, and overstirring develops gluten in the flour that will turn light, fluffy waffles tough and dense. Stop folding as soon as you no longer see dry flour streaks for the best texture.
2.Keep waffles crisp by holding them on a wire rack in a 200°F (95°C) oven instead of stacking them on a plate. Stacking traps hot steam between waffles, which softens crisp edges and creates a soggy texture before serving.
3.Whip egg whites to soft peaks for extra lift: This quick, simple step adds airy, tender structure to the waffle interior without extra leavening, creating the perfect contrast between crunchy golden edges and soft, fluffy centers.


✨ You May Also Like

Breakfast
🍜 United States

Crisp-edged, fluffy lard griddle cakes are a nostalgic homestyle staple, with rich savoriness from rendered lard, perfect topped with maple syrup or savory gravy.

⏱️ 25 minuteBreakfast ★ 4.8
Breakfast
🍜 United States

Flaky, buttery homemade buttermilk biscuits smothered in creamy, peppery pork sausage gravy: a beloved, hearty Southern American comfort food classic.

⏱️ 35 minuteBreakfast ★ 4.8
Breakfast
🍜 United States

Golden, custardy brioche stuffed with sweet cream cheese and fresh berries, pan-fried to crisp perfection. An indulgent, cozy breakfast perfect for slow weekend mornings.

⏱️ 30 minuteBreakfast ★ 4.7
Breakfast
🍜 United States

Flaky, buttery Southern-style biscuits stuffed with savory salty country ham, a portable, satisfying classic perfect for casual on-the-go meals.

⏱️ 25 minuteBreakfast ★ 4.8
Breakfast
🍜 United States

Iconic puffy baked pancake popularized in Seattle, with crisp golden edges and soft custardy center, served warm with classic sweet toppings.

⏱️ 35 minuteBreakfast ★ 4.6
Breakfast
🍜 United States

Fluffy, golden pancakes studded with juicy peak-summer mixed berries, drizzled with maple syrup for a bright, comforting, crowd-pleasing family breakfast.

⏱️ 25 minuteBreakfast ★ 4.7

brunch waffles:Frequently Asked Questions

1.Why does this recipe use both baking powder and baking soda? ▾
Baking powder delivers the initial, steady rise that creates those light, fluffy tender centers, while baking soda reacts directly with tangy buttermilk to add extra lift, mellow buttermilk’s sharp tartness, and help form those signature crisp golden edges. Don’t swap one for the other, or you’ll end up with flat, dense waffles that lack that perfect texture balance.
2.Can I mix up the waffle batter ahead of time for easier brunch prep? ▾
You can pre-mix all the dry ingredients (flour, leaveners, salt, sugar) in an airtight container 2 to 3 days ahead and store it at room temperature, but hold off on stirring in wet ingredients until right before cooking. Mixing wet and dry too early makes leaveners fizz out early, leading to chewy, dense waffles instead of light, crisp ones.
3.My waffles always turn out soggy instead of crisp—what am I doing wrong? ▾
The three most common culprits are a too-cool waffle iron, undercooking, and stacking waffles straight off the iron. Wait for your iron’s ready indicator to confirm it’s fully hot, cook 30 to 60 seconds past when steam stops escaping, and hold finished waffles on a wire rack in a 200°F oven instead of piling them on a plate.
4.I don’t have store-bought buttermilk—can I make a quick substitute? ▾
Absolutely! For a perfect, recipe-ready stand-in, add 1 tablespoon of white vinegar or fresh lemon juice to a 1-cup liquid measuring cup, then top with whole milk to reach the 1-cup line. Let it sit 5 minutes at room temperature until it curdles slightly, and it will perform exactly like commercial buttermilk in this recipe.
5.What style of waffle iron works best for these classic waffles? ▾
Both standard thin waffle irons and deep-pocket Belgian waffle irons work beautifully here! Just adjust cook time to match: thin irons take 3 to 4 minutes total, while Belgian irons take 4 to 5 minutes. Pick an iron with adjustable temperature settings so you can dial it to medium-high for that perfect golden, crisp crust.
6.Can I freeze leftover waffles for quick weekday breakfasts? ▾
Definitely! Let fully cooked waffles cool completely on a wire rack, then freeze them in a single layer on a baking sheet for 1 hour before transferring to a labeled freezer bag, with small squares of parchment between each waffle to prevent sticking. They keep for up to 3 months, and reheat perfectly in a toaster straight from frozen.
7.Can I swap in whole wheat flour for all-purpose flour to make them heartier? ▾
You can swap up to half the all-purpose flour for whole wheat pastry flour (skip coarse regular whole wheat flour) without ruining the classic light texture. Going higher than 50% whole wheat will make waffles dense, heavy, and overly earthy, overpowering that delicate, tangy buttermilk flavor that makes these waffles a brunch standout.
8.Can I cut back on the granulated sugar for less sweet waffles? ▾
The small amount of sugar in this recipe does more than add sweetness—it helps waffles brown evenly to form those crisp golden edges, and balances the bright tang of buttermilk. You can cut the sugar by half if you prefer less sweet waffles, but don’t omit it entirely, or your waffles will be pale, bland, and slow to crisp.
9.Why do my waffles stick to the iron even when I use nonstick spray? ▾
Skip the aerosol nonstick spray if you have a coated nonstick iron—it leaves a gummy, hard-to-clean residue over time that actually causes sticking. Instead, brush the grids lightly with melted butter before your first batch, and make sure the iron is fully preheated before adding batter. Season cast iron waffle irons regularly just like a cast iron skillet.
10.What toppings work best for these waffles as part of a brunch spread? ▾
These neutral, classic waffles pair beautifully with both sweet and savory toppings to please every guest. Set out softened salted butter, warm pure maple syrup, fresh berries, freshly whipped cream, toasted pecans, and even a savory option like crispy fried chicken tenders or herbed cream cheese so guests can build their perfect plate.
11.Is it okay to mix the batter until it’s completely smooth, like cake batter? ▾
Definitely not! Overmixing develops the gluten in the all-purpose flour, which leads to tough, chewy waffles instead of the light, tender centers we want. Stir the batter just until the dry ingredients are incorporated—it’s totally normal and expected to have a few small lumps left. Resist the urge to stir until perfectly smooth, that’s a common mistake.
12.Can I add mix-ins like chocolate chips or blueberries to the batter? ▾
Absolutely! Fold in up to ½ cup of mix-ins like mini chocolate chips, fresh blueberries, chopped toasted pecans, or bright lemon zest right after you finish mixing the base batter. Don’t overfold, and if you’re using juicy fruit like blueberries, toss them in a tiny pinch of flour first to keep them from sinking to the bottom of the waffle pockets.
13.How thick should the batter be before I pour it onto the waffle iron? ▾
The batter should be thick but easily pourable, similar to the consistency of thick vanilla cake batter—thinner than cookie dough, but thicker than standard pancake batter. If it’s so thick it won’t spread at all when poured, stir in 1 tablespoon of extra buttermilk at a time until it hits the right consistency, so it fills grids without oozing out the sides.
14.How do I keep waffles warm and crisp when hosting a big brunch crowd? ▾
The best trick for crowd-friendly waffles is to hold them in a single layer on a wire rack set over a baking sheet in a 200°F oven. Don’t stack them or wrap them in foil, as that traps steam and turns waffles soggy fast. Held this way, waffles stay perfectly crisp and warm for up to 20 minutes while you cook the remaining batches.

Comments (8)

2 days ago

OMG these were SO good for our Sunday brunch yesterday! I added a handful of blueberries to the batter and topped them with whipped cream and maple syrup, and my whole family went back for seconds. So easy to throw together too, I didn’t even have to run to the store because I already had all the pantry staples. Total game changer for our weekly brunch rotation!

yesterday

Wait did the blueberries make the batter soggy? I’ve been scared to add them directly instead of just topping!

yesterday

Great call adding blueberries! If you toss them in a little flour before folding into the batter, they won’t sink or make the waffles soggy — pro tip for next time!

3 days ago

I’ve messed up so many waffle recipes before because they always turn out soggy in the middle, but these came out perfectly crispy on the outside and fluffy inside! My kids begged for more before they even finished their first plate. Only note is I used low-fat buttermilk because that’s what I had, and it still worked great.

2 days ago

So glad these worked out for you! Low-fat buttermilk works perfectly here — the key to no soggy centers is making sure your waffle iron is fully preheated before pouring the batter, which sounds like you nailed it!

1 week ago

Made these in my tiny dorm waffle maker for my roommates and we all devoured them. Super straightforward recipe, no fancy equipment needed. I topped mine with peanut butter and banana slices and it tasted like something from a fancy brunch spot, for a fraction of the cost. Will be making these every weekend for sure.

5 days ago

I swapped the all-purpose flour for a 1:1 gluten free baking flour and these still turned out incredible! I was worried they’d be dense or gummy like most GF waffle recipes, but they were light and crispy. Brought them to a neighborhood potluck and even the non-GF folks were asking for the recipe.

3 days ago

Which GF flour blend did you use? I’ve had bad luck with a couple brands making waffles taste weird!

2 days ago

I used the Bob’s Red Mill 1:1 blend! It’s my go-to for all baked goods, never leaves that weird gritty texture.

1 week ago

These are perfect for meal prep! I made a double batch on Sunday, froze the leftover waffles, and pop them in the toaster during the week for quick breakfasts before work. They reheat so much better than the frozen store-bought waffles, no weird aftertaste at all. 10/10.

5 days ago

Oh that’s such a good idea! Do you separate them with parchment paper in the freezer so they don’t stick together?

2 weeks ago

Made these for my out-of-town guests who stayed for the long weekend, and everyone raved about them. I set up a little waffle topping bar with fresh strawberries, chocolate chips, Nutella, and powdered sugar, and it was such a hit. Way less stressful than making a bunch of different breakfast items, everyone could customize their own.

yesterday

These waffles are the perfect texture! I’ve been chasing that light, fluffy buttermilk waffle taste I remember from my grandma’s kitchen when I was a kid, and this recipe nails it. I did add a tiny extra splash of vanilla because I love vanilla, and it was chef’s kiss.

2 hours ago

Love the extra vanilla addition! A little extra warm vanilla pairs so perfectly with the tangy buttermilk, I’m so glad these brought back happy grandma memories for you!

30 minutes ago

Full transparency: I’ve never liked homemade waffles because I always thought they were too much work for a mediocre result, but this recipe was so easy and honestly better than any diner waffle I’ve ever had. The only mistake I made was spraying my waffle iron a little too much, so the first waffle was a tiny bit greasy, but the rest were perfect. Can’t wait to make these again for my girlfriend’s birthday brunch next weekend!

5 minutes ago

Pro tip: I only spray my iron before the first waffle, and that’s enough for the whole batch! No extra grease needed for the rest.

just now

So happy you gave homemade waffles another shot! That’s great advice about only spraying the iron once — too much cooking spray can definitely make edges greasy instead of crispy. Hope the birthday brunch is a hit!



