
budget bytes freezer burritos
intro
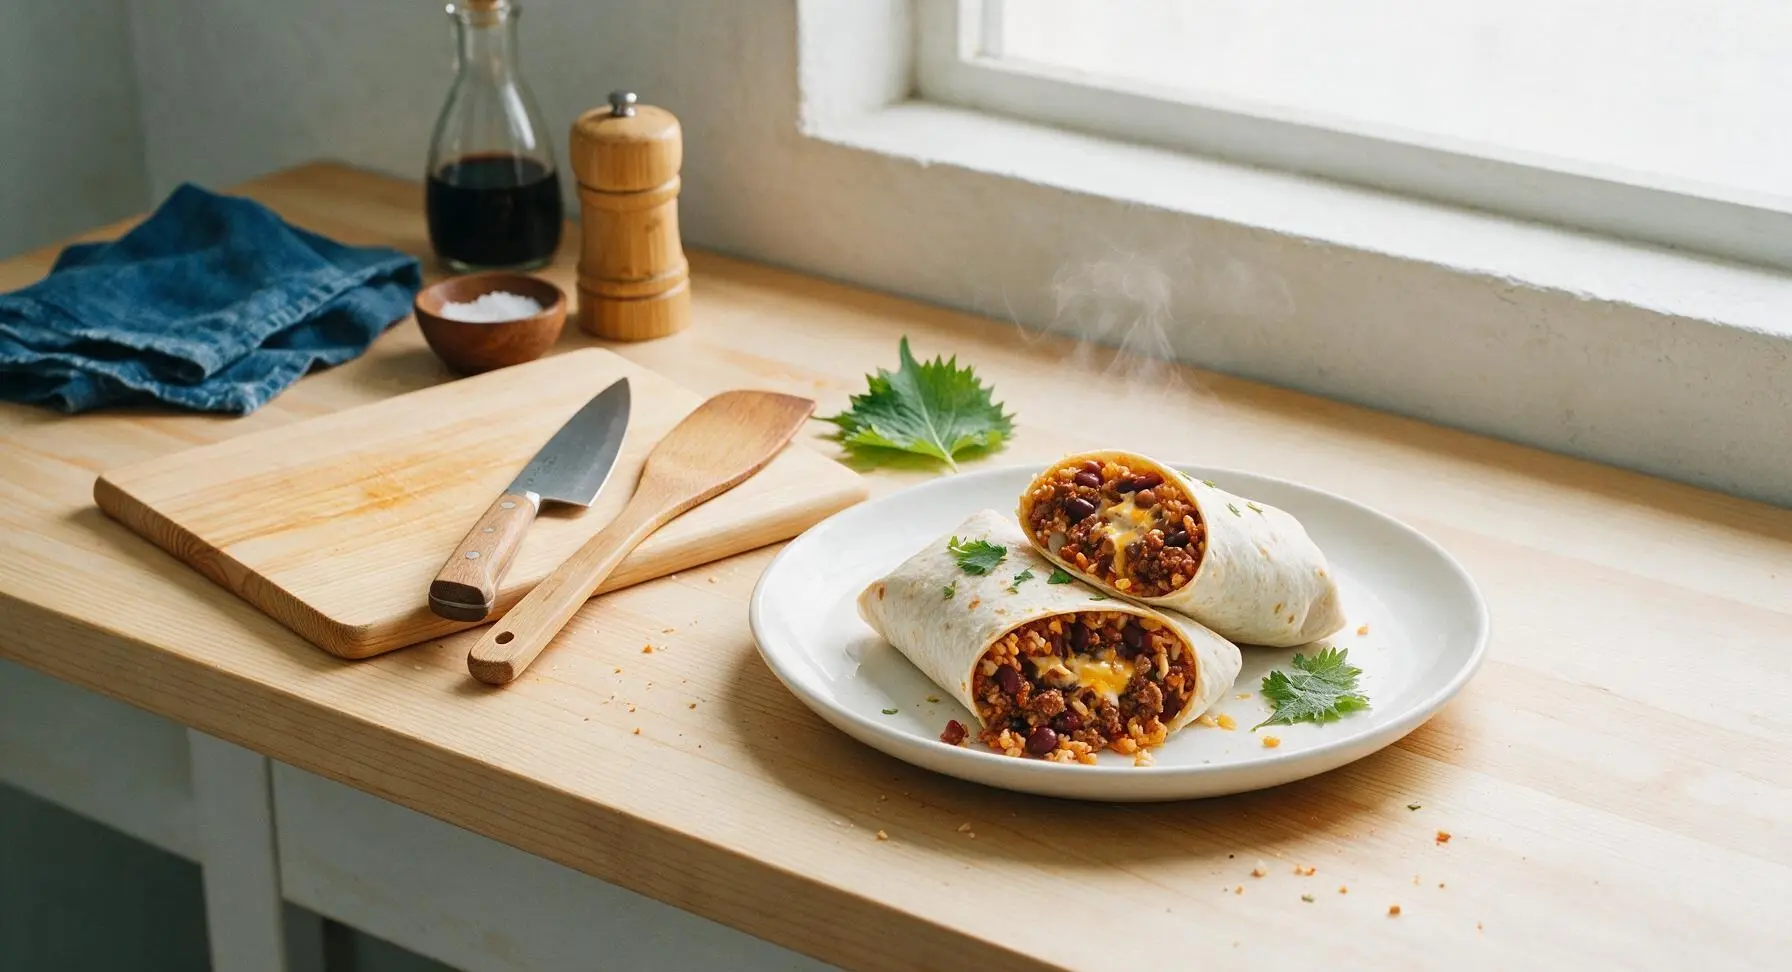
Hearty, low-cost Tex-Mex burritos packed with seasoned beef, beans, rice, and melted cheese, prepped ahead for freezer storage and ready in minutes for busy weeknights.
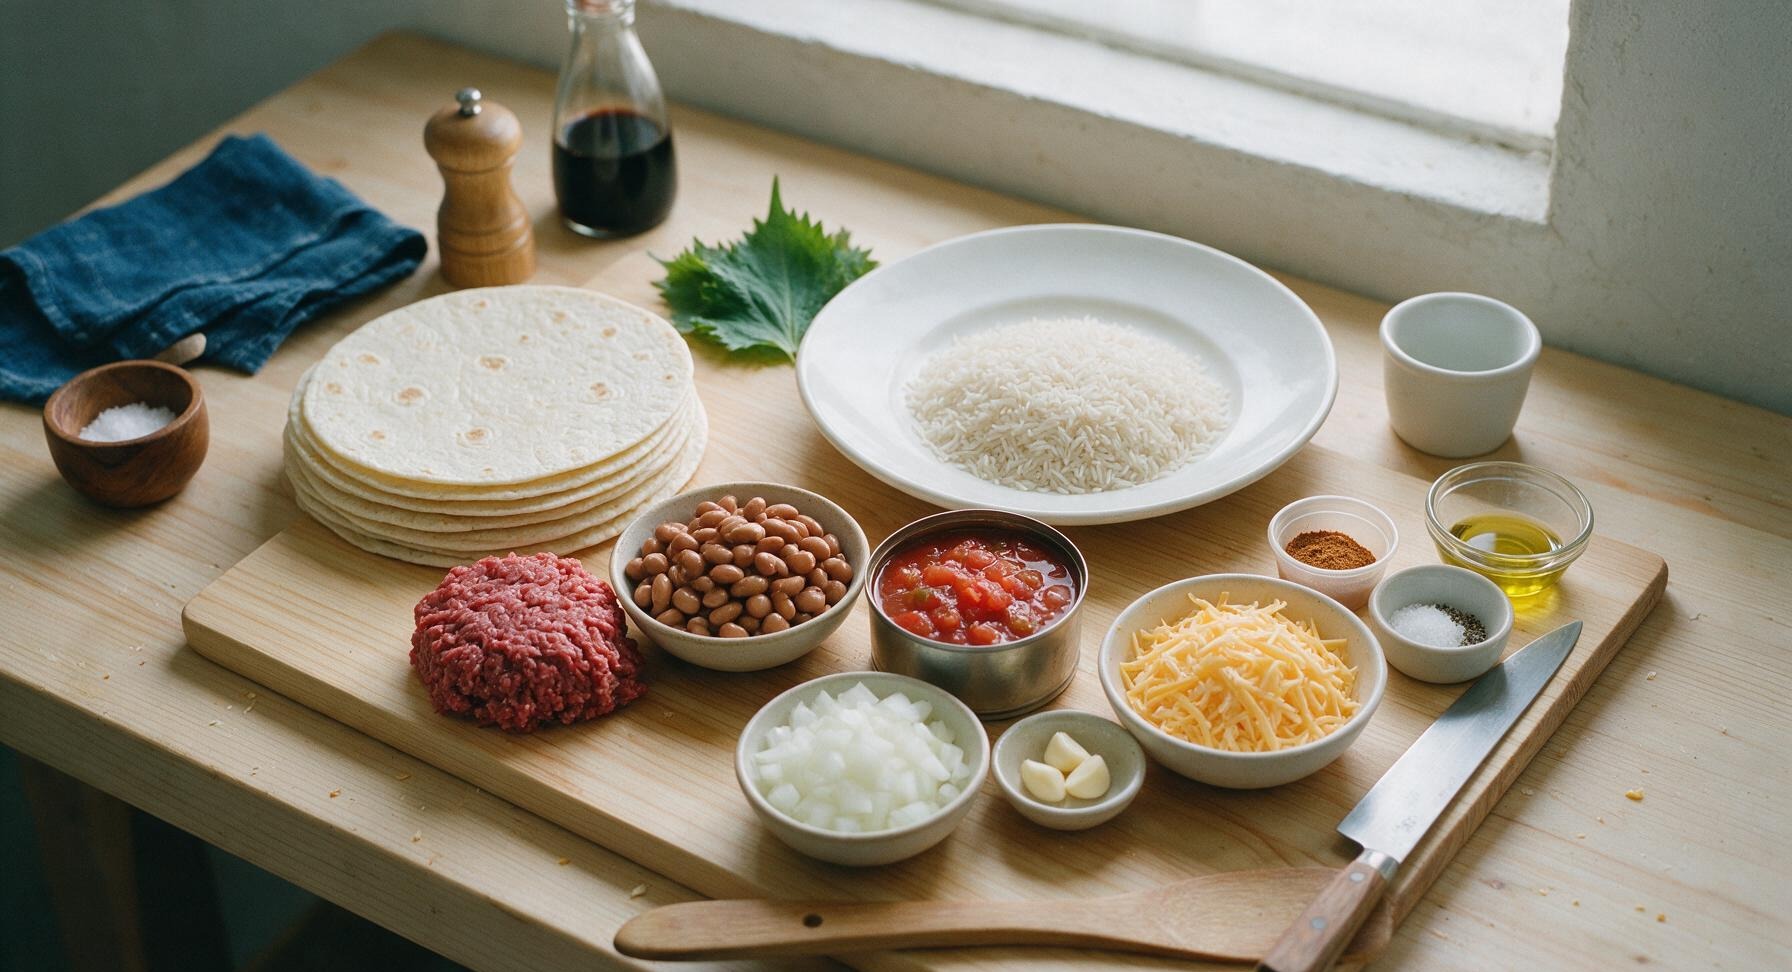
Ingredients
Steps
Sauté Onion and Garlic
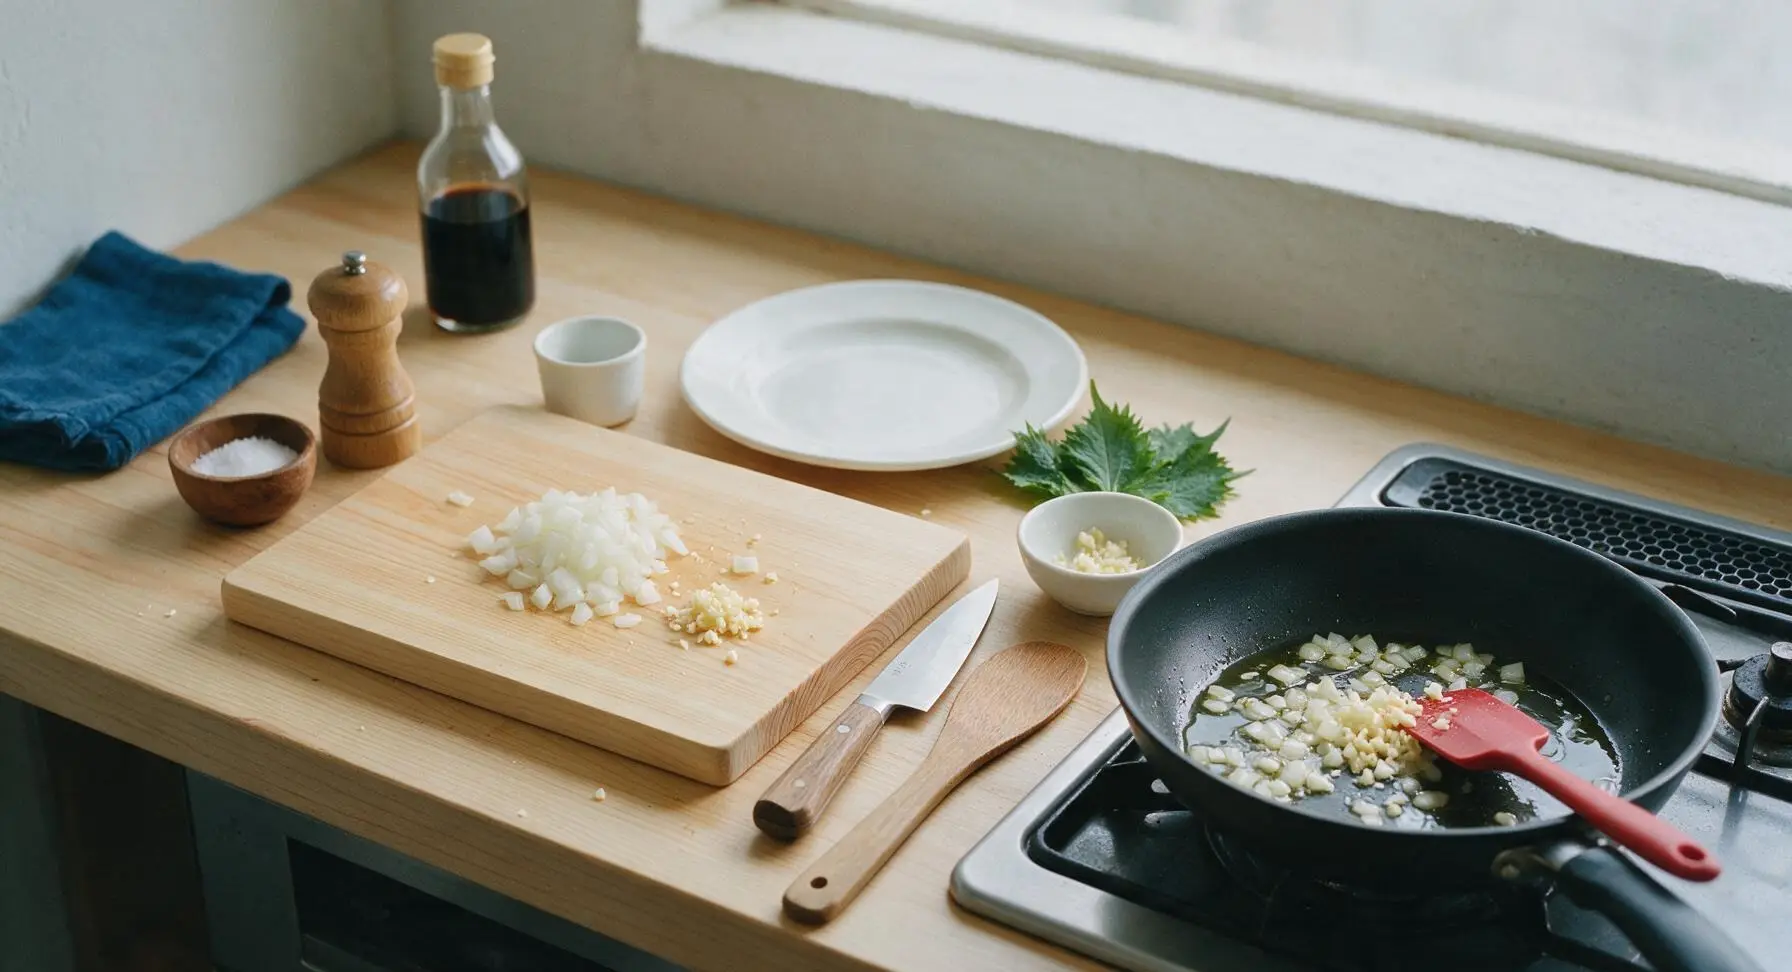
Place the 10-inch matte black non-stick skillet on the right stovetop burner over medium heat, add 1 tbsp olive oil from the amber bottle. Once the oil shimmers (about 1 minute), add 1 cup diced yellow onion, cooking for 3 minutes until soft and translucent. Add 3 minced garlic cloves and cook for 30 seconds more until fragrant, stirring constantly with the red silicone spatula to avoid burning the garlic.
Brown Seasoned Beef
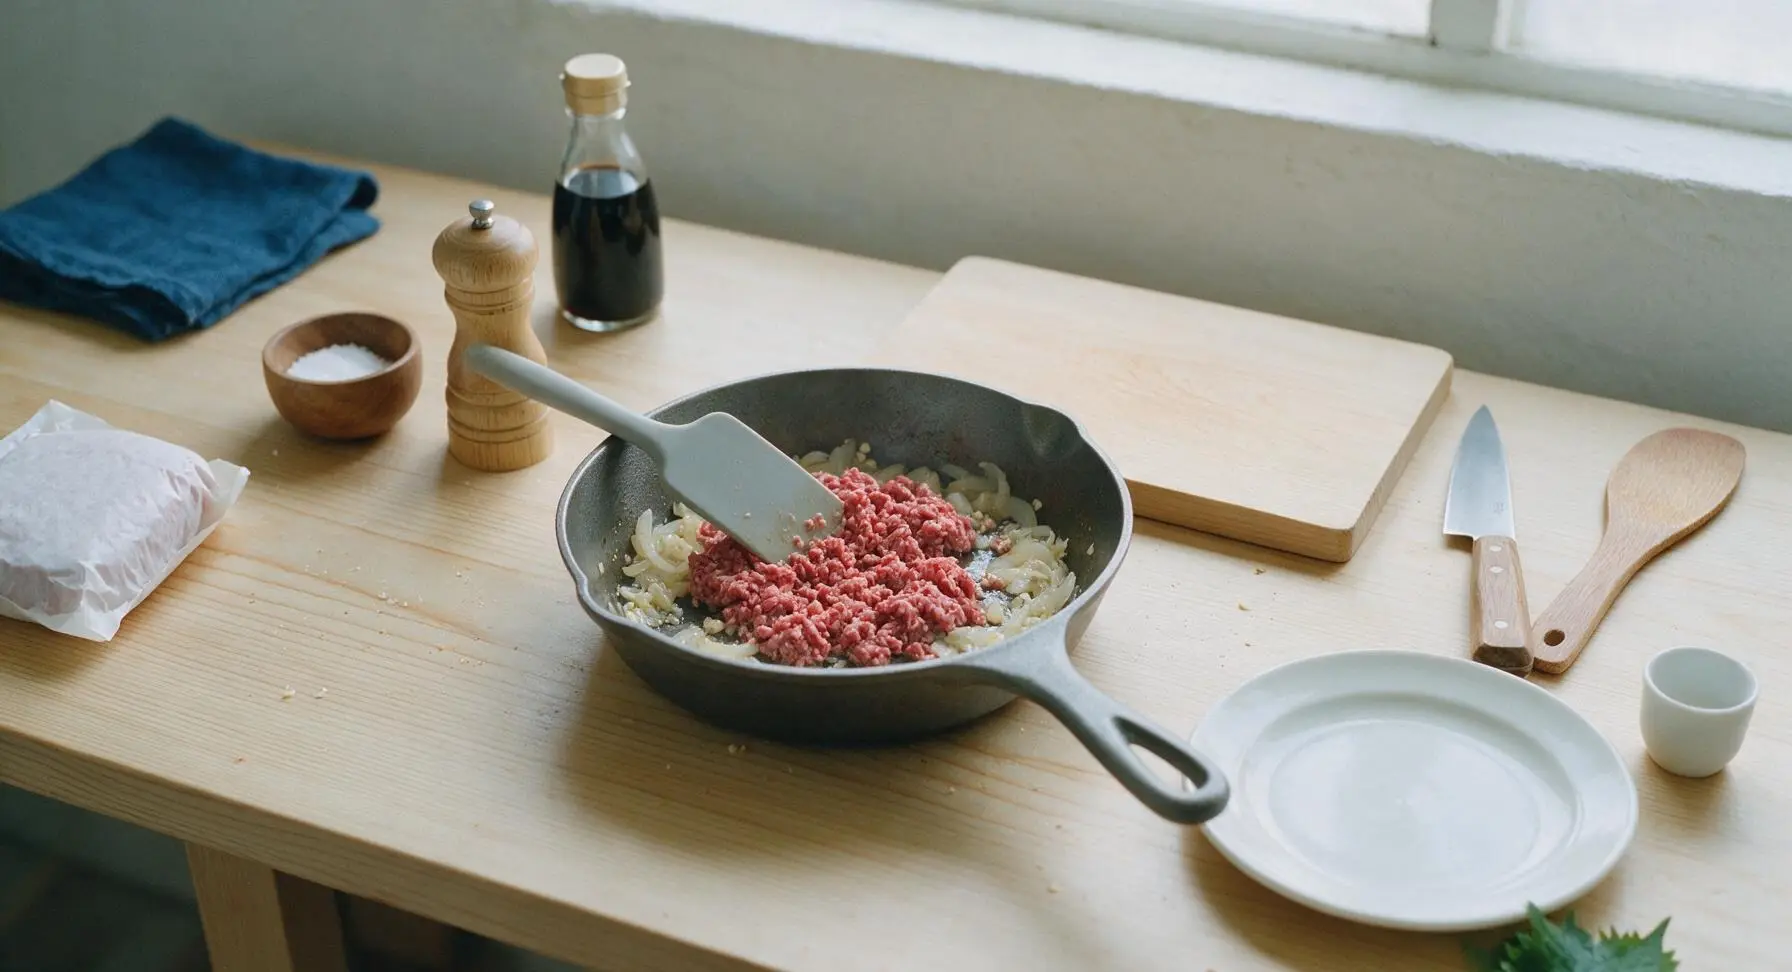
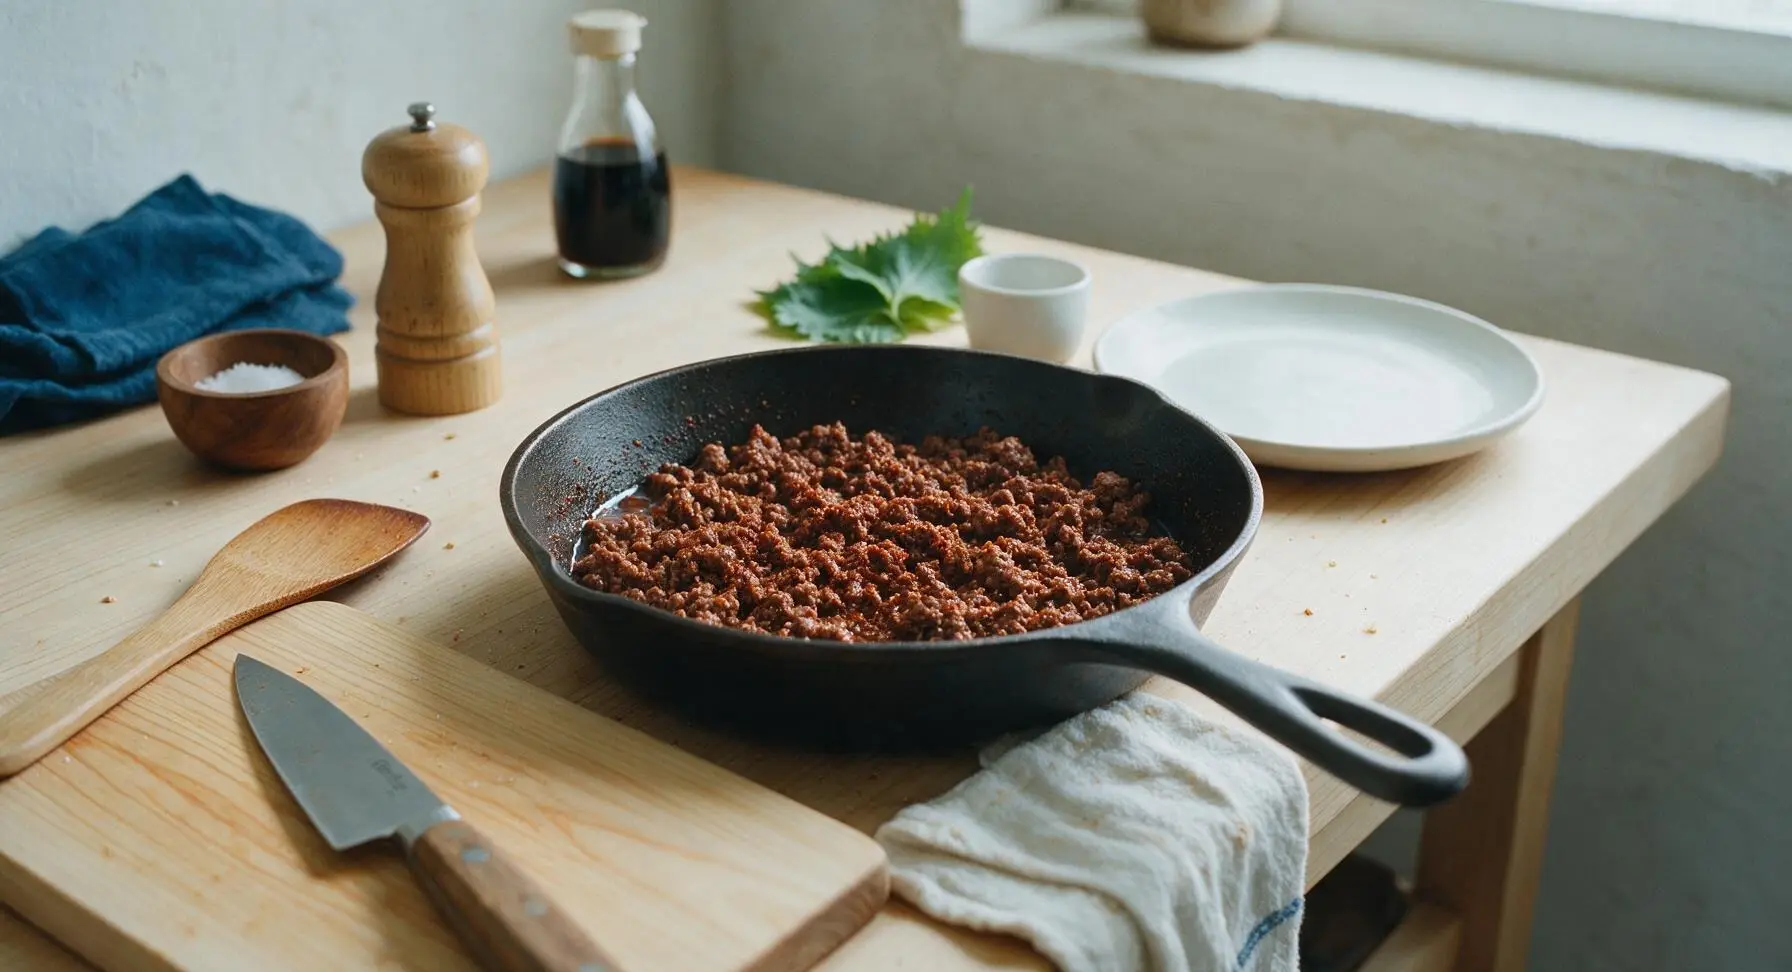
Add 8oz lean ground beef to the skillet with the cooked onion and garlic, breaking the beef into small, even crumbles with the silicone spatula as it cooks. Cook for 5-6 minutes until the beef is fully browned with no pink remaining, then carefully tilt the skillet to drain any excess grease into a heatproof container. Season the beef with 1/2 tsp kosher salt, 1/2 tsp ground black pepper, and 2 tbsp taco seasoning, stirring to coat the meat evenly.
Mix in Bean Filling
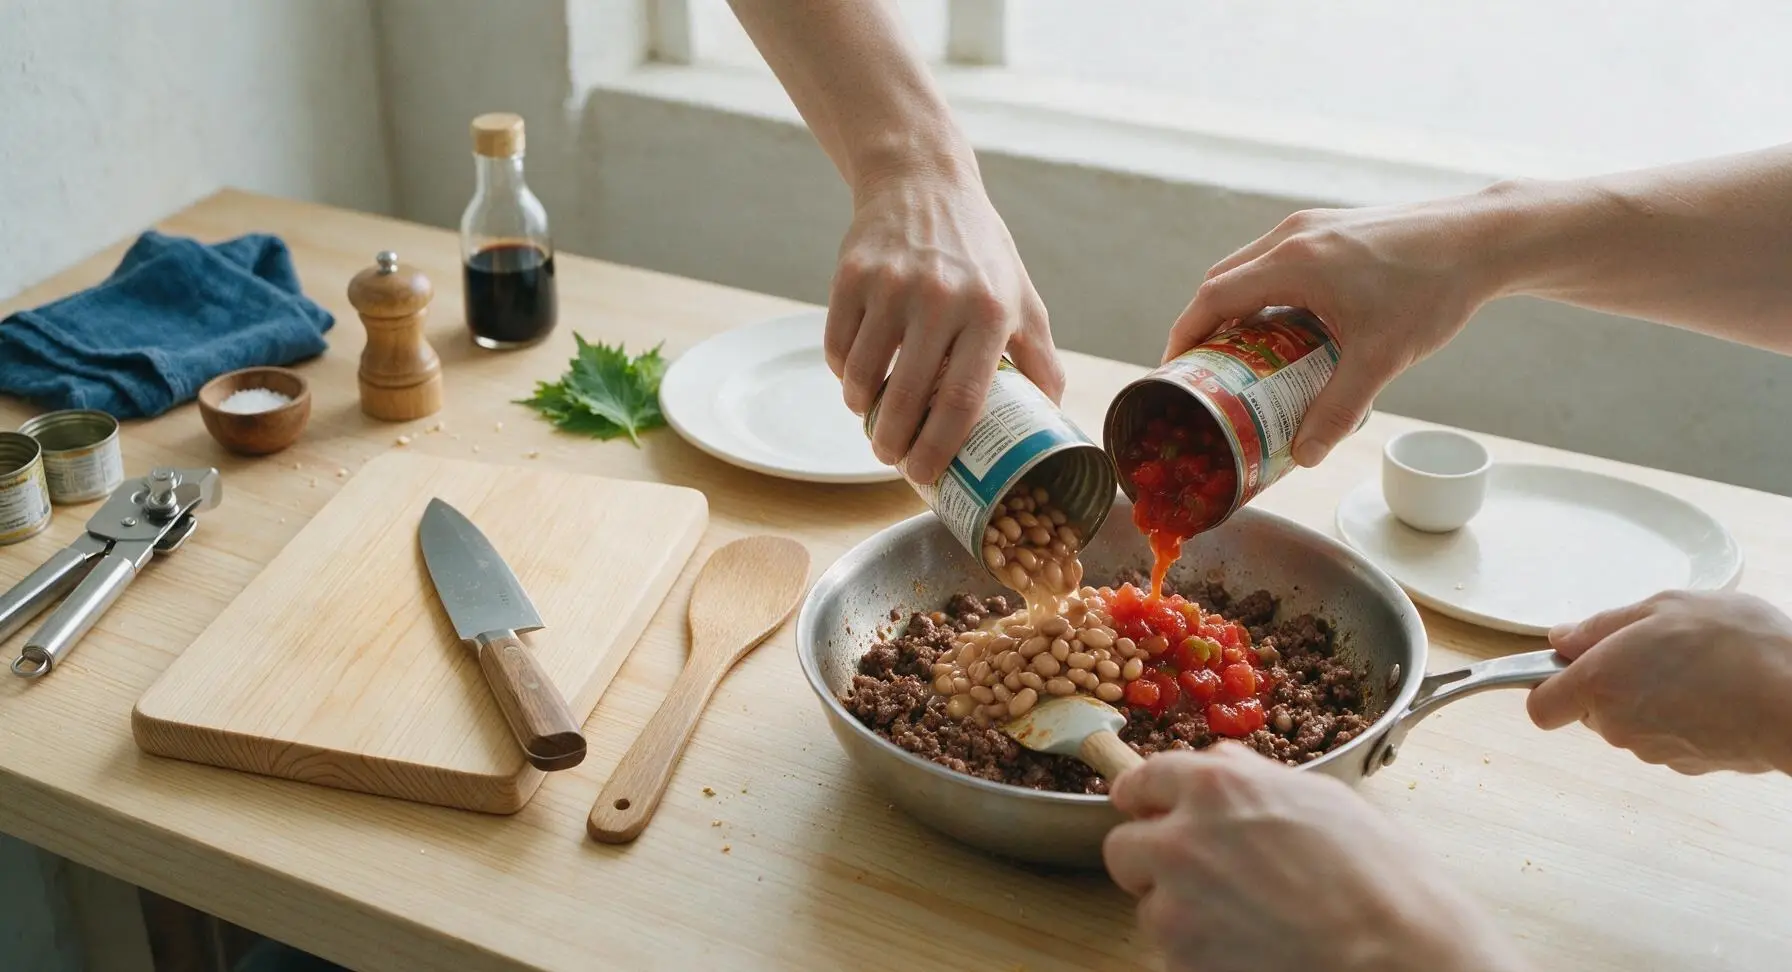
Pour the drained, rinsed pinto beans and undrained 10oz can of diced tomatoes with green chiles into the skillet with the seasoned beef, using the stainless steel can opener to open the cans first. Stir to combine all ingredients with the silicone spatula, bring to a gentle simmer, then reduce heat to low and cook for 4 minutes until the liquid reduces slightly and the filling thickens; avoid leaving excess liquid, as this will make tortillas soggy when frozen.
Combine with Fluffed Rice
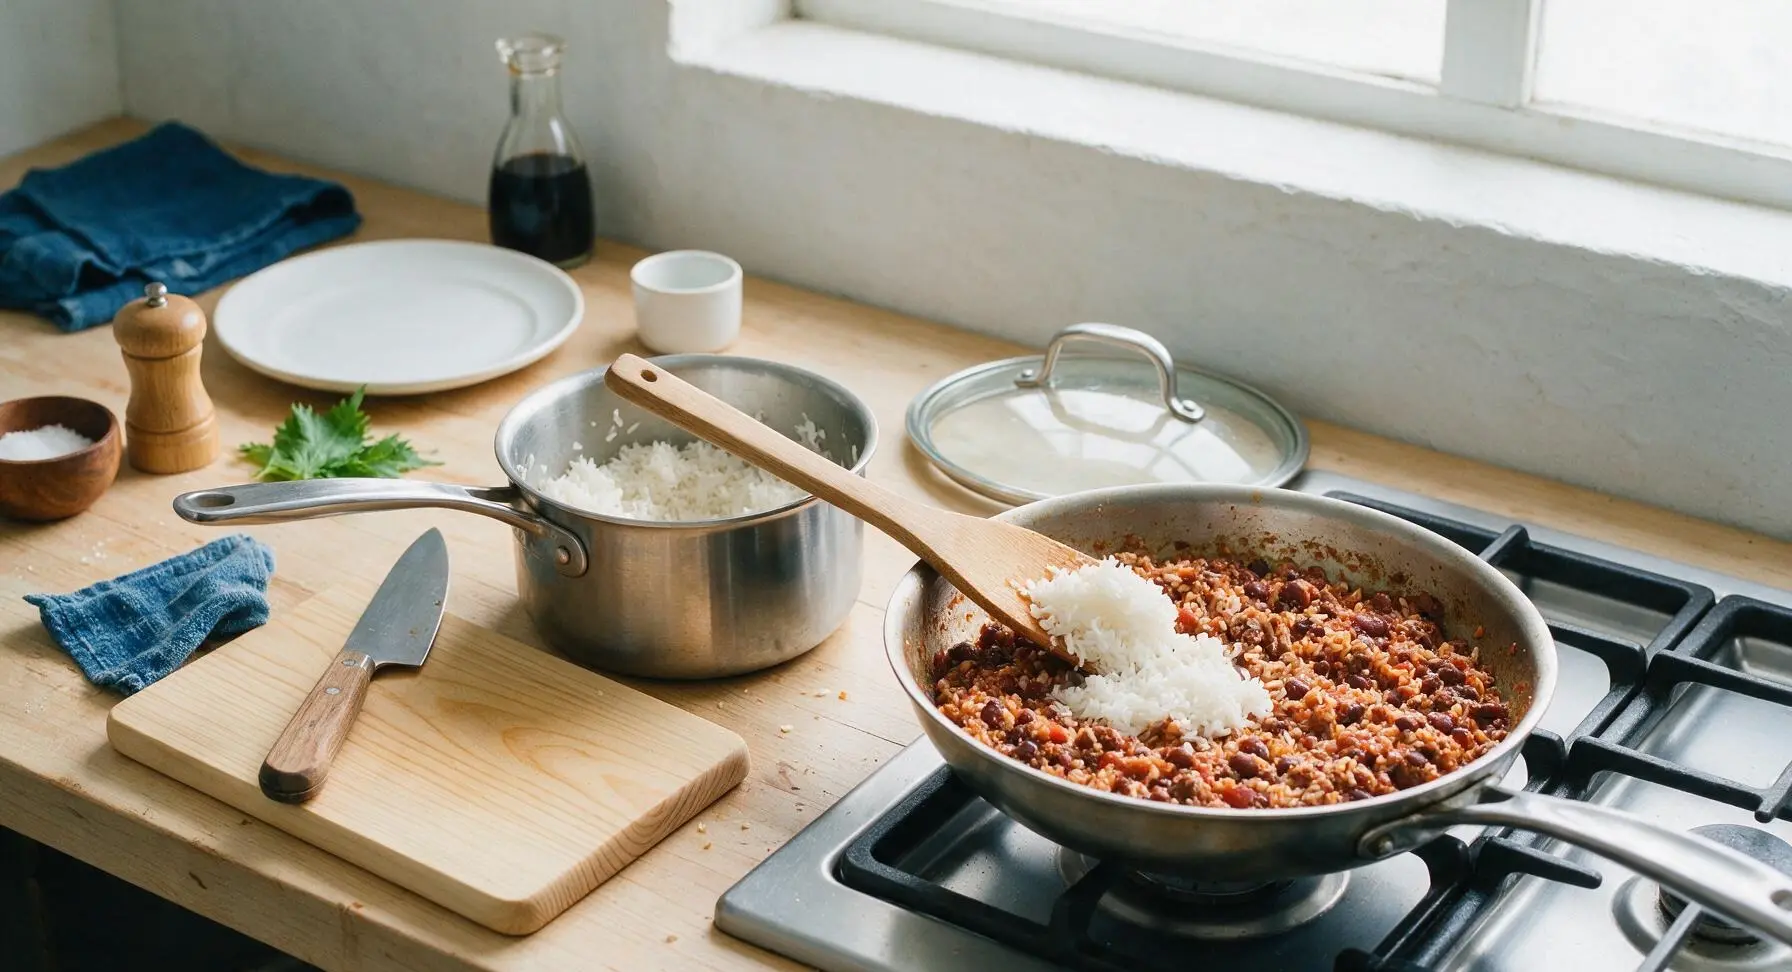
While the filling simmers, cook 1 cup long-grain white rice in the 1.5-quart stainless steel sauce pot with 2 cups water and 1/2 tsp kosher salt for 15 minutes until tender, then fluff with a fork and let cool 5 minutes. Add the fluffed rice to the skillet filling, stirring gently over low heat for 2 minutes until rice is evenly distributed, then remove the skillet from heat and let the entire filling cool for 10 minutes before assembly; hot filling will cause tortilla tears and freezer condensation.
Assemble Burritos Tightly
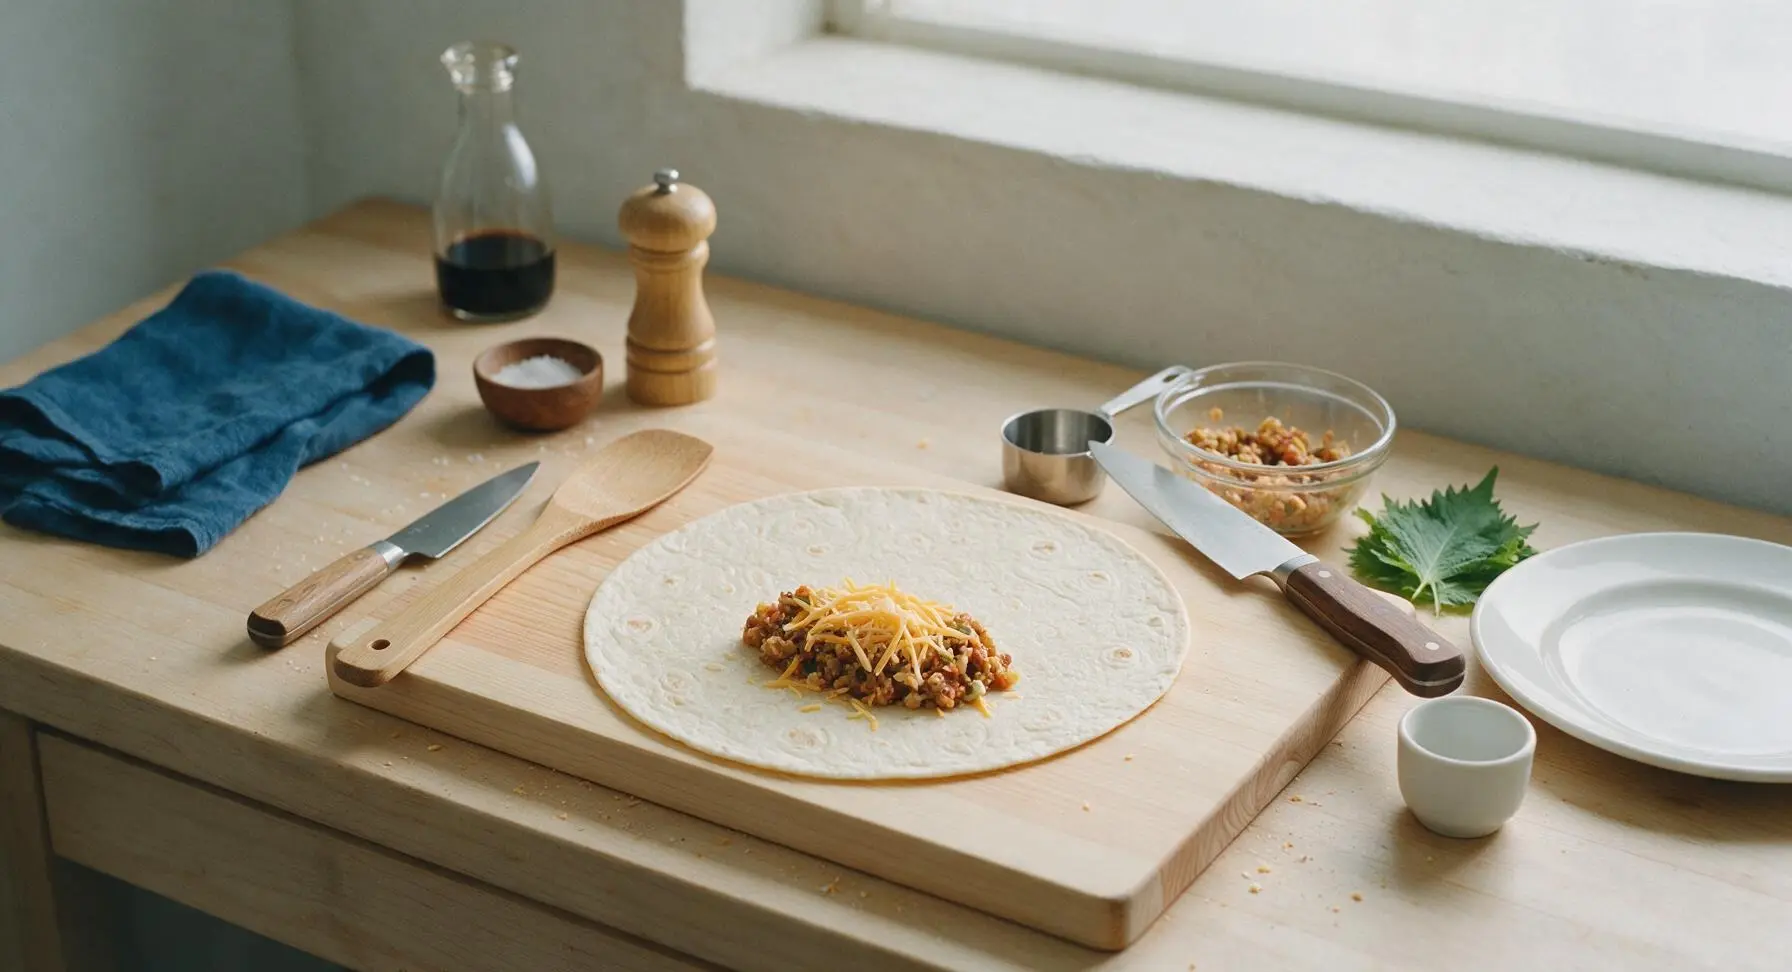
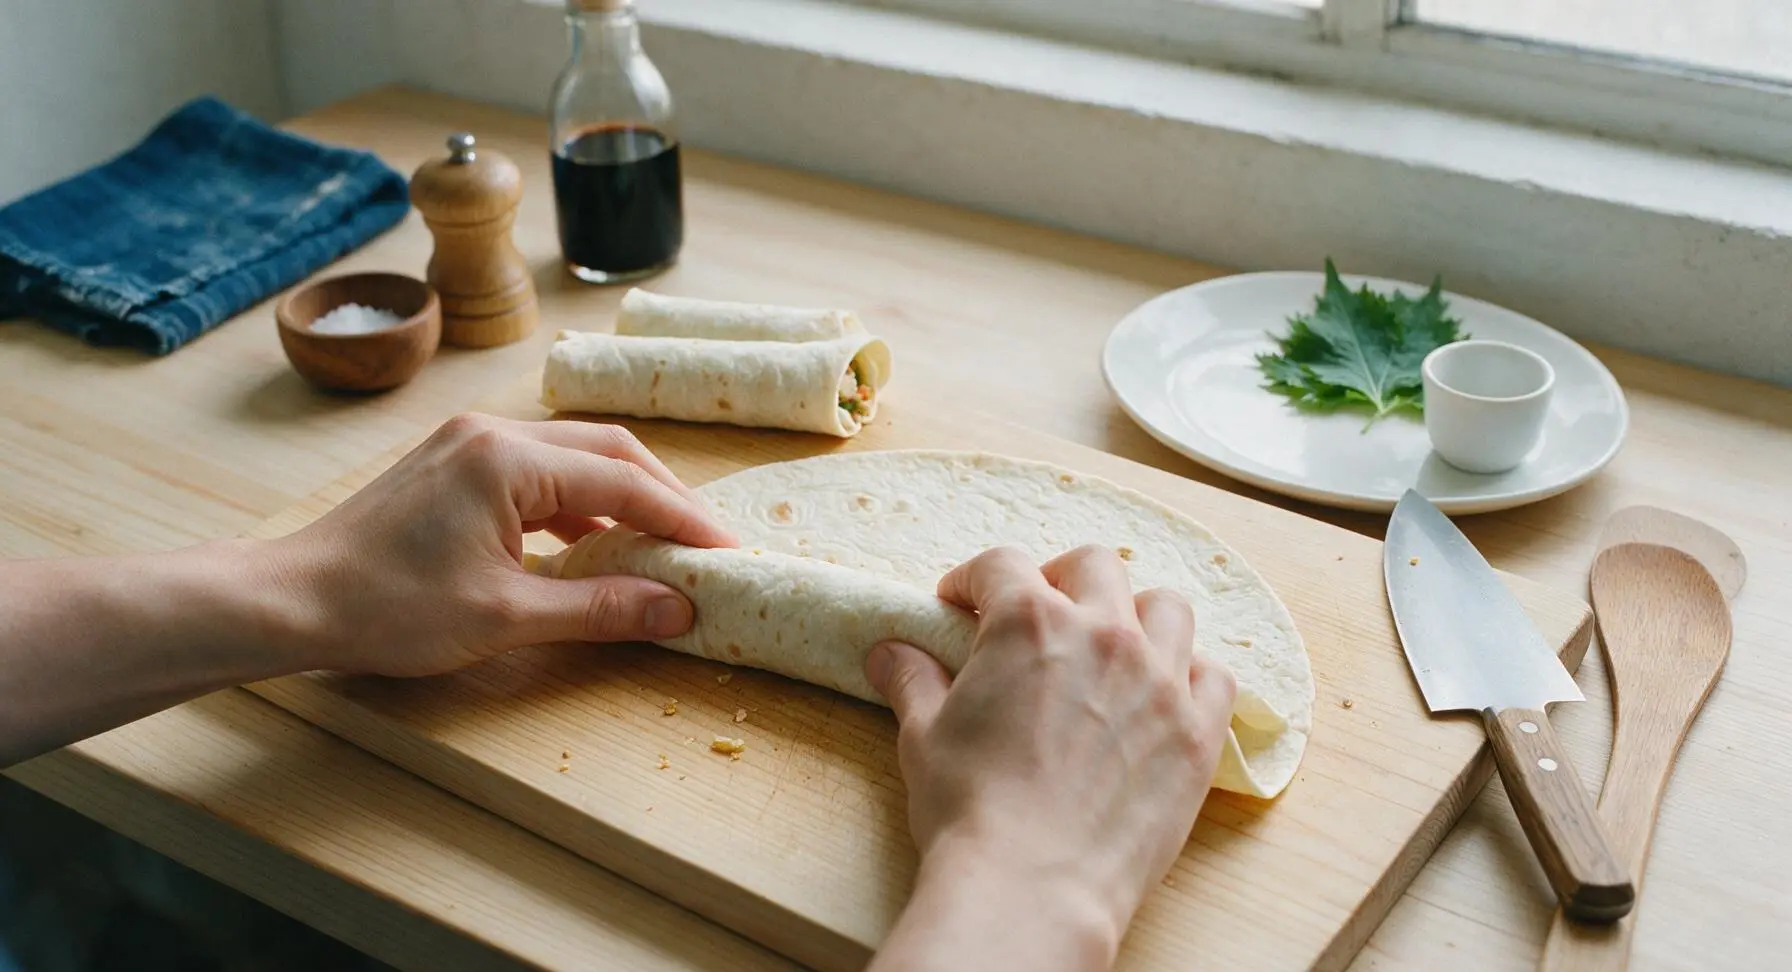
Lay one 10-inch flour tortilla flat on the bamboo cutting board, use the 1-cup stainless steel measuring cup to scoop 1/2 cup of cooled filling slightly below the tortilla center, then top with 2 tbsp shredded mild cheddar cheese. Fold the left and right sides of the tortilla inward over the filling, then roll tightly from the bottom edge up to fully enclose the filling, leaving no gaps for leaks during reheating. Repeat with all remaining tortillas, filling, and cheese.
Wrap for Freezer Storage
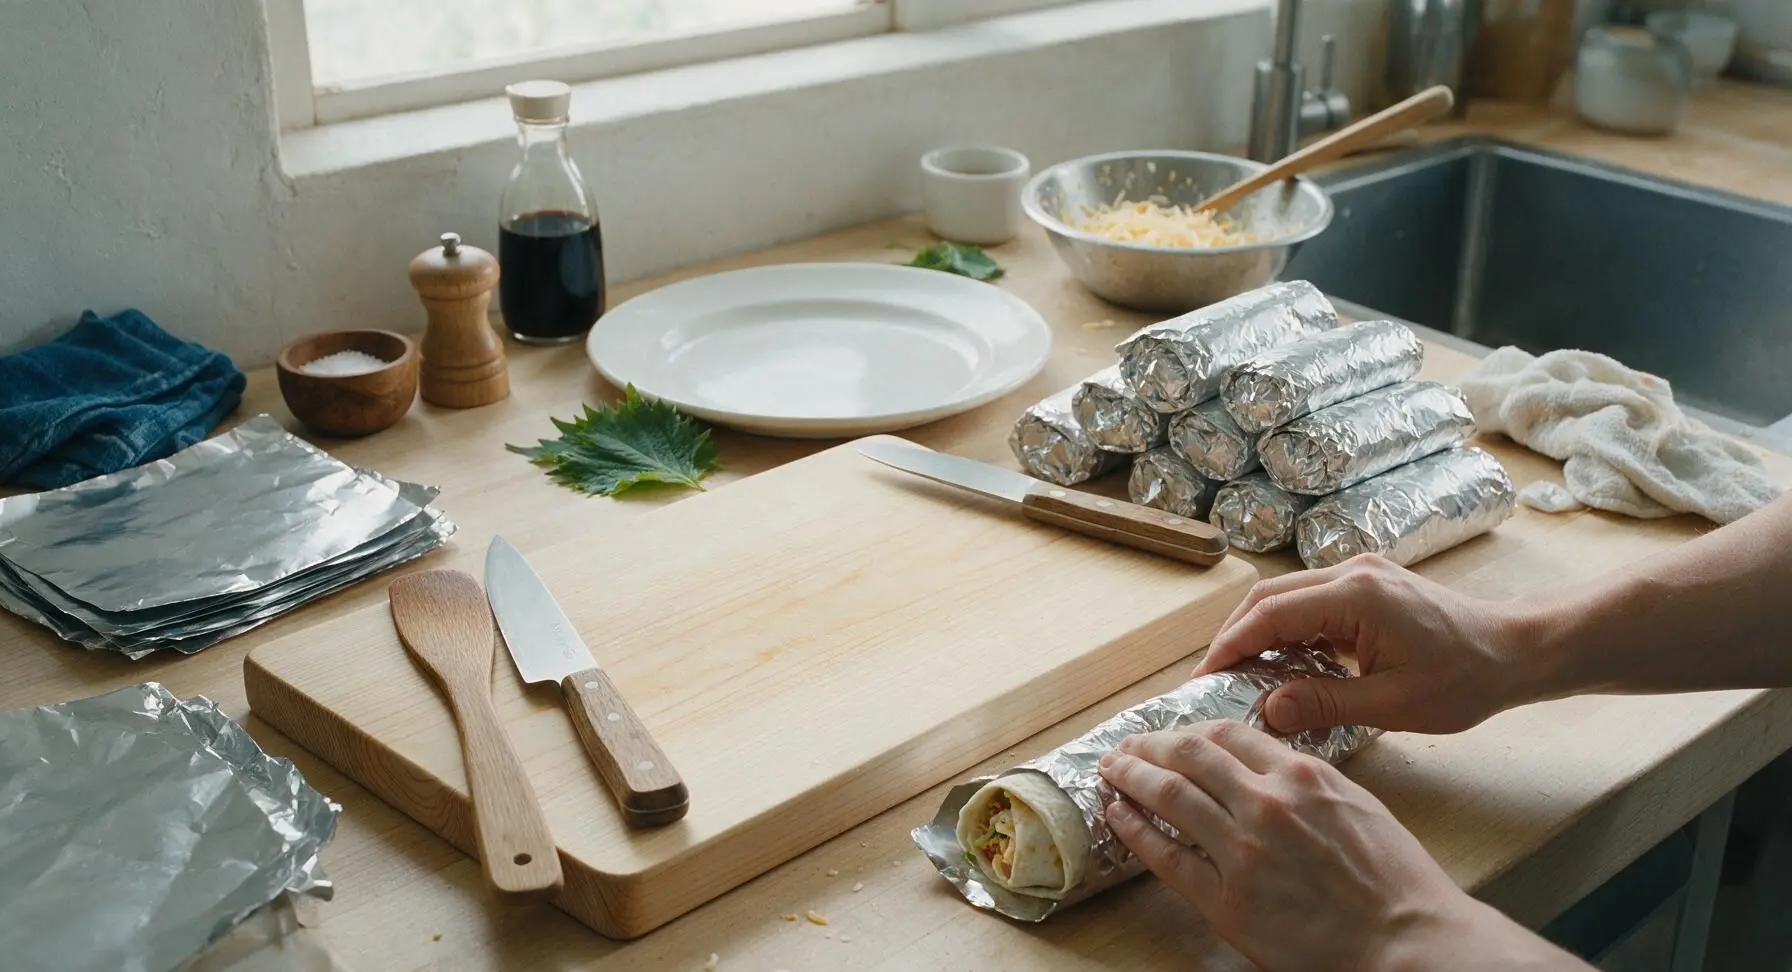
Tear 8 30cm square sheets from the aluminum foil stack at top left, wrap each rolled burrito tightly in a single foil layer, pressing out all excess air as you wrap to prevent freezer burn. Place all foil-wrapped burritos in a 1-gallon freezer bag, squeeze out excess air, seal, and store in the freezer for up to 3 months.
Reheat to Crispy Finish
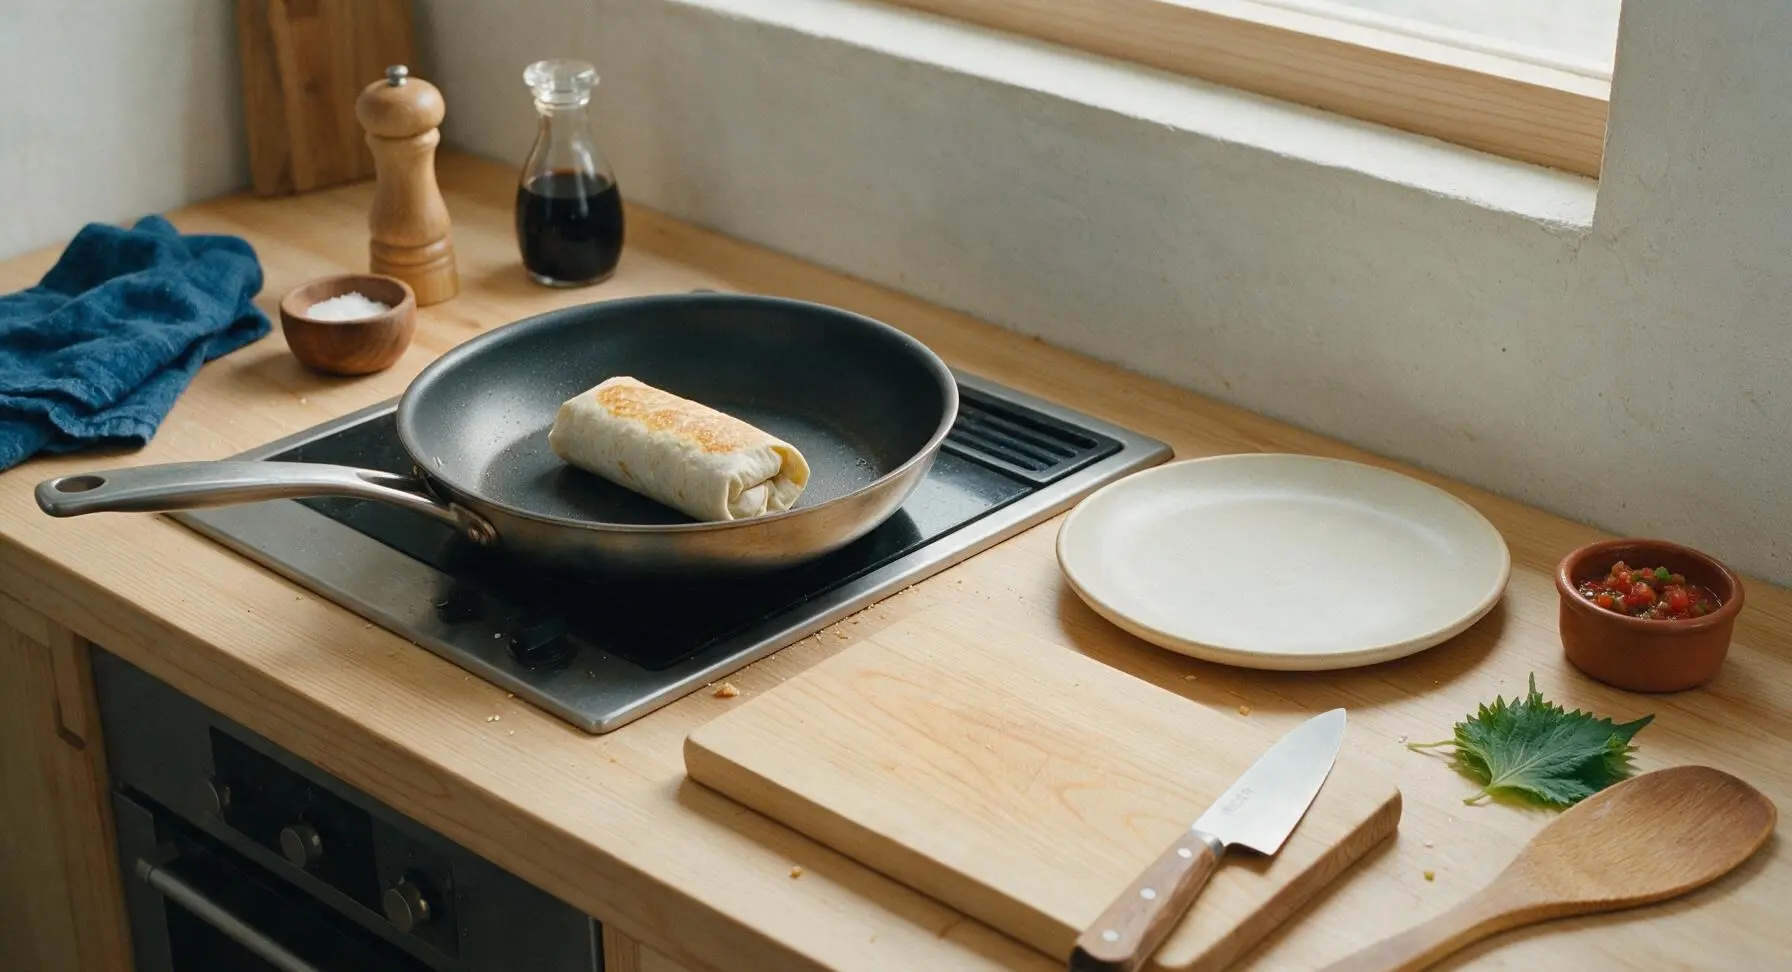
When ready to serve, unwrap a frozen burrito from foil, microwave on high for 1 minute to thaw slightly, then transfer to the dry non-stick skillet over medium heat. Cook for 2-3 minutes per side, turning with the silicone spatula, until the tortilla is golden and crisp on all sides, the filling is heated through to 165°F (74°C), and the cheese is fully melted. Serve with salsa, sour cream, or cilantro as desired.
Tips
2.Do not add high-moisture fresh toppings like lettuce, sour cream, guacamole, or fresh salsa to burritos before freezing: these ingredients break down during freezing and thawing, becoming watery and grainy. Add these toppings fresh right after reheating for best texture.
3.To prevent burritos from sticking together in the freezer, place the foil-wrapped burritos on a baking sheet in a single layer and freeze for 2 hours before transferring to a freezer bag; this flash-freeze step keeps them separate so you can grab one at a time without prying them apart.






OMG these are a total game changer for my weeknight meal prep! I made a double batch on Sunday, grabbed one for lunch every day this week and even my super picky 7 year old asked for seconds. 20 minute cook time is no joke, I was shocked how fast these came together. Did anyone try adding a little extra rice to stretch the filling further?
SO good and actually cheap enough for my college student grocery budget! I kept a stack in my dorm mini freezer and heat one up in the microwave between classes, way better than the sad dining hall burritos. Only thing is I wish I’d wrapped them tighter, a couple leaked a little when I heated them up.
Threw a bunch of these in the cooler for our weekend camping trip last week, they heated up perfectly over our camp stove and fed the whole group without any fuss. No weird soggy texture after freezing, which I was worried about. Will 100% be making these for every car camping trip from now on.
I swapped the ground beef for lentils to make these vegetarian and they came out amazing! Super filling, great flavor, froze perfectly. I brought a couple to my office potluck last week and three people asked for the recipe. Quick question: how long do these actually stay good in the freezer for?
Y’all, I am not good at cooking at ALL and these came out perfect first try. No fancy skills needed, ingredients are all stuff I can find at my local grocery store without hunting for anything weird. I added a little extra taco seasoning because I like things spicy, chef’s kiss.
These are my go-to for busy game nights! Between dropping the kids at practice and evening games, I don’t have time to cook, so I just pop one of these in the microwave for each kid and they’re happy. Way healthier than hitting the drive thru every night, and way cheaper too.
First time ever doing meal prep for the week and I picked this recipe because it looked easy, but I messed up and burned the onion and garlic a little when I was browning the meat. Would that mess up the whole batch? I still froze them but I’m worried they’ll taste bitter when I reheat.
Wait, how much does this actually cost per burrito? I’m trying to cut my grocery bill down to $50 a week and these look perfect, but I want to make sure they fit my budget before I buy all the ingredients.
These are great for post-workout meals! I added a scoop of Greek yogurt instead of sour cream to bump up the protein, and they keep me full for hours after the gym. Love that I don’t have to cook every single night to hit my macro goals.
I made these for my grandson when he came to visit last week, he said they were better than the fast food burritos he gets after school. I added a little diced green chile to the filling for a tiny kick, it was perfect. He took a whole bag home with him to keep in his freezer at college!
Tried making these for a casual movie night with my partner and we ended up eating three each while binging our show, oops. We added a side of guac and chips and it was the perfect low-effort date night, no cleanup, no fancy cooking, just good food. 10/10
Wait, do you reheat these straight from frozen, or do you have to thaw them first? I don’t want to end up with a burrito that’s boiling hot on the outside and still frozen solid in the middle, that’s the worst.