
Butter Herb Turkey Breast

title 1
Butter Herb Turkey Breast
⏱️ cook time 1 hour 15 minutes
🍽️ servings 6
⚡ Difficulty easy

intro

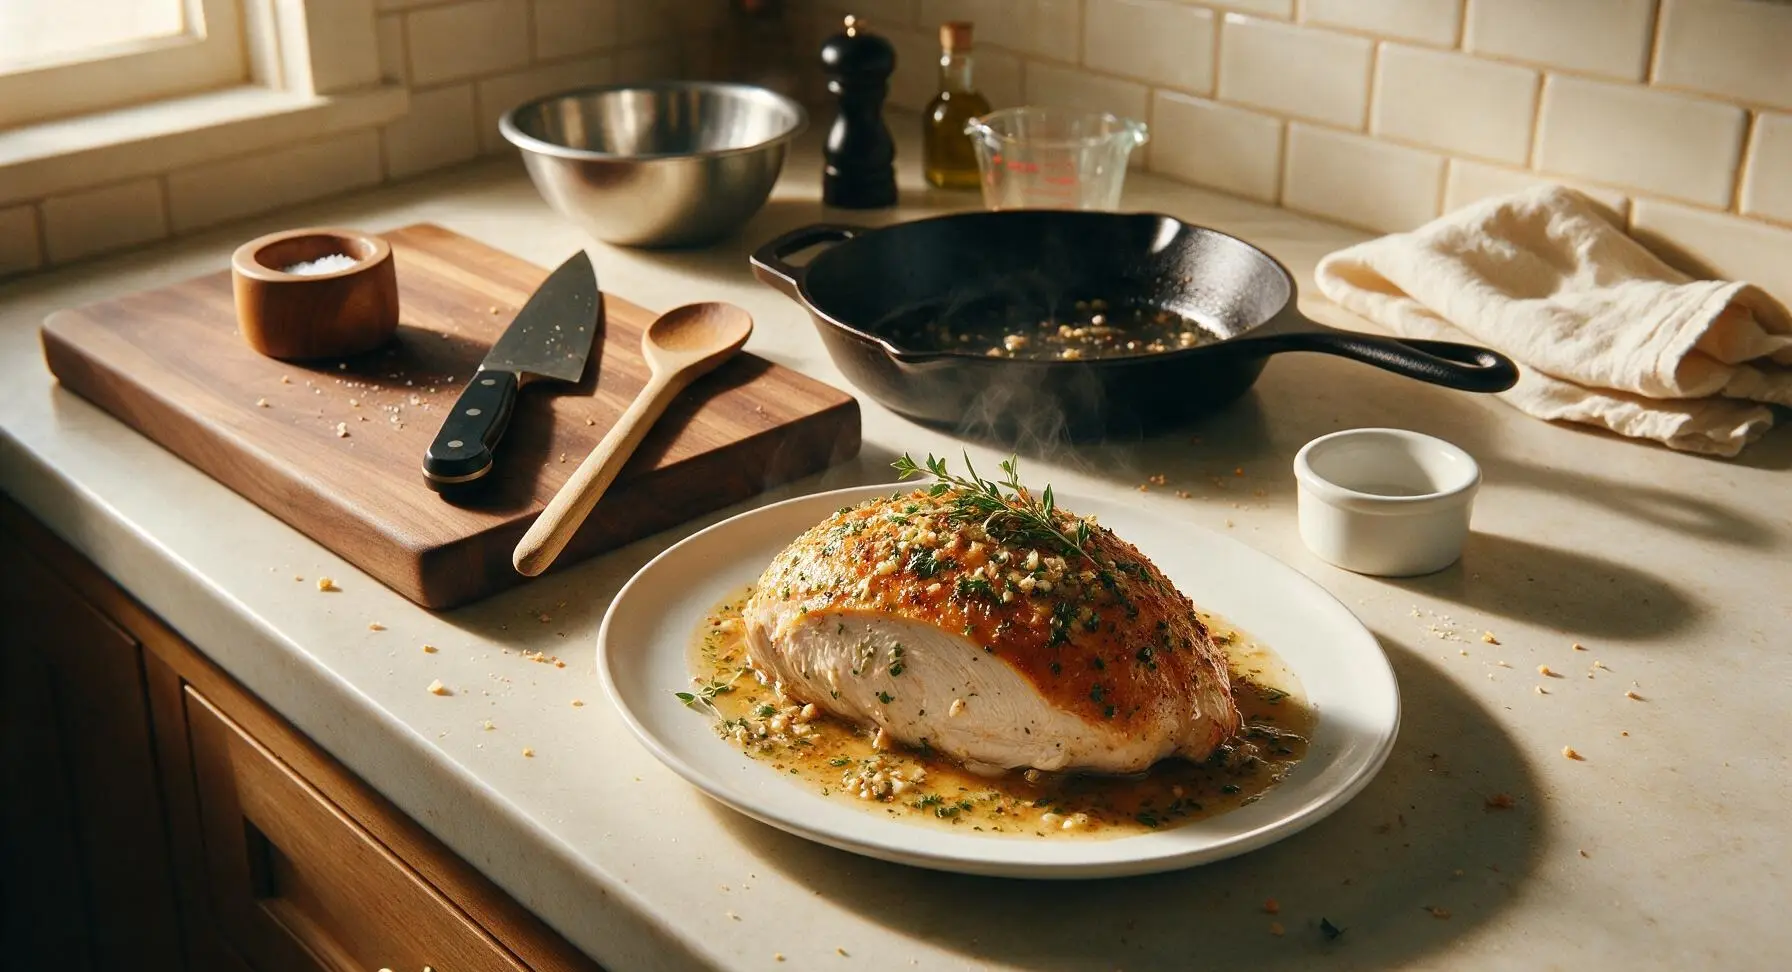
Juicy, tender roasted turkey breast coated in fragrant garlic-herb butter, with crisp golden skin and rich pan drippings—perfect for smaller Thanksgiving gatherings with no whole-turkey hassle.

Ingredients
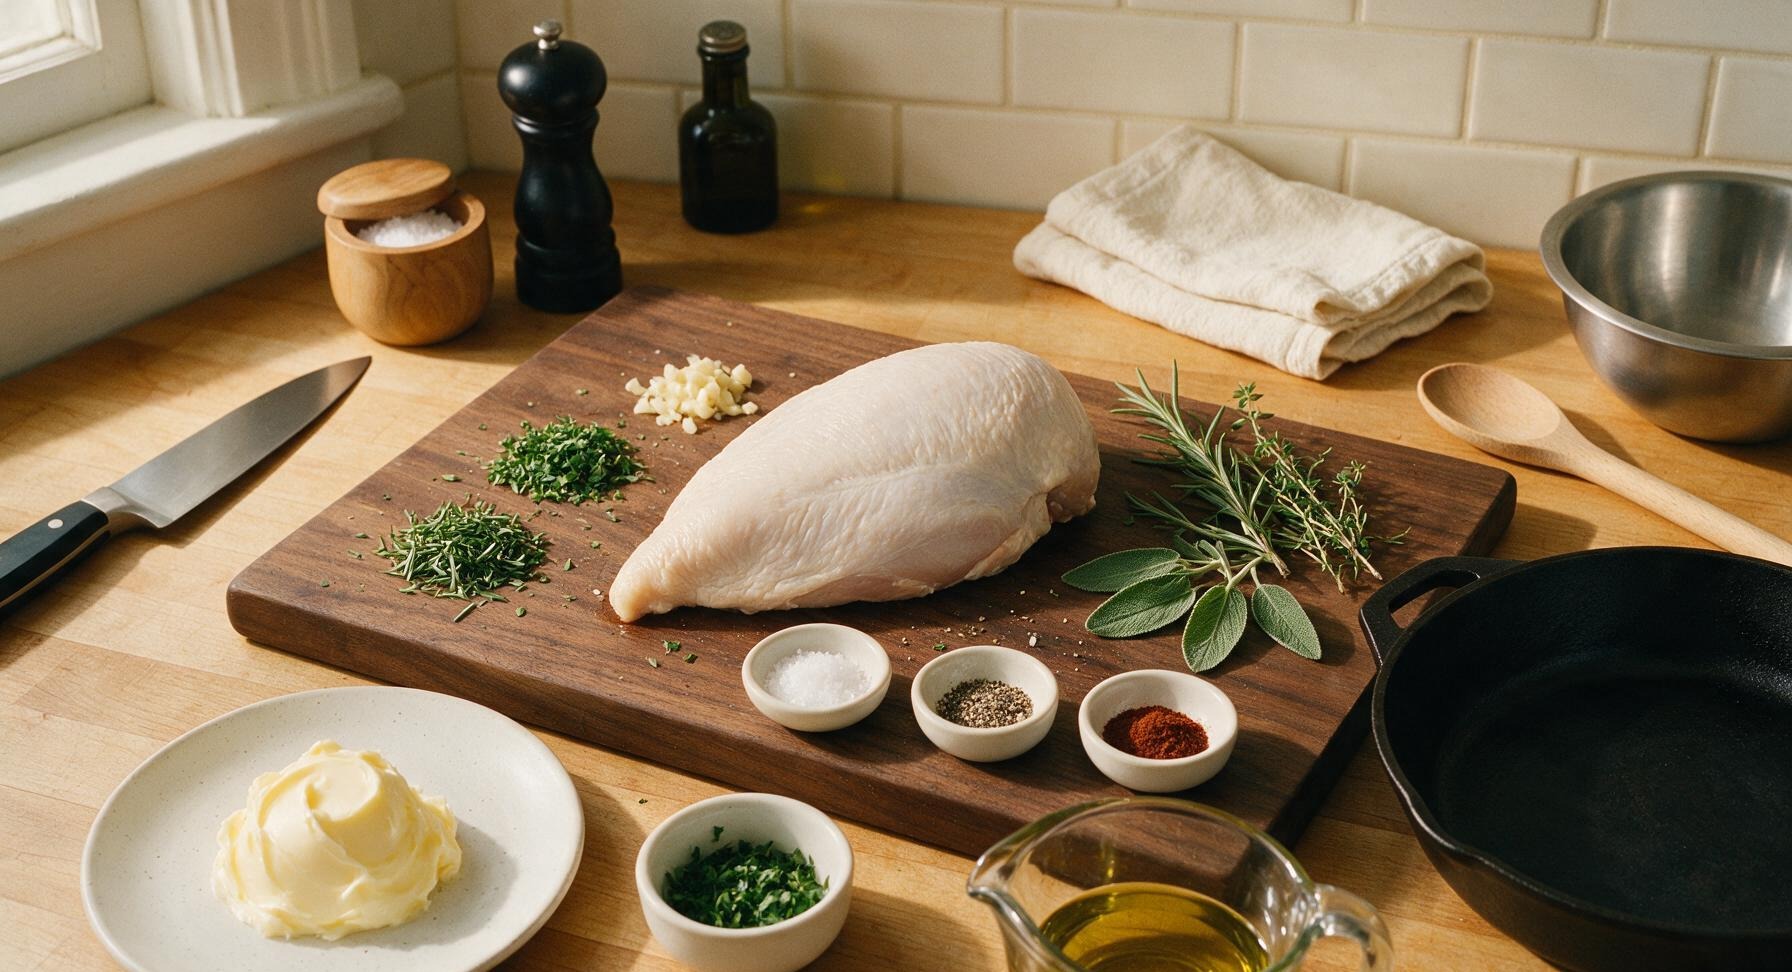
Boneless skin-on turkey breast 1.8kg (4lb, trimmed of excess loose skin)
Unsalted butter 113g (1/2 cup, softened to room temperature)
Fresh rosemary 2 tbsp finely chopped, plus 2 whole sprigs
Fresh thyme 1 tbsp finely chopped, plus 3 whole sprigs
Fresh sage 1 tbsp finely chopped, plus 4 whole leaves
Garlic cloves 4, minced finely
Kosher salt 1.5 tsp
Freshly ground black pepper 1 tsp
Smoked paprika 1/2 tsp

Steps

1

Pat Turkey Dry

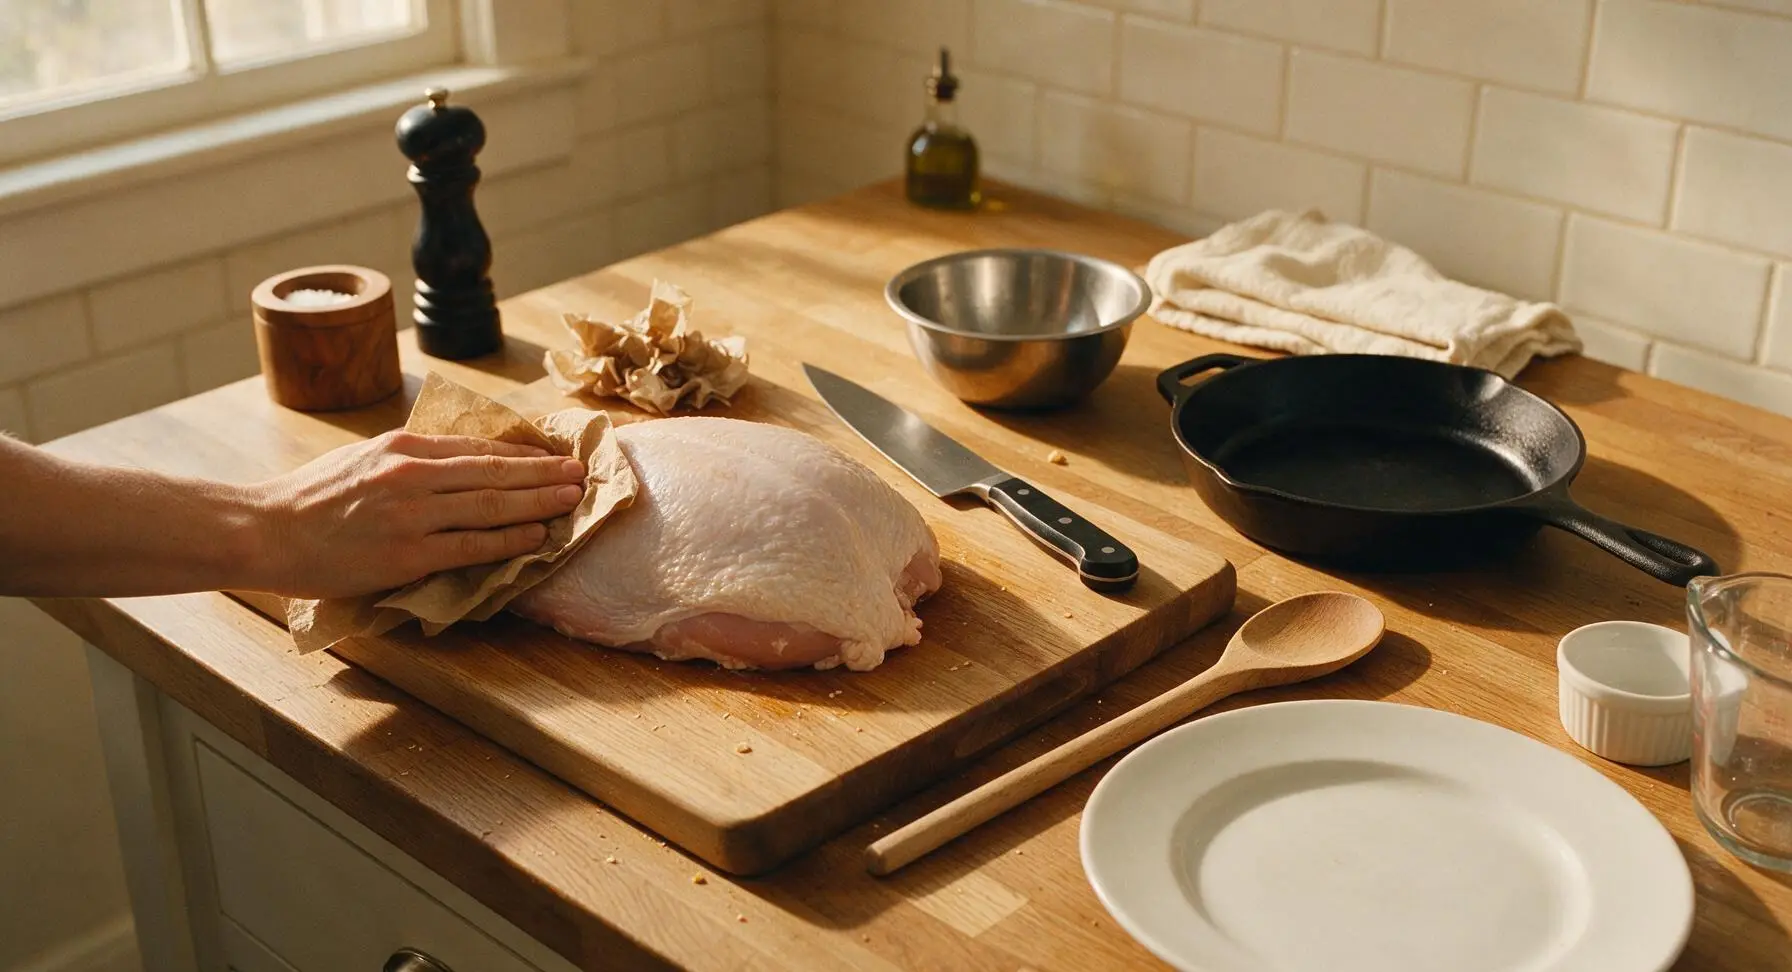
Remove the turkey breast from its packaging, rinse briefly under cool running water, and place it on the maple end-grain cutting board. Use the folded unbleached paper towels to thoroughly pat every surface of the turkey (especially the skin side) completely dry, paying extra attention to crevices where moisture can get trapped. Discard used paper towels. The skin should feel dry and slightly tacky to the touch, not damp, to ensure it crisps properly in the oven. Tuck any loose ragged edges of skin under the breast to create a smooth, even surface.
Step 1
step1:Pat Turkey Dry
2

Mix Herb Butter

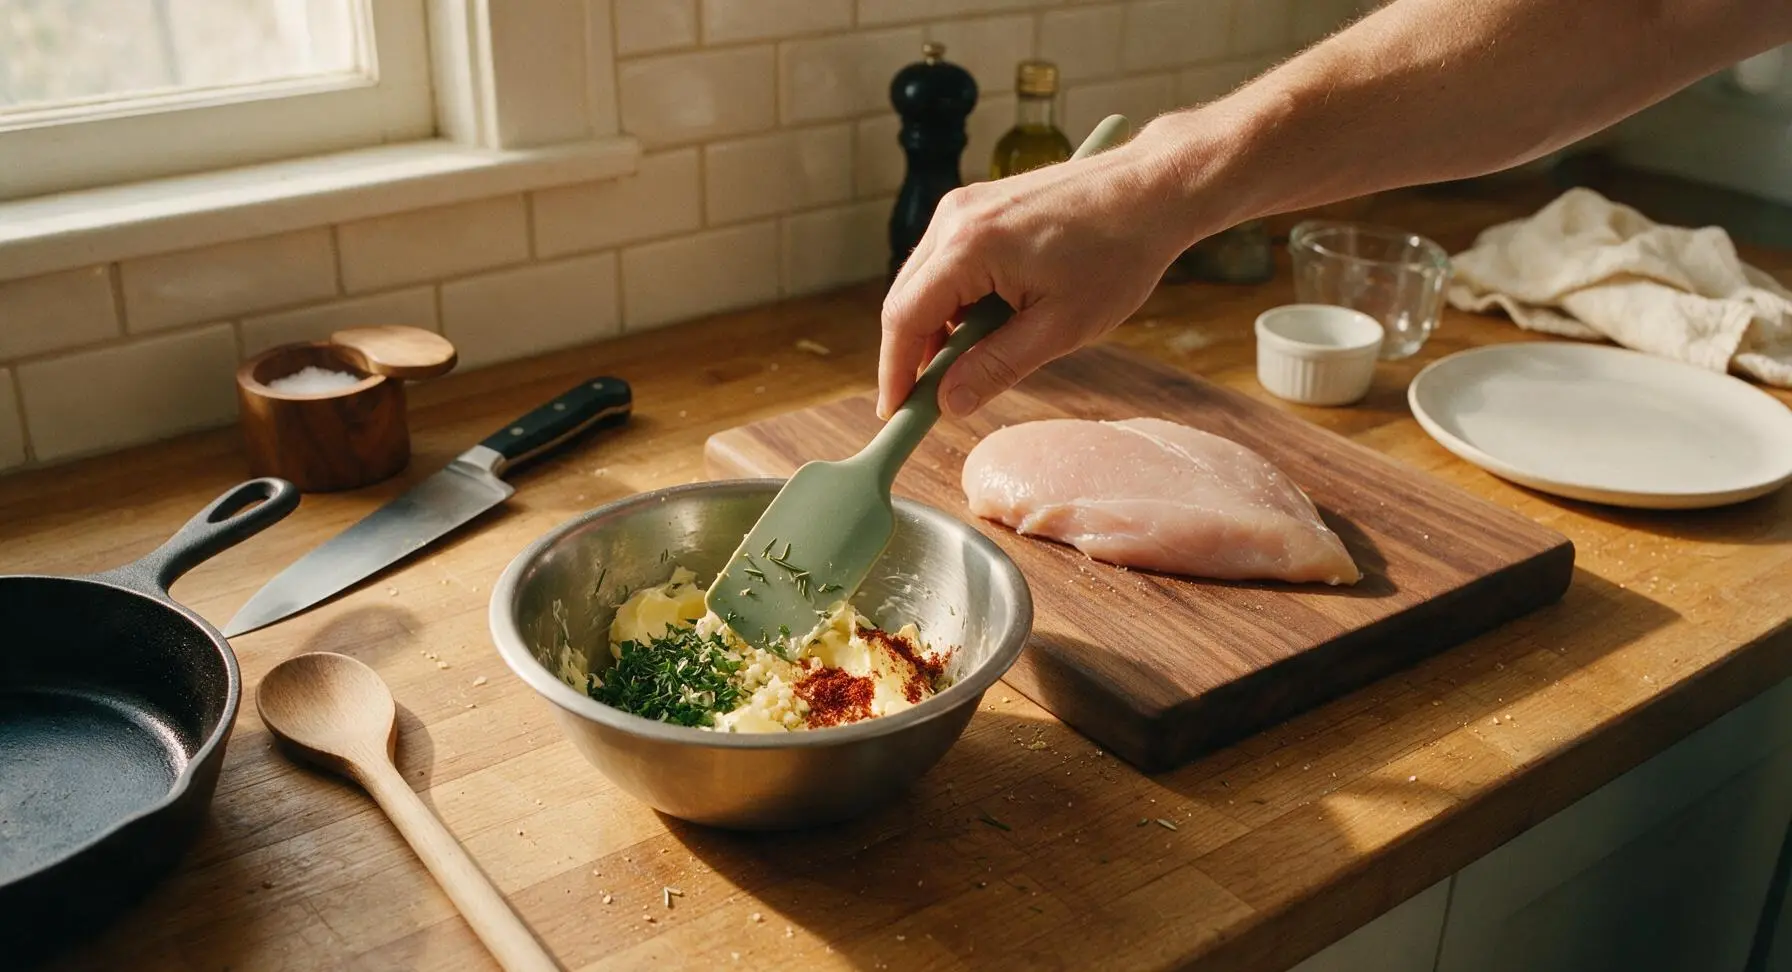
Place the softened room-temperature unsalted butter into the small brushed stainless steel mixing bowl. Add the finely chopped rosemary, thyme, sage, minced garlic, 1 teaspoon of kosher salt, ½ teaspoon of black pepper, and smoked paprika. Use the matte sage green silicone spatula to mash and stir the mixture until fully combined, with herbs and garlic evenly distributed throughout the smooth butter. The finished butter will be pale creamy yellow, densely flecked with dark green herbs and tiny bits of pale garlic.
Step 2
step2:Mix Herb Butter
3

Coat Turkey with Butter

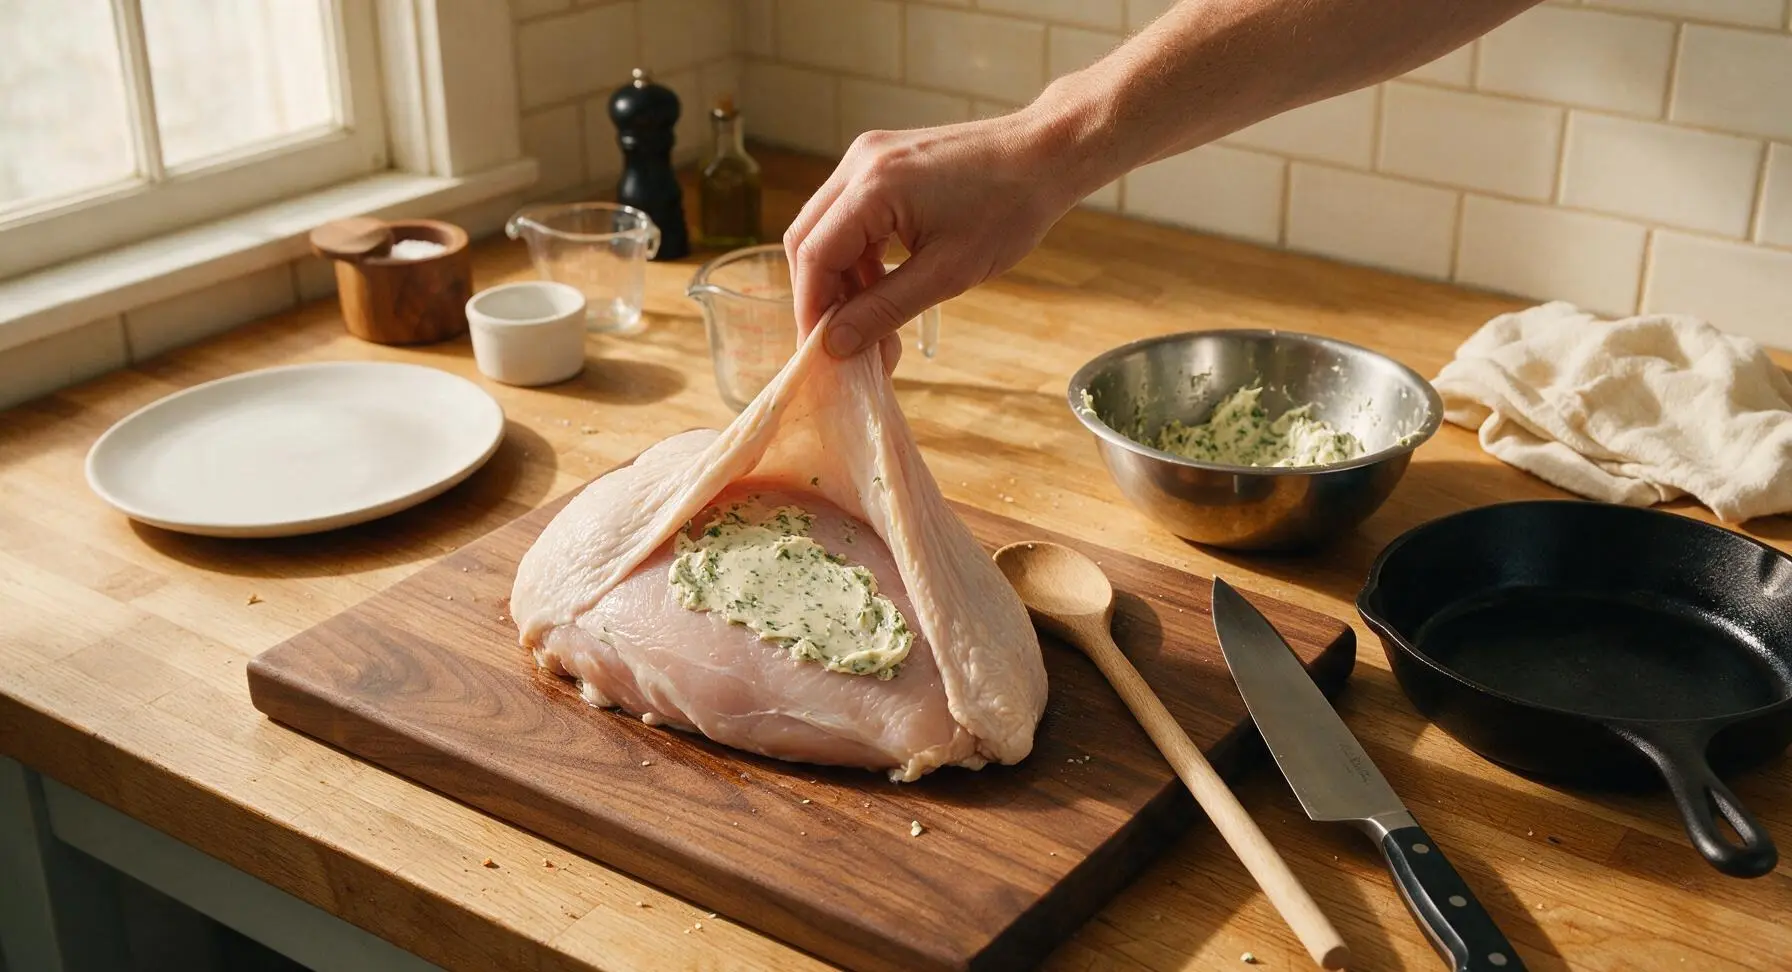
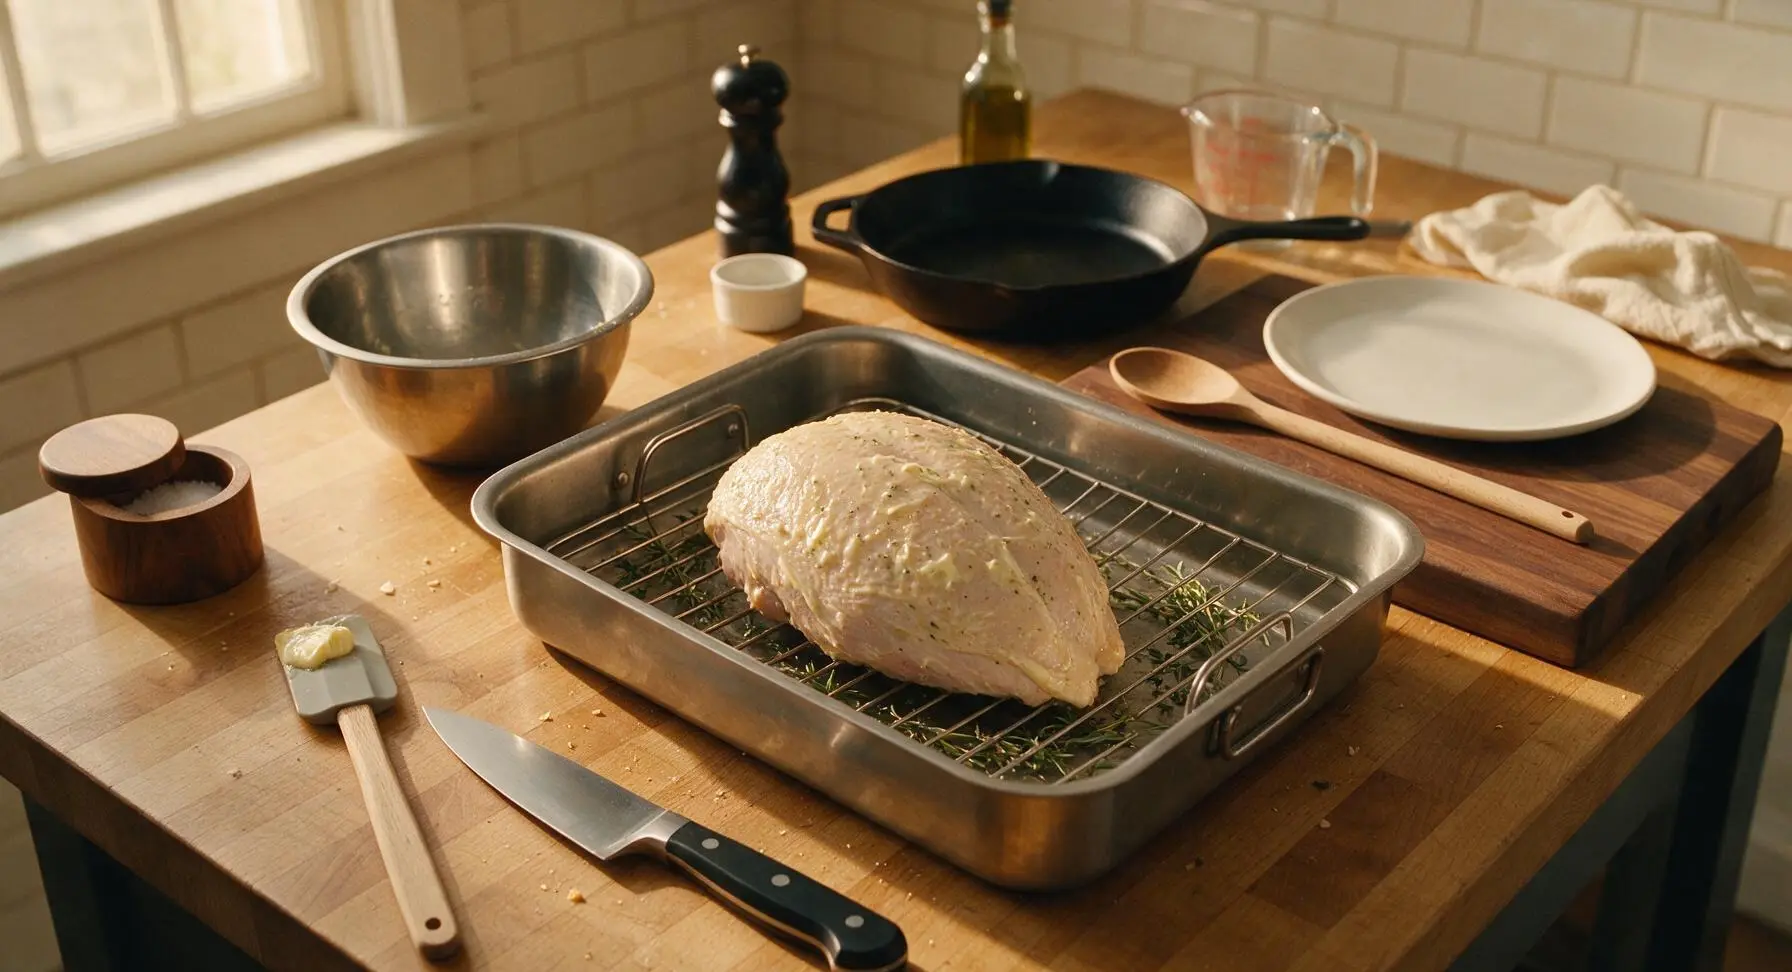
Sprinkle the remaining ½ teaspoon kosher salt and ½ teaspoon black pepper evenly over all sides of the dried turkey breast, including the underside. Use clean hands to rub ⅔ of the herb butter mixture in an even layer all over the underside and sides of the turkey breast. Gently lift the edge of the skin from the top of the breast (taking care not to tear the skin away completely) and spread half the remaining butter directly onto the meat under the skin for extra moisture and flavor. Smooth the skin back taut over the breast, then spread the last of the herb butter in a thin, even coat across the entire outer skin surface. Scatter the whole rosemary sprigs, thyme sprigs, and sage leaves across the bottom of the stainless steel roasting pan, set the wire rack in place, and set the prepared turkey breast skin-side up on the rack.
Step 3
step3:Coat Turkey with Butter
Step 3
step3:Coat Turkey with Butter
4

Roast and Baste Turkey

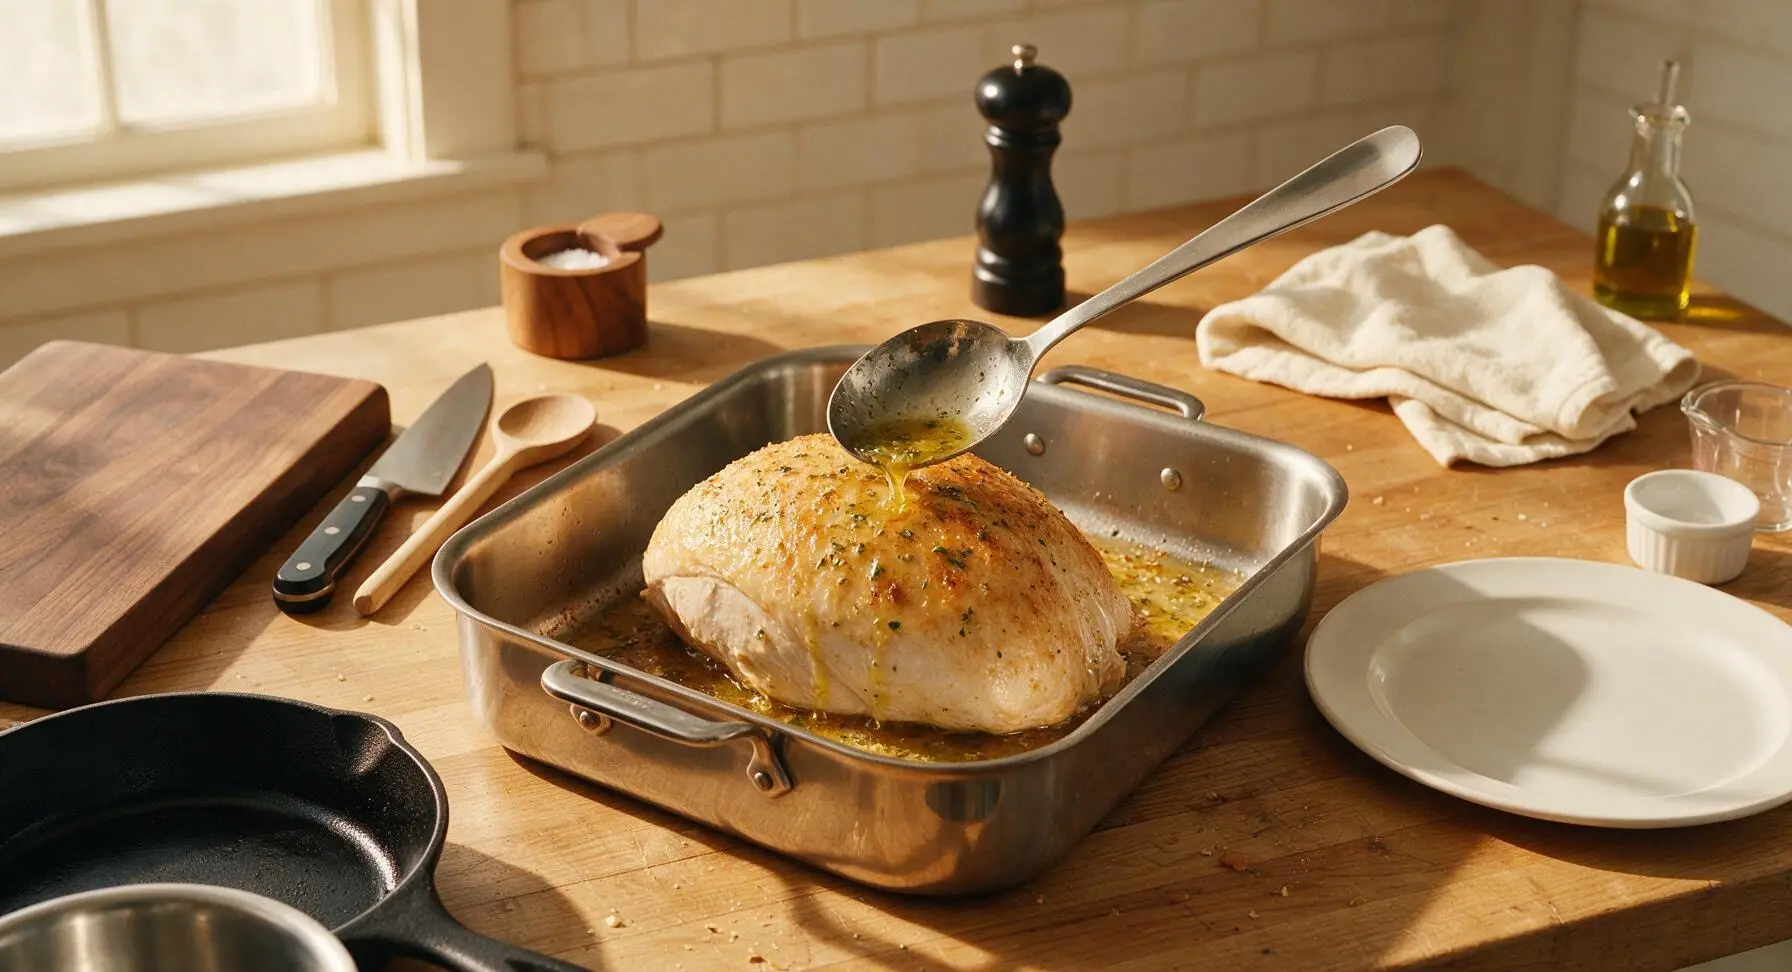
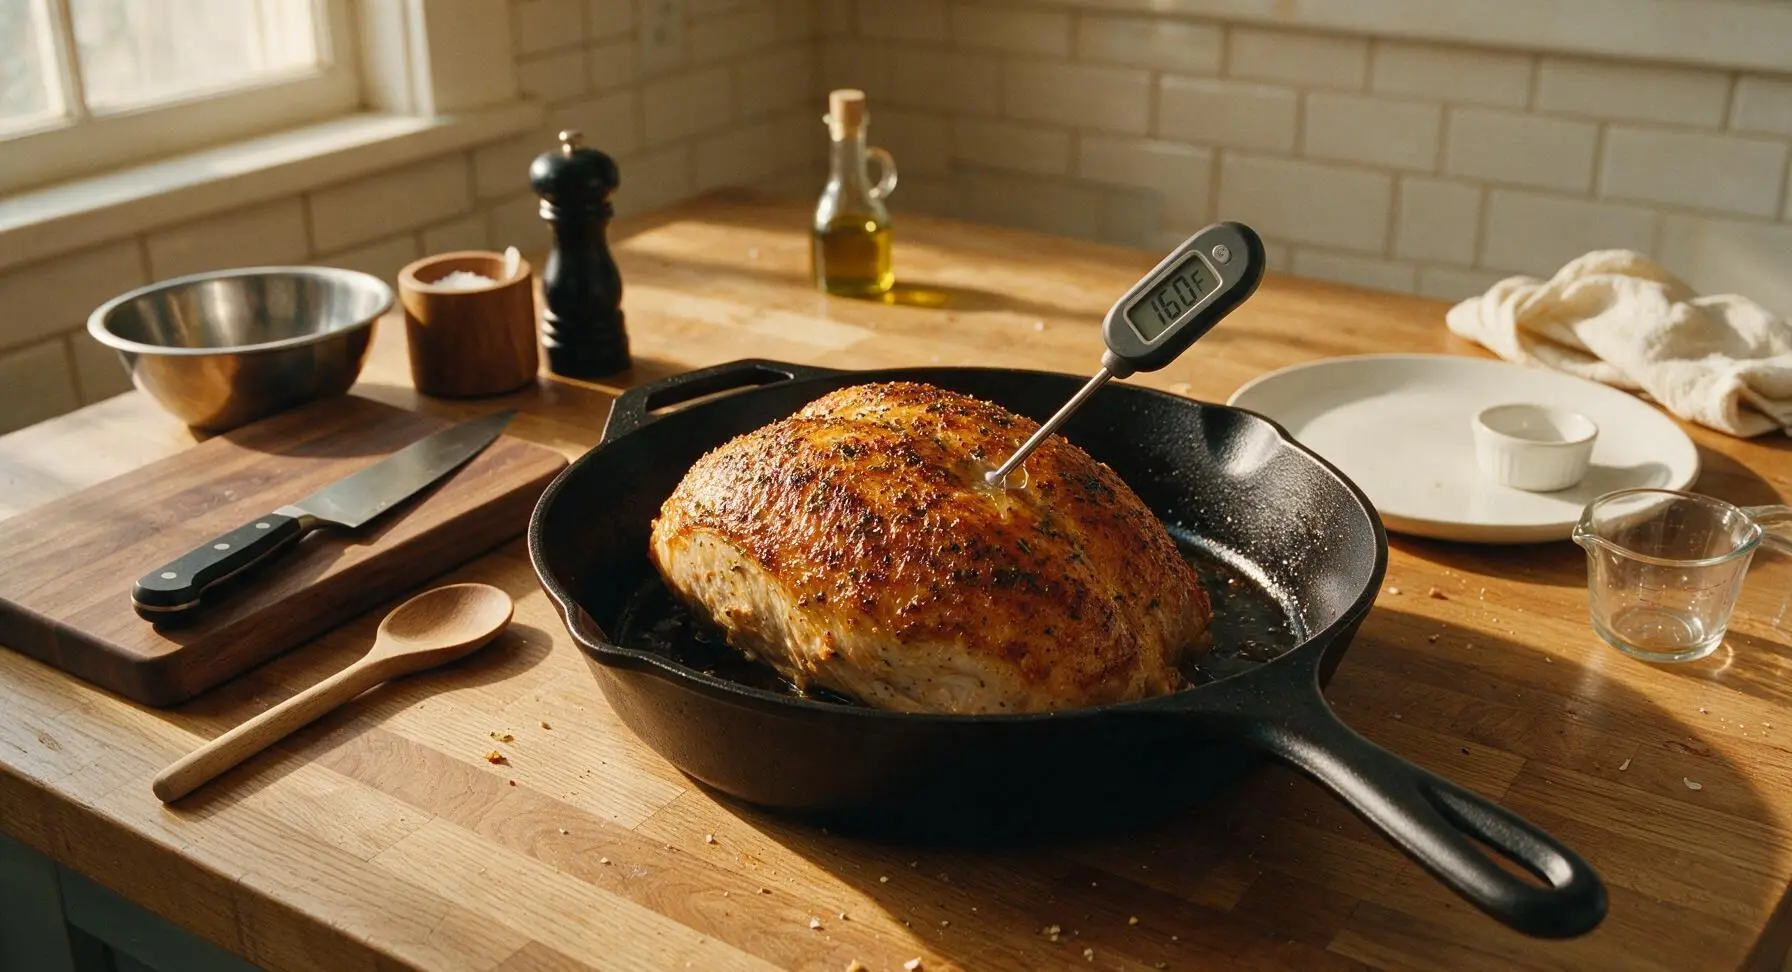
Place the roasting pan with the prepared turkey into a preheated 175C (350F) oven. Roast for 1 hour to 1 hour 15 minutes, pulling the pan out every 20 minutes to baste the turkey with melted butter and pan drippings using the long stainless steel basting spoon. The turkey is done when the skin is deep golden brown and crisp, and the digital instant-read thermometer inserted into the thickest part of the breast (away from any bone) reads 71C (160F). The residual heat as the turkey rests will raise the internal temperature to the food-safe final temperature of 74C (165F).
Step 4
step4:Roast and Baste Turkey
Step 4
step4:Roast and Baste Turkey
5

Rest Before Carving

Once the turkey reaches target temperature, carefully lift it from the roasting rack (reserve the herb-flecked drippings in the pan for gravy, if desired) and transfer it back to the maple cutting board. Loosely tent a sheet of heavy-duty aluminum foil over the top of the turkey, and let it rest for a full 15 minutes at room temperature before carving. Resting allows the tight muscle fibers to relax and reabsorb juicy moisture, preventing all the juices from running out when you cut into the meat.
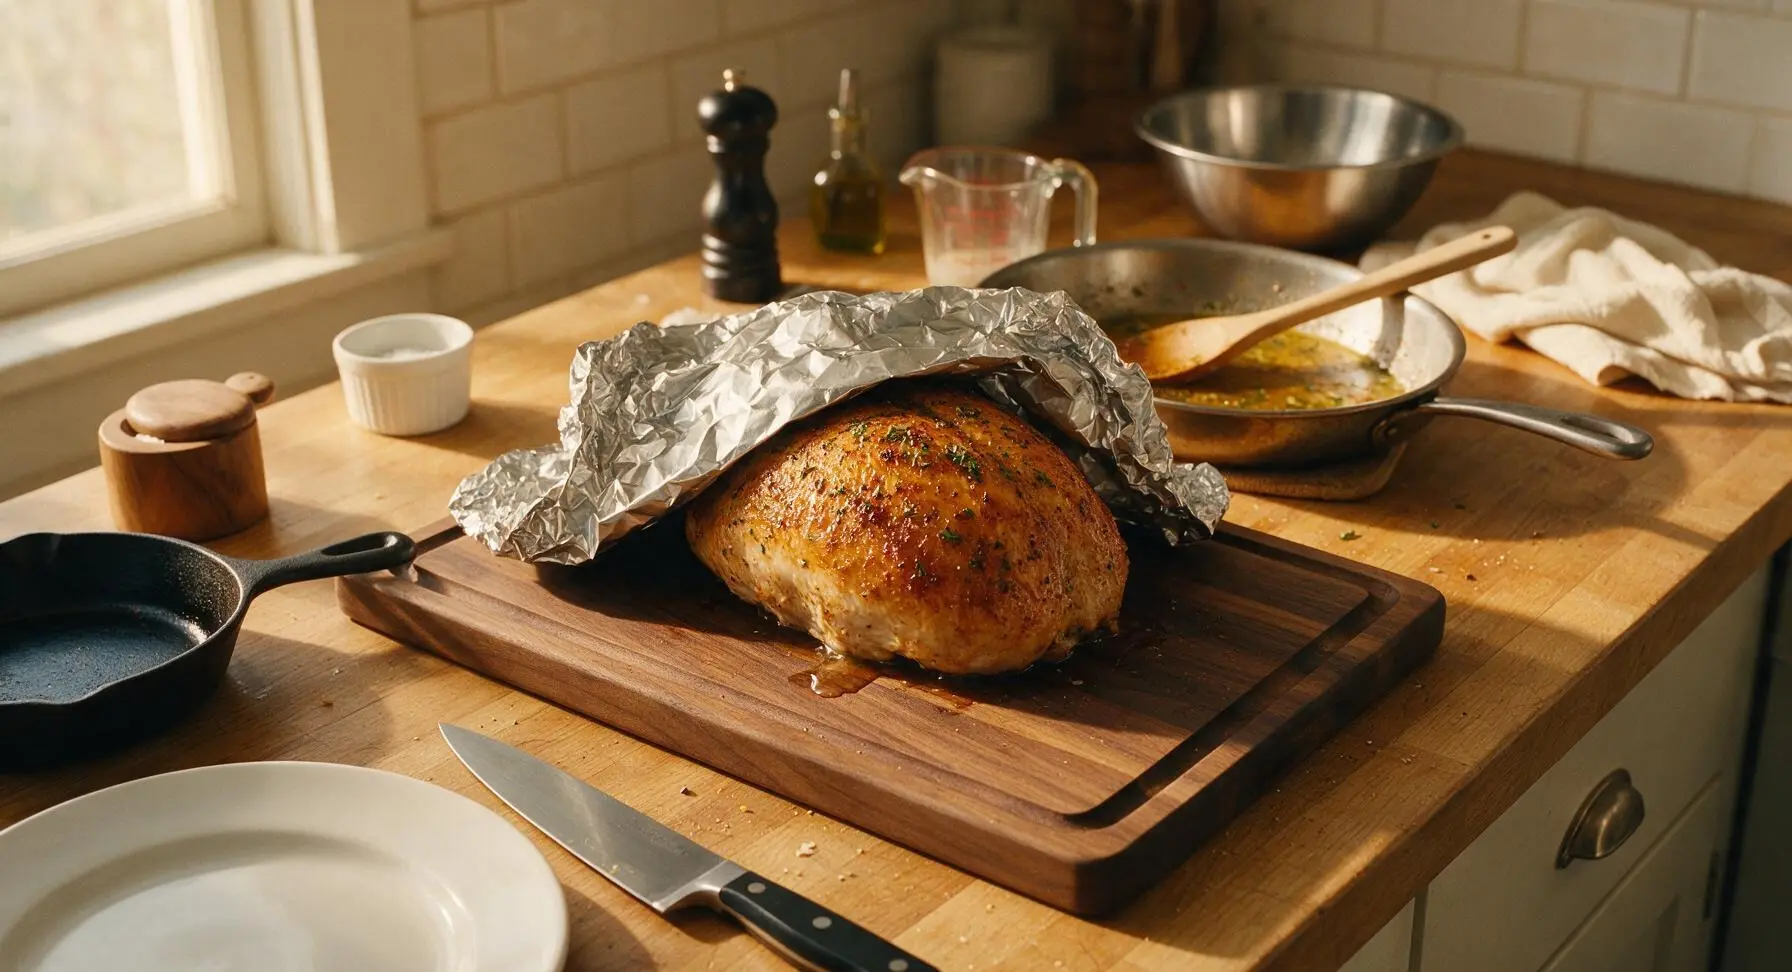
Step 5
step5:Rest Before Carving
6

Carve and Serve

After the 15-minute rest, remove the foil tent. Use the 8-inch chef knife to carve the turkey breast across the grain into 1cm (½-inch) thick even slices, taking care to keep a strip of crisp golden skin attached to each slice. Arrange the sliced turkey in a gentle fan across the off-white stoneware serving platter, spoon 2 tablespoons of reserved pan drippings over the top of the slices, and tuck a few of the roasted herb sprigs from the pan between slices for garnish. Serve warm.
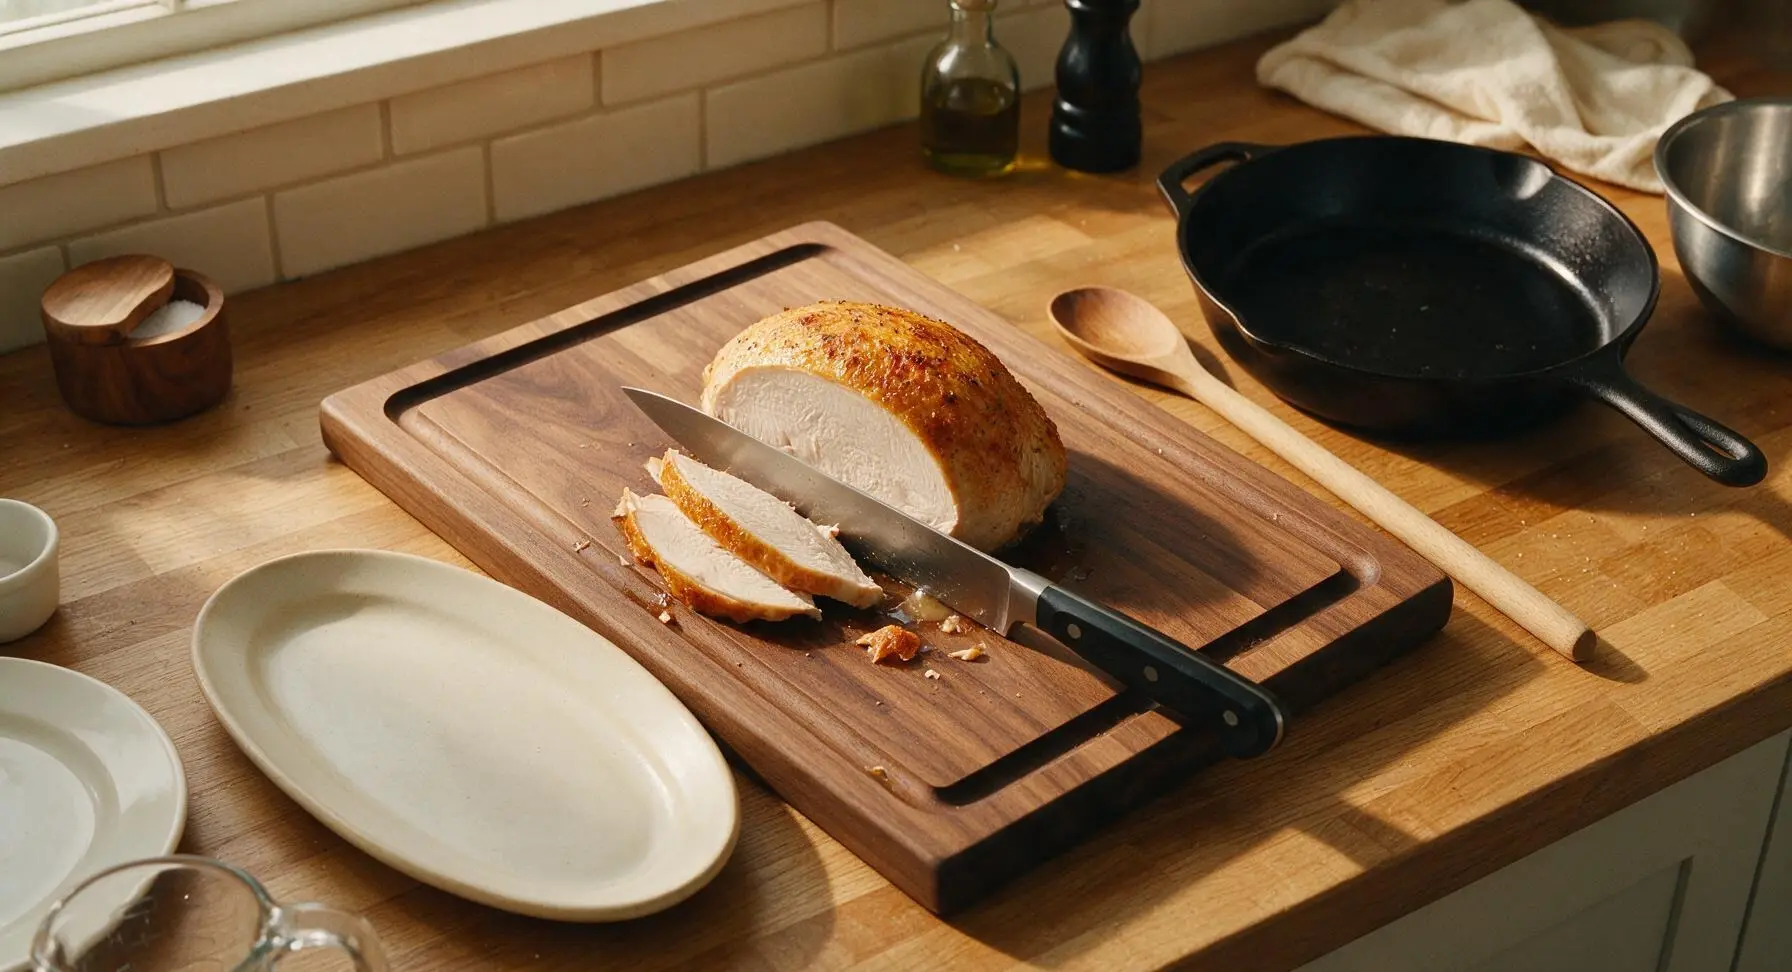
Step 6
step6:Carve and Serve

Tips

1.Always pat the turkey skin completely dry before adding herb butter: any residual surface moisture on the skin will steam rather than crisp in the oven, leading to soft, rubbery skin instead of the shatteringly crisp golden texture everyone craves.
2.Never skip the 15-minute rest period: cutting into hot turkey immediately after roasting causes all the juicy internal moisture to flood out onto the cutting board, leaving you with dry, bland slices even if you cooked the turkey to the perfect temperature.
3.Spread a portion of the herb butter directly under the turkey skin, not just on top: butter slathered on the outer skin can drip off into the pan as it melts, but butter placed against the meat under the skin infuses every bite with herb and garlic flavor while basting the breast from the inside out for extra juiciness.


✨ You May Also Like

Main Course
🍜 United Kingdom

A showstopping classic of tender seared beef, savory mushroom duxelles, and crisp prosciutto wrapped in flaky golden puff pastry, baked to juicy perfection.

⏱️ 2 hours 1Main Course ★ 4.7
Main Course
🍜 India

Tender charred marinated chicken simmered in a rich, spiced creamy tomato sauce, this iconic Anglo-Indian curry pairs perfectly with basmati rice or warm naan.

⏱️ 50 minuteMain Course ★ 4.6
Main Course
🍜 Thailand

Classic tangy, sweet, and savory Thai stir-fried rice noodles with shrimp, tofu, and crunchy garnishes, balancing all five core Thai flavor profiles.

⏱️ 30 minuteMain Course ★ 4.5
Main Course
🍜 United Kingdom

Crispy golden beer-battered cod and fluffy double-fried chips, served with tangy tartar sauce and malt vinegar: the timeless, beloved British pub comfort classic.

⏱️ 45 minuteMain Course ★ 4.7
Main Course
🍜 Mexico

Smoky, chile-marinated pork tacos with caramelized pineapple, fresh cilantro, and lime: a beloved classic Mexican street food perfect for casual summer gatherings.

⏱️ 1 hour 45Main Course ★ 4.8
Main Course
🍜 United States

Crunchy Fritos corn chips layered with savory beef chili and melted cheddar, topped with cool, zesty fixings for a beloved, cozy Tex-Mex comfort food.

⏱️ 35 minuteMain Course ★ 4.8

Butter Herb Turkey Breast:Frequently Asked Questions

1.How do I keep my butter herb turkey breast from drying out while roasting? ▾
Start by letting the turkey come to room temperature for 30 minutes before roasting, pat the skin completely dry, slather herb butter under and over the skin, and roast at 350°F just until it hits 160°F at the thickest point. Carryover cooking will bring it to the safe 165°F as it rests 20 minutes, so you won’t end up with dry, stringy meat.
2.Can I use dried herbs instead of fresh rosemary, thyme, and sage? ▾
You absolutely can—just stick to the standard 1:3 dried-to-fresh ratio, so for every tablespoon of chopped fresh herb, use 1 teaspoon of dried. Rub dried herbs directly into the butter to help their aromatic oils release, and note you’ll get a slightly earthier, less bright flavor than fresh, but it will still taste delicious.
3.What size boneless skin-on turkey breast do I need for a 4-person gathering? ▾
Plan for ½ to ¾ pound of boneless skin-on turkey breast per person, so a 2 to 3 pound breast works perfectly for 4 guests, with a small amount of leftover for next-day sandwiches. If you love extra pan drippings for quick gravy, size up by an extra half pound to get more rendered fat and juices.
4.How do I get that extra crispy, golden turkey skin everyone loves? ▾
Pat the skin completely dry with paper towels right before you apply the herb butter—any surface moisture will steam instead of crisp the skin. Lightly season the top of the skin with a pinch of flaky salt, and roast uncovered the entire time; tenting with foil early on traps steam and leaves soft, rubbery skin.
5.Do I need to spread the herb butter under the skin, or just on top? ▾
For the juiciest, most flavorful meat, always slide about two-thirds of the herb butter directly under the skin, massaging it evenly over the top of the breast meat. The remaining third gets spread over the outside of the skin to boost browning and crispness, so butter doesn’t just drip off into the pan.
6.What internal temperature means the turkey breast is done, and where should I check it? ▾
Stick an instant-read thermometer into the thickest part of the breast, avoiding any tucked seams of fat. Pull it out when the thermometer reads 160°F—carryover cooking will raise the temperature 5°F as it rests, hitting the FDA-recommended 165°F safe temp without overcooking the delicate meat.
7.How long should I let the turkey breast rest after roasting, and why does it matter? ▾
Let it rest for 15 to 20 minutes, tented loosely with a small piece of foil to hold in heat. Resting lets all the hot, tight muscle fibers relax and reabsorb their moisture, so when you slice in, juices stay in the meat instead of running all over your cutting board and leaving dry slices.
8.Can I prep this butter herb turkey breast ahead of time for Thanksgiving? ▾
You can mix the herb butter and pat the turkey dry 24 hours ahead, storing both covered in the fridge. Let the turkey sit at room temperature for 30 minutes before slathering with butter and roasting for even cooking. Fully cooked turkey keeps 3 days in the fridge, but is juiciest roasted the day you serve.
9.What should I do with the pan drippings left after roasting? ▾
Those golden, herb-infused drippings are liquid gold! Skim a tiny bit of excess fat if you prefer, then stir in a splash of white wine or chicken broth, simmer 2 minutes, and season to taste for quick, no-fuss pan gravy. You can also drizzle them directly over sliced turkey for an extra rich boost.
10.Can I roast vegetables in the same pan as the turkey breast? ▾
Absolutely! Toss sturdy veggies like cubed potatoes, carrot chunks, quartered onions, or parsnips in a little olive oil and salt, then spread them in an even layer around the turkey in the roasting pan. They’ll roast in the herb butter drippings as the turkey cooks for an easy one-pan meal.
11.My turkey skin is browning too fast before the meat is done—what should I do? ▾
If the skin hits that perfect deep golden brown 15 to 20 minutes before the meat reaches target temp, just tent a loose piece of aluminum foil over the top of the breast to slow further browning. Don’t wrap it tight, as that traps steam and softens crisp skin, and check temp every 5 minutes to avoid overcooking.
12.Is it better to roast this turkey breast at a high or low oven temperature? ▾
A steady 350°F is the sweet spot for this recipe. Lower temps around 325°F take longer and can dry out outer meat edges before the center cooks, while temps over 375°F burn the herb butter and skin before the thickest part of the breast cooks through evenly.
13.Can I use a frozen turkey breast for this recipe? ▾
You can, as long as you thaw it completely in the fridge first—this takes about 24 hours for every 4 pounds of turkey. Never roast a partially frozen breast, as it will cook unevenly, leave the center undercooked while edges overcook, and excess meltwater will make skin soggy.
14.Do I need a special roasting rack to make this recipe? ▾
You don’t need a fancy roasting rack! If you have one, it helps air circulate under the turkey for all-around crisp skin, but you can prop the breast up on a bed of thick onion slices or celery stalks if you don’t. Just don’t set turkey directly flat on the pan, which makes bottom skin soggy.
15.Can I add garlic to the herb butter, or will it burn in the oven? ▾
Garlic is a fantastic addition to the herb butter—just use 3 to 4 cloves of finely minced (not crushed) garlic, and mix most of it into the butter that goes under the skin. The small amount spread on the outer skin will mellow as it roasts and won’t burn at 350°F, as long as you stick to the recommended oven temperature.
16.How thick should I slice the finished turkey breast for the best texture? ▾
For the best, most tender bite, slice the rested turkey against the grain into ¼ to ½ inch thick slices. Cutting against the grain shortens the long muscle fibers so every bite is tender instead of chewy, and that thickness is perfect for holding gravy or piling onto leftover sandwich rolls.
17.Can I use salted butter instead of unsalted for the herb coating? ▾
You can, just cut back on any extra salt you add to the butter and skin by about ½ teaspoon per stick of butter to avoid over-salting. Unsalted butter lets you control the exact sodium level and tastes fresher for herby coatings, but salted butter works perfectly in a pinch.
18.Why does my turkey breast always come out tough around the edges? ▾
Tough, rubbery edges almost always come from overcooking, or not letting the turkey come up to room temperature before roasting. A cold breast hits the hot oven with a huge temperature gap, so outer layers cook way faster than the center. The 30-minute pre-roast rest and 160°F pull temp fixes this almost every time.
19.Can I brine the turkey breast before adding the herb butter? ▾
A quick 2 to 4 hour wet brine (or 1 hour dry brine) is a great way to guarantee extra juicy meat, especially if you’re working with a larger 4+ pound breast. Just be sure to pat the skin completely dry after brining before applying butter, otherwise you’ll end up with soggy, non-crisp skin.
20.How do I store leftover butter herb turkey breast, and how long does it last? ▾
Let leftover turkey cool completely within 2 hours of roasting, then wrap it tightly in plastic wrap or store it in an airtight container in the fridge for up to 4 days. Slice it only right before using leftovers for sandwiches, salads, or soups, as whole unsliced breast stays juicier much longer.

Comments (4)

2 days ago

OMG this was SO good! I made this for our Sunday family dinner last night and even my super picky 7 year old asked for seconds! The butter herb crust got so crispy and the turkey was so juicy I almost couldn’t believe it. I was worried turkey breast would dry out but this was perfect. Total game changer for weeknights too since it’s so easy to throw together!

yesterday

Wait did you use a meat thermometer? I’m nervous about overcooking mine when I make it for our potluck this weekend!

2 hours ago

So glad your family loved it! Quick tip for Jake too – I recommend pulling the turkey when the internal temp hits 160°F at the thickest part, it’ll climb to 165°F while resting so it stays perfectly juicy. Enjoy your potluck!

3 days ago

This is my new go-to weekly meal prep protein! 1 hour 15 minutes cook time is totally doable on Sunday afternoons, and the herb butter flavor is so versatile – I slice it up for salads, sandwiches, and even quick turkey wraps all week. No more sad, dry meal prep turkey for me! Only note is I added a little extra garlic because we’re garlic obsessed over here.

2 days ago

Love that you’re customizing it to your taste! Extra garlic is always a win in my book – so glad this is making your weekly meal prep easier and tastier.

1 week ago

Brought this to my neighborhood block party potluck last weekend and people were coming up to me all night asking for the recipe! It was so easy to make even after a long work day, and it looked way fancier than the effort I put in. 10/10 will be making this for Thanksgiving this year instead of a whole turkey since we have a smaller crew.

5 minutes ago

Super easy recipe even for someone who barely cooks like me! My turkey came out juicy and flavorful, only reason I’m not giving 5 stars is I think I overdid it a little on the dried thyme so it was slightly herby-er than I prefer, but that’s totally my bad. Definitely making this again, just measuring the herbs more carefully next time.

just now

Same thing happened to me the first time! I started using fresh herbs from my windowsill when I make it now and it’s perfect every time, you should try it!



