
buttermilk fried chicken sandwich

title 1
buttermilk fried chicken sandwich
⏱️ cook time 20 minutes
🍽️ servings 4
⚡ Difficulty medium

intro

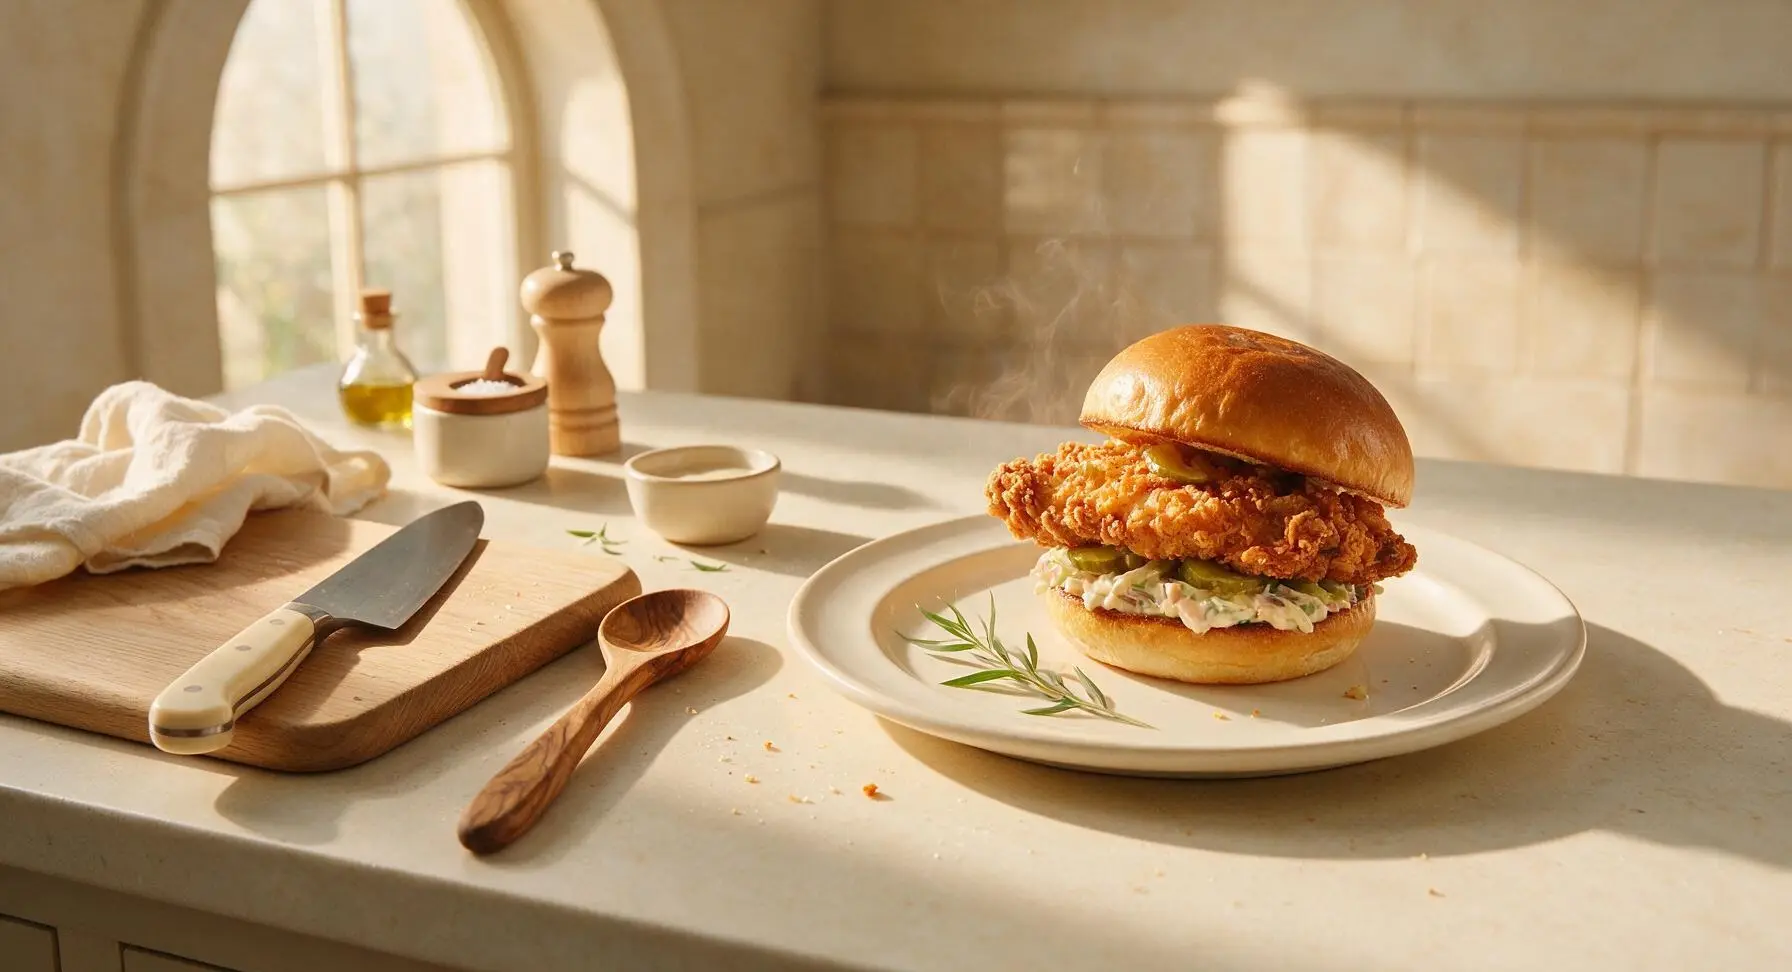
Crispy, craggy buttermilk-brined chicken stacked with tangy pickles and creamy slaw on a toasted brioche bun—classic Southern comfort food made for casual summer gatherings.

Ingredients
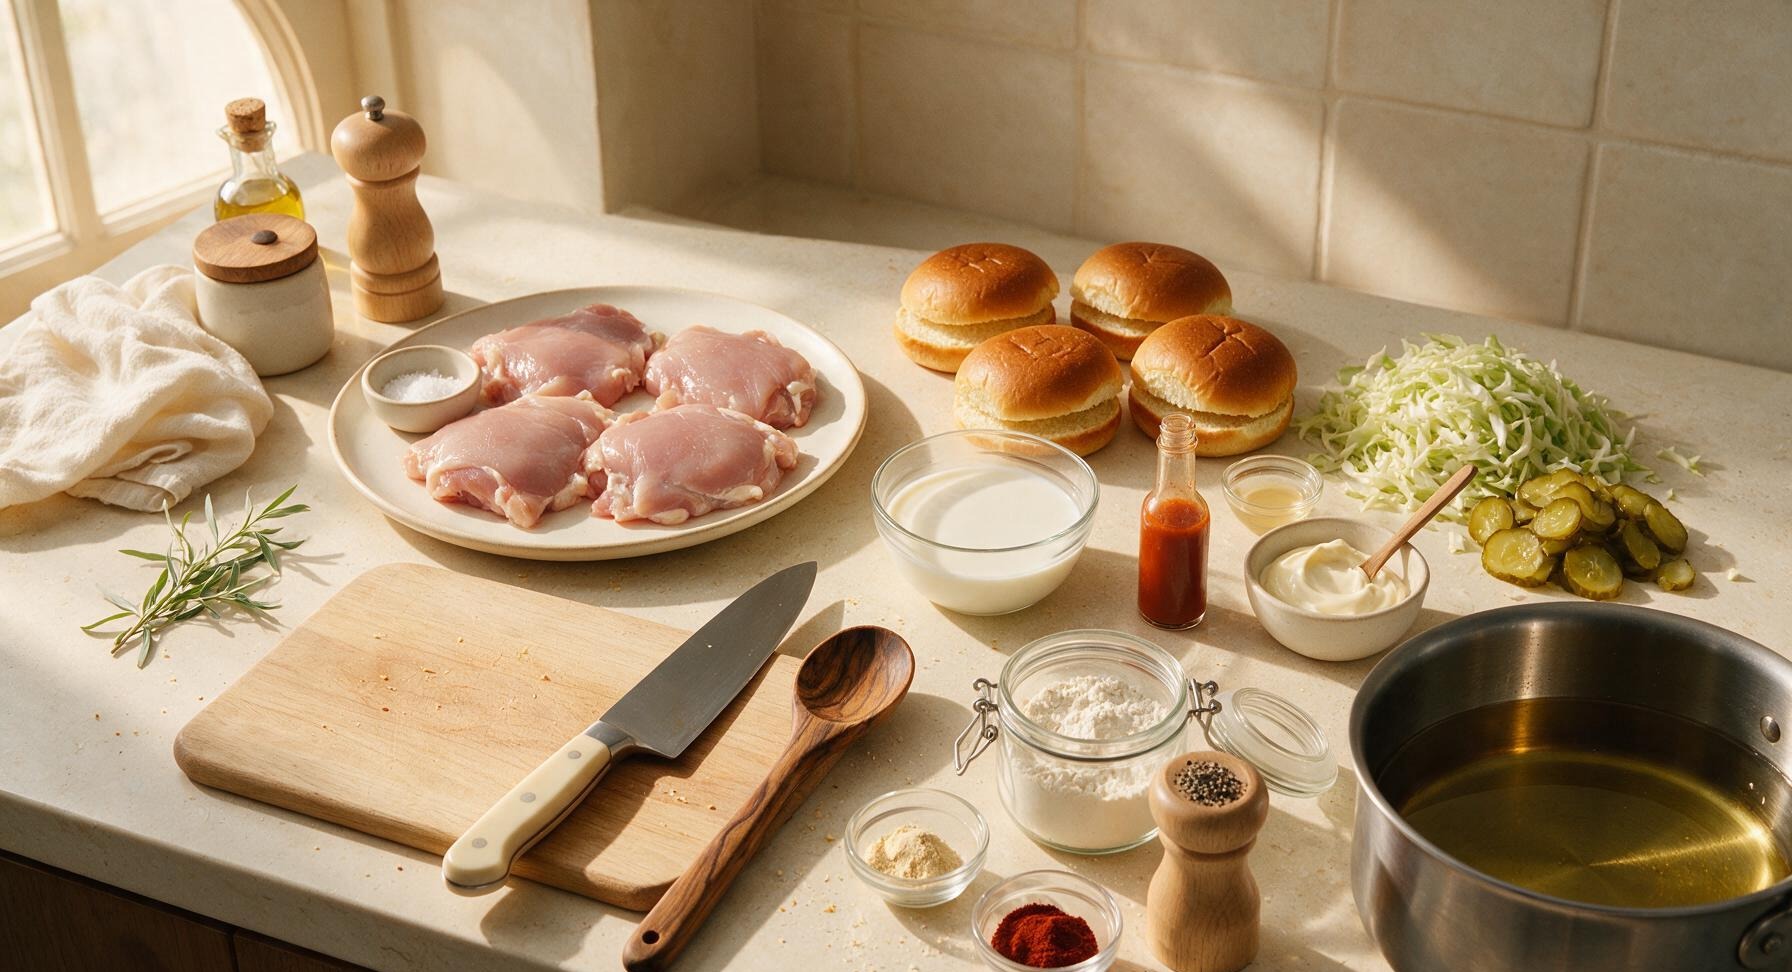
Boneless skinless chicken thighs 680g (4 pieces, ~170g each)
Full-fat buttermilk 2 cups (480ml)
All-purpose flour 1.5 cups (180g)
Brioche hamburger buns 4, split horizontally
Crinkled dill pickle slices 1 cup, drained
Green cabbage 2 cups, finely shredded
Mayonnaise 1/2 cup (120ml), divided
Kosher salt 1 tbsp plus 1 tsp, divided
Freshly ground black pepper 1 tsp
Garlic powder 1 tsp
Smoked paprika 1 tsp
Hot sauce (e.g., Tabasco) 2 tbsp, divided
Apple cider vinegar 1 tsp
Neutral frying oil (peanut/canola) 4 cups (960ml)

Steps

1

Brine Chicken Thighs

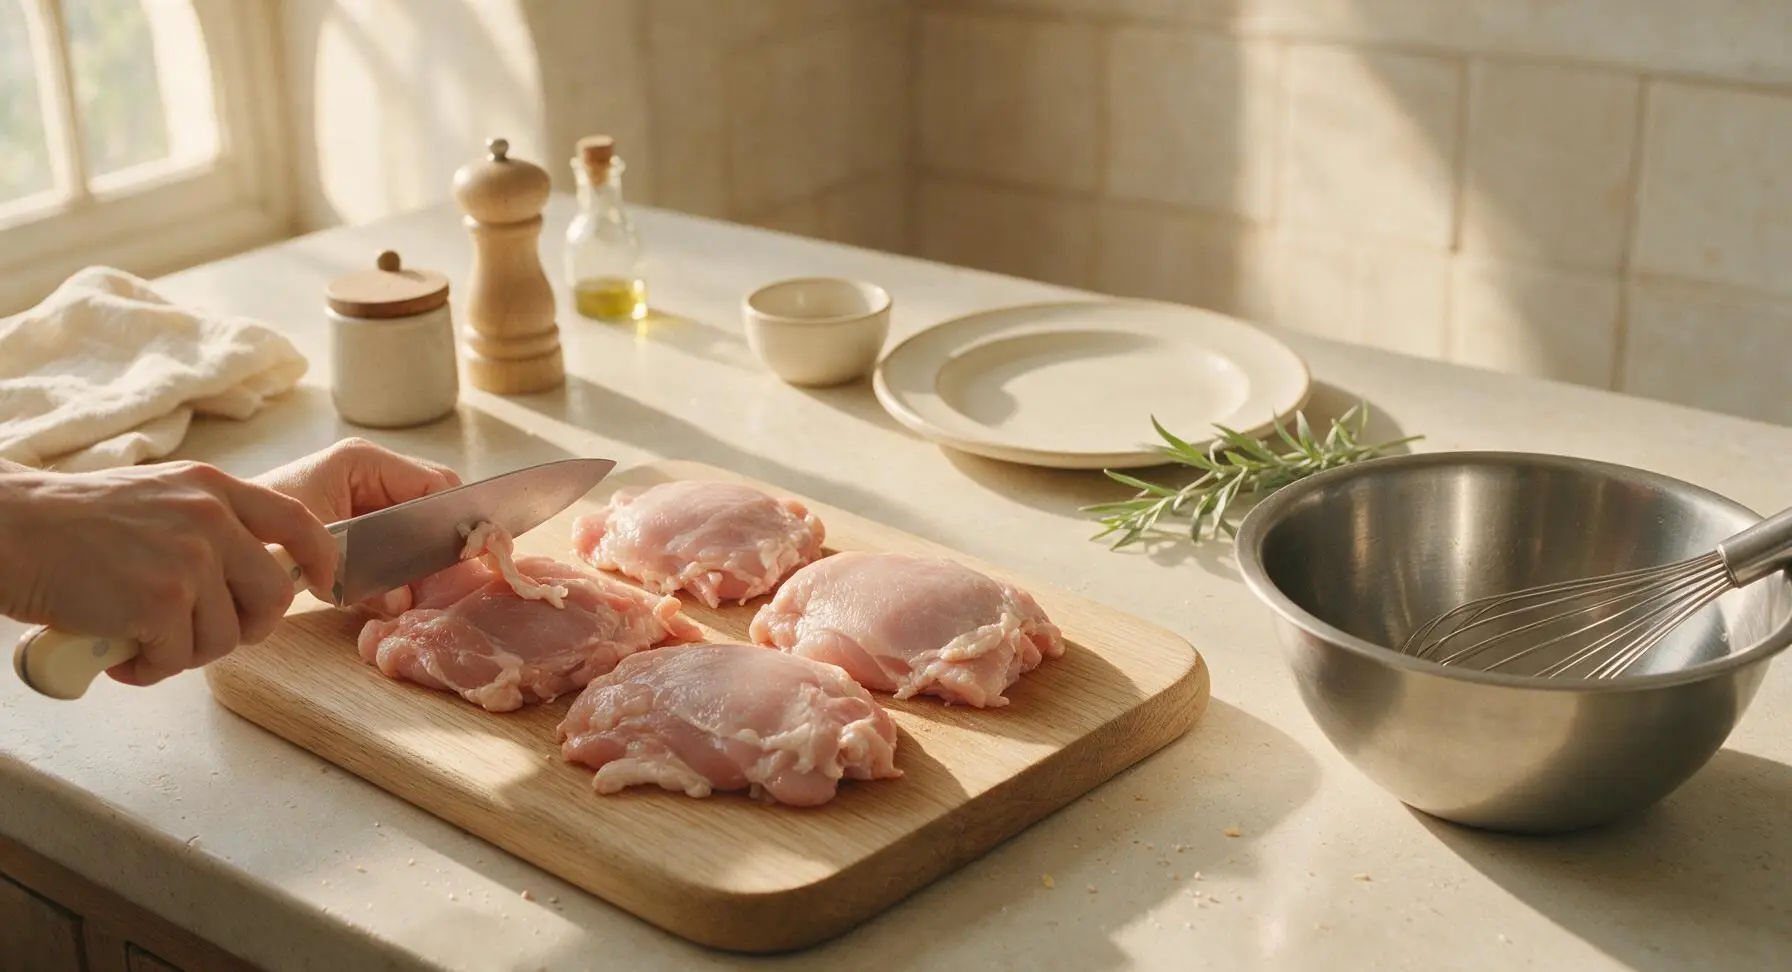
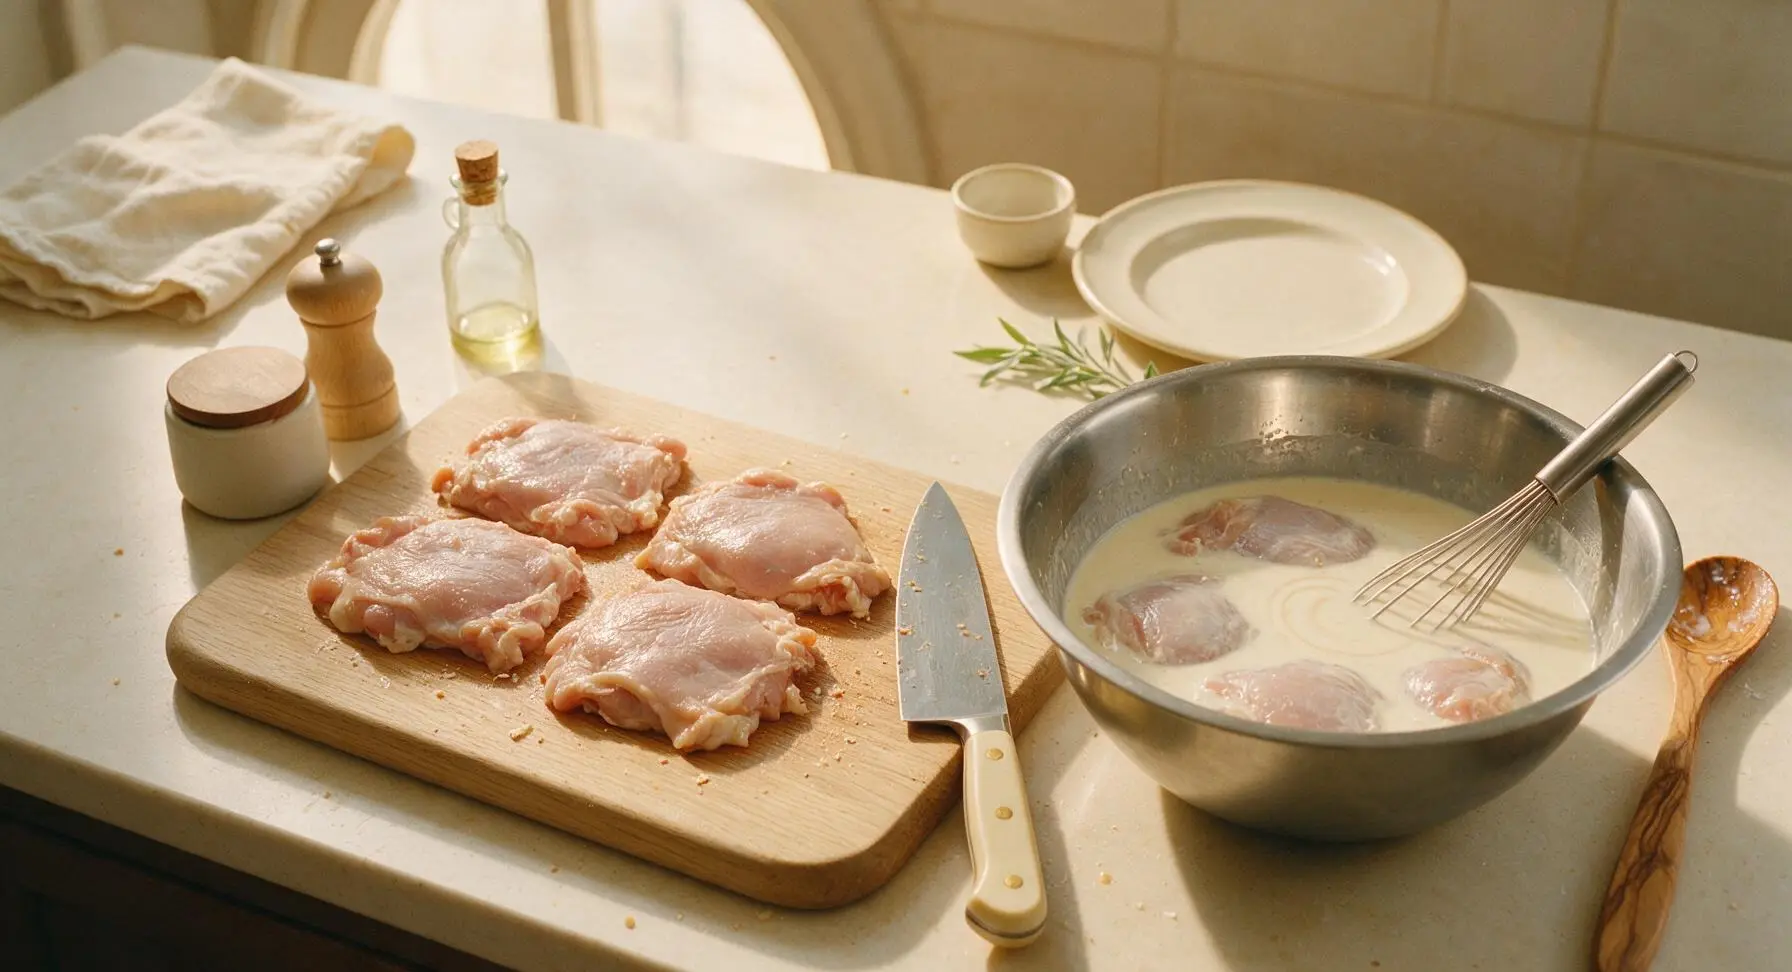
Set the honey maple cutting board at the center-left work zone. Place the 4 boneless chicken thighs on the board, and use the 8-inch chef knife to trim any excess loose fat or tough silver skin from the thighs. Pound each thigh to an even 1.5cm thickness using the flat of the knife blade to ensure even cooking. In the brushed stainless steel mixing bowl, use the stainless steel whisk to combine 2 cups buttermilk, 1 tablespoon kosher salt, and 1 tablespoon hot sauce until fully combined. Submerge all chicken pieces completely in the brine, then refrigerate for a minimum of 4 hours (up to 24 hours) for maximum juiciness, removing 20 minutes before cooking to come to room temperature.
Step 1
step1:Brine Chicken Thighs
Step 1
step1:Brine Chicken Thighs
2

Mix Seasoned Breading

After the brined chicken has rested at room temperature for 20 minutes, lift the pieces from the brine, letting excess buttermilk drip off, and set them temporarily on the maple cutting board. Empty remaining brine from the stainless steel mixing bowl, then add 1.5 cups all-purpose flour, 1 teaspoon kosher salt, 1 teaspoon freshly ground black pepper, 1 teaspoon garlic powder, and 1 teaspoon smoked paprika. Use the whisk to mix thoroughly until spices are evenly distributed throughout the flour, with no concentrated clumps of spice remaining.
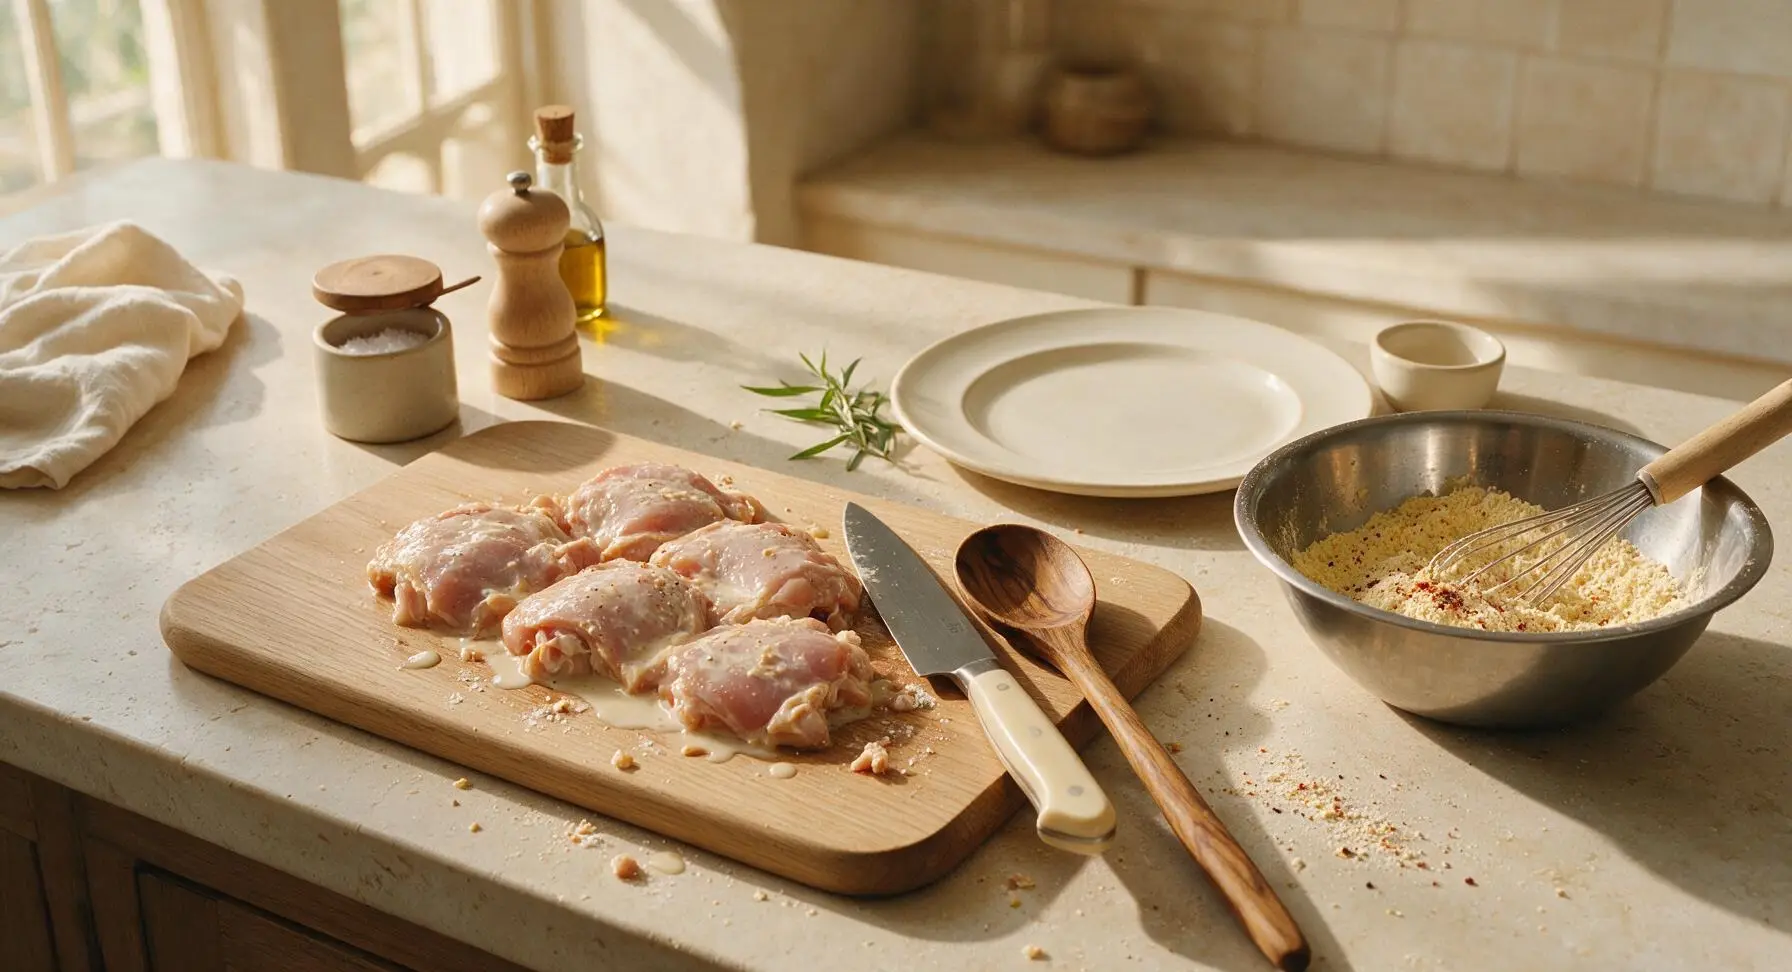
Step 2
step2:Mix Seasoned Breading
3

Bread Chicken Cutlets

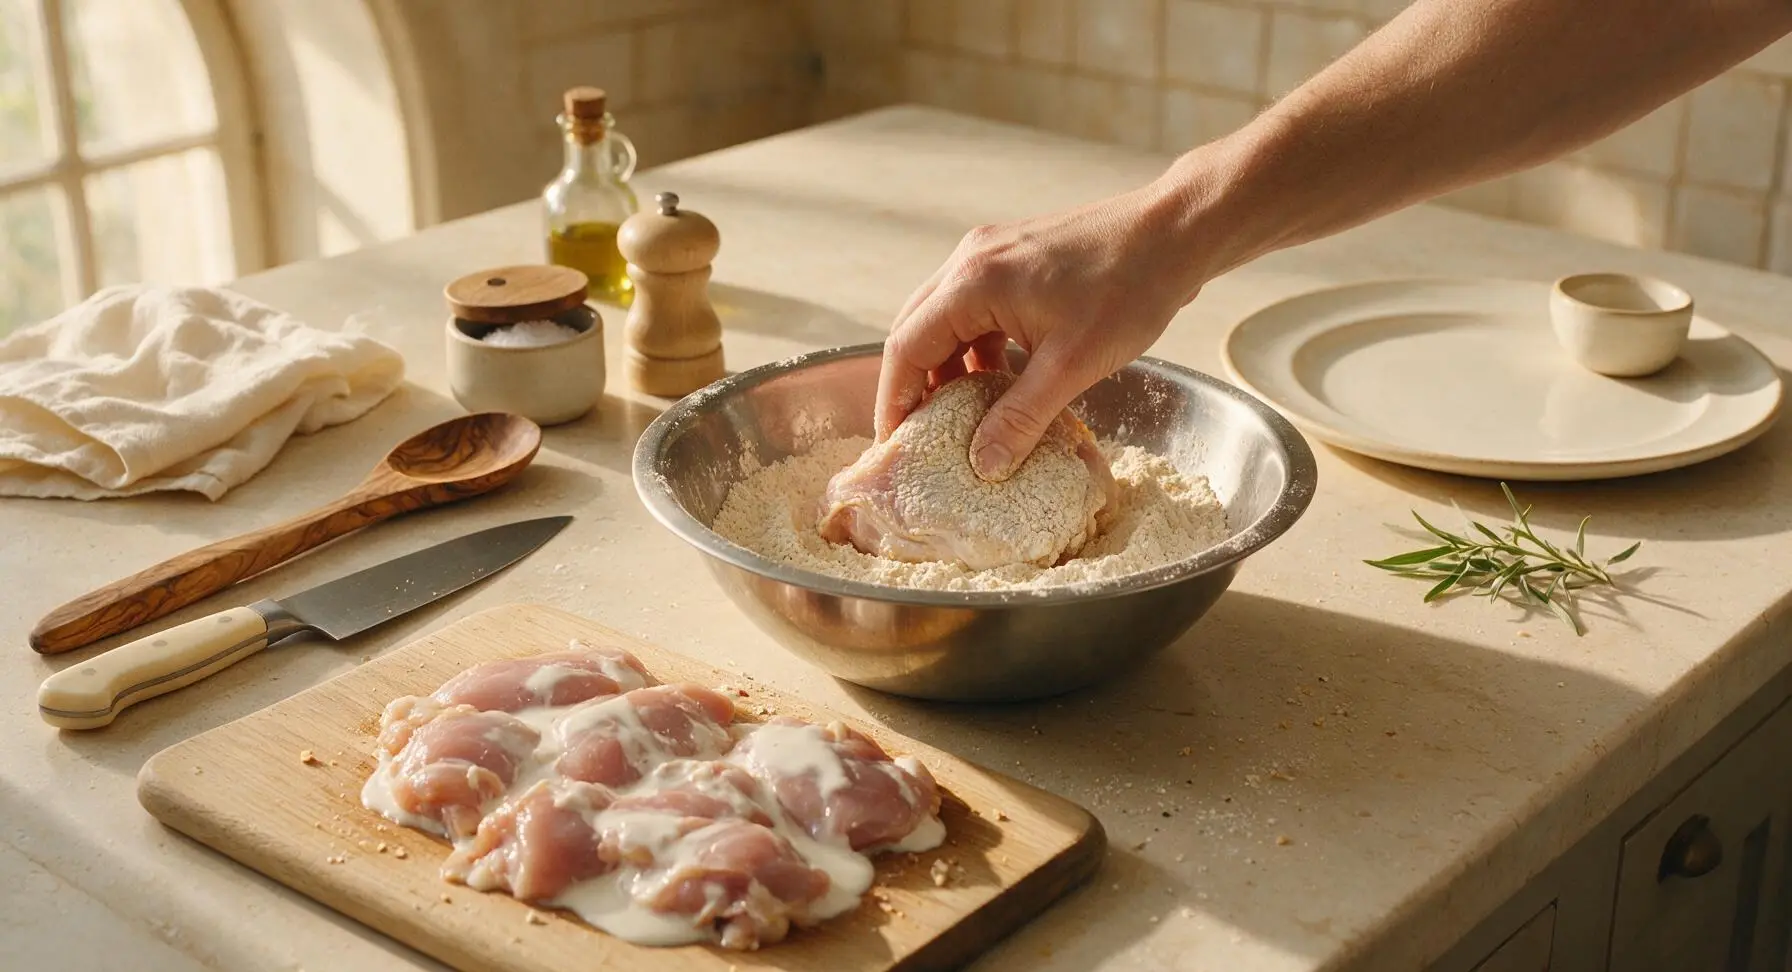
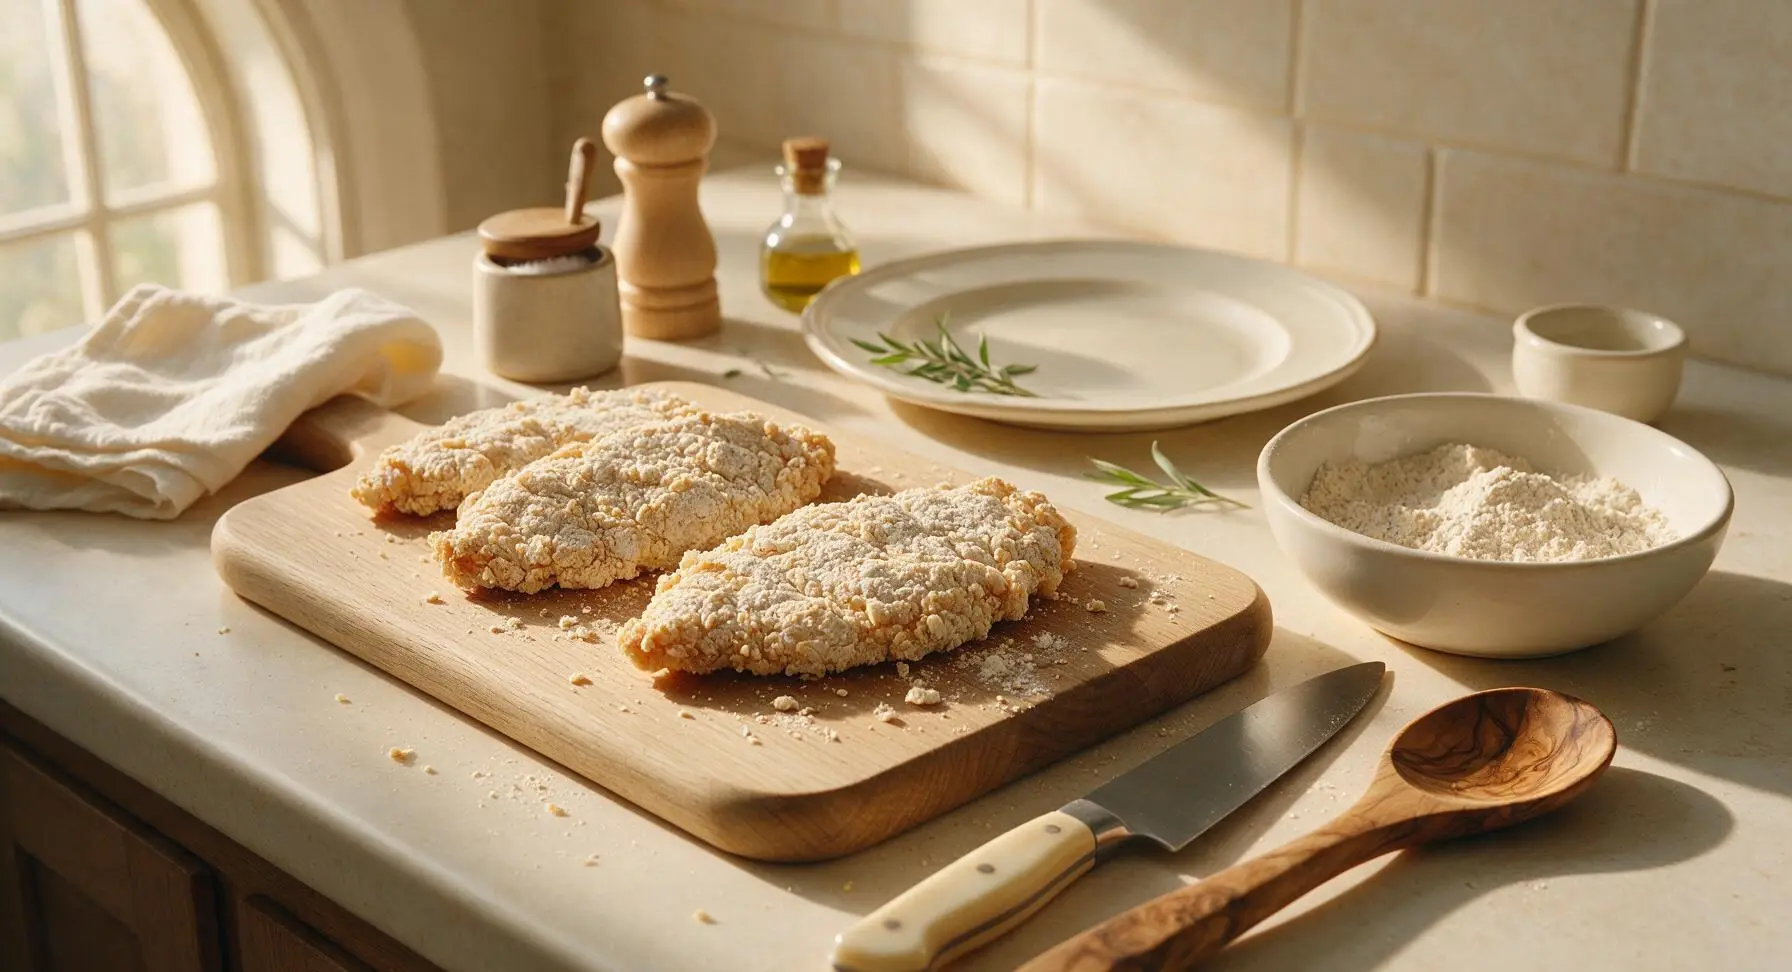
Working one piece at a time, press each buttermilk-coated chicken thigh firmly into the seasoned flour, coating every surface completely. Lift the cutlet, shake off excess flour, then press a second time to create craggy, uneven flour bits across the surface—these rough edges fry up into extra crispy crunch. Set all breaded cutlets on the edge of the maple cutting board to rest for 10 minutes before frying; this rest period lets the breading adhere so it does not slide off during cooking.
Step 3
step3:Bread Chicken Cutlets
Step 3
step3:Bread Chicken Cutlets
4

Heat Frying Oil

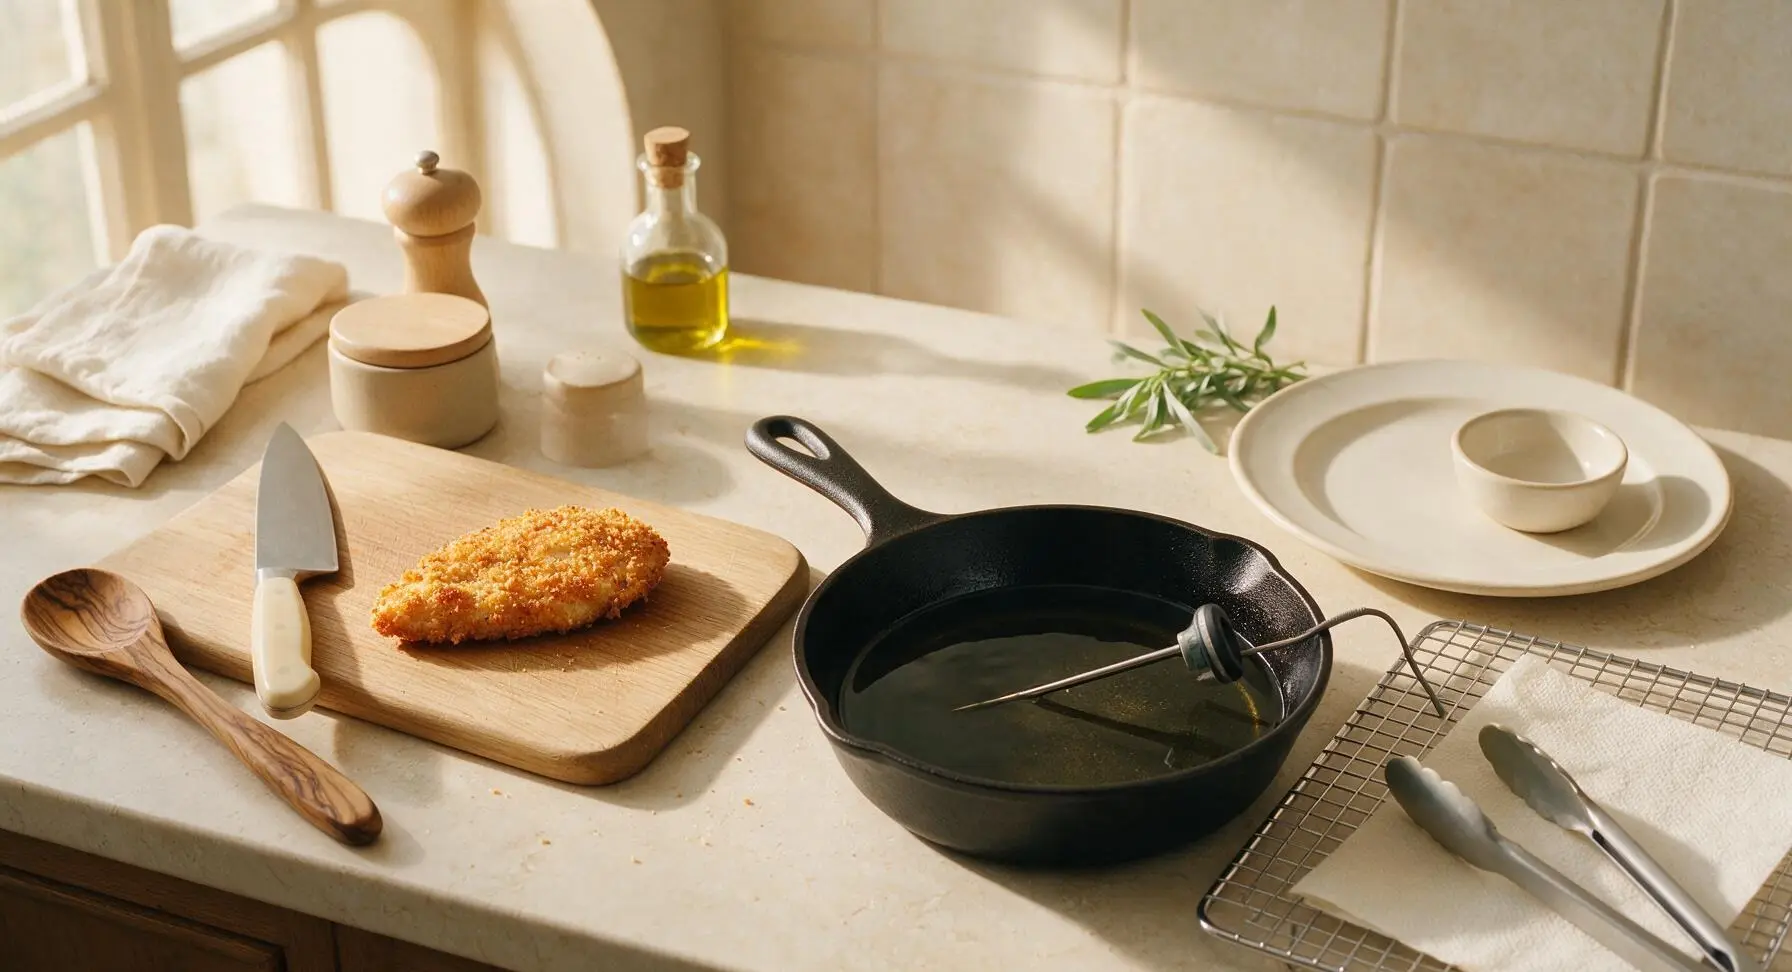
Retrieve the pre-seasoned cast iron skillet from off-frame storage and place it at center-right of the work zone. Pour 4 cups neutral frying oil into the skillet to a depth of 1cm. Heat oil over medium heat until it reaches 175C (350F), verified with the digital instant-read thermometer. Set the chrome wire cooling rack lined with unbleached paper towel to the right of the skillet, and rest the silicone-tipped tongs on the rack edge for easy access.
Step 4
step4:Heat Frying Oil
5

Fry Chicken Until Crispy

Using the silicone-tipped tongs, carefully lower 2 breaded chicken cutlets into the hot oil, laying them away from your body to avoid hot oil splatter. Fry for 3.5 minutes per side, until the breading is a deep, even golden brown and crispy, and the internal temperature of the chicken reaches 74C (165F) on the instant-read thermometer. Fry in 2 batches to avoid dropping oil temperature, which causes soggy breading. Transfer cooked chicken to the paper-towel lined cooling rack to drain for 3 minutes, and lightly sprinkle with a pinch of kosher salt immediately after removing from oil.
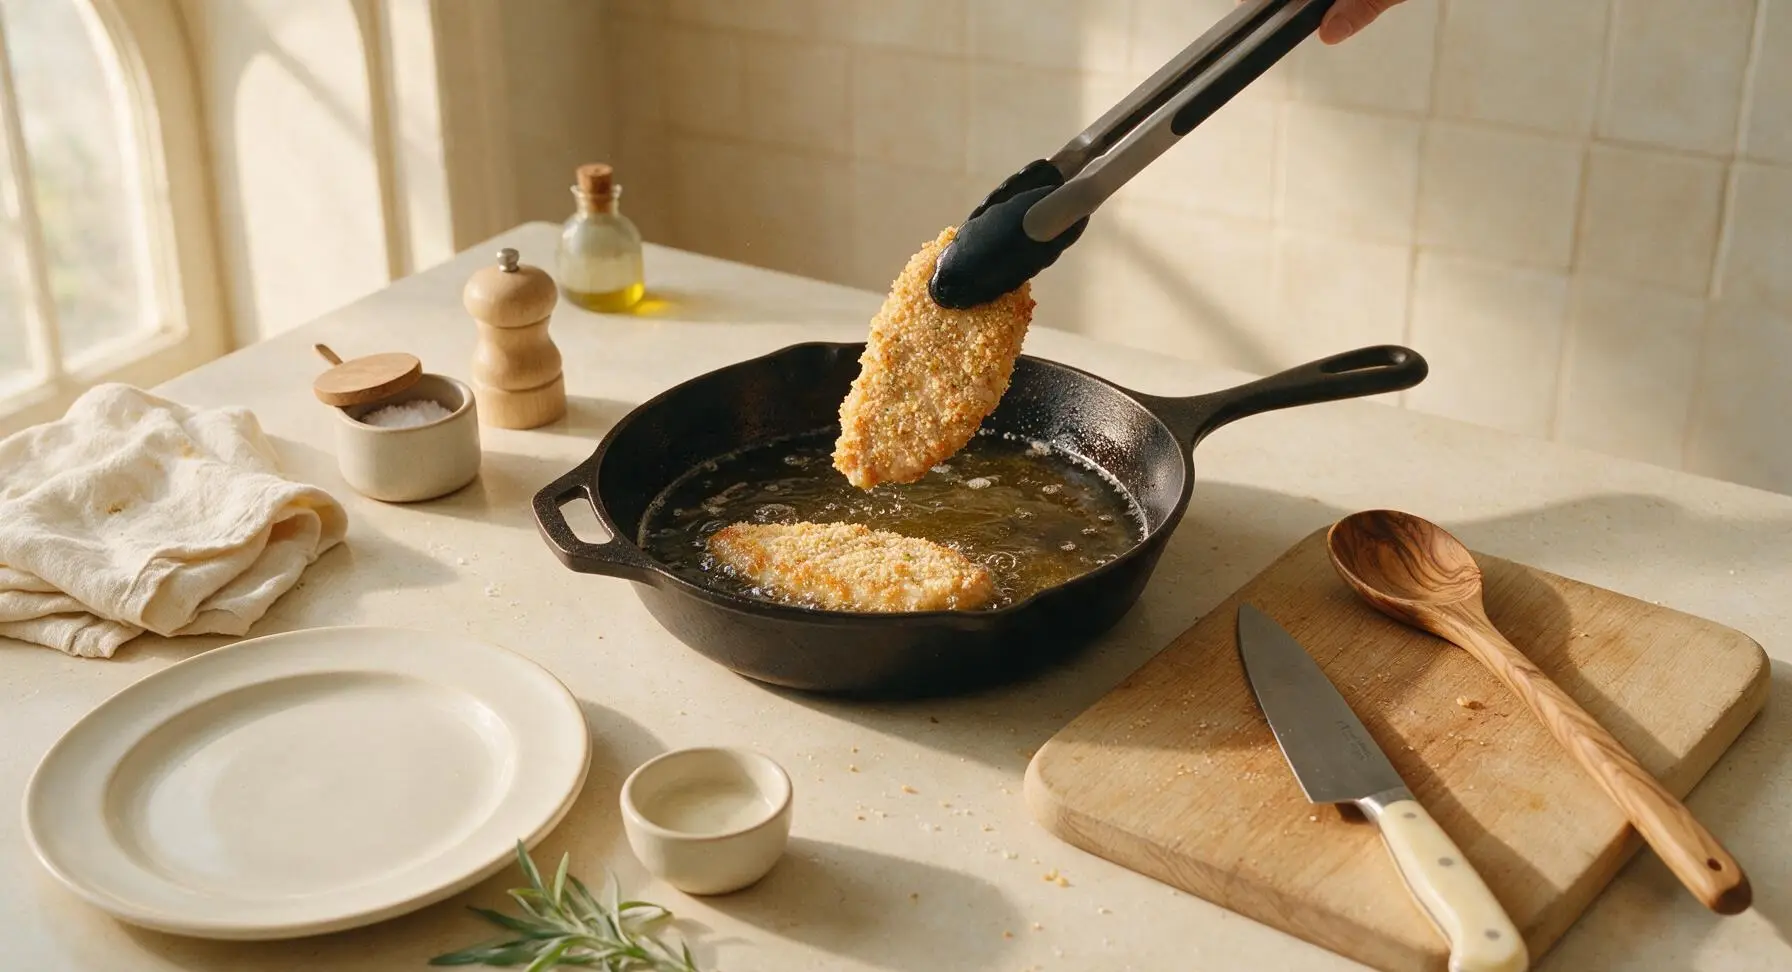
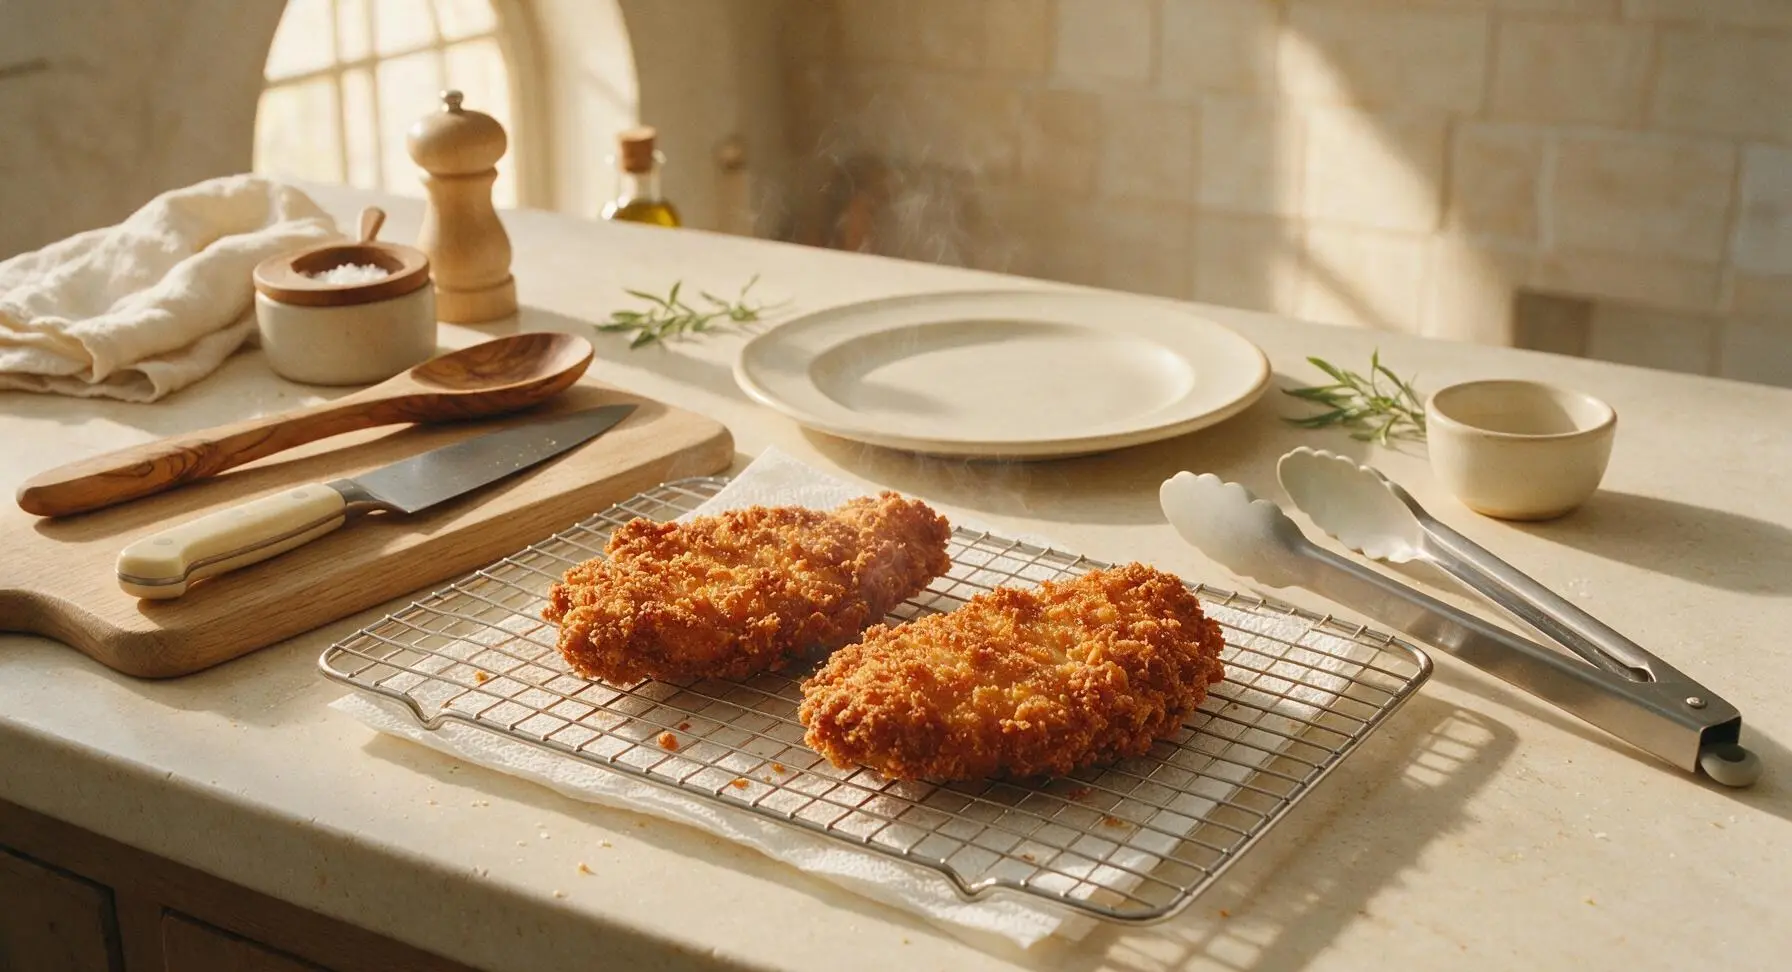
Step 5
step5:Fry Chicken Until Crispy
Step 5
step5:Fry Chicken Until Crispy
6

Prep Slaw and Sauce

While chicken drains, prepare the quick slaw and spicy mayo. In one clear glass ramekin, mix 1/4 cup mayonnaise, 1 teaspoon apple cider vinegar, and 1/4 teaspoon kosher salt, then toss with 2 cups finely shredded green cabbage until evenly coated. In a second clear glass ramekin, mix the remaining 1/4 cup mayonnaise and 1 tablespoon hot sauce to make a tangy spicy mayo. Place split brioche buns cut-side down in the residual warm skillet for 30 seconds to toast to a light golden brown.
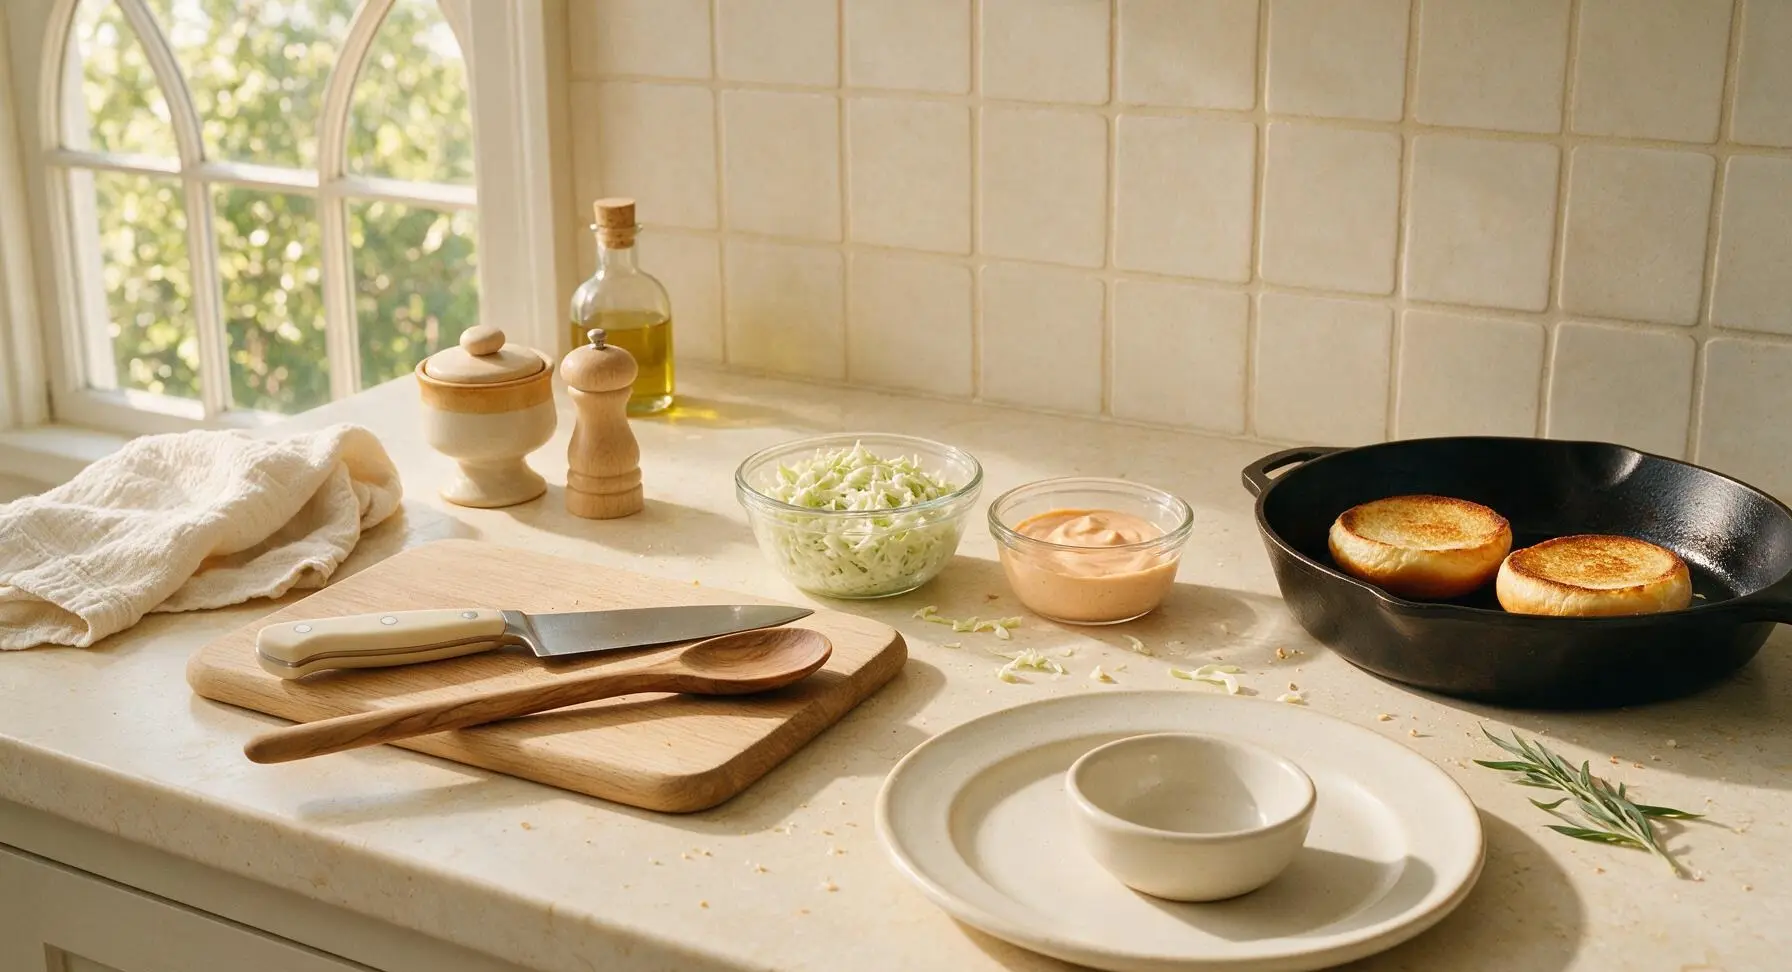
Step 6
step6:Prep Slaw and Sauce
7

Assemble Sandwiches

Bring the matte cream ceramic dinner plate to ready position at front center. Spread 1 tablespoon of spicy mayo on the cut sides of each toasted brioche bun. Layer each bottom bun with 2–3 crinkled dill pickle slices, one crispy fried chicken cutlet, and a 1/2 cup scoop of creamy slaw, then cap with the top bun. Press down gently on each sandwich to help layers adhere, then place one finished sandwich on the plate for serving.
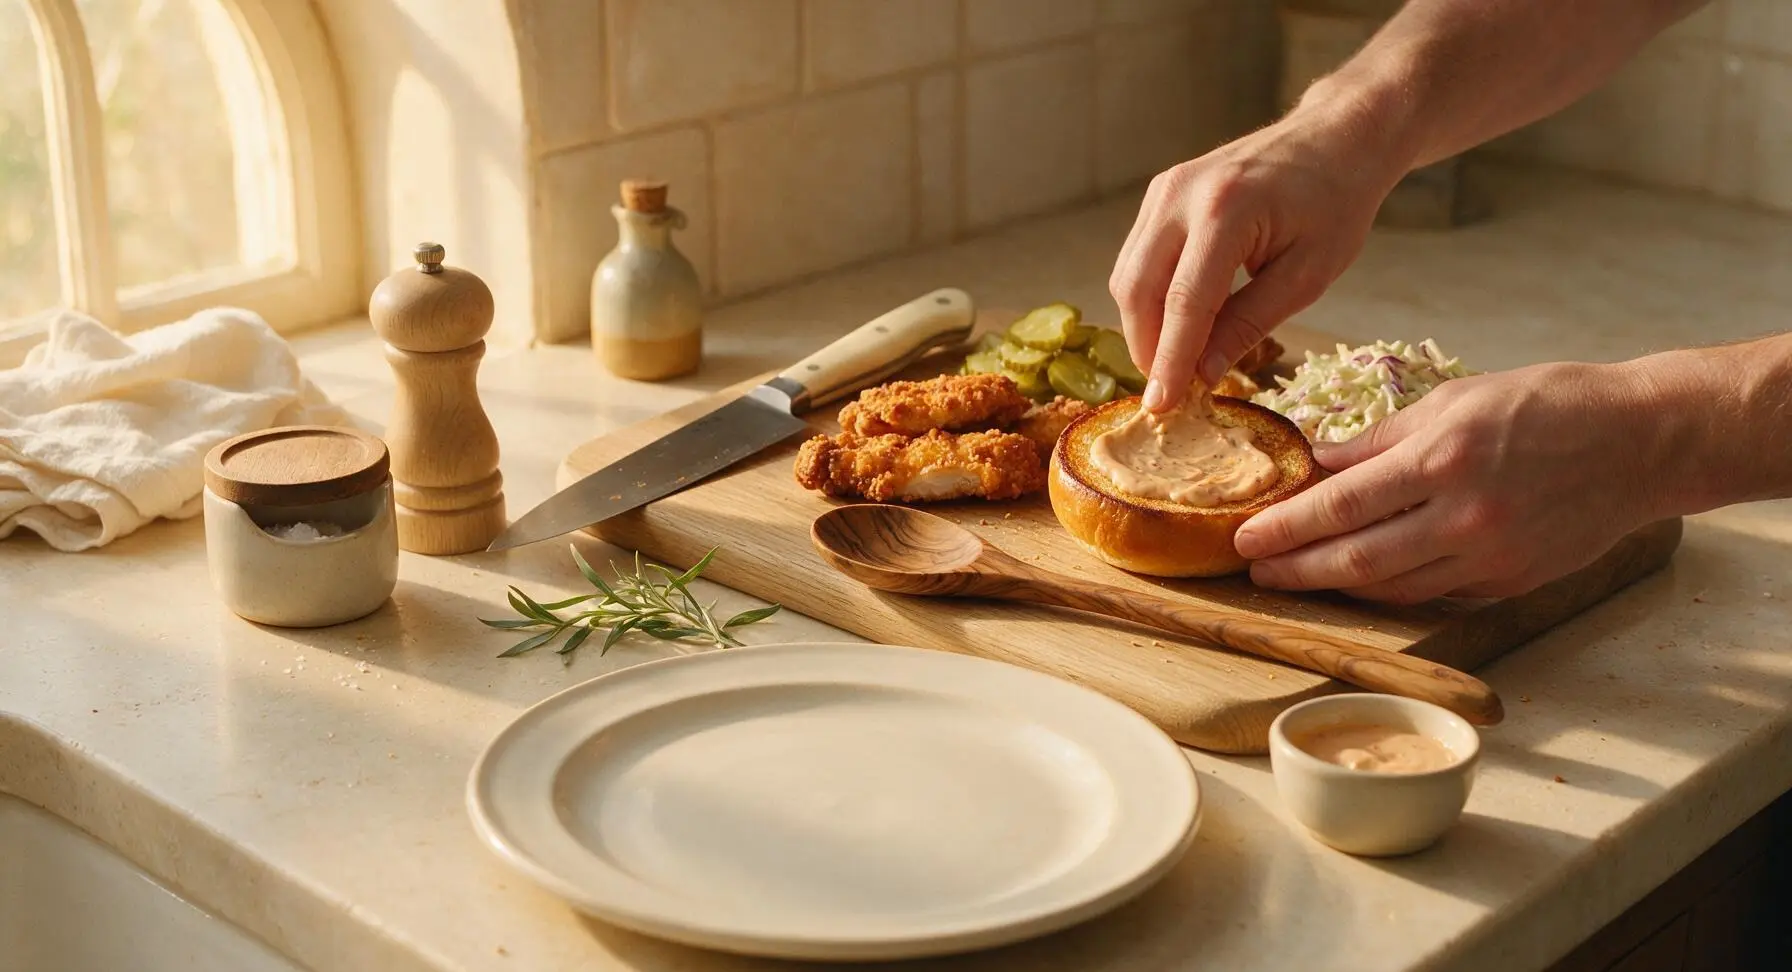
Step 7
step7:Assemble Sandwiches

Tips

1.Opt for boneless, skinless chicken thighs over breast meat: Thighs have higher intramuscular fat content that stays juicy even after high-heat frying, whereas lean breast meat will dry out quickly if overcooked by as little as 30 seconds.
2.Let breaded chicken rest 10 minutes before frying: This short pause allows the buttermilk and flour to bind into a tight, adhesive coating that will not slide off the chicken or bubble away during frying, creating a more even, shatteringly crisp crust.
3.Monitor oil temperature closely with a thermometer: If oil drops below 160C (320F), the breading will absorb excess oil and turn soggy; if it rises above 190C (375F), the breading will burn before the chicken cooks through. Let oil return to 175C (350F) between frying batches.


✨ You May Also Like

Main Course
🍜 United Kingdom

A showstopping classic of tender seared beef, savory mushroom duxelles, and crisp prosciutto wrapped in flaky golden puff pastry, baked to juicy perfection.

⏱️ 2 hours 1Main Course ★ 4.7
Main Course
🍜 India

Tender charred marinated chicken simmered in a rich, spiced creamy tomato sauce, this iconic Anglo-Indian curry pairs perfectly with basmati rice or warm naan.

⏱️ 50 minuteMain Course ★ 4.6
Main Course
🍜 Thailand

Classic tangy, sweet, and savory Thai stir-fried rice noodles with shrimp, tofu, and crunchy garnishes, balancing all five core Thai flavor profiles.

⏱️ 30 minuteMain Course ★ 4.5
Main Course
🍜 United Kingdom

Crispy golden beer-battered cod and fluffy double-fried chips, served with tangy tartar sauce and malt vinegar: the timeless, beloved British pub comfort classic.

⏱️ 45 minuteMain Course ★ 4.7
Main Course
🍜 Mexico

Smoky, chile-marinated pork tacos with caramelized pineapple, fresh cilantro, and lime: a beloved classic Mexican street food perfect for casual summer gatherings.

⏱️ 1 hour 45Main Course ★ 4.8
Main Course
🍜 United States

Crunchy Fritos corn chips layered with savory beef chili and melted cheddar, topped with cool, zesty fixings for a beloved, cozy Tex-Mex comfort food.

⏱️ 35 minuteMain Course ★ 4.8

buttermilk fried chicken sandwich:Frequently Asked Questions

1.Why do you recommend boneless skinless chicken thighs instead of chicken breasts for this sandwich? ▾
Thighs stay far juicier through high-heat frying thanks to their evenly distributed, mild fat content, while lean chicken breasts easily dry out even with careful cooking. If you prefer white meat, pound breasts to a uniform ½-inch thickness, brine 2 extra hours, and pull them at 165°F internal temp to avoid tough, dry results.
2.Can I use low-fat or non-fat buttermilk for the brine instead of full-fat? ▾
Full-fat buttermilk is ideal because its lactic acid gently tenderizes chicken without making it mushy, and its fat adds rich, tangy depth. If you only have low-fat buttermilk, stir in 2 tablespoons of full-fat sour cream per cup to replicate the needed fat content and keep the brine working as intended.
3.How long should I brine the chicken in buttermilk for the best results? ▾
Brine chicken thighs for a minimum of 4 hours, and up to 24 hours, stored covered in the refrigerator. Do not brine longer than 24 hours, though—the lactic acid in buttermilk will break down chicken proteins too much over time, leading to an unpleasantly mushy texture instead of tender, juicy meat.
4.Why doesn’t my fried chicken coating get that signature craggy, crisp texture? ▾
That shatteringly crisp, craggy crust forms when you let floured chicken rest 15–20 minutes before frying, so the flour adheres and forms small, textured clumps. Also, make sure your oil holds a steady 350°F—oil that runs too cool leaves the coating soggy, grease-soaked, and lacking that satisfying crunch.
5.Can I prep components of this sandwich ahead for a summer cookout or gathering? ▾
You can fry the chicken up to 2 hours before serving. Keep it on a wire rack set over a baking sheet in a 200°F oven to stay crisp—never stack pieces or wrap them in foil, as trapped steam will soften the crust. Toast buns and assemble sandwiches right before serving for the best texture.
6.Do I have to use brioche hamburger buns, or can I swap in other bun types? ▾
Soft, buttery toasted brioche buns are the classic match for this rich, crispy sandwich, but soft potato hamburger buns work as a great substitute. Skip dense, crusty sourdough or tough whole-grain buns—their firm texture will overpower the tender chicken, creamy slaw, and crisp pickle layers.
7.What type of oil is best for frying the chicken for this sandwich? ▾
Stick to neutral, high-smoke-point oils like canola, regular vegetable oil, or peanut oil. Peanut oil adds a subtle nutty depth that pairs perfectly with Southern fried chicken, but canola or vegetable work great for nut-free settings. Avoid olive oil, as its low smoke point burns easily and leaves a bitter off-flavor on the crust.
8.How do I avoid undercooked chicken without burning the crispy outer crust? ▾
The key is holding a steady 350°F oil temperature and using an instant-read thermometer to check doneness. Chicken thighs are perfectly juicy and food-safe when they hit 165°F at the thickest point. If the crust browns too fast before the chicken cooks through, nudge the heat down to 325°F to finish cooking gently.
9.Can I use other pickle varieties instead of crinkled dill pickle slices? ▾
Crinkled dill pickles have the ideal bright, briny tang and ridged texture that holds up against crispy chicken and creamy slaw. Spicy dill pickles work great if you want a little heat, but skip sweet bread-and-butter pickles—their sugary, warm spice profile clashes with the sandwich’s classic savory, tangy flavor.
10.What seasonings should I add to the all-purpose flour for the coating? ▾
You don’t need fancy spice blends for a great crust. For every 2 cups of all-purpose flour, add 2 teaspoons kosher salt, 1 teaspoon black pepper, 1 teaspoon garlic powder, ½ teaspoon smoked paprika, and ¼ teaspoon cayenne. Skip clumpy dried onion flakes, which fall off easily and burn in hot oil.
11.How can I adjust this recipe to make a spicy version of the sandwich? ▾
It’s easy to add balanced heat without overpowering the classic flavor. Stir 1 teaspoon of your favorite hot sauce into the buttermilk brine, add ½ teaspoon extra cayenne to the flour coating, or tuck a few pickled jalapeño slices in with the dill pickles. You can also mix hot sauce into your slaw dressing for extra zing.
12.What if I don’t have any store-bought buttermilk on hand to make the brine? ▾
You can make a quick, effective substitute by stirring 1 tablespoon of white vinegar or fresh lemon juice into 1 cup of full-fat whole milk, then letting it sit 5 minutes at room temperature until it curdles slightly. It won’t be quite as thick as commercial buttermilk, but it delivers the same tenderizing tang for your brine.

Comments (3)

3 days ago

OMG this buttermilk fried chicken sandwich was a total game changer for our Sunday family dinner! The crust was so crispy and the chicken stayed juicy all the way through—my kids loved it, both went back for seconds before I even finished my first sandwich. I skipped the dill pickles last minute because my youngest hates tangy stuff, but next time I’m adding them for that extra zing. 10/10 will absolutely be making this for our neighborhood potluck next month!

2 days ago

Wait did you soak yours in buttermilk the full 4 hours? I only did a 2 hour soak last time I tested this recipe and felt like the tang was a little muted, wondering if I need to plan further ahead next time I make it for my crew.

yesterday

So glad your family loved the recipe! Great question from @BBQKingJake too—we recommend a minimum 4 hour buttermilk soak for maximum tang and extra tender chicken, but even 2 hours works great if you’re short on time, just add a pinch more smoked paprika and garlic powder to the flour breading to amp up the flavor! Don’t skip those pickles next time, their briny crunch pairs so perfectly with the crispy chicken 😉

5 days ago

SO good! I made a big batch of these on Sunday for my weekly meal prep, stored the fried chicken separate from the brioche buns and slaw toppings, and they held up perfectly for 3 days of work lunches. The 20 minute cook time is such a game changer compared to my old fried chicken recipe that took nearly 45 minutes to fry up—total win for busy weeknights. I mixed a little hot honey into my slaw mayo and the sweet-spicy kick was unreal, definitely doing that every time now.

2 hours ago

Tried this last night for date night and it turned out way better than I expected! I was pretty nervous to tackle this since I’m still learning to cook and fried chicken always seemed so intimidating, especially since this is marked as medium difficulty, but the steps were so clear and easy to follow. The only hiccup I ran into was half my breading sliding off the chicken when I lowered it into the oil—did I mess up a step somewhere?

30 minutes ago

So stoked this was a hit for your date night! Breading sliding off is super common for new cooks, no stress at all. It usually happens if the chicken is dripping wet when you dredge it, or if the oil isn’t fully up to temp (we recommend 350°F!) before you add the chicken. Next time, let your breaded chicken rest on a wire rack for 10 minutes before frying to help the coating set, and you’ll get perfect crispy, stuck-on crust every time!



