
Buttermilk Oatmeal Waffles

title 1
Buttermilk Oatmeal Waffles
⏱️ cook time 15 minutes
🍽️ servings 4
⚡ Difficulty easy

intro

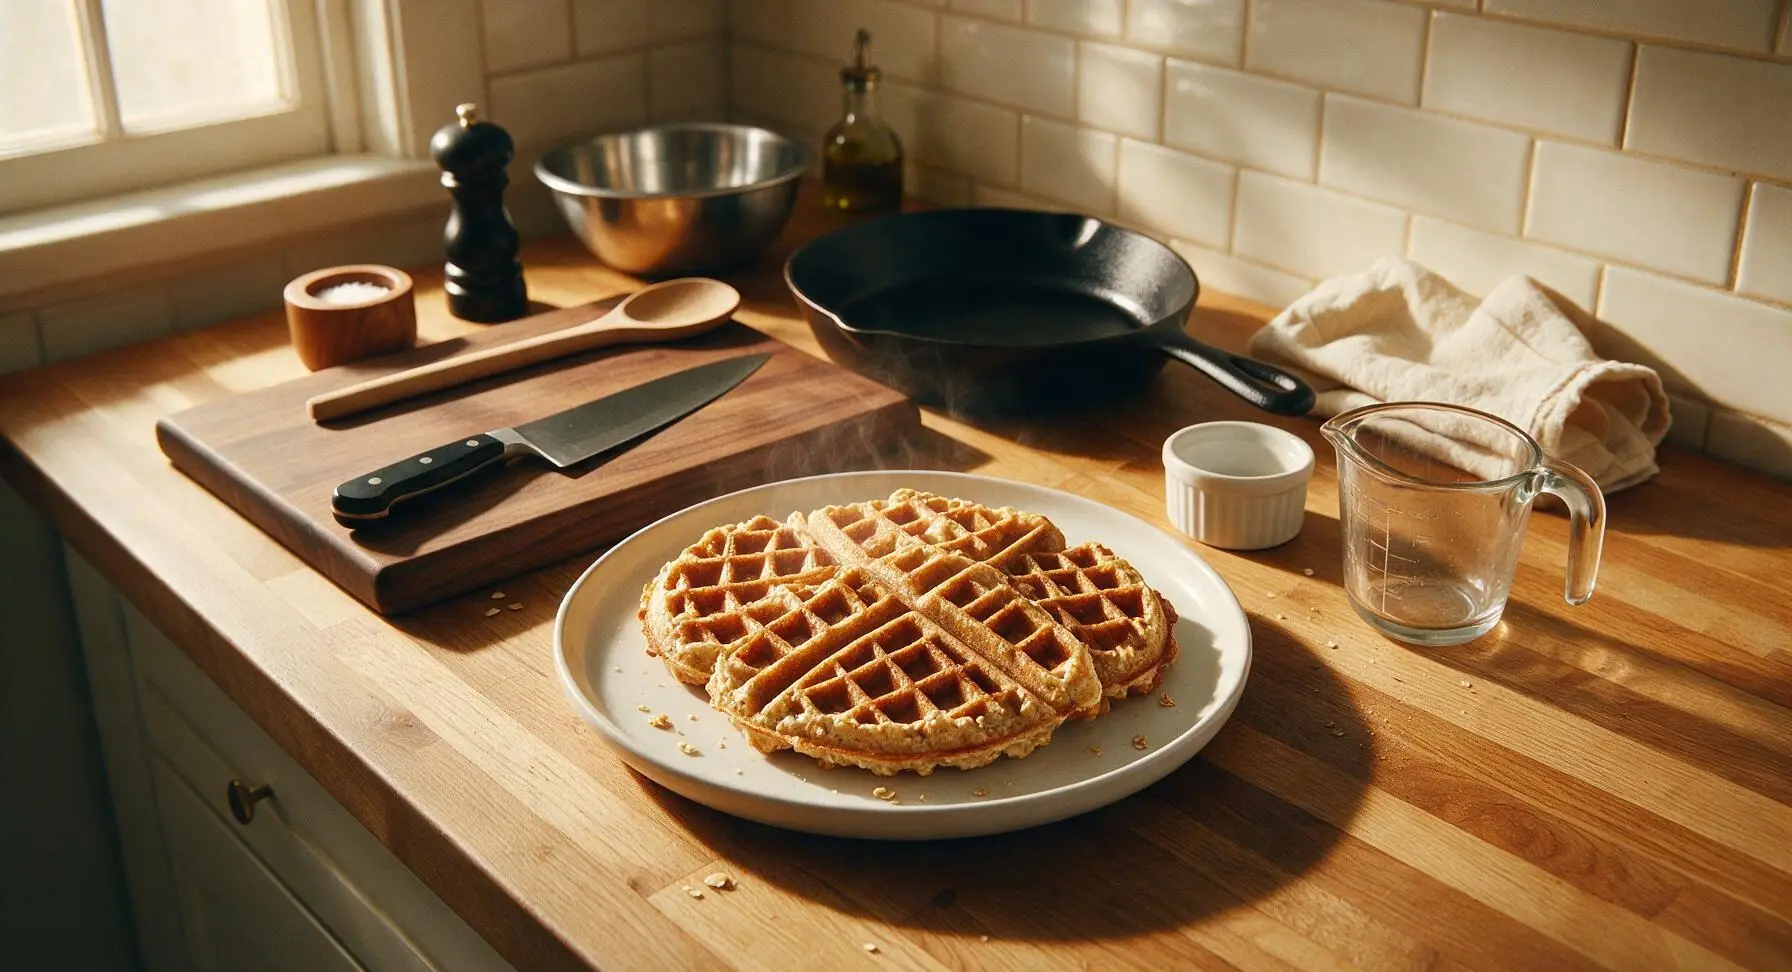
Crisp golden edges, soft oaty crumb, and bright tangy buttermilk flavor make these waffles a cozy, family-friendly staple perfect for lazy autumn meals.

Ingredients
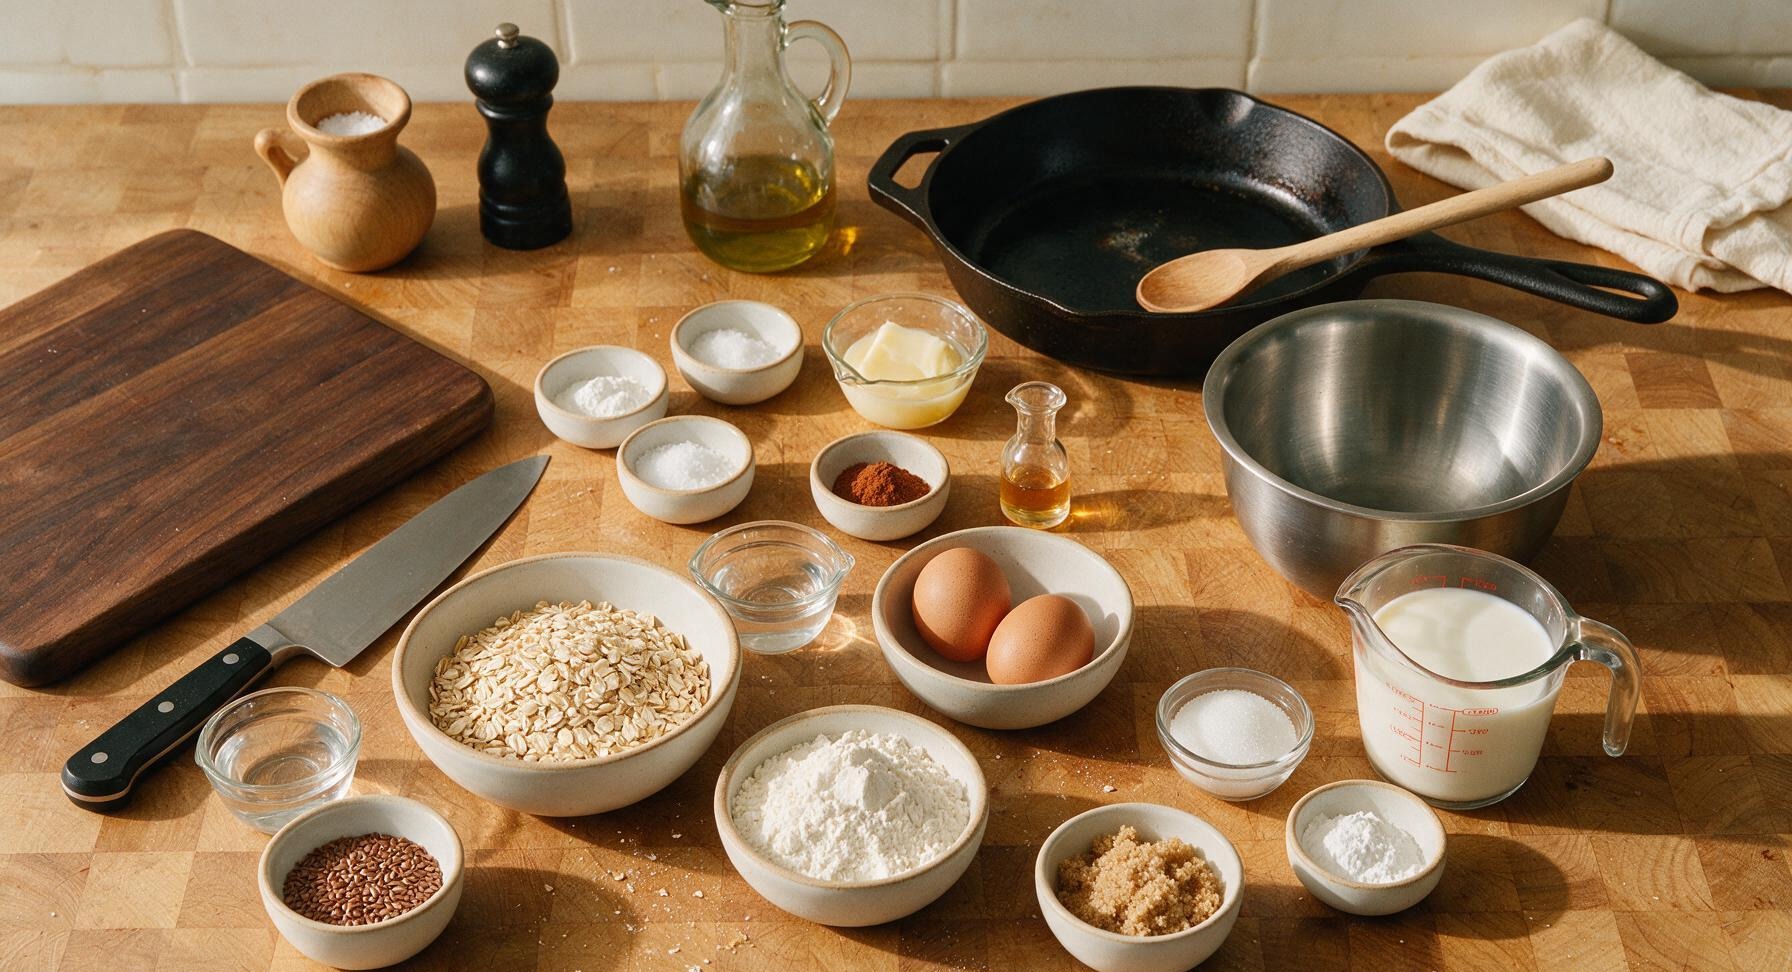
Old-fashioned rolled oats 1 cup (90g)
All-purpose flour 1 cup (120g)
Full-fat buttermilk 2 cups (480ml)
Large eggs 2 units
Unsalted butter 3 tbsp (42g), melted and cooled
Light brown sugar 2 tbsp (25g)
Baking powder 2 tsp
Baking soda 1/2 tsp
Fine sea salt 1/2 tsp
Ground cinnamon 1/2 tsp
Pure vanilla extract 1 tsp

Steps

1

Whisk Dry Ingredients

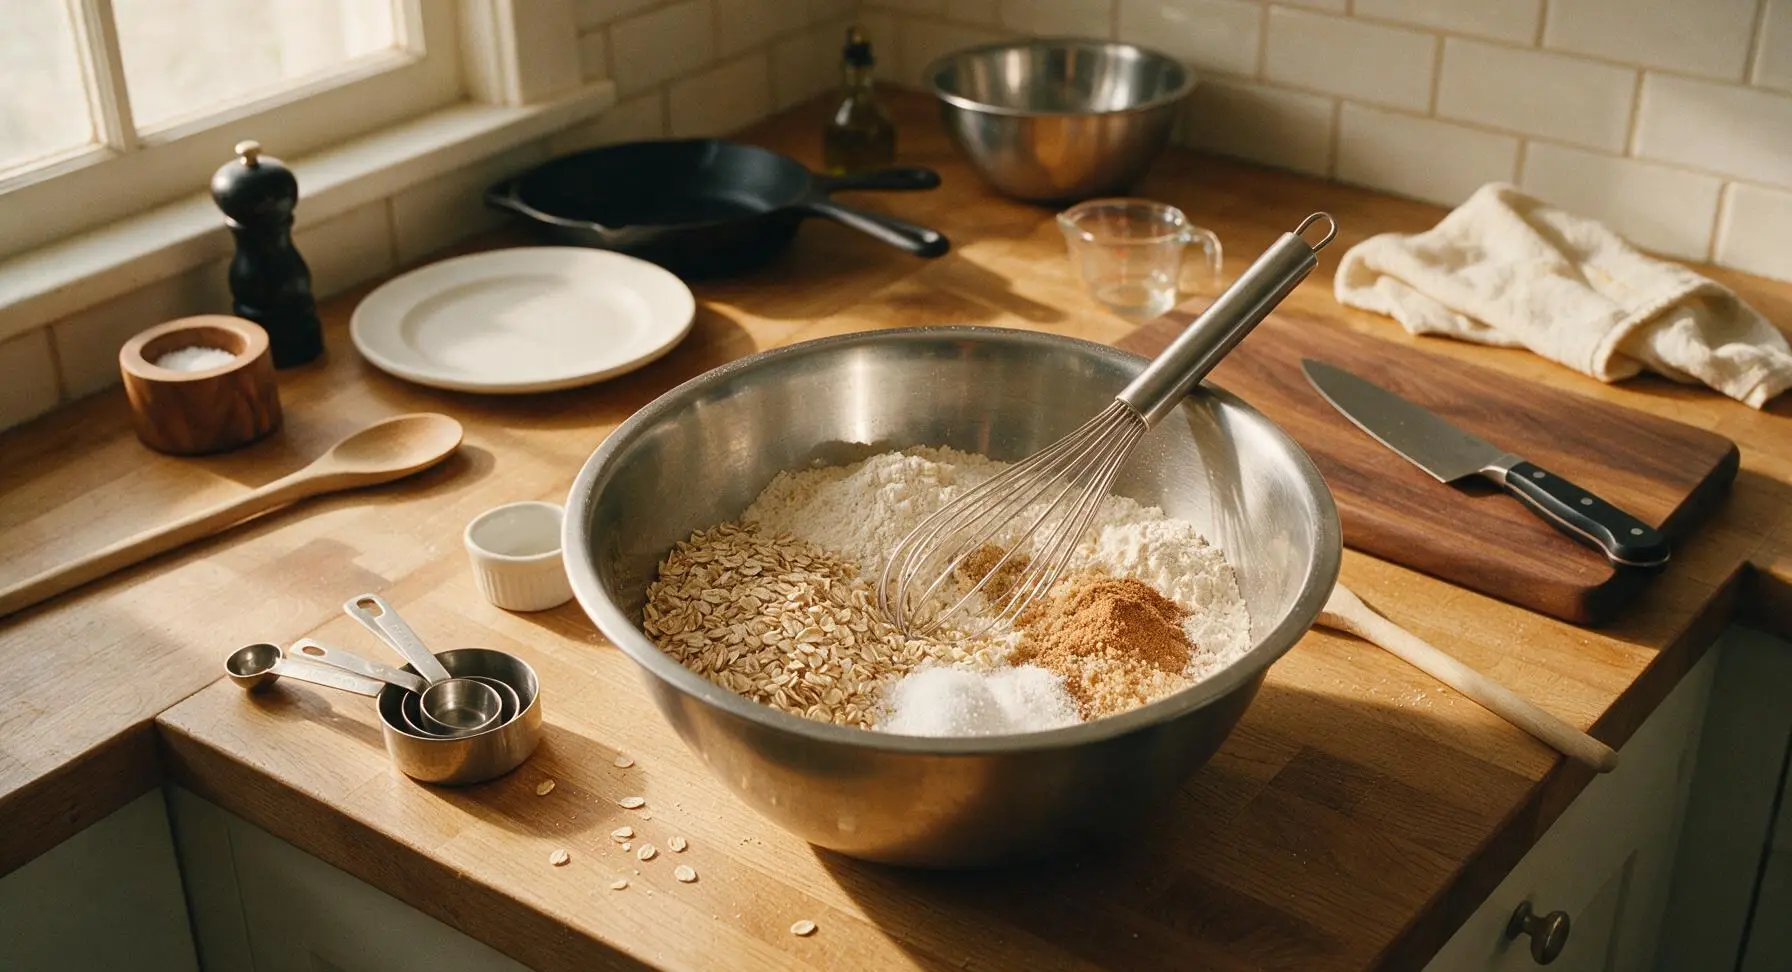
Add 1 cup old-fashioned rolled oats, 1 cup all-purpose flour, 2 tbsp light brown sugar, 2 tsp baking powder, 1/2 tsp baking soda, 1/2 tsp fine sea salt, and 1/2 tsp ground cinnamon to the large brushed stainless steel mixing bowl. Use the stainless steel balloon whisk to stir for 30 seconds until all ingredients are evenly combined, with no clumps of brown sugar or leavening remaining. Break up any small lumps of brown sugar against the side of the bowl with the whisk as you stir.
Step 1
step1:Whisk Dry Ingredients
2

Mix Wet Ingredients

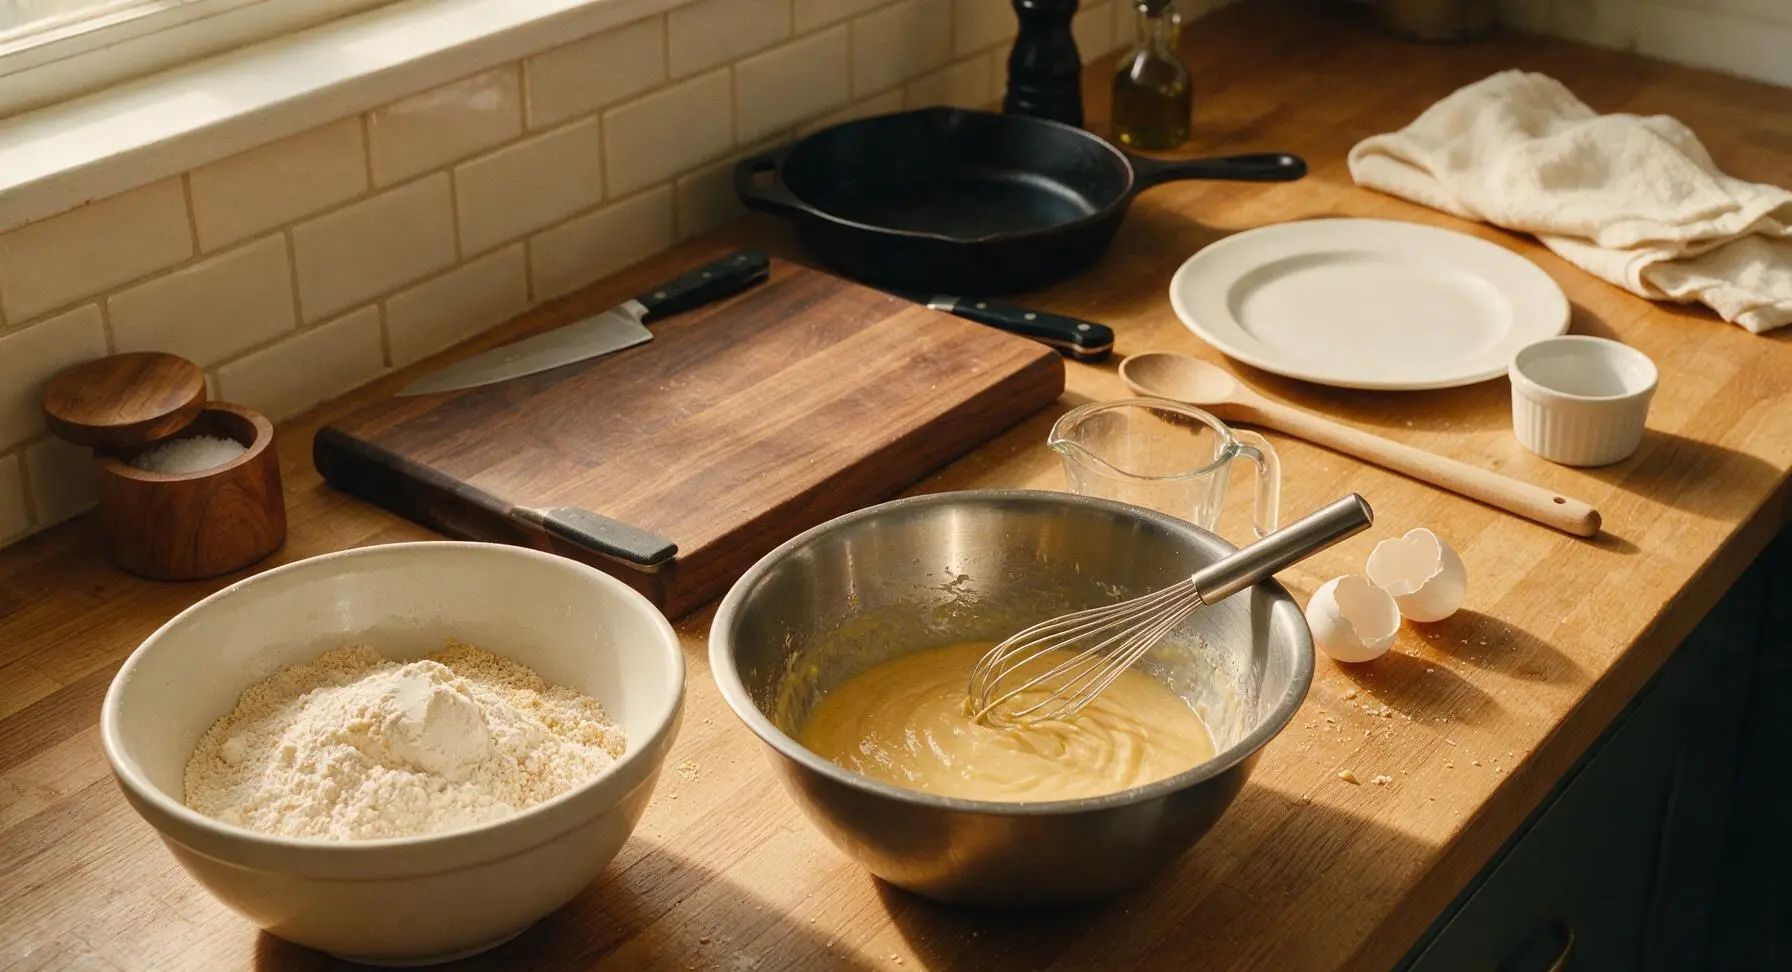
In the medium brushed stainless steel mixing bowl, combine 2 cups full-fat buttermilk, 2 large lightly beaten eggs, 3 tbsp melted and cooled unsalted butter, and 1 tsp pure vanilla extract. Whisk with the stainless steel balloon whisk for 20 seconds until the mixture is completely smooth, with no streaks of egg visible on the surface. Ensure the butter is cooled to below 120°F to avoid cooking the eggs when mixed.
Step 2
step2:Mix Wet Ingredients
3

Combine Batter Mixtures

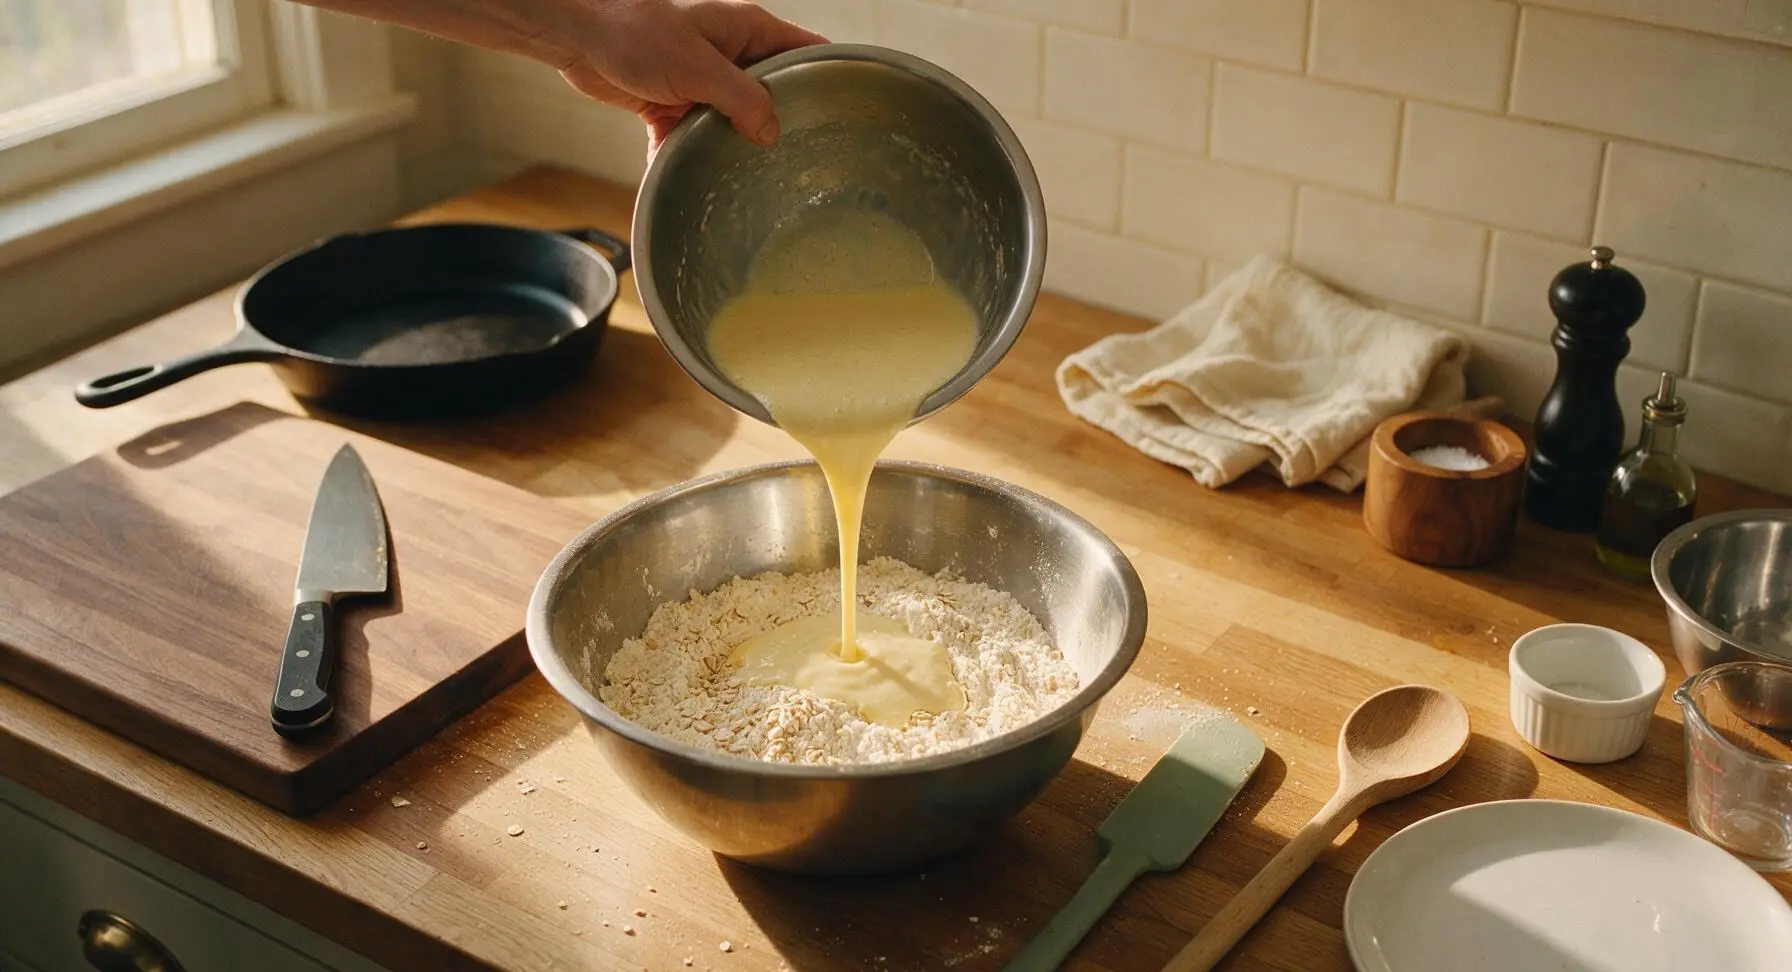
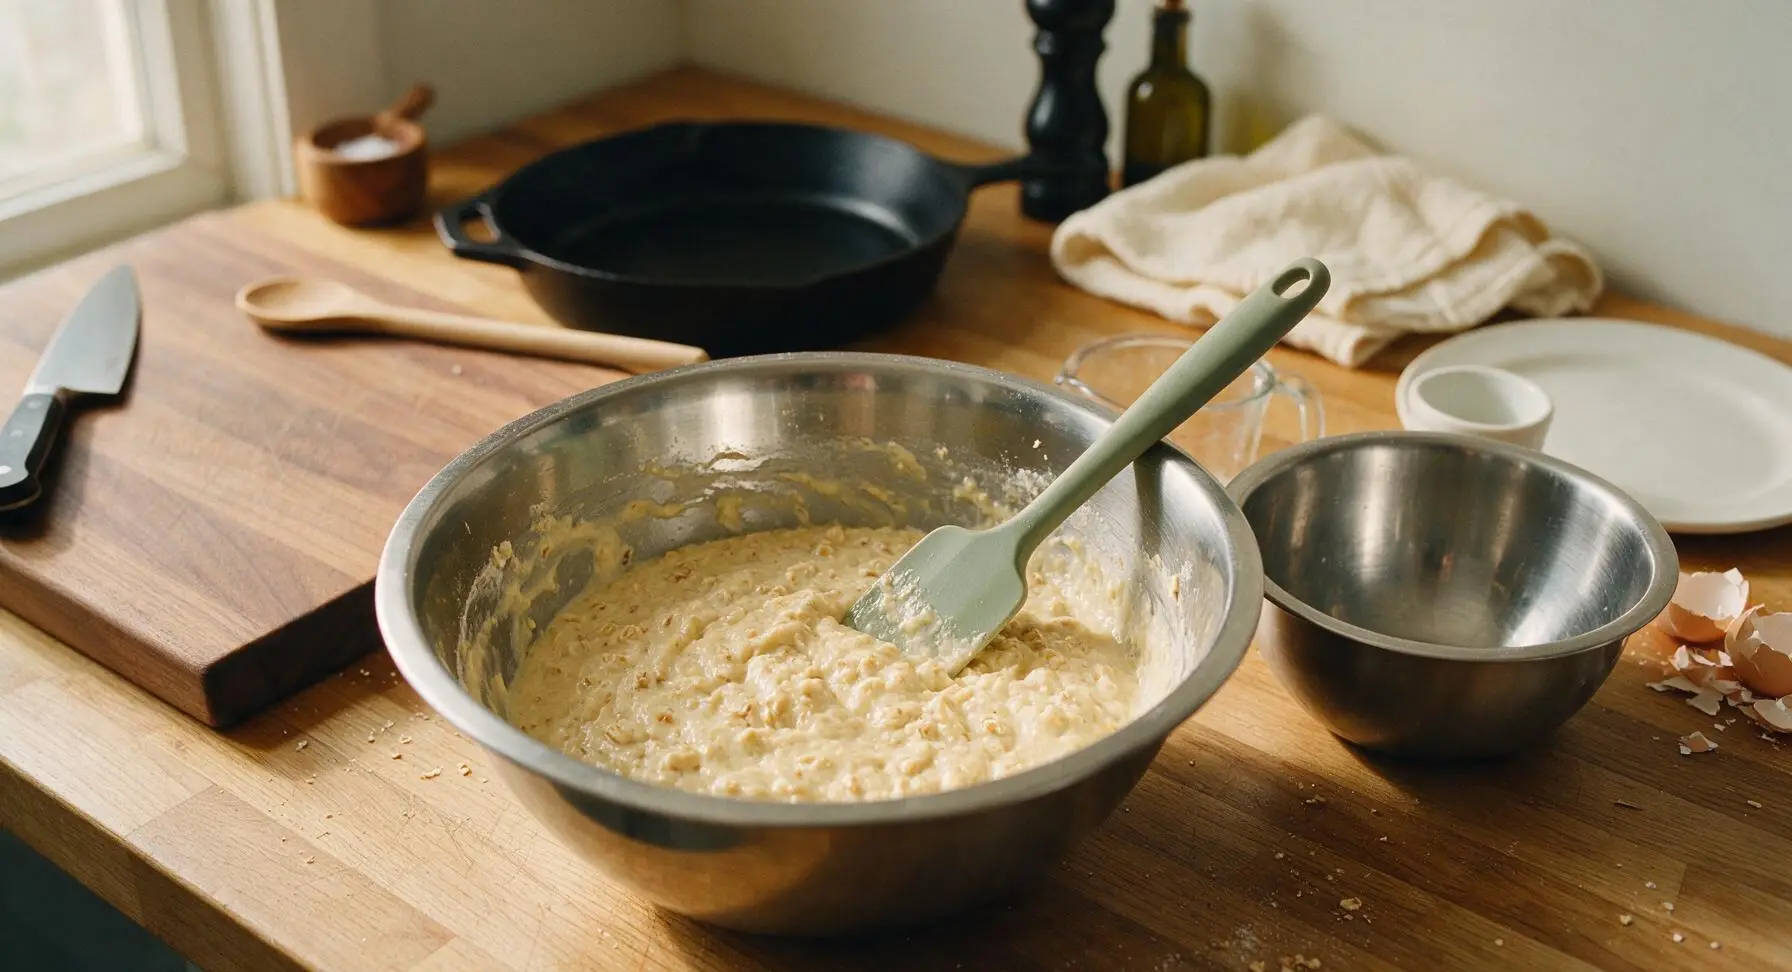
Pour the entire wet ingredient mixture into the large bowl of dry ingredients. Use the muted sage green silicone spatula to gently fold the ingredients together, stirring only just until no dry streaks of flour remain. The batter will be thick and slightly lumpy with visible oat pieces; do not overmix, as overstirring will develop gluten and lead to tough, dense waffles. Let the batter rest for 5 minutes at room temperature to allow the oats to soften slightly.
Step 3
step3:Combine Batter Mixtures
Step 3
step3:Combine Batter Mixtures
4

Preheat Waffle Iron

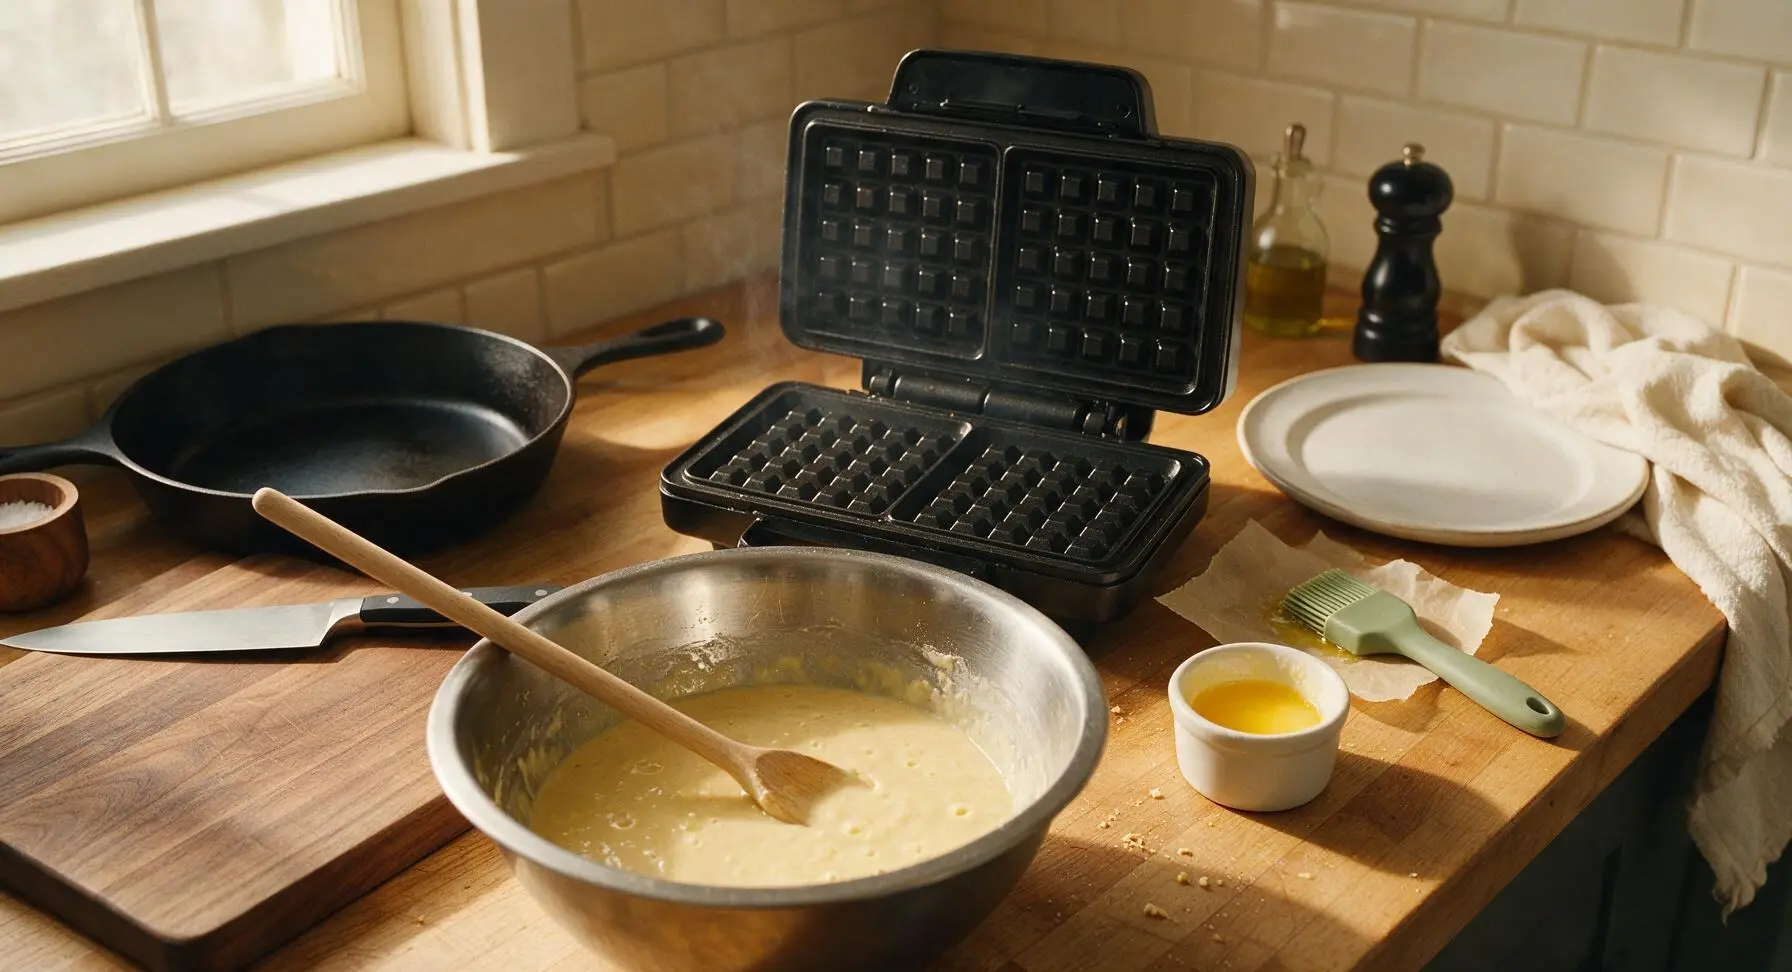
Place the 12-inch square matte black non-stick waffle iron in its center-back counter position, plug it in, and preheat to medium-high heat (375°F internal temperature). Lightly coat the waffle iron grids with a thin layer of melted butter using the matching sage green silicone basting brush once preheated, to prevent sticking. Wait until the iron's ready indicator light turns on before adding batter.
Step 4
step4:Preheat Waffle Iron
5

Cook Waffles Until Crisp

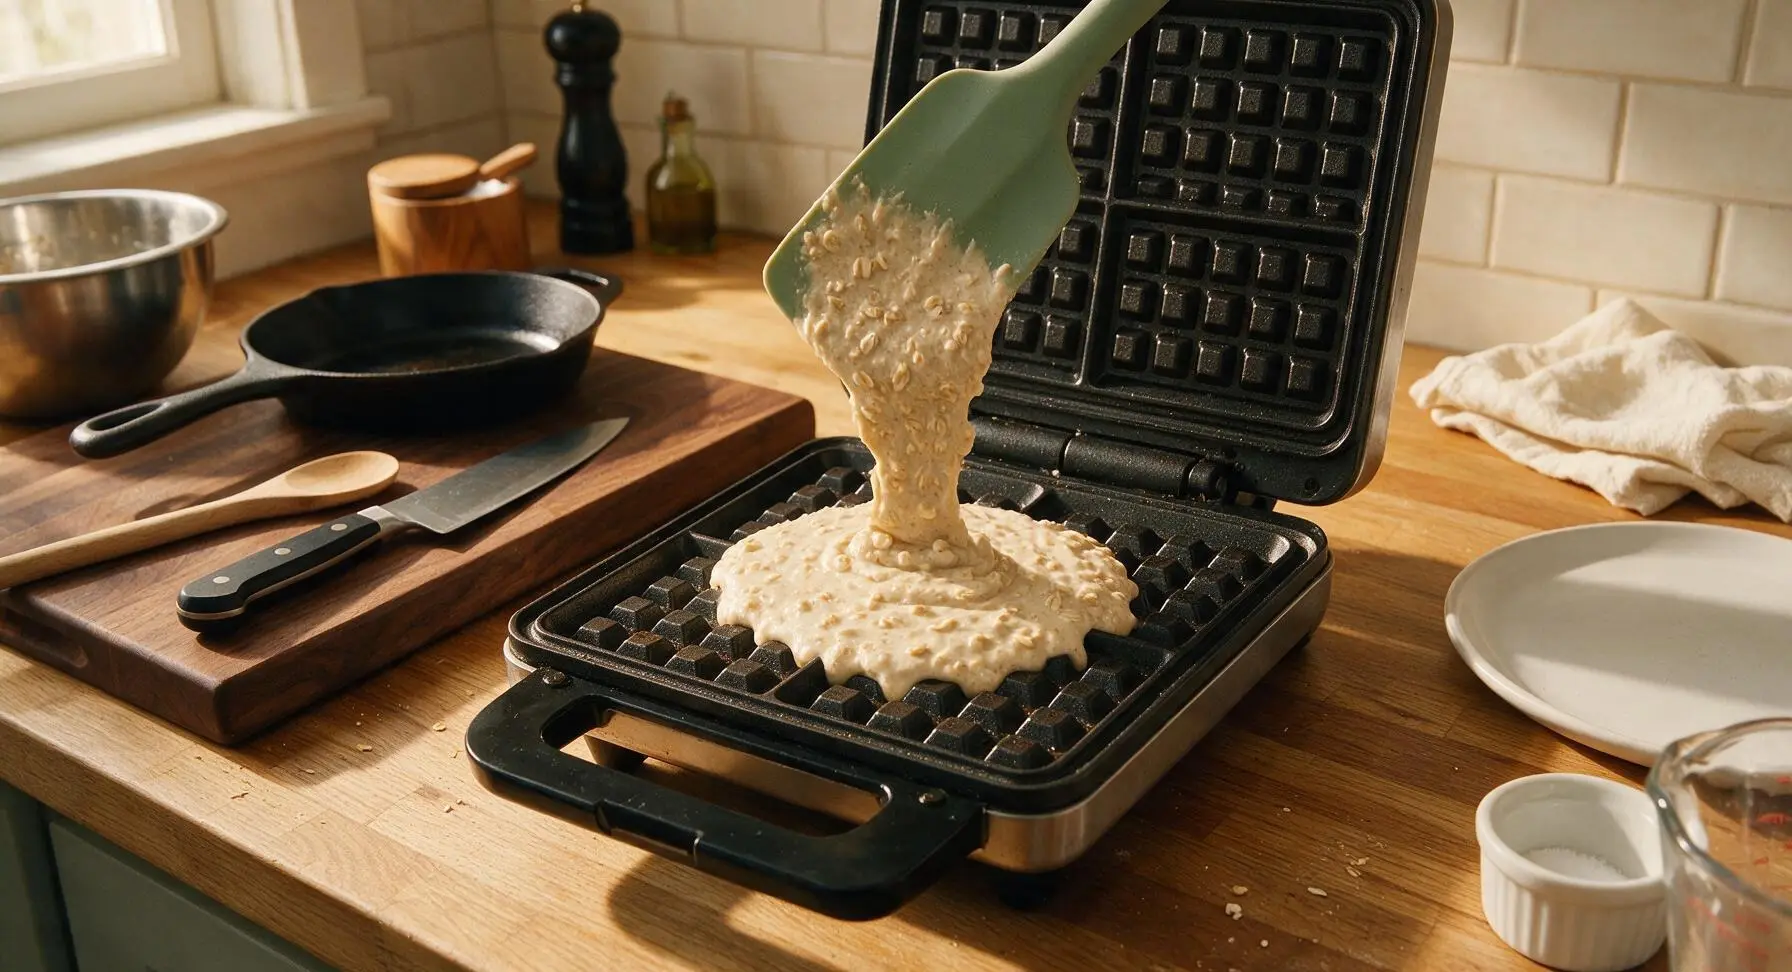
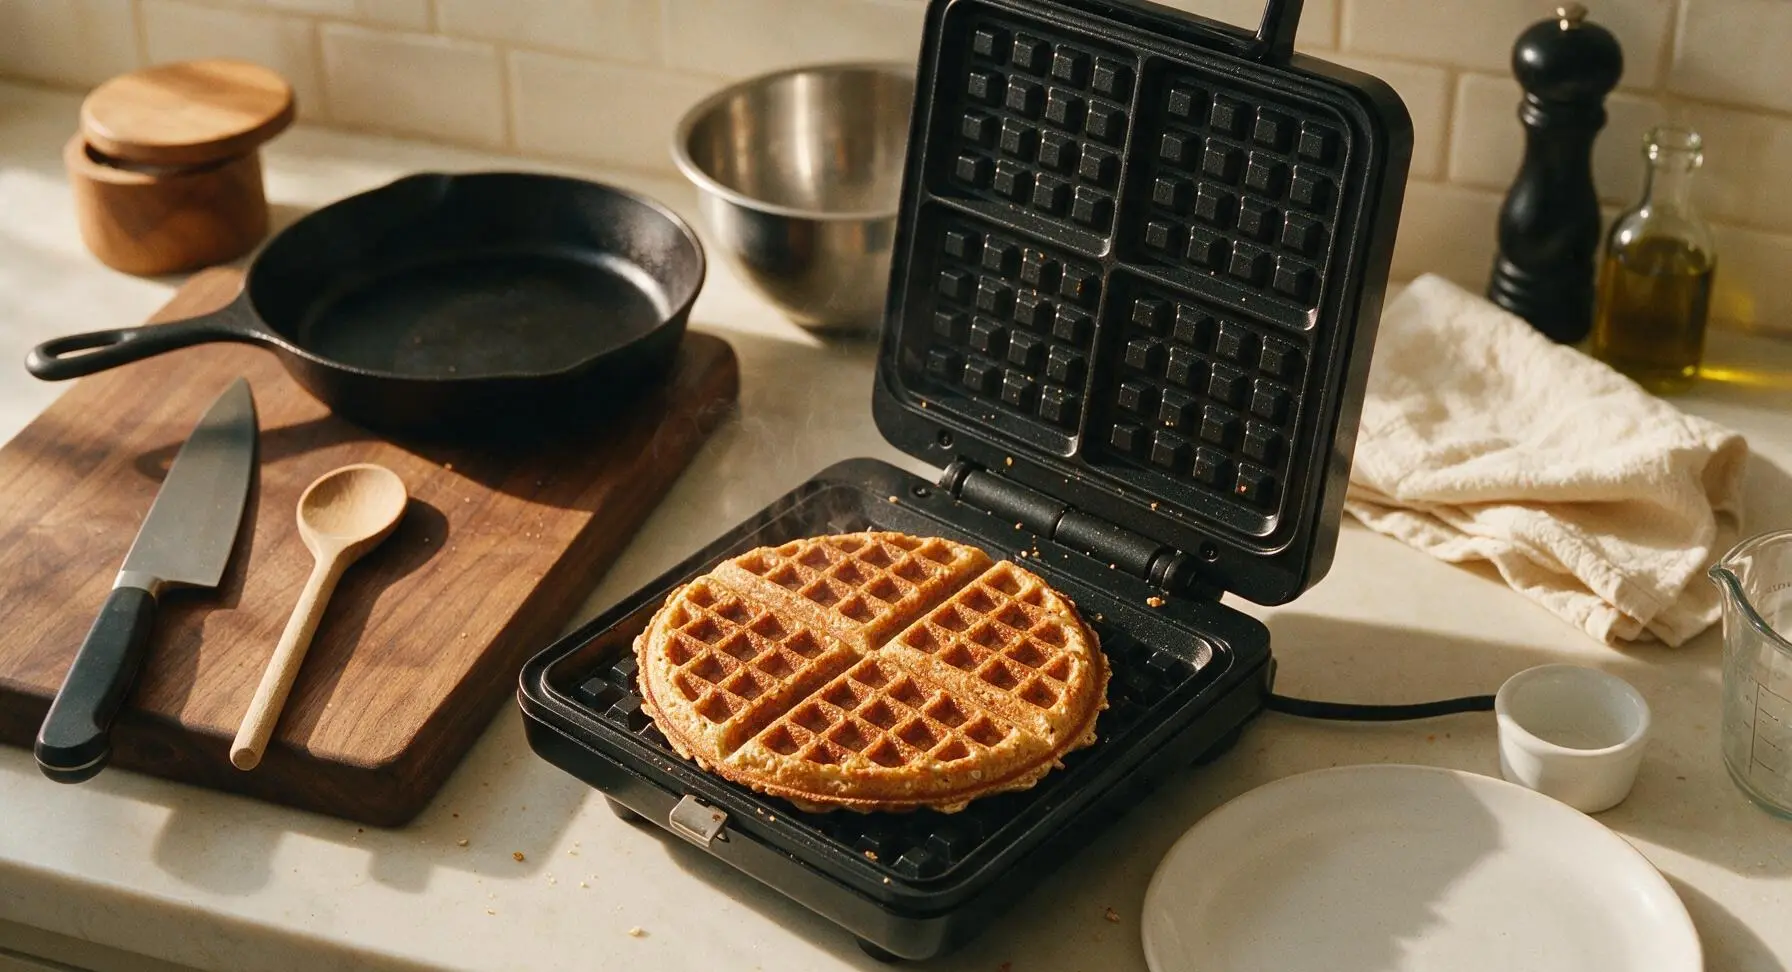
Pour 3/4 cup of batter onto the center of the preheated, greased waffle iron grid. Close the lid and cook for 3 to 4 minutes, until the waffle is deep golden brown, crisp on the edges, and no steam escapes from the sides of the iron. Do not lift the lid before the 3-minute mark, as this will cause the waffle to split and stick to the grids.
Step 5
step5:Cook Waffles Until Crisp
Step 5
step5:Cook Waffles Until Crisp
6

Keep Waffles Warm

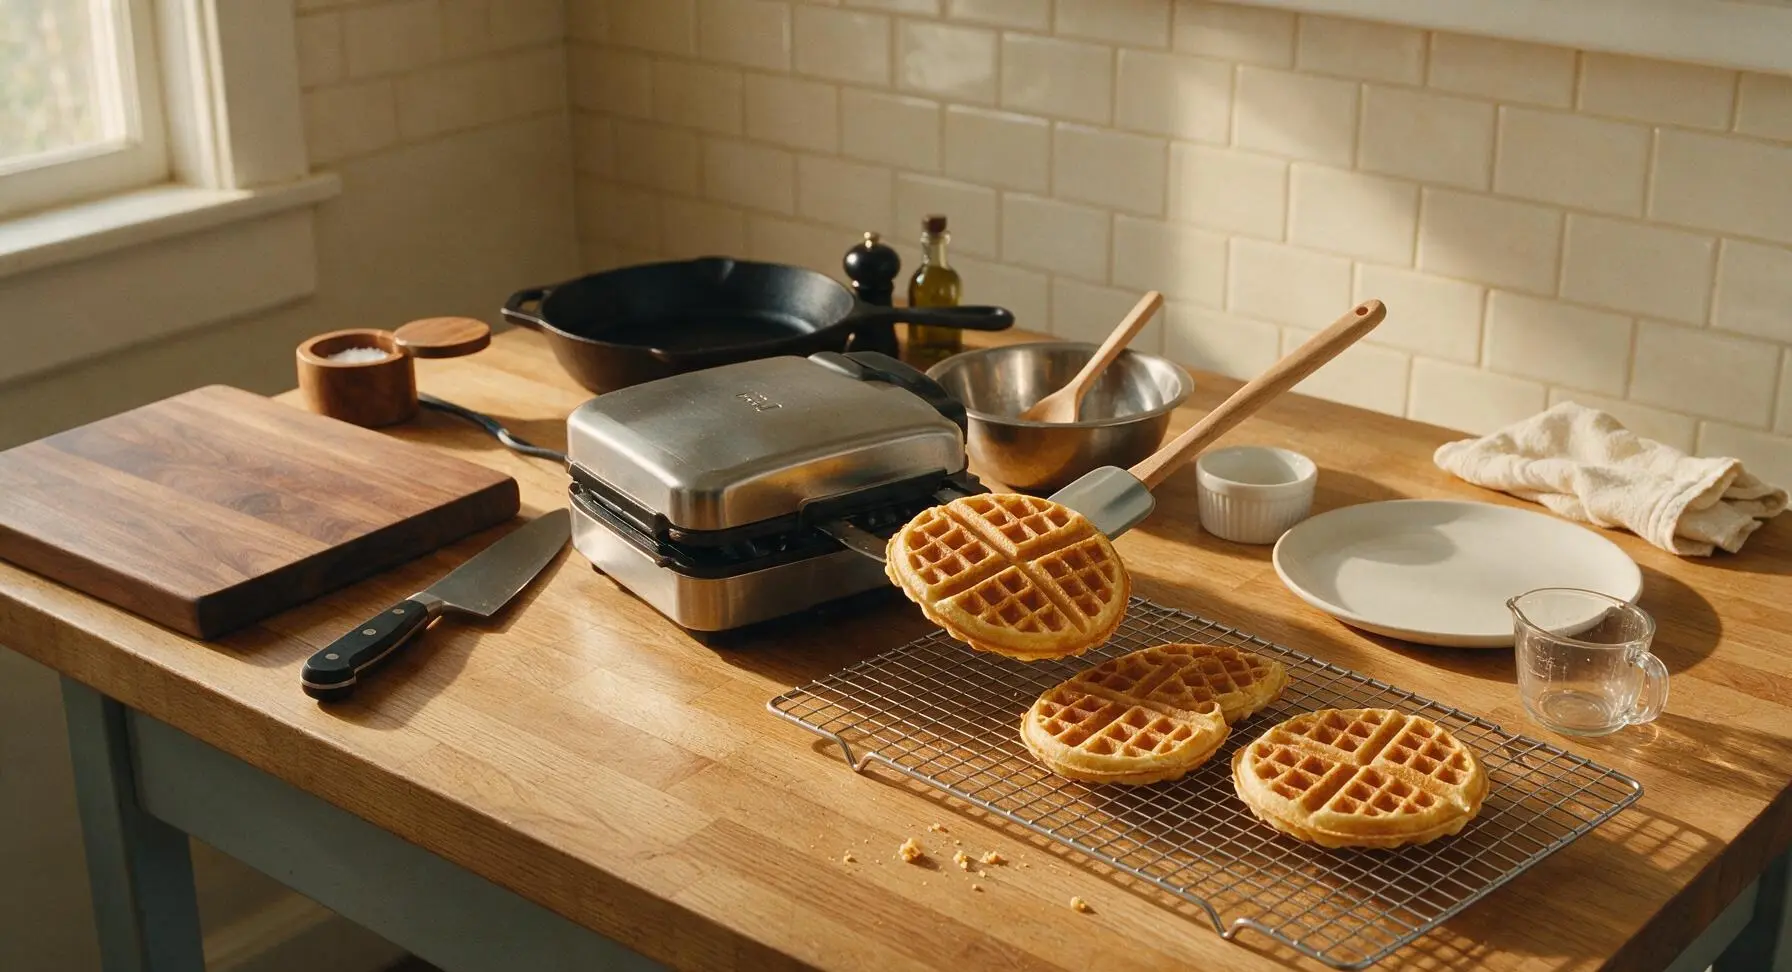
As each waffle finishes cooking, use the silicone spatula to lift it from the waffle iron and transfer it directly to the stainless steel wire cooling rack positioned to the right of the waffle iron, arranging waffles in a single layer. Keep waffles warm in a 200°F oven while you cook the remaining batter, to prevent sogginess. Do not stack waffles directly on top of each other while hot, as trapped steam will make them lose their crisp texture.
Step 6
step6:Keep Waffles Warm
7

Plate and Serve Waffles

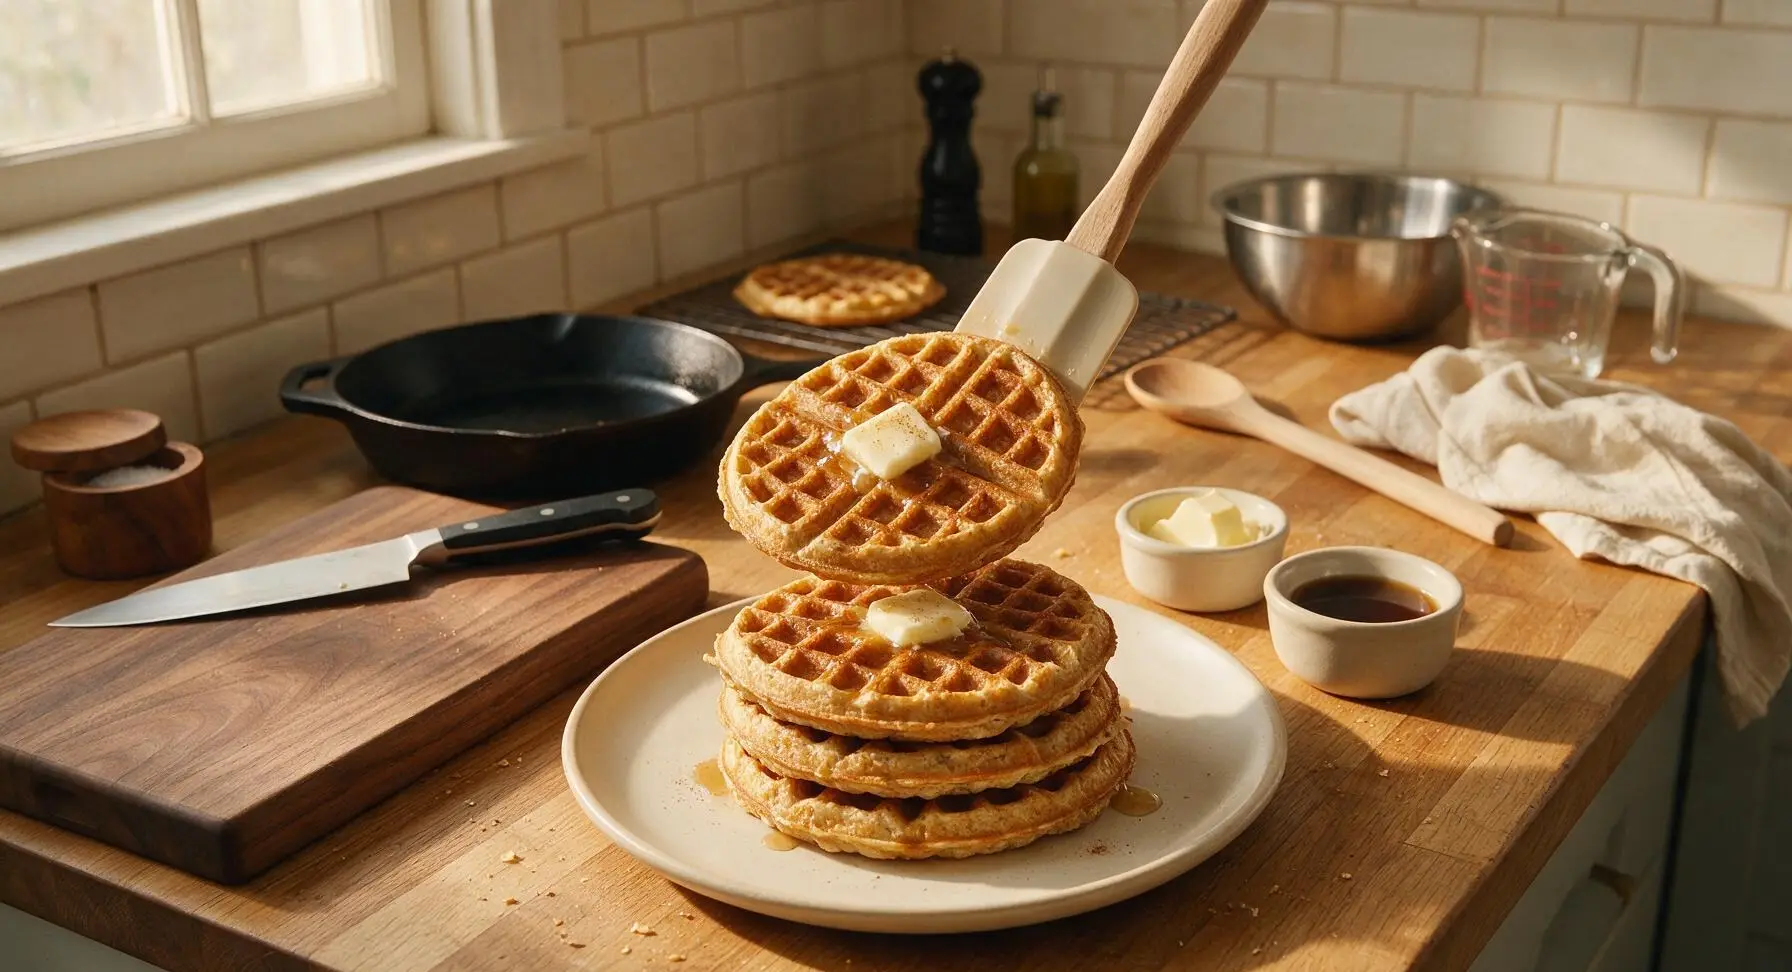
Stack three warm waffles centered on the cream ceramic round dinner plate. Top with a 1 tsp pat of unsalted butter, a light drizzle of pure maple syrup, and a tiny pinch of ground cinnamon. Serve immediately while hot and crisp, with extra syrup and butter on the side if desired.
Step 7
step7:Plate and Serve Waffles

Tips

1.Avoid overmixing the batter: a few lumps are completely normal and desirable. Overstirring develops gluten in the flour, which results in tough, chewy waffles instead of light, tender ones with crisp edges. Stop folding as soon as you no longer see dry streaks of flour.
2.Skip stacking hot waffles directly on a plate to keep them crisp: resting cooked waffles on a wire rack allows air to circulate around all sides, preventing trapped steam from turning crisp edges soft and soggy. Hold waffles on the rack in a 200°F oven until ready to serve.
3.Freeze leftover waffles for quick future meals: let cooked waffles cool completely on the wire rack, then store in a labeled zip-top freezer bag for up to 3 months. Reheat directly from frozen in a toaster or toaster oven to restore their crisp texture, no thawing required.


✨ You May Also Like

Breakfast
🍜 United States

Crisp-edged, fluffy lard griddle cakes are a nostalgic homestyle staple, with rich savoriness from rendered lard, perfect topped with maple syrup or savory gravy.

⏱️ 25 minuteBreakfast ★ 4.8
Breakfast
🍜 United States

Flaky, buttery homemade buttermilk biscuits smothered in creamy, peppery pork sausage gravy: a beloved, hearty Southern American comfort food classic.

⏱️ 35 minuteBreakfast ★ 4.8
Breakfast
🍜 United States

Golden, custardy brioche stuffed with sweet cream cheese and fresh berries, pan-fried to crisp perfection. An indulgent, cozy breakfast perfect for slow weekend mornings.

⏱️ 30 minuteBreakfast ★ 4.7
Breakfast
🍜 United States

Flaky, buttery Southern-style biscuits stuffed with savory salty country ham, a portable, satisfying classic perfect for casual on-the-go meals.

⏱️ 25 minuteBreakfast ★ 4.8
Breakfast
🍜 United States

Iconic puffy baked pancake popularized in Seattle, with crisp golden edges and soft custardy center, served warm with classic sweet toppings.

⏱️ 35 minuteBreakfast ★ 4.6
Breakfast
🍜 United States

Fluffy, golden pancakes studded with juicy peak-summer mixed berries, drizzled with maple syrup for a bright, comforting, crowd-pleasing family breakfast.

⏱️ 25 minuteBreakfast ★ 4.7

Buttermilk Oatmeal Waffles:Frequently Asked Questions

1.Can I substitute instant oats for the old-fashioned rolled oats in this recipe? ▾
Instant oats are cut much finer than old-fashioned rolled oats, so they’ll create a mushy, overly soft texture instead of the recipe’s signature hearty, tender oaty crumb. If instant oats are all you have, reduce the full-fat buttermilk by 2 tablespoons and cut batter resting time in half to avoid dense, soggy results, though old-fashioned oats always deliver the best texture.
2.Why don’t my waffles have that bright, tangy buttermilk flavor the recipe promises? ▾
This almost always happens if you use low-fat or non-fat buttermilk instead of the recommended full-fat version, or if your buttermilk is past its peak freshness. For an extra tangy boost, stir 1/4 teaspoon of fresh lemon zest into the batter right before cooking to amp up that bright tart note without throwing off the waffle’s texture.
3.Can I prep this waffle batter ahead of time for lazy weekend mornings? ▾
You can absolutely prep components ahead! Mix dry ingredients and wet ingredients in separate containers and store them in the fridge overnight, then stir them together right before preheating your waffle iron. Don’t store fully mixed batter overnight—the leavening will lose power, and the oats will turn mushy, leading to flat, dense waffles.
4.How do I get perfectly crisp golden edges without burning the soft inner crumb? ▾
First, let your waffle iron fully preheat to 375°F (medium-high) before pouring in batter—if it’s too cool, waffles will steam instead of crisp. The melted unsalted butter in the batter already boosts browning, but a light spritz of nonstick spray on the iron plates before each batch will help form even, snappy edges without sogginess or burnt spots.
5.What’s the best way to store and reheat leftover waffles for quick weekday breakfasts? ▾
Let cooked waffles cool completely to room temperature, then stack them between sheets of parchment paper and seal in a freezer-safe bag for up to 3 months. Reheat straight from frozen in a toaster or 350°F oven for 3 to 4 minutes. Skip the microwave—it turns crisp edges chewy and soggy in seconds, ruining the waffle’s ideal texture.

Comments (6)

2 days ago

OMG these waffles are a total game changer for our chaotic weekday mornings! I mixed up the dry ingredients in a mason jar the night before so all I had to do was stir in the buttermilk and eggs in the morning, and 15 minutes later we had warm, crispy, fluffy waffles. My kids begged for seconds and even asked if I could pack extra for their after-school snack. 10/10 will be making these every week!

yesterday

So happy to hear these fit into your busy morning routine, Liz! Pre-measuring dry ingredients ahead is such a smart hack for quick breakfasts — love that your kids are fans too!

3 days ago

Made these for my monthly brunch potluck with the girls this weekend and everyone was asking for the recipe! The oat flavor is so warm and nutty, and the buttermilk gives that perfect tang that pairs so well with fresh berries and maple syrup. I added a dash of cinnamon to the batter and it was chef’s kiss. SO good.

1 week ago

Solid easy waffle recipe, but mine came out a little soggier than I expected even after cooking them the full 15 minutes. Any tips for getting that extra crisp exterior? I used old-fashioned oats like the recipe said, not instant, so I’m not sure where I went wrong.

5 days ago

I had the same issue the first time! I started letting the batter rest for 5 minutes after mixing so the oats can soak up a little more buttermilk, and I also crank my waffle iron up a tiny bit higher than the medium setting. Game changer, super crispy now!

3 days ago

Great tip from Ryan! I also recommend making sure you’re not over-mixing the batter — a few lumps are totally fine, and over-mixing can lead to softer, less crisp waffles. If your waffle iron runs cool, adding an extra 1-2 minutes of cook time usually does the trick too!

30 minutes ago

Wait, can I make the batter ahead and store it in the fridge for a few days? I live in a tiny dorm with a mini waffle maker and I’d love to prep a big batch of batter on Sunday to make waffles between classes all week.

5 minutes ago

I do this all the time! The batter stays good in the fridge for up to 3 days, just give it a quick stir before you pour it on the waffle iron. The oats get softer the longer it sits, which makes the waffles extra chewy and delicious imo.

2 weeks ago

These freeze SO well! I made a double batch on Sunday, let the waffles cool completely, then stuck them in freezer bags. All I have to do in the morning is pop one in the toaster and I’ve got a quick, filling breakfast before I hit the trails. The oatmeal keeps me full way longer than regular waffles, no mid-hike sugar crash here!

yesterday

Has anyone tried adding chocolate chips to these? I’m a total chocoholic and I’m thinking mini chocolate chips plus a little drizzle of peanut butter on top would be insane. Just want to make sure they don’t burn or make the waffles too heavy before I test it out!

2 hours ago

I did mini semi-sweet chips last time I made these! Toss them in a little bit of the dry flour before you stir them into the batter and they won’t all sink to the bottom. They got perfectly melty, no burning at all!

just now

Mia’s tip about tossing chocolate chips in flour is spot on! Mini chips work best here because they distribute more evenly without weighing down the batter. The peanut butter drizzle sounds absolutely delicious — you’ll have to let us know how you like it!



