
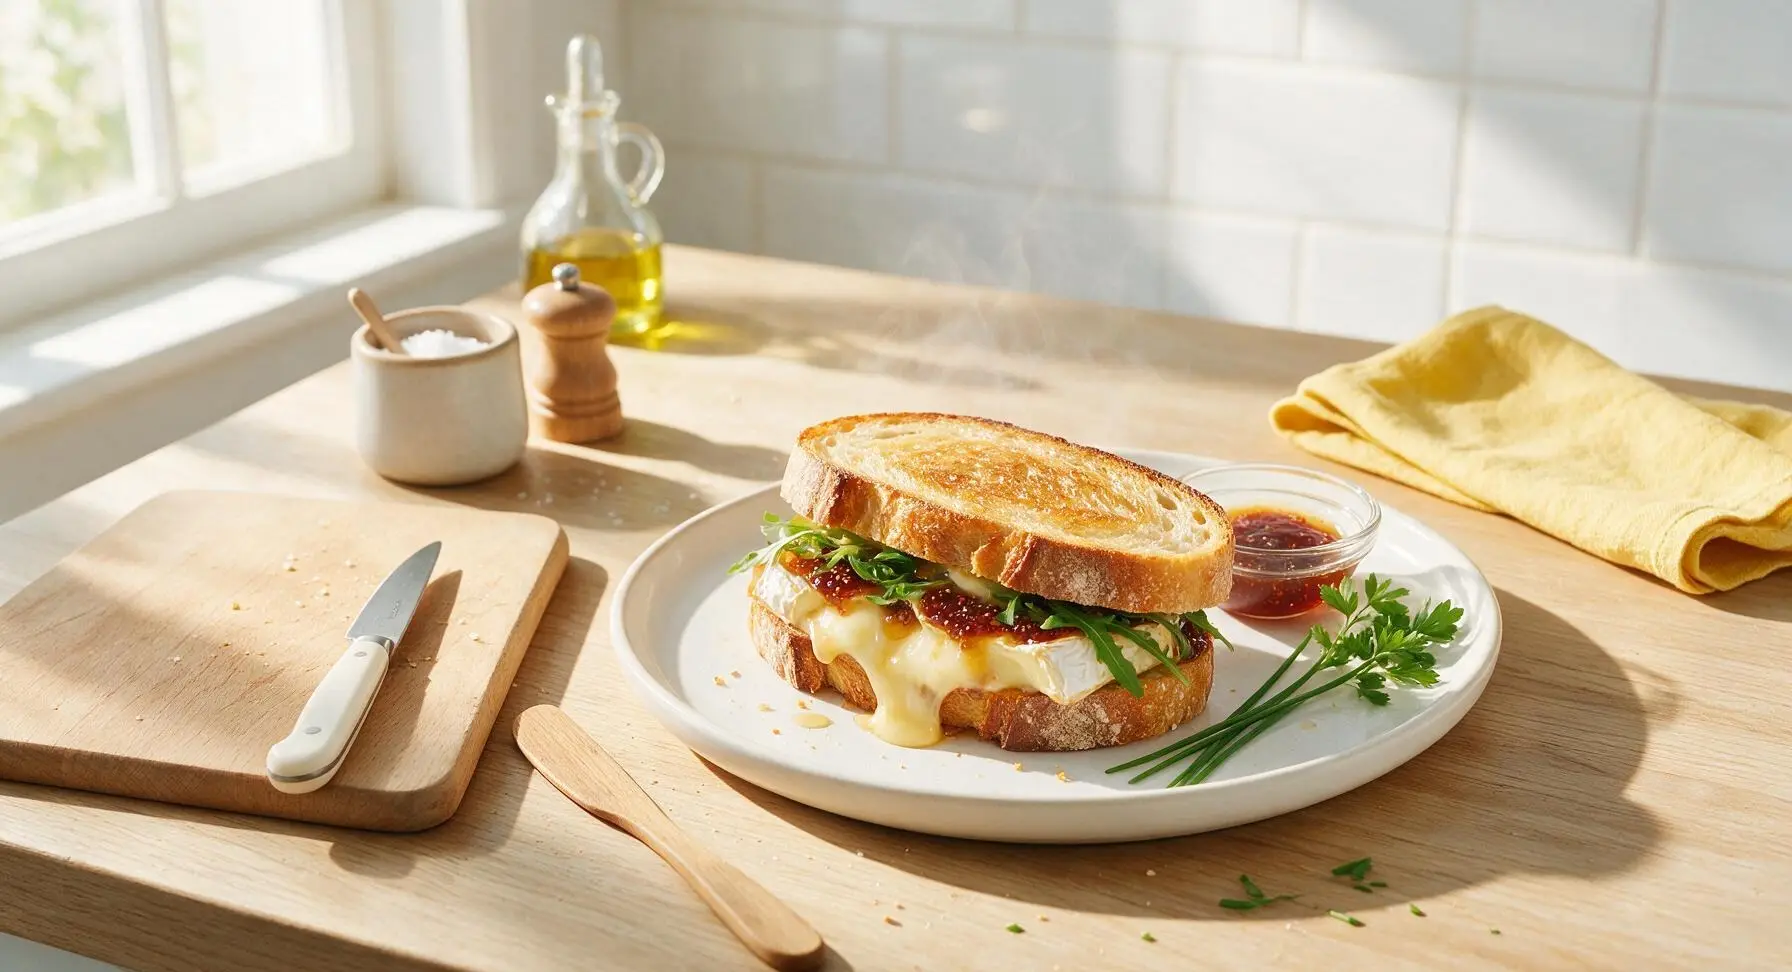
camembert sandwich

title 1
camembert sandwich
⏱️ cook time 8 minutes
🍽️ servings 2
⚡ Difficulty easy

intro

Crispy buttery sourdough encases oozing melted camembert, sweet fig jam, peppery arugula, and a hint of honey—this cozy French sandwich balances creamy, sweet, and tangy flavors in every bite.

Ingredients
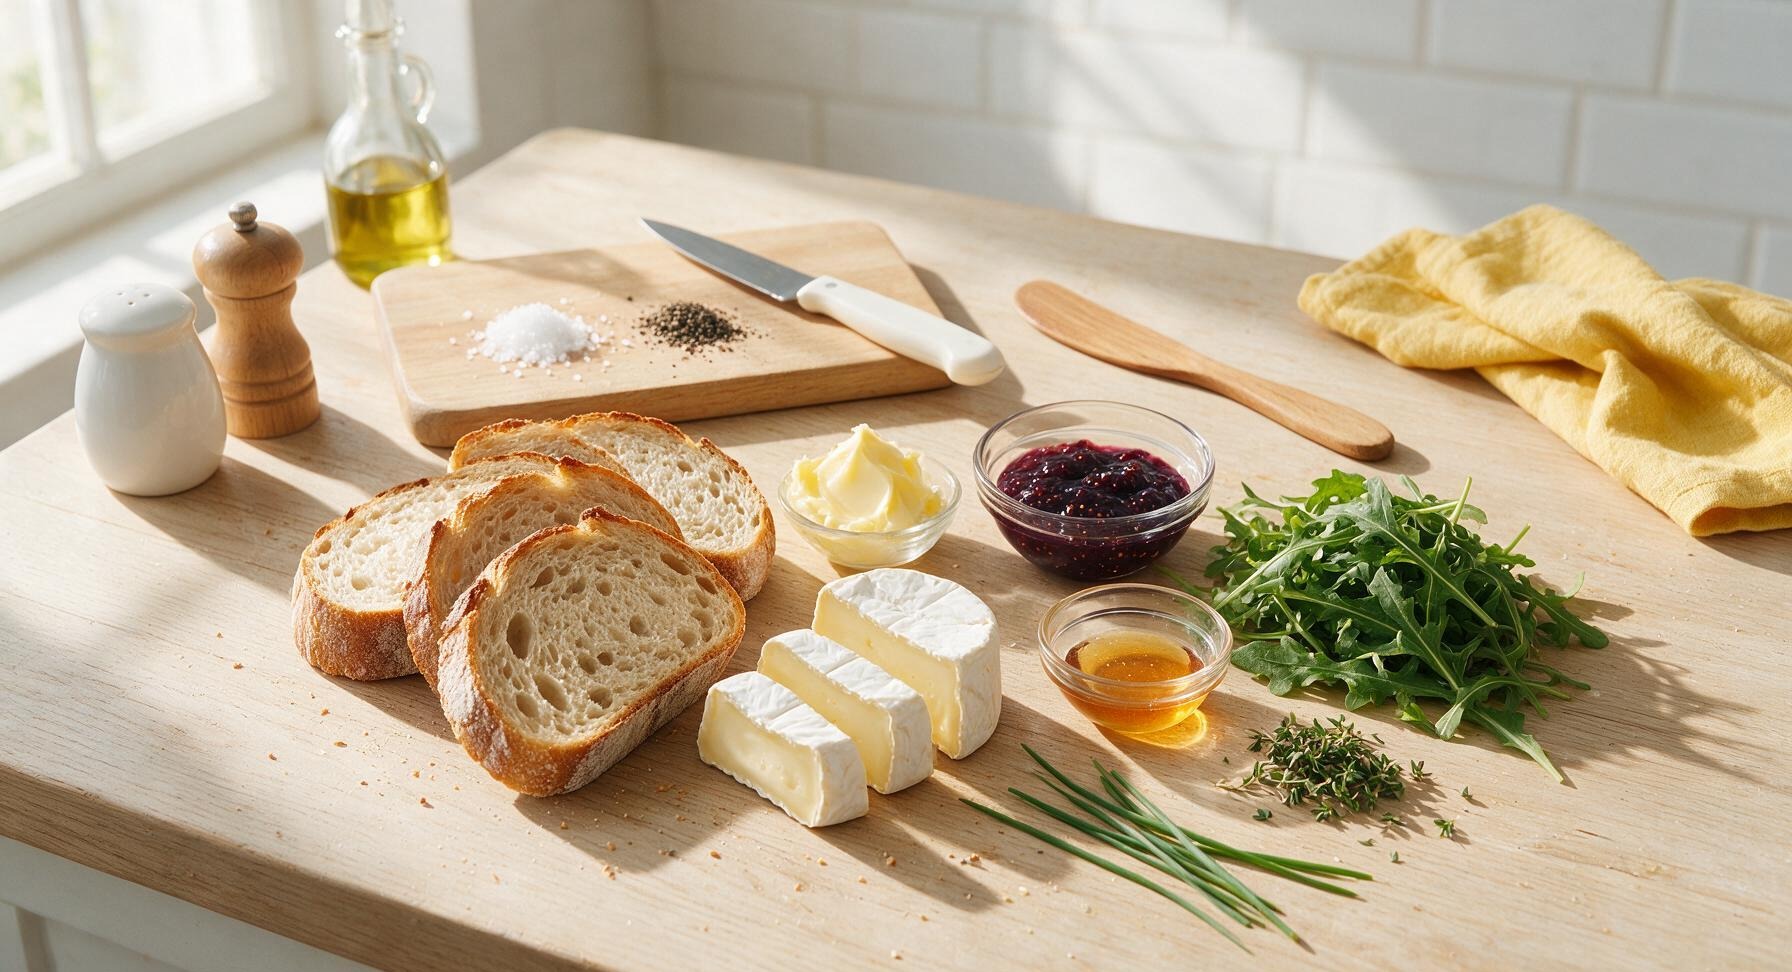
Crusty sourdough bread 4 thick slices (120g total, 1.5cm thick)
Ripe camembert cheese 120g, cut into 5mm rounds, rind intact
Unsalted butter 2 tablespoons (30g), softened
Fig jam 2 tablespoons (40g)
Wild arugula 1 cup (20g), loosely packed
Raw wild honey 1 teaspoon (7g)
Flaky sea salt 1/4 teaspoon
Freshly ground black pepper 1/8 teaspoon
Fresh thyme 1 teaspoon, leaves picked

Steps

1

Prep Sandwich Ingredients

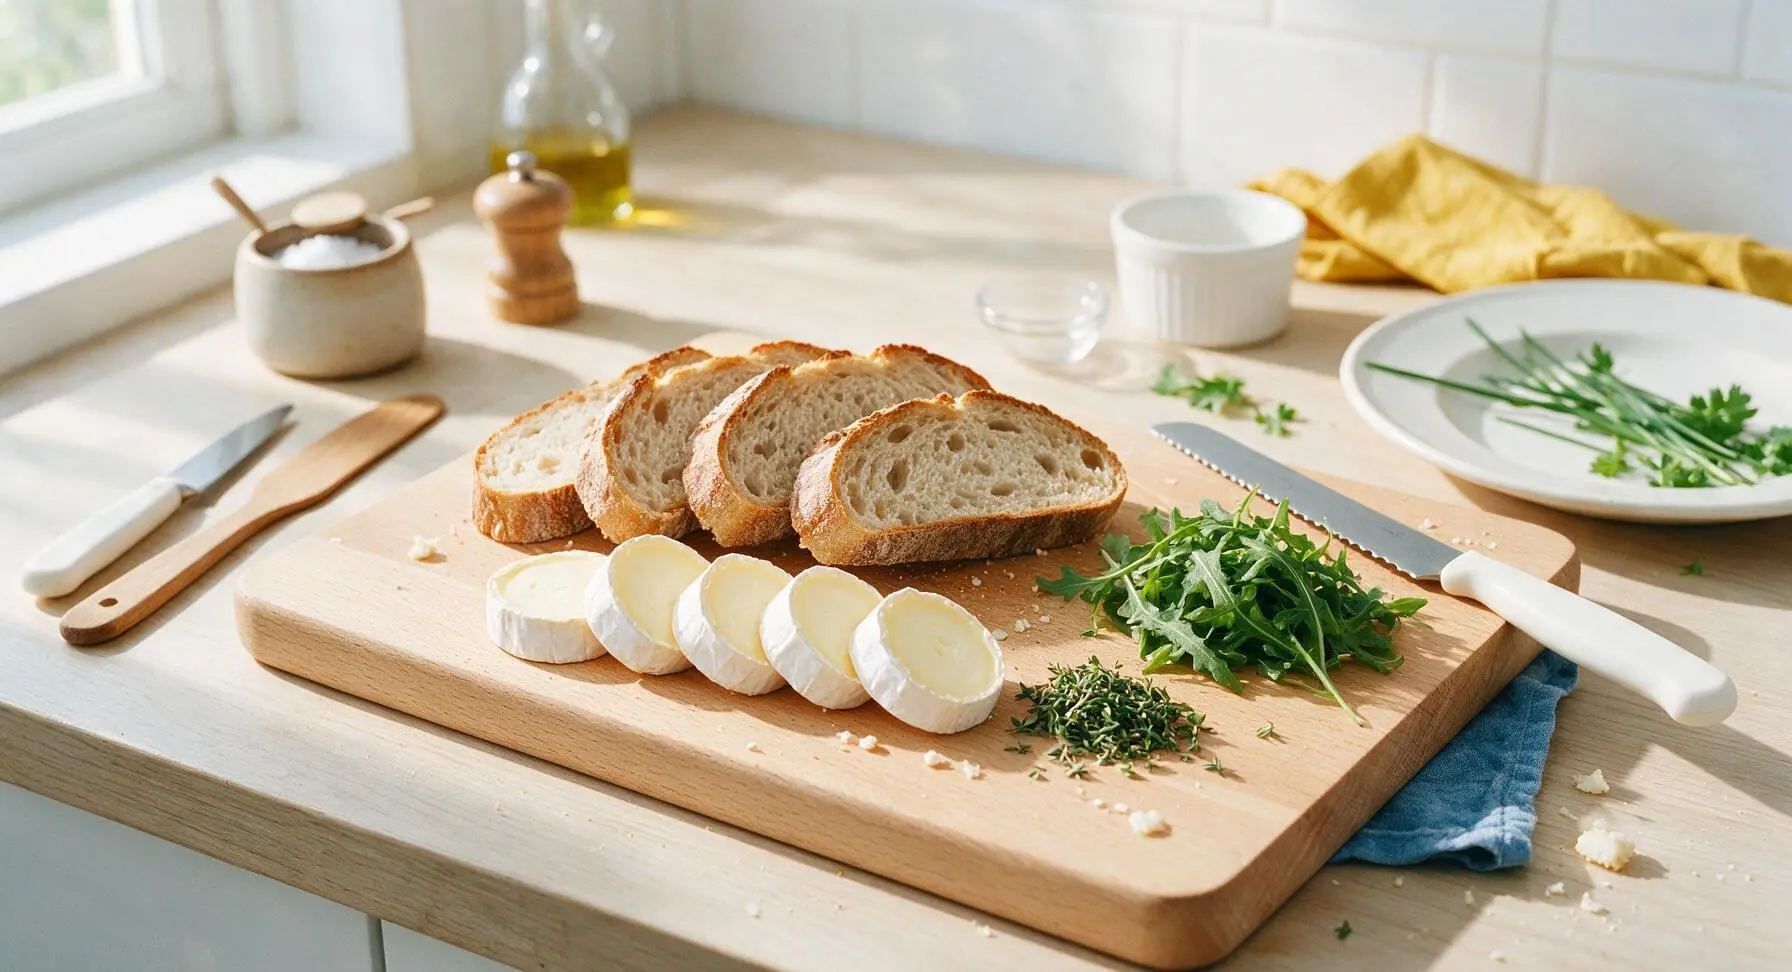
Gather all ingredients onto the maple cutting board. Retrieve the serrated bread knife from the magnetic backsplash strip, and slice the sourdough into four even 1.5cm thick slices if not pre-sliced. Slice the camembert into 5mm thick rounds, leaving the soft white rind intact to add earthy depth and hold melting cheese in place. Pick thyme leaves from their woody stems, discarding the stems. Pat the arugula dry with a corner of the indigo tea towel to remove excess surface moisture that would make the sandwich soggy.
Step 1
step1:Prep Sandwich Ingredients
2

Butter Bread Slices

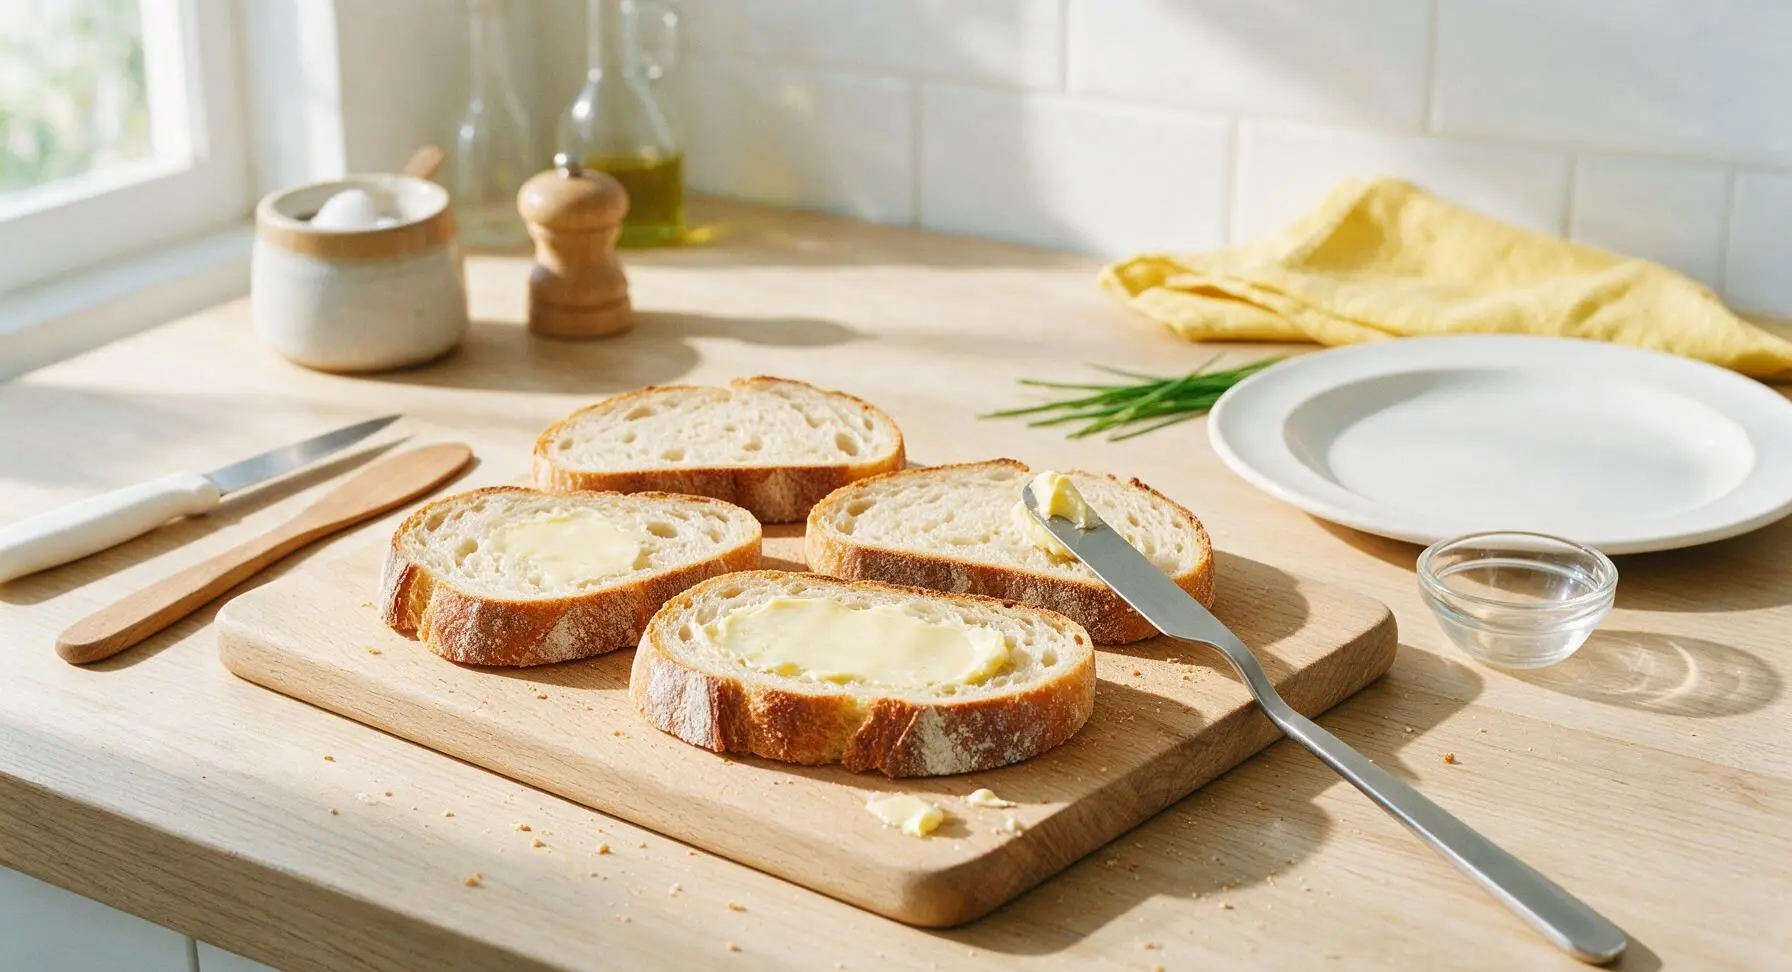
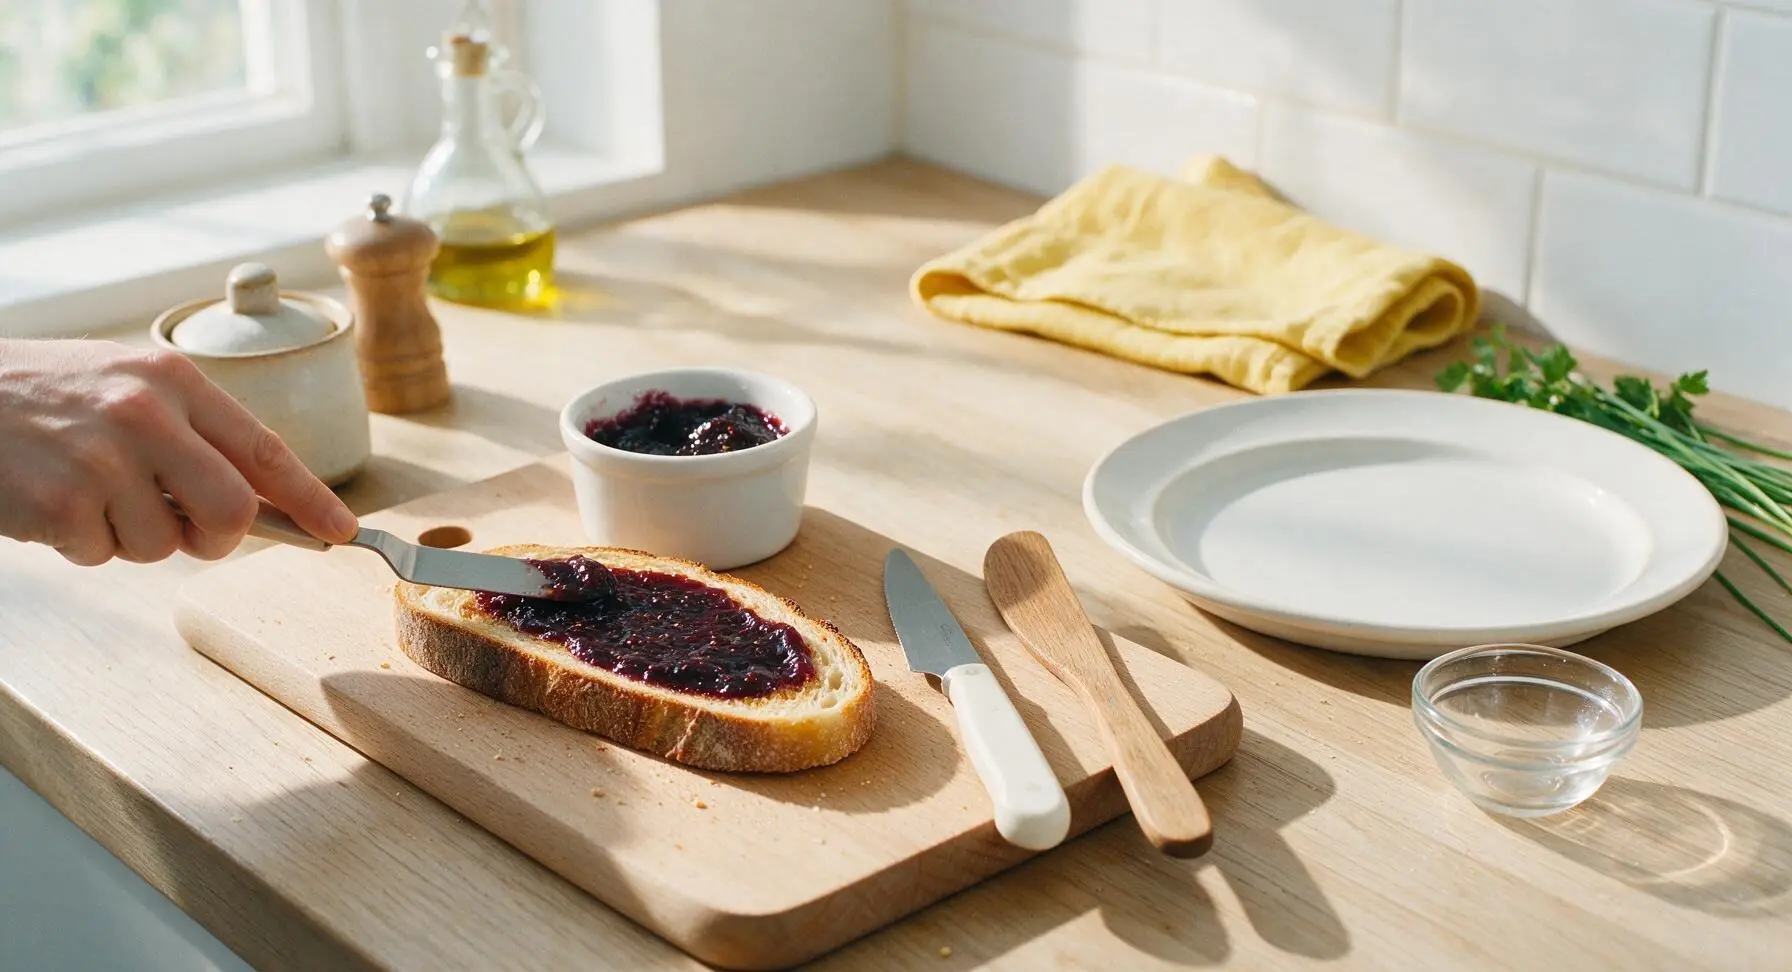
Scoop softened unsalted butter from the glass cruet. Use the tip of the offset sandwich spatula to spread a thin, even layer of butter across one entire side of each of the four sourdough slices. Be sure to spread butter all the way to the crust edges, as unbuttered spots will turn dry and pale instead of crispy and golden when cooked. The buttered sides will face outward against the hot skillet to form the signature crispy crust.
Step 2
step2:Butter Bread Slices
3

Layer Fillings Evenly

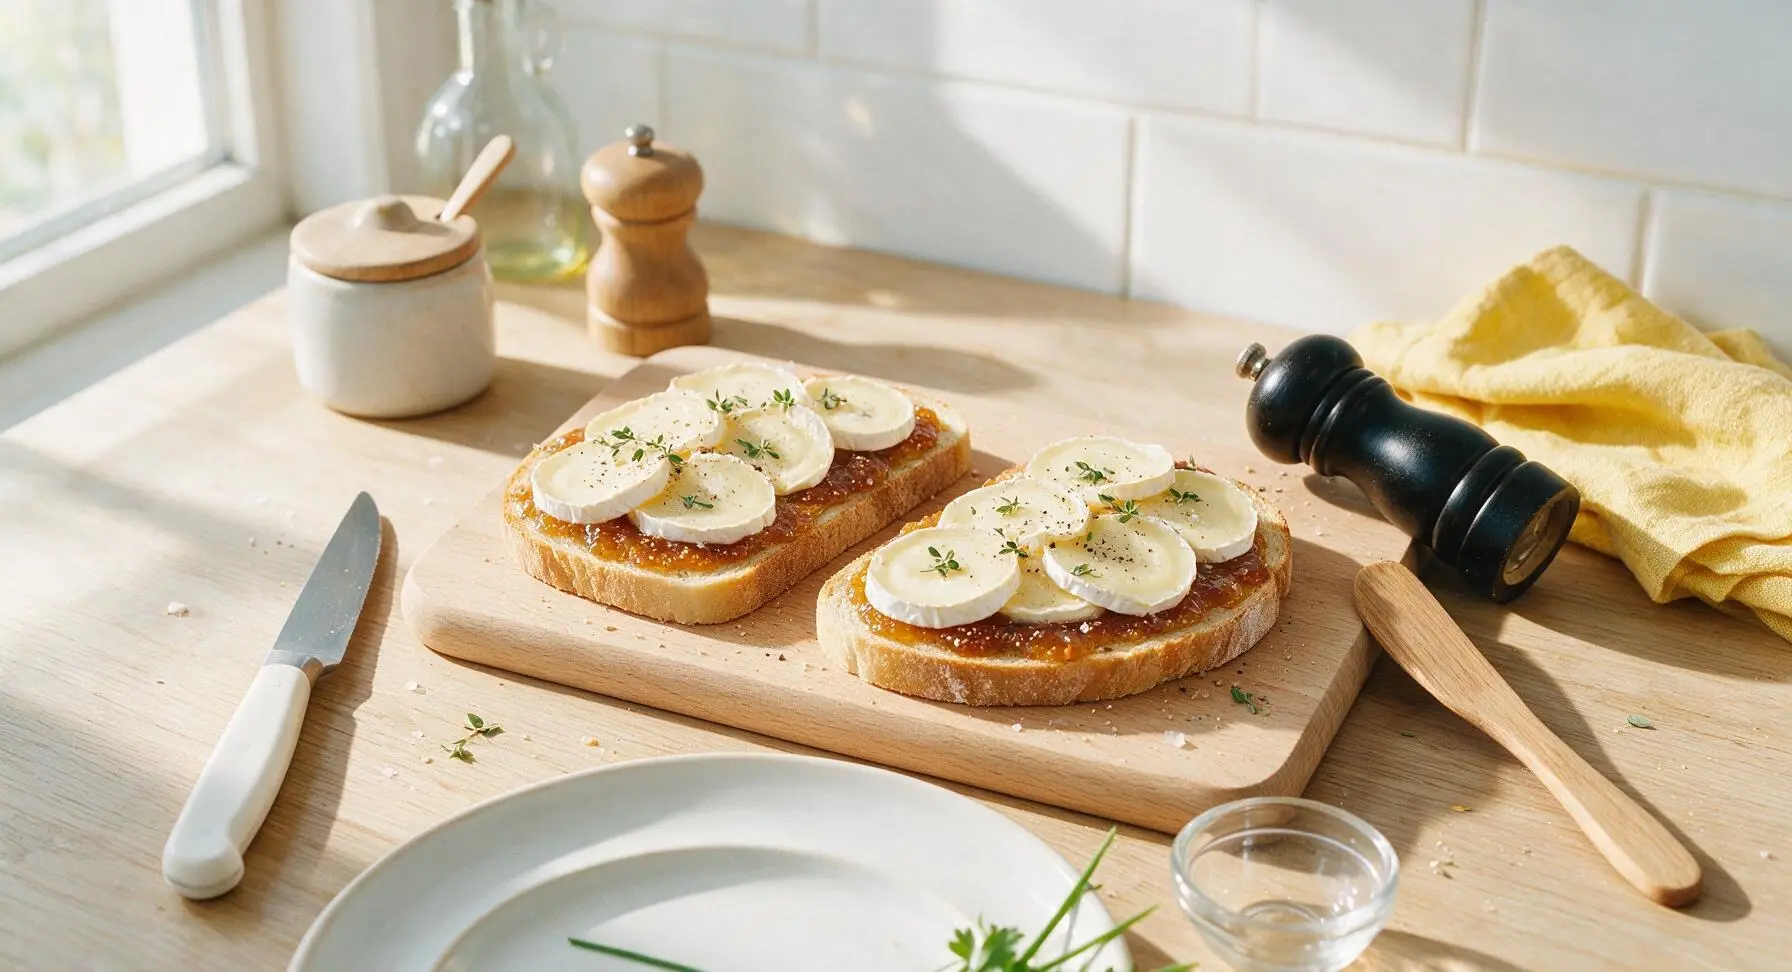
Flip two of the bread slices so the unbuttered side faces up. Spread 1 tablespoon of fig jam evenly across the unbuttered surface of each of these two slices, spreading all the way to the edges. Arrange the sliced camembert in a single overlapping layer over the fig jam, leaving a 5mm border around the edge to prevent cheese from oozing out excessively as it melts. Sprinkle the picked thyme leaves, a pinch of flaky sea salt, and a light crack of fresh black pepper over the camembert.
Step 3
step3:Layer Fillings Evenly
Step 3
step3:Layer Fillings Evenly
4

Assemble Full Sandwiches

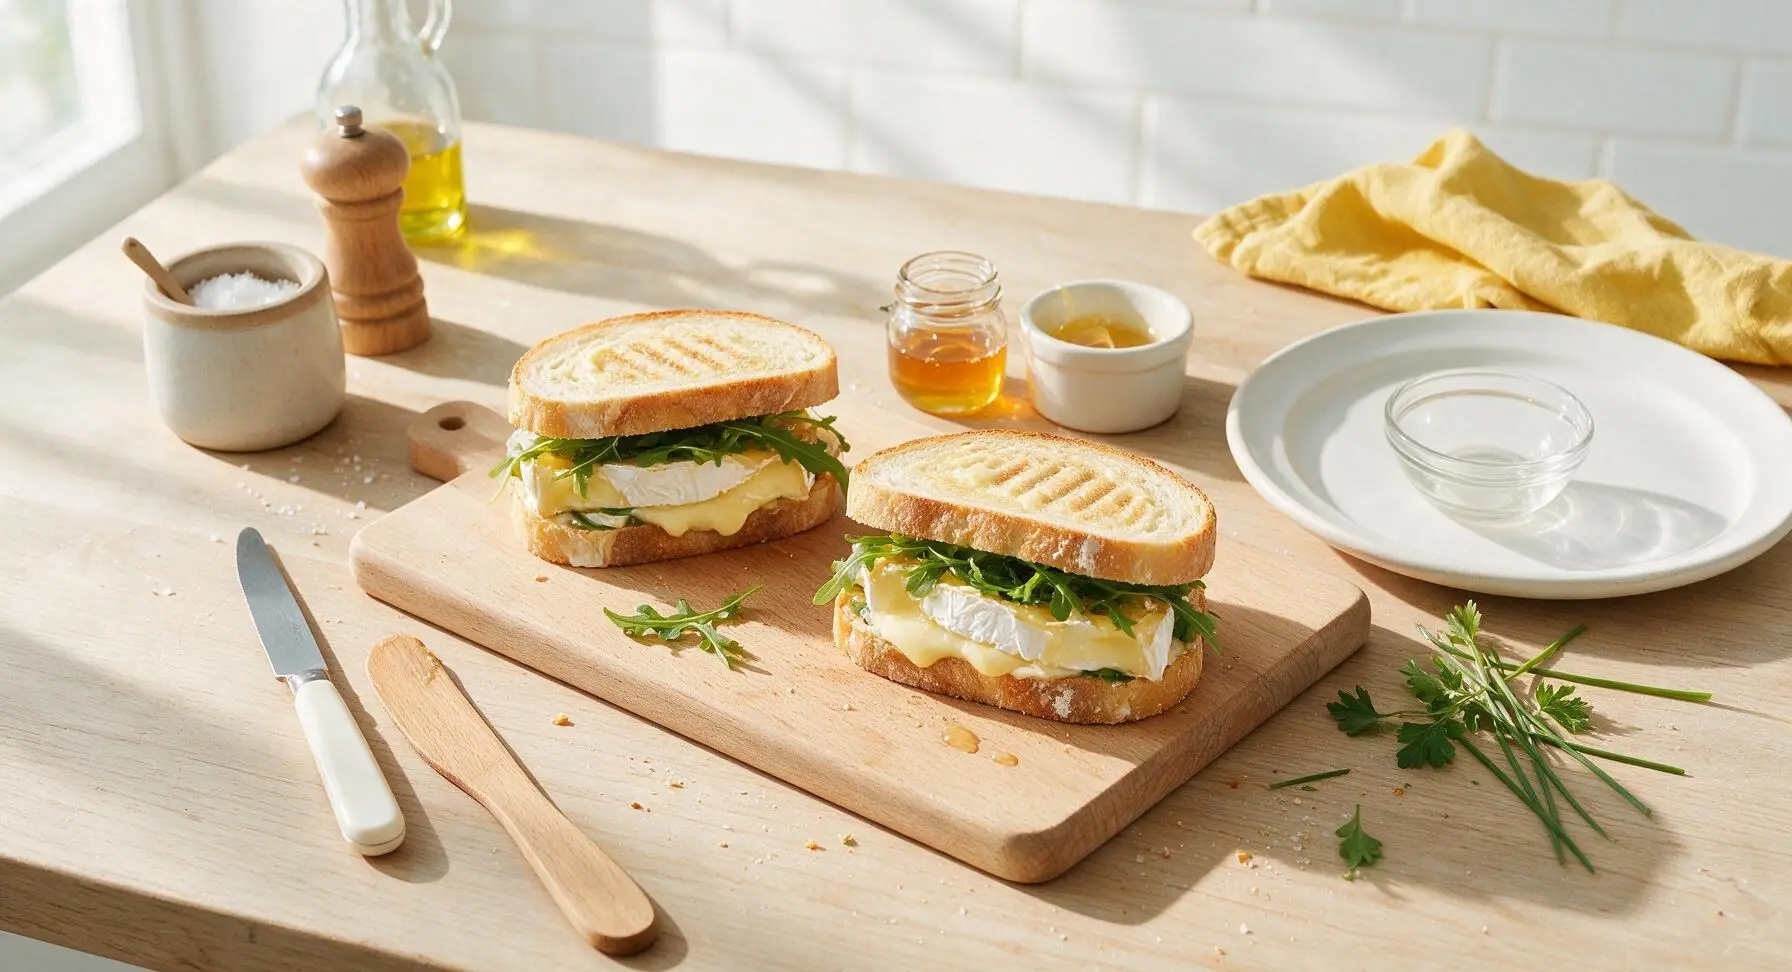
Divide the dried arugula evenly over the camembert-topped bread slices, then drizzle 1/2 teaspoon of raw honey over the arugula on each. Top each stack with the remaining two bread slices, making sure the buttered side faces outward. Press down gently on each sandwich with the palm of your hand to compact the fillings slightly, so they do not slide around during cooking.
Step 4
step4:Assemble Full Sandwiches
5

Preheat Cooking Skillet

Retrieve the 10-inch matte charcoal non-stick skillet from storage and place it on the flush-mounted induction cooktop set to the right of the cutting board. Set heat to medium-low (3/10 on most electric and induction stoves), and let the skillet preheat for 2 minutes. Test the temperature by flicking a single drop of water onto the pan surface: it is ready when the drop sizzles and dances immediately across the pan without evaporating instantly. Do not heat the pan to high heat, as this will burn the butter before the cheese melts.

Step 5
step5:Preheat Cooking Skillet
6

Cook First Sandwich Side

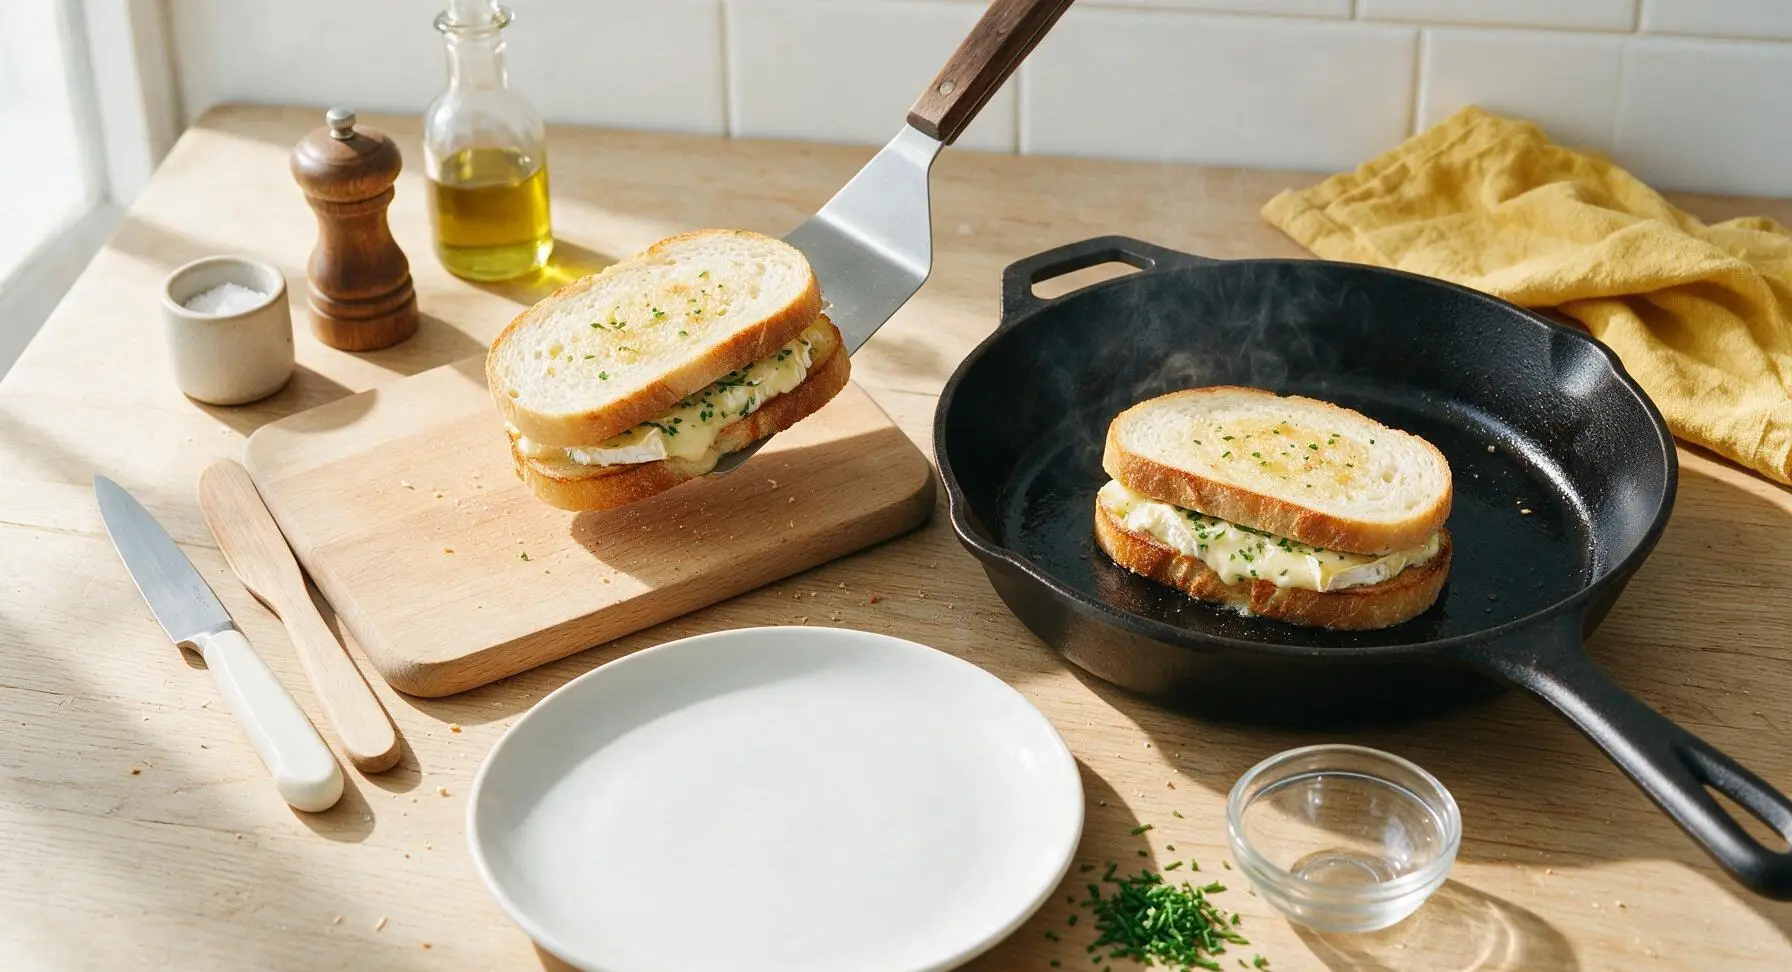
Use the offset sandwich spatula to carefully lift both assembled sandwiches and place them in the preheated skillet. Cook for 3 to 4 minutes on the first side, resisting the urge to press down firmly on the sandwiches (this squeezes out melted cheese and creates a dry filling). The first side is done when it is deep golden brown and crispy to the touch, and the camembert closest to the pan has started to soften and bubble slightly at the edges. If the bread browns in less than 3 minutes, reduce heat slightly to avoid burning.

Step 6
step6:Cook First Sandwich Side
Step 6
step6:Cook First Sandwich Side
7

Flip and Finish Cooking

Slide the offset spatula fully under each sandwich to lift it cleanly, then flip it gently to cook the second buttered side. Cook for an additional 3 to 4 minutes, until the second side matches the first in golden crispness, and the camembert in the center of the sandwich is fully melted and runny when you press lightly on the top crust. Total cook time per sandwich is 6 to 8 minutes.

Step 7
step7:Flip and Finish Cooking
8

Rest Plate and Garnish

Use the offset spatula to lift the cooked sandwiches from the skillet, transferring them to the top matte cream stoneware dinner plate. Let rest for 1 minute to allow the melted cheese to set slightly, then cut each sandwich diagonally into two triangles with the serrated bread knife. Arrange the triangles so the cut, oozing cheese faces outward, tuck a small tuft of extra arugula next to the sandwiches, and place a single fresh thyme sprig on the plate as garnish. Sprinkle a tiny pinch of flaky sea salt over the crispy crusts for extra flavor.

Step 8
step8:Rest Plate and Garnish

Tips

1.Use room-temperature camembert for the smoothest melt. Take the cheese out of the refrigerator 20 minutes before cooking; cold camembert will not fully melt by the time the bread reaches perfect crispness, leaving firm, un-melted cheese chunks in the sandwich center.
2.Leave the camembert rind intact. The soft, bloomy rind adds a subtle earthy, mushroom-like flavor, and acts as a natural barrier to prevent excessive melted cheese from leaking out of the sandwich and burning in the skillet.
3.Resist the urge to press down on the sandwiches with the spatula while cooking. Pressing squeezes out melted cheese and compresses the airy bread crumb, resulting in a flat, greasy sandwich with less creamy filling. A light press only when assembling is all that is needed.


✨ You May Also Like

Lunch
🍜 United States

Creamy, salty, tangy nostalgic Midwestern sandwich pairing rich peanut butter with crisp briny dill pickles for a fast, satisfying no-cook meal.

⏱️ 5 minutesLunch ★ 4.6
Lunch
🍜 United States

Crispy, melty pressed sandwich layered with savory roast pork, ham, Swiss cheese, pickles, and tangy mustard: a beloved Cuban-American comfort classic.

⏱️ 25 minuteLunch ★ 4.9
Lunch
🍜 United States

Hearty, briny New Orleans pressed sandwich stacked with cured Italian meats, provolone, and zesty olive salad, served cold for bold, portable flavor.

⏱️ 1 hour 20Lunch ★ 4.7
Lunch
🍜 United States

A tangy, creamy Southern American staple, this no-cook cheesy sandwich is packed with sharp cheddar and sweet pimentos for a satisfying, portable bite.

⏱️ 1 hour 15Lunch ★ 4.8
Lunch
🍜 United States

Crispy Cajun-spiced fried shrimp piled on crusty French bread with tangy remoulade and fresh toppings, the iconic Louisiana street food sandwich.

⏱️ 35 minuteLunch ★ 4.4
Lunch
🍜 United States

Stacked, savory deli-style corned beef sandwich with melted Swiss, tangy mustard, and crisp griddled rye— a fast, hearty, satisfying classic.

⏱️ 15 minuteLunch ★ 4.9

camembert sandwich:Frequently Asked Questions

1.How do I know if my camembert is ripe enough for this sandwich? ▾
Ripe camembert will give slightly when you press its rind gently, with a soft, pillowy center and no hard chalky core. It should smell earthy and rich, not strongly of ammonia. Underripe camembert won’t melt into that perfect oozing texture, while overripe cheese will run right out of the sandwich as it cooks.
2.Can I substitute fig jam if I don’t have any on hand? ▾
Absolutely! Fig jam’s sweet, earthy depth is a classic match for camembert, but you can swap it for apricot preserves, pear butter, or caramelized onion jam for a less sweet twist. Just avoid thin, overly runny, high-sugar jams that will soak through your crispy sourdough and make the sandwich soggy.
3.How do I keep my warm camembert sandwich from getting soggy? ▾
Start with thick, crusty sourdough slices, and spread a thin, even layer of softened unsalted butter all the way to the edges of each slice before cooking. Don’t overdo the jam or honey, and add arugula after cooking if you want maximum crispness, to avoid excess moisture leaching into the bread.
4.Do I need to remove the rind from the camembert before making this sandwich? ▾
You don’t have to! Camembert’s soft, bloomy rind is completely edible, and it adds a subtle earthy, tangy note that balances the sweet jam and creamy interior. If you strongly dislike the rind’s texture, you can trim it off, but leave a thin edge to help hold melted cheese inside as it cooks.
5.What’s the best cooking method to get crispy bread and fully melted cheese? ▾
Cook the sandwich low and slow in a cast iron or nonstick skillet over medium-low heat, about 3 to 4 minutes per side. Press gently with a spatula as it cooks to help the bread crisp evenly and the cheese melt all the way through. If the bread browns too fast, turn the heat down to avoid burning before the cheese melts.
6.Can I add extra mix-ins without ruining the sandwich’s flavor balance? ▾
Definitely! Stick to ingredients that complement the creamy, sweet, peppery base: thin slices of crisp Honeycrisp apple, crispy prosciutto, toasted walnuts, or a tiny sprinkle of fresh thyme all work beautifully. Skip heavy, wet ingredients like sliced fresh tomatoes that will throw off the balance and make the bread soggy.
7.Why does camembert leak out of the sandwich while I’m cooking it? ▾
This usually happens if your heat is too high, cheese slices sit too close to the bread edges, or your camembert is overripe. Cut cheese to sit ¼ inch inside the bread edge, cook over medium-low heat, and don’t overstuff the sandwich. A little oozed cheese that crisps on the pan is totally normal and delicious, though!
8.Can I make a vegan or dairy-free version of this sandwich? ▾
You can make a great plant-based version by swapping traditional camembert for a high-quality soft, bloomy-rind vegan cheese that melts well, using plant-based butter for toasting, and confirming your fig jam is certified vegan. Note that vegan cheese often needs 1 to 2 extra minutes of cook time to reach that perfect oozing texture.
9.When should I add the arugula so it doesn’t get wilted and mushy? ▾
For the brightest, peppery crunch, add wild arugula right after you take the sandwich off the heat, just before you slice and serve it. If you prefer slightly softened, warmer greens, you can tuck a small handful under the cheese before cooking, but don’t overdo it to avoid adding excess moisture to the bread.
10.What sides pair best with this warm camembert sandwich? ▾
This rich, cozy sandwich pairs beautifully with light, bright sides to cut through the creaminess: a simple green salad with lemon vinaigrette, a cup of light roasted tomato or butternut squash soup, or a small handful of briny cornichons. Skip heavy, creamy sides that will make the meal feel overly dense.

Comments (8)

2 days ago

OMG this warm camembert sandwich is a total game changer! I threw it together for a quick weeknight dinner last night when I forgot to meal prep, added a little fig jam and arugula like I saw someone mention, and my husband and kids devoured it. 8 minute cook time is no joke, so perfect for busy school nights.

yesterday

I did the fig jam and arugula too! Tossed in a few thin slices of apple for crunch and it was unreal.

yesterday

Love those add-in ideas! Fig jam, arugula, and crisp apple pair so perfectly with the creamy melted camembert, great call for elevating this quick sandwich.

3 days ago

Super easy recipe, no fancy skills needed! I made this for a potluck at my office over the weekend, cut them into little slider-sized bites, and they were gone in 10 minutes flat. Only note is I’d recommend not overcooking the camembert or it gets a little too runny and oozes right out the bread.

2 days ago

Great tip about not overcooking! We recommend keeping the heat to medium so the bread toasts evenly without the cheese melting too fast and leaking out. So glad they were a hit at your potluck!

1 week ago

SO good. I’ve been making fancy grilled cheese for years but never thought to use camembert as the star instead of cheddar or brie. The creaminess is next level, I paired mine with a cup of tomato soup for the coziest rainy Saturday lunch.

5 days ago

As a broke college student with basically no cooking skills, this was perfect! All the ingredients were cheap at my campus grocery store, cook time is so fast I can make it between classes, and it tastes way fancier than it has any right to. 10/10 will be making this every week for meal prep.

3 days ago

Wait do you think this would keep well in the fridge for a couple days if I make a batch ahead? I’m always looking for quick work lunches!

2 days ago

Great question! We’d recommend assembling the sandwiches ahead and cooking them right before eating for the best texture – pre-cooked sandwiches can get a little soggy in the fridge since the cheese is so creamy. If you’re prepping for the week, you can pre-slice your bread and cheese to cut down on prep time!

2 hours ago

Tried this last night after seeing it pop up on my feed, and I’m obsessed! I used sourdough bread instead of regular white, added a little honey drizzle on top of the camembert, and it was the perfect sweet-savory combo. My roommate is already begging me to make it again tonight.

30 minutes ago

The sourdough and honey swap sounds incredible! Sourdough has that perfect tang that cuts through the rich cheese, and a little honey balances it out so well. So glad you and your roommate loved it!

2 weeks ago

Made this on my last backpacking trip with some shelf-stable camembert I packed, cooked it on my tiny camp stove, and it was the best hot meal I had the whole trip. Way better than the sad dehydrated meals I usually bring. Will be a staple on all my future hikes.

yesterday

My kids are super picky eaters and usually turn their noses up at any “fancy” cheese, but they went crazy for these sandwiches! I cut them into little star shapes with a cookie cutter to make them fun, served them with sweet potato fries, and nobody even complained there was no cheddar. Total win for weeknight dinners.

2 hours ago

The cookie cutter trick is genius! My kids are the same way about fancy cheese, I’m totally stealing that for our next dinner night.

30 minutes ago

This was just okay for me? I followed the recipe exactly but the bread burned a little before the cheese was fully melted, maybe my stovetop runs hotter than most? I’ll give it another shot with lower heat next time because the flavor combo was great when I got a bite that wasn’t burnt.

5 minutes ago

I had the same issue my first time! Turn your burner down to medium-low, it takes an extra minute or two but the bread toasts golden and the cheese gets perfectly melty without burning.

just now

Sorry to hear the bread burned on your first try! Stovetop temps can vary a lot between appliances, so medium-low heat is definitely the way to go like Greg mentioned. We hope your next batch turns out perfectly creamy and golden!



