
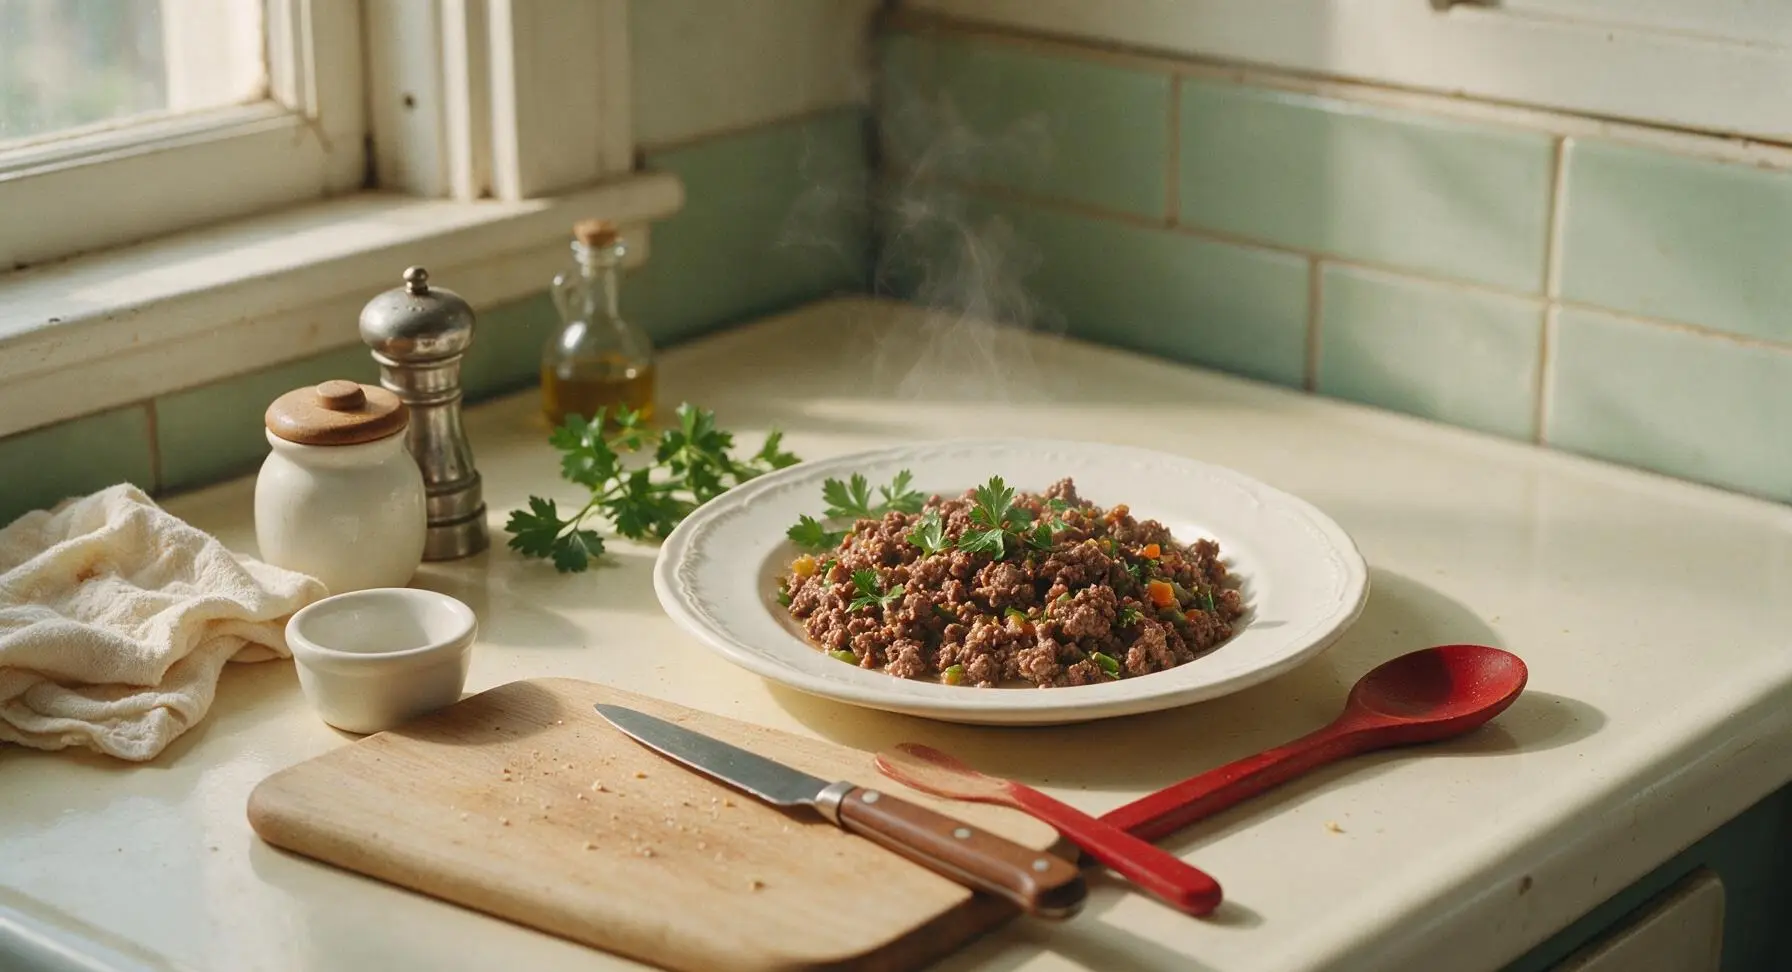
canned ground beef

title 1
canned ground beef
⏱️ cook time 1 hour 45 minutes
🍽️ servings 8
⚡ Difficulty medium

intro

Tender, shelf-stable home-canned ground beef is a versatile pantry workhorse, ready to add to tacos, pasta, or soups in minutes for fast, satisfying weeknight meals.

Ingredients
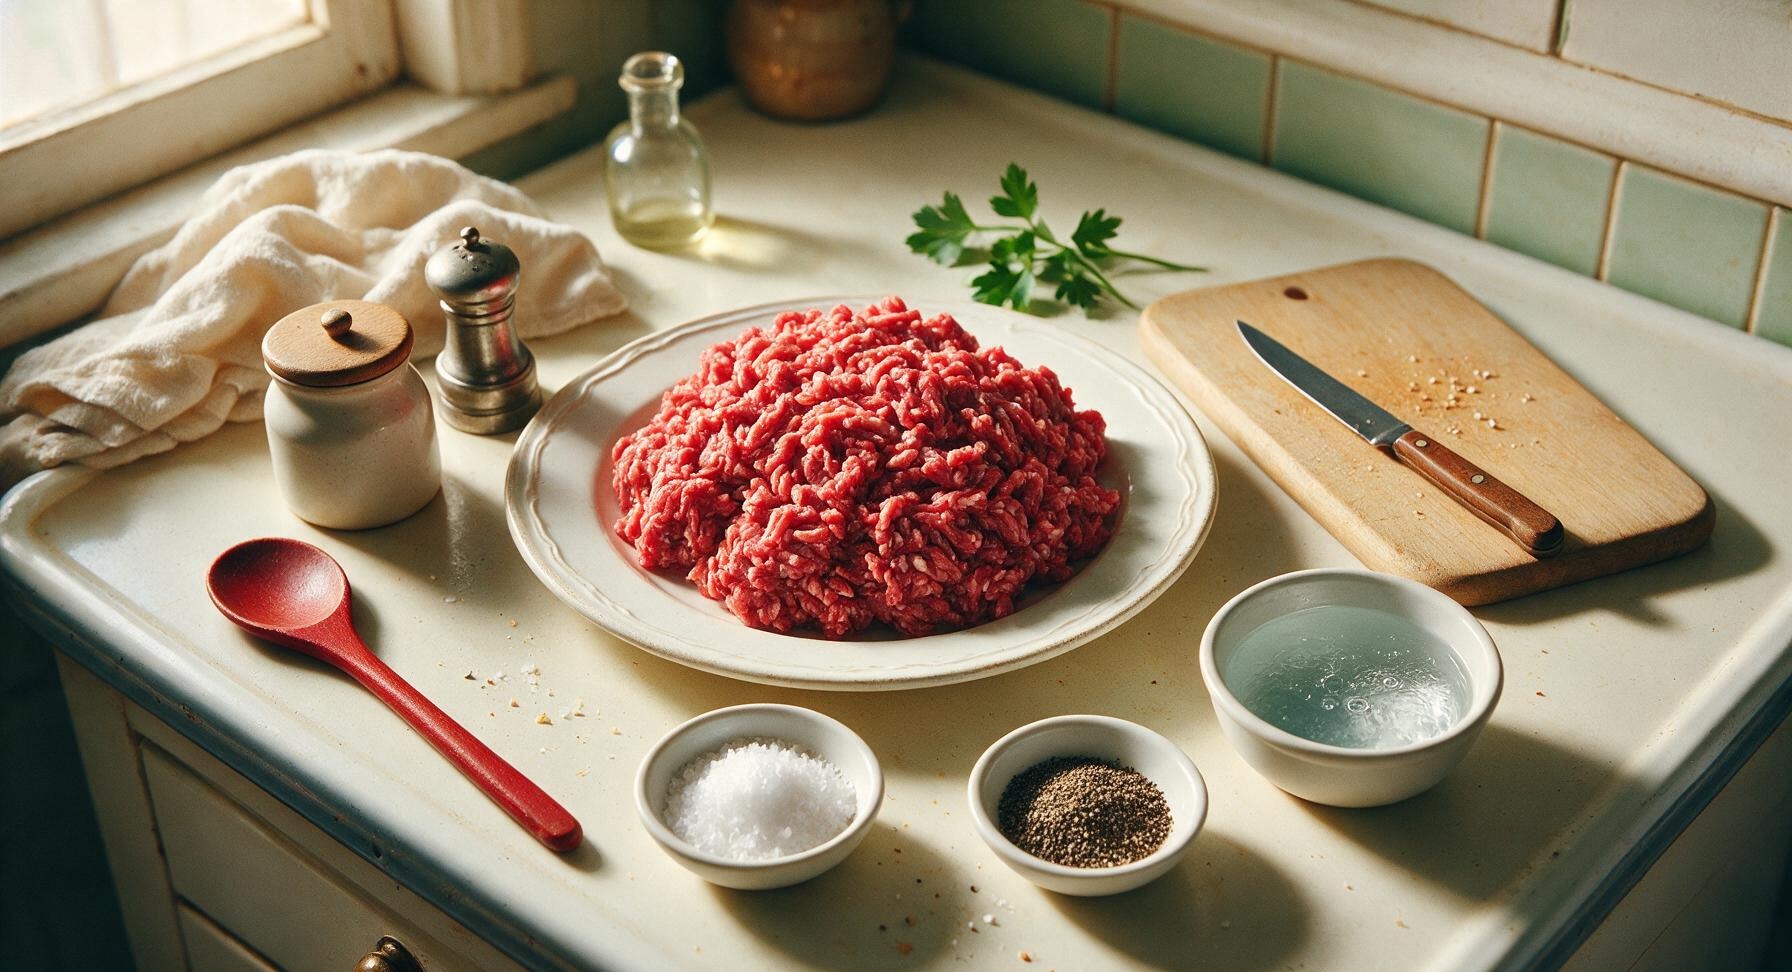
90/10 lean ground beef 2 kg (4.5 lbs)
Coarse kosher salt 2 tsp
Freshly ground black pepper 1 tsp
Filtered water 2 cups (boiling, for packing)

Steps

1

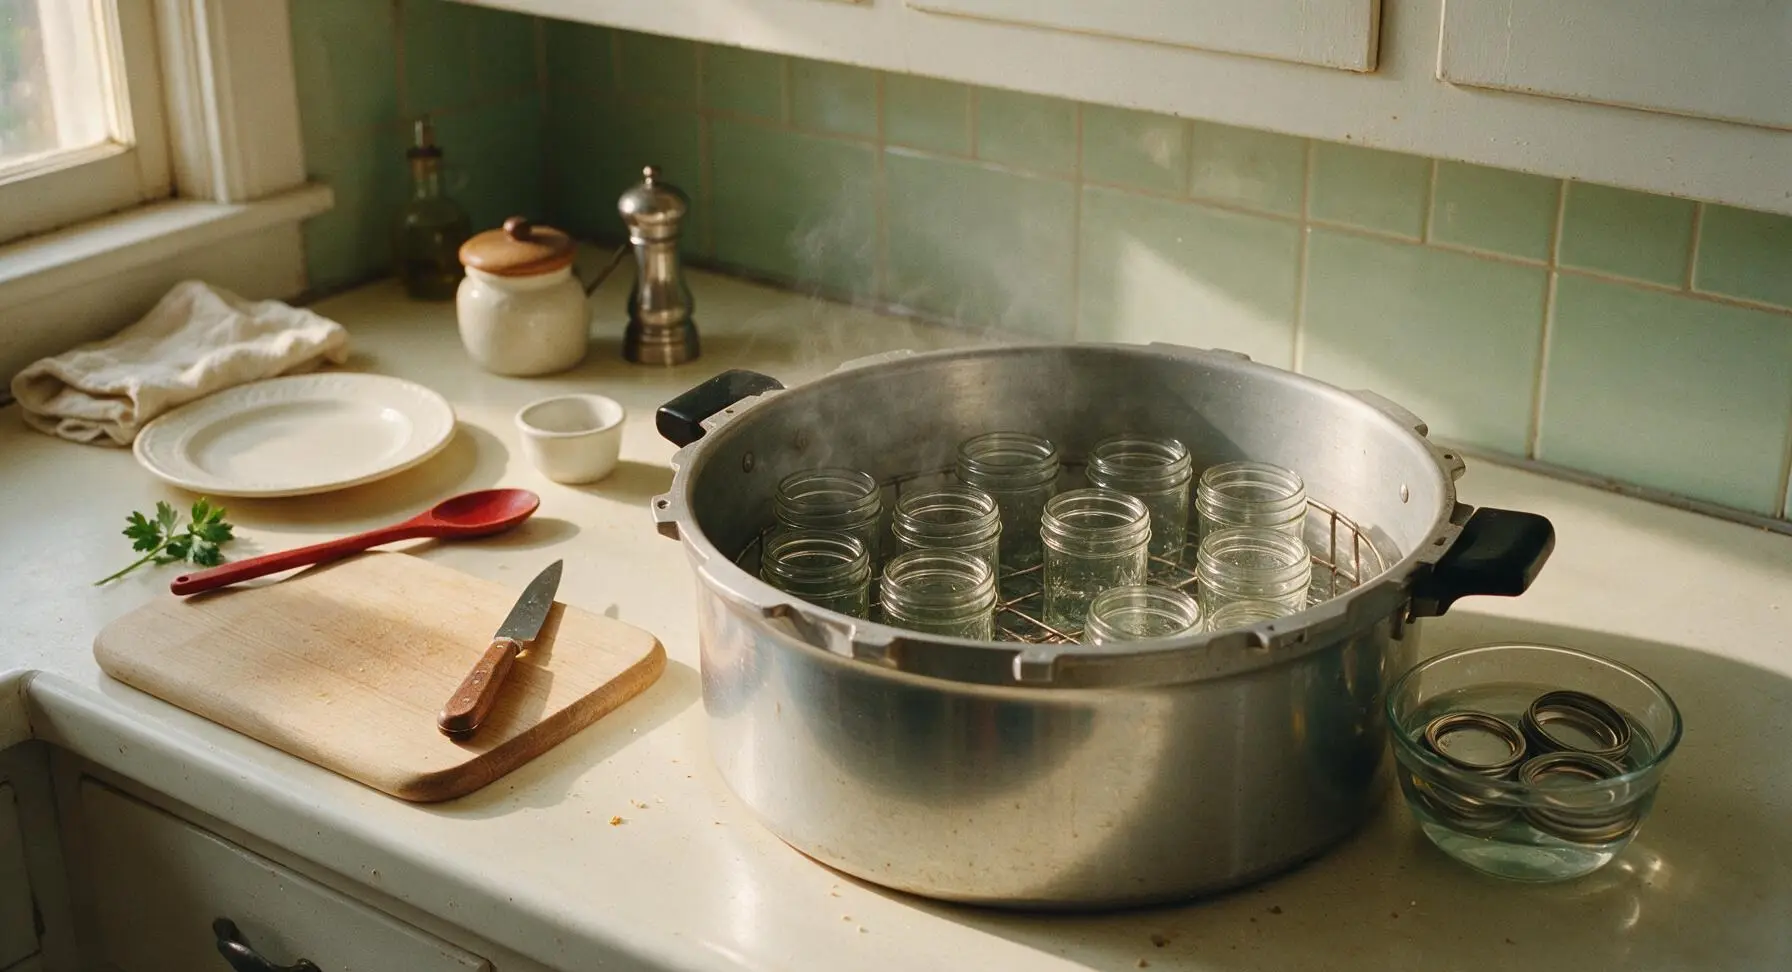
Prep Jars and Canner

Wash 4 regular-mouth pint canning jars, lids, and bands in hot soapy water, then rinse thoroughly. Place jars on the wire rack inside the 23-quart pressure canner, add 3 inches of filtered water to the canner base, and bring to a gentle simmer (180°F/82°C) over medium heat to keep jars hot. Set lids aside in a small bowl of warm water until ready to use; do not boil lids, as this can damage the sealing compound. Jars must remain hot when filled to prevent thermal shock from hot food.
Step 1
step1:Prep Jars and Canner
2

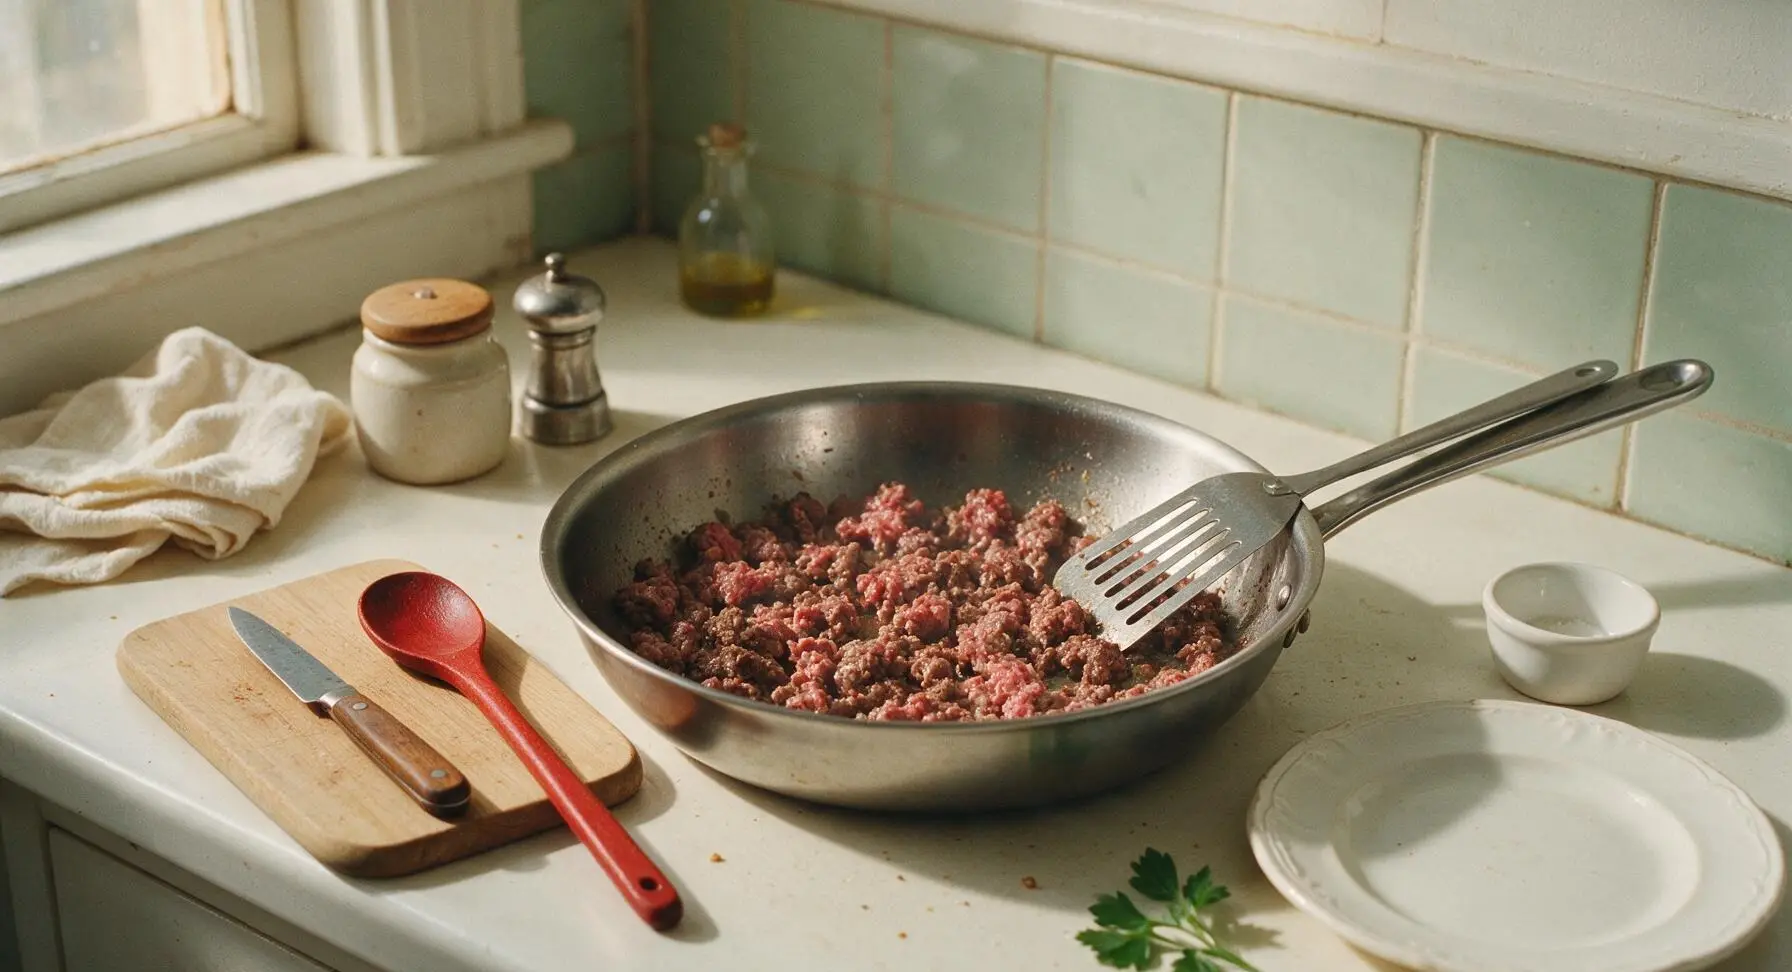
Brown the Ground Beef

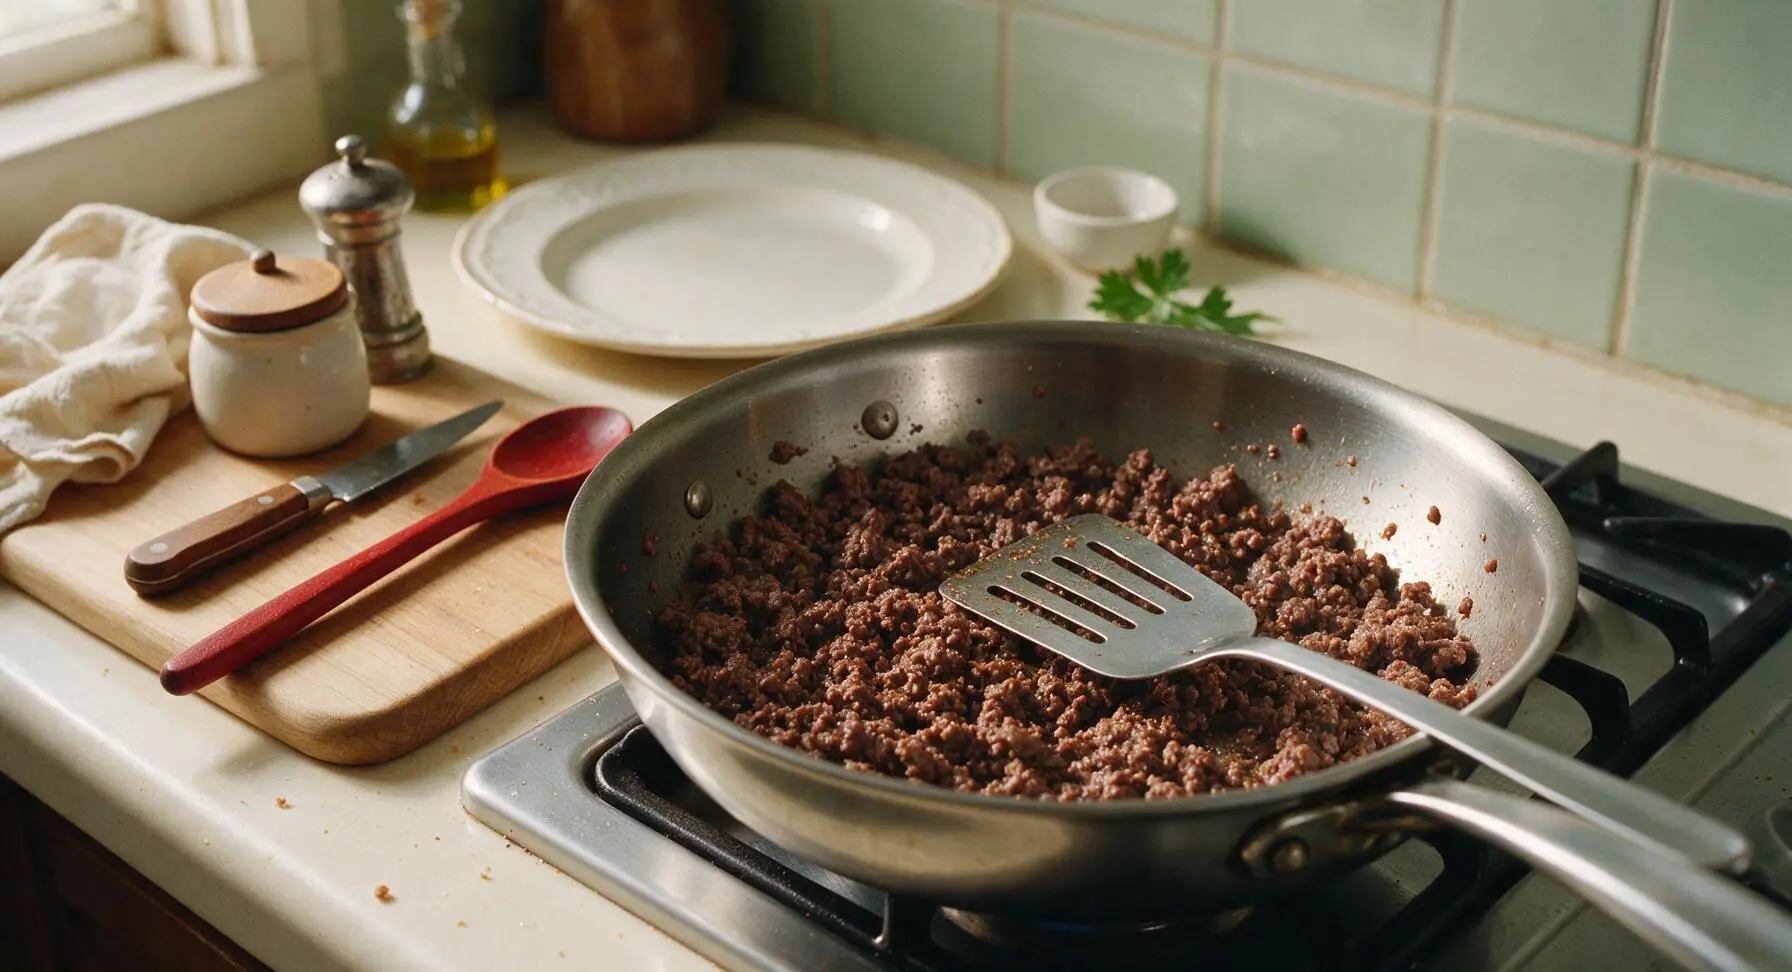
Place the 10-inch stainless steel skillet on the heat source set to medium (350°F/175°C). Crumble the raw ground beef into the skillet in small 1-inch chunks, breaking it apart with the slotted stainless steel turner as it cooks. Cook for 8-10 minutes, stirring occasionally, until the beef is evenly deep brown with no remaining raw pink spots. Do not overcook, as the beef will fully tenderize during the canning process. Tilt the skillet and use the slotted turner to hold back meat while draining all excess rendered fat into a heatproof container, discarding the fat.
Step 2
step2:Brown the Ground Beef
Step 2
step2:Brown the Ground Beef
3

Season Cooked Beef

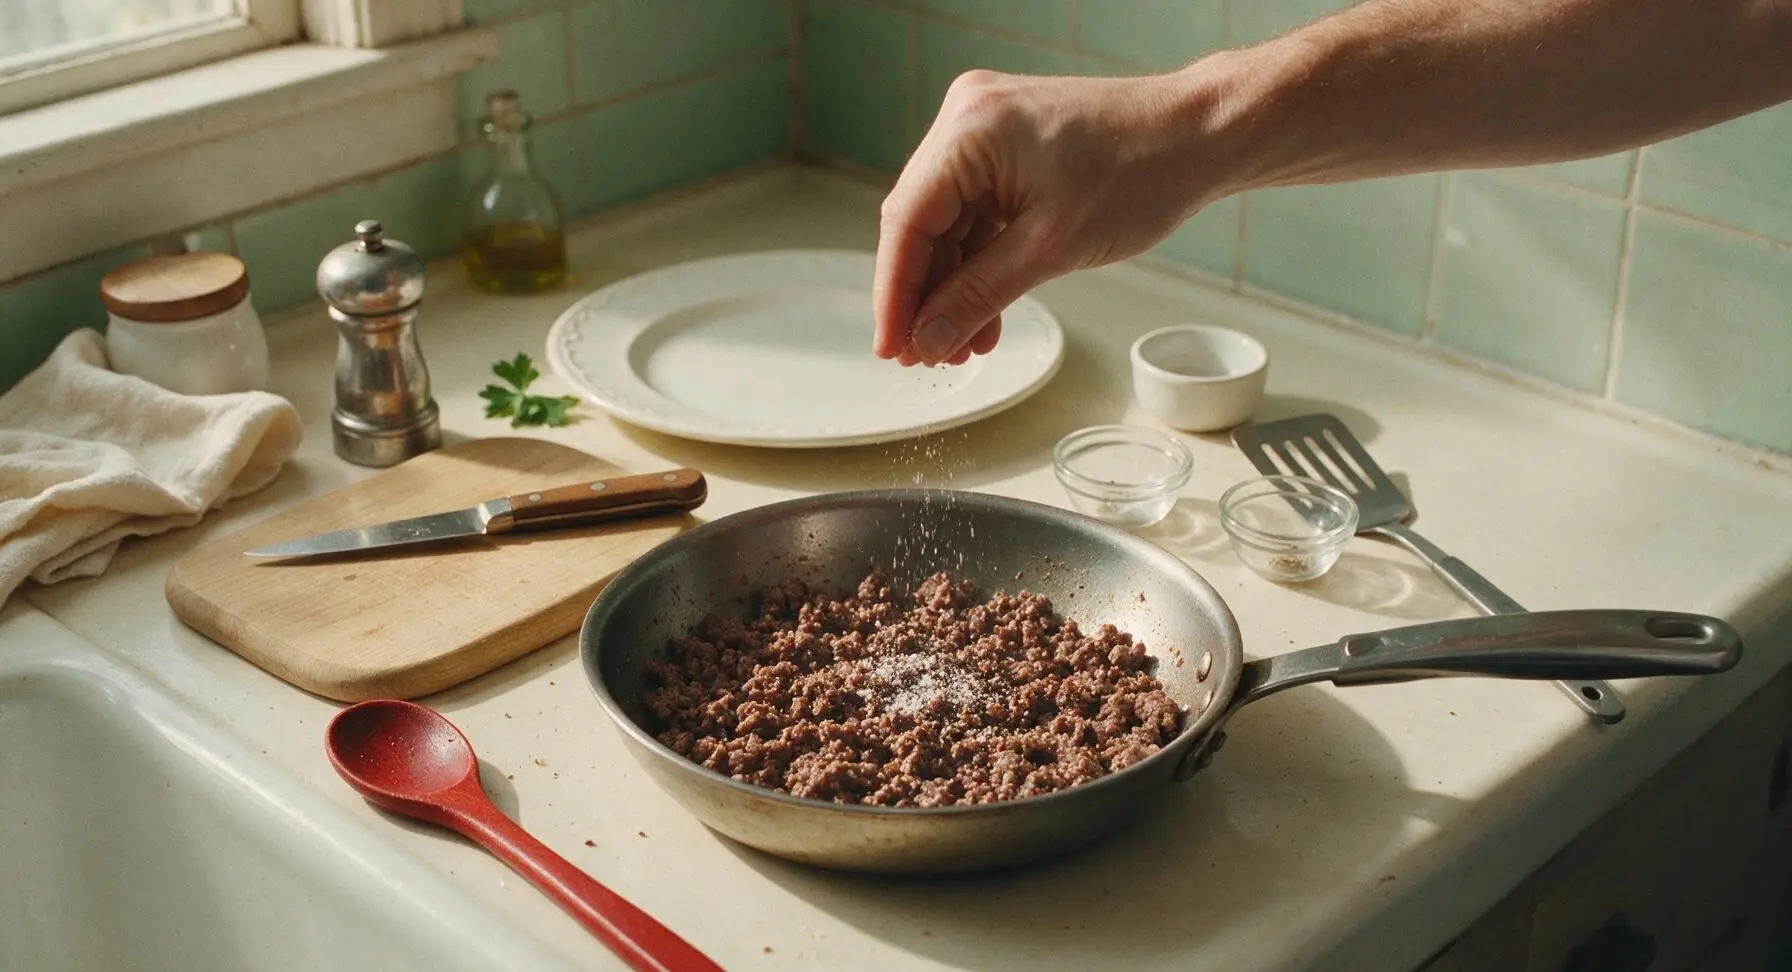
Sprinkle the measured 2 teaspoons kosher salt and 1 teaspoon freshly ground black pepper evenly over the drained browned ground beef in the skillet. Stir gently with the slotted turner to distribute seasoning evenly throughout the meat. Allow a single small crumb of beef to cool for 30 seconds, then taste to confirm seasoning is light but present; avoid over-salting, as the packing liquid will slightly dilute flavor during storage.
Step 3
step3:Season Cooked Beef
4

Pack Jars with Beef

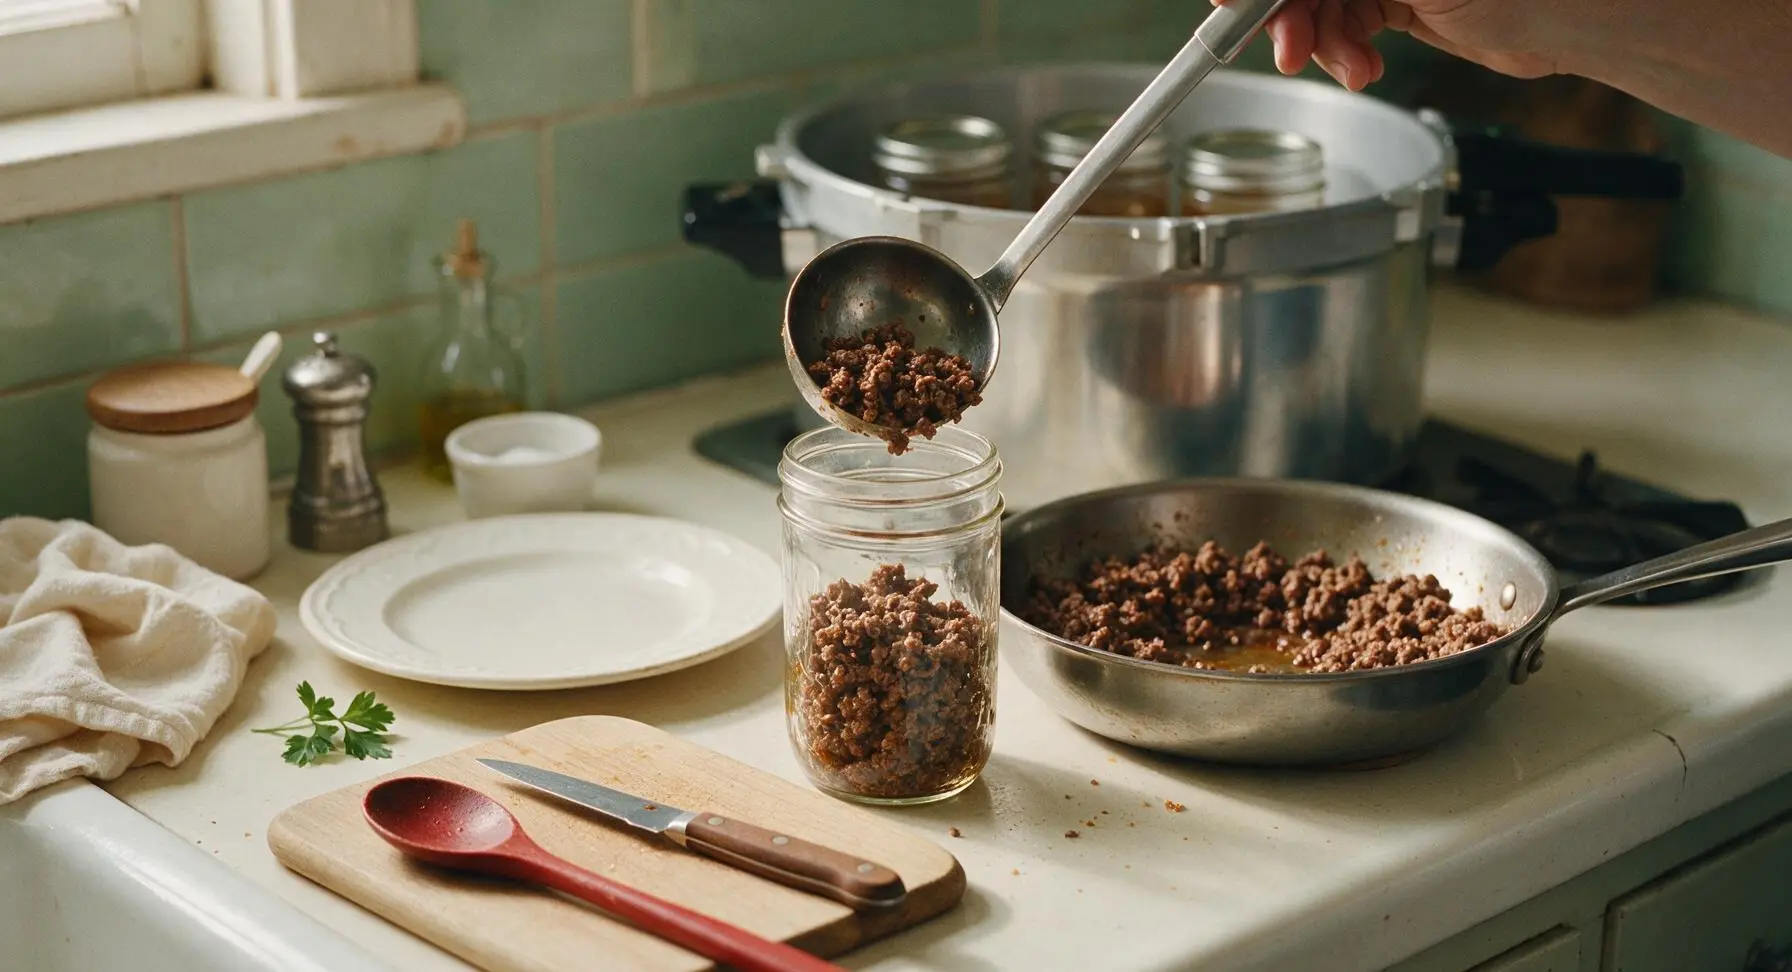
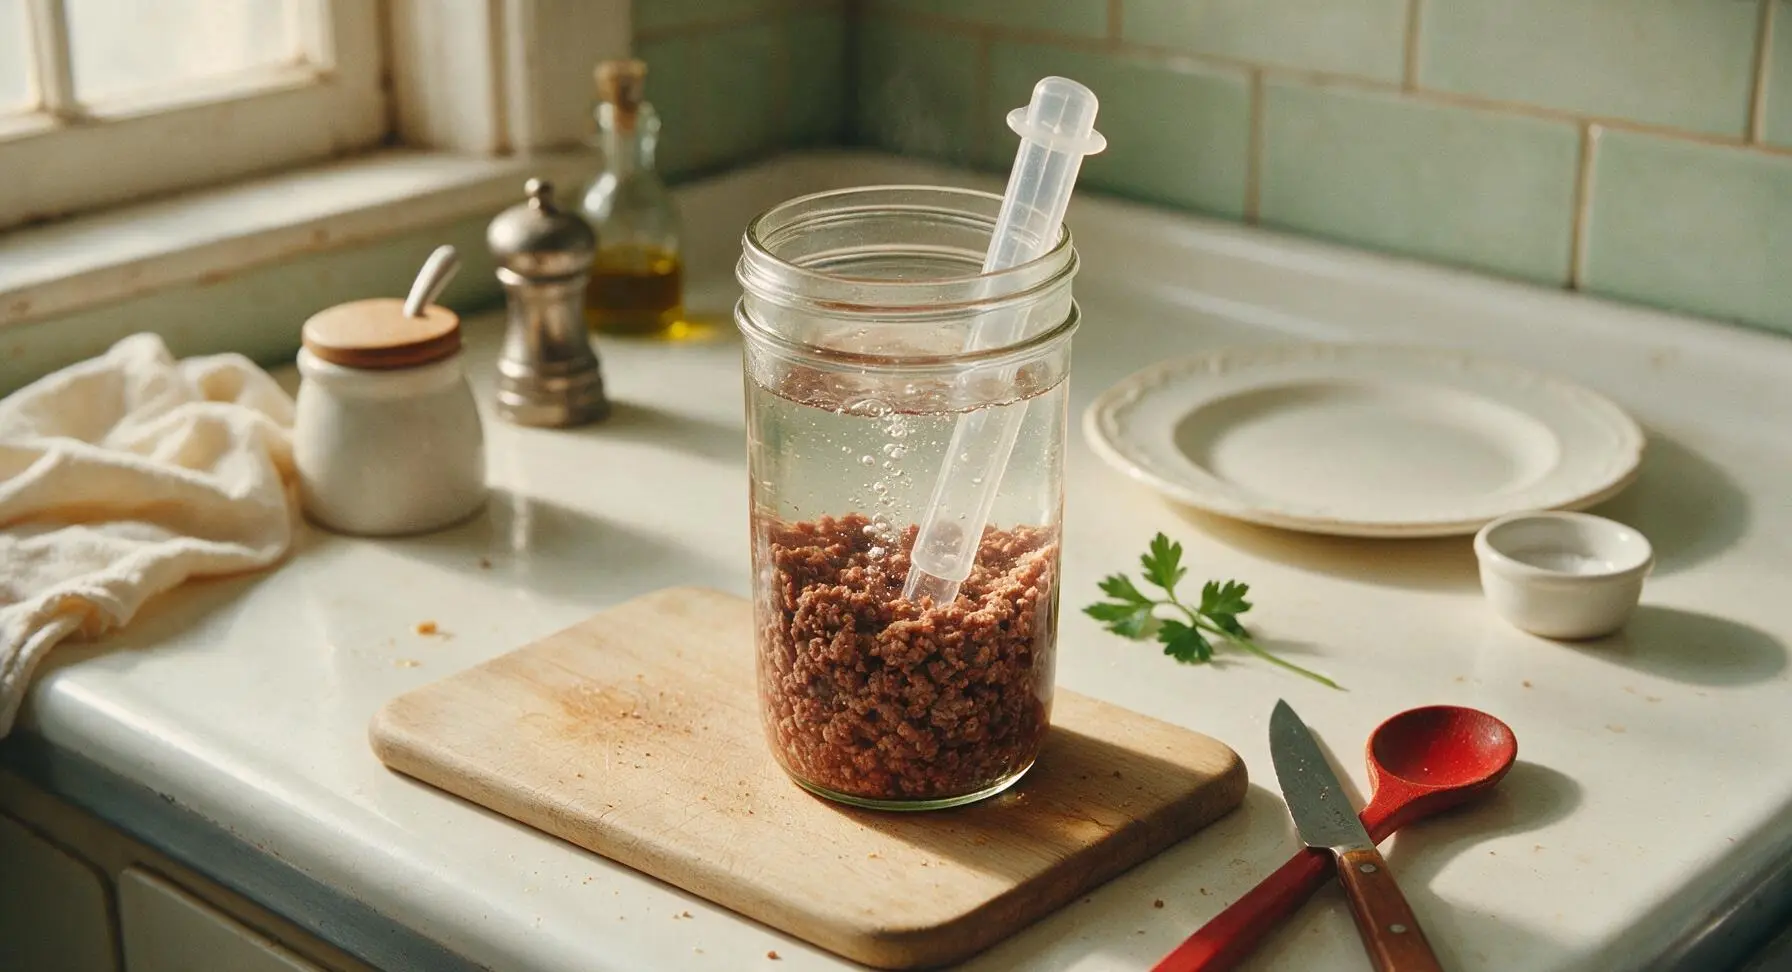
Use the stainless steel ladle and slotted turner to transfer hot seasoned ground beef into the pre-warmed pint jars, leaving exactly 1 inch of headspace at the top of each jar. Do not press or pack the beef tightly; keep it loosely packed to allow liquid to circulate evenly during processing. Ladle boiling filtered water over the beef in each jar, maintaining the 1-inch headspace, so all meat is covered by liquid. Run the clear plastic bubble remover down the inside edge of each jar to release trapped air bubbles, then top up with additional boiling water if needed to restore the correct headspace.
Step 4
step4:Pack Jars with Beef
Step 4
step4:Pack Jars with Beef
5

Seal Jars with Lids

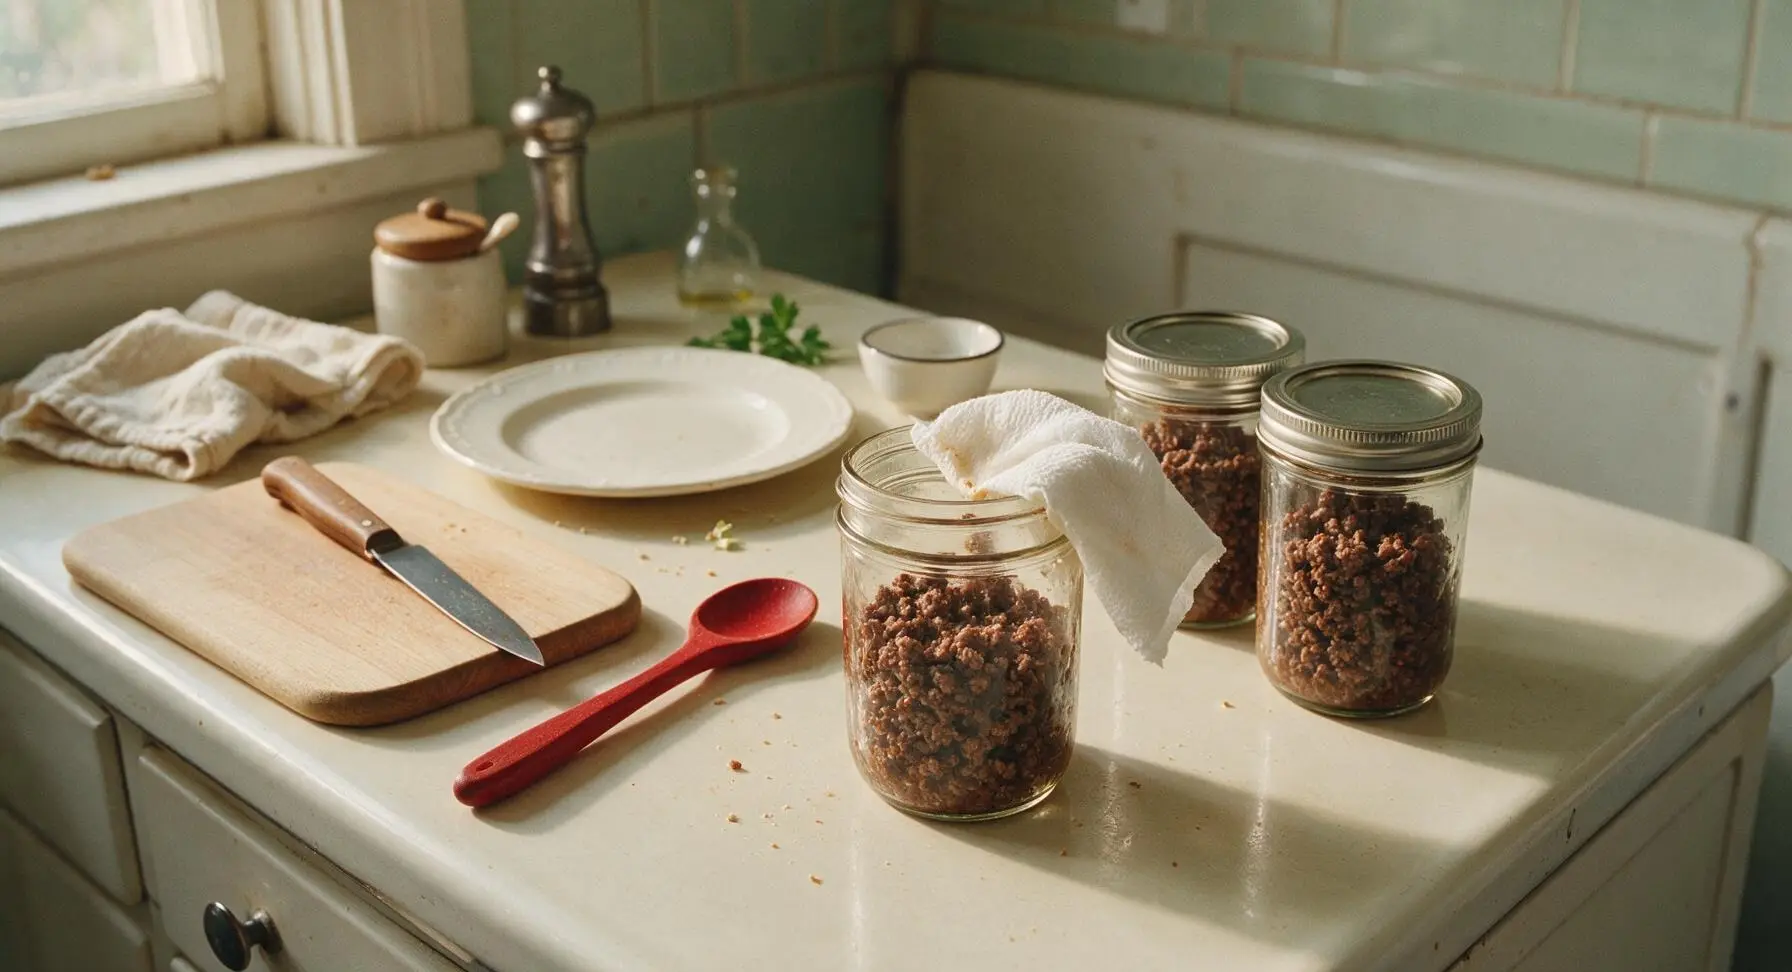
Use a clean, damp paper towel from the fixed stack to wipe the rim of each jar thoroughly, removing every trace of grease or food residue that could prevent a proper airtight seal. Center a warm canning lid on each clean jar rim, then screw on the metal band until it is fingertip-tight—do not over-tighten, as air must be able to escape from jars during processing to create a proper vacuum seal.
Step 5
step5:Seal Jars with Lids
6

Pressure Can Jars

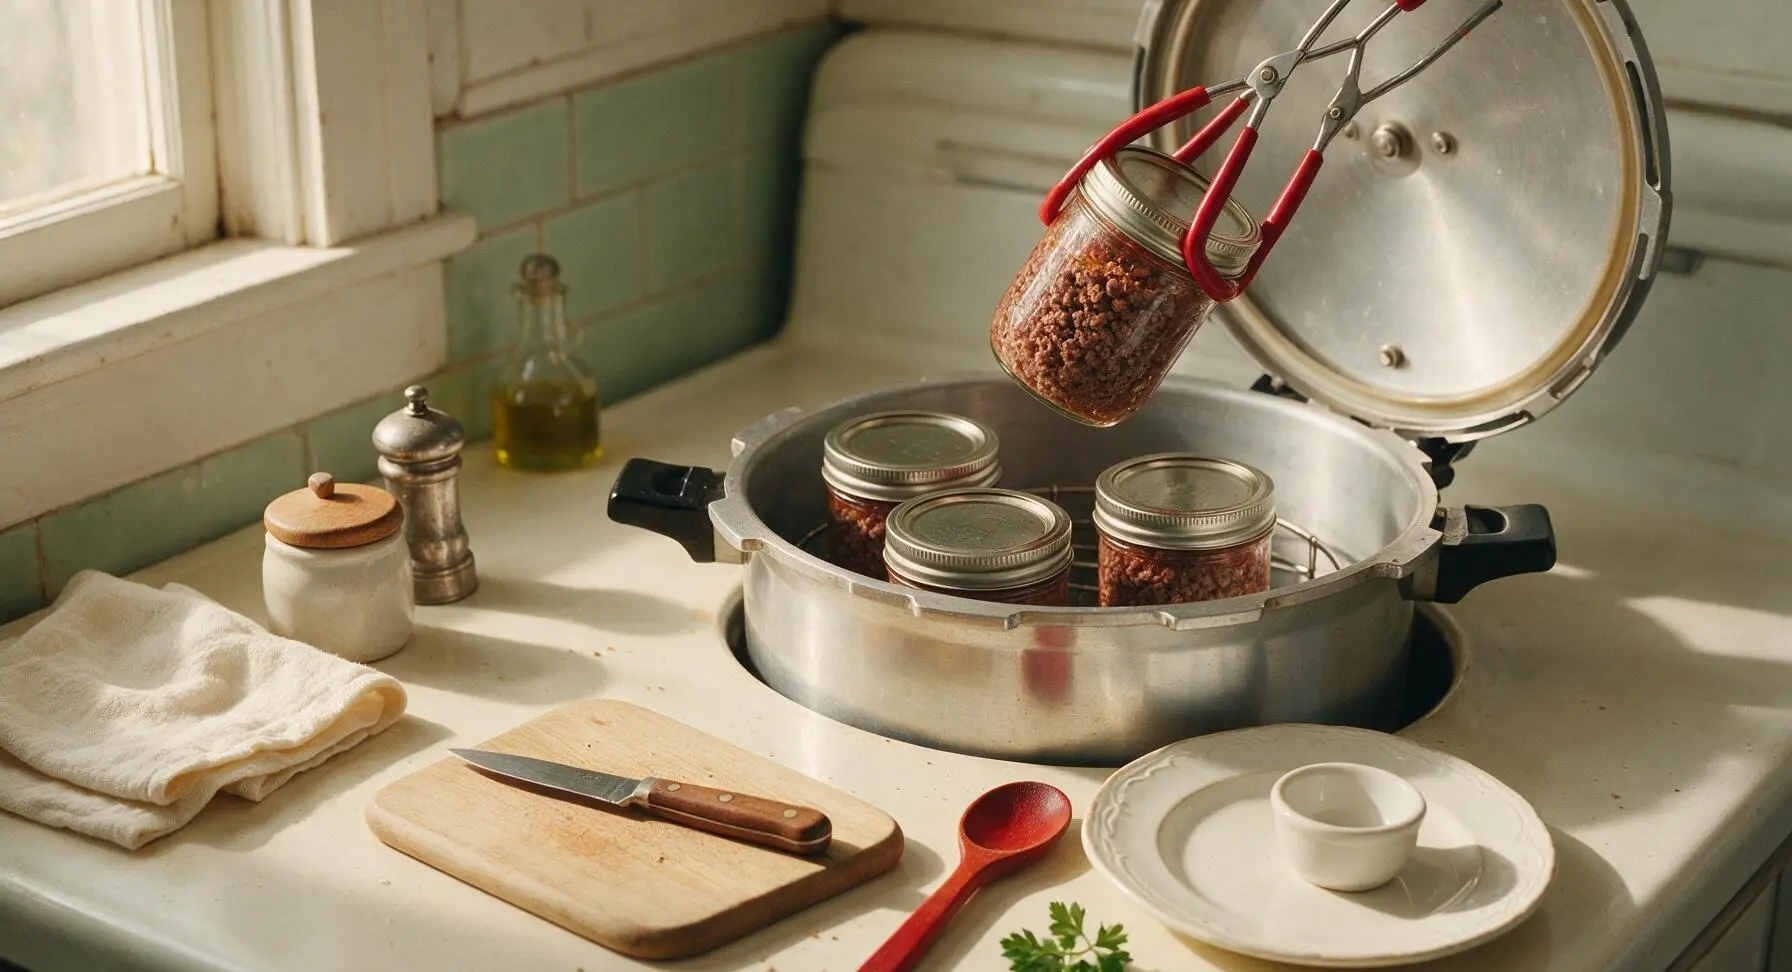
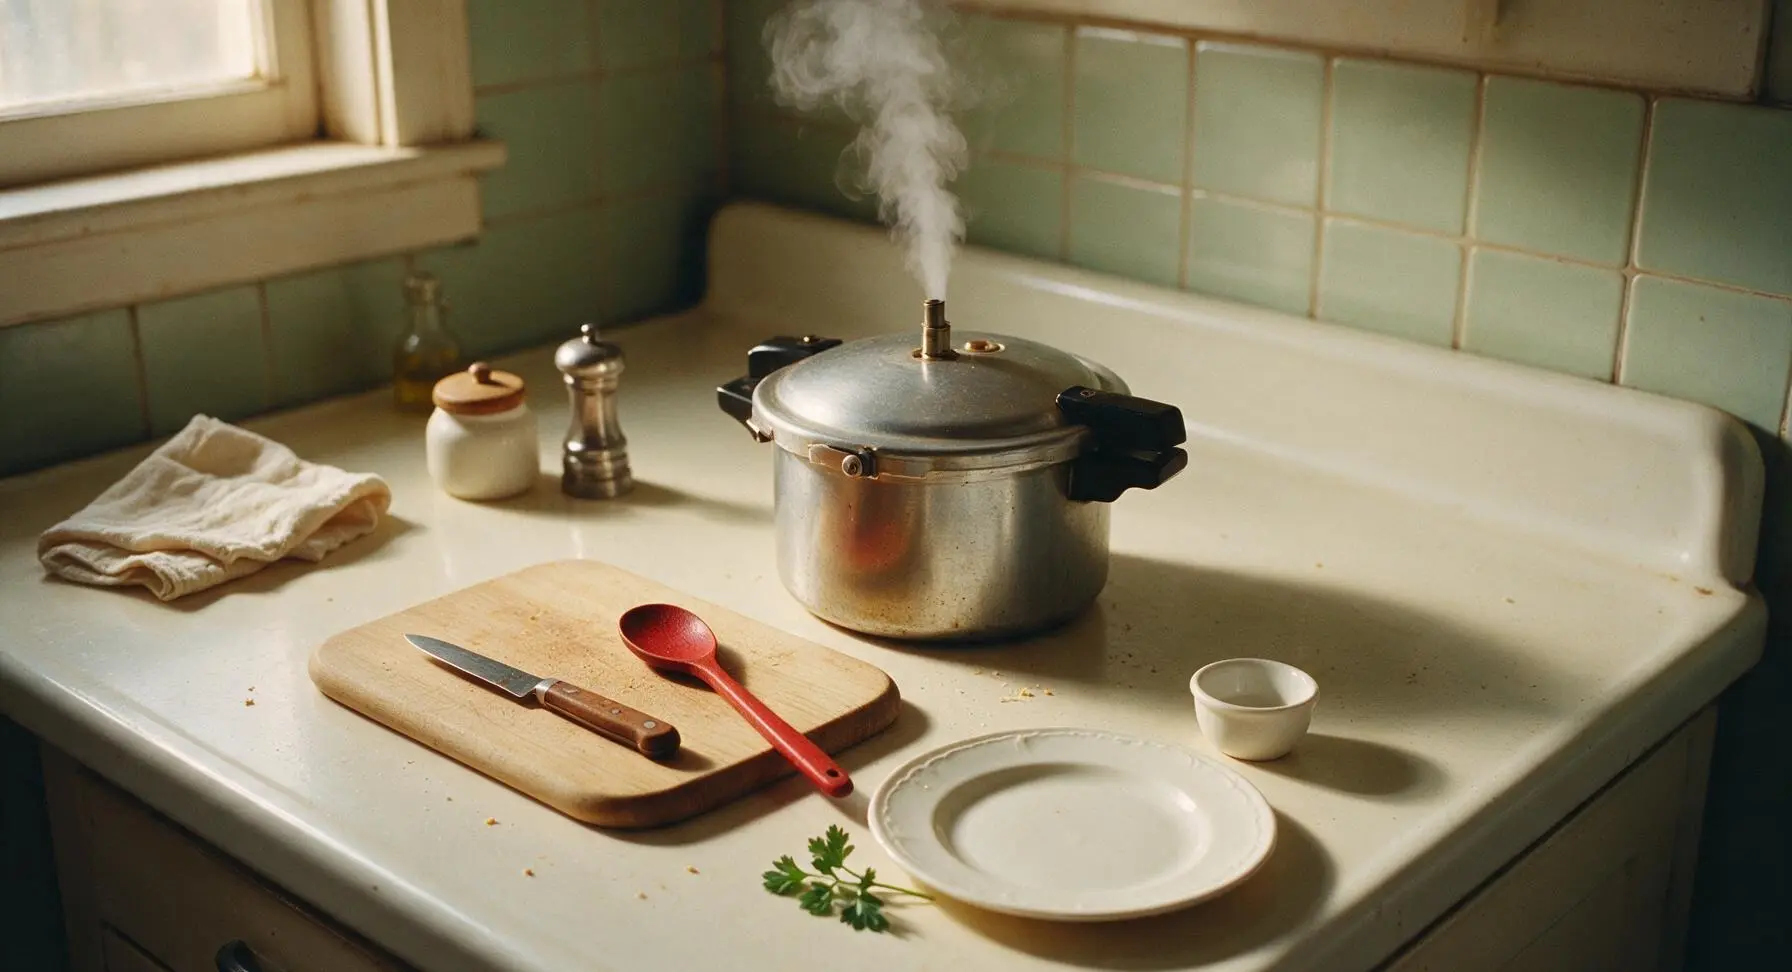
Use the rubber-gripped canning jar lifter to place sealed jars back onto the rack inside the pressure canner, ensuring jars do not touch each other or the canner walls to prevent breakage. Lock the canner lid in place, leaving the vent pipe open. Heat over medium-high heat until a steady, unbroken stream of steam vents from the pipe for 10 full minutes, then place the weighted gauge on the vent. Process pints at 10 PSI (add 1 PSI for every 1000ft above sea level, per canner manufacturer instructions) for 75 minutes, adjusting heat as needed to maintain steady pressure without spiking.
Step 6
step6:Pressure Can Jars
Step 6
step6:Pressure Can Jars
7

Cool and Test Seals

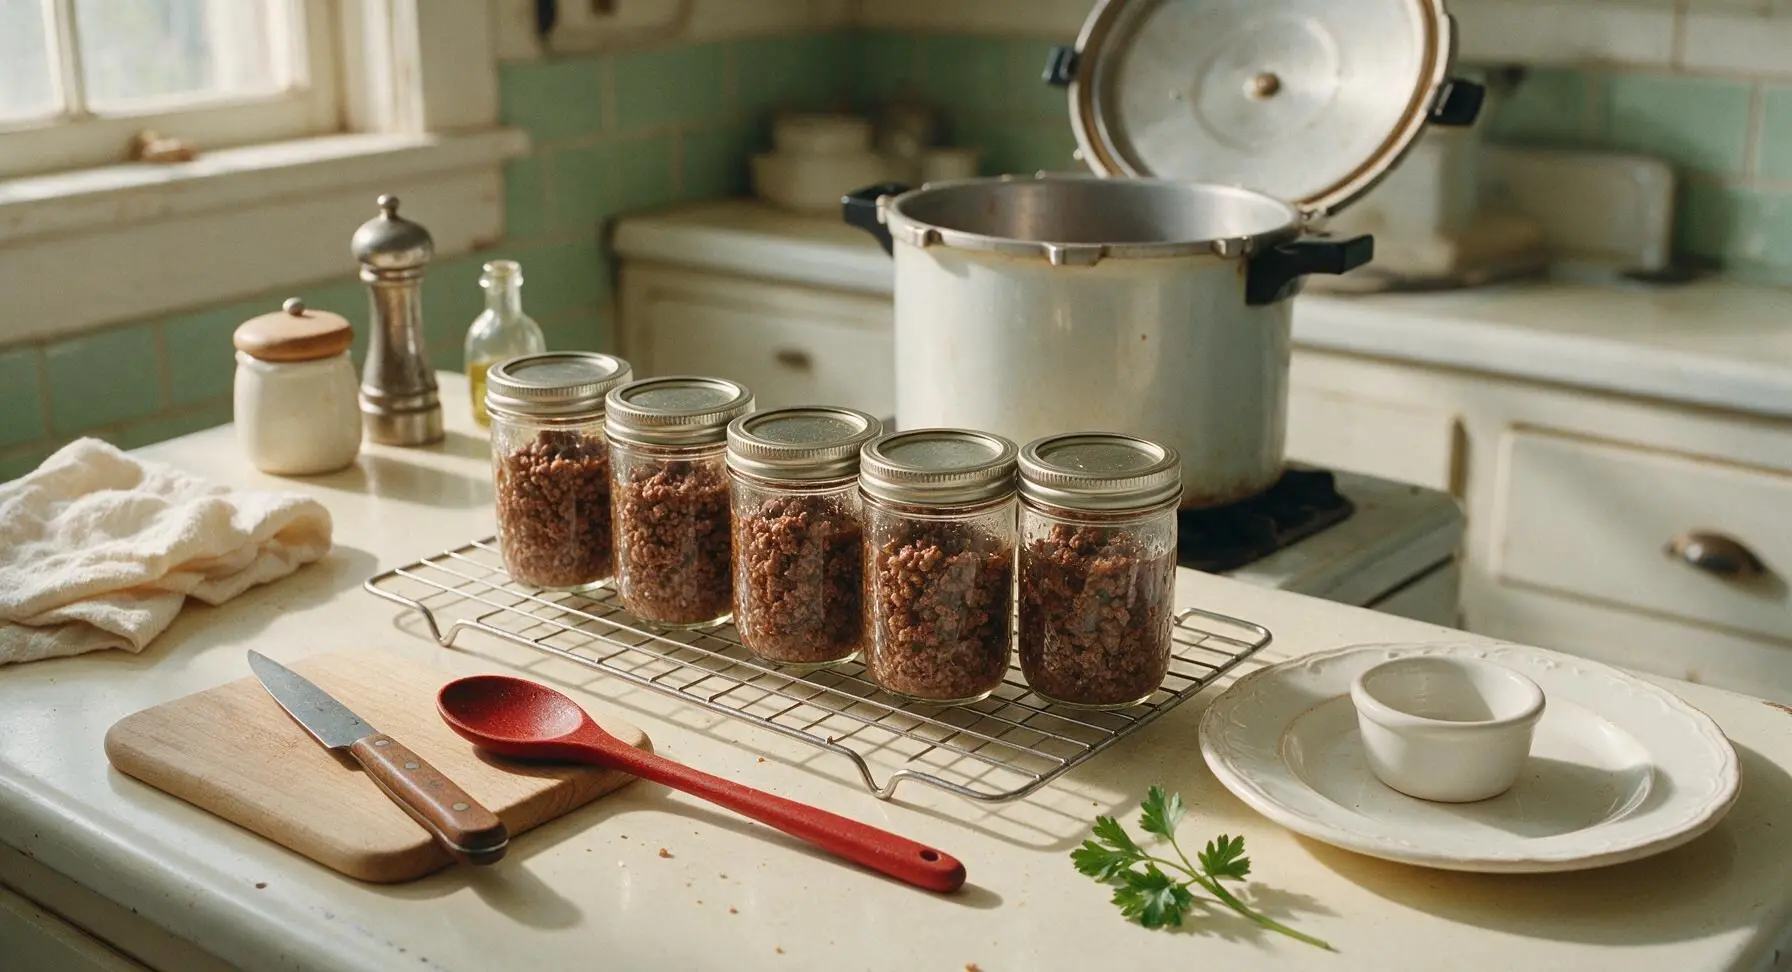
After the 75-minute processing time, turn off the heat and allow the canner to depressurize completely at room temperature; never force-cool the canner with cold water, as this can cause jar breakage or seal failure. Once the pressure gauge reads zero, wait 10 additional minutes, then carefully remove the lid, tilting it away from your face to avoid steam burns. Use the jar lifter to transfer jars to the chrome wire cooling rack set on the counter, leaving 2 inches of space between jars to cool undisturbed for 12-24 hours at room temperature. After cooling, press the center of each lid: if the lid does not flex up and down, the jar is properly sealed and ready for pantry storage.
Step 7
step7:Cool and Test Seals

Tips

1.Always use a tested pressure canner recipe (like this one) for ground beef, never a boiling water bath: beef is a low-acid food (pH above 4.6), and only pressure canning reaches the 240°F/116°C temperature required to kill harmful Clostridium botulinum spores for safe long-term shelf storage.
2.Drain all excess rendered fat from browned beef before packing jars: fat can seep under the lid sealing compound during processing, preventing a tight airtight seal and leading to premature spoilage or shortened shelf life.
3.Label sealed jars with the processing date before storing in a cool, dark (50-70°F/10-21°C) pantry: properly sealed canned ground beef retains best quality for 1-2 years, and clear dating helps you rotate pantry stock to use older jars first.


✨ You May Also Like

Main Course
🍜 United Kingdom

A showstopping classic of tender seared beef, savory mushroom duxelles, and crisp prosciutto wrapped in flaky golden puff pastry, baked to juicy perfection.

⏱️ 2 hours 1Main Course ★ 4.7
Main Course
🍜 India

Tender charred marinated chicken simmered in a rich, spiced creamy tomato sauce, this iconic Anglo-Indian curry pairs perfectly with basmati rice or warm naan.

⏱️ 50 minuteMain Course ★ 4.6
Main Course
🍜 Thailand

Classic tangy, sweet, and savory Thai stir-fried rice noodles with shrimp, tofu, and crunchy garnishes, balancing all five core Thai flavor profiles.

⏱️ 30 minuteMain Course ★ 4.5
Main Course
🍜 United Kingdom

Crispy golden beer-battered cod and fluffy double-fried chips, served with tangy tartar sauce and malt vinegar: the timeless, beloved British pub comfort classic.

⏱️ 45 minuteMain Course ★ 4.7
Main Course
🍜 Mexico

Smoky, chile-marinated pork tacos with caramelized pineapple, fresh cilantro, and lime: a beloved classic Mexican street food perfect for casual summer gatherings.

⏱️ 1 hour 45Main Course ★ 4.8
Main Course
🍜 United States

Crunchy Fritos corn chips layered with savory beef chili and melted cheddar, topped with cool, zesty fixings for a beloved, cozy Tex-Mex comfort food.

⏱️ 35 minuteMain Course ★ 4.8

canned ground beef:Frequently Asked Questions

1.Do I need a pressure canner to safely can ground beef, or can I use a boiling water bath? ▾
You absolutely must use a pressure canner for this recipe. Ground beef is a low-acid food, and boiling water baths only reach 212°F—too cool to kill dangerous botulism spores, which require 240°F to eliminate. Always follow your canner’s instructions, vent it for 10 full minutes before building pressure, and adjust processing time for your altitude for safe results.
2.Why does this recipe call for 90/10 lean ground beef instead of a fattier blend? ▾
Fattier blends like 80/20 release too much rendered fat during processing, which can seep between the jar rim and lid, preventing a reliable vacuum seal and raising spoilage risk. The 90/10 ratio delivers enough rich, beefy flavor without excess grease, so you won’t have a thick, congealed fat layer to skim off when you open jars.
3.How much salt and pepper should I add to each jar? ▾
For standard pint jars (the ideal size for this recipe), add ½ teaspoon of coarse kosher salt and ¼ teaspoon of freshly ground black pepper per jar before packing beef. Remember, the salt is only for flavor, not preservation, so you can reduce or omit it entirely if you’re following a low-sodium diet without any safety risks.
4.Do I have to brown the ground beef before canning it, or can I pack it raw? ▾
Always brown the beef lightly until it’s about three-quarters cooked, breaking it into small crumbles as you go, then drain off any rendered fat. Pre-cooking prevents dense, unevenly packed raw meat blocks that don’t heat through consistently during processing, and it removes excess fat that could interfere with your jar seals.
5.How long will properly sealed home-canned ground beef stay good in the pantry? ▾
When stored in a cool, dark, dry spot between 50–70°F, properly processed and sealed jars will stay at peak quality for 12–18 months. While the beef remains technically safe to eat longer, flavor and texture will degrade over time. Always check the seal before use: if the lid flexes when pressed, discard the contents immediately.
6.Can I add extra seasonings, like taco mix or garlic, to the jars for extra flavor? ▾
Small amounts of dried, shelf-stable seasonings like taco mix, garlic powder, or onion powder are totally safe to add. Skip fresh garlic, onions, vegetables, or thick sauces like tomato paste, though—these change the density and pH of the jar contents, throwing off tested processing times and creating potential food safety risks.
7.How much headspace do I need to leave in each jar to get a good seal? ▾
Leave 1 full inch of headspace between the top of the packed beef and added filtered water, and the jar rim. This space lets food expand as it heats during processing, and allows a strong vacuum seal to form as jars cool. Wipe the rim completely clean with a damp paper towel before applying lids to remove any grease that could break the seal.
8.I just finished canning, and the liquid in my jars looks cloudy—did something go wrong? ▾
Mild cloudiness from small dissolved meat particles and salt is totally normal, especially in the first few days after processing. If the liquid is thick and murky, smells foul, or shows active bubbles in fully cooled jars, that is a clear sign of spoilage. In that case, discard the entire jar immediately without tasting any of the contents.
9.What’s the best way to use home-canned ground beef for quick meals? ▾
Once you open a jar, skim off any thin layer of fat from the top, then drain the beef if you prefer. Since it’s fully cooked during canning, you only need to heat it through for 3–5 minutes to use in tacos, pasta sauce, soups, chili, or sloppy joes. It cuts weeknight meal prep time drastically, with zero raw meat browning required.
10.What should I do if one of my jars doesn’t seal after processing? ▾
If a lid flexes up and down when you press it 12–24 hours after processing, the seal failed. You can either reprocess the contents within 24 hours using a brand new, sterilized lid and the full original processing time, or refrigerate the beef and use it within 3–4 days, just like regular cooked ground beef. Never store unsealed jars in the pantry.

Comments (7)

3 days ago

OMG this home-canned ground beef is a total GAME CHANGER for my weekly meal prep! I used to spend 20 mins browning beef every single night for taco Tuesdays, spaghetti nights, you name it. Now I just pop a jar, heat it up, and dinner’s done in 10. My kids even said the taco meat tasted juicier than when I make it fresh? Wild. I was so nervous about pressure canning for the first time but the timings were spot on, no seal failures at all!

2 days ago

Wait did you add any taco seasoning before canning or leave it plain? I’m prepping to do my first batch this weekend and can’t decide!

2 days ago

Great question! We recommend leaving it plain when canning for maximum versatility — you can add taco, spaghetti, or sloppy joe seasoning when you reheat it to match whatever meal you’re making that night. So glad you love the recipe!

1 week ago

Used this method to can 12 jars of ground beef from the half cow we bought last month, and it worked like a charm. Cook time was exactly right, no weird mushy texture like I got when I tried a different canning recipe a couple years back. Took a jar to our church potluck last Sunday to make quick sloppy joes and everyone was asking where I got the recipe. 10/10, will be using this every processing season from now on.

5 days ago

So stoked to hear this worked well for your bulk beef purchase! Storing plain canned ground beef is such a smart move for quick potluck dishes and busy weeknights, we’re glad your church group loved the sloppy joes.

30 minutes ago

SO good. I was skeptical canned ground beef would be worth the effort, but I did a batch last night and made cheeseburger mac for dinner with one jar tonight and my picky 7 year old asked for seconds. Only note: make sure you really get all the air bubbles out before sealing! I had one jar that didn’t seal because I skipped that step, oops. Still totally worth it though.

5 days ago

Wait, I followed the cook time exactly for my altitude (6,000ft) but my beef came out a little more browned on the bottom of the jars than I expected? Did I do something wrong? Flavor is still great, just curious if that’s normal. I used 90/10 ground beef if that matters.

3 days ago

That’s totally normal at higher altitude! I get that too when I can at 7,000ft, as long as your seals are good and there’s no off smell when you open it you’re fine. I add a tablespoon of beef broth to the bottom of each jar now and it cuts down on that browning a ton!

3 days ago

Great tip from MountainCanner! Slight browning at the jar bottom is totally harmless, especially at higher altitudes, but adding a splash of broth before processing does help prevent it. Glad the flavor turned out well for you!

yesterday

Made a double batch of this for my son’s football team pre-game meal prep, and it was so easy to portion out into containers for the week. No spoilage, all jars sealed perfectly on the first try, and the beef stays moist even after reheating in the microwave. I’ve already shared this recipe with three of my mom friends, they’re all obsessed too!

2 hours ago

How many jars did you end up with for a double batch? I want to make enough for my husband’s hunting camp trip next month and don’t want to run short!

5 minutes ago

I was SO scared to pressure can meat for the first time, I watched like 4 extra YouTube tutorials before I started, but this recipe’s step-by-step instructions made it impossible to mess up. 8 jars, all sealed, no weird texture, tastes exactly like browned ground beef you’d make fresh. I feel so much more prepared for emergency pantry stock now!

just now

We’re so proud of you for giving pressure canning a shot! Having a stocked pantry of shelf-stable ground beef is such a win for both busy nights and emergency prep, we’re thrilled the instructions felt easy to follow.

2 weeks ago

Used this canned ground beef to make quick chili for our neighborhood block party last weekend, and I swear people came back for thirds. I love that I didn’t have to stand over the stove browning 5 pounds of beef the morning of the party, I just grabbed 4 jars from the pantry and dumped them in the pot. Total time saver, zero complaints from the neighbors. Will be canning a huge batch before fall chili season hits for sure!



