
canned hot dogs and peppers
intro
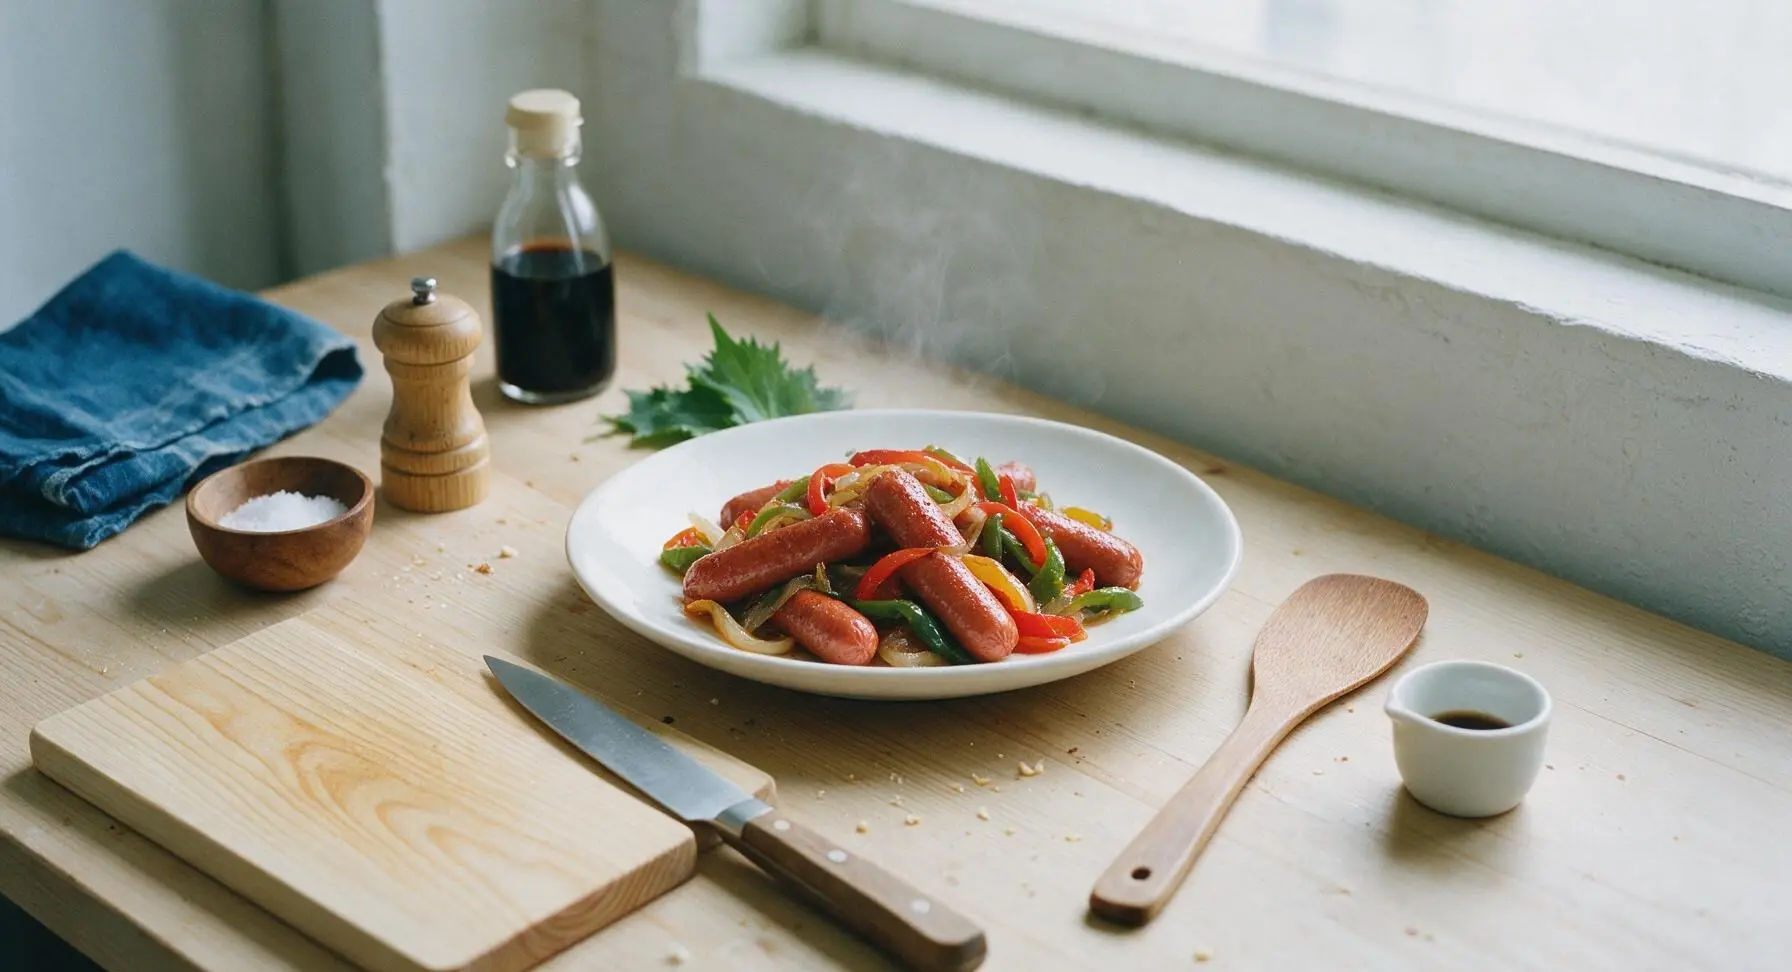
Juicy, crispy-edged canned hot dogs tossed with tender peppers and sweet onion, a nostalgic ultra-fast pantry meal ready in under 20 minutes for busy nights.
Ingredients
Steps
Open and drain cans
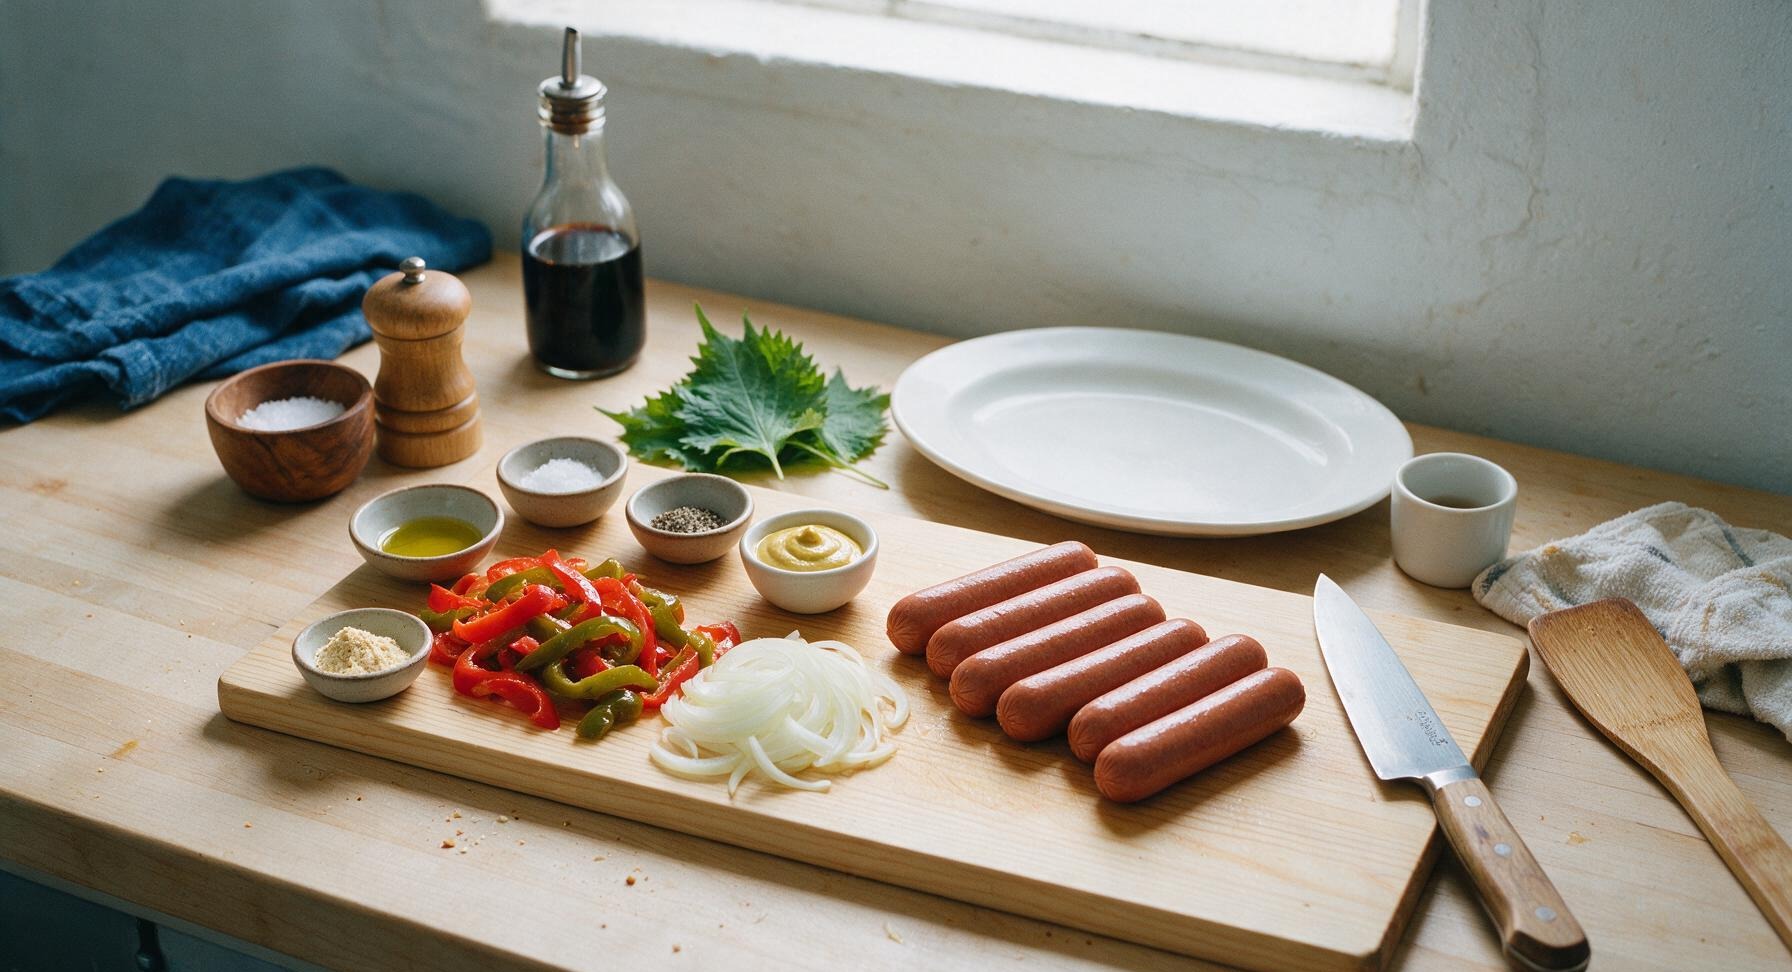
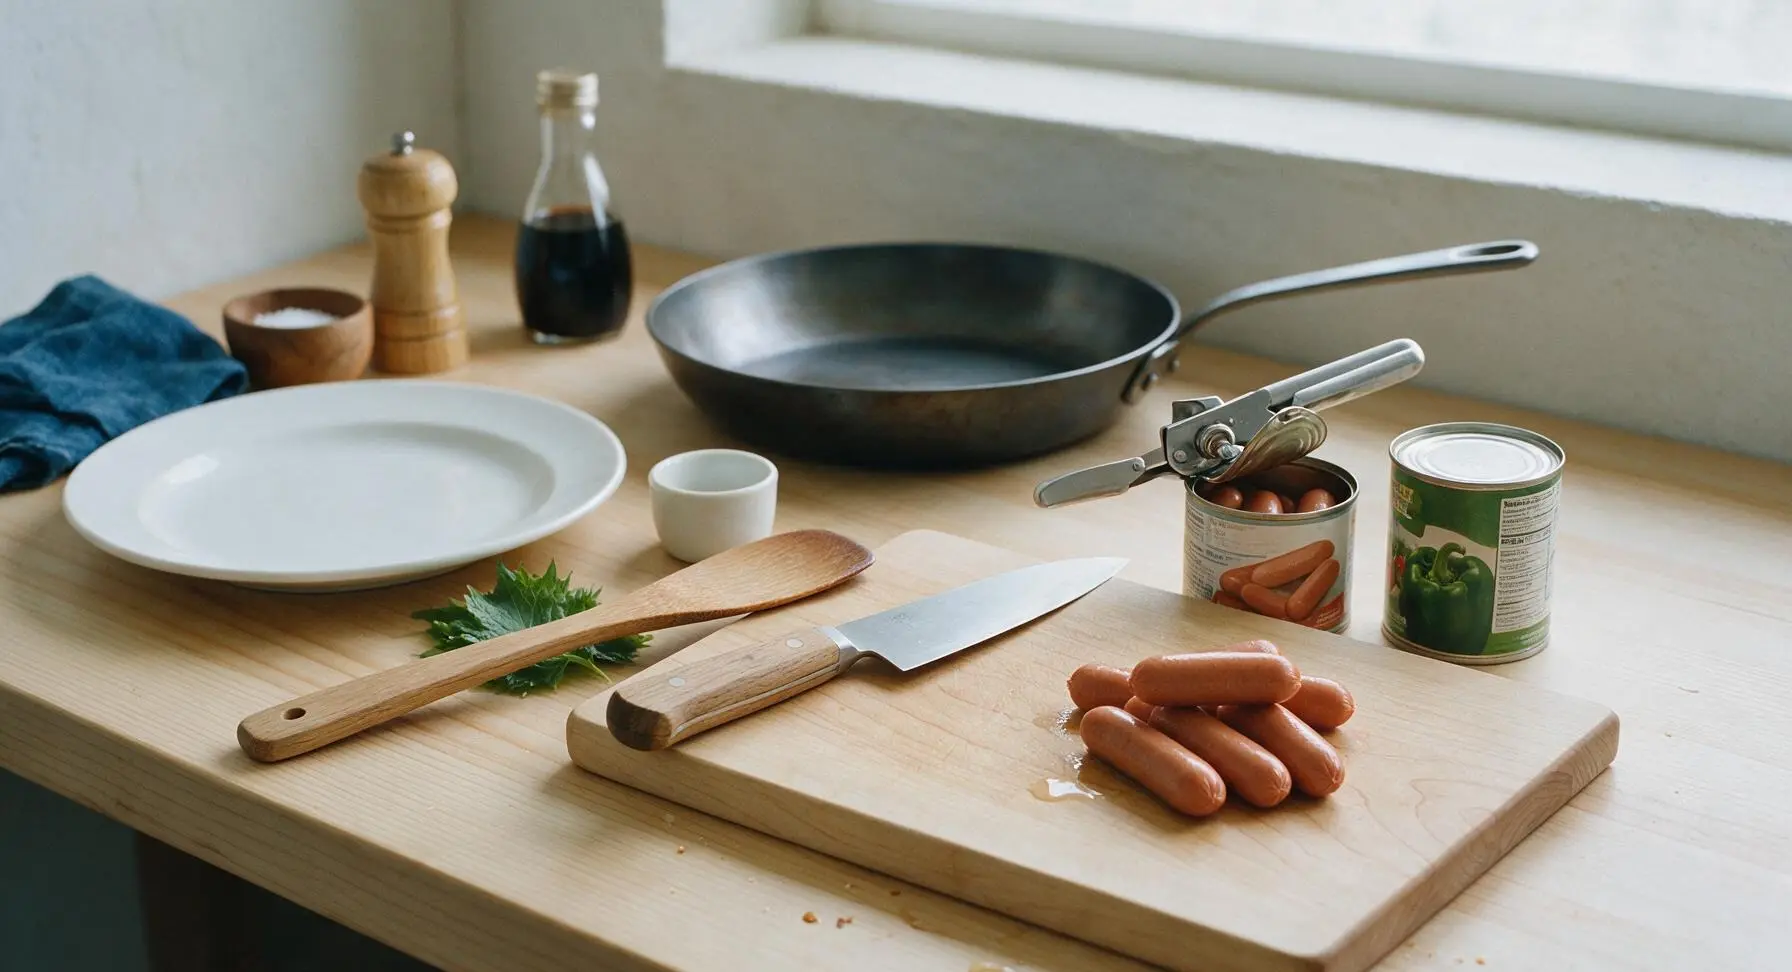
First, use the manual can opener to open both cans of hot dogs and the can of sliced bell peppers. Hold each can over the sink to fully drain all excess brine—do not rinse the hot dogs or peppers, as residual brine adds subtle savory seasoning. Transfer drained hot dogs and peppers to separate small piles on the maple cutting board. Discard can lids in the nearby trash bin.
Slice hot dogs and onion
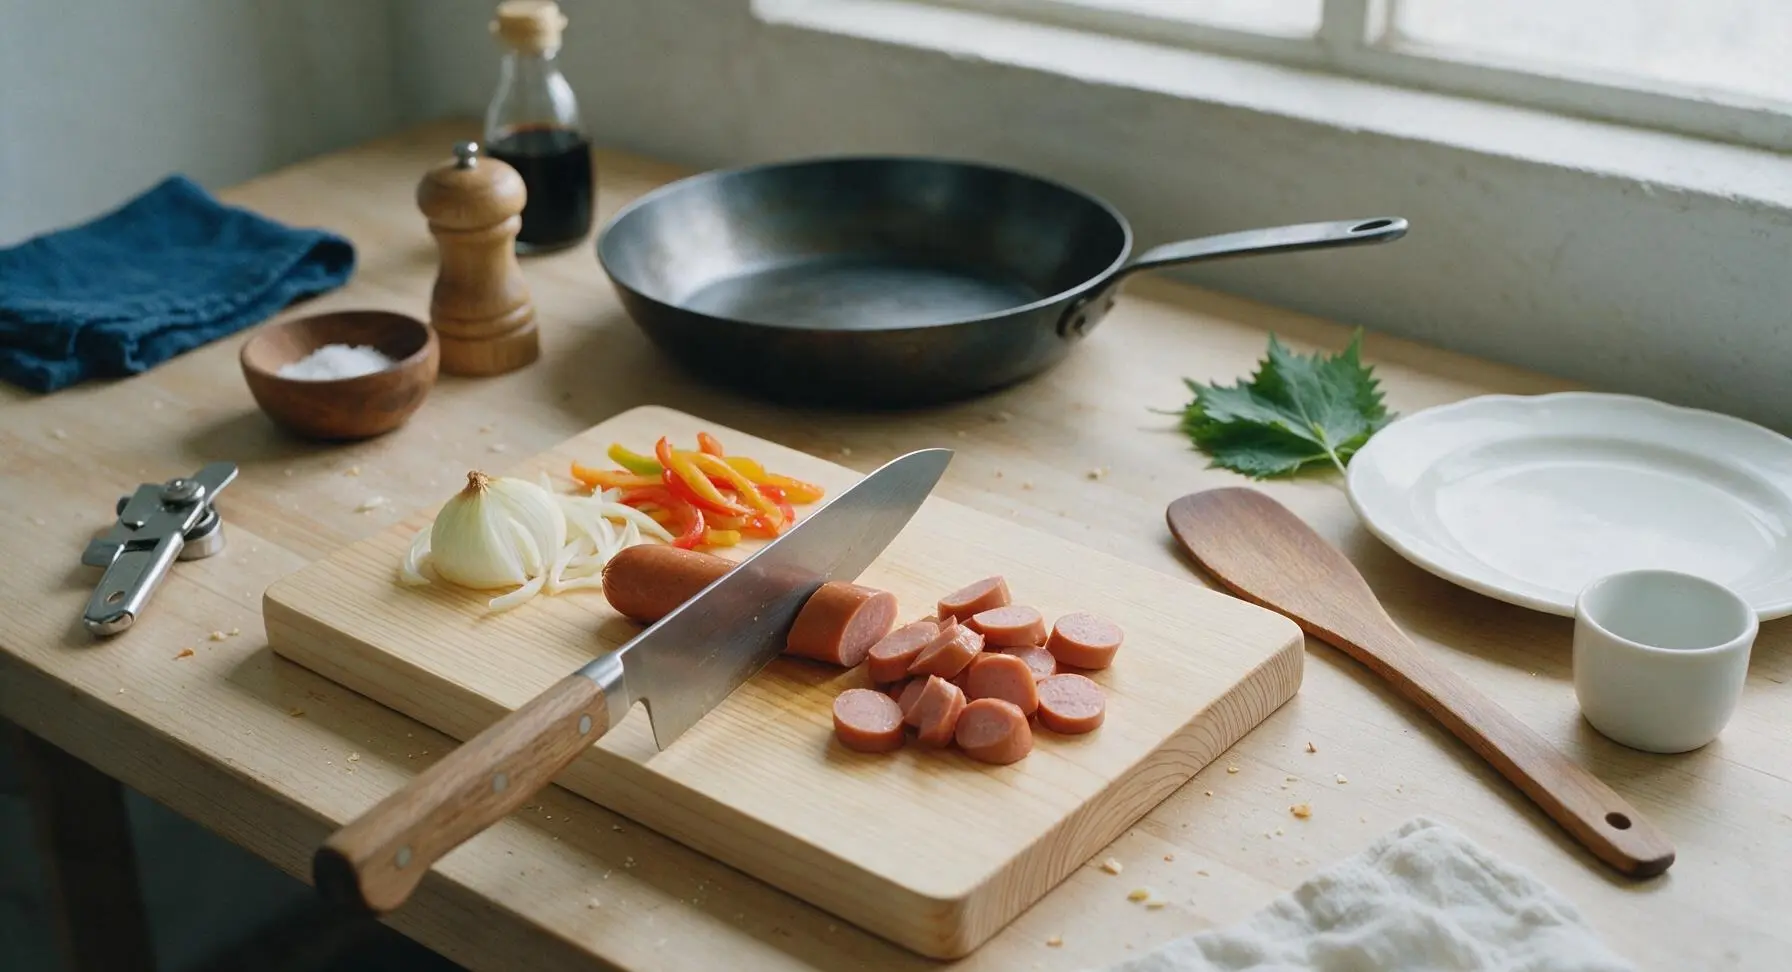
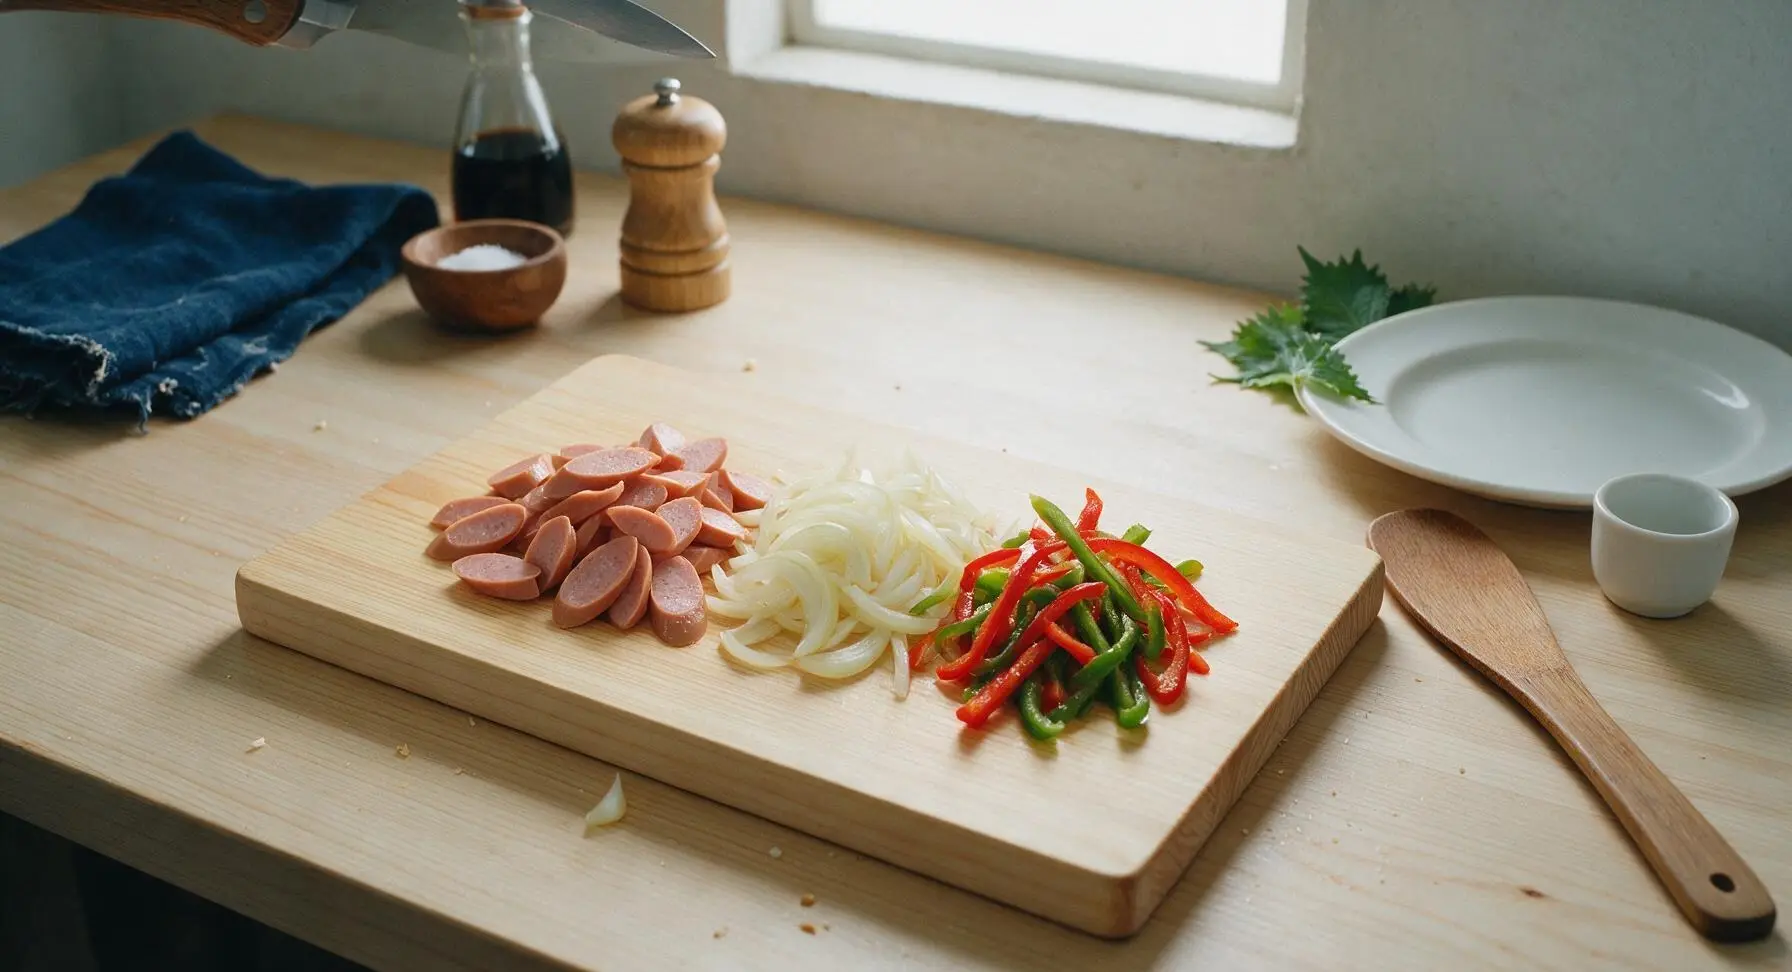
Place drained hot dogs on the maple cutting board. Use the stainless steel chef’s knife to cut each hot dog on a sharp 45-degree bias into 1/2-inch thick slices, which creates more surface area for crispy browning. Next, peel the small yellow onion, cut it in half from root to tip, and slice into thin 1/4-inch half-moon strips. Set sliced onion next to the hot dog slices on the board. The drained bell pepper strips are pre-sliced, so no additional cutting is needed.
Heat oil in skillet
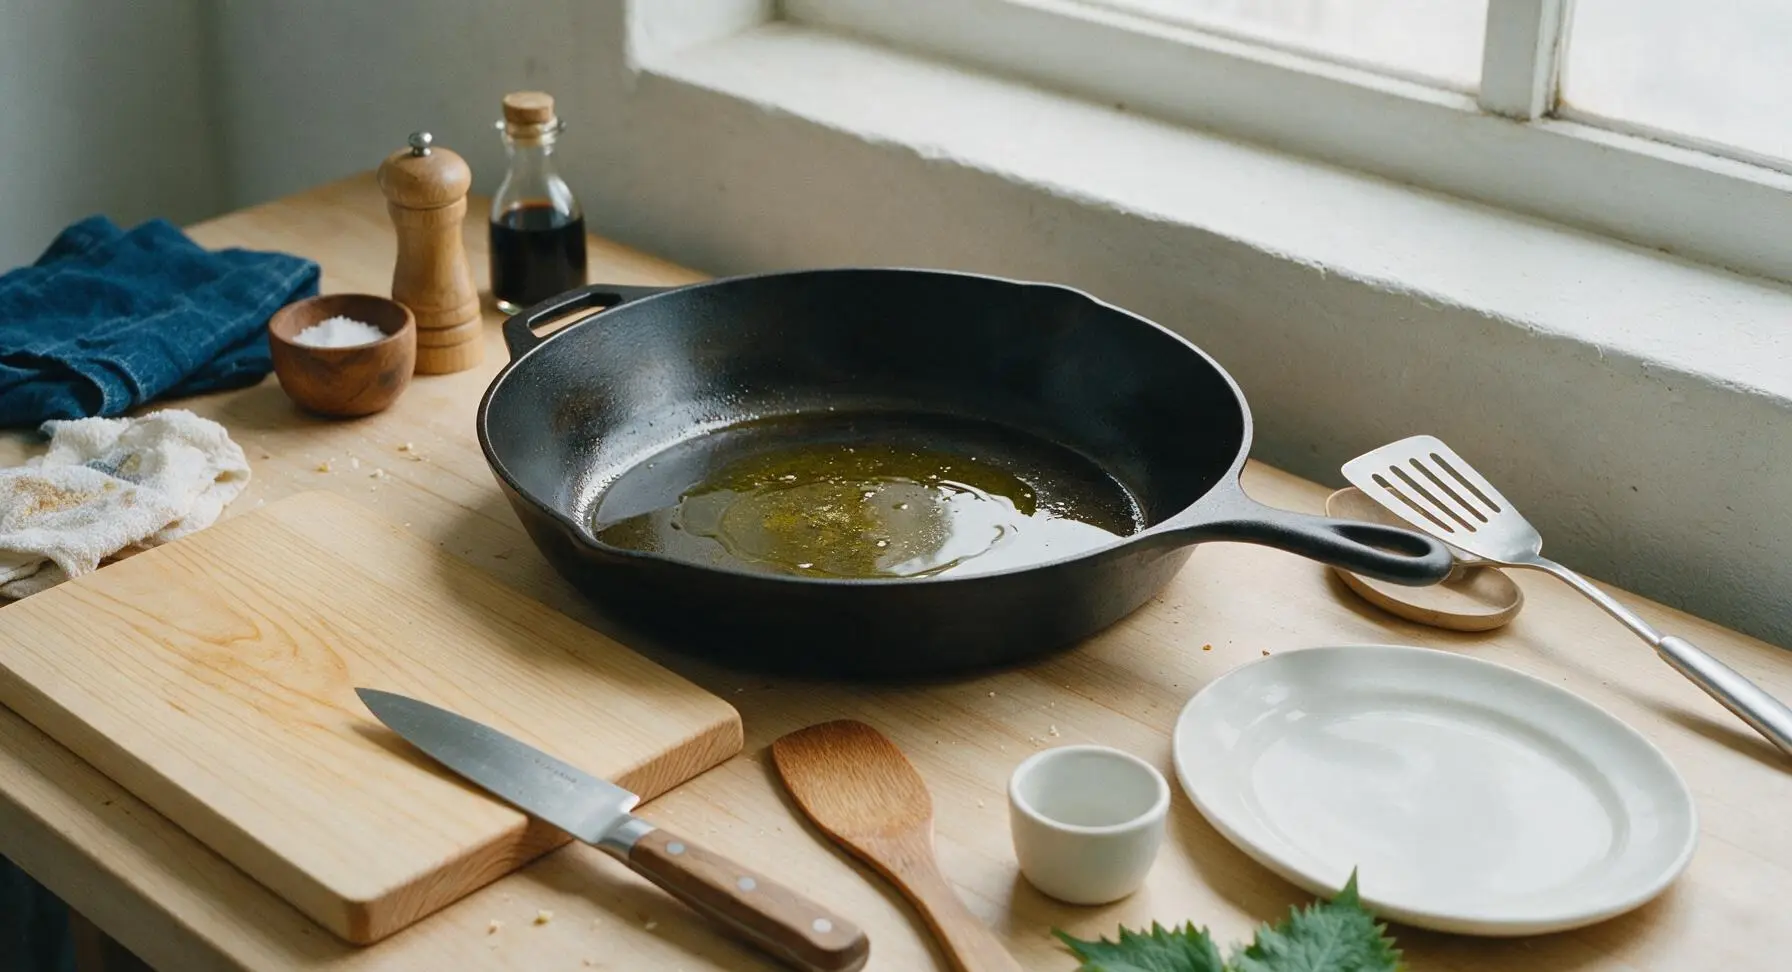
Leave the 12-inch matte black carbon steel skillet in its fixed central position, set stovetop heat to medium (350°F/175°C). Add 1 tablespoon of olive oil, and heat for 1-2 minutes until the oil shimmers and slides easily across the pan surface. Do not let the oil smoke, as this will cause ingredients to burn instead of sear.
Sauté sliced onions
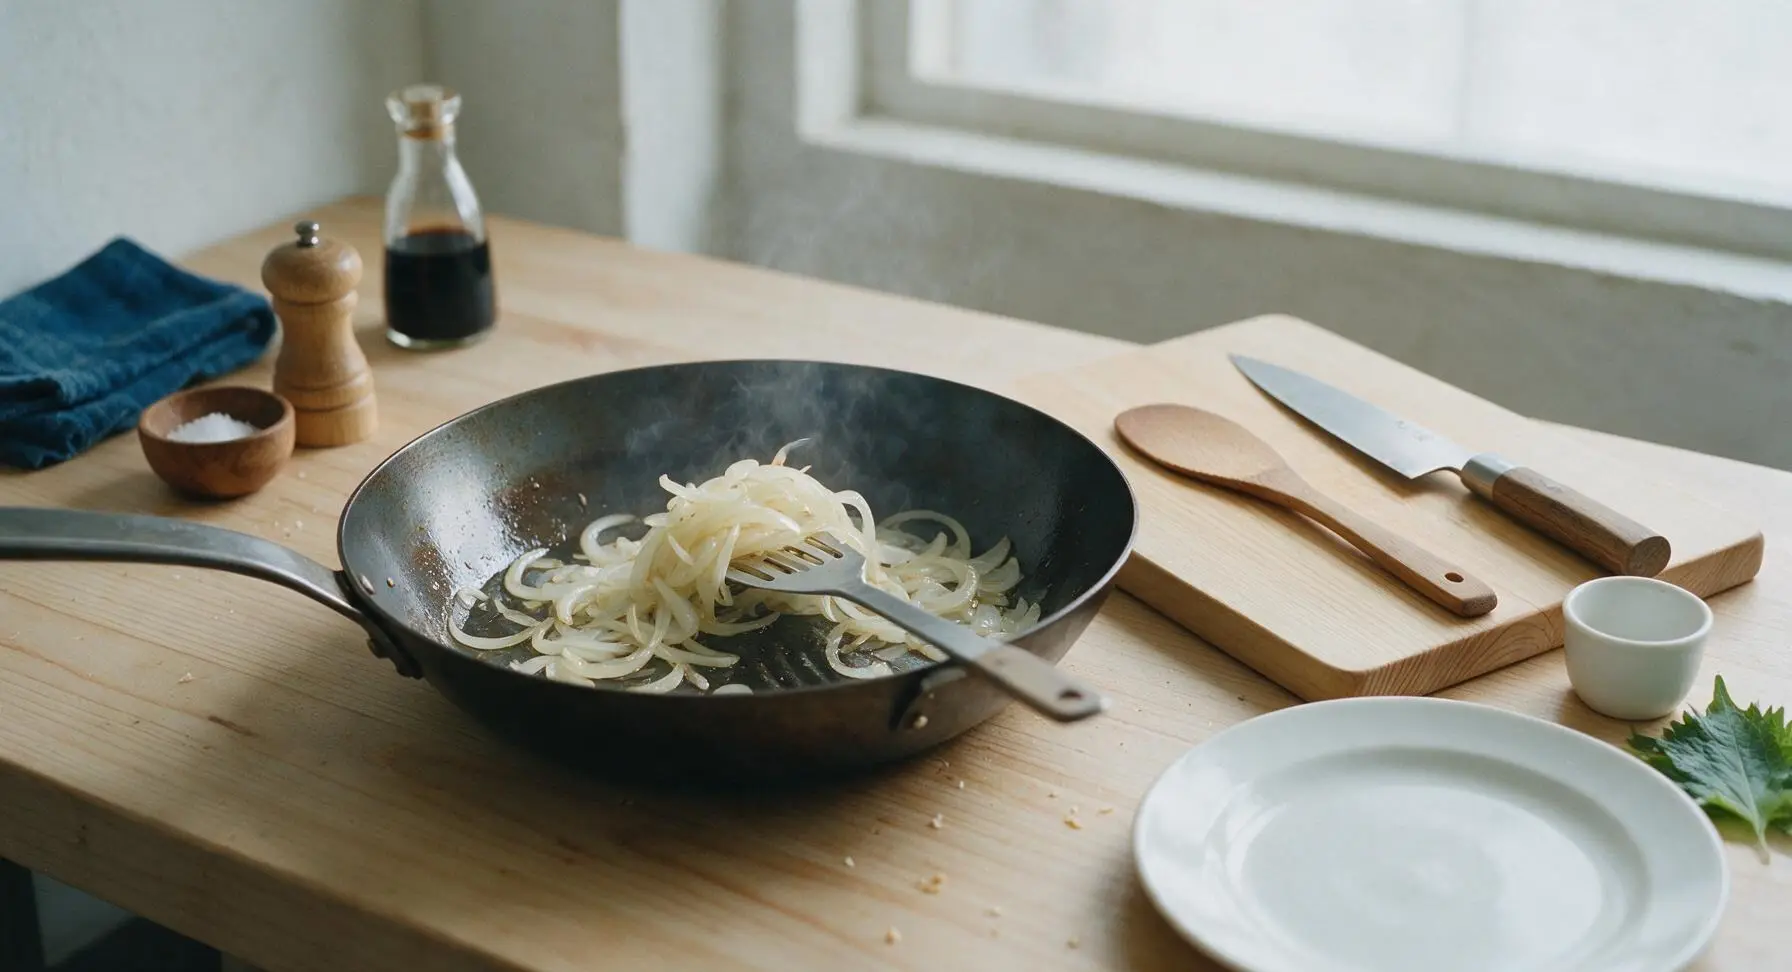
Carefully add the sliced onion to the heated oil in the skillet. Use the slotted turner to toss the onions continuously for 3-4 minutes, until they turn translucent and soft, with faint golden edges starting to form. Stir constantly to prevent thin onion slices from sticking or burning to the pan bottom.
Sear hot dog slices
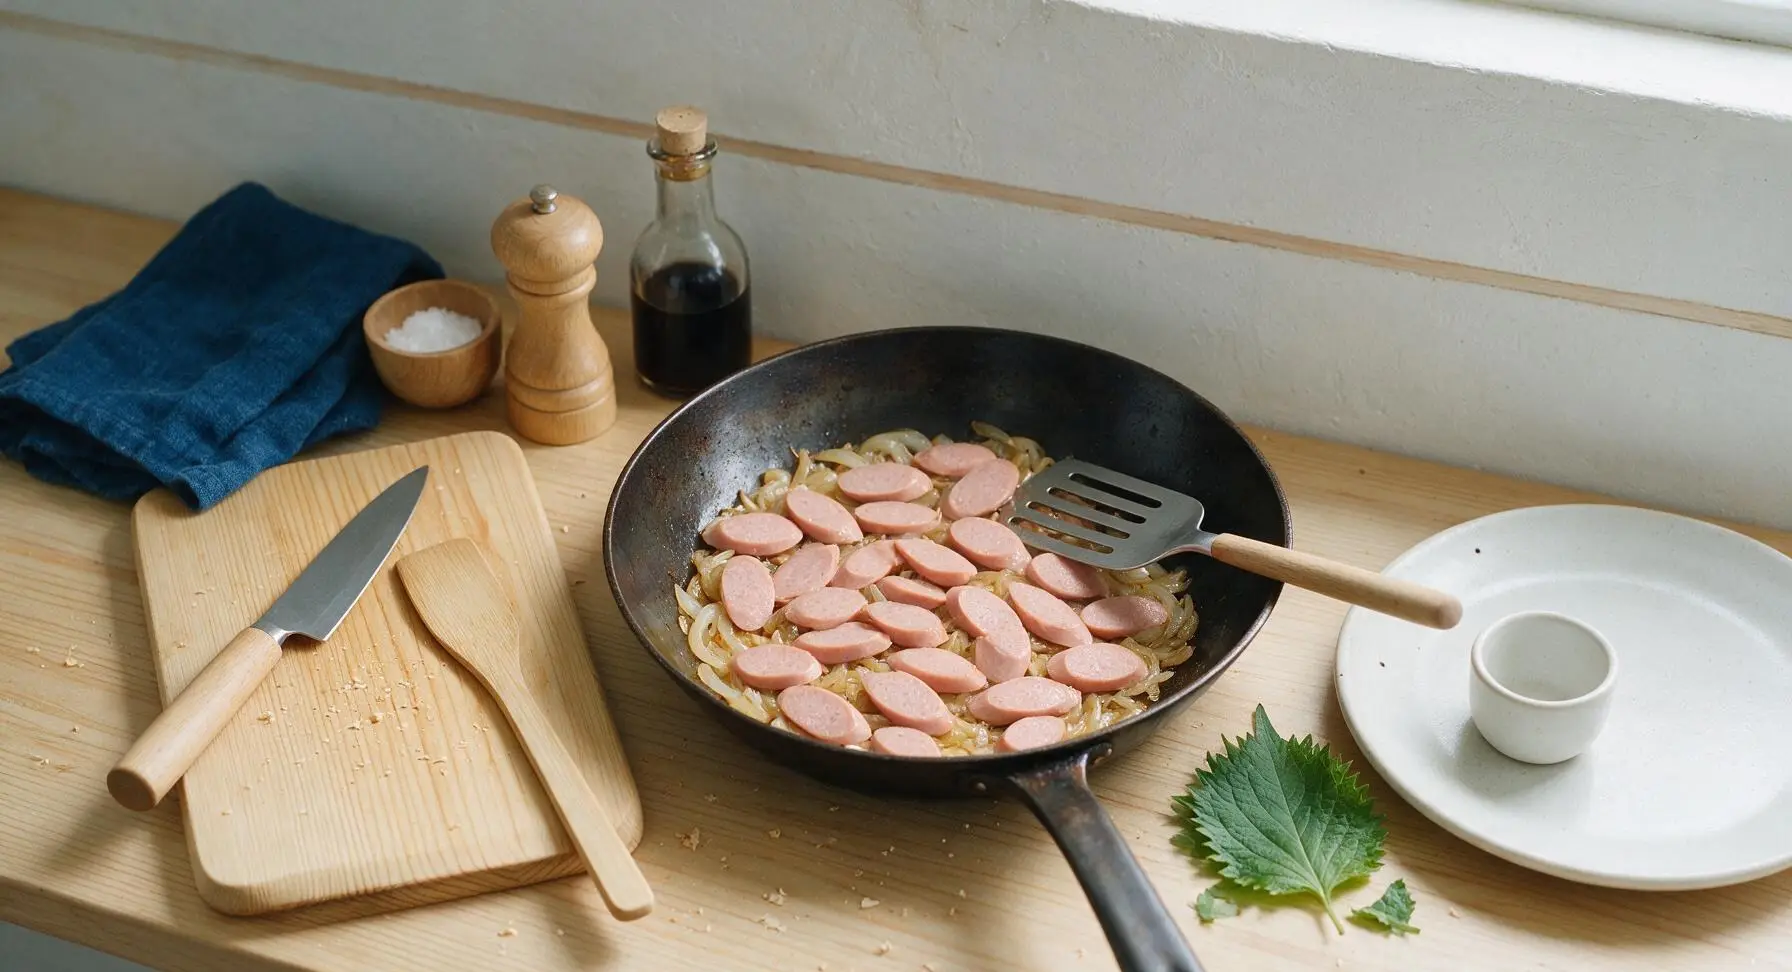
Add all bias-cut hot dog slices to the skillet with the onions, spreading them out in a single even layer across the pan surface. Let them cook undisturbed for 3 minutes, until the sides touching the pan develop a deep golden-brown, slightly crispy crust. Use the slotted turner to flip the hot dog slices, then cook for another 2 minutes on the second side to crisp evenly.
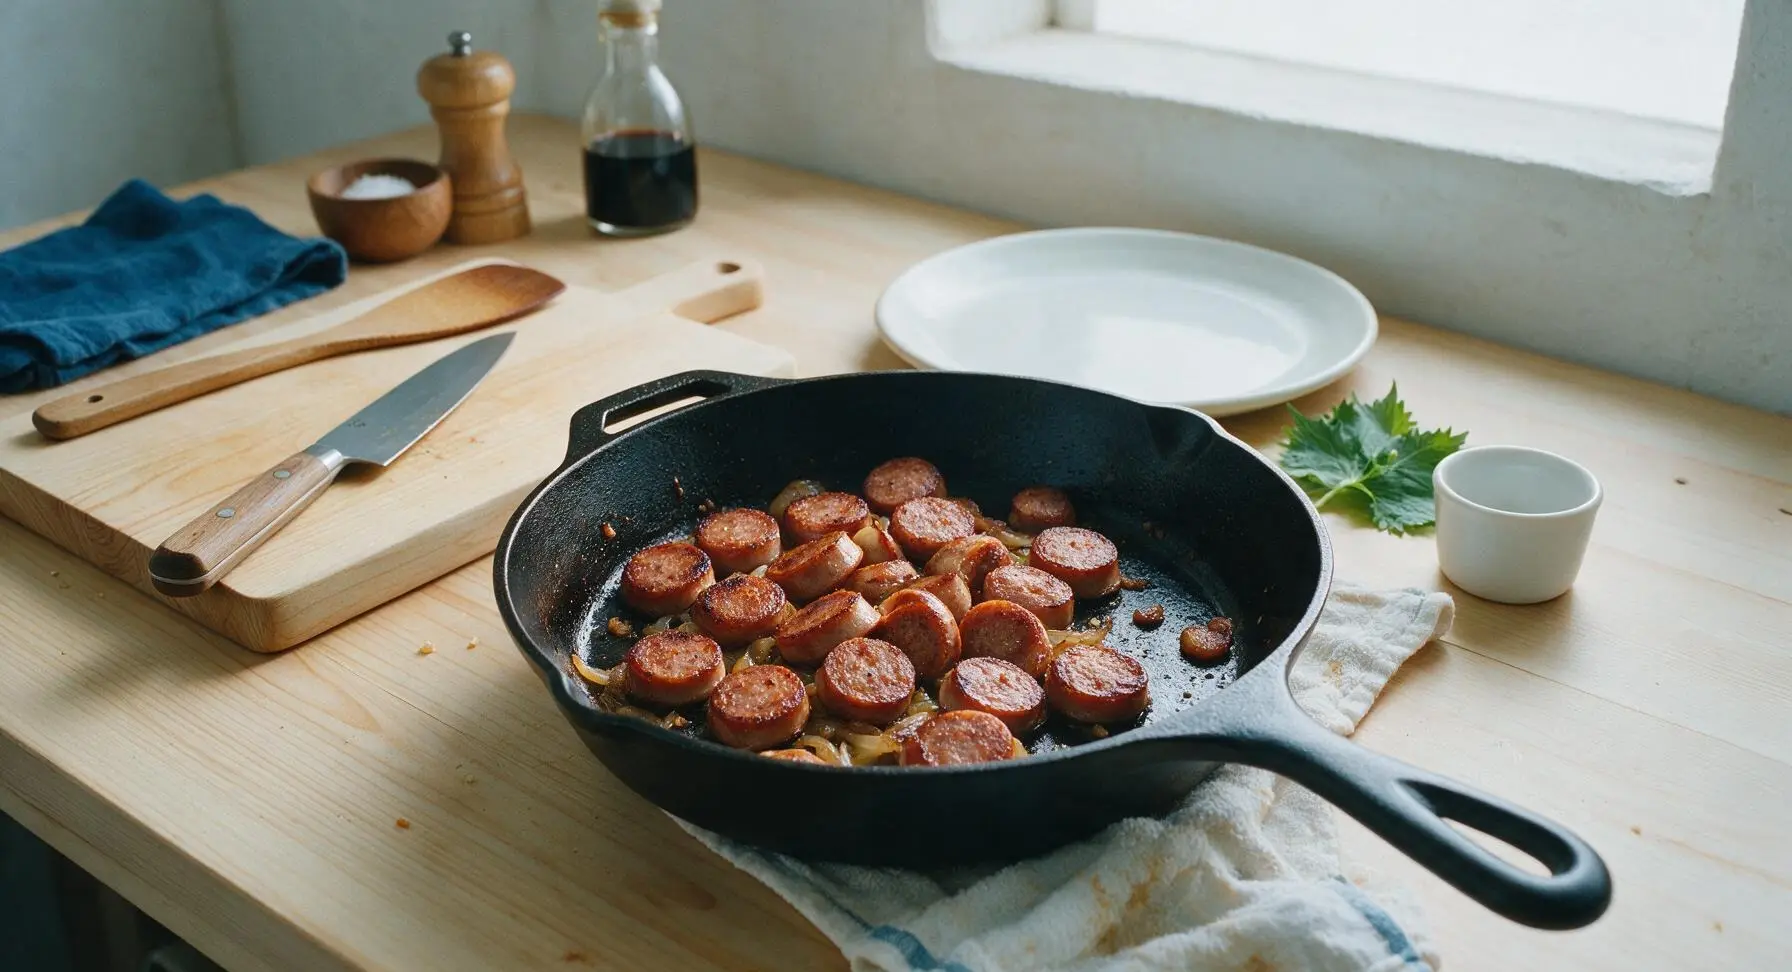
Add peppers and season
Add the drained canned bell pepper strips to the skillet, tossing to combine with the seared hot dogs and soft onions. Sprinkle 1/4 teaspoon garlic powder, 1/4 teaspoon kosher salt, and 1/4 teaspoon freshly ground black pepper evenly over the top. Toss all ingredients together with the slotted turner, and cook for 2 more minutes until peppers are heated through and tender-crisp—do not overcook peppers, as they will turn mushy.
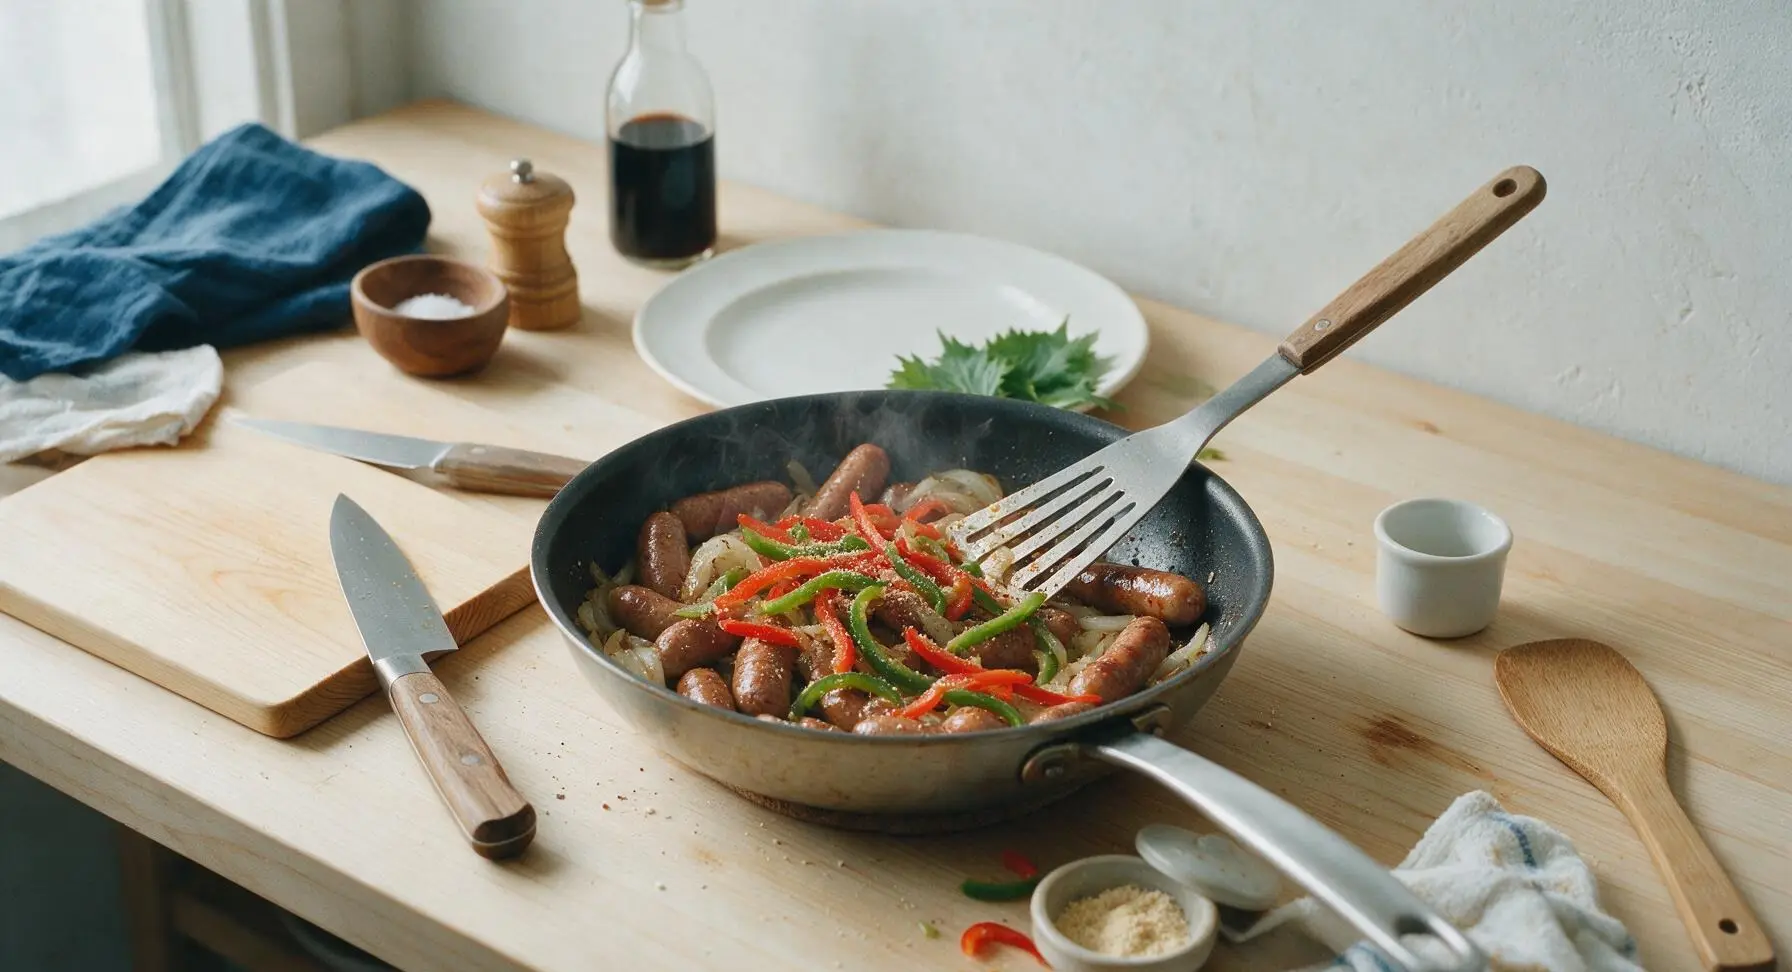
Toss and rest mixture
Turn off the stovetop heat. Give the entire hot dog and pepper mixture one final toss to evenly distribute seasoning, then let it rest in the hot skillet for 1 minute to allow flavors to meld. This short rest also lets any excess oil absorb into the ingredients, so the final dish is not greasy.
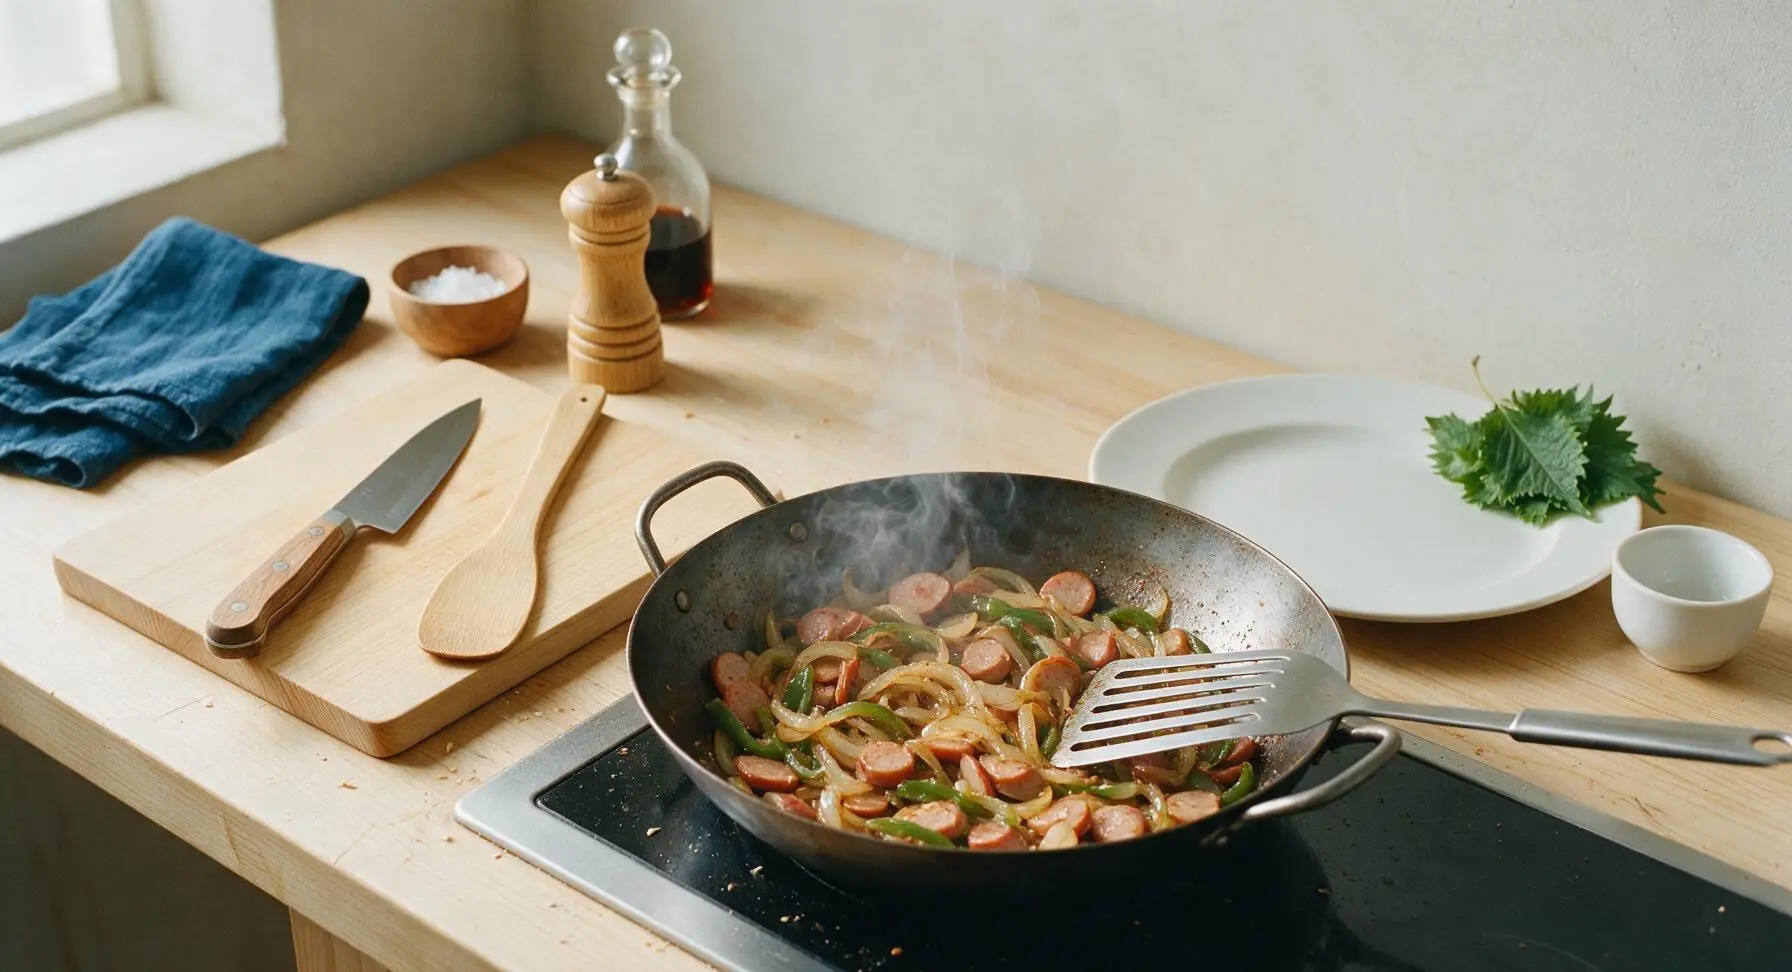
Plate and serve dish
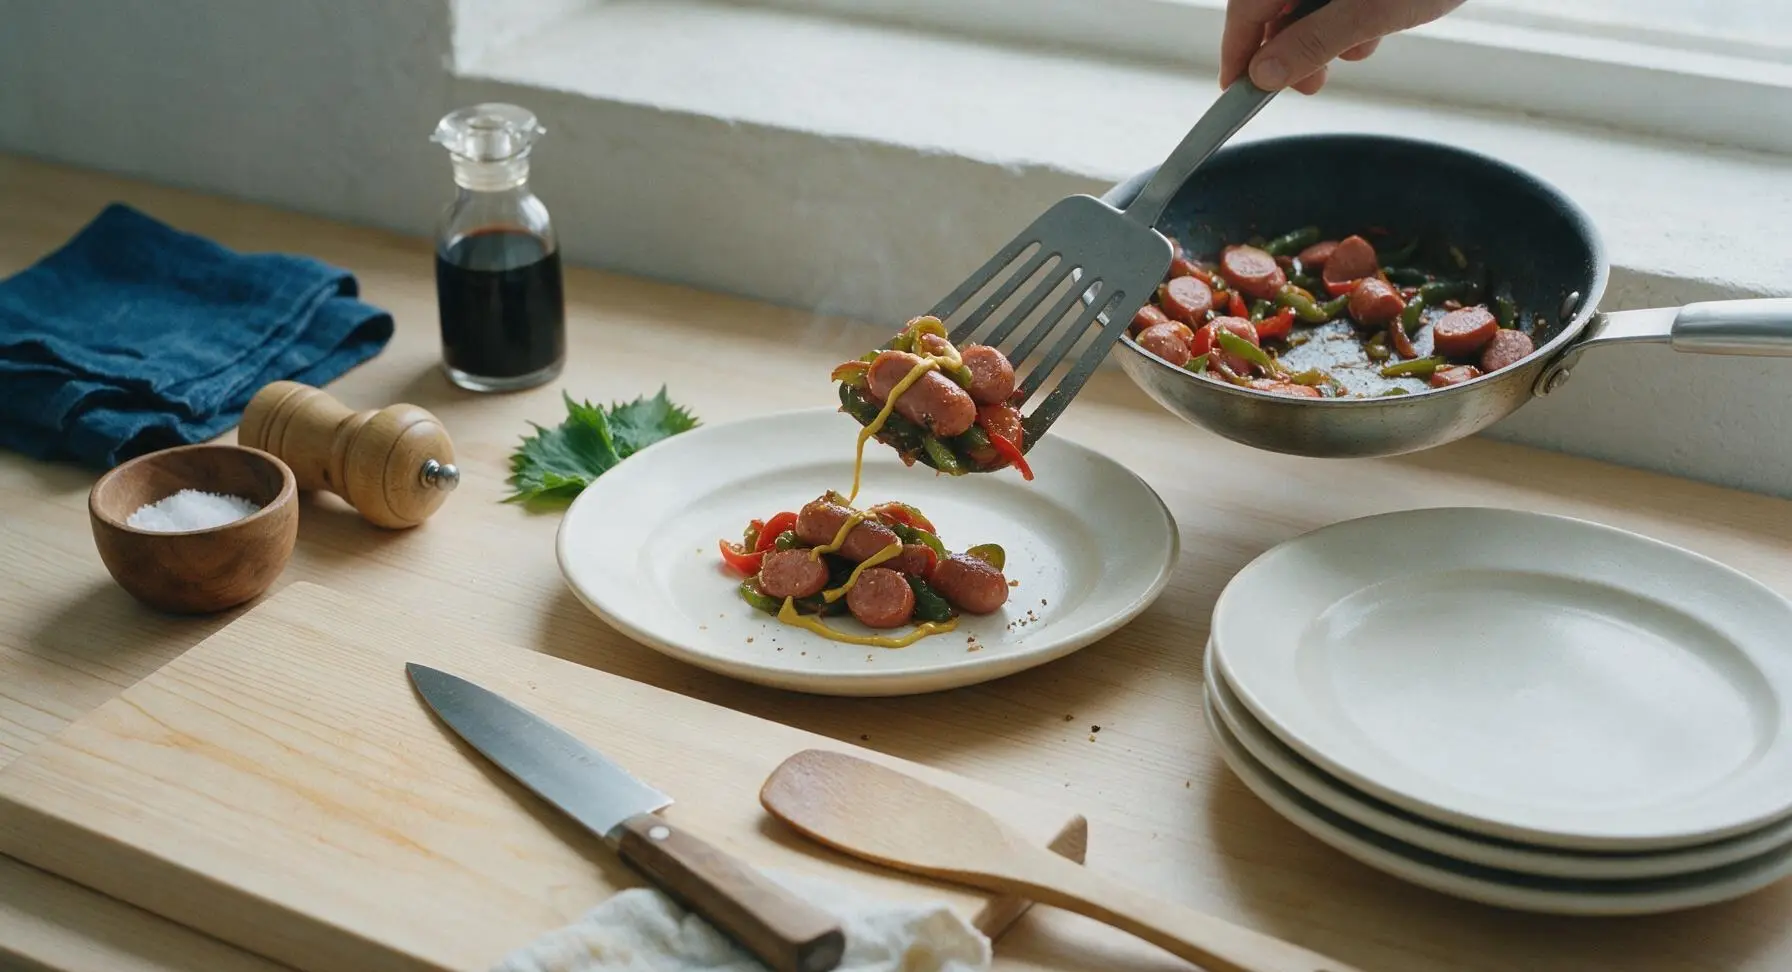
Use the slotted turner to scoop equal portions of the hot dog and pepper mixture onto the four cream white ceramic dinner plates. Drizzle a thin zig-zag of yellow mustard over the top of each serving, and add an extra light crack of black pepper if desired. Serve immediately while hot.
Tips
2.Cut hot dogs on a 45-degree bias instead of straight rounds: the angled cut creates more surface area for searing, resulting in extra crispy, caramelized edges that add far more texture than straight-cut slices.
3.Don’t overcook the canned peppers: they are fully cooked during the canning process, so they only need 2 minutes of heat to reach tender-crisp texture; longer cooking will turn them mushy and fade their bright red and green color.






OMG this was such a game changer for busy weeknights! I threw this together in 10 minutes flat after soccer practice and my kids loved it, even the one who swears he hates bell peppers. Used spicy canned hot dogs for an extra kick, 10/10 will be making this every other week for sure.
Added this to my Sunday meal prep rotation! It holds up really well in the fridge for 4 days, I just portion it out with a side of baked potato wedges for quick work lunches. SO much better than sad desk salads, honestly.
Brought this to our neighborhood block party last weekend and people were asking me for the recipe left and right! It was SO good, I tossed in a little diced onion too, it was perfect for serving on little slider buns. Super easy to make on the camp stove too when we’re out at the lake.
Wait hold on, this is the first recipe I’ve made in my dorm skillet that didn’t come out burnt or taste like cardboard? Total win for someone who can barely boil water. Only thing I had on hand was green peppers, no red or yellow, and it still slapped.
So happy I found this! All the ingredients are naturally gluten free as long as you double check your hot dog labels, which is perfect for my kid with celiac. We served ours over rice for a quick no-fuss dinner.
Total cost for this whole meal was like $4? Canned hot dogs, frozen pepper strips, a little oil and seasoning, you can’t beat that price for a filling meal. Great for when you’re running low on grocery money at the end of the pay period.
Tastes just like the grilled hot dogs and peppers my dad used to make on his beat-up old cast iron skillet when I was a kid! I added a splash of Worcestershire sauce like he always did, and it gave it that perfect savory depth. Total nostalgia bite, I’ll be making this again soon.