
Caramelized Onion Rolls with Goat Cheese
intro
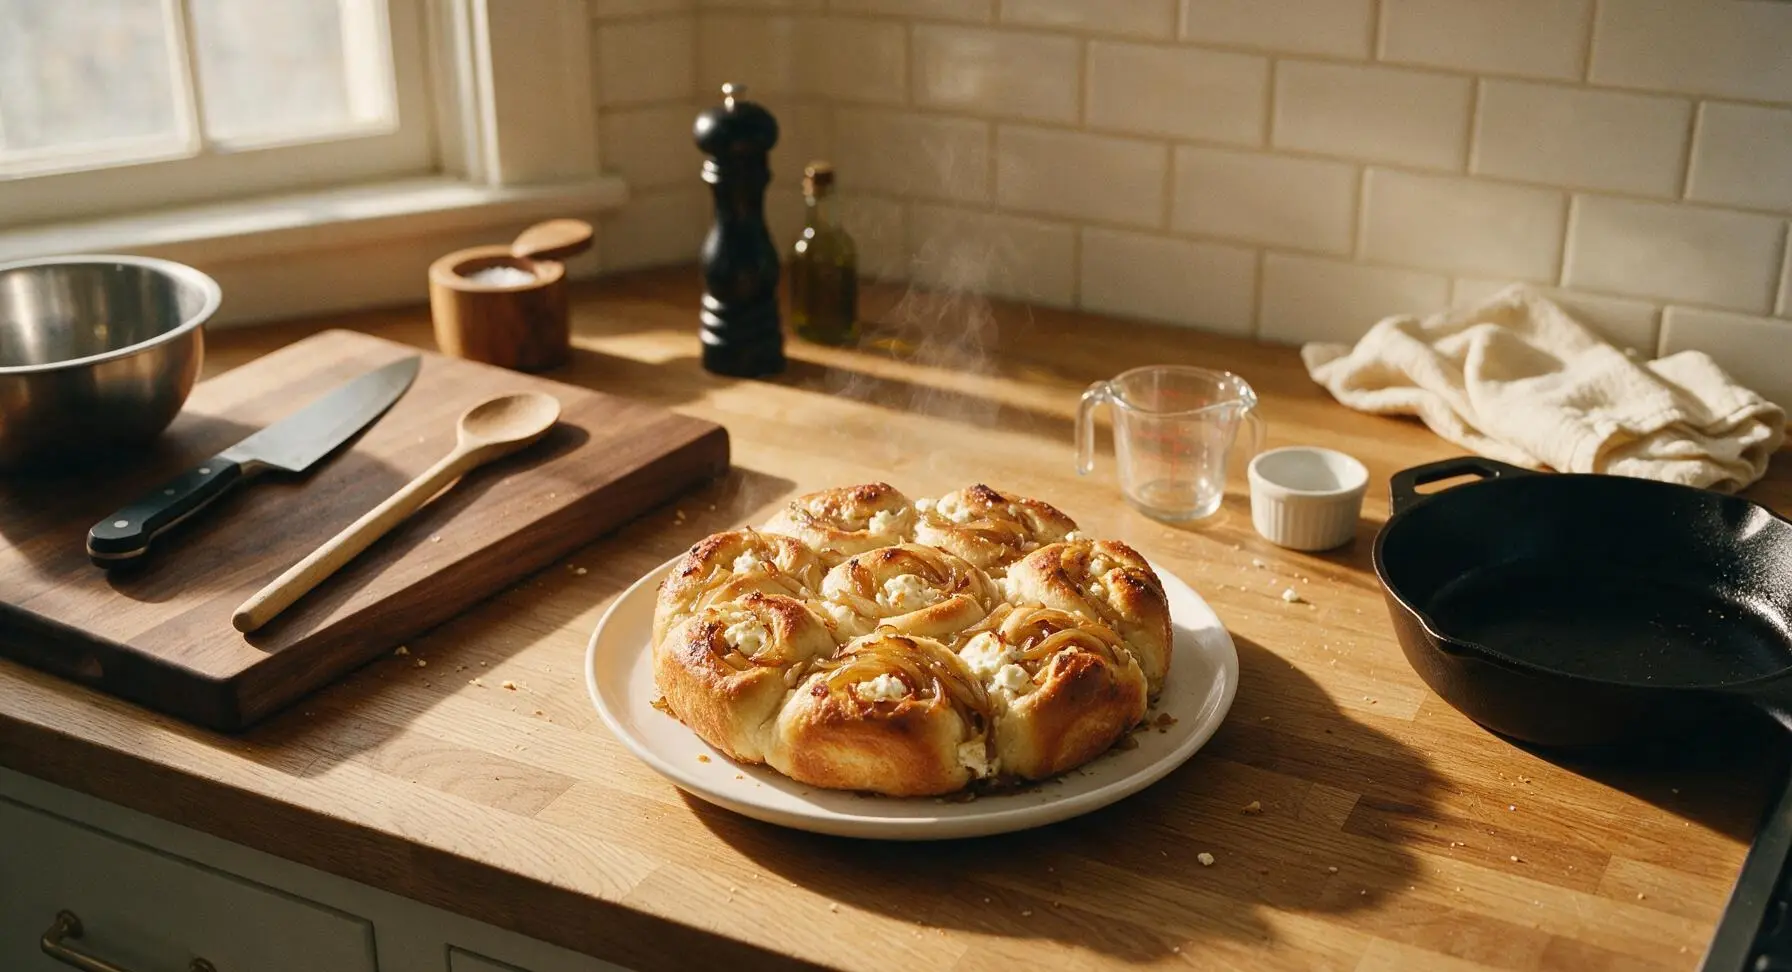
Soft, pillowy pull-apart rolls swirled with slow-caramelized sweet onions and tangy goat cheese, golden-crusted and perfect for sharing on cool autumn days.
Ingredients
Steps
Caramelize the Onions
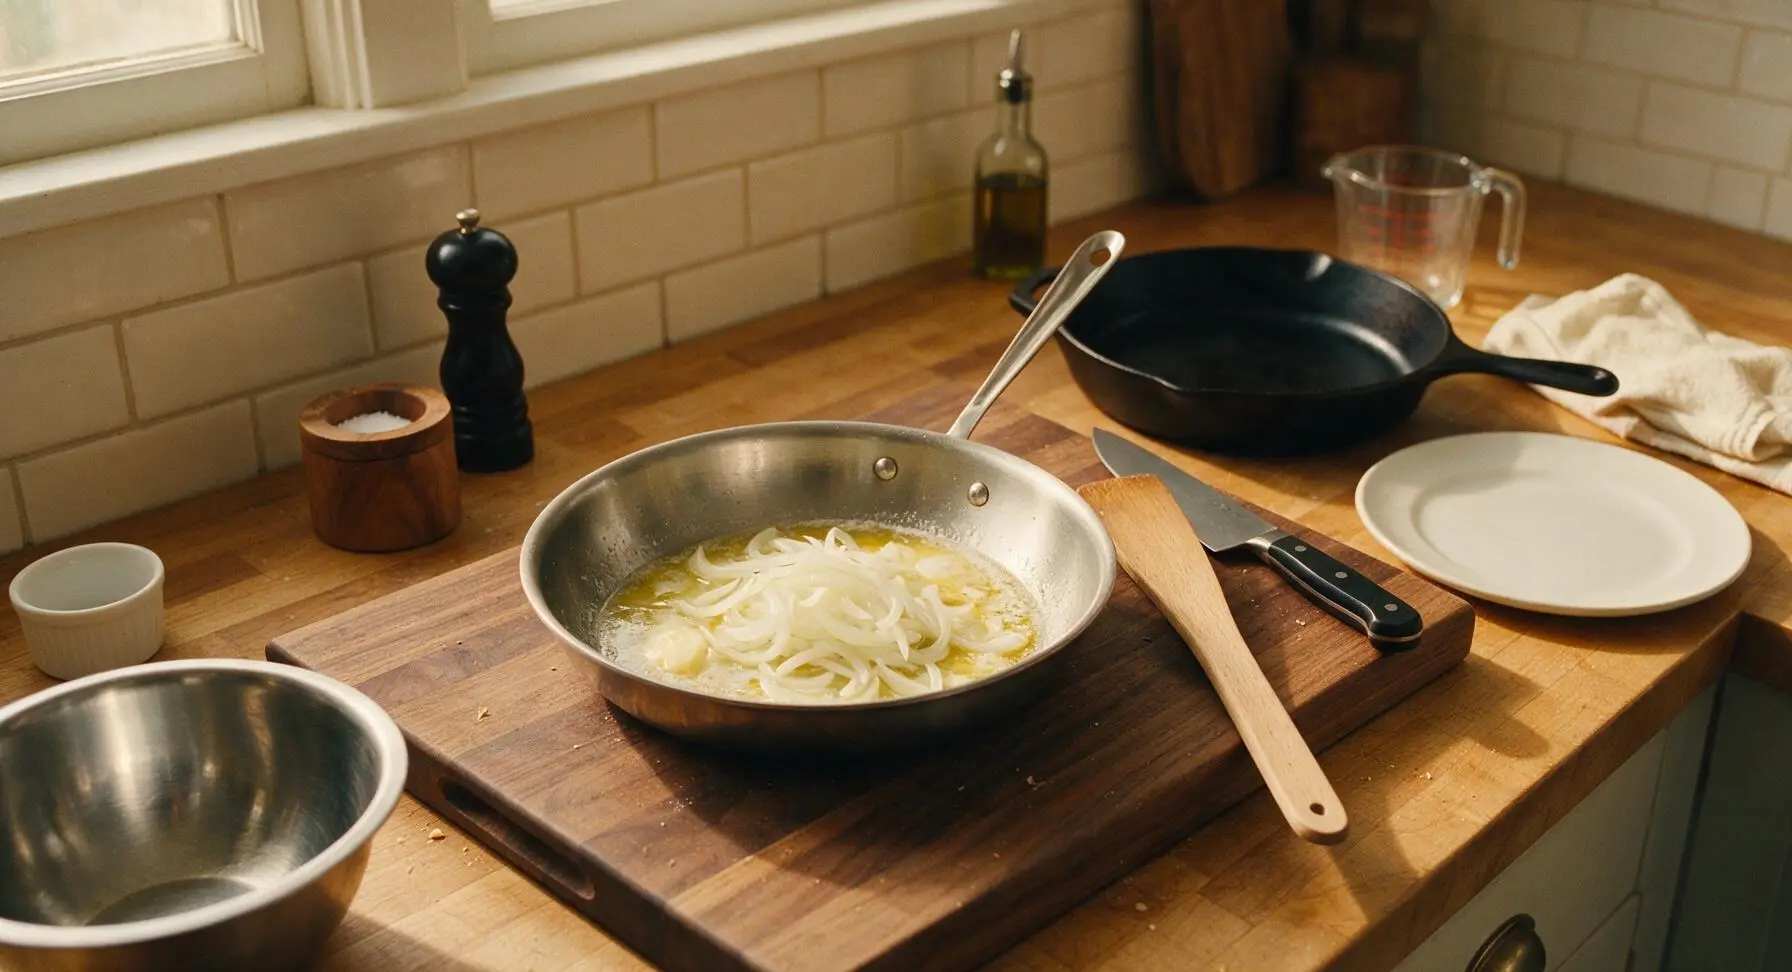
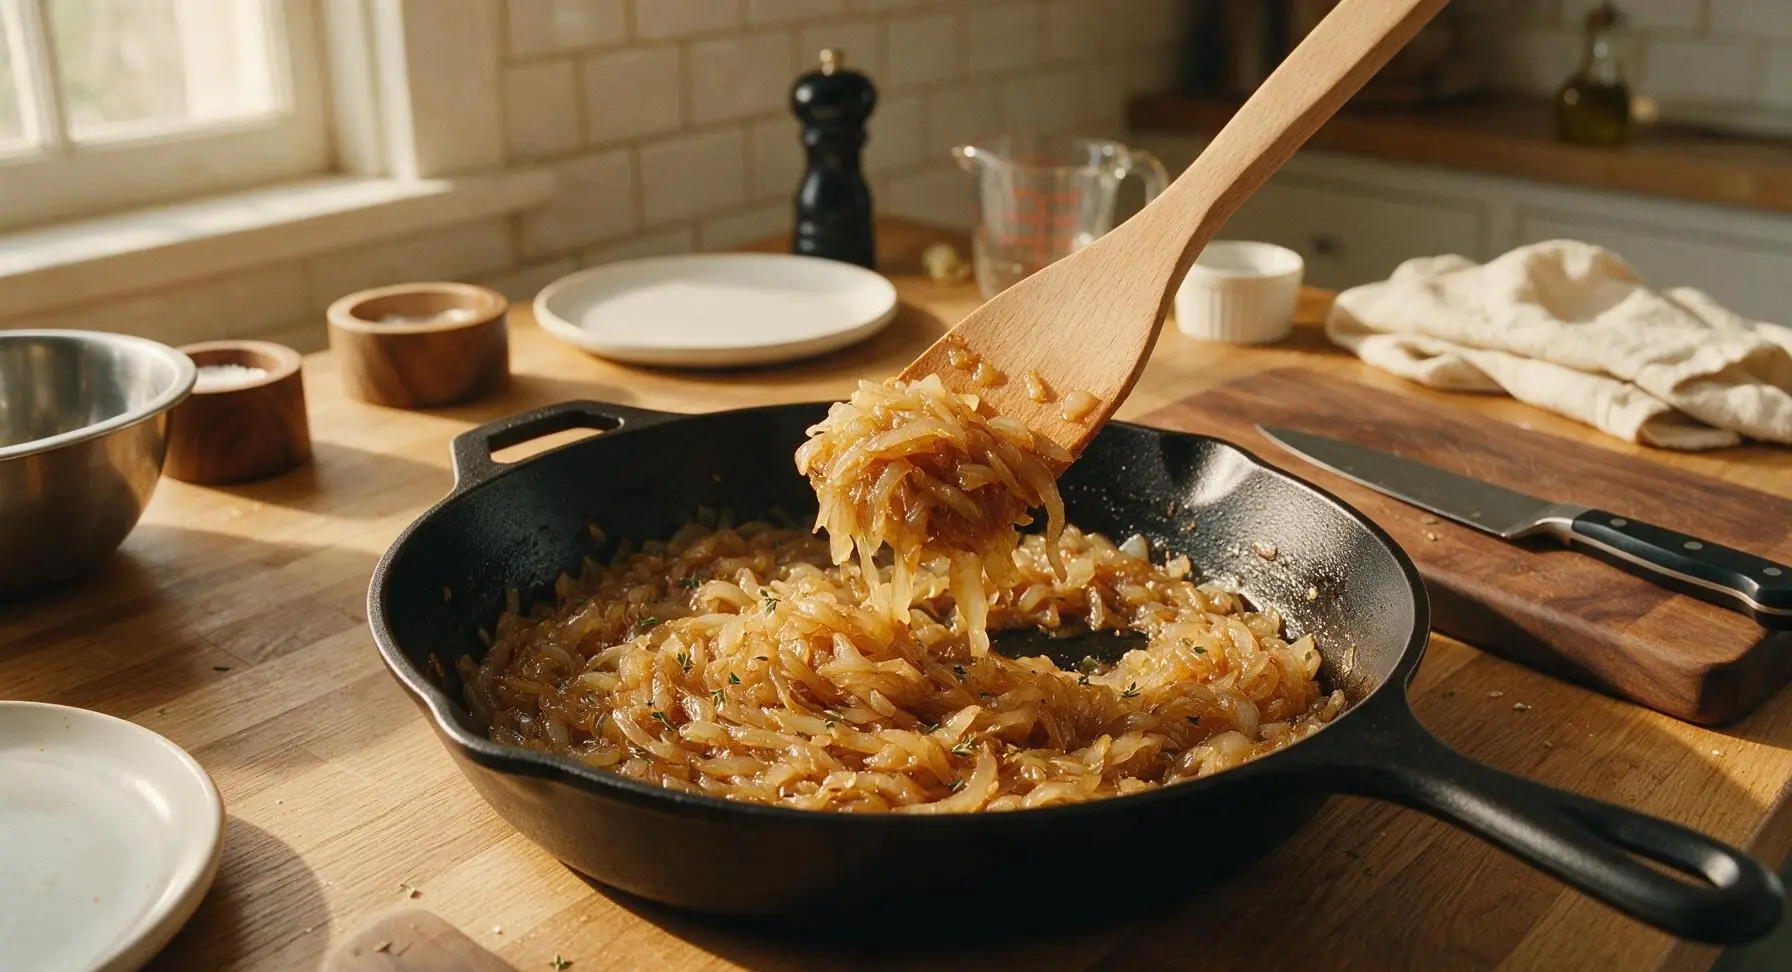
Heat 1 tablespoon olive oil and 1 tablespoon melted butter in the 10-inch stainless steel skillet over medium-low heat. Add thinly sliced onions and ½ teaspoon kosher salt, stirring to coat. Cook, stirring occasionally with the beech wood spatula, for 25-30 minutes until onions are deep golden brown, soft, and jammy, with no crisp white pieces remaining. Stir in fresh thyme leaves and black pepper during the last 2 minutes of cooking, then transfer onions to the small matte cream side plate to cool completely. Do not rush this step: high heat will burn onions instead of developing their sweet, deep umami flavor.
Mix the Dough
In the large glass mixing bowl, combine warm milk, 1 teaspoon sugar, and instant yeast, stirring gently, then let rest 5 minutes until foamy to confirm yeast is active. Add the remaining 1 teaspoon kosher salt, 2 tablespoons melted butter, room temperature egg, and all-purpose flour, stirring with the flexible dough scraper until a shaggy, slightly sticky dough forms. Turn dough out onto a lightly floured section of the acacia cutting board and knead for 5-7 minutes until smooth, elastic, and no longer sticking to clean, dry hands.
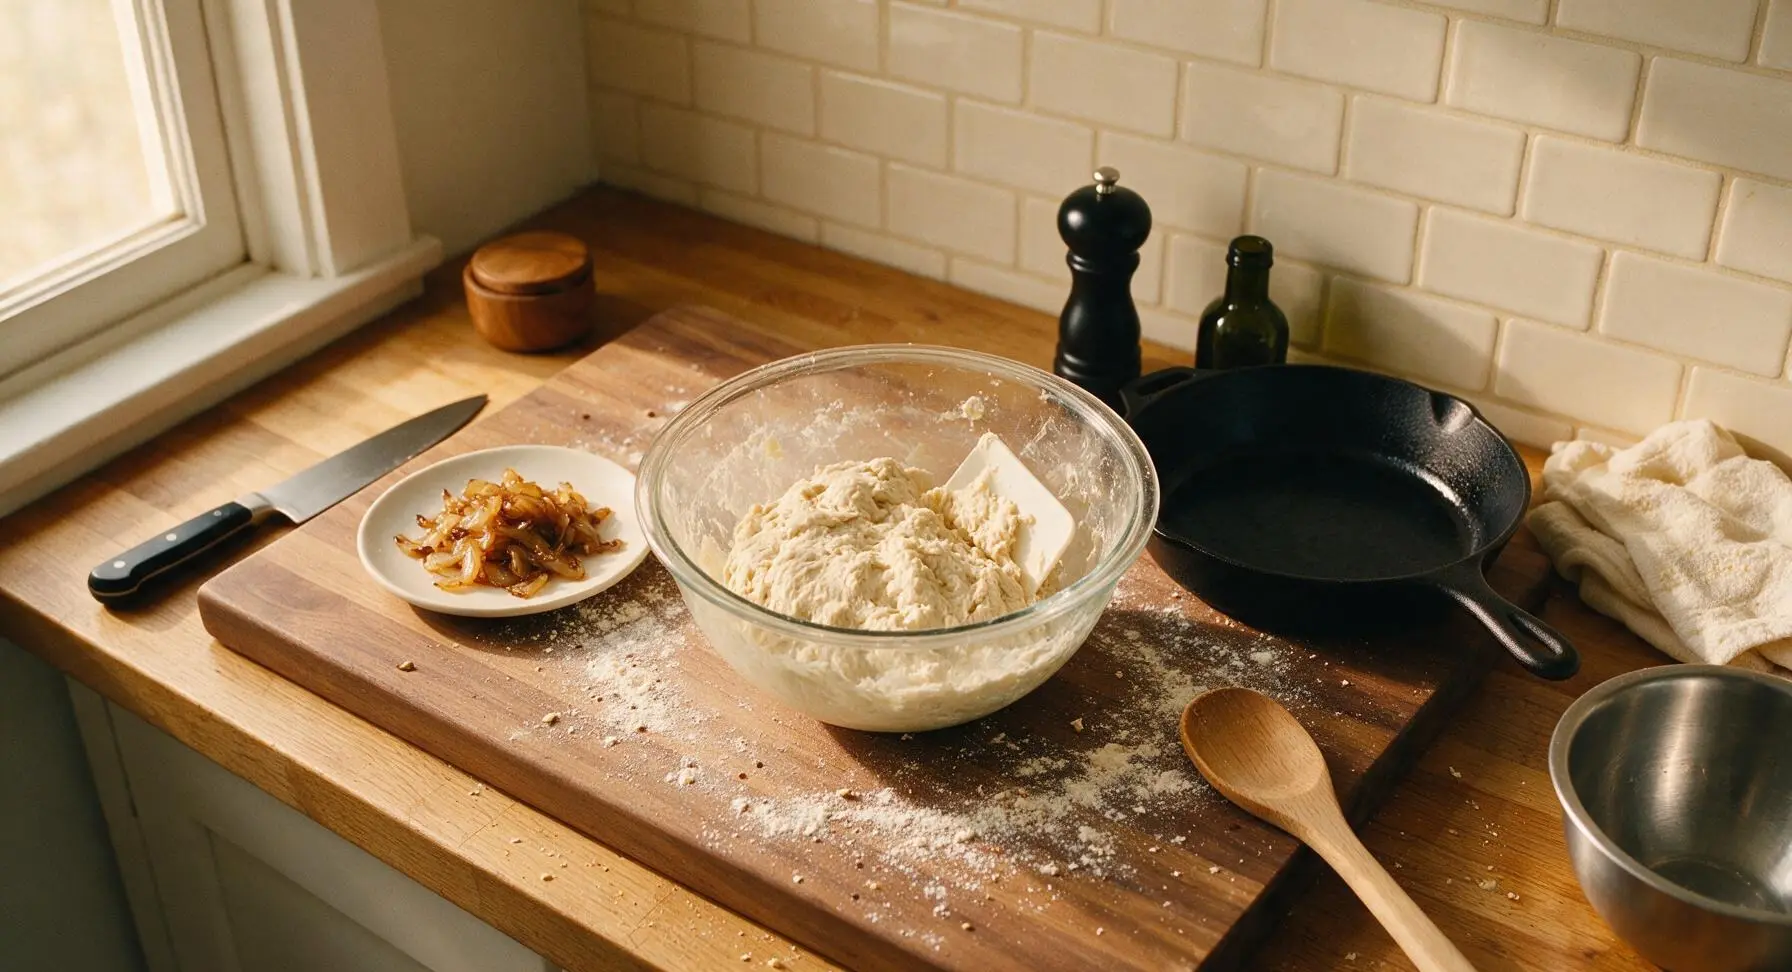
First Dough Rise
Wipe the large glass mixing bowl clean, coat lightly with a thin film of olive oil, and return the kneaded dough to the bowl. Cover loosely with the taupe linen kitchen towel and let rise in a warm, draft-free spot for 1 hour, until dough has doubled in size and leaves a slow-rebounding indent when pressed with a floured finger. After the rise is complete, return the towel to its fixed top-right position.
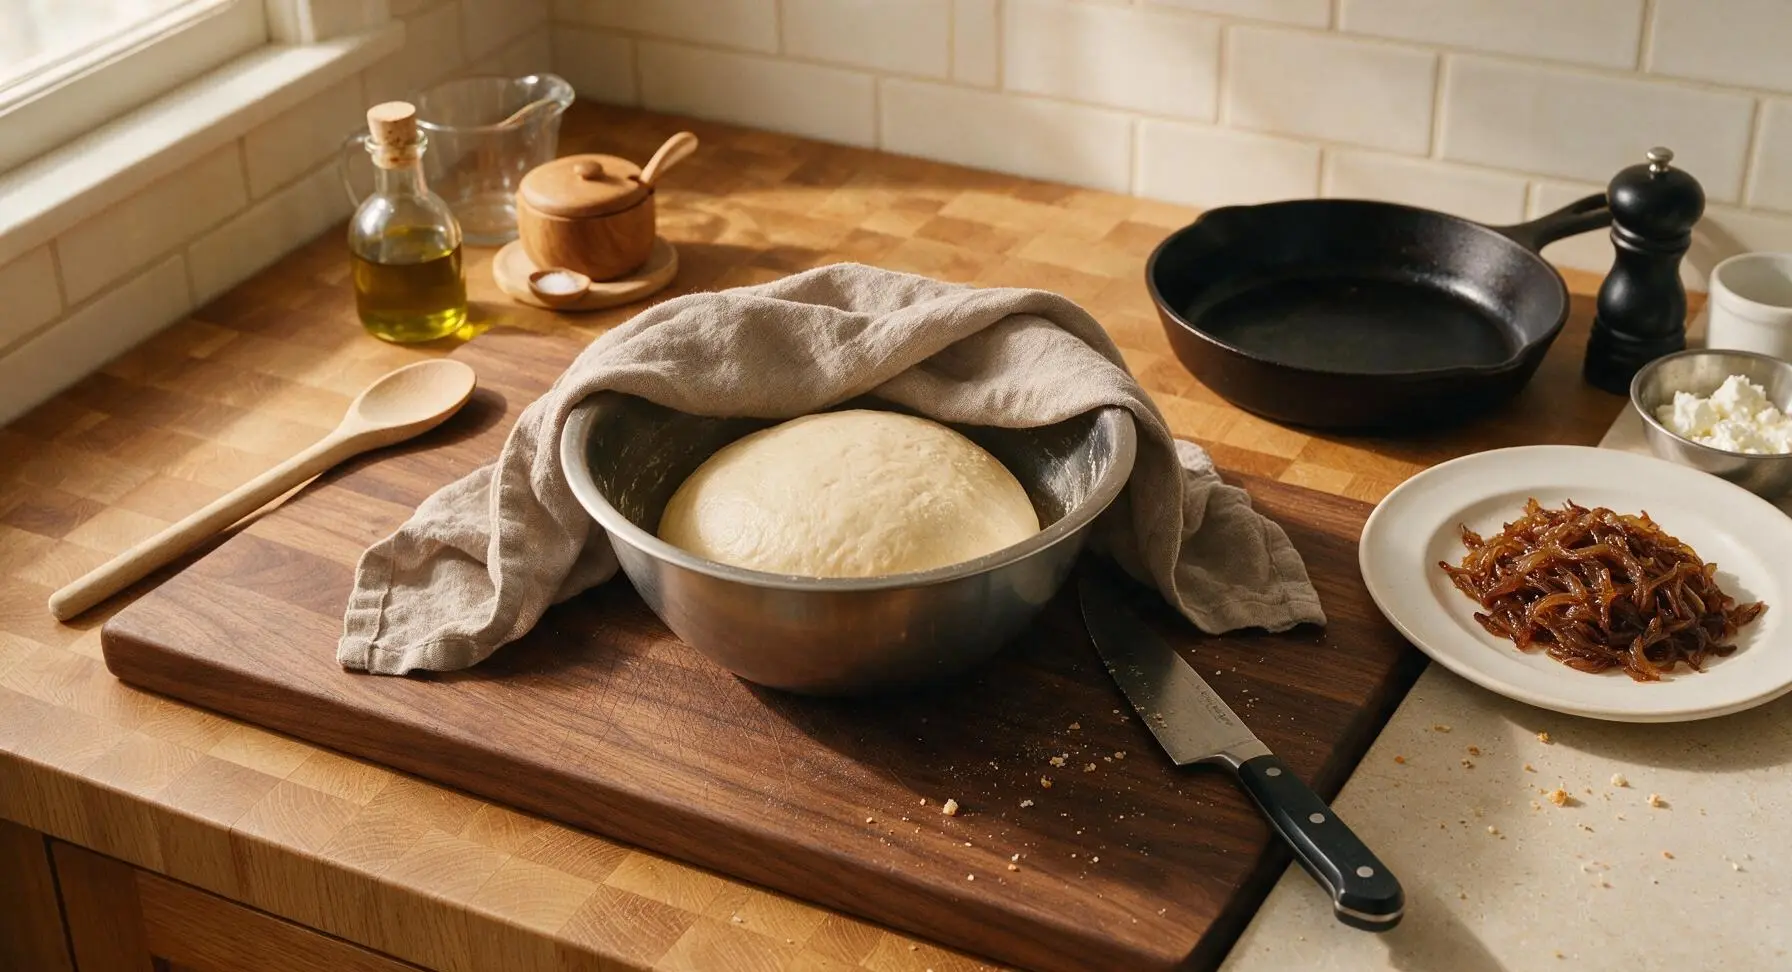
Roll and Fill Dough
Once doubled, punch the dough down firmly to release trapped air, then transfer to the acacia cutting board. Use the maple rolling pin to roll the dough into a 12x18 inch rectangle, about ¼-inch thick, with the long edge facing you. Spread the fully cooled caramelized onions evenly across the entire dough surface, leaving a ½-inch plain border at the top far edge, then crumble the goat cheese evenly over the layer of onions.
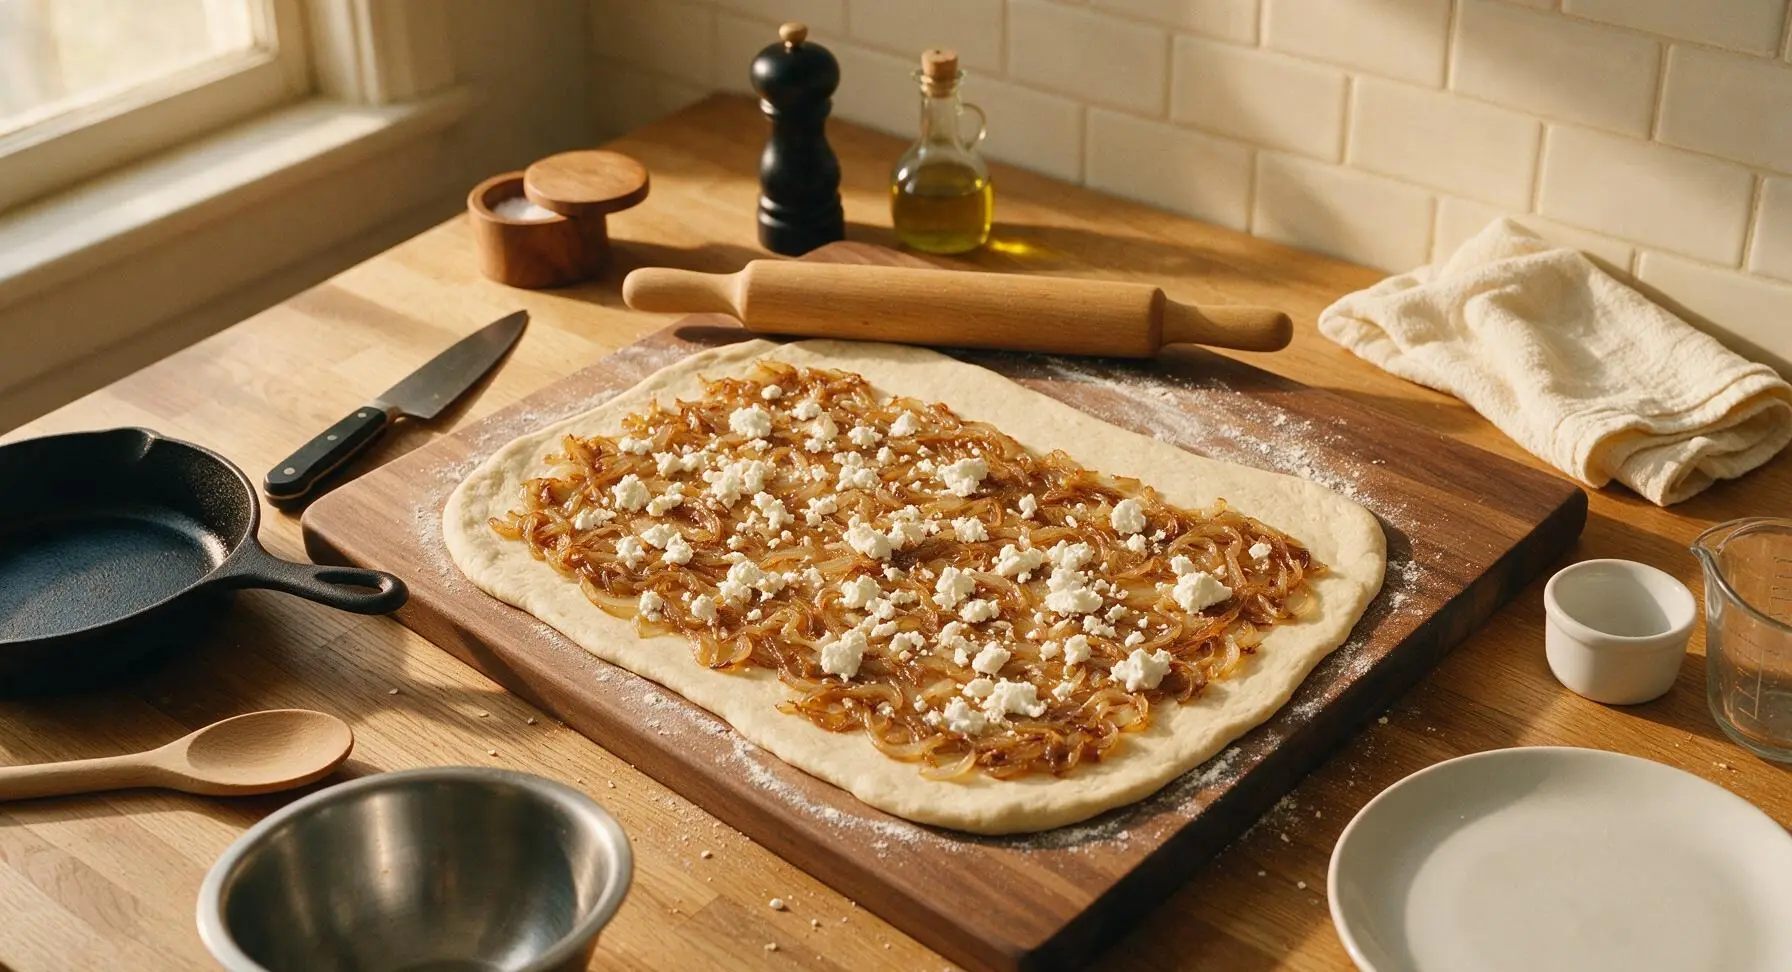
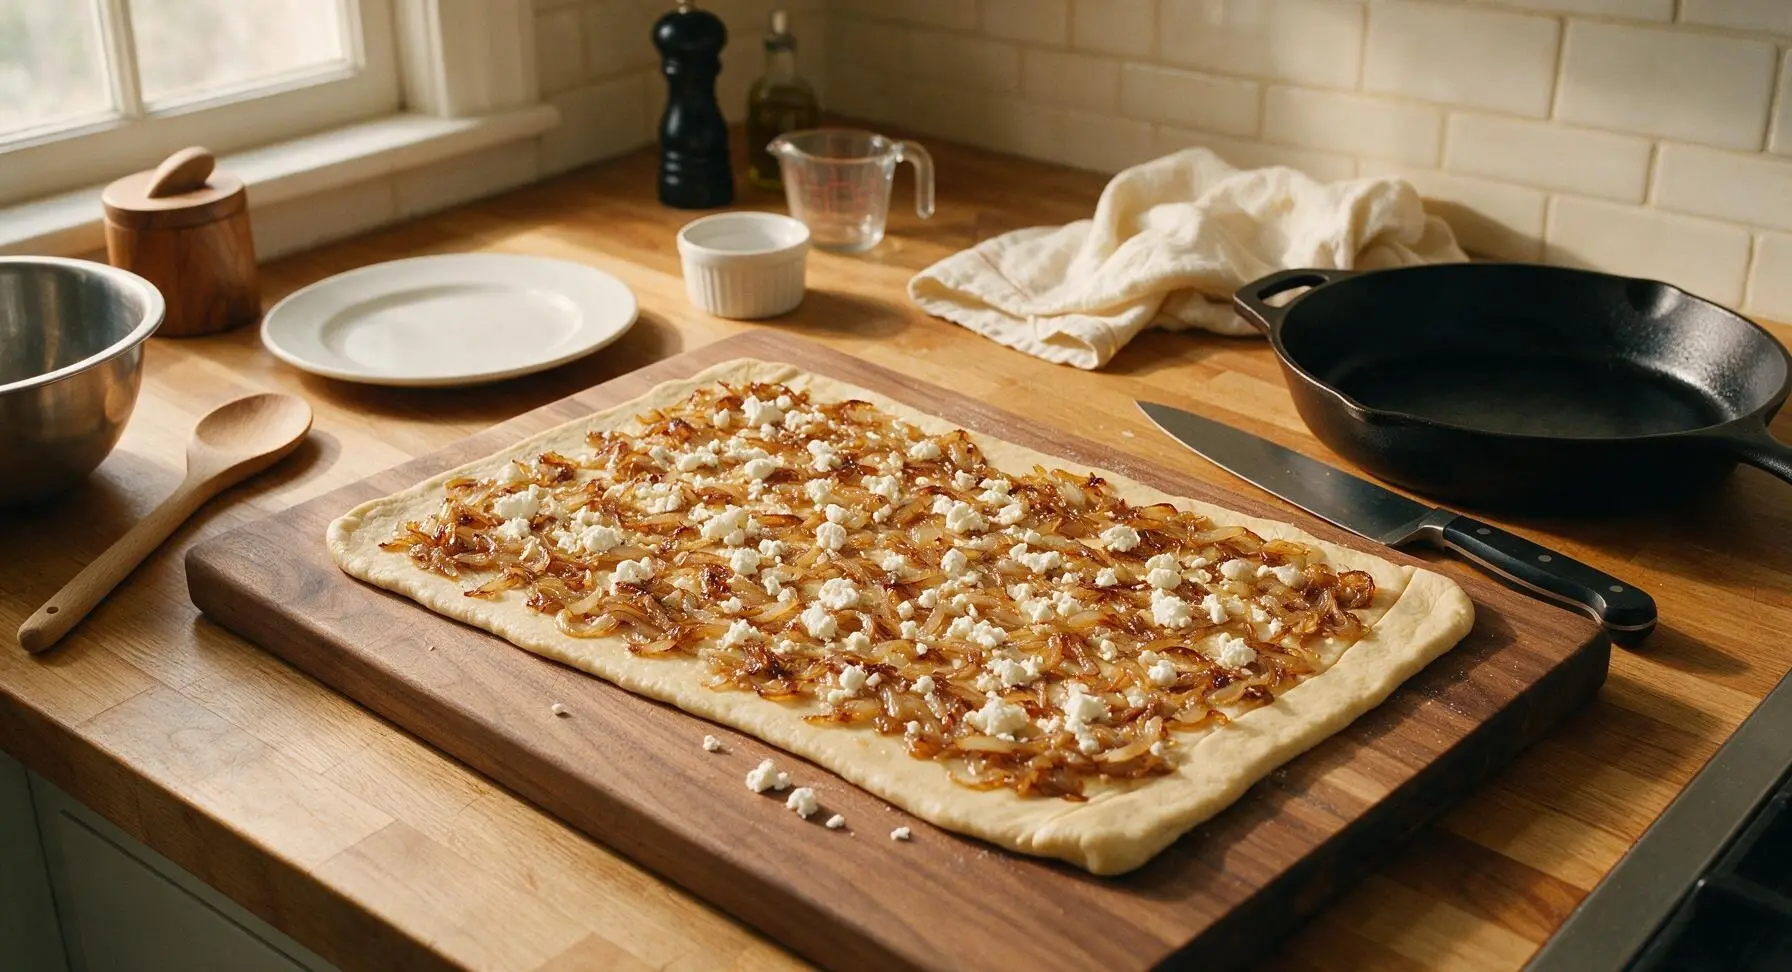
Cut and Arrange Rolls
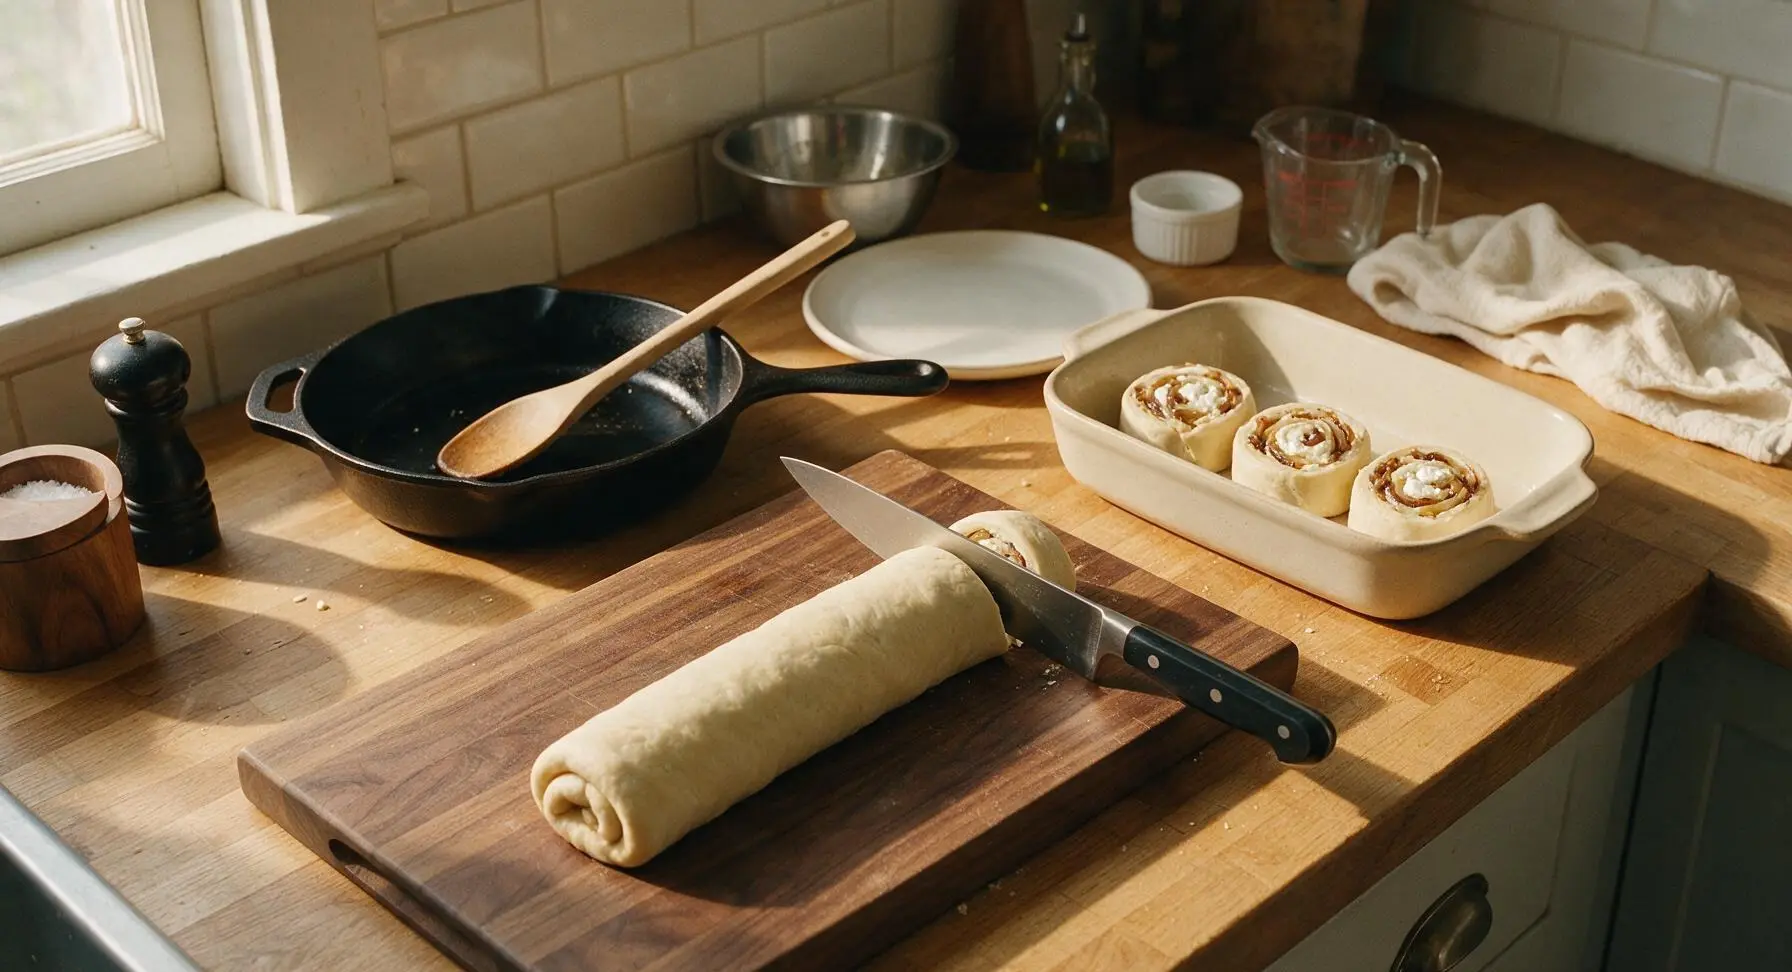
Starting with the long edge closest to you, roll the dough tightly into an even log, pinching the plain ½-inch border firmly to seal the seam. Use the 8-inch chef knife to cut the log into 8 equal 1.5-inch thick rolls, using gentle sawing motions to avoid squishing the dough. Arrange the rolls cut-side up in the 9-inch matte cream ceramic baking dish, leaving ½ inch of space between each roll to allow for the second rise.
Proof and Bake Rolls
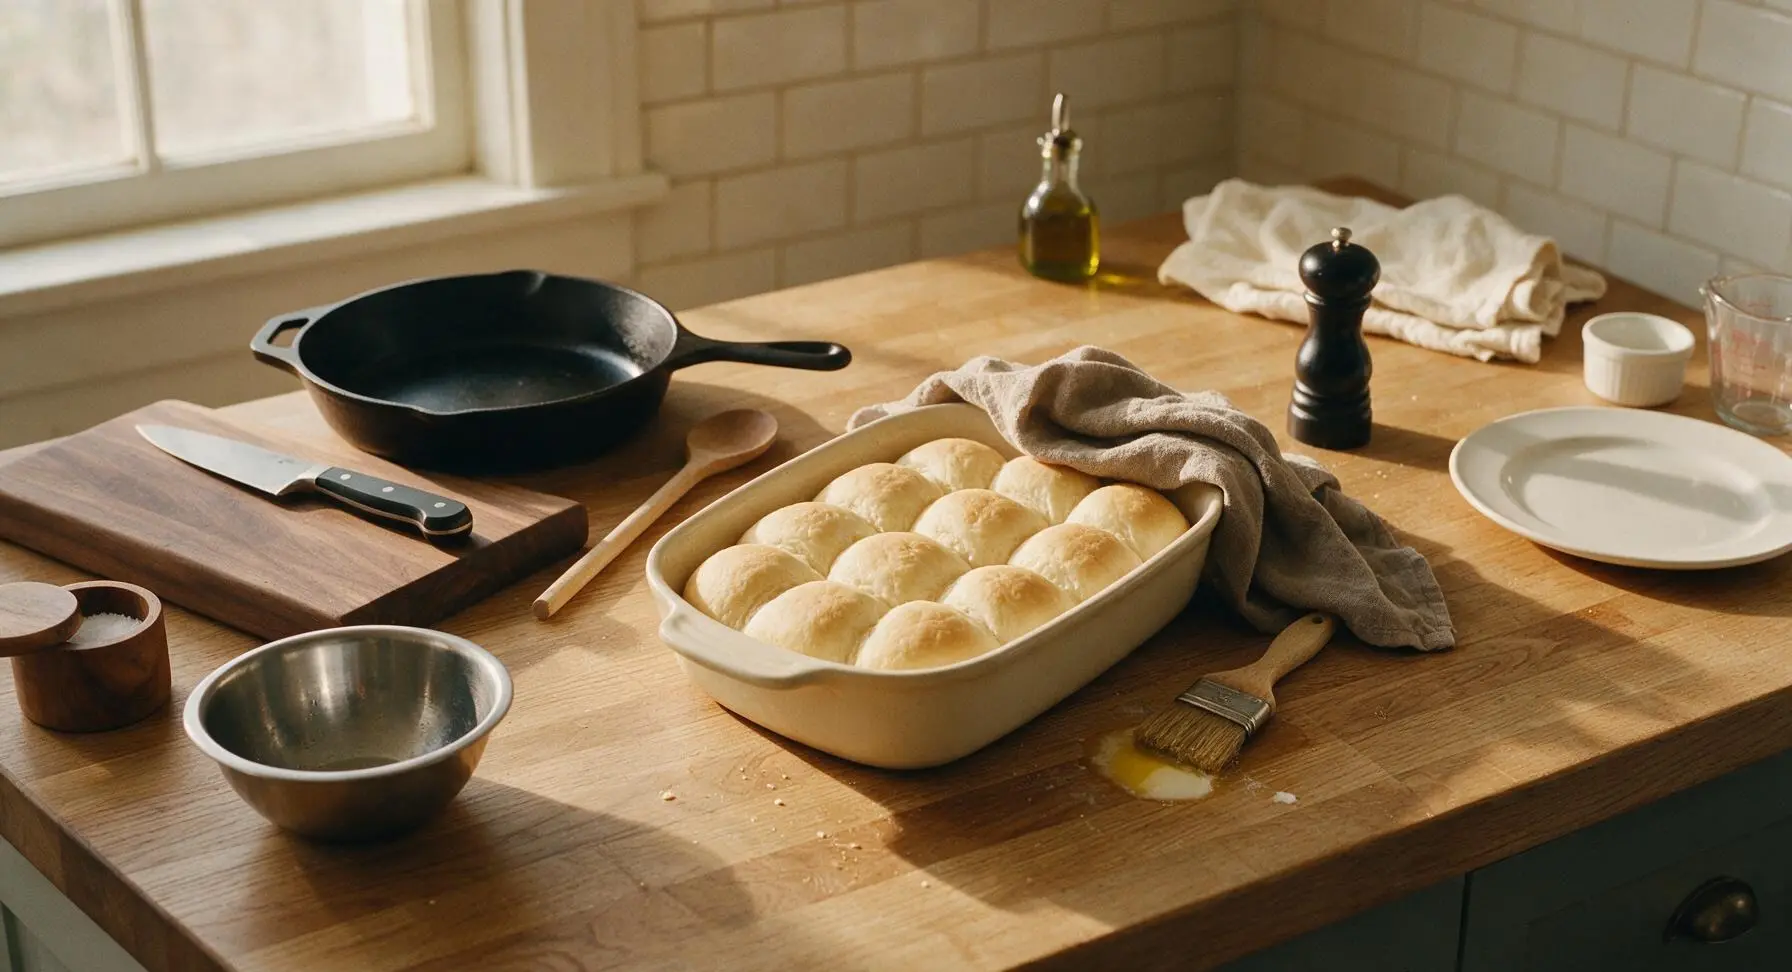
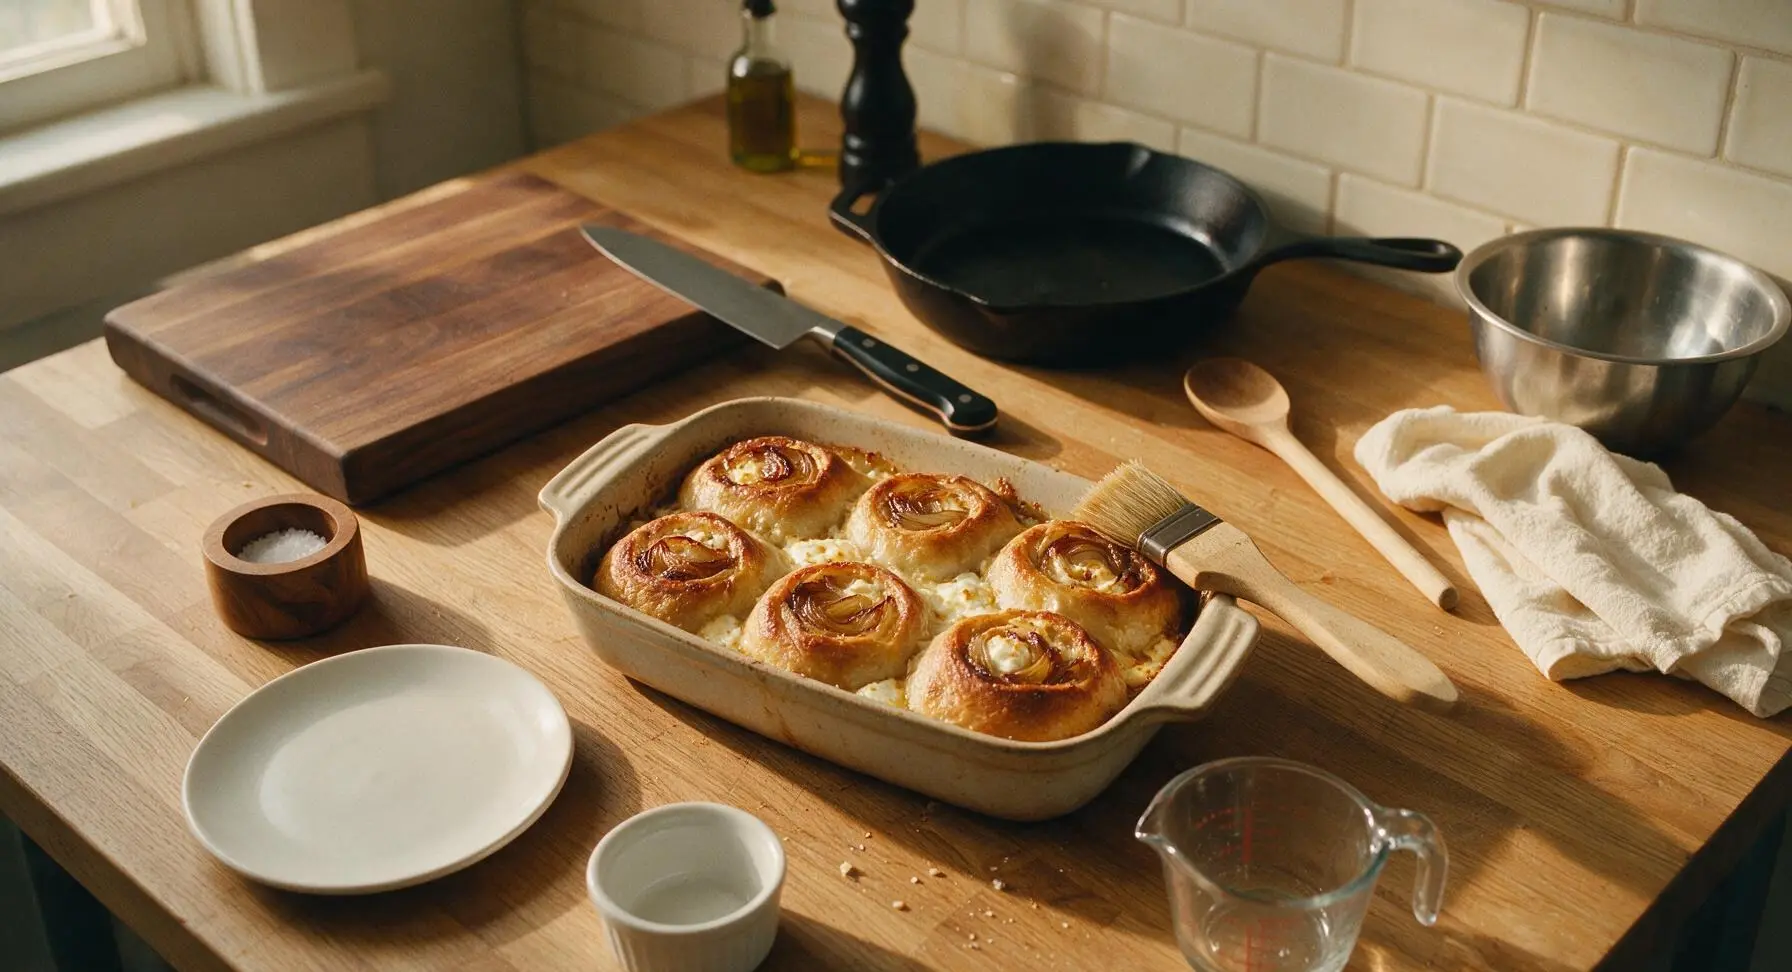
Cover the baking dish loosely with the taupe linen towel and let rolls rise for a second 25 minutes, until puffed and pressing against each other. Preheat oven to 190°C/375°F while rolls proof. Once proofed, remove the towel and return it to its fixed corner, then bake rolls for 20-22 minutes until tops are deep golden brown, cheese is bubbling around the edges, and the internal temperature of the center roll reaches 88°C/190°F. Brush tops with the remaining 1 tablespoon melted butter immediately after pulling the dish from the oven, using the natural bristle pastry brush.
Cool and Garnish
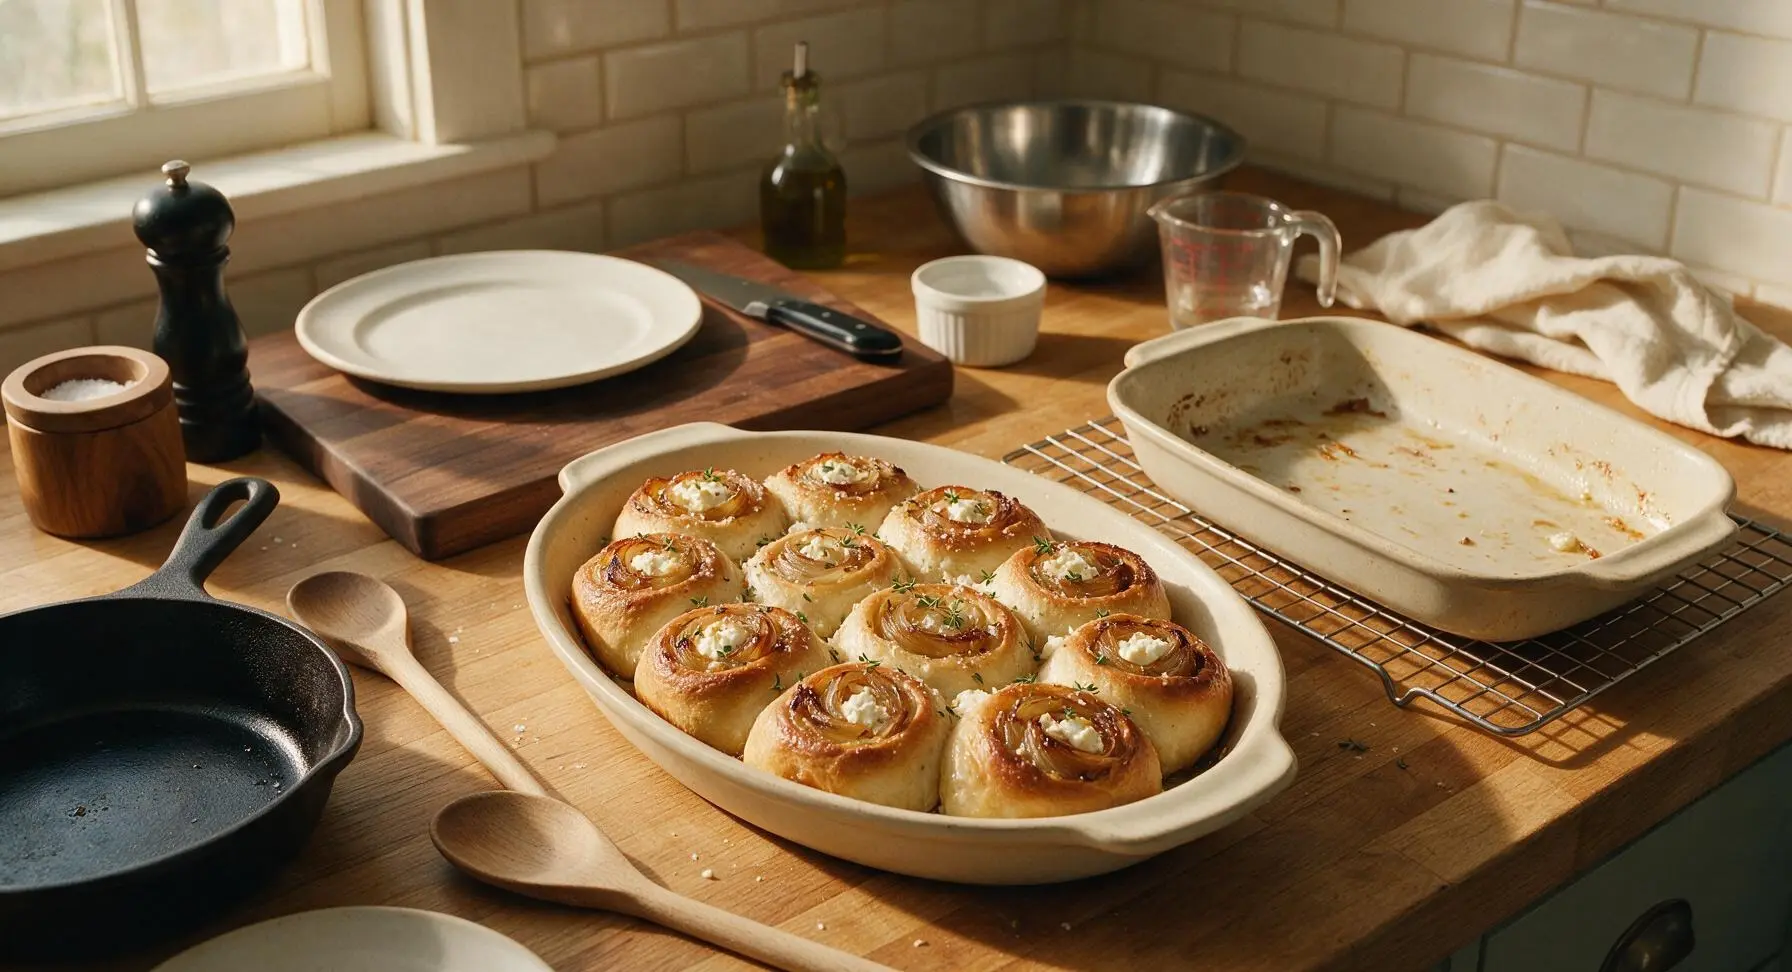
Let rolls cool in the baking dish for 10 minutes to set, then carefully transfer them to the matte cream ceramic serving platter. Sprinkle tops lightly with fresh thyme leaves and a pinch of flaky sea salt before serving warm, pulling apart gently to reveal the soft, swirled interior.
Tips
2.Cool caramelized onions completely before spreading on rolled dough: warm onions will melt the dough’s butter, create a soggy layer, and make it impossible to roll a tight log, leading to misshapen rolls that leak filling while baking.
3.For an extra savory crunch, sprinkle 1 tablespoon of grated parmesan over the roll tops during the last 3 minutes of baking, which adds a nutty, crisp crust that pairs perfectly with the tangy goat cheese and sweet onions.






OMG I brought these to my neighborhood block party last weekend and people were begging me for the recipe before they even finished their first bite! The caramelized onions are so sweet and the tang from the goat cheese is *chef’s kiss*. I did add a tiny sprinkle of fresh thyme on top before baking and it was perfect. 10/10 will make again for our next potluck!
My kids are usually super picky about anything with ‘fancy cheese’ but they devoured these rolls at Sunday dinner! I was worried the almost 2 hour total time would be too much for a weeknight, but I made the caramelized onions during nap time on Sunday and it came together so fast. SO good, even the toddler asked for seconds!
Tried to make these in my tiny dorm oven and definitely messed up the onion caramelization step — burned half the batch because I got distracted by a stats homework assignment lmao. The ones that didn’t burn were insane though, the goat cheese gets all melty and the onions are so sweet. I’ll definitely be more patient and stir more next time!
Made these to go alongside my smoked brisket for our football watch party last Sunday and they were the real game changer. I didn’t think anything could outshine the brisket but my friends were reaching for seconds of the rolls before they went back for more meat. 10/10, will be a regular on game day from now on.
Has anyone tried making these with gluten free all purpose flour? I’m gluten intolerant but these look way too good to pass up, I’d love to make them for my book club meeting next week!
First time making any kind of yeast roll from scratch and I was so nervous I’d mess it up, especially with the medium difficulty rating! The instructions were super clear though, and my wife was obsessed with how these came out for our first at-home date night since we got back from our honeymoon. Only thing I’d change is I wish I’d made a double batch, we ate almost all of them in one sitting lmao.
I swapped the goat cheese for a dairy free goat cheese alternative and used vegan butter in the dough, and it worked surprisingly well! The caramelized onions were still the star, obviously. Only knocking off a star because the dairy free cheese got a little oilier than regular goat cheese would when it melted, but it was still tasty enough that my non-vegan roommate ate three of them straight off the cooling rack.
These are now a mandatory part of our weekly Sunday dinner rotation. My 82 year old grandma, who has been making yeast rolls for 60+ years, asked me for the recipe. That’s the highest possible praise I can give any baked good, honestly.
How well do these freeze? I do meal prep every Sunday for the work week and would love to stash a few of these in the freezer for quick lunch sides if they hold up.
Full transparency: I forgot to add the goat cheese the first time I made these lmao. They were still really good just as caramelized onion rolls, but when I made them again and remembered the cheese? Next level. Don’t be like me and forget the goat cheese, folks.
I was intimidated by the medium difficulty rating because I’m still pretty new to baking bread, but the steps were broken down so well that I didn’t mess anything up! The hardest part was waiting for the onions to caramelize without sneaking bites of them straight from the pan.
Brought these to our monthly book club last night and we spent more time gushing about the rolls than we did talking about the thriller we were supposed to discuss. Worth every minute of prep. The tangy goat cheese pairs so well with a cold glass of pinot noir, 10/10.
I found the dough a little stickier than I expected when I was kneading it, did anyone else have that issue? I added a little extra flour and it turned out fine, but I was worried I’d messed it up mid-process.
I added a light drizzle of hot honey on top of mine right after they came out of the oven and it was life changing. The little kick of heat with the sweet slow-cooked onions and tangy cheese? *Chef’s kiss* Don’t skip the hot honey if you have a bottle sitting in your pantry!
Made a half batch for my kid’s after school snack last week and now they’re begging me to make them every single week. Who am I to say no? They’re way better than the processed granola bars I usually keep around for snacks.