
cassava flour waffles

title 1
cassava flour waffles
⏱️ cook time 12 minutes
🍽️ servings 4
⚡ Difficulty easy

intro

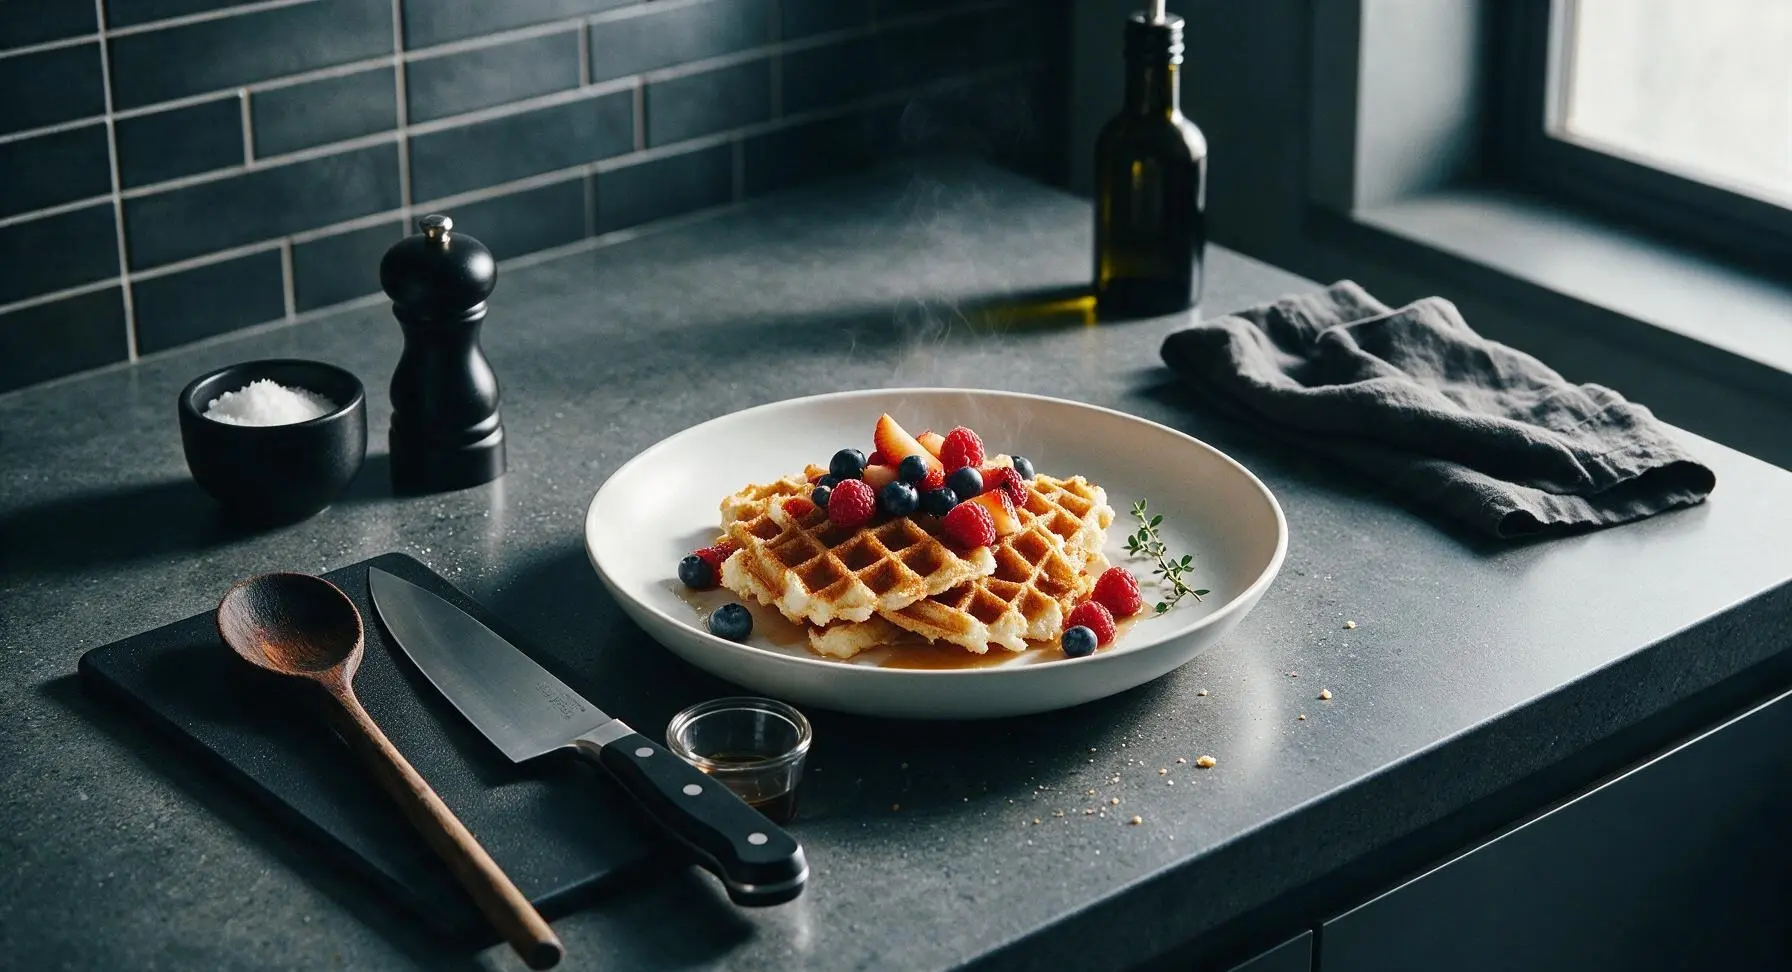
Crisp at the edges, light and fluffy at the center, these gluten-free cassava flour waffles have a subtle nutty sweetness, no gritty texture, and pair perfectly with fresh spring berries and maple syrup.

Ingredients
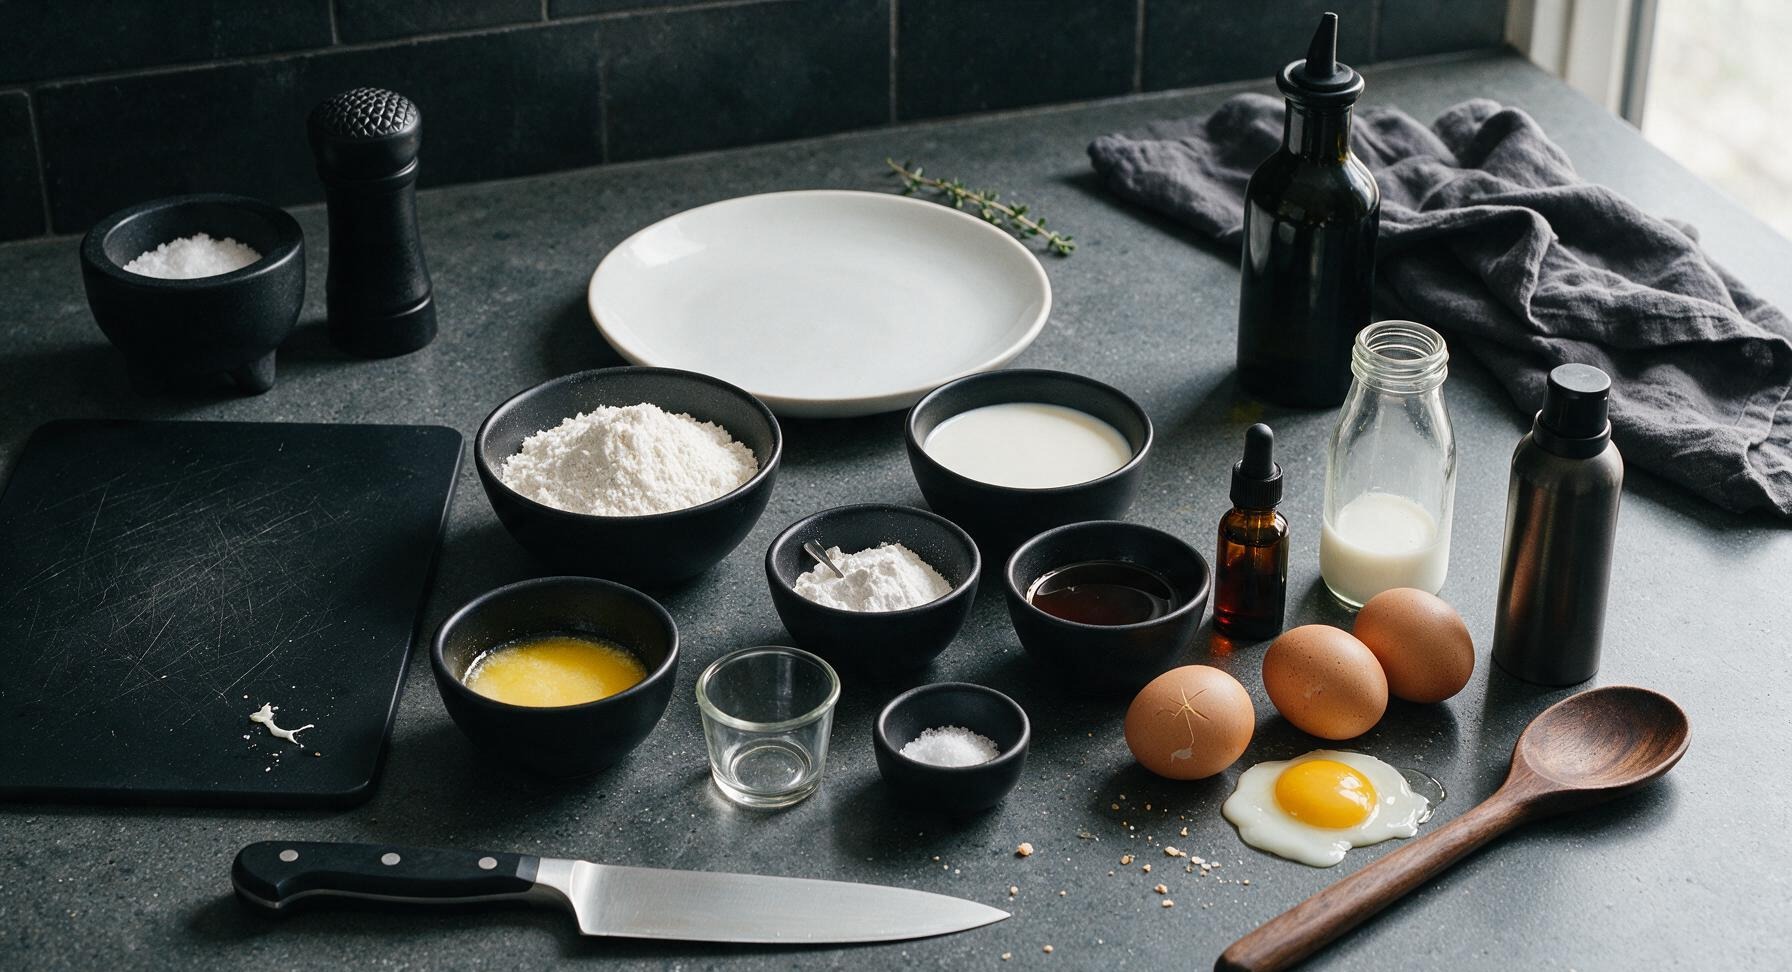
Cassava flour 1 1/2 cups (180g)
Large eggs, room temperature 3
Whole milk 1 1/4 cups (300ml)
Unsalted butter, melted and cooled 4 tbsp (56g)
Pure maple syrup 2 tbsp
Double-acting baking powder 1 1/2 tsp
Fine sea salt 1/4 tsp
Pure vanilla extract 1 tsp
Avocado oil spray as needed

Steps

1

Whisk Dry Ingredients

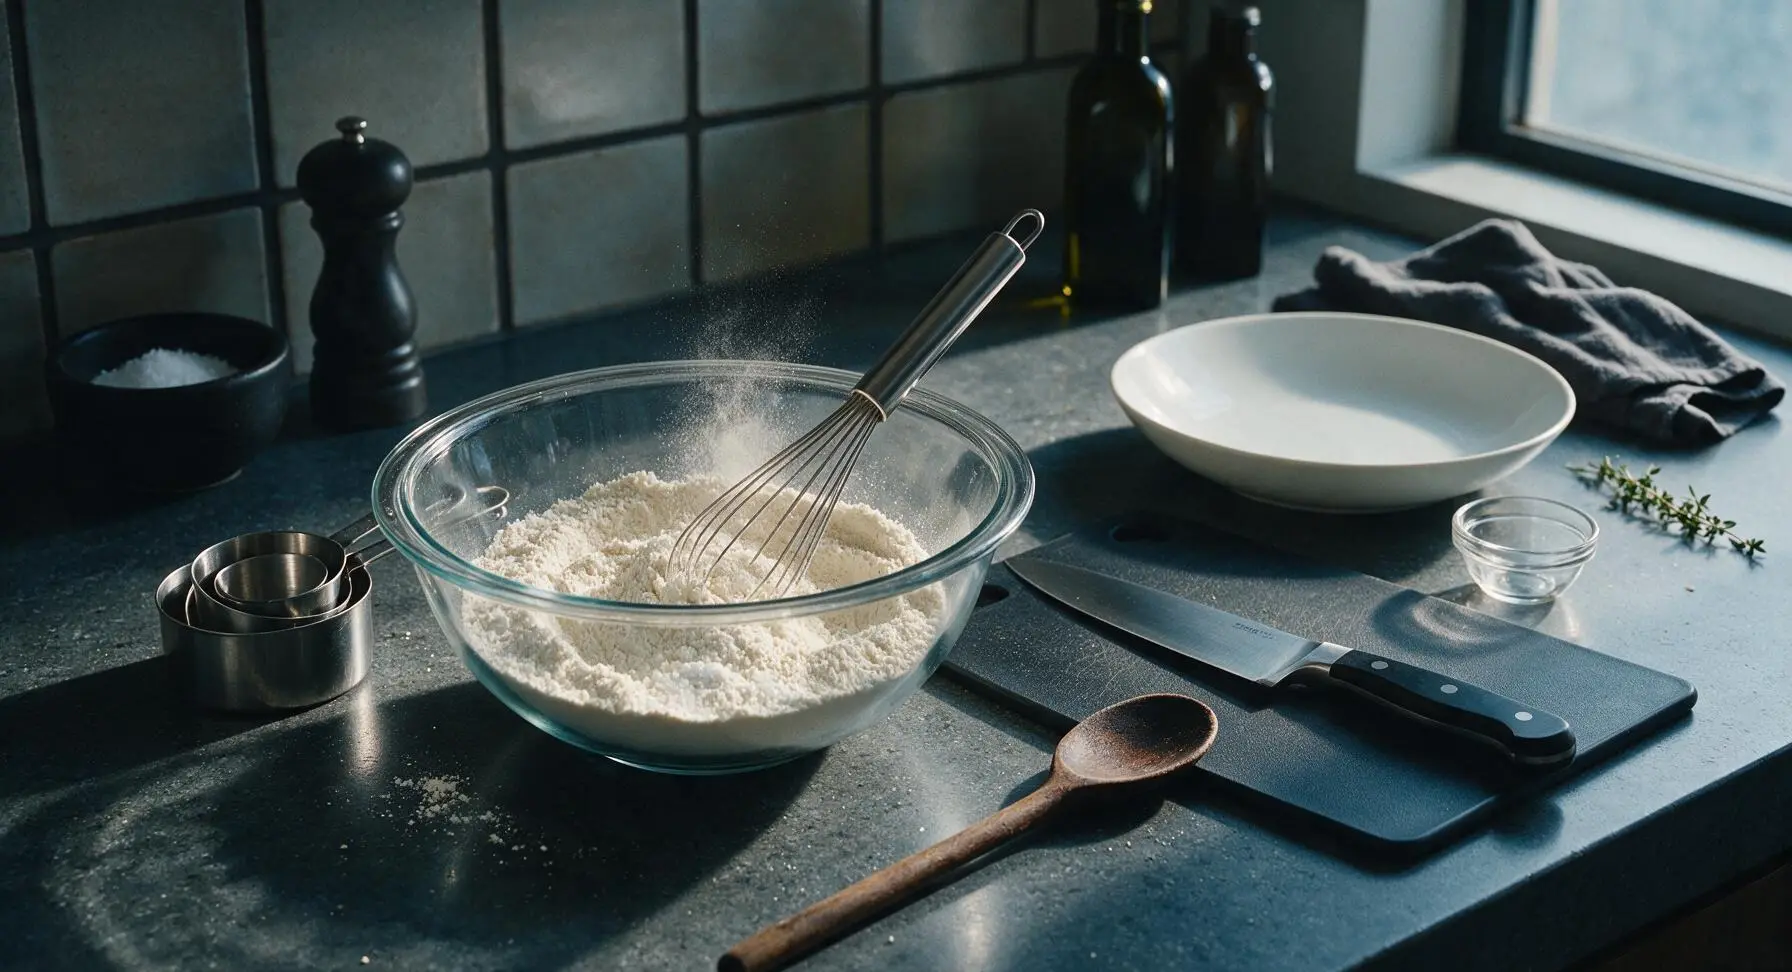
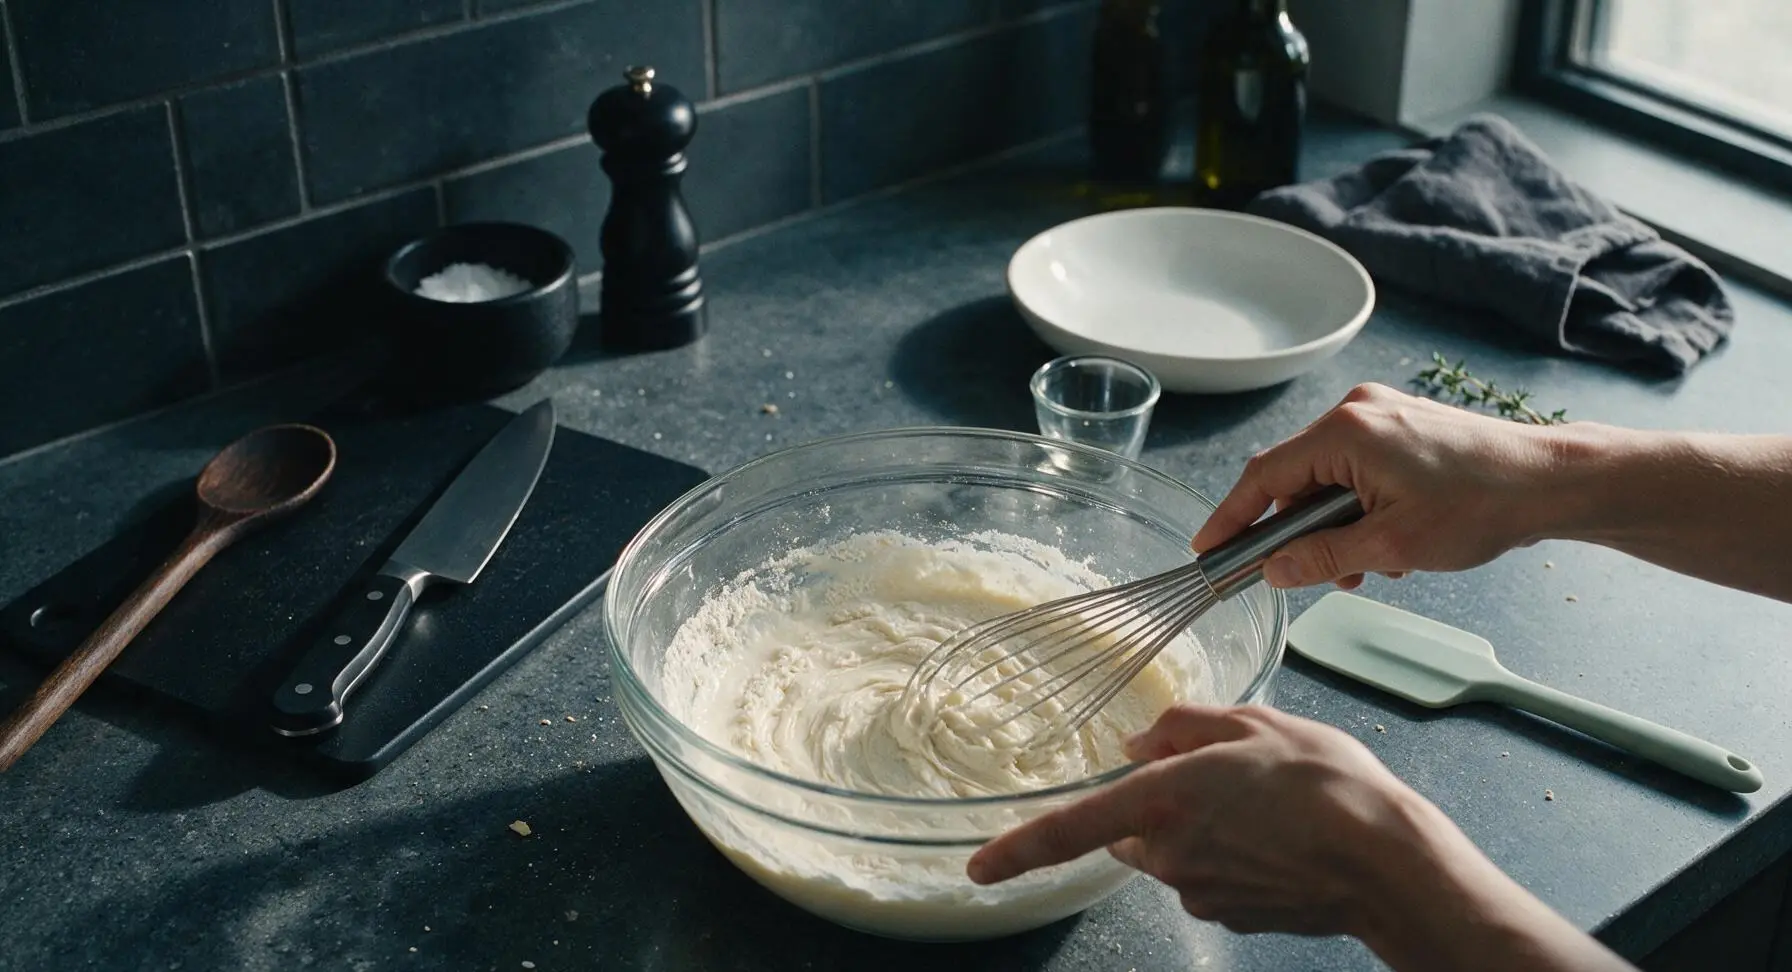
Place the clear glass mixing bowl in its center-left prep position. Add 1 ½ cups (180g) cassava flour, 1 ½ tsp double-acting baking powder, and ¼ tsp fine sea salt to the bowl. Use the stainless steel whisk to stir the dry ingredients for 30 seconds, breaking up any compacted clumps of cassava flour until the mixture is completely uniform, pale off-white, with no visible streaks of baking powder or salt.
Step 1
step1:Whisk Dry Ingredients
2

Add Wet Ingredients

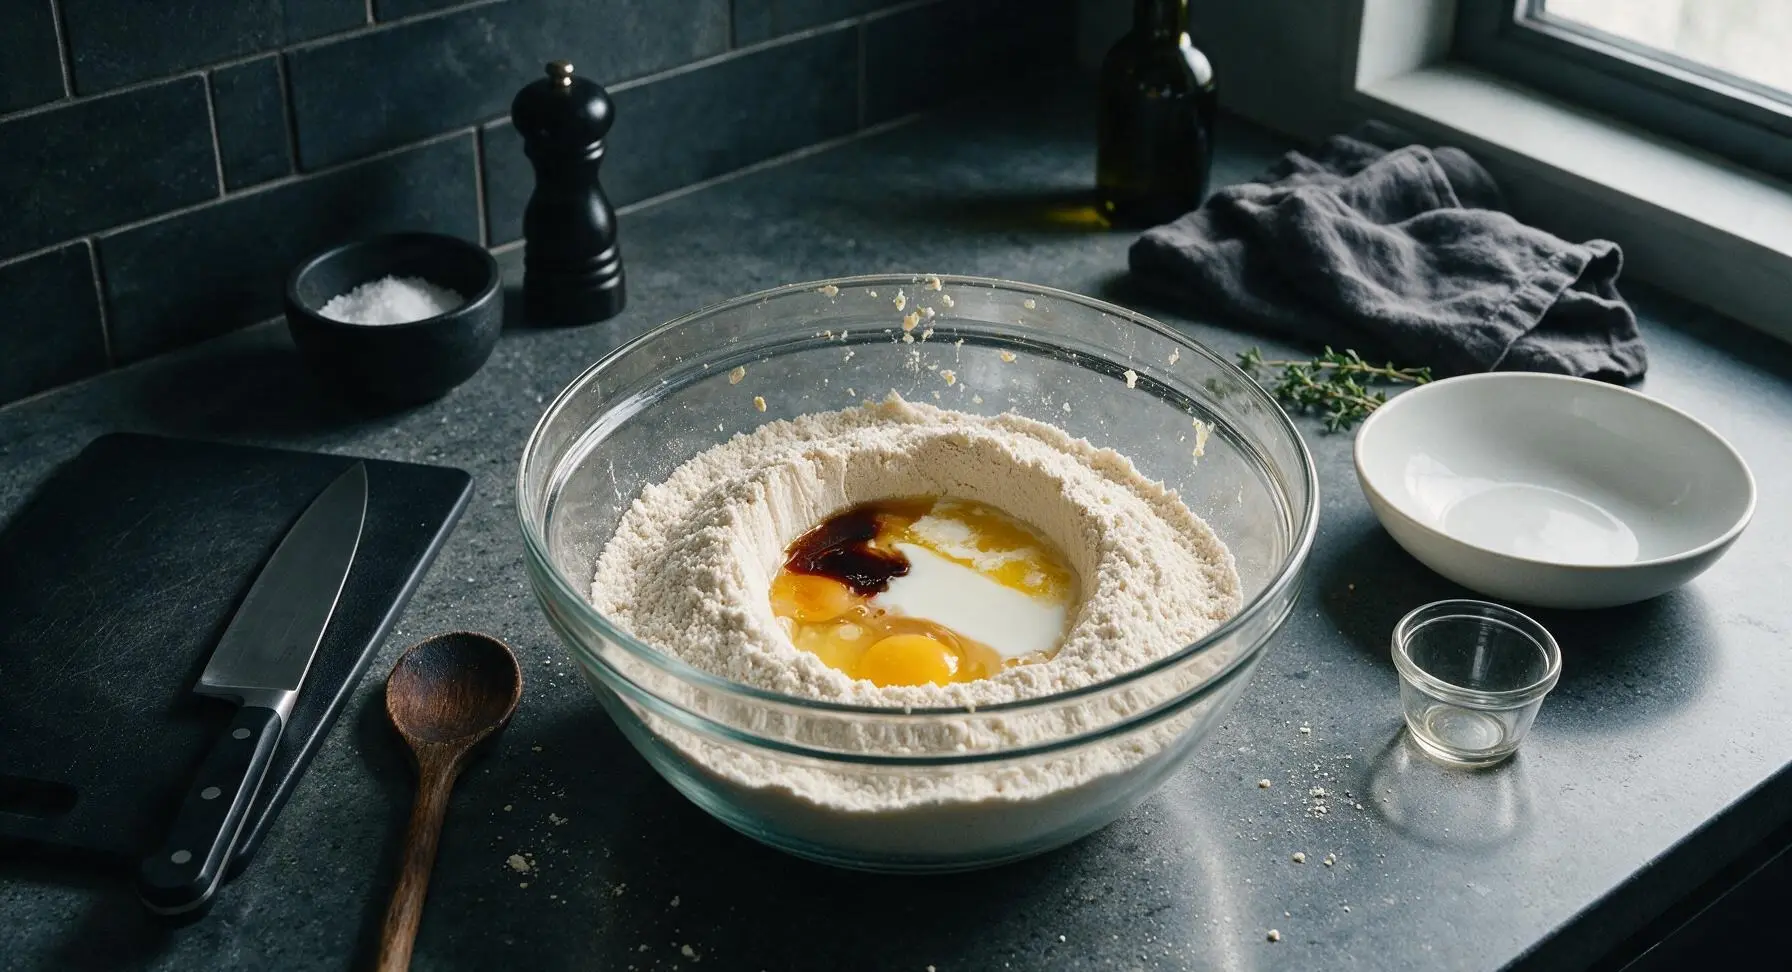
Create a 4-inch wide well in the center of the combined dry ingredients. Crack 3 large room-temperature eggs into the well, then pour in 1 ¼ cups (300ml) whole milk, 4 tbsp (56g) cooled melted unsalted butter (cooled to below 120°F to avoid cooking eggs on contact), 2 tbsp pure maple syrup, and 1 tsp pure vanilla extract.
Step 2
step2:Add Wet Ingredients
3

Mix Smooth Batter

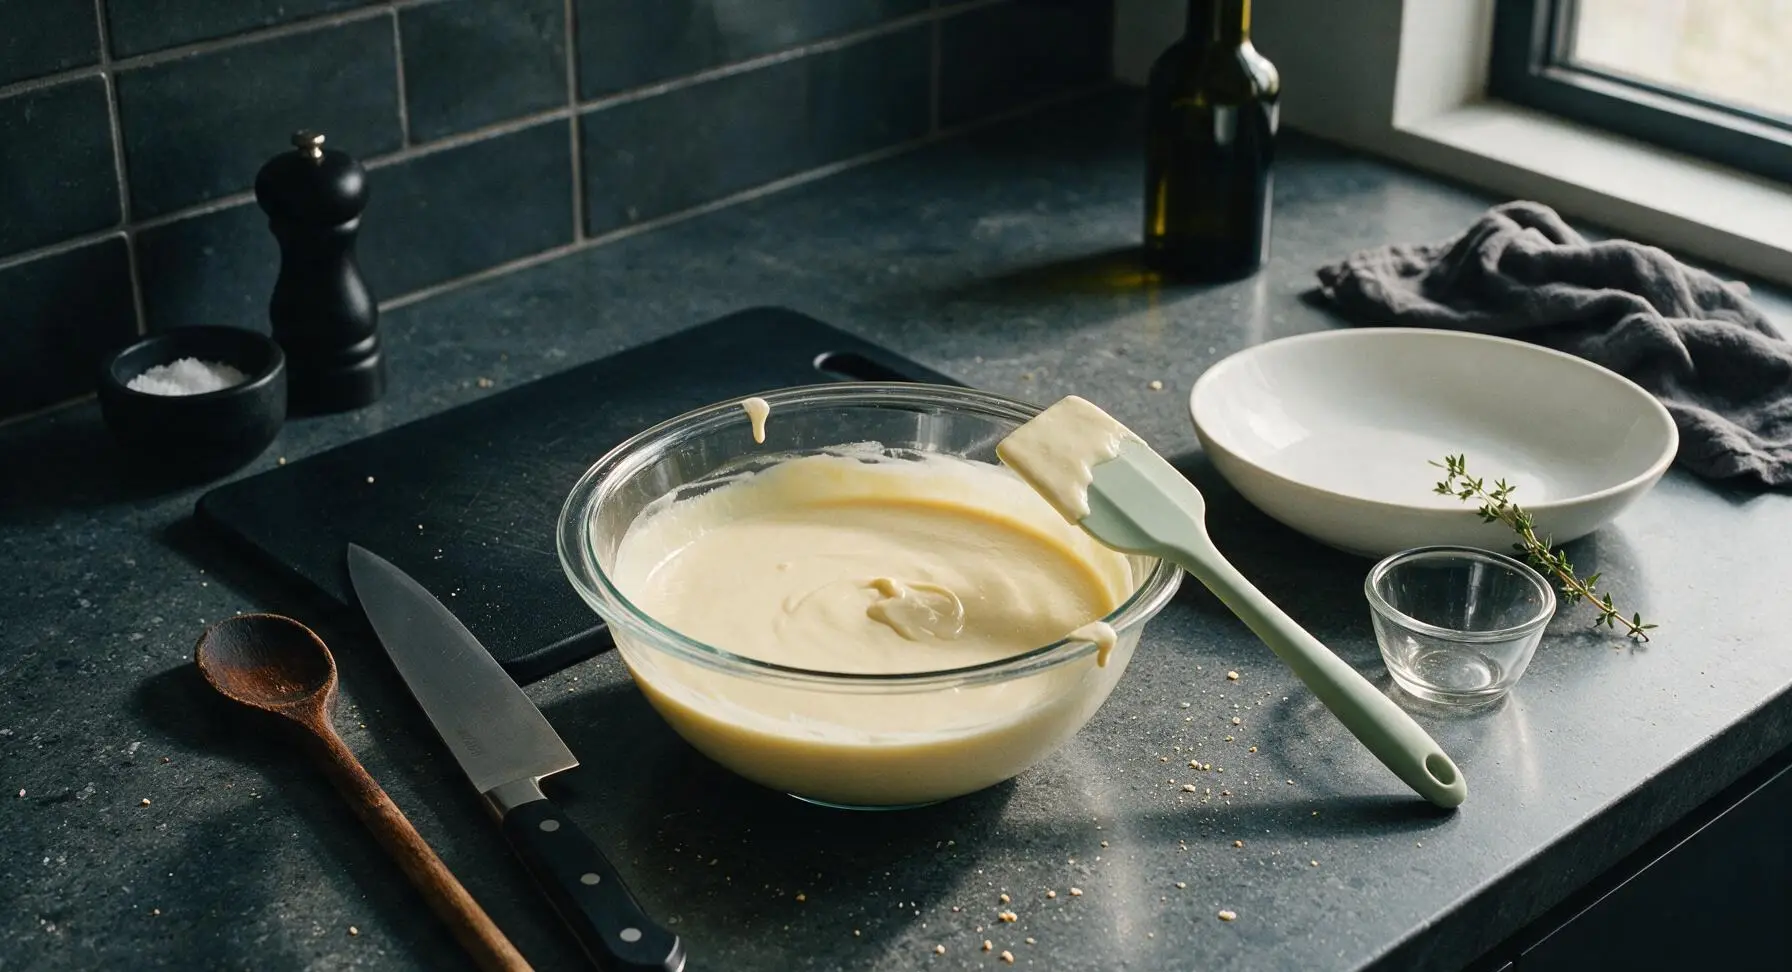
Use the stainless steel whisk to gently stir the wet ingredients into the dry flour, starting from the center of the well and working outward in slow circular motions. Whisk for 45-60 seconds until the batter is completely smooth, with no remaining lumps. The batter will be thinner than traditional wheat waffle batter, similar in consistency to heavy cream—do not overmix, as this can make waffles tough. Switch to the pale sage silicone spatula to scrape down the sides of the bowl once to ensure no hidden flour clumps remain. Let the batter rest for 2 minutes to allow the cassava flour to fully absorb liquid while you preheat the waffle iron.
Step 3
step3:Mix Smooth Batter
Step 3
step3:Mix Smooth Batter
4

Preheat Waffle Iron

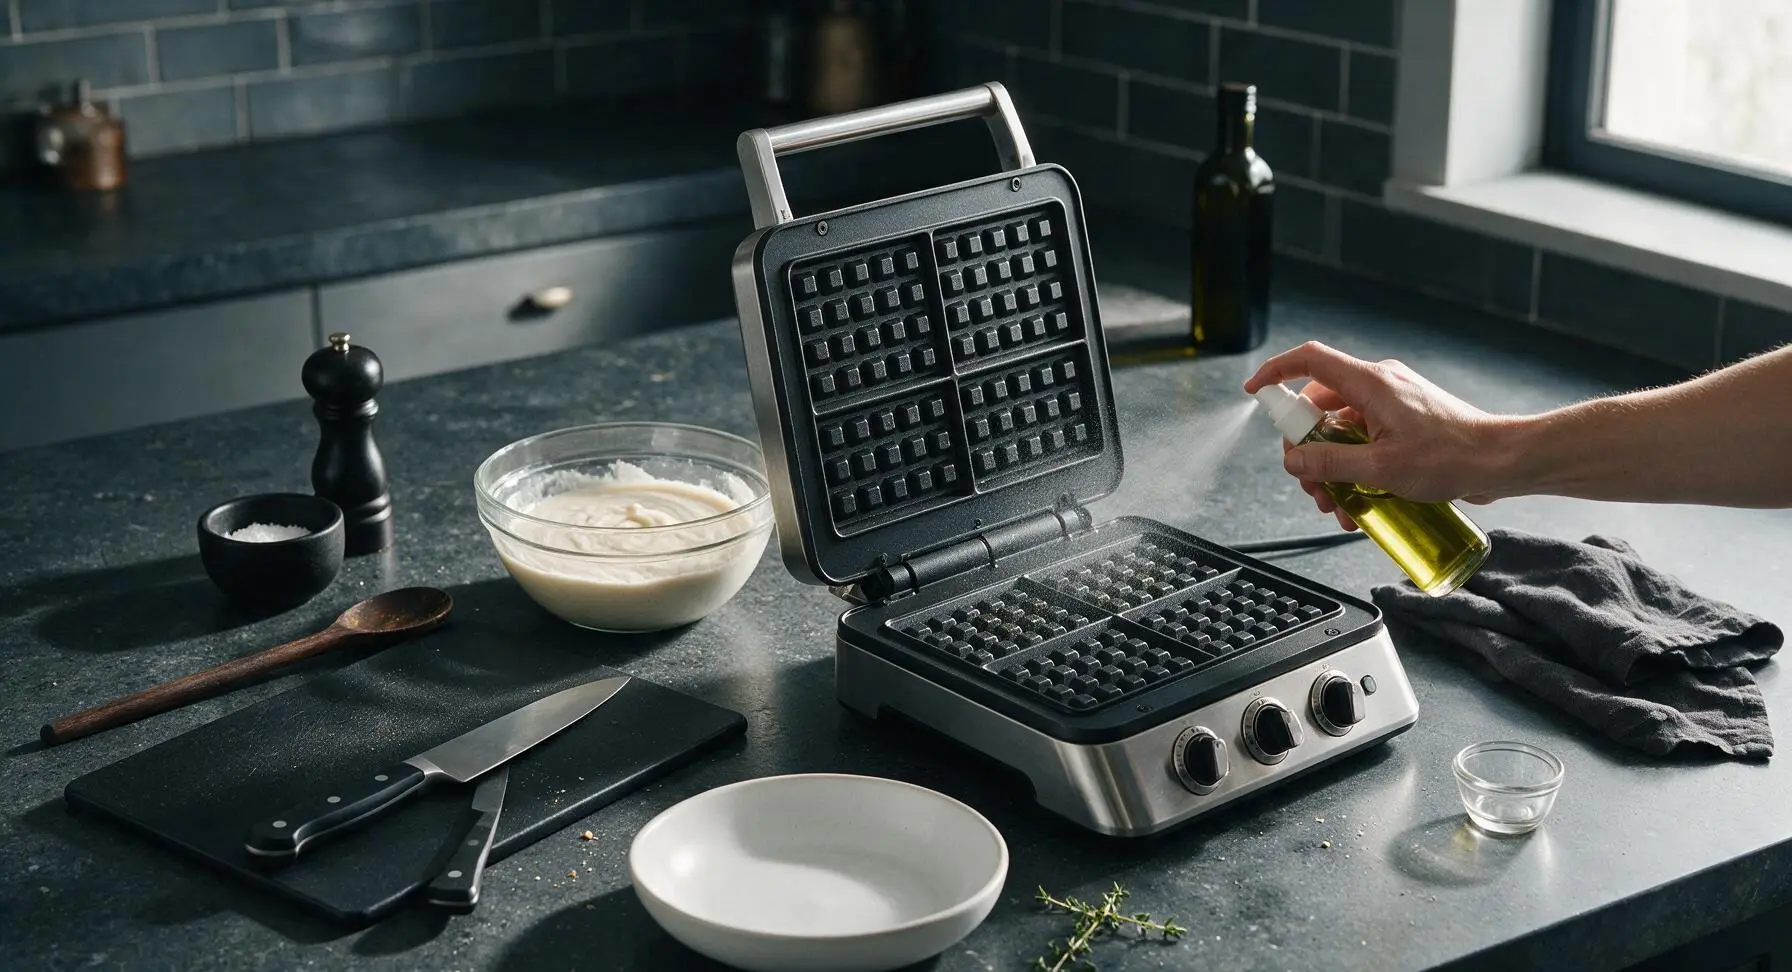
Pull the stainless steel waffle iron into its fixed center-right position on the counter. Plug it in, set the browning dial to medium-high (4 out of 6), and close the lid to preheat for 3-4 minutes, until the indicator light shows it has reached 400°F. Lightly coat the top and bottom cooking plates with avocado oil spray to prevent sticking, even if the plates are non-stick.
Step 4
step4:Preheat Waffle Iron
5

Cook Waffle Batches

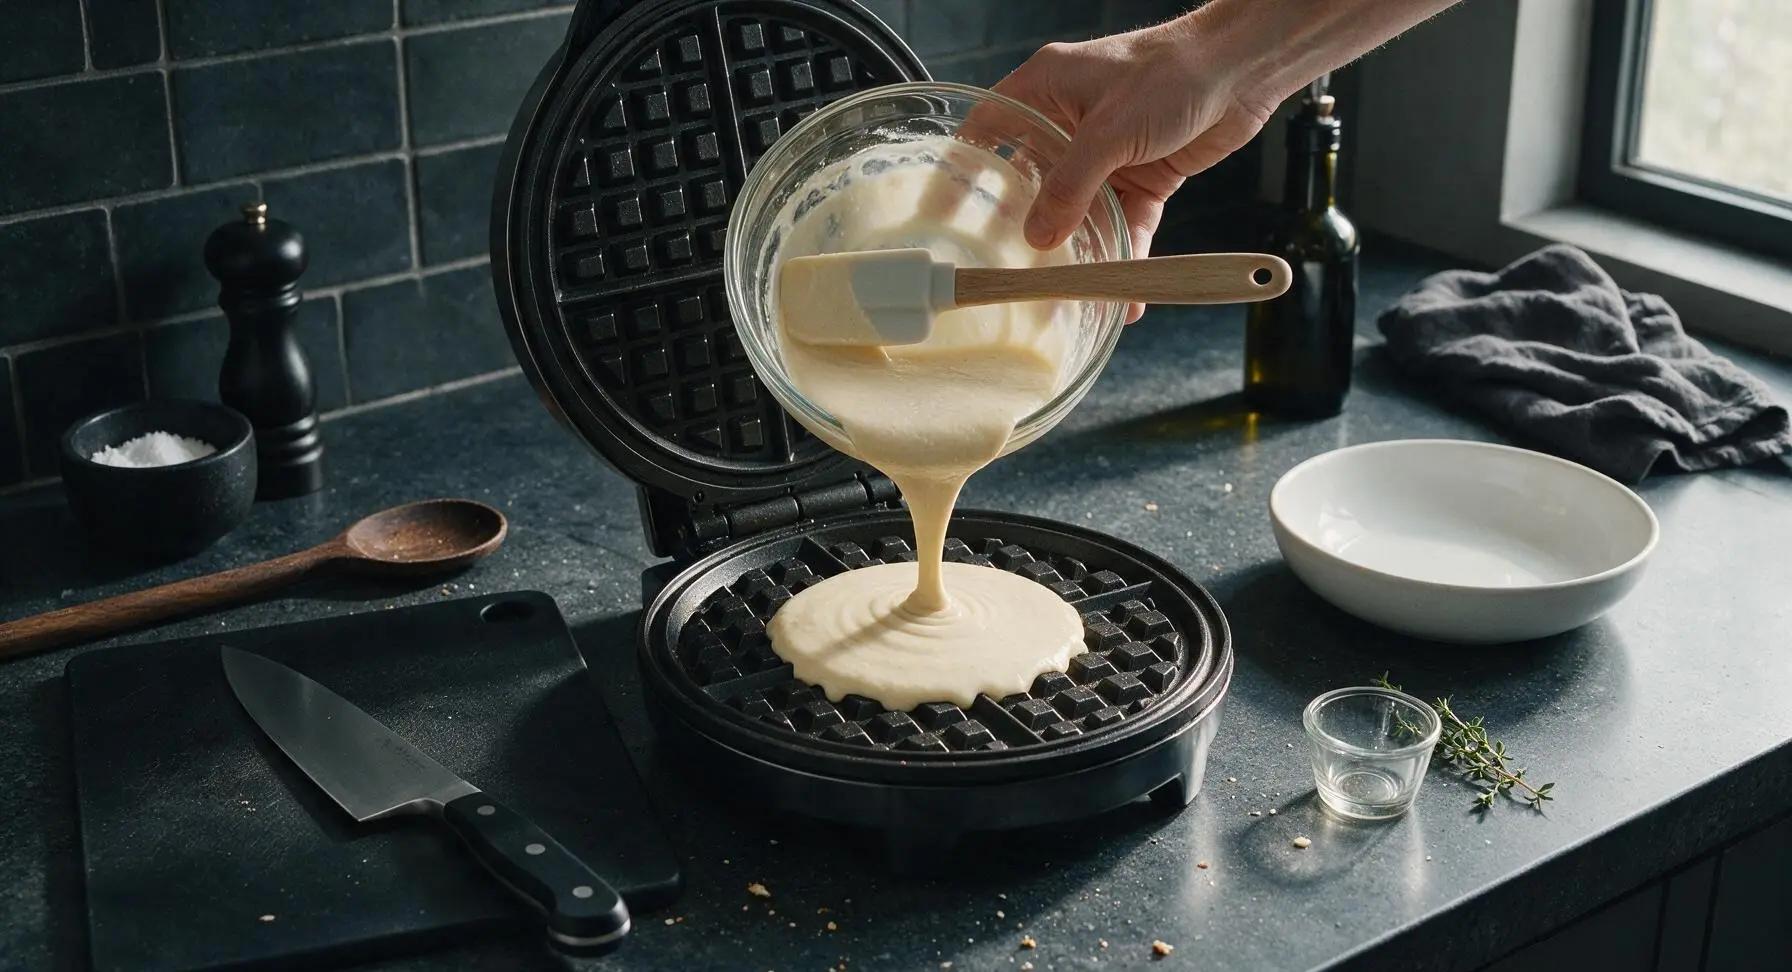
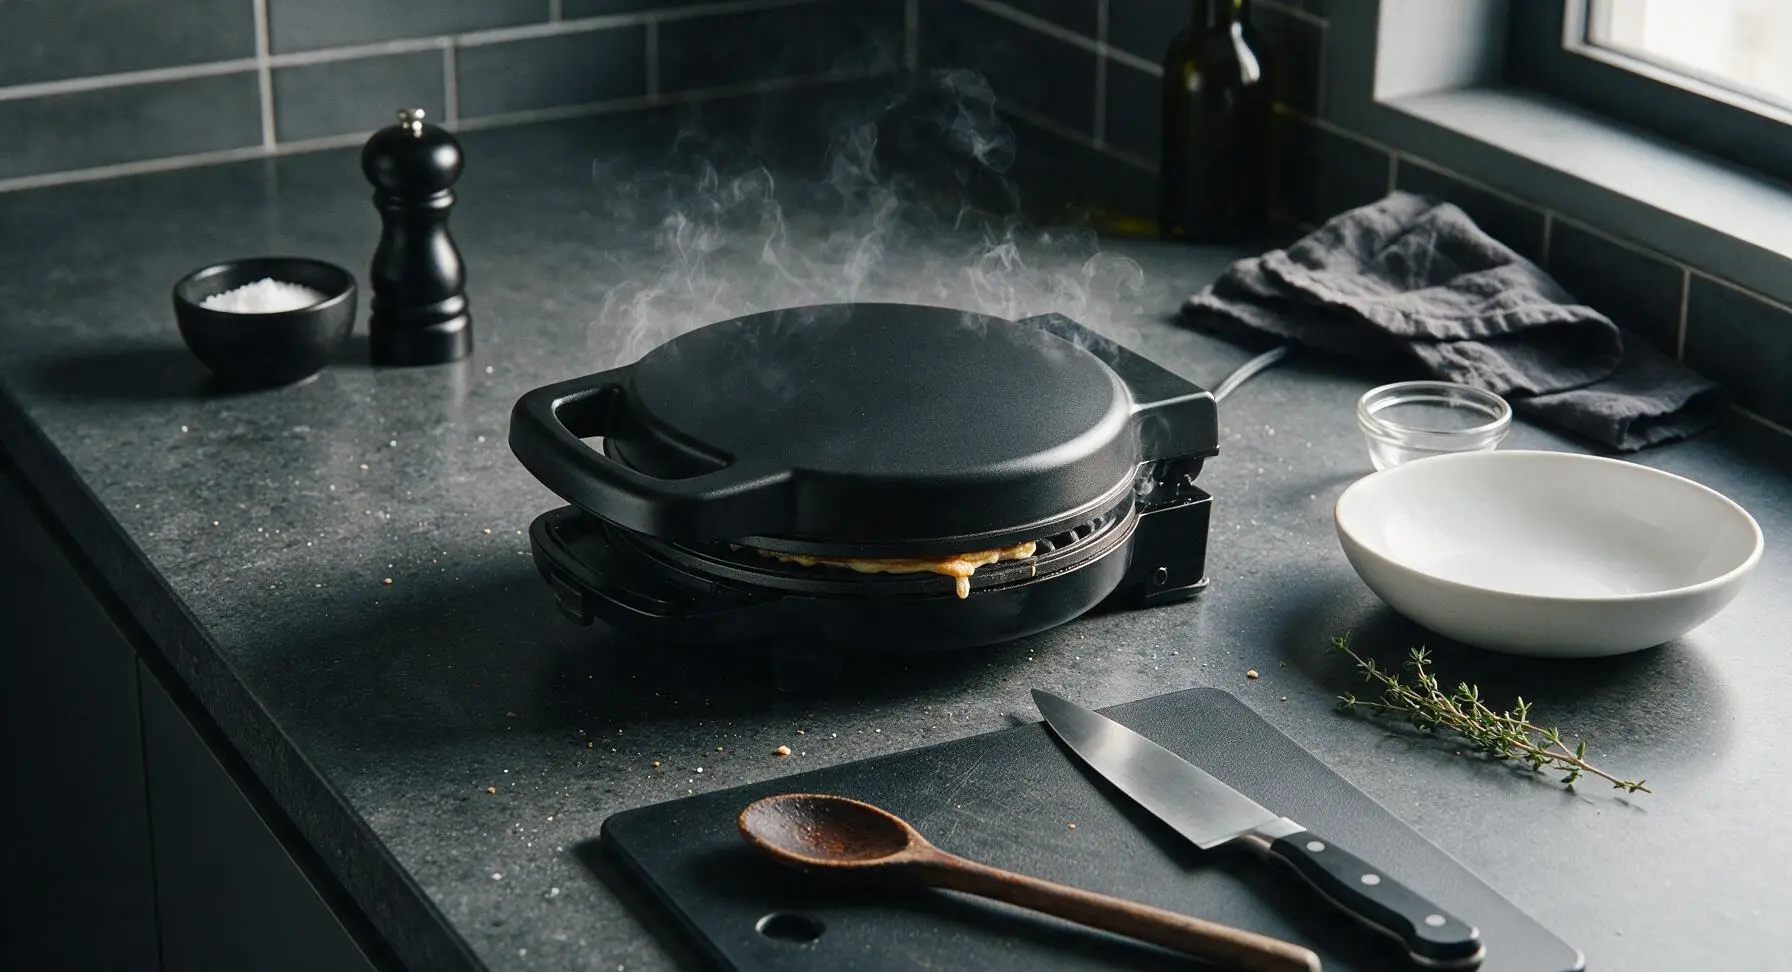
Once the waffle iron is fully preheated, pour ¾ cup of batter directly onto the center of the bottom waffle plate. Close the lid gently—do not press down hard, as this will squeeze out air bubbles and create flat, dense waffles. Cook for 3 ½ to 4 minutes per waffle, until steam stops escaping from the edges of the waffle iron and the waffle is deep golden brown and crisp at the edges. Do not open the lid before 3 minutes, as this will cause the waffle to split and stick. Repeat with remaining batter to make 4 total waffles.
Step 5
step5:Cook Waffle Batches
Step 5
step5:Cook Waffle Batches
6

Rest Cooked Waffles

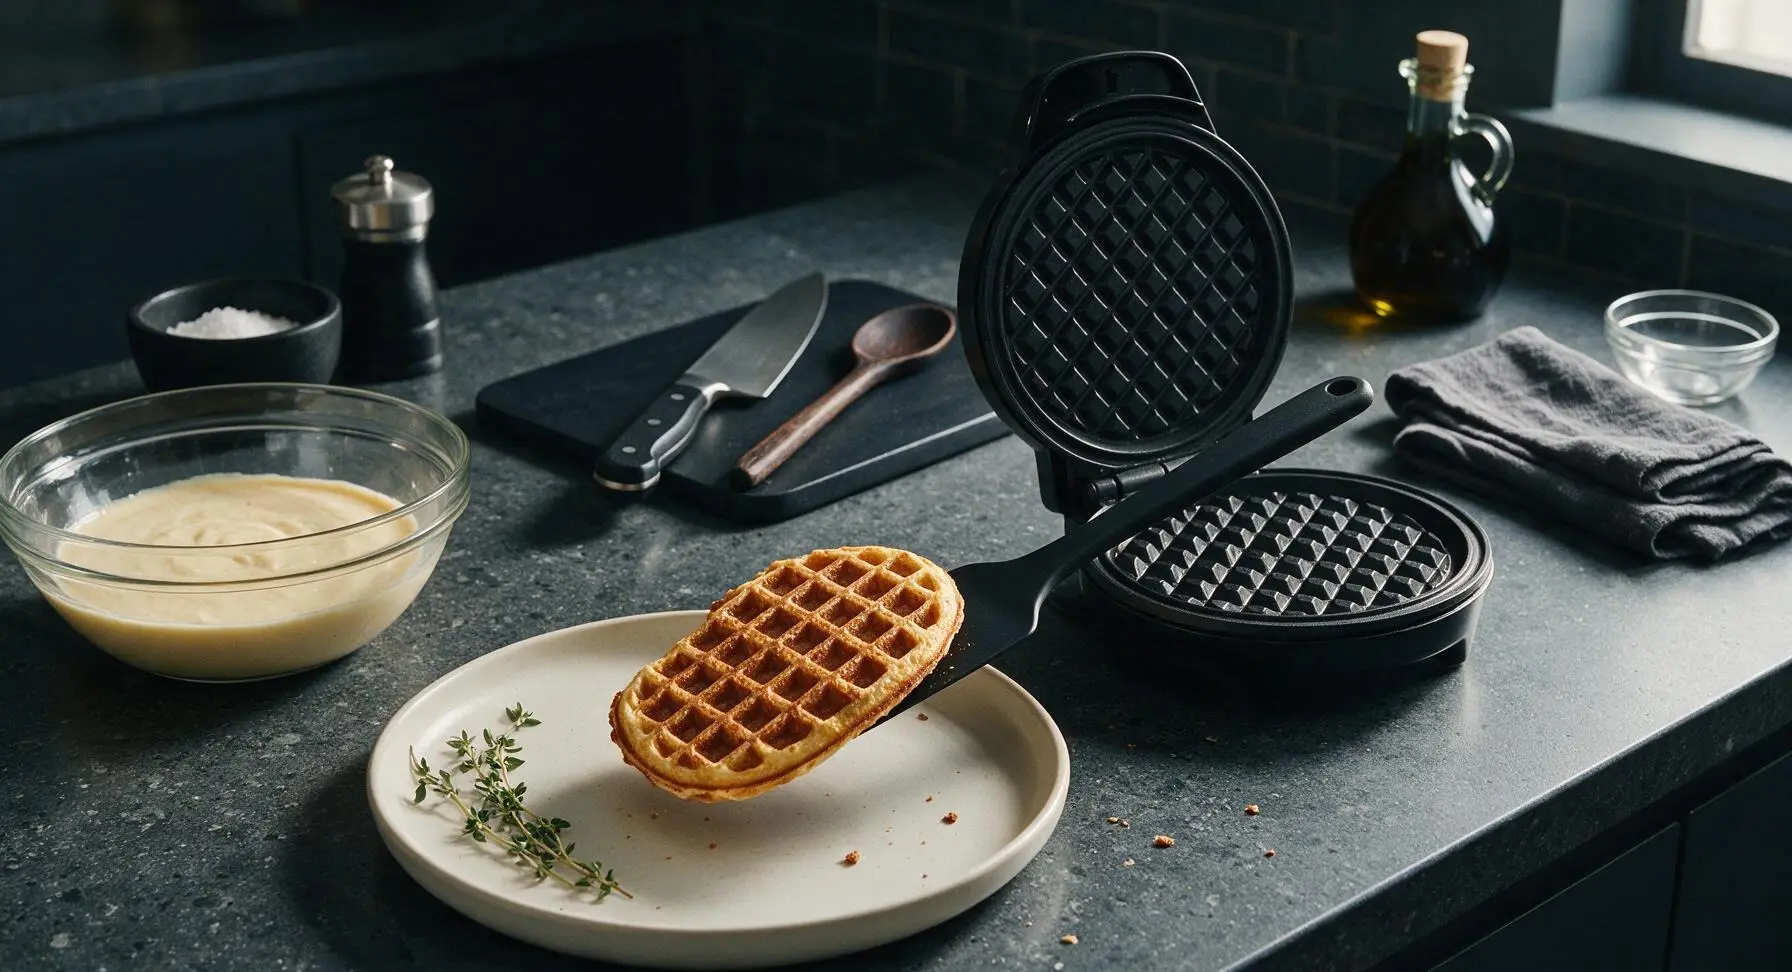
When each waffle is done cooking, use the silicone spatula to gently lift it from the waffle iron, taking care not to tear the crisp edges. Transfer cooked waffles to the matte cream ceramic dinner plate positioned front-center, and let them rest for 1 minute before serving—this helps edges stay crisp instead of going soggy from trapped steam. Stack waffles loosely on the plate as you finish cooking each batch.
Step 6
step6:Rest Cooked Waffles
7

Plate and Garnish

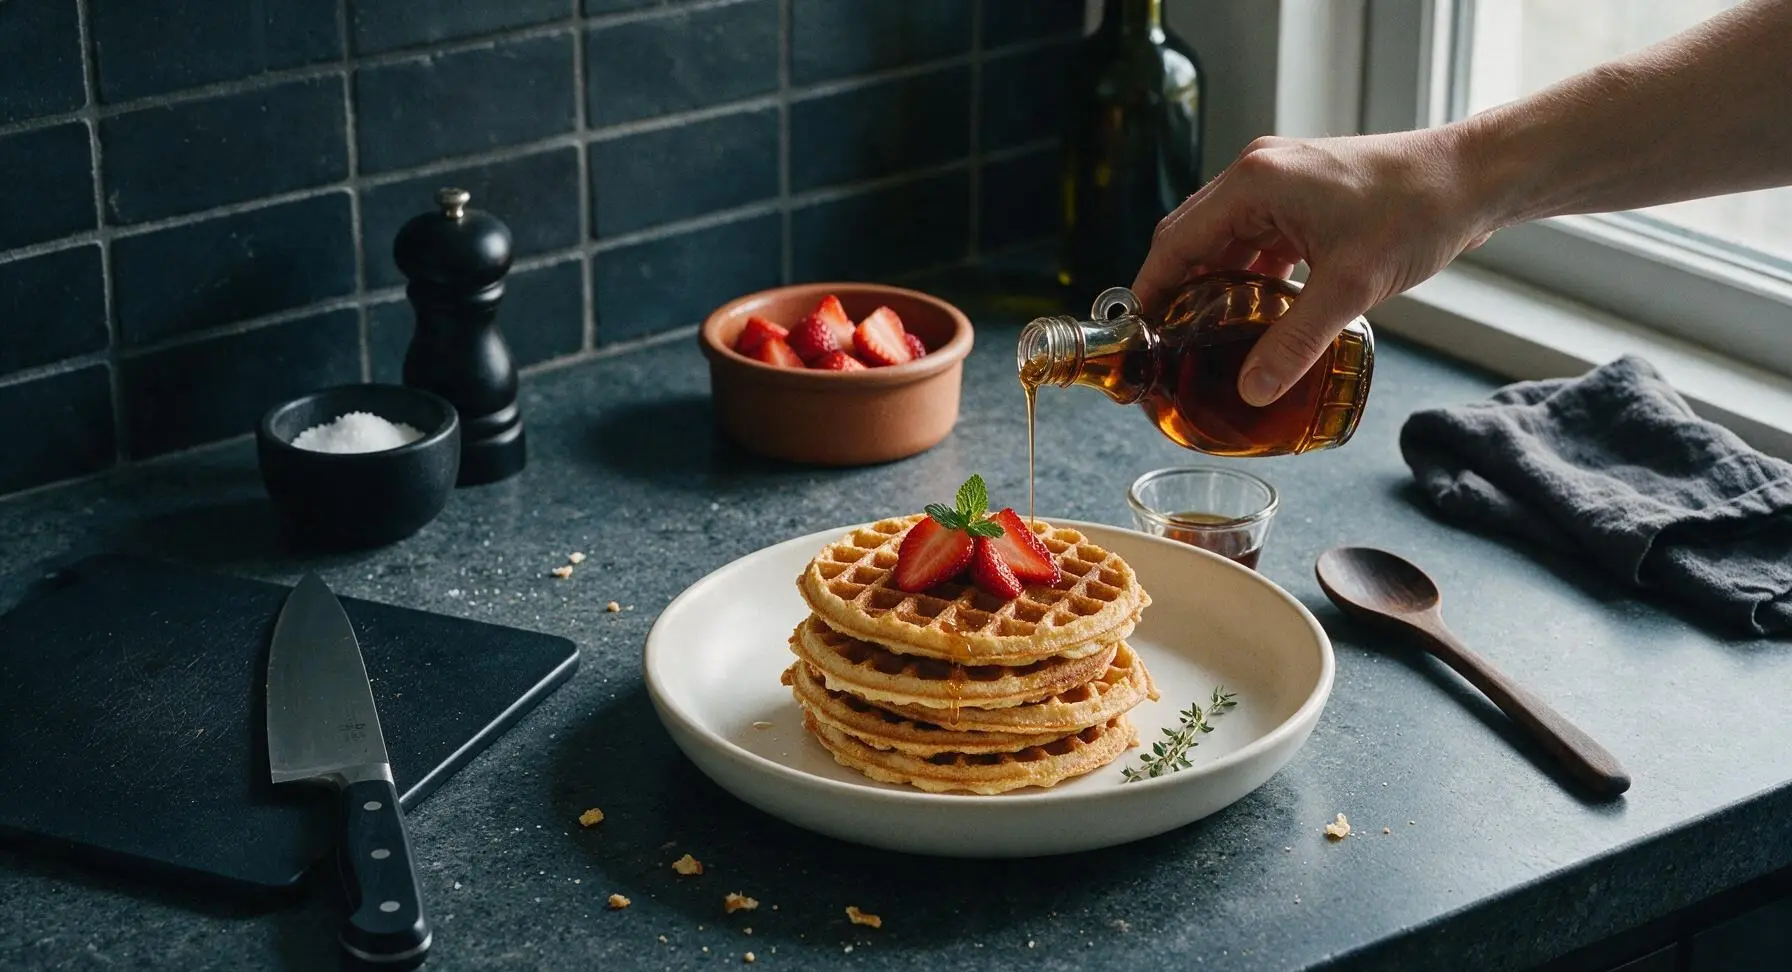
Arrange the stack of 4 waffles slightly offset on the matte cream dinner plate, so the crisp grid edges are visible. Top with 3 sliced fresh strawberries from the back-center terracotta ramekin, a small sprig of fresh mint, and a light drizzle of maple syrup from the amber glass bottle. Serve immediately while warm and crisp.
Step 7
step7:Plate and Garnish

Tips

1.Weigh cassava flour instead of using volume measurements for consistent results: cassava flour compacts easily in storage, so scooping directly with a measuring cup can add up to 30% extra flour, leading to dry, dense waffles.
2.Never press down on the waffle iron lid while cooking: this squeezes out the air bubbles created by baking powder, resulting in flat, tough waffles instead of light, fluffy centers with crisp edges.
3.Let cooked waffles rest for 1 minute before stacking or serving: trapping hot steam between freshly cooked waffles will turn crisp edges soft and soggy. For extra crunch, rest waffles on a wire rack for 30 seconds to let air circulate around all sides.


✨ You May Also Like

Breakfast
🍜 United States

Crisp-edged, fluffy lard griddle cakes are a nostalgic homestyle staple, with rich savoriness from rendered lard, perfect topped with maple syrup or savory gravy.

⏱️ 25 minuteBreakfast ★ 4.8
Breakfast
🍜 United States

Flaky, buttery homemade buttermilk biscuits smothered in creamy, peppery pork sausage gravy: a beloved, hearty Southern American comfort food classic.

⏱️ 35 minuteBreakfast ★ 4.8
Breakfast
🍜 United States

Golden, custardy brioche stuffed with sweet cream cheese and fresh berries, pan-fried to crisp perfection. An indulgent, cozy breakfast perfect for slow weekend mornings.

⏱️ 30 minuteBreakfast ★ 4.7
Breakfast
🍜 United States

Flaky, buttery Southern-style biscuits stuffed with savory salty country ham, a portable, satisfying classic perfect for casual on-the-go meals.

⏱️ 25 minuteBreakfast ★ 4.8
Breakfast
🍜 United States

Iconic puffy baked pancake popularized in Seattle, with crisp golden edges and soft custardy center, served warm with classic sweet toppings.

⏱️ 35 minuteBreakfast ★ 4.6
Breakfast
🍜 United States

Fluffy, golden pancakes studded with juicy peak-summer mixed berries, drizzled with maple syrup for a bright, comforting, crowd-pleasing family breakfast.

⏱️ 25 minuteBreakfast ★ 4.7

cassava flour waffles:Frequently Asked Questions

1.Will these cassava flour waffles have the gritty texture common in many gluten-free baked goods? ▾
Not at all when you use high-quality, finely milled cassava flour. Unlike coarser gluten-free options like brown rice flour or almond meal, properly milled cassava mixes into a completely smooth batter, giving you waffles with crisp edges, a fluffy center, and zero unpleasant gritty aftertaste.
2.Why do the eggs need to be at room temperature for this recipe? ▾
Room temperature eggs mix more evenly into the batter, creating a smoother, more consistent emulsion with the cooled melted butter and milk that traps air better as waffles cook. This is what delivers that light, fluffy center instead of dense, flat waffles, so don’t skip this small prep step.
3.How do I get that signature crisp edge on these cassava flour waffles? ▾
First, make sure your waffle iron is fully preheated before pouring in batter—wait until the ready indicator light turns on, and give the plates a light spritz of nonstick spray. Don’t open the iron too early; cook waffles 30 to 60 seconds past the done indicator to crisp edges without burning.
4.Can I substitute cassava flour with tapioca flour or starch in this recipe? ▾
No, that swap won’t work well. Tapioca starch is just the extracted starch from cassava root, while whole cassava flour uses the entire peeled root for more fiber and structure. Using only tapioca starch will result in gummy, chewy, overly dense waffles that won’t hold their fluffy texture.
5.Why does the melted butter need to be cooled before adding it to the batter? ▾
If you add piping hot melted butter directly to the batter, it can partially cook the room temperature eggs, creating tiny lumpy scrambled egg bits in your waffle mix. Cooling butter to just warm to the touch lets it mix smoothly without curdling eggs or disrupting the light batter structure.
6.What are the best toppings to serve with these waffles? ▾
These waffles have a subtle nutty, mild sweetness that pairs beautifully with fresh spring berries like sliced strawberries, blueberries, or raspberries, plus a generous drizzle of pure maple syrup. You can also add a dollop of whipped cream, a sprinkle of toasted coconut, or a pat of salted butter for extra richness.
7.Can I make this waffle batter ahead of time for quick weekday breakfasts? ▾
You can pre-measure and store the dry cassava flour in an airtight container for up to 3 months for fast prep, but don’t mix the full wet and dry batter more than 30 minutes before cooking. The light air incorporated into the egg base will dissipate, leading to flatter, denser waffles.
8.How do I store leftover cooked waffles to keep them crispy? ▾
Let leftover cooked waffles cool completely on a wire rack first, then stack them between sheets of parchment paper in an airtight container. Store in the fridge for up to 3 days, or freeze for up to 3 months. Reheat in a toaster or toaster oven (not the microwave) to bring back that crisp edge.
9.Can I adjust the recipe to make these waffles work for savory toppings? ▾
Absolutely! The small amount of pure maple syrup in the base adds a very subtle sweetness, but you can cut it in half or omit it entirely if you plan to top waffles with savory options like fried chicken, avocado, or a runny fried egg. Just add a tiny pinch of extra salt to balance the flavor.
10.My waffles came out dense and gummy in the middle—what went wrong? ▾
This usually happens for one of three common reasons: your waffle iron wasn’t fully preheated, you overmixed the batter which created too much starchy density, or you opened the iron too early and let the waffle deflate. Mix just until no dry flour remains, wait for full heat, and avoid peeking for the first 3 minutes.
11.Do I need a special waffle iron to make these cassava flour waffles? ▾
No special waffle iron is required! This recipe works perfectly in both thick Belgian waffle makers and thinner classic American waffle irons. Just adjust cook time slightly: thicker Belgian waffles will need 1 to 2 extra minutes to set fully in the center and crisp up at the edges.
12.Can I use this same batter to make cassava flour pancakes instead? ▾
You can, but you’ll get the best results by thinning the batter with 1 to 2 extra tablespoons of whole milk to reach a smooth, pourable pancake consistency. Cook pancakes on a preheated greased griddle over medium heat, flipping once bubbles form across the surface, for light, nutty, gluten-free pancakes.
13.These waffles have a subtle nutty sweetness—do they contain any tree nuts? ▾
That warm, nutty sweetness comes naturally from high-quality cassava flour, which develops a mild, toasty, slightly earthy flavor once cooked. There are no nuts in the base recipe, so these waffles are safe for people with tree nut allergies when made with certified nut-free cassava flour.
14.Can I make these waffles dairy-free? ▾
Yes, you can easily swap the whole milk for unsweetened plain oat or almond milk, and replace the melted unsalted butter with melted, cooled unrefined coconut oil. Keep in mind this swap adds a very faint coconut flavor, but the waffles will still have the same crisp edges and light, fluffy center as the original.

Comments (19)

2 days ago

OMG these are a total game changer for our gluten free household! I’ve tried so many cassava flour waffle recipes that turn out gummy or dense, but these stayed crispy even after I topped them with maple syrup and fresh berries. My 7 year old asked for seconds before she even finished her first! Cook time was exactly 12 minutes like the recipe said, super easy to throw together on a busy school morning.

yesterday

Wait did you use a regular waffle iron or a Belgian one? I tried these last week and mine were a little softer than I wanted, wondering if it’s my appliance!

yesterday

So glad your family loved them, Mia! @Jake M. Belgian waffle irons work great, just make sure you’re letting the iron preheat fully before pouring batter in — that extra heat is key for that crispy outer layer!

1 week ago

Made these for my Sunday brunch potluck last weekend and everyone was begging for the recipe! I added a little cinnamon and a handful of mini chocolate chips to half the batch for the sweet tooths in the group, and they were gone in 10 minutes flat. Perfect crispy texture, no weird aftertaste like a lot of grain free baked goods. Will absolutely be adding these to my regular rotation.

5 days ago

How did the chocolate chip version hold up? I want to make these for my kid’s soccer snack this weekend, would they stay good in a cooler for a couple hours?

3 days ago

Love the chocolate chip add-in, that sounds delicious! They hold up really well at room temp for a few hours, just wait until they’re fully cool before packing them in an airtight container to avoid sogginess.

2 hours ago

Wait, hold on, is the cook time really only 12 minutes total? I usually spend 20+ minutes babysitting waffle batter and waiting for irons to cook through, that seems too fast for cassava flour? Also, can I substitute the maple syrup for honey if that’s all I have in the pantry?

30 minutes ago

I made these earlier this week! The 12 minutes is total if you split the batter between two waffle irons, I only had one so it took closer to 20 for all four waffles, but each individual one cooked in 3 minutes! Honey works great as a sub, I did that too.

5 minutes ago

Great question, Tyler! The 12 minute cook time is for a full batch using a standard 2-slice waffle iron (each waffle takes ~3 minutes, 4 waffles total). Honey works perfectly as a 1:1 swap for maple syrup here, no adjustments needed!

3 days ago

Meal prepped a double batch of these on Sunday and they’ve been perfect for quick breakfasts all week! I pop them in the toaster for 1 minute in the morning and they get just as crispy as when I first made them. Game changer for my low grain meal plan, I can’t believe how easy these are. 10/10.

2 days ago

Do you freeze them or just keep them in the fridge? I tried freezing other cassava waffles before and they got all weird and crumbly when I reheated them.

2 days ago

So happy to hear these are working for your meal prep, Zoe! These freeze really well for up to 3 months — just separate them with parchment paper so they don’t stick, and reheat straight from frozen in the toaster or oven.

5 days ago

Tried these last night and the flavor was great, but mine stuck so bad to my waffle iron I lost half of every waffle! Did I do something wrong? I sprayed the iron with nonstick spray before pouring, let it preheat all the way, followed the measurements exactly. So frustrated because the bits I could scrape off tasted amazing.

3 days ago

Oh I had that problem the first time too! I realized aerosol nonstick sprays leave a weird residue on waffle plates — I started brushing my iron with melted coconut oil instead of spray and they popped right out after that, no sticking at all on my second batch.

2 days ago

Sorry to hear about the sticking, Jason! Jenna’s tip about melted coconut oil or avocado oil is perfect — aerosol nonstick sprays can leave a residue that builds up on waffle iron plates and causes sticking over time. A quick brush of oil between batches should fix that right up for next time!

yesterday

SO good! I’ve been missing crispy waffles since going paleo last year, and these hit every single note. Topped mine with almond butter, sliced banana, and a drizzle of date syrup, chef’s kiss. No weird gritty texture like other cassava flour recipes I’ve tested.

2 hours ago

That topping combo sounds absolutely dreamy, Emma! So glad these filled that waffle craving for you — date syrup is such a great swap for maple syrup too!

5 minutes ago

Made these for my teens before school this morning and they didn’t even complain that they’re “healthy food”! That’s a 5 star win in my book, y’all. I didn’t have any fancy add ins, just served them with butter and syrup, and both kids ate two full waffles each. Super easy to mix up, no weird ingredients.

just now

Huge win when the teen stamp of approval comes through! Love that no fancy add-ins are needed to make these a hit — the simple butter and syrup combo is a classic for a reason.

2 hours ago

Wait, can I make this batter the night before? I want to have it ready to go for early morning tailgates this fall, would it hold up in the fridge overnight? I’m worried the cassava flour might get too thick or absorb too much liquid.

30 minutes ago

Great question! The batter holds up really well in the fridge for up to 24 hours — just give it a quick stir before pouring, and add a splash of nut milk if it feels too thick. Perfect for early morning tailgates!

2 weeks ago

These were fine? I followed the recipe exactly but they didn’t get as crispy as I wanted, even after letting them cook an extra minute. Flavor was good, texture was just a little softer than I expected. Maybe my waffle iron runs cool? Idk, might try again with a higher heat setting.

1 week ago

Sorry they didn’t crisp up for you on the first try, Leo! A lot of older waffle irons run 25-50 degrees cooler than their dial says — if you have a kitchen thermometer you can check that the plates hit 400°F before pouring batter, that’s the sweet spot for maximum crispiness.

1 week ago

I brought these to a neighborhood potluck last weekend and half the neighborhood asked me for the link! I added a teaspoon of vanilla extract and a pinch of nutmeg to the batter, and served them with a side of homemade whipped cream. People couldn’t believe they’re gluten and grain free, they taste just like the regular waffles my grandma used to make.

5 days ago

Oh the nutmeg addition sounds chef’s kiss! I’m making these for my book club brunch next weekend, I’m definitely stealing that idea.

3 days ago

Super easy recipe, perfect for a beginner like me! I’m terrible at baking, I usually burn everything or measure wrong, but these turned out perfectly first try. Cooked them in my tiny dorm waffle iron, they were crispy on the outside, fluffy on the inside, 10/10. Will be making these every weekend now.

2 days ago

Love hearing that this worked for a beginner, Derek! Dorm waffle irons can be tricky, so it’s awesome these turned out for you — enjoy all the weekend waffles!

30 minutes ago

Wait a second, is there a dairy free swap for the melted butter in the recipe? My kid has a dairy allergy and I’ve been looking for a waffle recipe we can all eat together, we already have cassava flour in the pantry from other allergy friendly bakes.

5 minutes ago

Absolutely! Melted vegan butter or melted coconut oil work as perfect 1:1 swaps for the dairy butter in this recipe, no other adjustments needed. Hope your kid loves them!

2 days ago

These are way better than the frozen cassava waffles I’ve been buying from the health food store! I was spending $8 a box for 4 waffles that taste like cardboard, and this recipe makes a whole batch for like half the price, tastes 100x better. Absolute meal prep win for my work from home breakfasts.

yesterday

Right?! I did the math last week and it’s literally a third of the cost of the frozen ones, and they taste so much fresher. I haven’t bought the boxed ones in a month!

2 hours ago

OMG I ate three of these straight off the waffle iron before I even got the toppings out. No shame, they’re that good. Crispy, slightly sweet, not dense at all, exactly what I wanted from a cassava flour waffle. Why did I wait so long to try this recipe?!

1 week ago

Made these for my dad who’s on a strict AIP diet and he said they’re the best waffles he’s had since he had to cut out gluten and grains. Total home run, I’m gonna make a big batch for his birthday brunch next month. Super straightforward recipe, zero fussy steps.

5 days ago

Tried these today and they were just okay for me? I think I prefer a little more sweetness in my waffles, next time I’ll add an extra tablespoon of maple syrup and maybe some vanilla. Texture was great though, super crispy, no gumminess, which is usually my problem with cassava bakes.

2 weeks ago

Game changer for weekend camping trips! I pre-mixed all the dry ingredients in a mason jar at home, then just added the wet ingredients when we got to the campsite, cooked them on our cast iron waffle iron over the campfire. They got so crispy and delicious, everyone at the campsite was jealous.

yesterday

My toddler is obsessed! He’s going through a super picky eating phase where he rejects 90% of the food I give him, and he ate an entire waffle cut into sticks for breakfast this morning. I dipped them in a little yogurt for extra protein, he kept asking for “more waffle!” Total win for toddler mom life.

just now

Wait, can you make these into pancakes instead? I don’t own a waffle iron (small apartment problems) but this batter looks so good I don’t want to wait to buy one to try it. I guess I’ll test it out this weekend and report back!



