
cheeseburger helper
intro
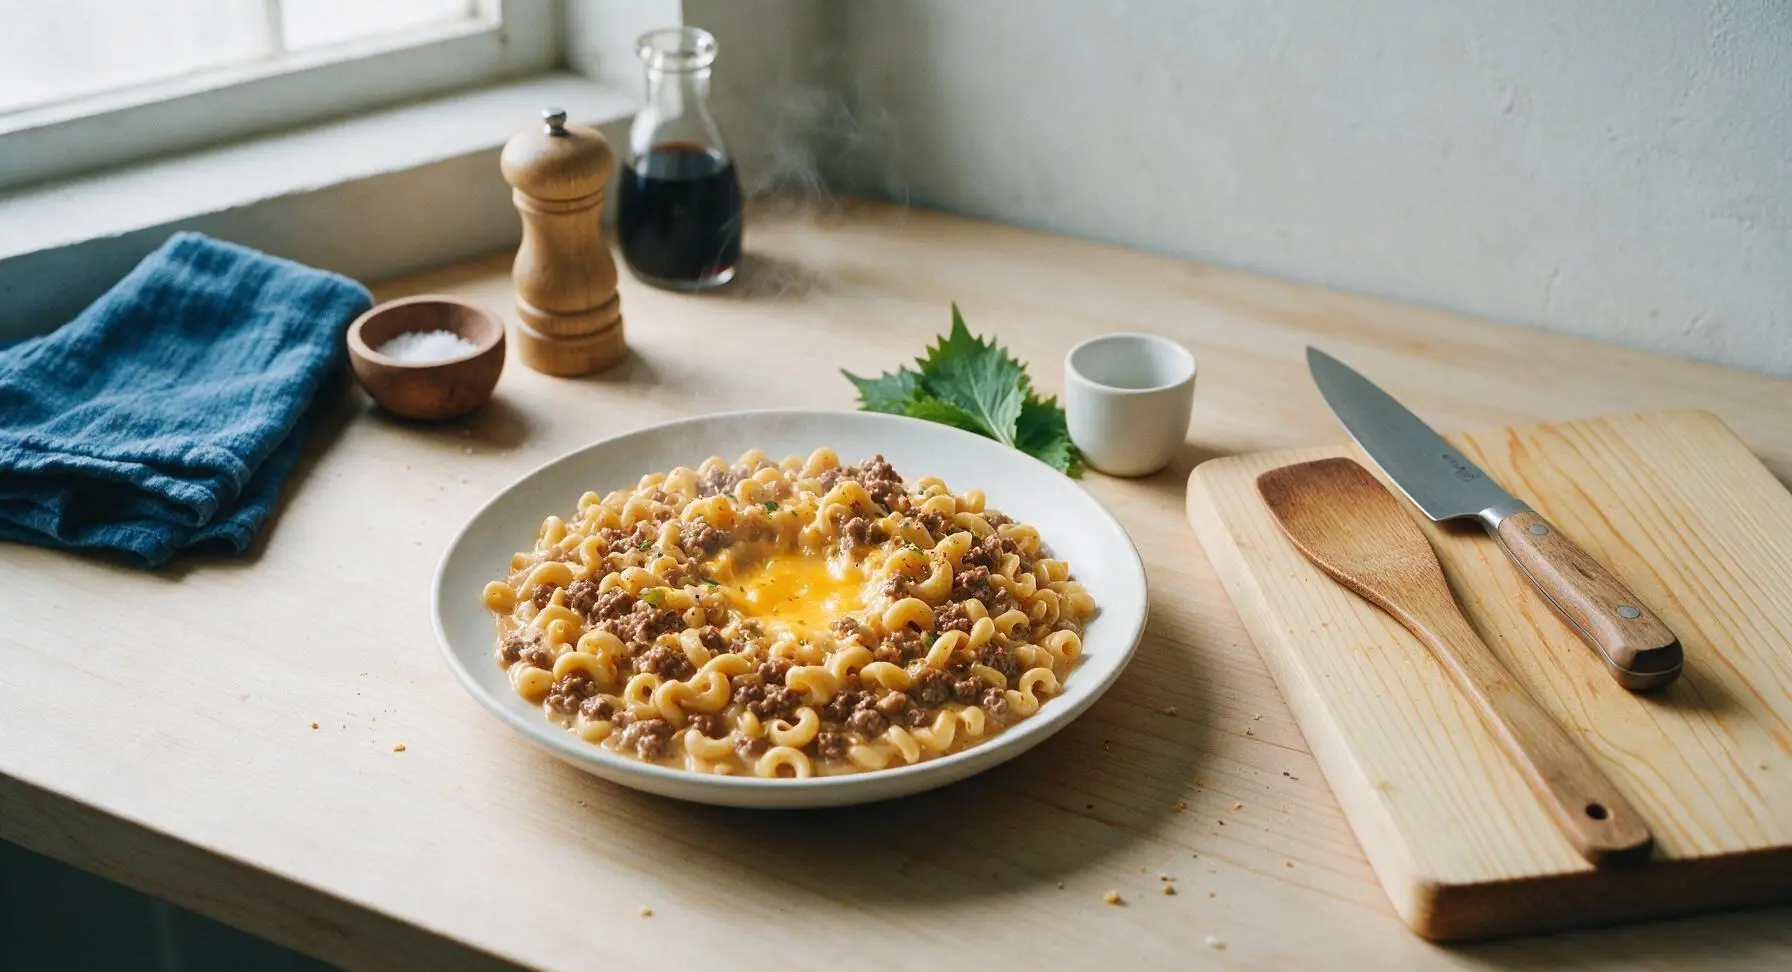
Creamy, cheesy one-pot pasta loaded with seasoned ground beef and melty sharp cheddar, this nostalgic homemade take on a classic beats boxed mixes for fast, cozy weeknight flavor.
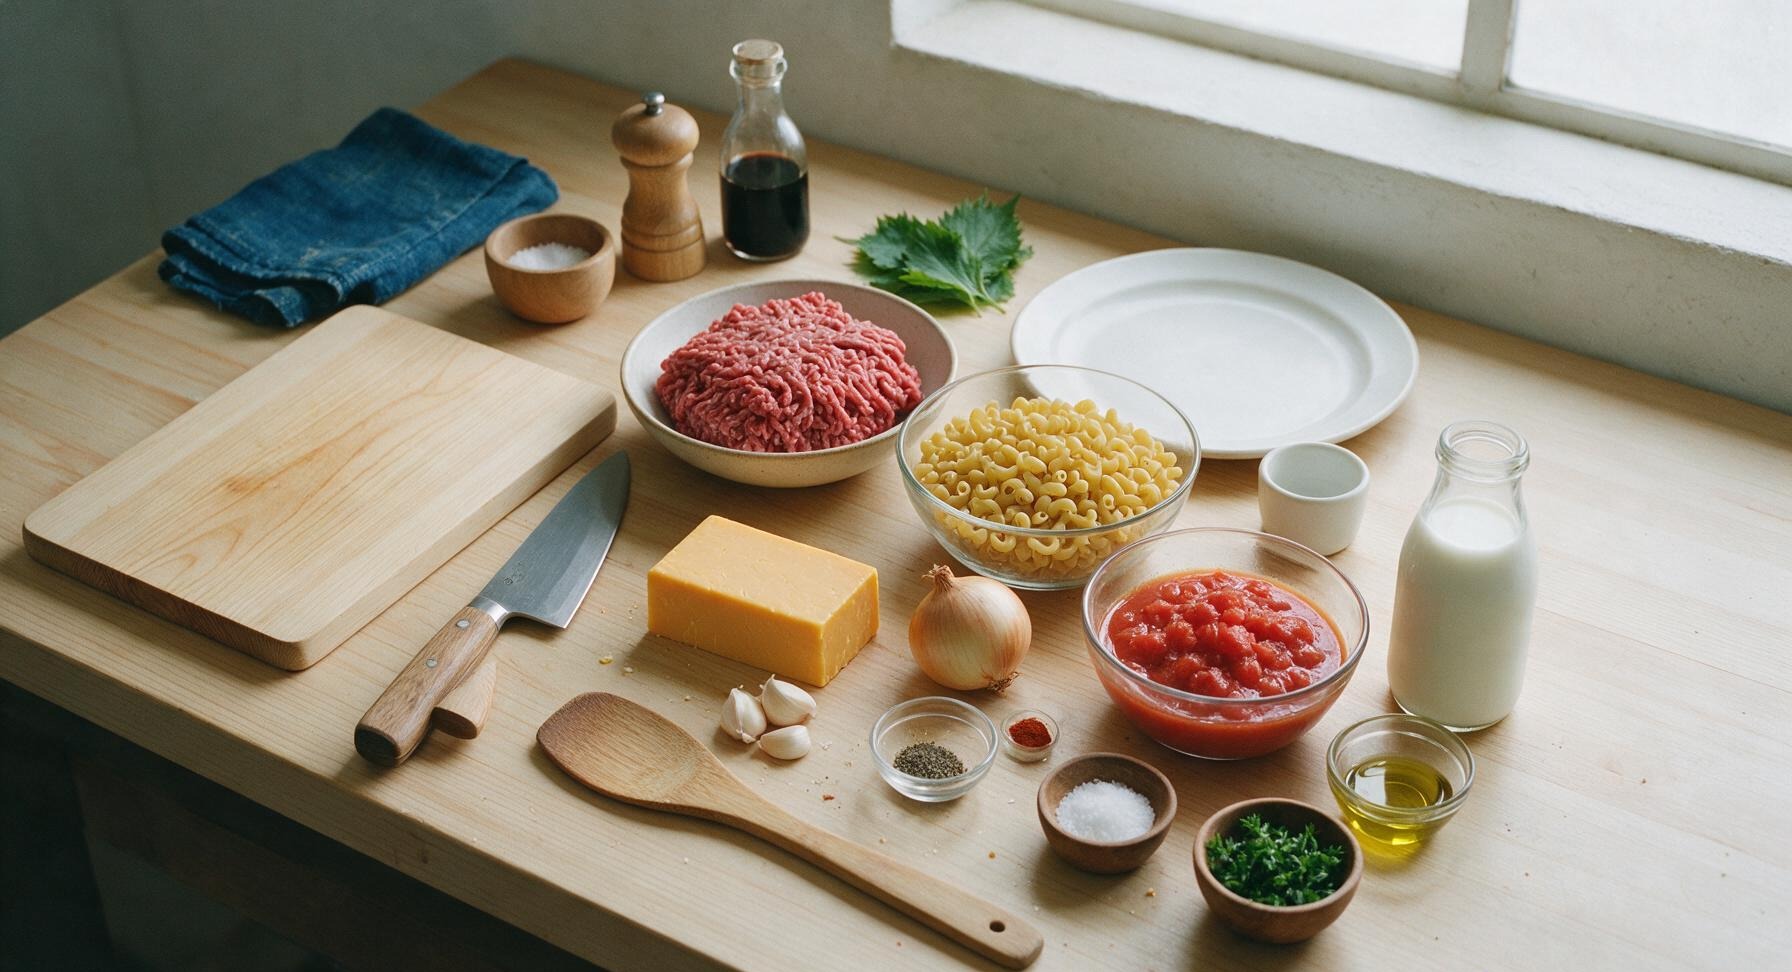
Ingredients
Steps
Prep Base Ingredients
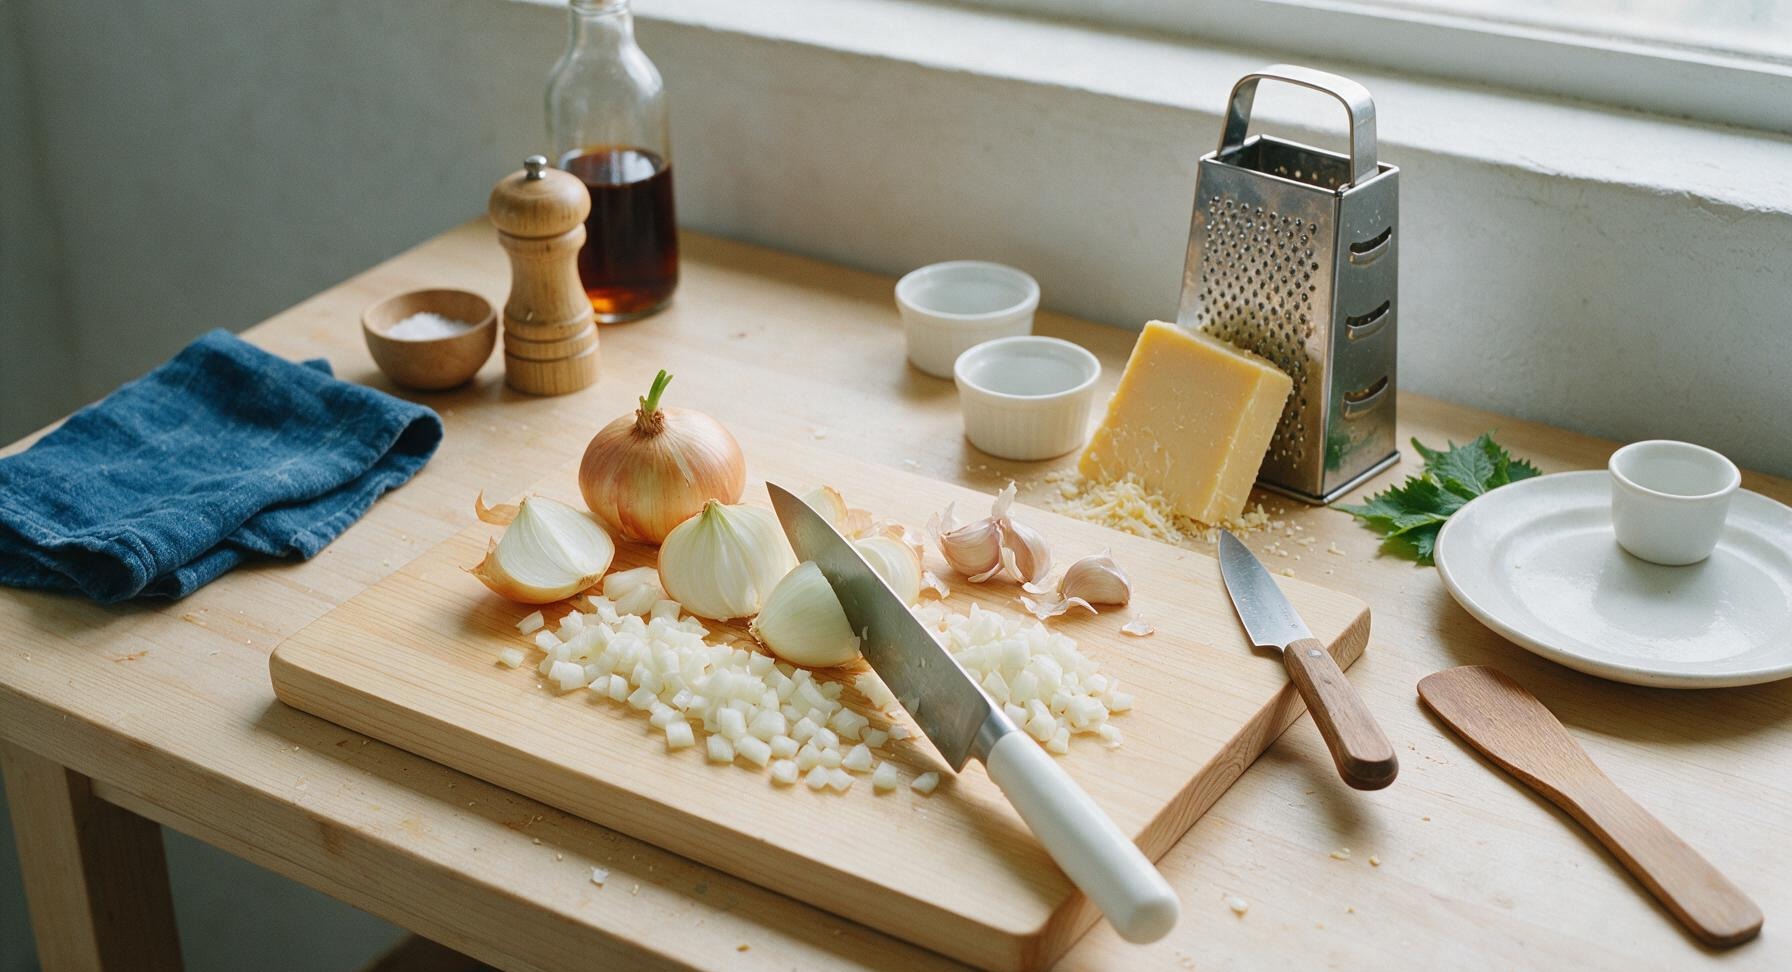
Place the small yellow onion and garlic cloves on the light maple cutting board. Use the 8-inch stainless steel chef’s knife to peel the onion, trim the root and stem ends, and finely dice it into ½cm pieces. Peel the garlic cloves and mince them into a smooth paste. Use the stainless steel box grater to coarsely grate the full 200g block of sharp cheddar, transferring 180g to one small white ramekin (for mixing into the sauce) and reserving 20g in a second ramekin for topping. This prep takes approximately 10 minutes.
Brown the Ground Beef
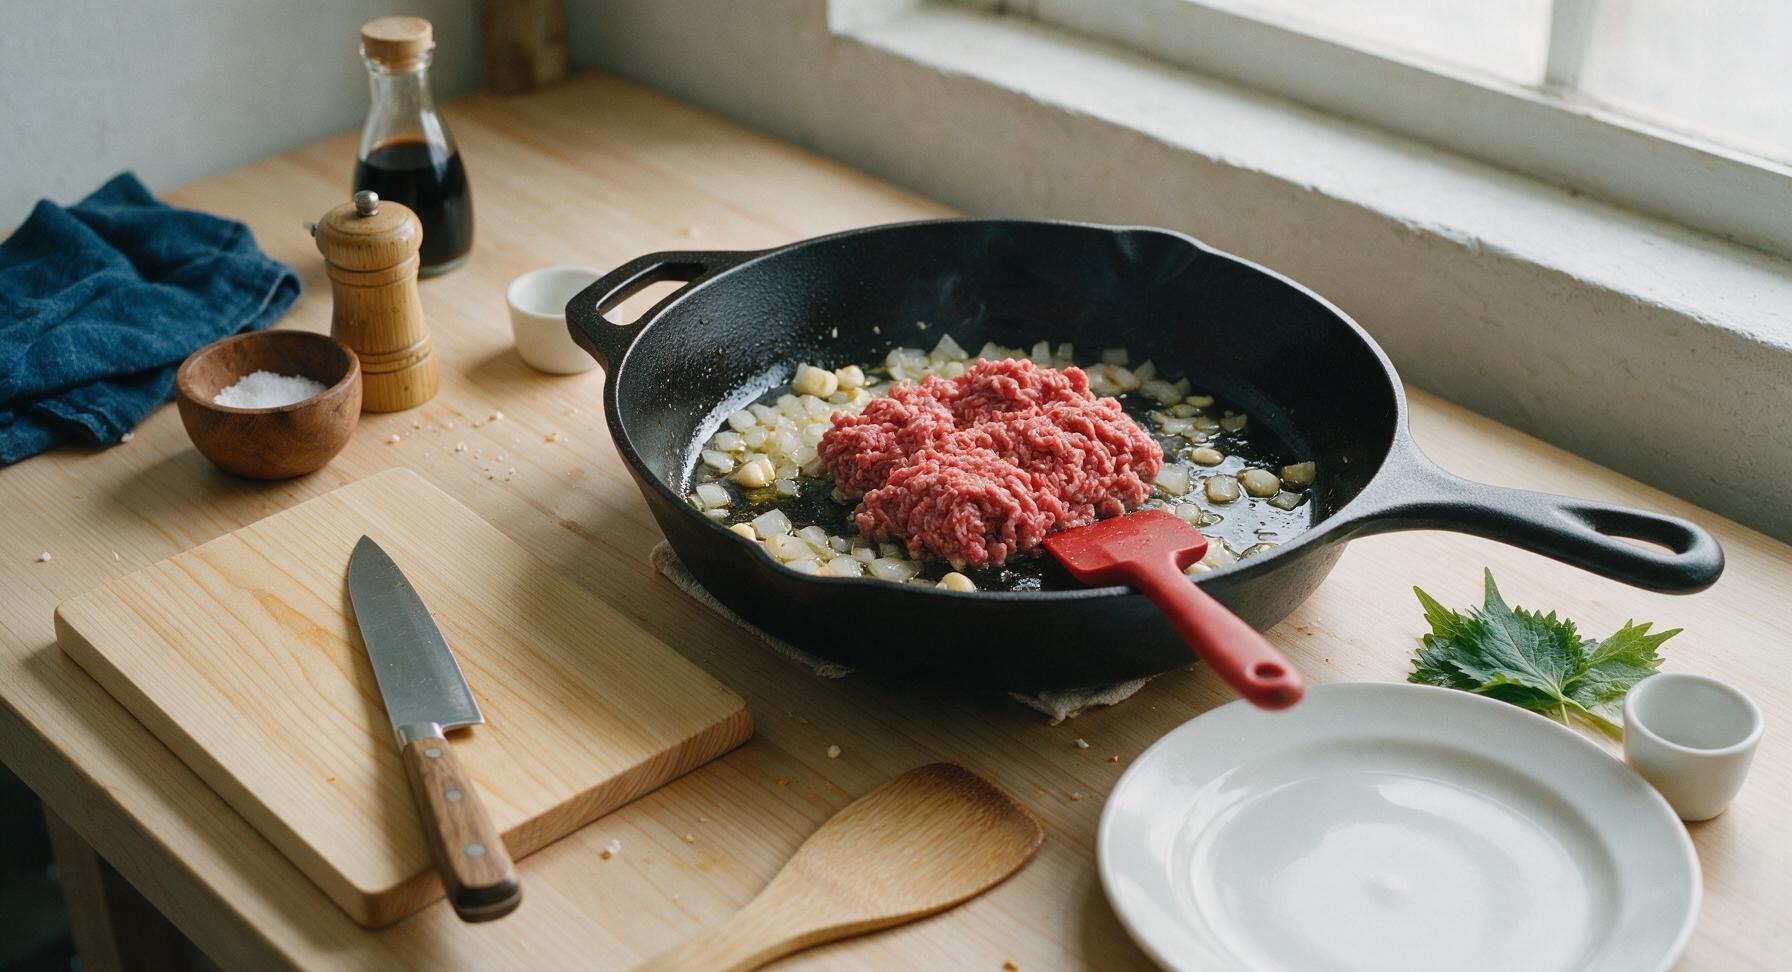
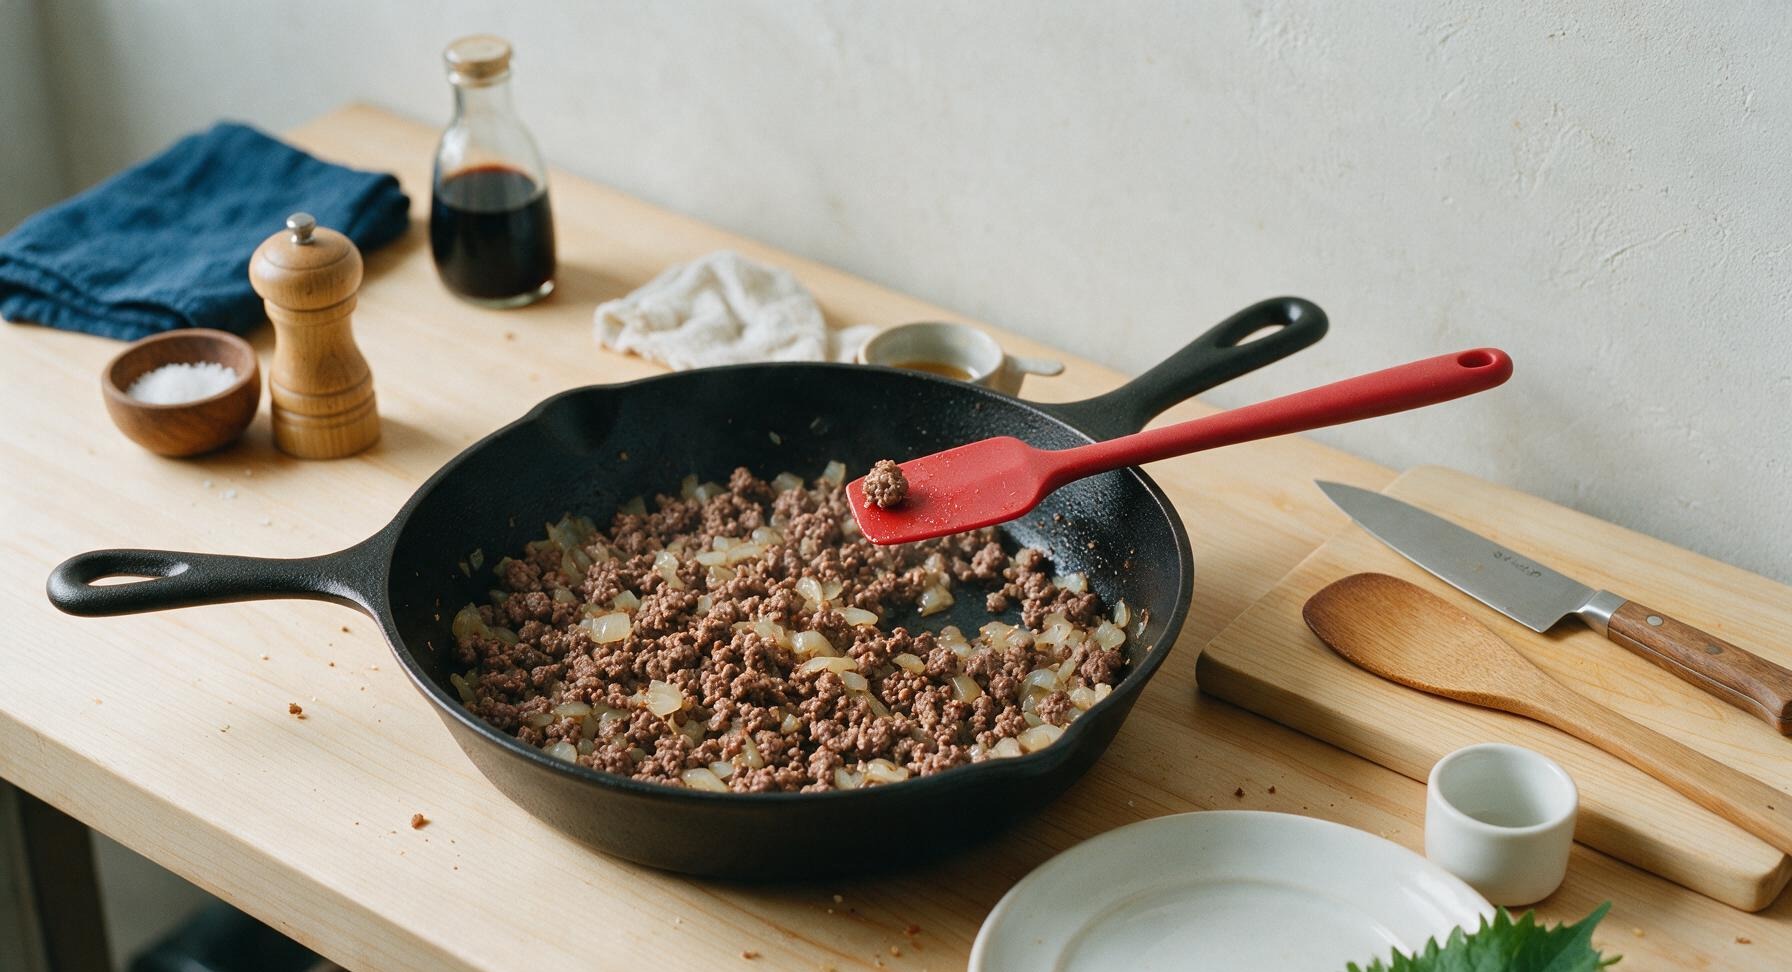
Place the 12-inch matte black cast iron skillet in the central cook zone, add 1 tablespoon of olive oil, and heat over medium heat (175C/350F) for 1 minute. Add the diced onion, sauté for 3 minutes until soft and translucent with no brown edges, then add the minced garlic and cook for 30 seconds until fragrant (do not let the garlic burn). Add the full 500g of ground beef to the skillet, use the red silicone spatula to break the beef into small, pea-sized crumbles as it cooks. Cook for 5-6 minutes until the beef is fully browned with no visible pink remaining, then carefully tilt the pan to drain any excess rendered grease into a small heatproof container.
Toast Dry Spices
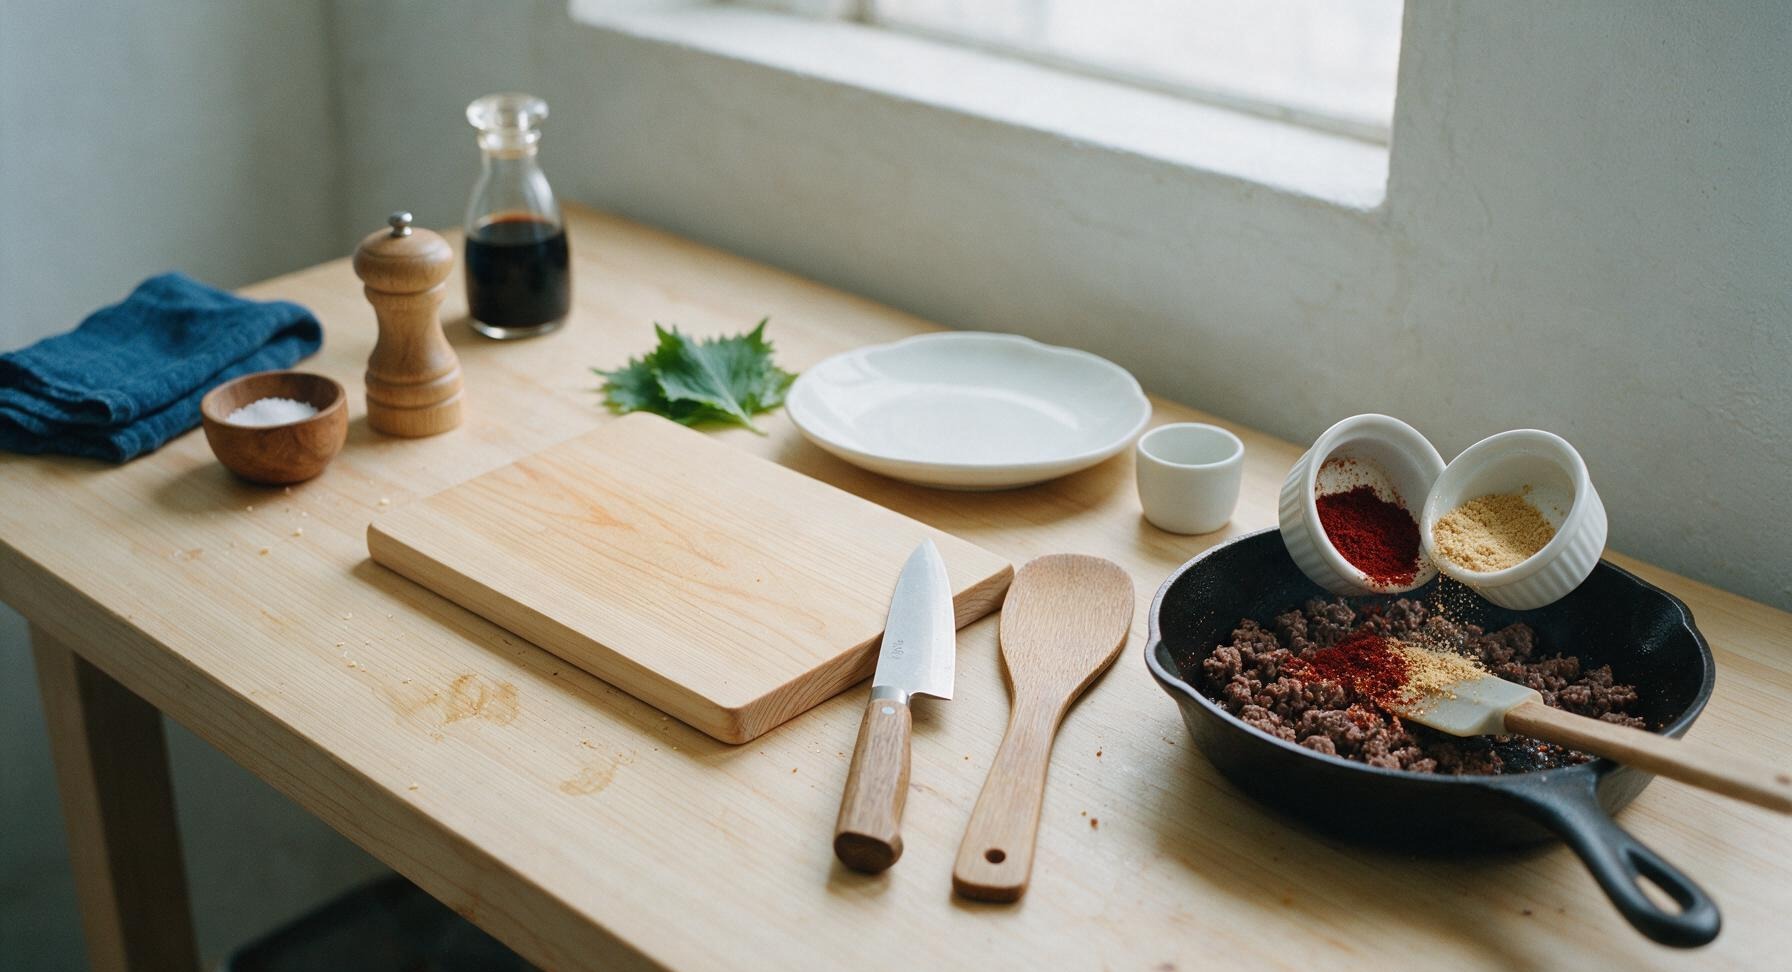
Turn the heat down to medium-low. Add the 1 teaspoon kosher salt, ½ teaspoon black pepper, 1 teaspoon garlic powder, and ½ teaspoon smoked paprika directly to the browned beef in the skillet. Stir constantly with the silicone spatula for 30 seconds until the spices are fragrant and evenly coat every beef crumble. Watch closely to avoid burning the spices, which will add a bitter, unpleasant taste to the final dish.
Add Pasta and Liquids
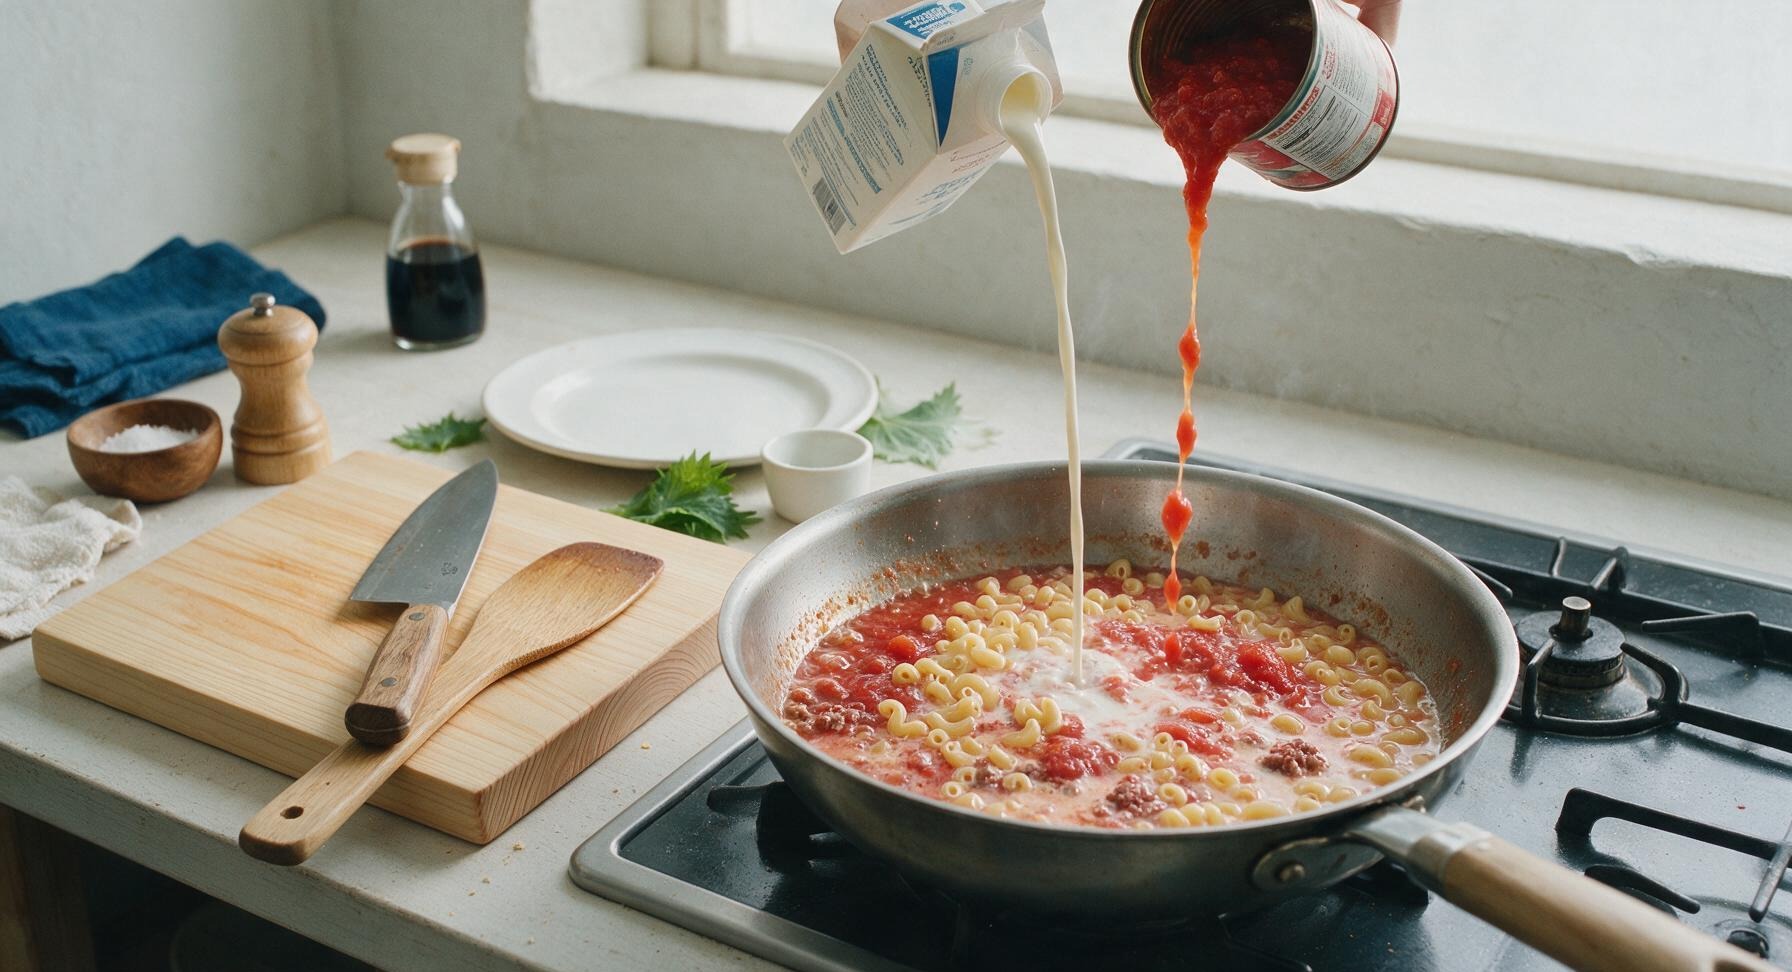
Pour the full 400g can of crushed tomatoes and 2 cups of whole milk into the skillet with the spiced beef, stir to fully combine with the meat and spices. Add the 2 cups of uncooked elbow macaroni, stirring again to ensure every pasta piece is submerged in the tomato-milk liquid. Increase heat slightly to bring the mixture to a gentle simmer, where small bubbles break slowly at the pan edges (do not bring to a hard rolling boil, which can cause the milk to curdle).
Simmer Pasta Until Tender
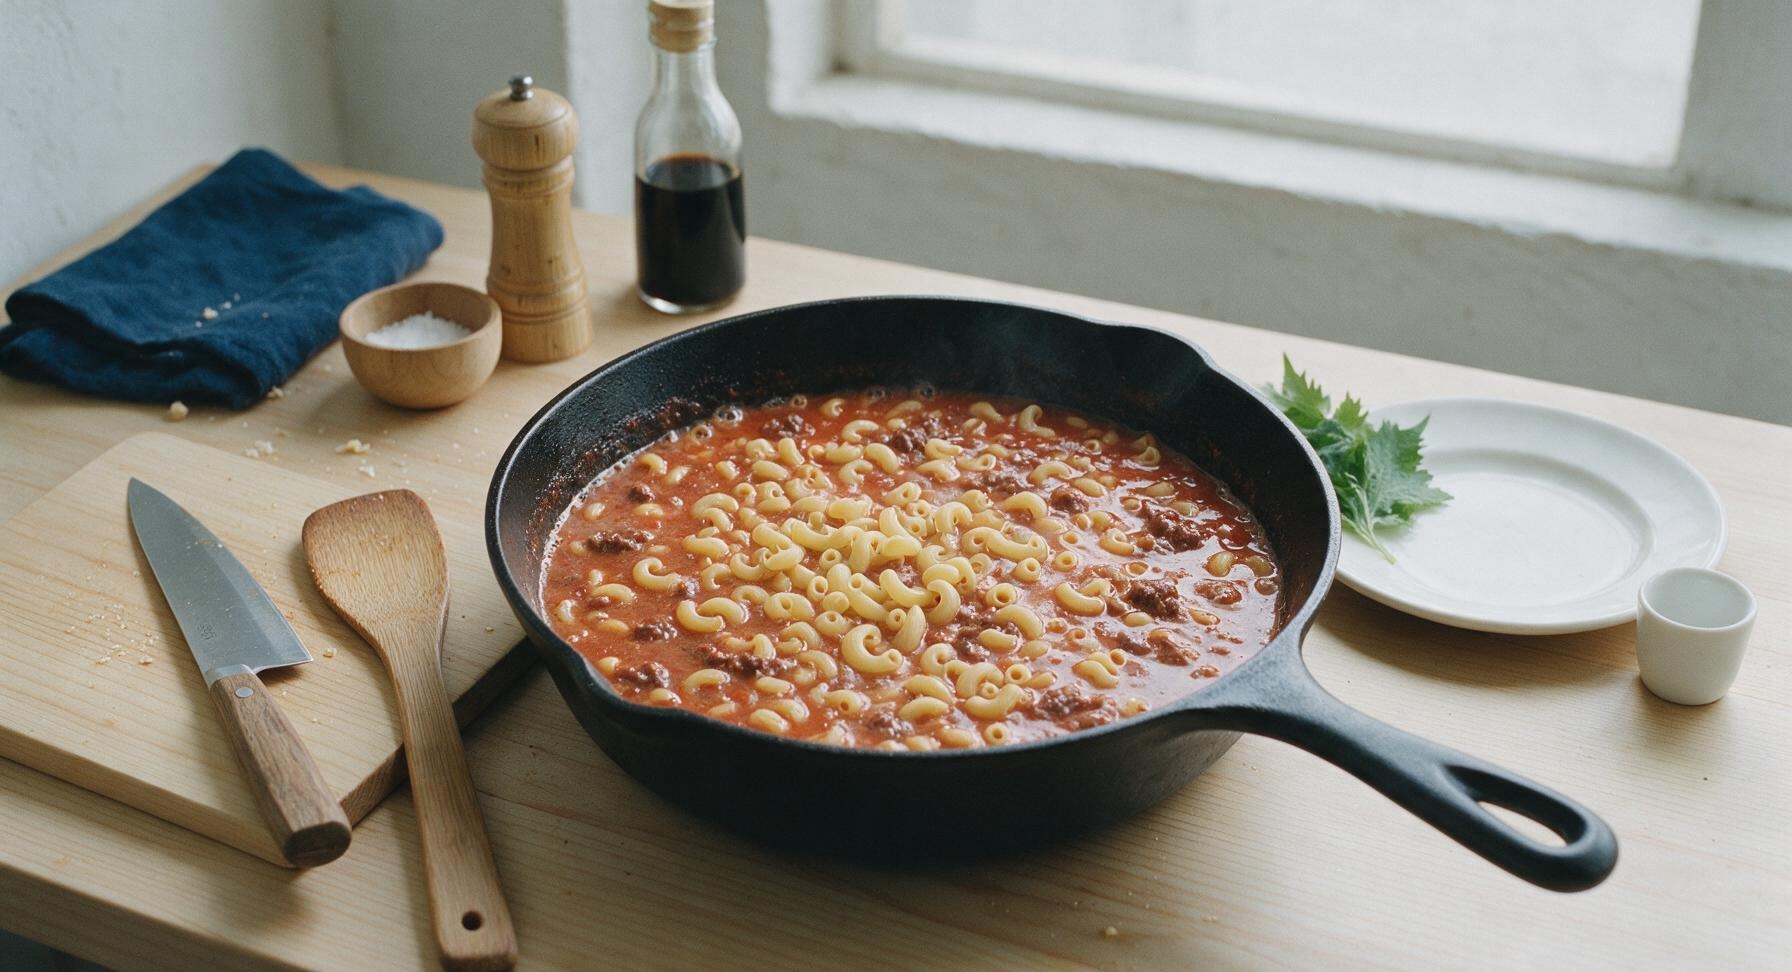
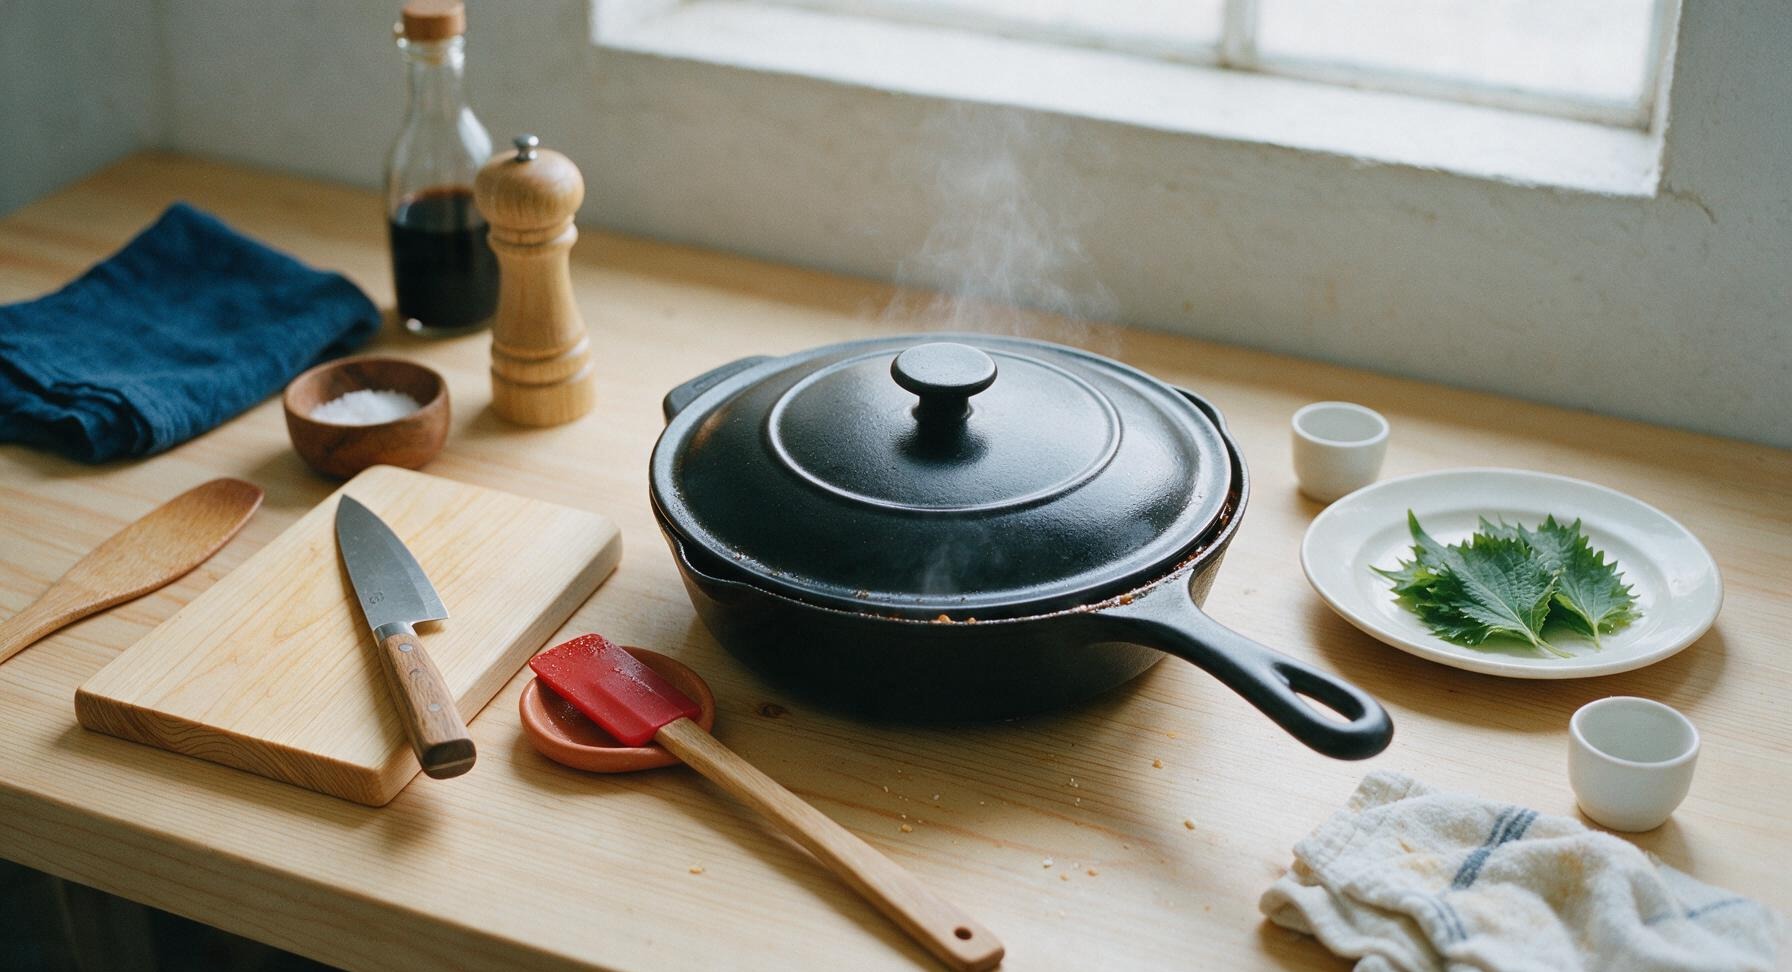
Reduce heat to low, cover the skillet with the matching matte black enamel lid, and simmer for 10-12 minutes. Remove the lid every 3 minutes to stir the pasta thoroughly with the silicone spatula, scraping the pan bottom to prevent sticking, then replace the lid. The pasta is done when it is al dente: tender with a very slight firm bite at the center, and the cooking liquid has reduced to a light, starchy sauce that coats the pasta.
Melt Cheese Into Sauce
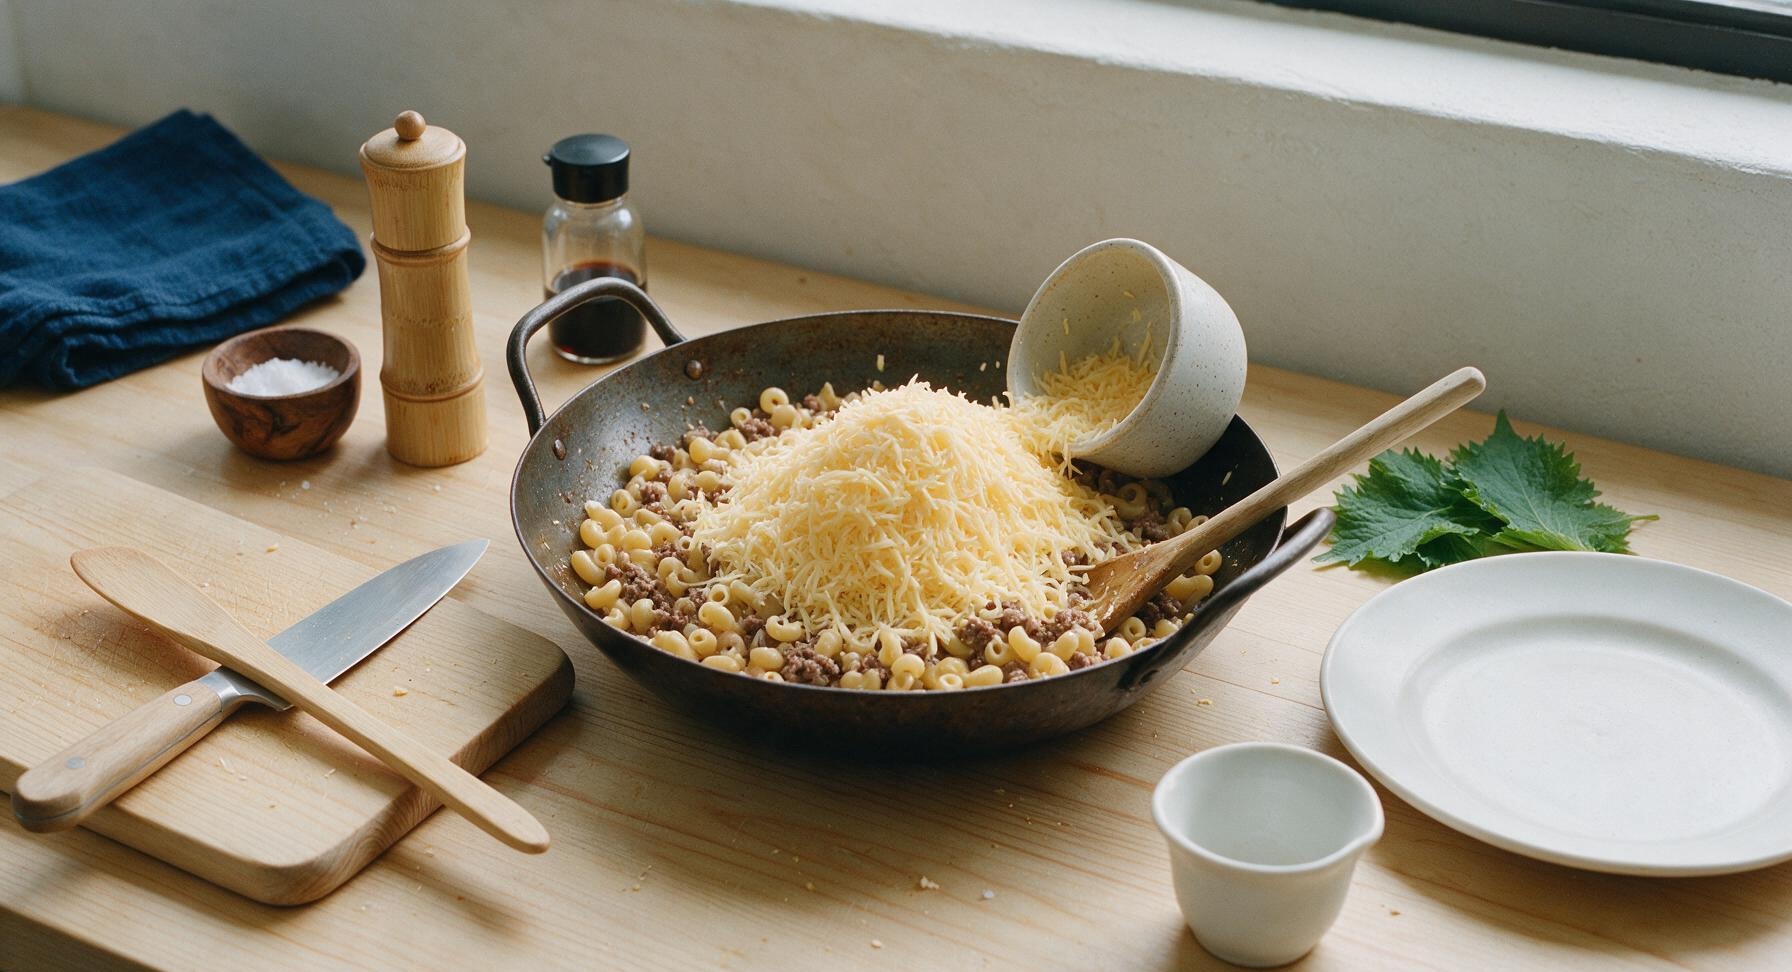
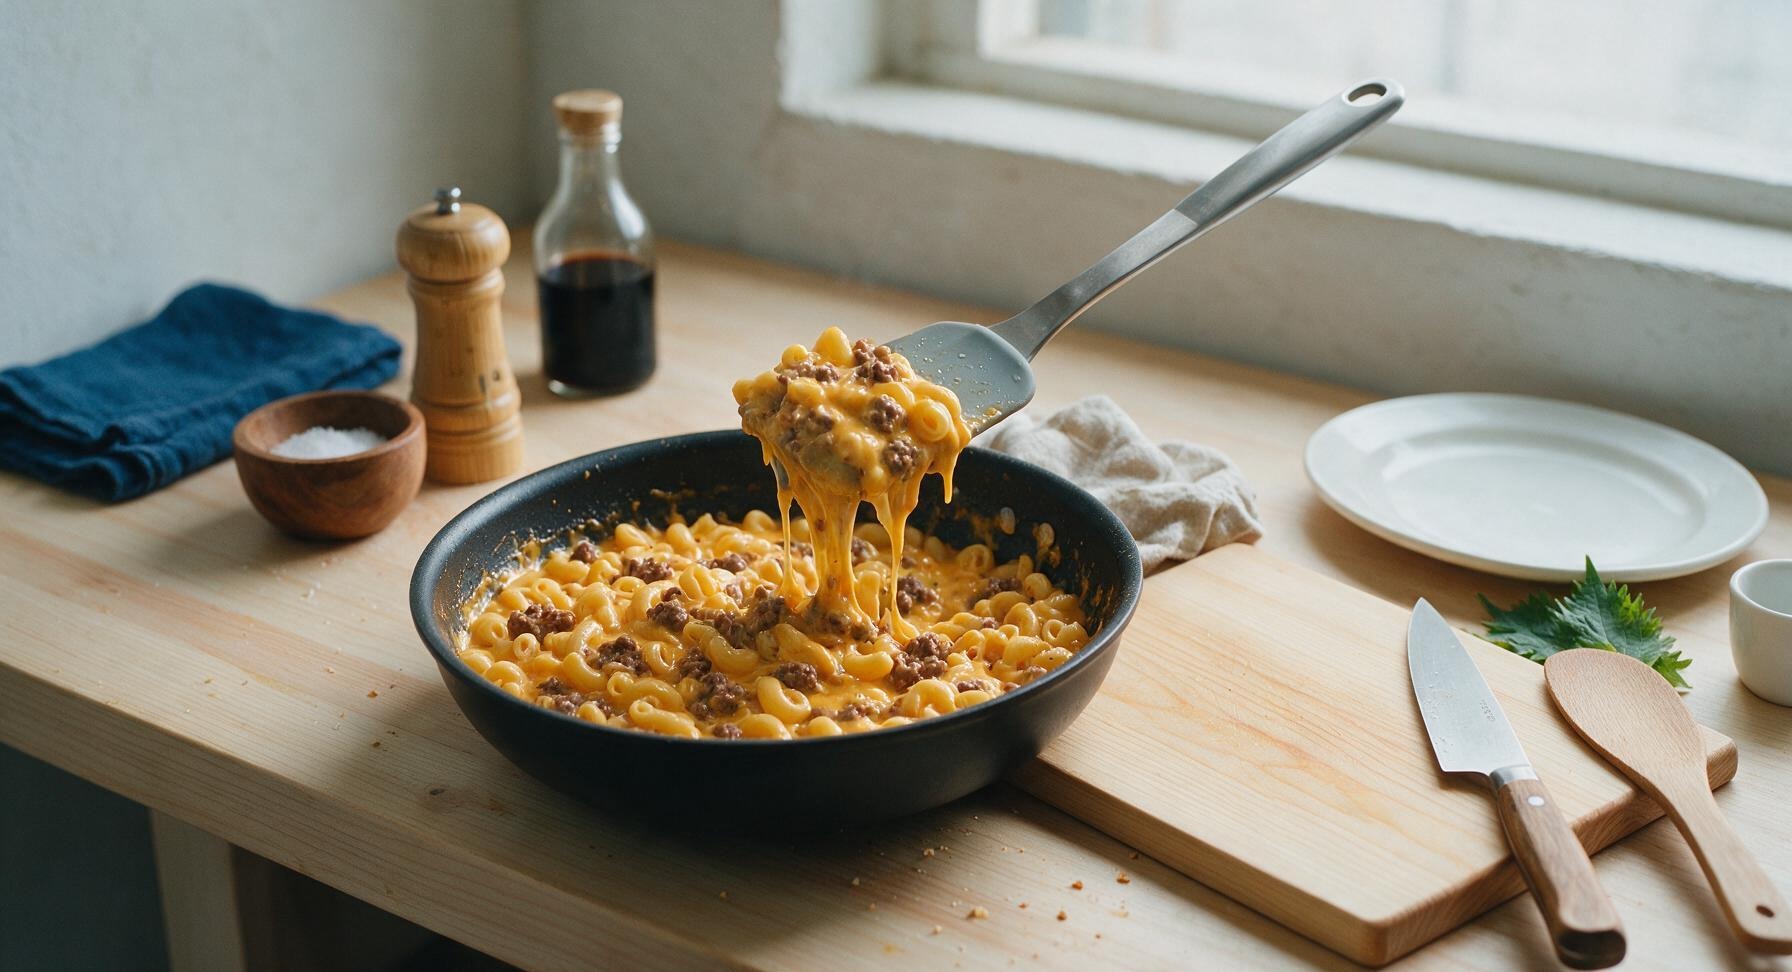
Remove the skillet lid completely and turn off the heat. Add the larger 180g portion of grated sharp cheddar to the hot pasta and beef mixture, stirring constantly with the silicone spatula for 1-2 minutes until the cheese is fully melted and emulsified into the starchy cooking liquid, creating a smooth, creamy golden-orange sauce that evenly coats every pasta piece and beef crumble. If the sauce feels too thick, stir in 1-2 tablespoons of extra milk to reach a smooth, pourable consistency.
Rest and Garnish
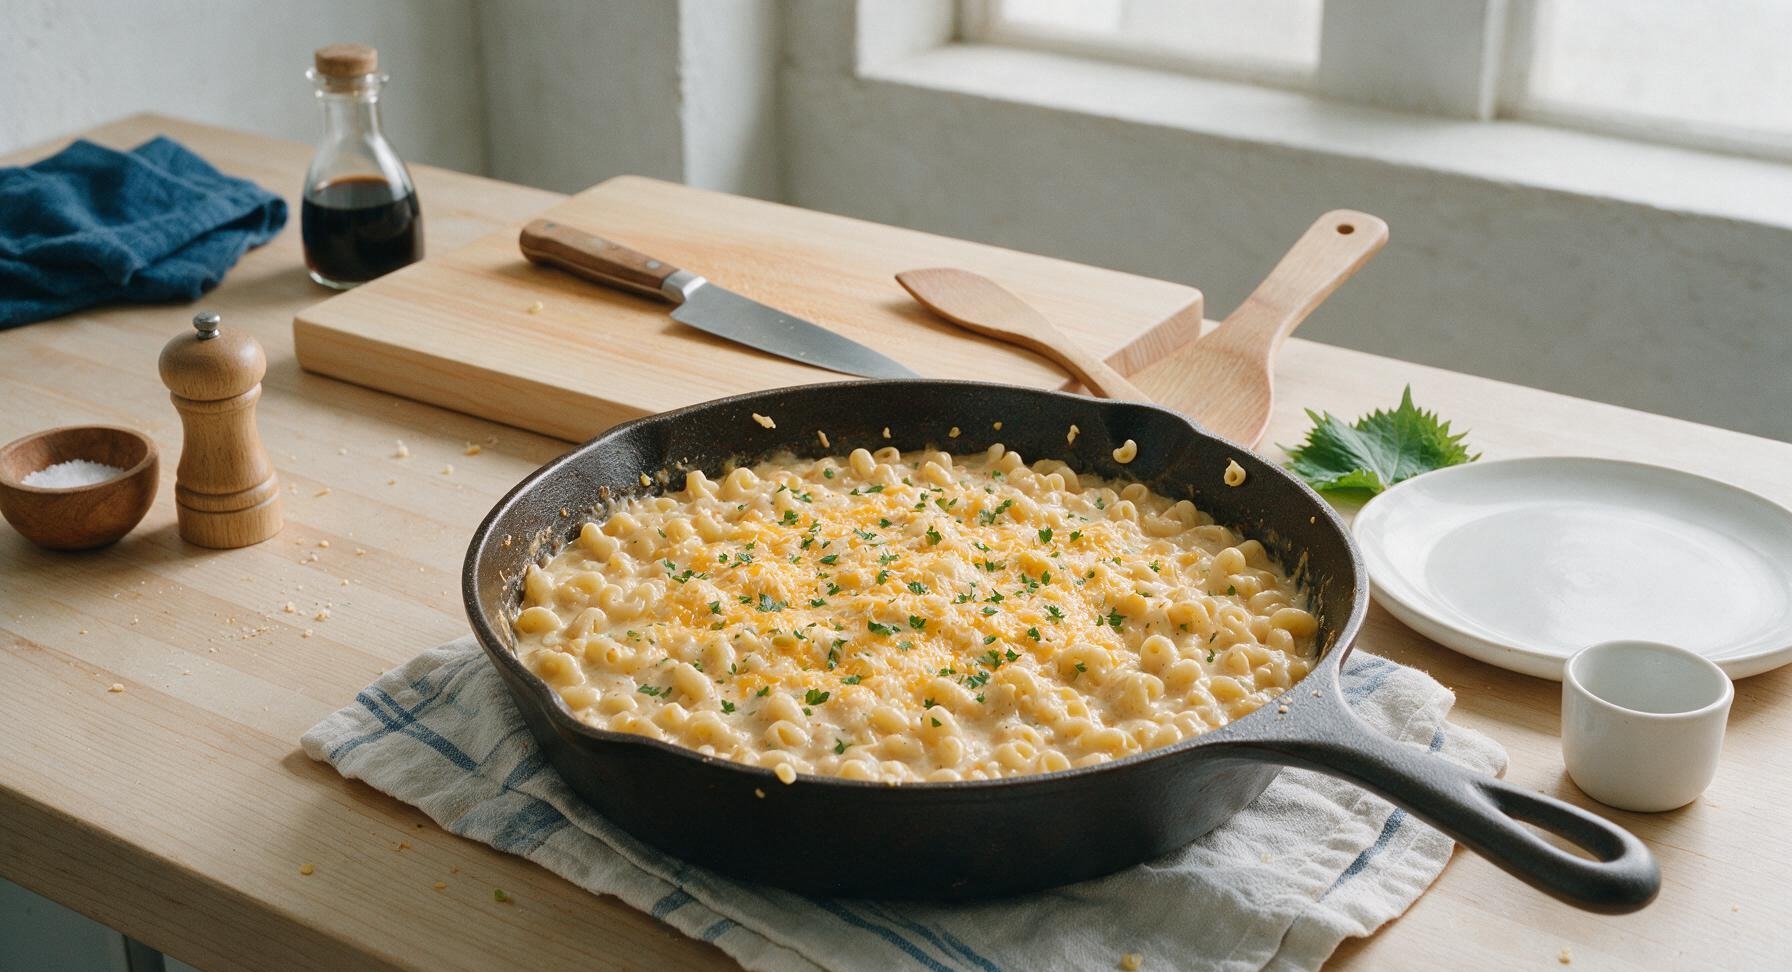
Let the cheeseburger helper rest uncovered for 3 minutes to allow the sauce to thicken and set. Taste a small bite and adjust salt or pepper if needed. Sprinkle the reserved 20g of grated cheddar and the chopped fresh curly parsley over the top of the mixture in the skillet right before serving.
Tips
2.Stir the pasta thoroughly every 3 minutes while simmering: elbow macaroni releases large amounts of starch as it cooks, which can cause it to stick and burn quickly to the bottom of the cast iron skillet if left undisturbed, leaving bitter burnt bits in your finished dish.
3.Resist the urge to skip the 3-minute rest after melting the cheese: the sauce will seem slightly thin immediately after stirring, but the resting time lets the pasta starch bind with the melted cheese and milk to create a thick, clingy sauce that coats every bite instead of running to the bottom of your plate.






OMG this is such a game changer! I grew up eating the boxed version as a kid but this homemade take is SO much better, no weird unpronounceable preservatives and it came together in literally 20 minutes flat on a chaotic soccer practice weeknight. My two kids went back for seconds and even my husband who swears he 'hates homemade copycat recipes' asked when I’m making it again. Threw in a little extra diced dill pickles on top like we do with regular cheeseburgers, chef’s kiss. 10/10 will be adding this to our regular weeknight rotation!
Perfect easy recipe for weekly meal prep! I made a big batch on Sunday, portioned it out into containers for lunches all week, and it reheats like an absolute dream. Way cheaper than grabbing takeout on my lunch breaks, and the flavor doesn’t get weird or gummy in the fridge like some cheesy pasta dishes do. Only tweak I made was using lean ground turkey instead of beef to cut a little saturated fat, and it still tasted amazing. Super straightforward even for someone who burns toast half the time, lmao.
Brought this to our neighborhood block party potluck last weekend and people were asking me for the recipe left and right! It’s hearty, cheesy, total comfort food at its finest, and it didn’t require me to spend hours in the kitchen before the event. I was worried it would get mushy sitting in the crockpot on warm for a couple hours but it held up perfectly. Total crowd pleaser, even for the picky teens at the party who basically only eat fast food cheeseburgers.