1.Why do you recommend 80/20 ground beef for this cheeseburger pie instead of leaner beef?
▾
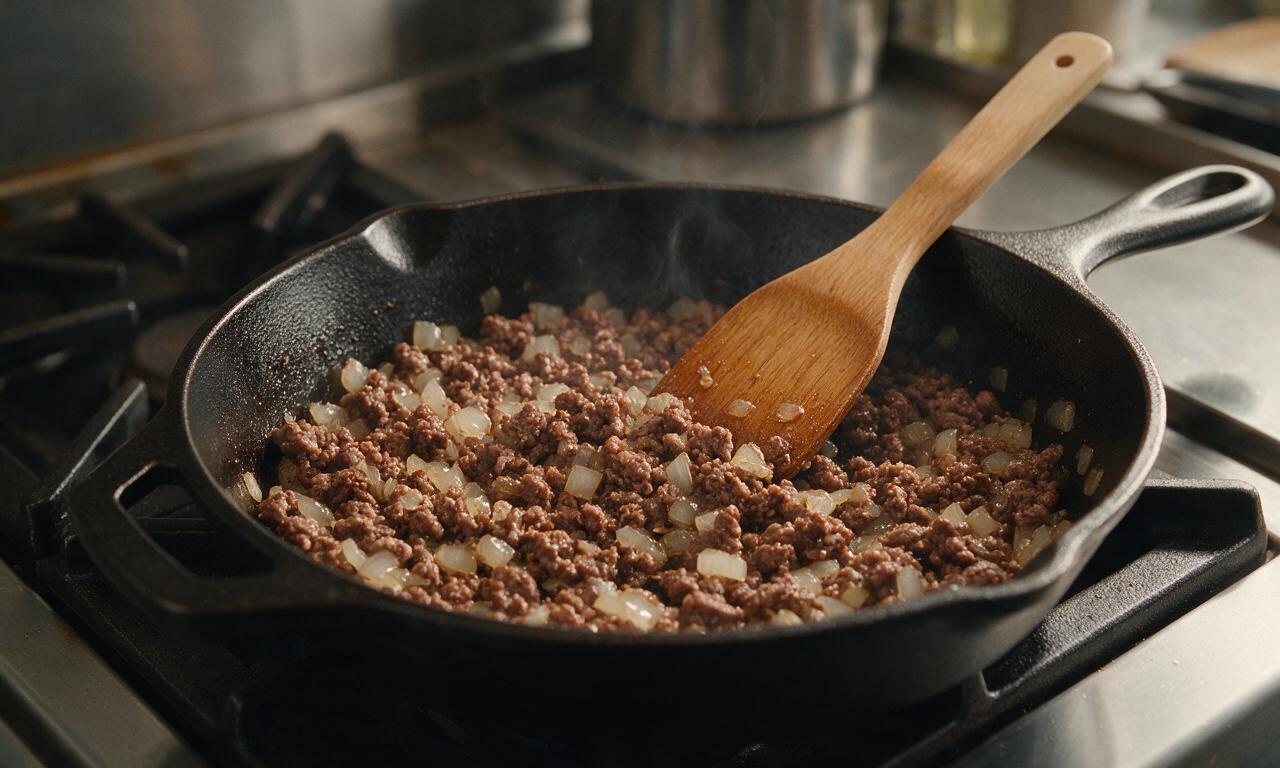
The 20% fat content in 80/20 ground beef delivers that rich, juicy classic burger flavor we all love, without making the pie soggy because you’ll fully drain excess grease after browning. Leaner blends like 90/10 often come out dry and bland, and won’t nail that nostalgic cheeseburger taste this recipe is built for.
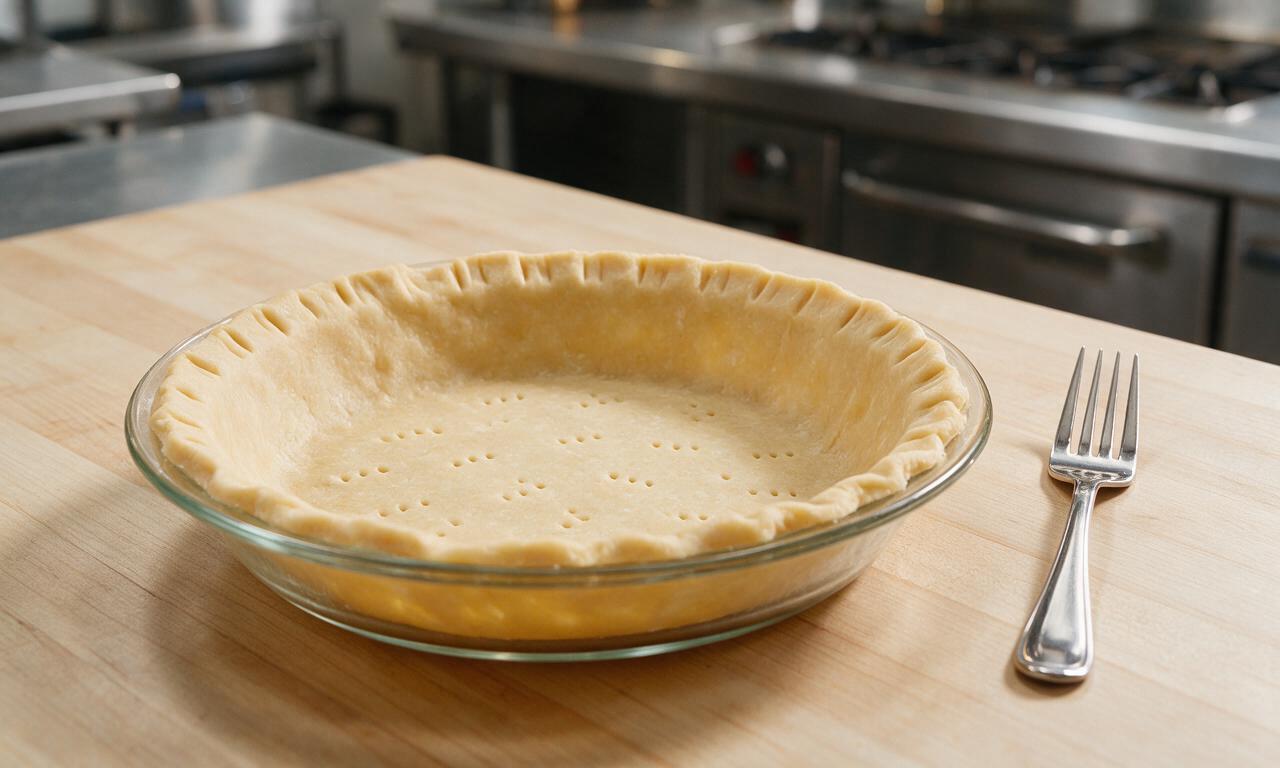
2.Can I use a homemade pie crust instead of the refrigerated 9-inch store-bought one?
▾
Absolutely! A homemade all-butter 9-inch pie crust works beautifully here, just roll it to a consistent 1/8-inch thickness and fit it evenly into your pie plate before adding filling. Keep it chilled until you’re ready to assemble to guarantee that same flaky, tender crust texture the refrigerated version delivers.
3.Do I need to pre-bake the refrigerated pie crust for this recipe?
▾
No, you don’t need to blind bake the refrigerated crust for this easy recipe! The dense, savory beef filling bakes at a moderate temperature right alongside the crust, so it cooks through fully and gets crisp on the bottom without a pre-bake step. Just confirm your oven is fully preheated before sliding the pie in.
4.How small should I dice the yellow onion so it blends well in the filling?
▾
Dice your yellow onion into uniform ¼-inch pieces for the best final texture. That size cooks down soft and sweet as you sauté it with the ground beef, so you won’t end up with big, crunchy undercooked onion bites, but you’ll still get that classic savory onion flavor core to a great cheeseburger.
5.Can I use garlic powder instead of fresh garlic if I don’t have any on hand?
▾
You can absolutely substitute! Use ¼ teaspoon of garlic powder for every clove of fresh garlic the recipe calls for, and add it right when you stir in the ketchup and other seasonings to the browned beef so it doesn’t burn. It won’t have the exact bright zing of fresh garlic, but it will deliver that warm, savory depth you want.
6.How much ketchup do I need for the filling, and can I swap some for mustard?
▾
The base recipe uses ⅓ cup of ketchup to get that classic burger sauce tang, and you can absolutely stir in 1 to 2 tablespoons of yellow mustard if you love that classic cheeseburger mustard kick. Just skip adding extra wet ingredients beyond that, or you risk making the bottom crust soggy as it bakes.
7.What kind of cheddar works best for that melted, gooey cheeseburger texture?
▾
Sharp or medium yellow cheddar, freshly shredded straight off the block, works best! Pre-shredded bagged cheddar has anti-caking coatings that keep it from melting as smoothly, while freshly shredded cheese melts into that stretchy, gooey layer that tastes exactly like the cheese on your favorite diner cheeseburger.
8.Do I have to drain the grease from the ground beef after browning it?
▾
Yes, definitely drain off all excess rendered grease from the browned 80/20 beef before adding your garlic, onion, ketchup, and seasonings. If you leave that extra grease in the filling, it will seep into the pie crust as it bakes, leaving you with a soggy, greasy bottom crust instead of the flaky, crisp base you want.
9.How long does this cheeseburger pie need to bake, and what temperature?
▾
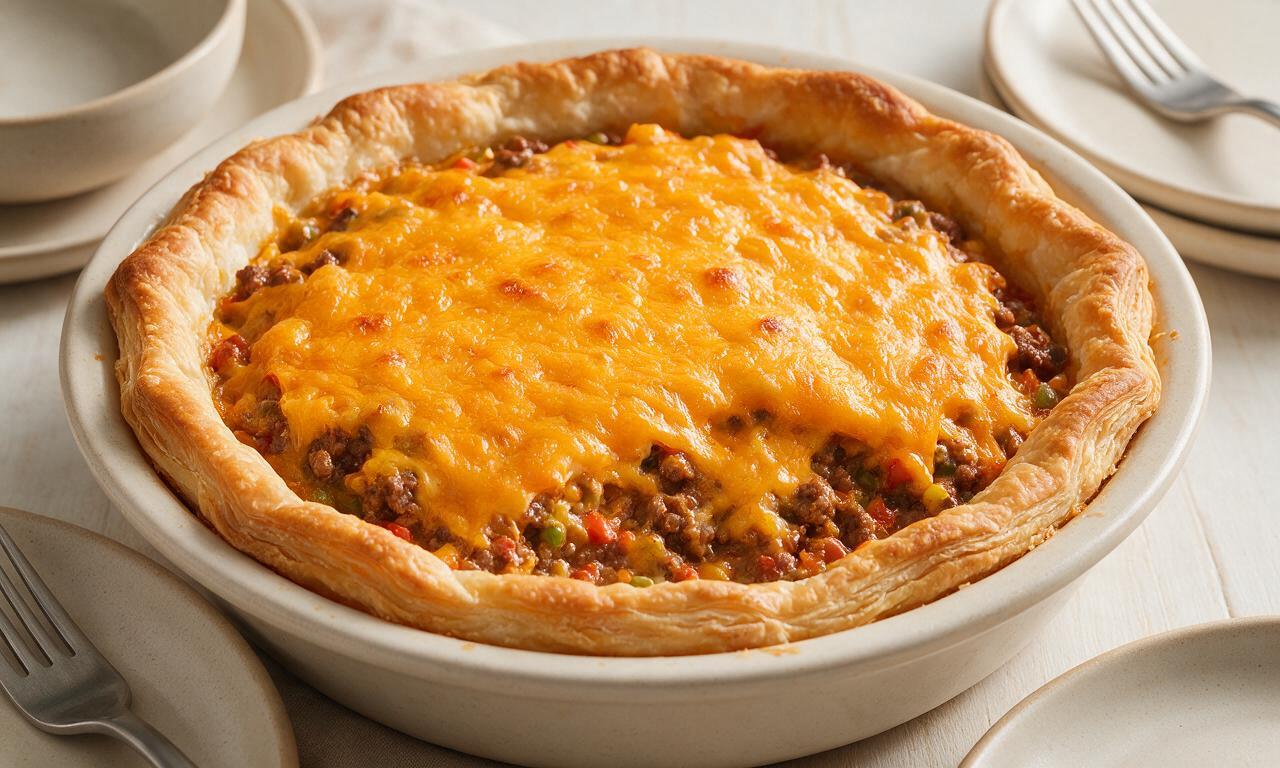
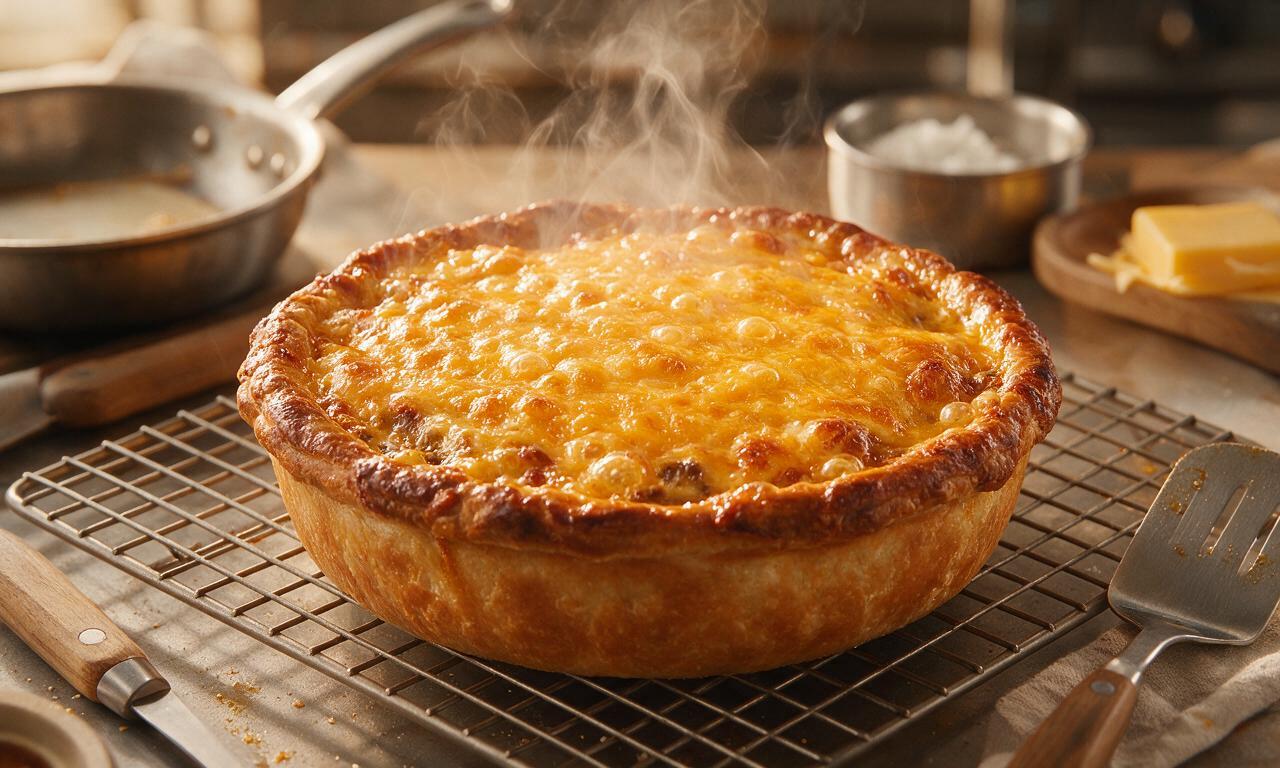
Bake the pie at 400°F for 30 to 35 minutes, until the crust is deep golden brown around the edges, the cheddar on top is fully melted and bubbly, and the filling reaches 165°F on an instant-read thermometer. Let it rest 10 minutes before slicing to help the filling set cleanly.
10.Can I add pickles to the filling for extra classic cheeseburger flavor?
▾
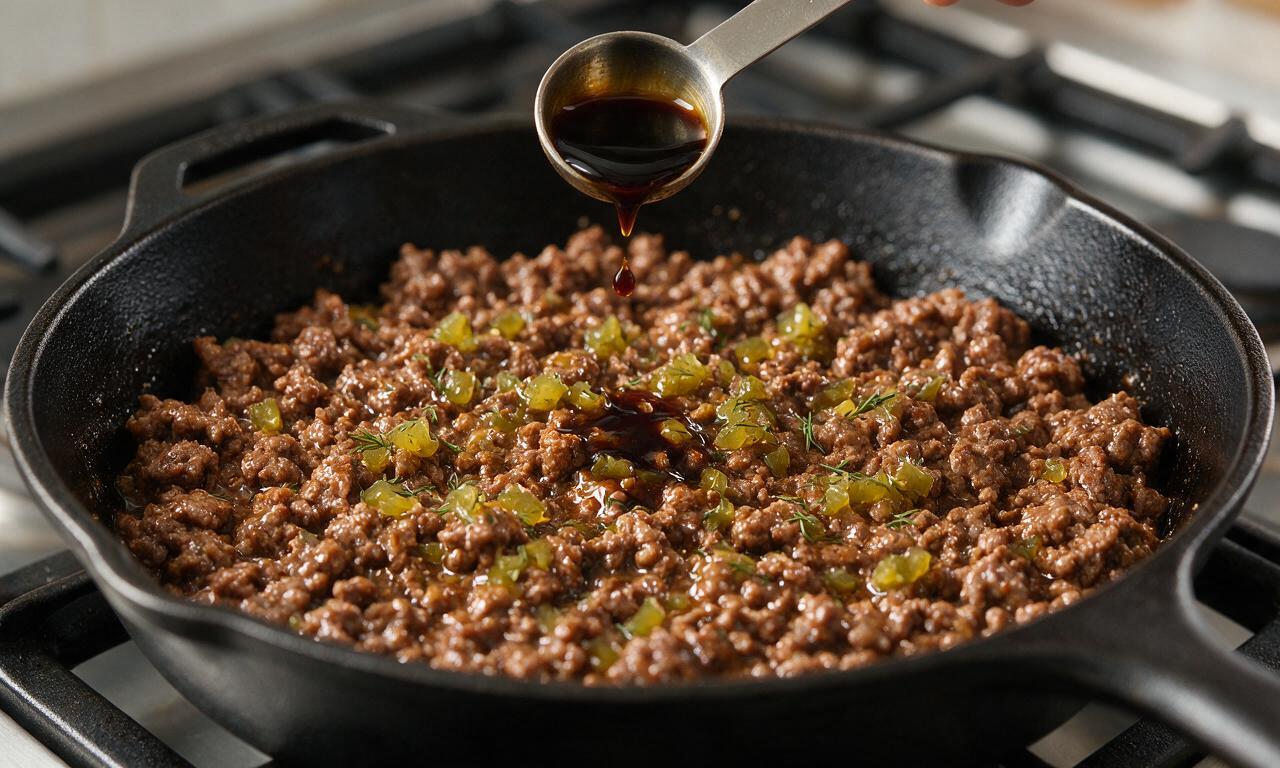
You can, but pat dill pickle slices completely dry with paper towels first before chopping and stirring them into the filling. Wet, briny pickles hold extra moisture that can make the crust soggy, but thoroughly dried, chopped pickles add that perfect tangy, briny kick without the sogginess risk.
11.Can I make this cheeseburger pie ahead of time for weeknight meals?
▾
Absolutely! You can assemble the fully uncooked pie, cover it tightly with plastic wrap, and store it in the fridge for up to 2 days before baking, or wrap it extra tight to freeze for up to 3 months. Add 5 to 10 minutes to the bake time if cooking straight from the fridge.
12.How do I keep the edges of my pie crust from burning while the filling cooks?
▾
If you notice the crust edges turning deep golden faster than the rest of the pie, wrap a thin strip of aluminum foil around the rim of the pie plate to cover the crust edge for the last 10 to 15 minutes of baking. That blocks direct oven heat so the edges don’t char before the filling and bottom crust finish cooking.
13.What are good side dishes to serve with this cheeseburger pie?
▾
This cozy, savory pie pairs perfectly with all your classic burger sides! Serve it with a crisp green side salad tossed in tangy vinaigrette, crispy baked french fries, creamy coleslaw, steamed buttered sweet corn, or roasted broccoli. Bright, fresh sides cut through the rich filling for a balanced, satisfying family meal.
14.Can I use ground turkey instead of ground beef for a lighter version?
▾
You can swap in ground turkey for a lighter take, but use a 93/7 blend instead of ultra-lean ground turkey breast to avoid dry, crumbly filling. Add an extra tablespoon of ketchup and a pinch of smoked paprika to amp up savoriness, since turkey doesn’t have the same rich, beefy depth as 80/20 ground beef.
15.How do I store leftover cheeseburger pie, and how long does it keep?
▾
Let leftover pie cool completely to room temperature, then wrap the pie plate tightly in plastic wrap or transfer sliced portions to sealed airtight containers. It will keep well in the refrigerator for up to 4 days, and you can reheat individual slices in the microwave or a 350°F oven until warmed through.
16.Should I add a top crust to this cheeseburger pie, or leave it open-faced?
▾
The classic easy version is open-faced, topped with a layer of melted cheddar, but you can absolutely add a second refrigerated pie crust on top if you love a hearty double-crust pie! Just cut 3 small slits in the top to let steam escape, and crimp the edges tightly to seal in the filling as it bakes.
17.My pie came out with a soggy bottom crust—what did I do wrong?
▾
A soggy bottom crust usually comes from one of three common missteps: you didn’t fully drain excess grease from the browned beef, you added too many wet mix-ins like undried pickles or extra sauce, or your oven wasn’t fully preheated when you put the pie in. Next time, confirm your oven temp, drain grease well, and pat juicy mix-ins dry.







OMG this cheeseburger pie was a total game changer for our weekly family dinner! My three picky boys devoured half the pan in 5 minutes flat, and my husband asked if we could add it to the permanent meal rotation. So easy to throw together on a busy school night too, no fancy ingredients needed. 10/10!
I made this on Sunday for my weekly meal prep and it held up perfectly all week for lunches! I added a little diced onion and pickles on top of each slice when I reheated it and it tasted just like a drive-thru cheeseburger, no sad desk lunch here. Super easy, minimal cleanup, way cheaper than takeout.
Brought this to our neighborhood block party potluck last weekend and people were lined up to get a slice before I even finished setting it down! I lost count of how many people asked me for the recipe. I topped mine with a little drizzle of ketchup and mustard and some shredded lettuce after it cooled, and it was a total hit. Will absolutely be making this for every get-together from now on.
I’m literally a college student who can barely boil water without burning it, and this recipe turned out perfect first try? I was so nervous it would be a flop for my roommate’s birthday dinner, but everyone raved about it. Cook time was exactly 45 minutes like the recipe said, no weird steps, super straightforward. Even I couldn’t mess this up! Only reason it’s not 5 stars is I wish there was a note about adding extra cheese if you’re a cheese fiend like me, but that’s a personal preference.
This looks amazing! Has anyone tried making this with a gluten-free baking mix for the crust? My kid has celiac and we’re always looking for easy weeknight meals he can eat with the rest of the family without having to make a separate meal. Can’t wait to test it out if it works!
Made this last night and it was so good! I swapped the ground beef for ground turkey to lighten it up a little, added a handful of diced bell peppers, and it still tasted exactly like a classic cheeseburger. My 7 year old asked for seconds, which is basically a miracle in our house. Will be making this at least twice a month.
Y’all I was convinced I was gonna ruin this because I can never get savory pies to set right, but it came out perfect! The crust was golden and flaky, the filling was juicy and cheesy, not runny at all. I served it with a side of crinkle cut fries and my partner said it was better than the burger joint downtown. Win!
I usually hate leftover casseroles because they get all weird and rubbery after a day in the fridge, but this cheeseburger pie was somehow even better the next day? I ate a cold slice straight out of the container for breakfast this morning and zero regrets. Don’t judge me, it was that good.
Total win for anyone cooking on a tight budget! I already had all the ingredients in my pantry and fridge except the ground beef, so the whole thing cost me like $8 to make and fed me and my two roommates for two nights. Way cheaper than ordering burgers, and way more filling. Can’t beat that.
I added a dash of cayenne and some pickled jalapeños to the beef layer for a little kick, and oh my gosh it was chef’s kiss. If you like a spicy burger, do not sleep on that addition. It cut through the richness of the cheese perfectly. 10/10 will make again with extra jalapeños next time.
My 10 year old daughter helped me make this last night and she had a blast stirring the filling and sprinkling the cheese on top. It’s such a kid-friendly recipe to make together, no complicated steps for little hands to help with, and she was so proud to serve something she helped make to the rest of the family. Such a sweet memory, and the pie was delicious too!
I’ve been making a version of cheeseburger pie for 40 years, and this recipe is by far the easiest and tastiest one I’ve ever tried! The crust ratio is perfect, not too thick, not too thin, and the seasoning for the beef is spot on. I added a little diced tomato to the filling just for fun and it worked beautifully. Will be passing this recipe along to my grandkids.
Made this for our Sunday football watch party with the guys and it was gone before halftime. I cut it into small square slices so people could grab it easily without plates, and everyone was raving. Way easier to make than a bunch of individual burgers for a crowd, and no one had to man the grill the whole game. Absolute game day staple from now on.