cheeseburger tot casserole

title 1
cheeseburger tot casserole
⏱️ cook time 40 minutes
🍽️ servings 8
⚡ Difficulty easy

intro

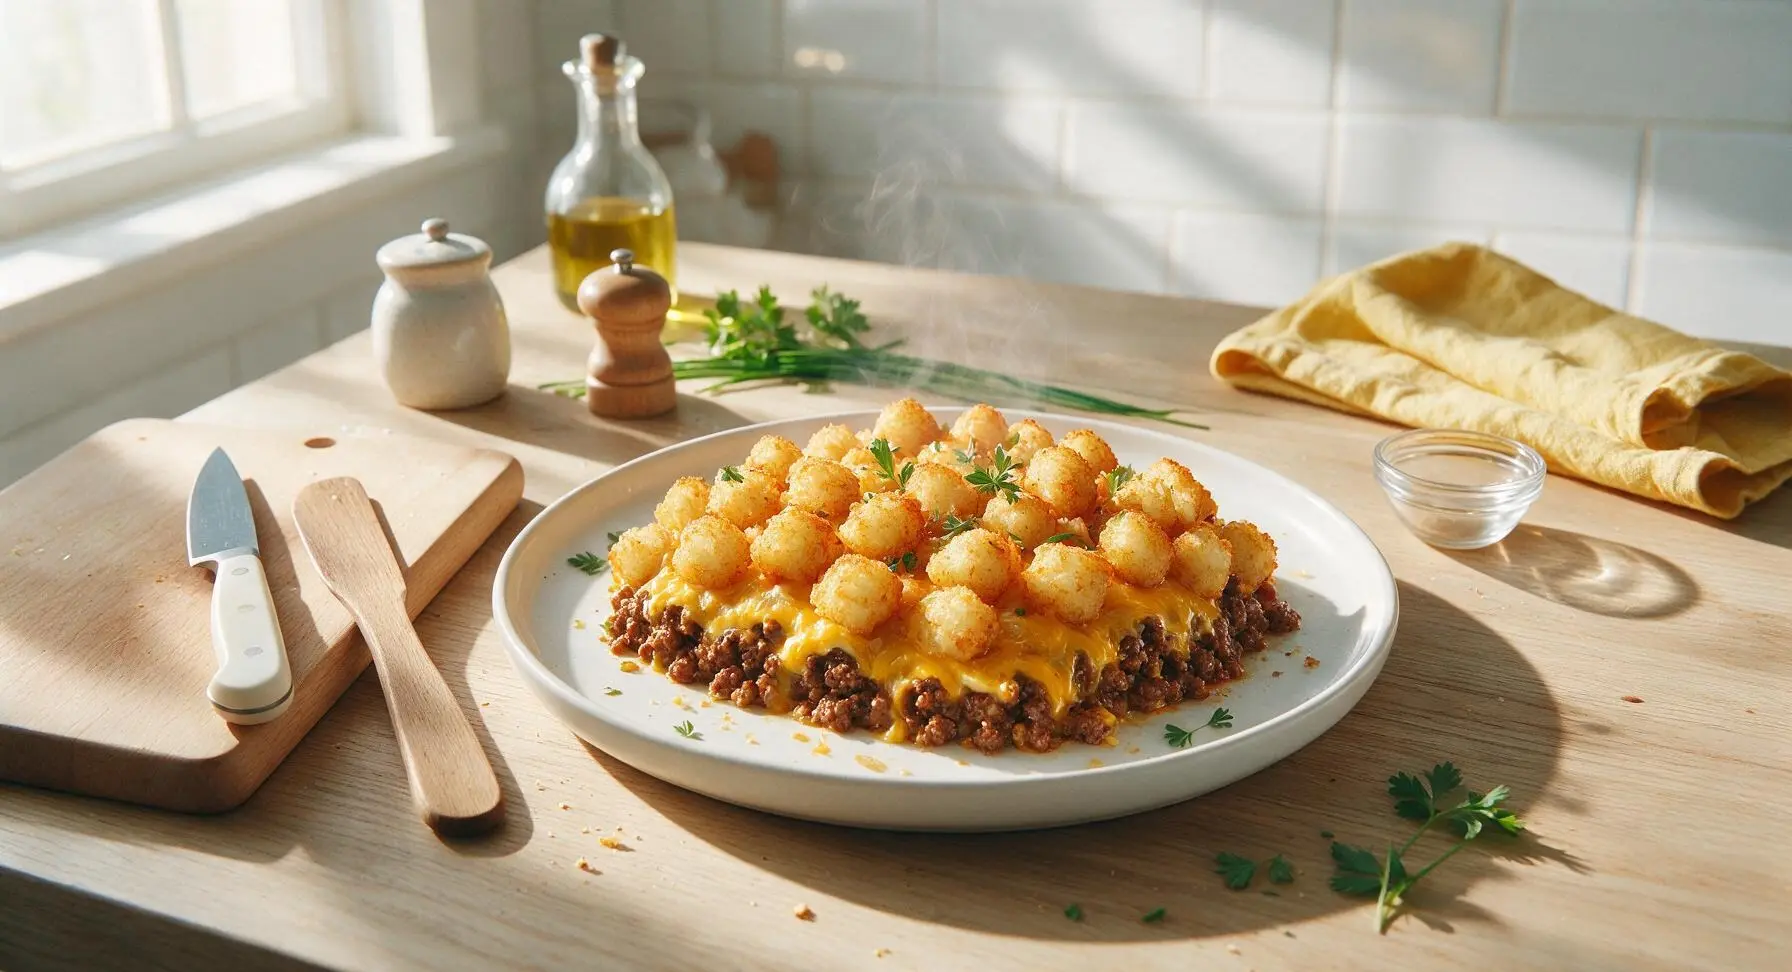
Crispy golden tater tots top savory ground beef, melted cheddar, and classic cheeseburger flavors for a cozy, one-pan weeknight meal the whole family will love.

Ingredients
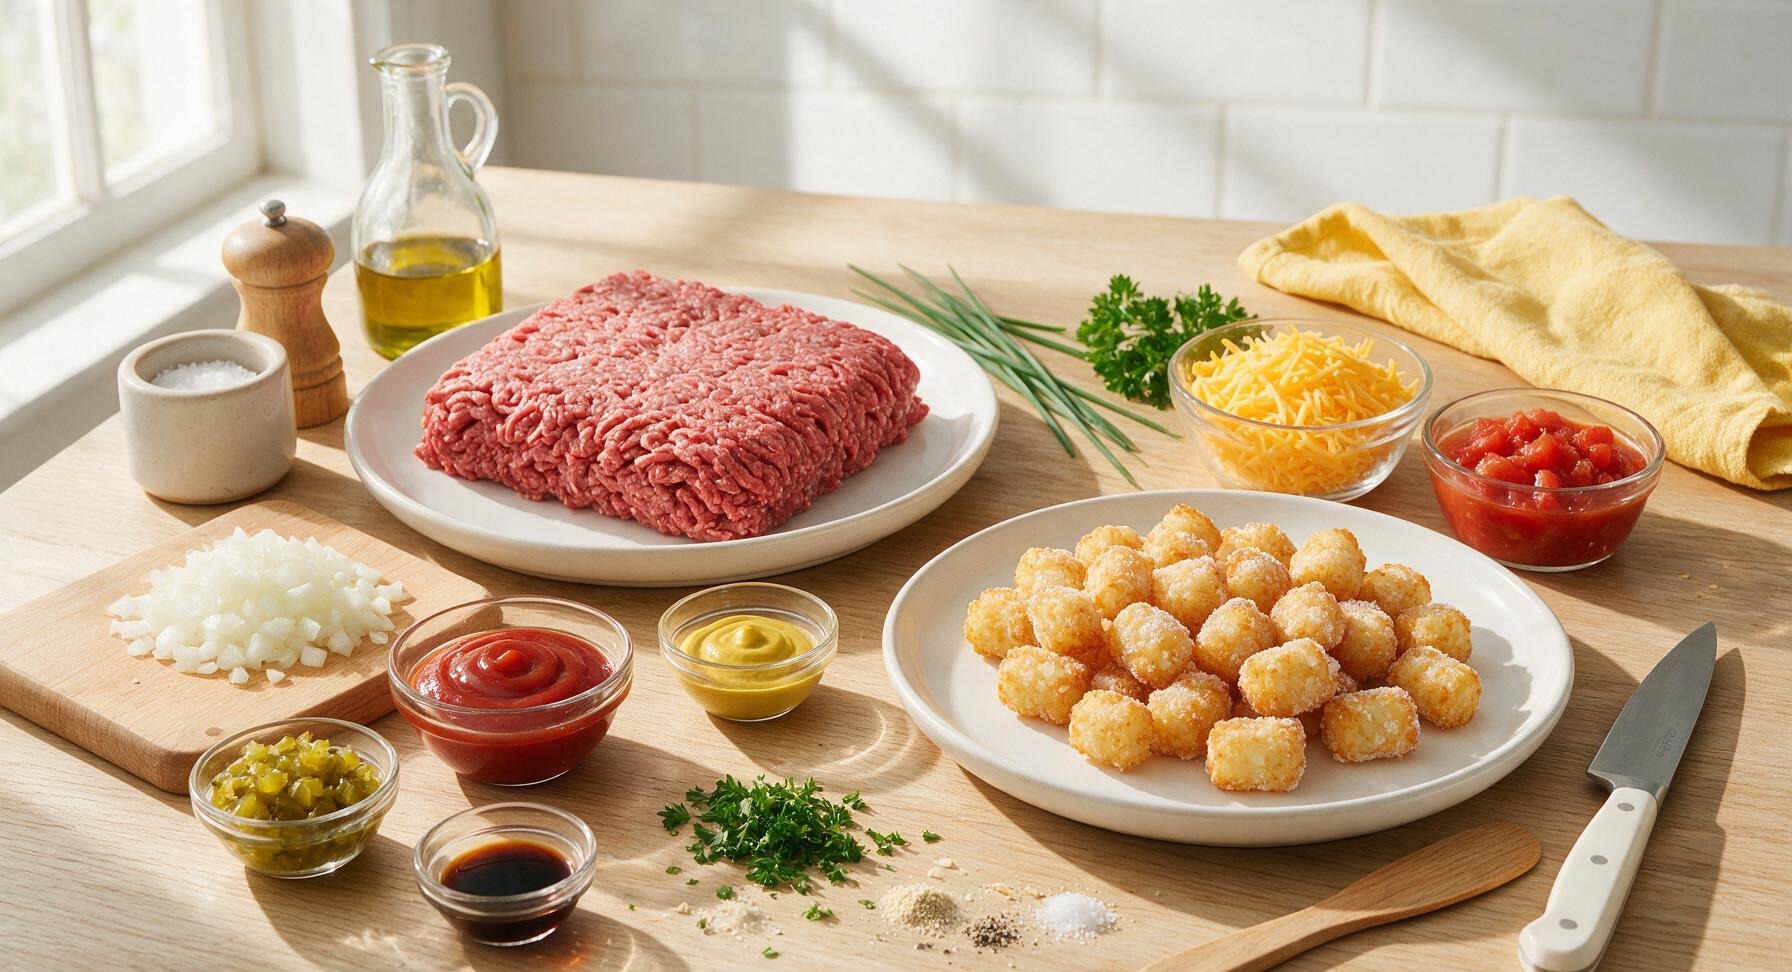
80/20 ground beef 900g (2 lbs)
frozen tater tots 900g (32 oz bag)
sharp cheddar cheese, shredded 340g (3 cups, divided)
yellow onion, finely diced 1 medium (150g)
dill pickles, finely diced 70g (1/2 cup)
canned diced tomatoes, fully drained 410g (14.5 oz can)
ketchup 120ml (1/2 cup), plus extra for serving
yellow mustard 30ml (2 tbsp)
Worcestershire sauce 15ml (1 tbsp)
garlic powder 1 tsp
onion powder 1 tsp
kosher salt 1 tsp
freshly ground black pepper 1/2 tsp
fresh curly parsley, chopped (for garnish) 2 tbsp

Steps

1

Prep and brown beef

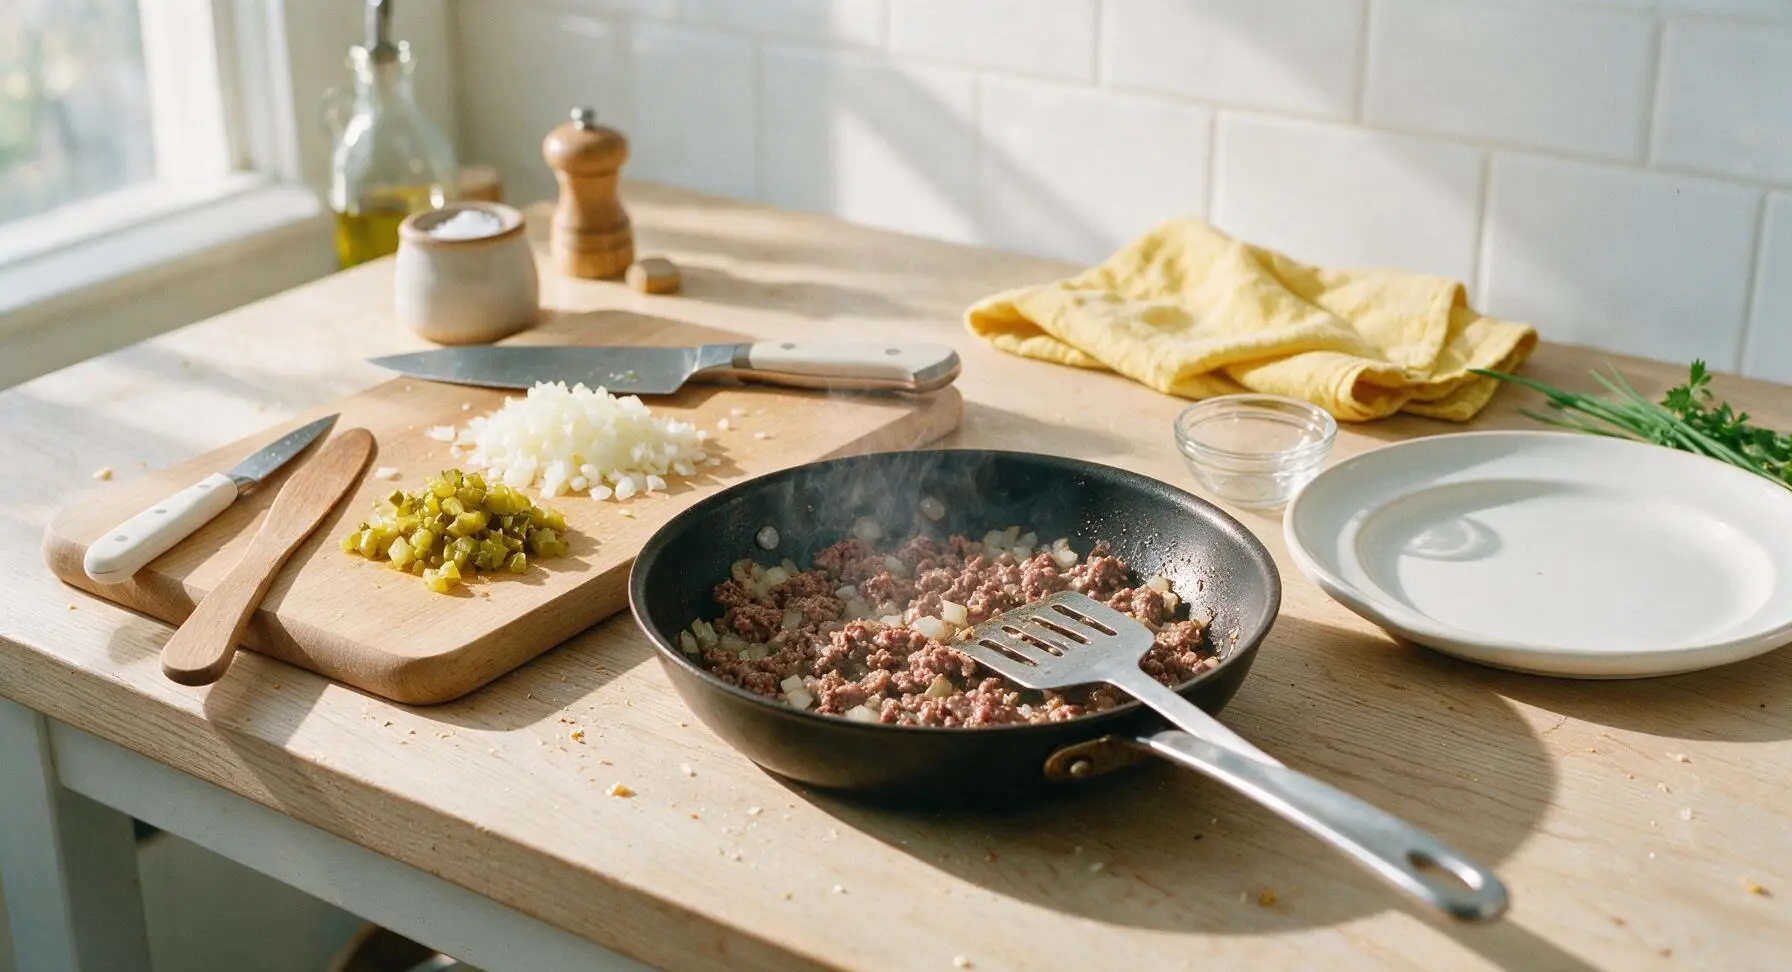
First, preheat your oven to 400°F (200°C). Place the light ash wood cutting board on the counter, and use the 8-inch stainless steel chef knife to finely dice the yellow onion and dill pickles, setting the diced pickles aside for later. Place the 12-inch matte black carbon steel skillet on the stovetop over medium heat. Add the ground beef and diced onion, breaking the beef into small crumbles with the slotted stainless steel turner as it cooks. Cook for 8-10 minutes until no pink remains in the beef and the onion is soft and translucent, then carefully drain all excess grease from the skillet to prevent a soggy casserole.
Step 1
step1:Prep and brown beef
2

Mix in burger seasonings

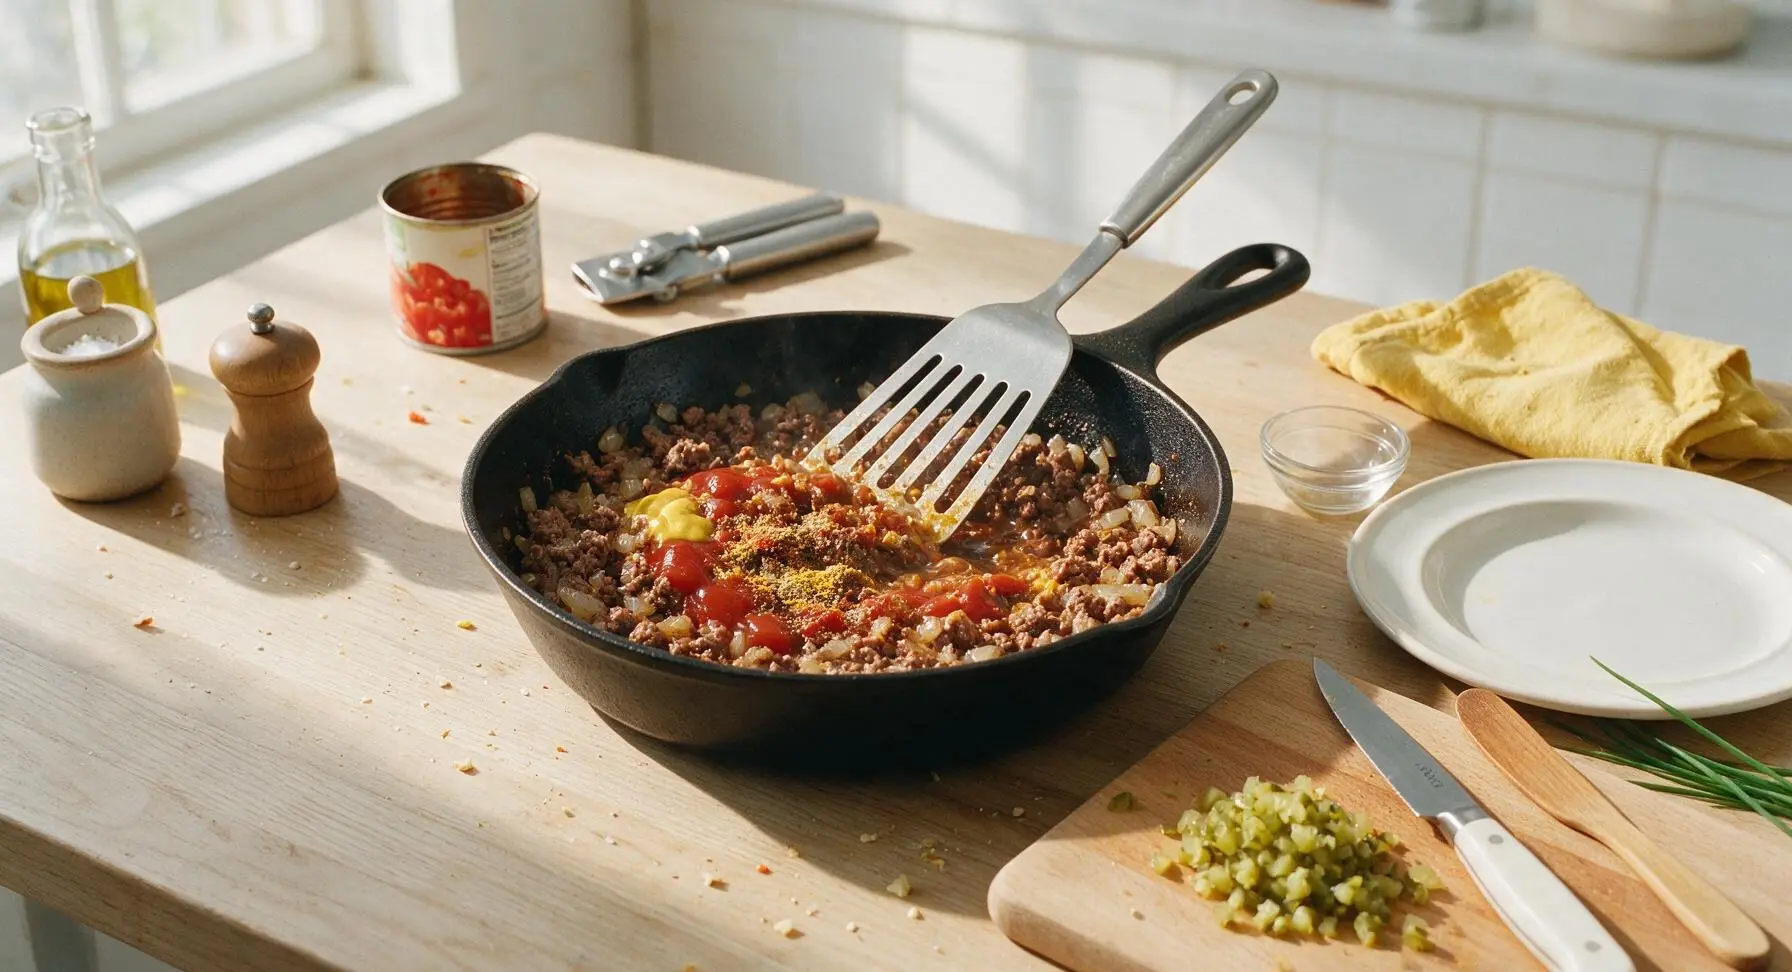
Open the can of diced tomatoes with the matte silver can opener, draining all liquid from the can completely. Add the drained tomatoes, ketchup, yellow mustard, Worcestershire sauce, garlic powder, onion powder, kosher salt, and black pepper to the browned beef in the skillet. Stir thoroughly with the slotted turner to evenly combine all ingredients, then let the mixture simmer gently for 2 minutes to let flavors meld. Fold in the reserved finely diced dill pickles.
Step 2
step2:Mix in burger seasonings
3

Add first cheese layer

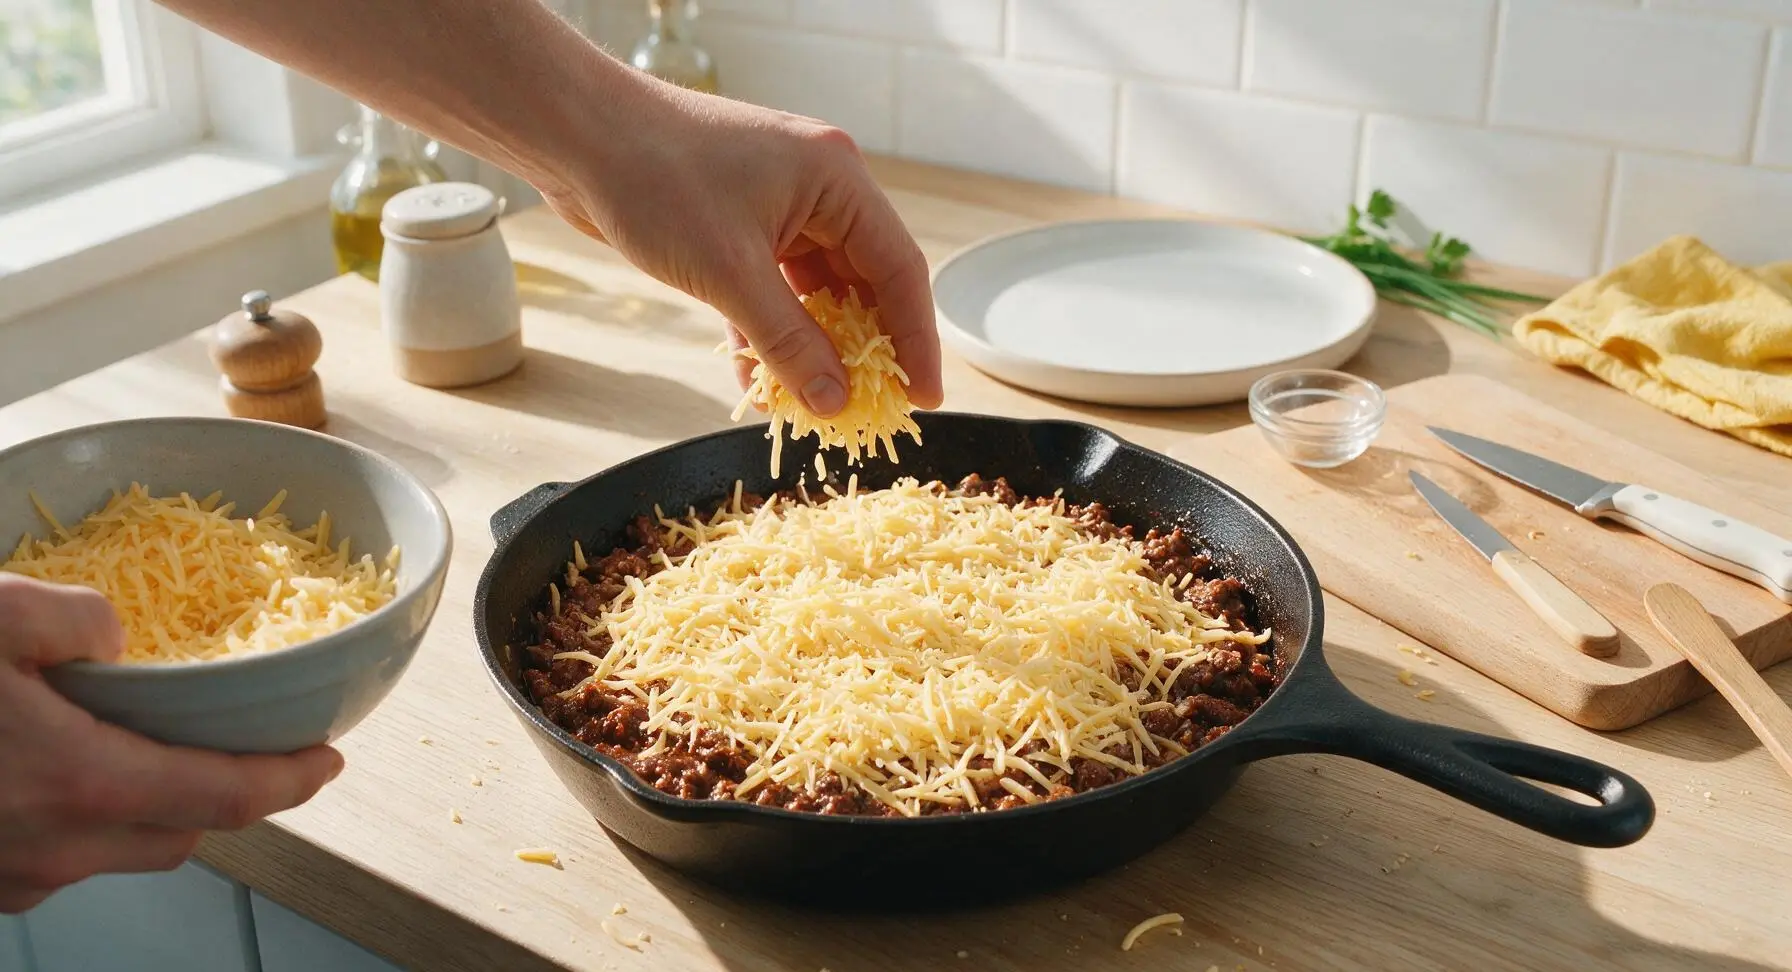
Place 2 cups (225g) of the shredded sharp cheddar in the light gray ceramic mixing bowl. Sprinkle the cheese in an even layer across the entire surface of the hot beef mixture, leaving a narrow 1/2-inch gap around the skillet edge. The residual heat from the beef will begin to soften and melt the cheese as you prepare the top layer.
Step 3
step3:Add first cheese layer
4

Arrange tater tot topping

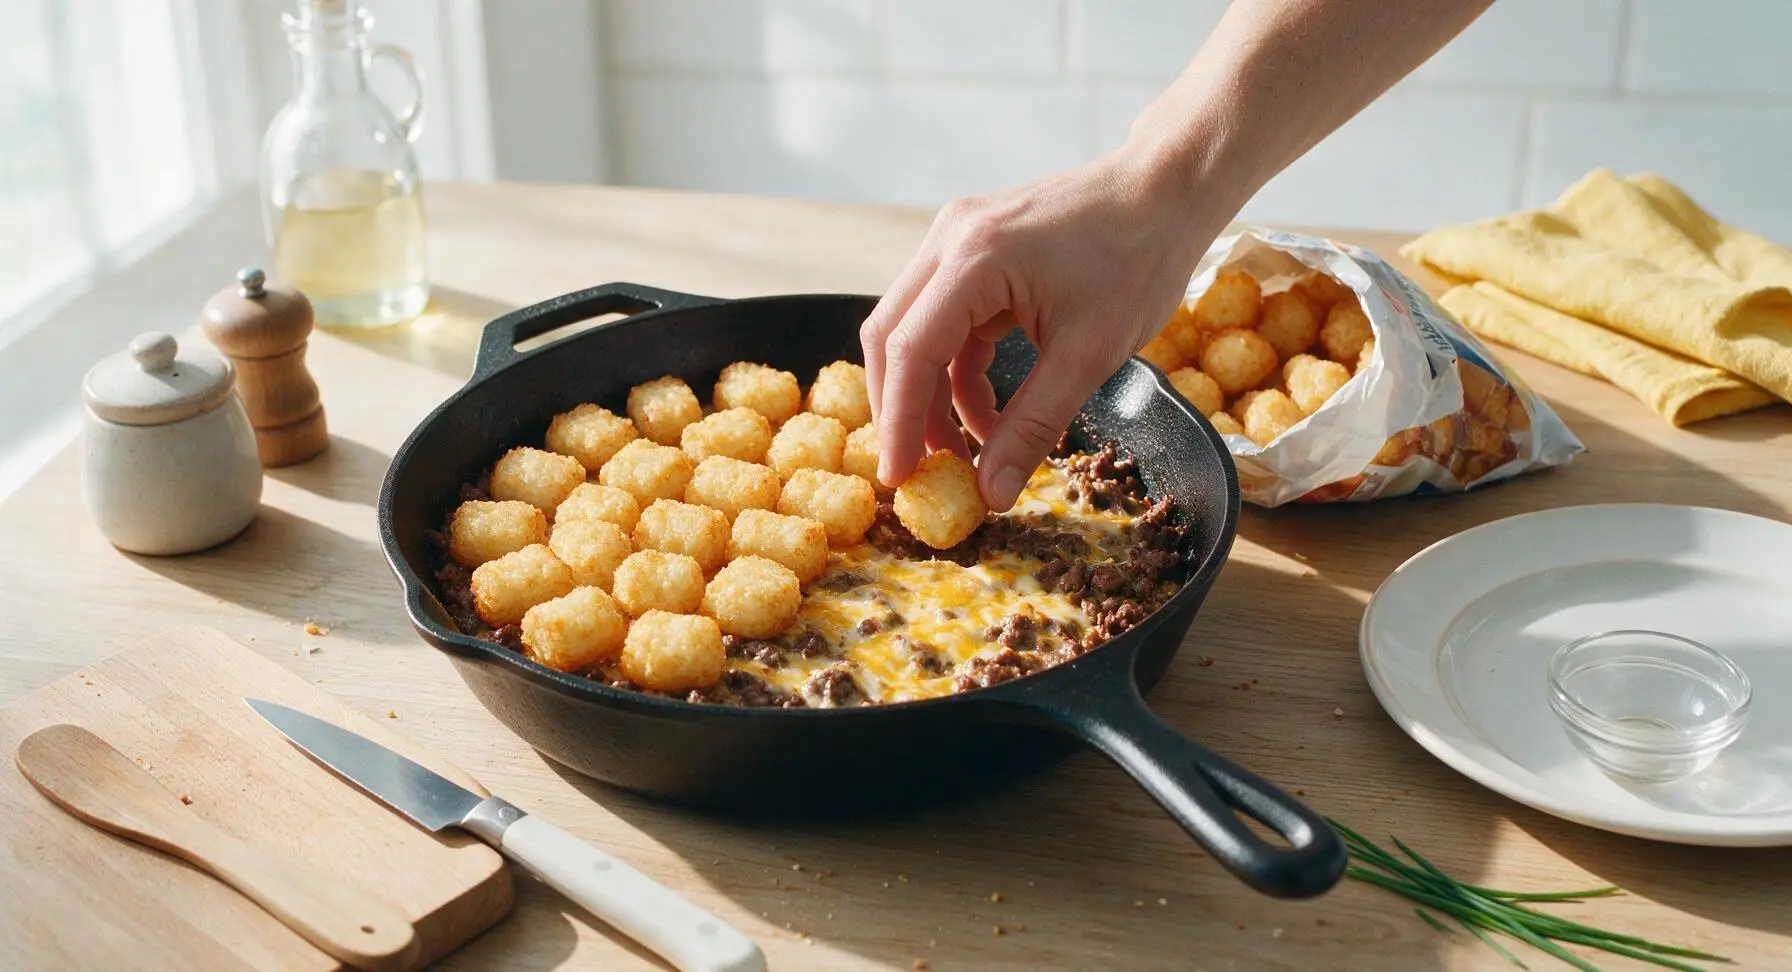
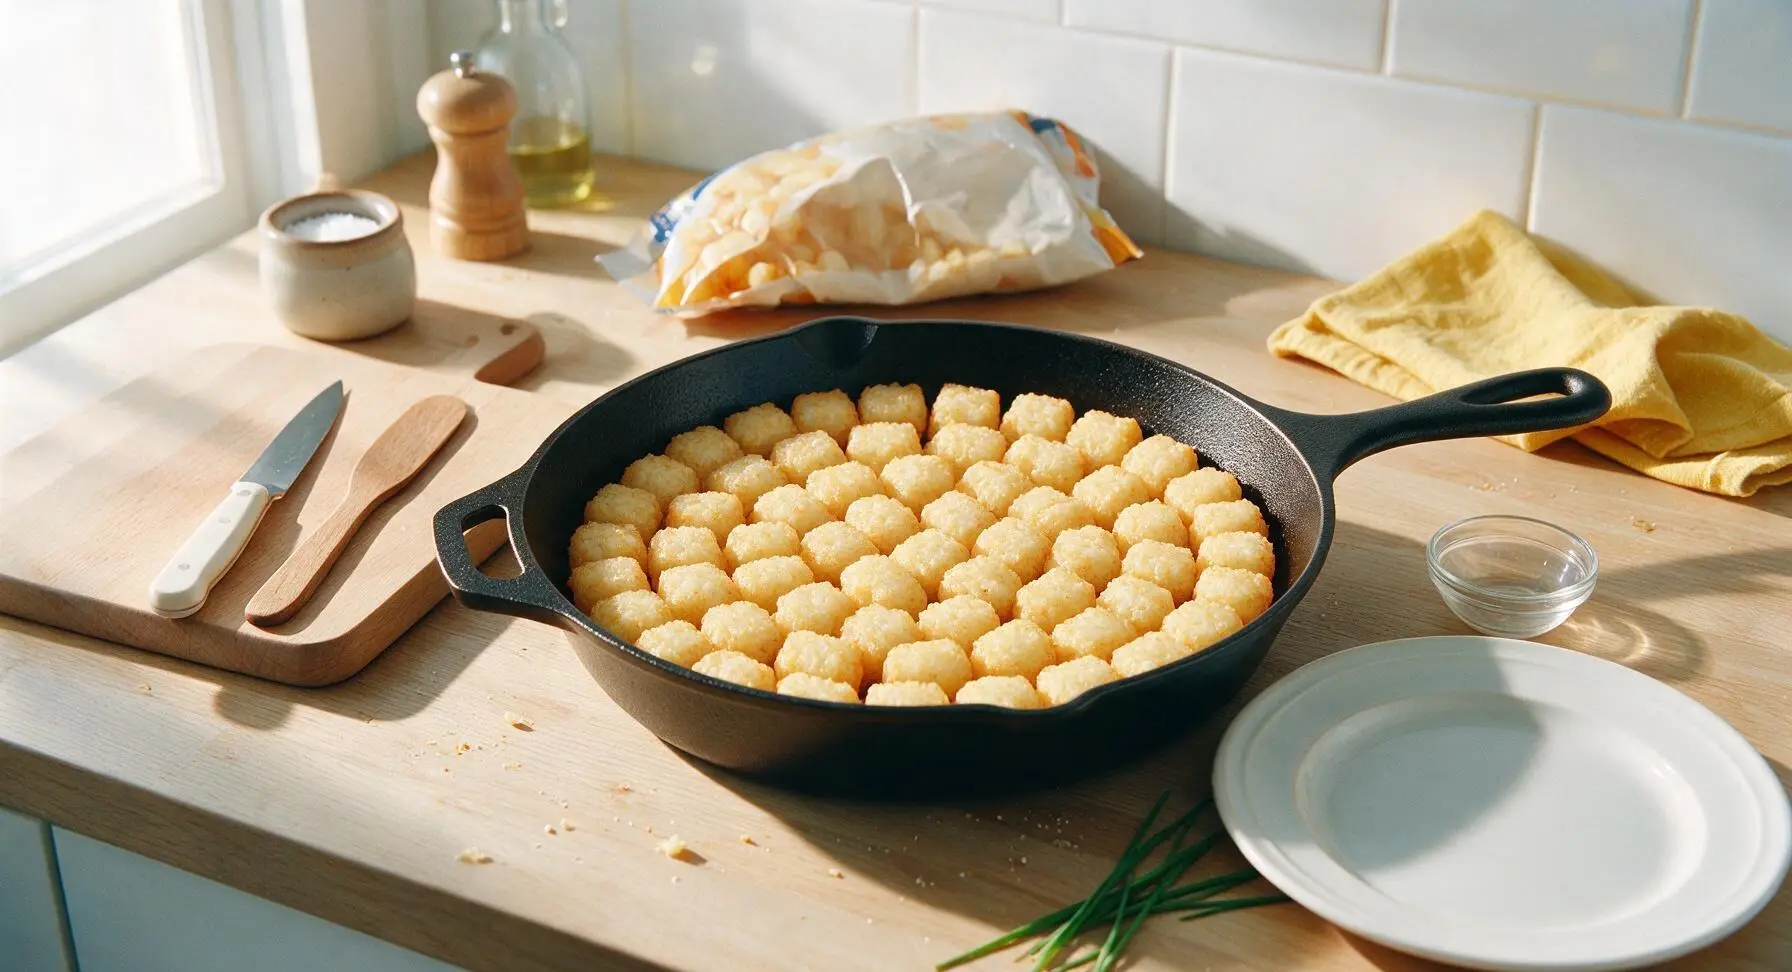
Take the frozen tater tots directly from the freezer (do not thaw, as thawed tots turn mushy when baked) and arrange them in a single tightly packed layer over the cheese, placing each tot flat-side down to maximize crispness. Cover the entire surface with no gaps exposing the cheese or beef below.
Step 4
step4:Arrange tater tot topping
Step 4
step4:Arrange tater tot topping
5

Bake casserole 30 minutes

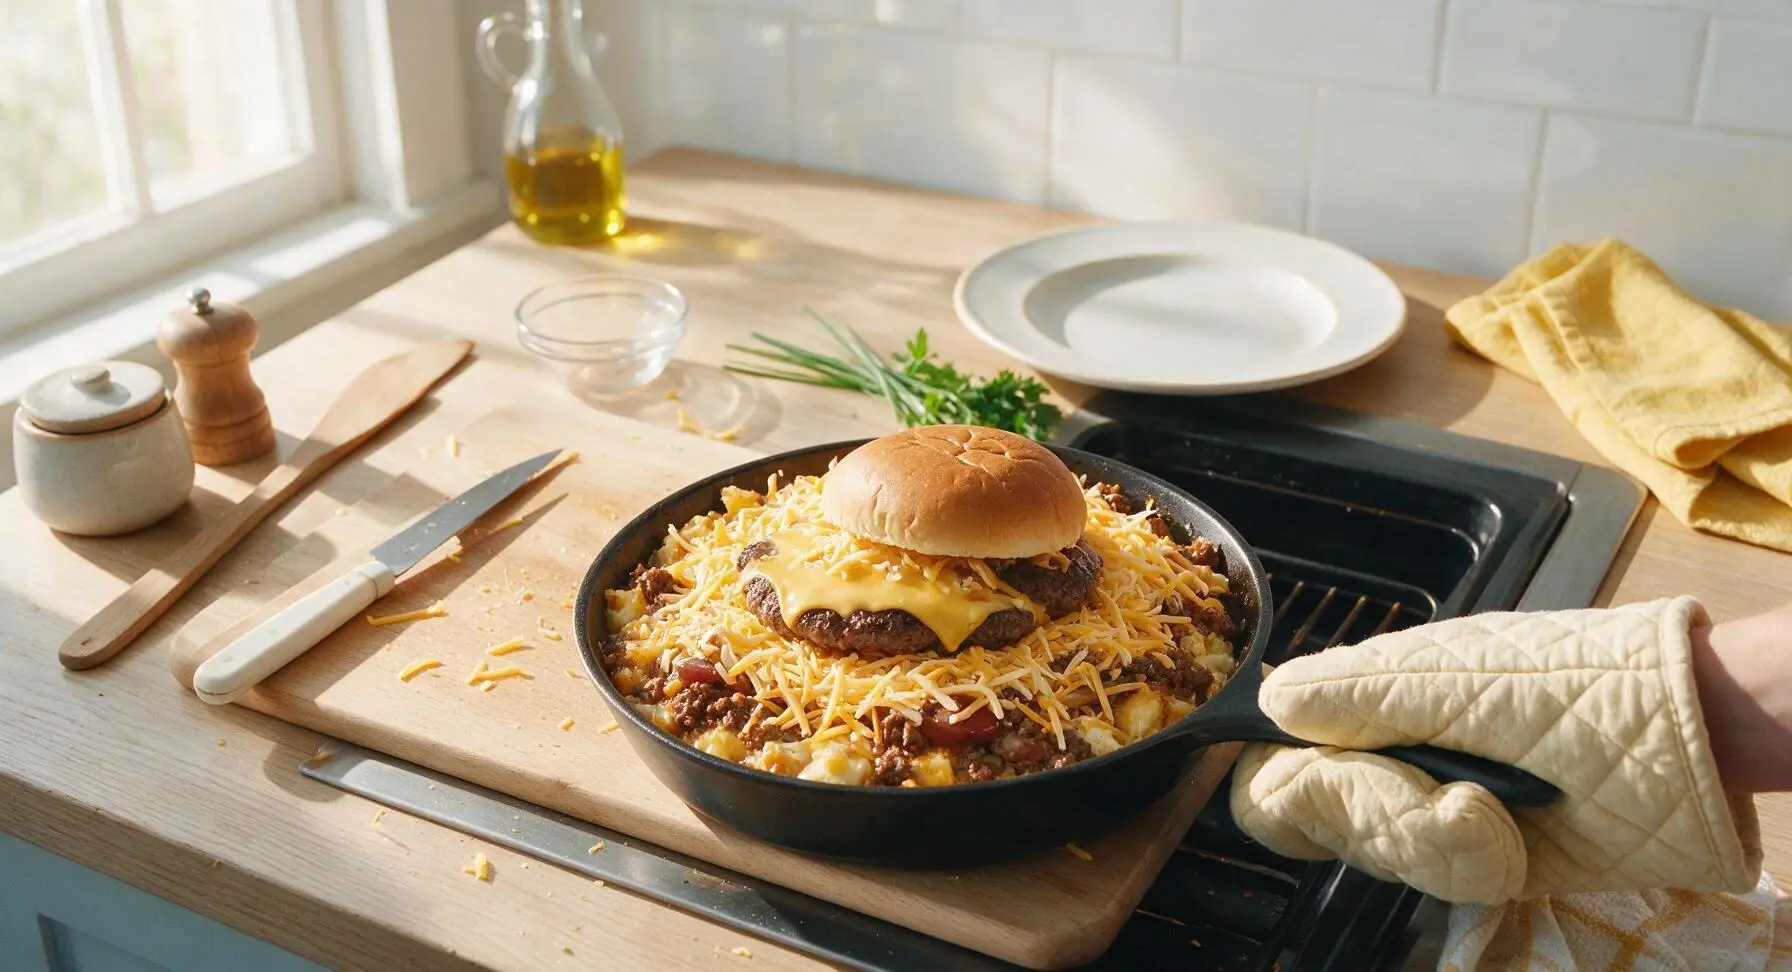
Carefully transfer the assembled skillet to the preheated 400°F (200°C) oven. Bake for 30 minutes, until the tater tots turn light golden and crisp around the edges, and the beef filling starts to bubble up around the pan edges.
Step 5
step5:Bake casserole 30 minutes
6

Top with remaining cheese

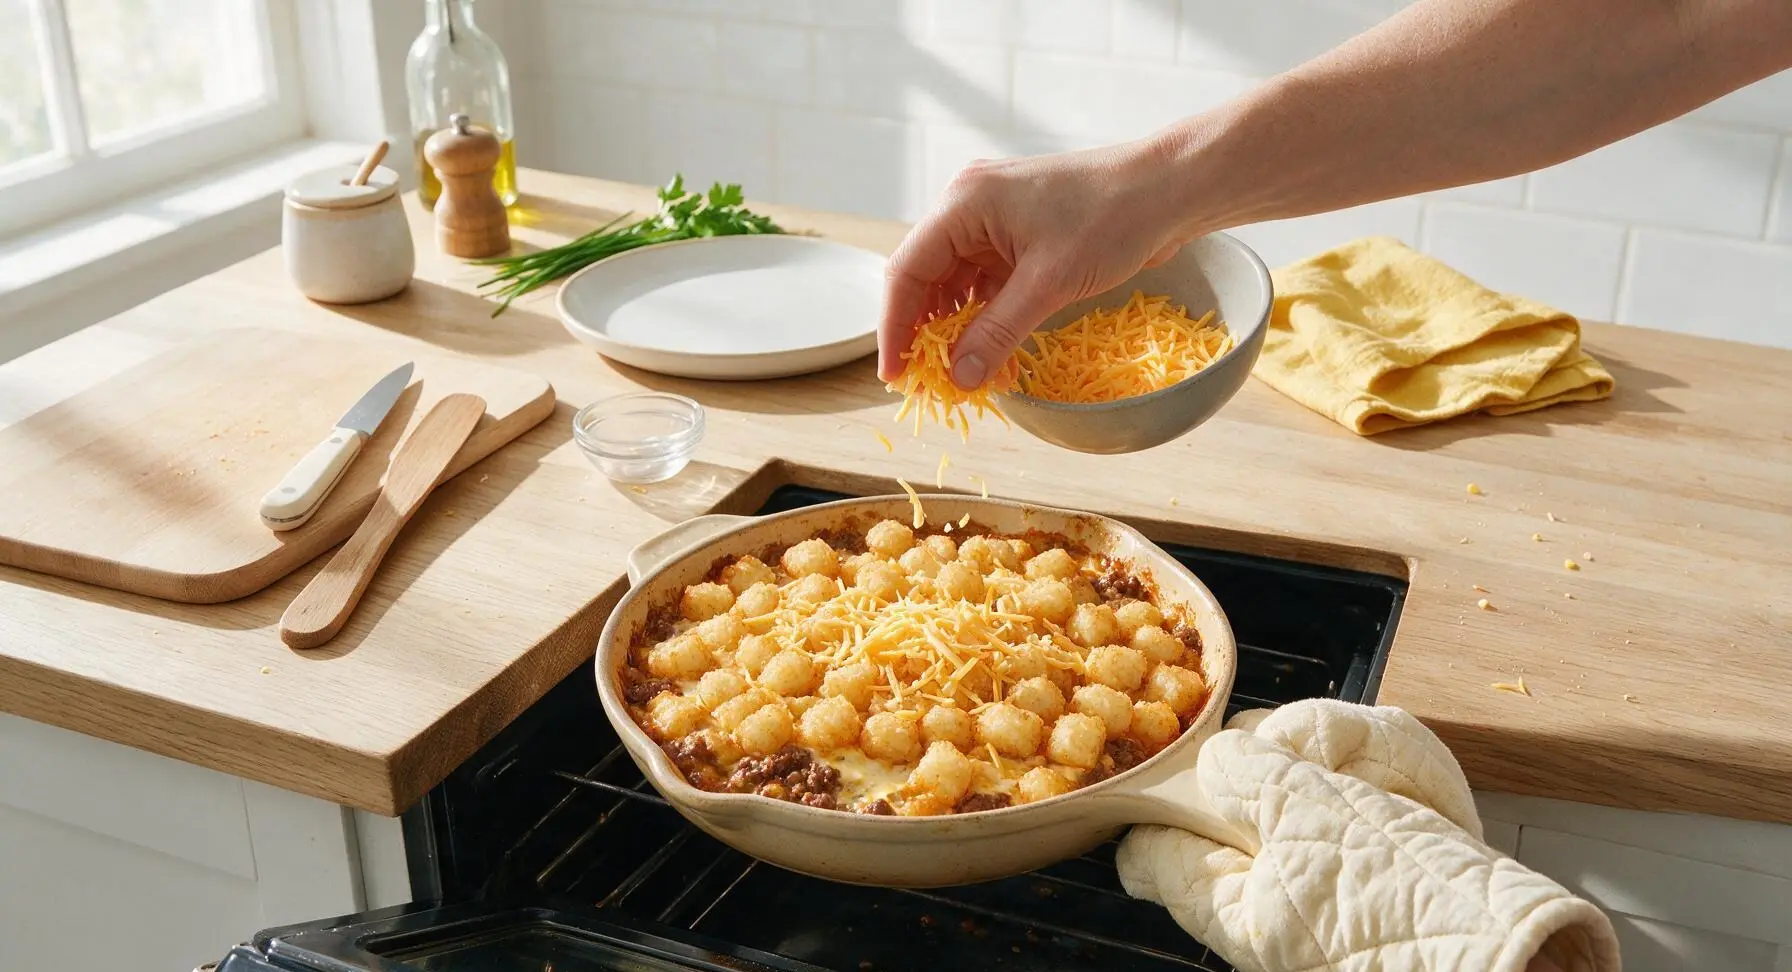
After 30 minutes of baking, pull the skillet partially out of the oven using the oven mitts. Place the remaining 1 cup (115g) of shredded cheddar in the light gray mixing bowl, then sprinkle it evenly over the top of the partially cooked tater tots. Return the skillet to the oven to bake for 10 more minutes, until the cheese is fully melted and bubbly.
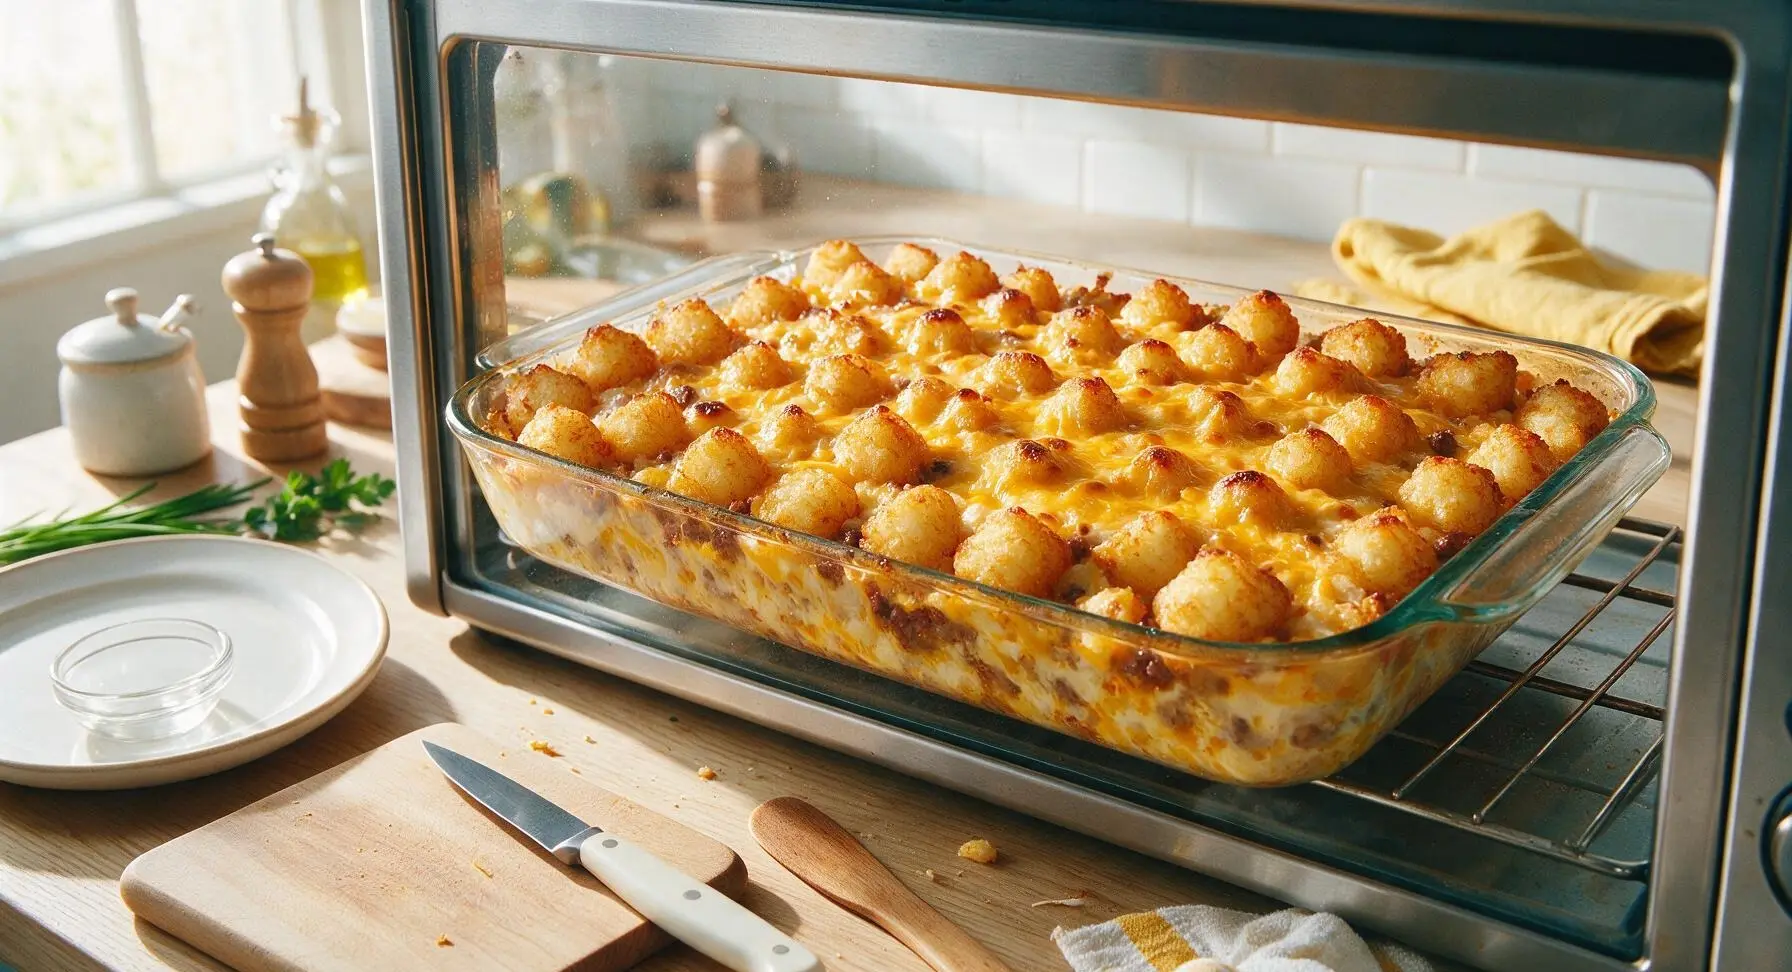
Step 6
step6:Top with remaining cheese
Step 6
step6:Top with remaining cheese
7

Rest and add garnish

Once the 10 minute final bake is complete, use the oven mitts to remove the hot skillet from the oven and set it on the maple countertop. Let the casserole rest for 5 full minutes to allow the layers to set, so portions hold their shape when scooped. Chop a small handful of parsley from the back counter bunch, and sprinkle it evenly over the top of the casserole.
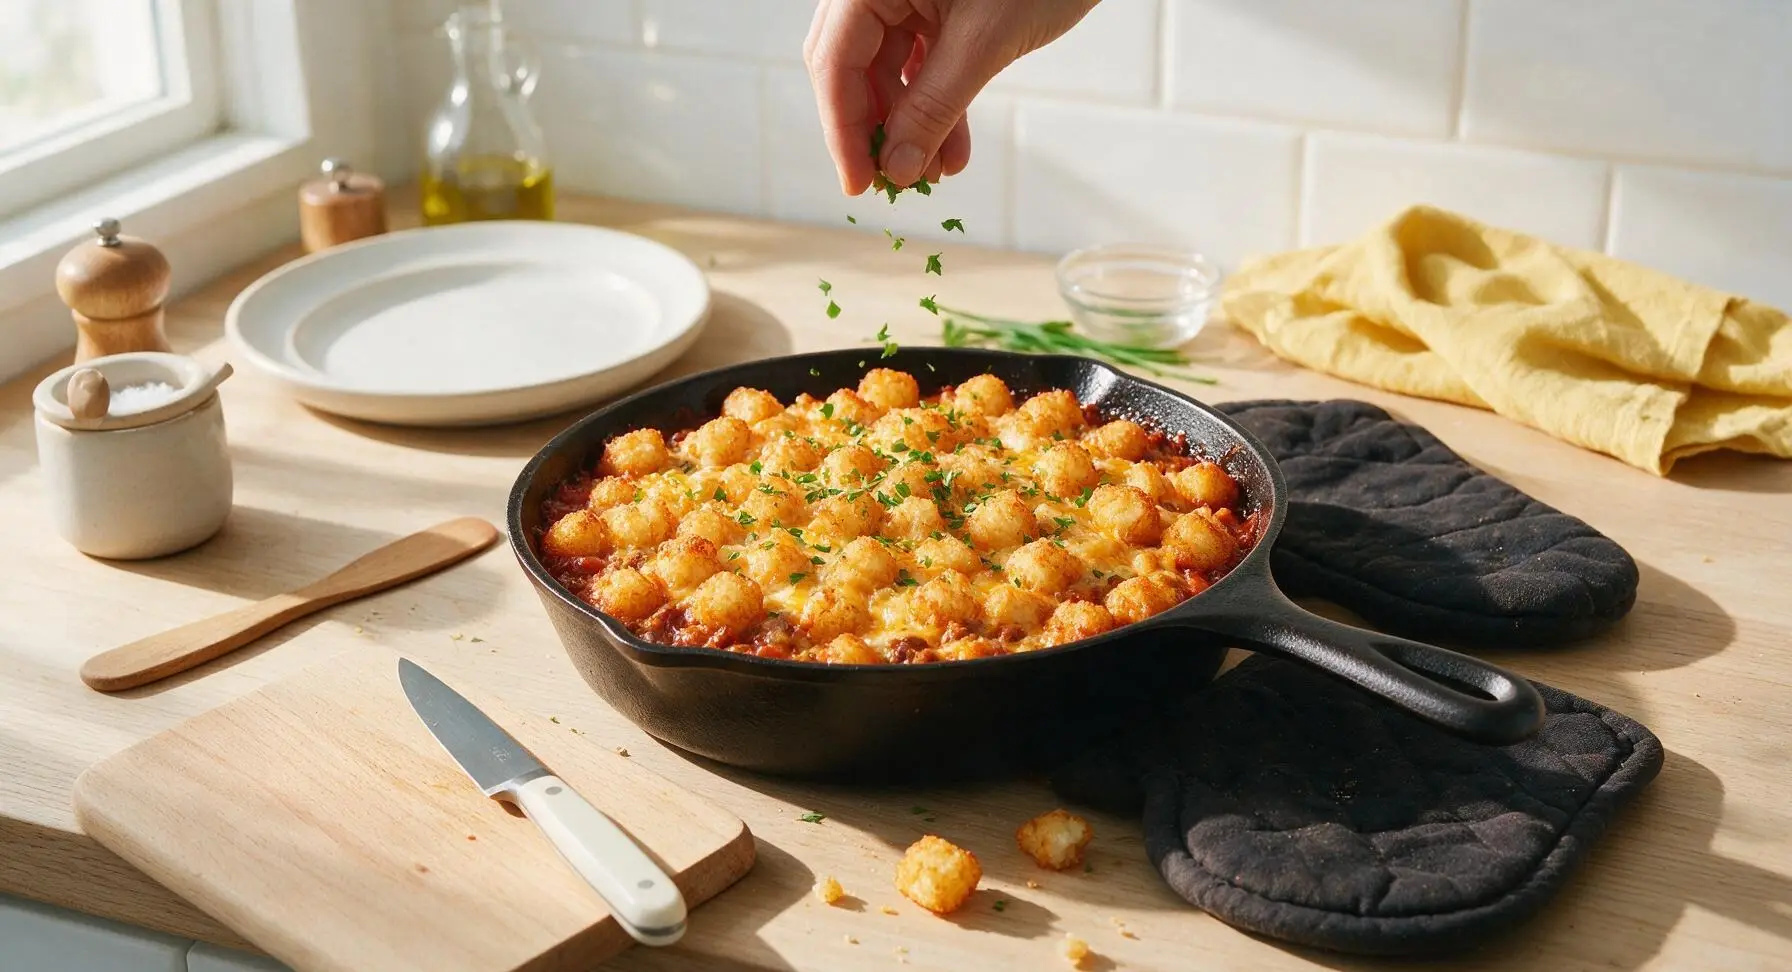
Step 7
step7:Rest and add garnish
8

Plate and serve warm

Use a large serving spoon to scoop generous square portions of the casserole onto the matte off-white ceramic dinner plates, ensuring each serving has a full layer of crispy tots, melted cheese, and savory beef filling. Serve with extra ketchup or mustard in small off-white ramekins on the side, if desired.
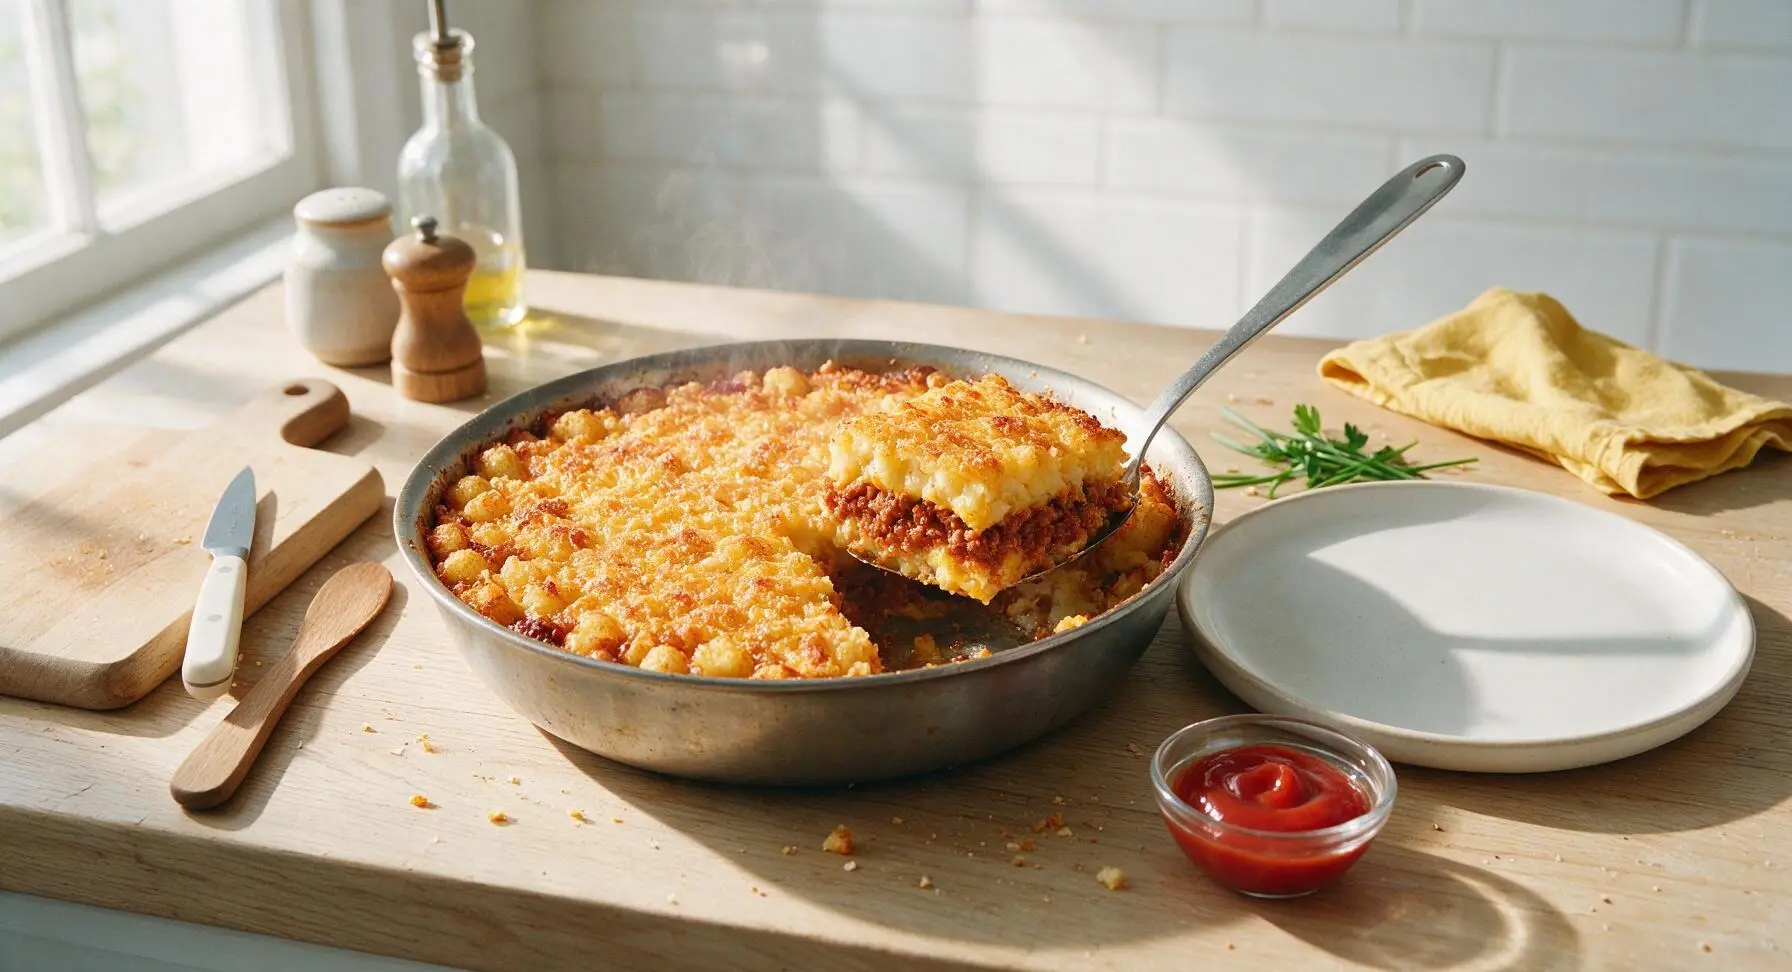
Step 8
step8:Plate and serve warm

Tips

1.Never thaw tater tots before assembling the casserole: baking tots directly from frozen locks in their crisp texture, while thawed tots release excess starch and moisture that leads to a soggy, mushy top layer.
2.Drain excess grease from browned beef and all liquid from canned diced tomatoes completely: trapped excess liquid will make the casserole filling watery, and prevent the cheese layers from binding properly when the dish rests.
3.Let the casserole rest the full 5 minutes after baking: this short rest allows the hot cheese and beef filling to set, so scooped portions hold clean, square edges instead of sliding apart on the plate.

✨ You May Also Like

Dinner
🍜 United States

A festive, hearty spread of classic Swedish small plates, featuring cured fish, tender meatballs, cheese, and seasonal sides, perfect for holiday gatherings.

⏱️ 2 hoursDinner ★ 4.8
Dinner
🍜 United States

Iconic Midwestern comfort meal pairing rich, spiced beef chili with soft, frosted cinnamon rolls for the perfect sweet-savory cold-weather bite.

⏱️ 1 hour 45Dinner ★ 4.7
Dinner
🍜 Canada

A beloved sweet-savory pizza loaded with smoky ham, juicy pineapple, and gooey melted cheese on a crisp golden crust, perfect for casual shared meals.

⏱️ 25 minuteDinner ★ 4.9
Dinner
🍜 United States

Juicy herb-roasted turkey with savory sourdough stuffing and rich pan gravy, the iconic cozy holiday meal made for gathering loved ones around the table.

⏱️ 4 hours 3Dinner ★ 4.9
Dinner
🍜 Italy

Crispy chewy crust, tangy tomato sauce, gooey melted mozzarella, and spicy curled pepperoni: this takeout favorite is simple to make perfectly at home.

⏱️ 35 minuteDinner ★ 4.9
Dinner
🍜 Italy

Crispy, chewy crust loaded with colorful fresh veggies, melted mozzarella, and zesty tomato sauce: a satisfying, crowd-pleasing meatless meal.

⏱️ 35 minuteDinner ★ 4.8

cheeseburger tot casserole:Frequently Asked Questions

1.Can I use leaner ground beef instead of the recommended 80/20 blend? ▾
You can, but the 80/20 fat ratio delivers the juiciest, most classic cheeseburger flavor without a dry, crumbly filling. If you opt for 90/10 or leaner ground beef, add 1 tablespoon of olive oil when sautéing the onion, take care not to overcook the meat, and drain excess grease lightly so you don’t strip away all that savory beef depth.
2.Do I need to thaw frozen tater tots before baking the casserole? ▾
Skip thawing your frozen tater tots entirely! Using them straight from the freezer ensures they crisp up to that perfect golden, crunchy top instead of turning mushy or soggy as they bake. Arrange them in a tight, even single layer over the filling right before sliding the pan into your fully preheated oven for the best texture.
3.Can I prep this casserole ahead of time for busy weeknights? ▾
Absolutely! Cook the beef and onion filling, spread it in your greased baking dish, top with shredded cheddar and diced pickles, then cover and refrigerate for up to 2 days. Wait to add the frozen tater tots until right before you bake, though—adding them too early will make them absorb moisture from the filling and turn soggy as they sit.
4.What can I add to make this taste more like a classic fast-food cheeseburger? ▾
Stir 1 tablespoon of yellow mustard, 2 tablespoons of ketchup, and a pinch of smoked paprika into the cooked beef filling to mirror that iconic drive-thru cheeseburger flavor. You can also sprinkle a tablespoon of toasted sesame seeds over the tater tots during the last 5 minutes of baking as a playful nod to a classic sesame seed burger bun.
5.My tater tots came out soft instead of crispy—what did I do wrong? ▾
Soggy, soft tater tots usually stem from one of three common missteps: thawing the tots ahead of time, stacking them instead of arranging in a single even layer, or baking at too low a temperature. Confirm your oven is fully preheated to 400°F, use tots straight from the freezer, and avoid piling them for ideal, shatteringly crisp results.
6.Can I substitute the sharp cheddar for a different type of cheese? ▾
Definitely! Sharp cheddar delivers that classic tangy cheeseburger bite, but you can swap in half American cheese for extra gooeyness, pepper jack for a subtle spicy kick, or a colby-jack blend for a milder, creamier finish. Skip pre-shredded cheese with anti-caking additives if you want the silkiest, most even melt.
7.Do I really need to drain the grease from the cooked ground beef? ▾
If you’re using the recommended 80/20 ground beef, drain off all but about 1 tablespoon of rendered grease after browning the meat. Leaving too much excess grease will make the casserole oily and soggy, but keeping that small amount adds rich, beefy depth that tastes just like a freshly grilled burger patty.
8.Can I make this casserole in a slow cooker instead of the oven? ▾
You can, with one key adjustment. Cook the beef and onion filling first, add it to your slow cooker with cheese and pickles, then arrange frozen tots in a single layer on top. Cook on high for 2 to 2.5 hours, propping the lid slightly ajar with a wooden spoon for the last 30 minutes to let steam escape so the tots crisp instead of turning mushy.
9.What are good serving sides to pair with this casserole? ▾
This rich, savory casserole pairs perfectly with bright, fresh sides to cut through its hearty, cheesy richness. Try a simple green salad with tangy vinaigrette, buttered steamed corn, creamy coleslaw, or crispy roasted broccoli. Set out extra ketchup, mustard, and classic burger sauce for drizzling over individual servings, too.
10.How do I store leftovers, and how long will they keep? ▾
Let leftover casserole cool completely, then transfer it to an airtight container or cover your baking dish tightly with foil. It will keep well in the refrigerator for 3 to 4 days. Reheat portions in a 375°F oven for 10 to 12 minutes for the best texture; tots will lose a bit of crispness in storage, but the flavor stays delicious.
11.I don’t eat beef—what’s a good protein swap for this recipe? ▾
You can easily swap the ground beef for ground turkey or ground chicken; just add an extra tablespoon of olive oil when browning and a pinch of beef bouillon to mimic that rich, savory burger depth. For a plant-based version, use your favorite crumbled meat alternative, seasoned with salt, pepper, and a dash of vegan Worcestershire.
12.I’m not a fan of dill pickles—can I leave them out or swap them for something else? ▾
The finely diced dill pickles add a bright, tangy kick that cuts through rich beef and melted cheese to nail that classic loaded cheeseburger flavor, but you can absolutely leave them out if pickles aren’t your thing. For a fun swap, try mild diced green chiles for a subtle tang, or chopped crispy cooked bacon for extra smoky, salty depth.

Comments (5)

2 days ago

OMG this was such a game changer for our weeknight family dinner! My three boys devoured the whole pan in 10 minutes flat, even my picky 7 year old who turns his nose up at everything. It was so easy to throw together after work, only 40 minutes total and minimal cleanup? Sign me up. I added a little extra pickles on top per my oldest’s request and it was chef’s kiss. 10/10 will be making this for our next potluck too!

yesterday

Wait extra pickles on top is genius! I never thought to add that, I’m making this tonight and definitely piling dill pickles on before serving. Did you use dill or bread and butter?

2 hours ago

So glad your family loved it! Dill pickles are our go-to topping for that classic cheeseburger tang, but bread and butter works great if you prefer a little sweet contrast. Enjoy your dinner!

1 week ago

This is perfect for Sunday meal prep! I made a big pan on Sunday, portioned it out into containers for lunches all week, and it reheats like a dream. The tater tots stay crispy even after microwaving? I was shocked, usually tot casseroles get soggy so fast. Super easy recipe, no fancy ingredients needed, which is a huge win for my tight grocery budget. SO good, already added it to my regular rotation.

5 days ago

Great tip about meal prep! So many people don’t realize how well this casserole holds up for weekday lunches. Pro tip: if you want extra crisp when reheating, pop it in the air fryer for 2 minutes instead of the microwave – total game changer!

yesterday

As someone who barely knows how to boil water, this was so foolproof! I made it for my roommates and they thought I spent hours cooking, nope – just 40 minutes and a handful of cheap ingredients. We ate the whole thing while watching the game last night, zero leftovers. Only note: I used a mix of shredded cheddar and American cheese for that classic cheeseburger melt, highly recommend.

5 days ago

Brought this to my neighborhood block party potluck last weekend and people were begging me for the recipe! It was gone before I even got a second helping, no joke. I will say I doubled the recipe because I knew there’d be a big crowd, and it still cooked perfectly in my big 9x13 pan. The only tiny issue I had was my tots got a little less crispy than I wanted because my oven runs hot, next time I’ll bake them 5 minutes longer at the end.

3 days ago

Same issue with my oven! I started putting the tots on the top rack for the last 10 minutes and they get perfectly crispy every time, no sogginess at all. Total game changer for tot casseroles in general

2 days ago

Thanks for the great feedback, Katie! So happy it was a hit at the block party. Steve’s tip about the top rack is perfect – high rack placement helps the tots crisp up without overcooking the beef layer underneath. You can also give the tots a quick toss with a little olive oil before adding them to the pan for extra crunch!

30 minutes ago

This was solid! I added a layer of crispy bacon bits between the beef and the tots and it hit so hard. Tastes exactly like a bacon cheeseburger but way less messy than standing over the grill. Super straightforward recipe, didn’t have to run to the store for any weird ingredients, which is always a plus for me. Cook time was right at 40 minutes like the recipe said, no surprises.

5 minutes ago

Bacon bits layer? That’s the upgrade I didn’t know I needed. I’m making this for my husband’s birthday dinner next week and he’s going to lose his mind over that addition. Thanks for the tip!