
cheesecake toast
intro
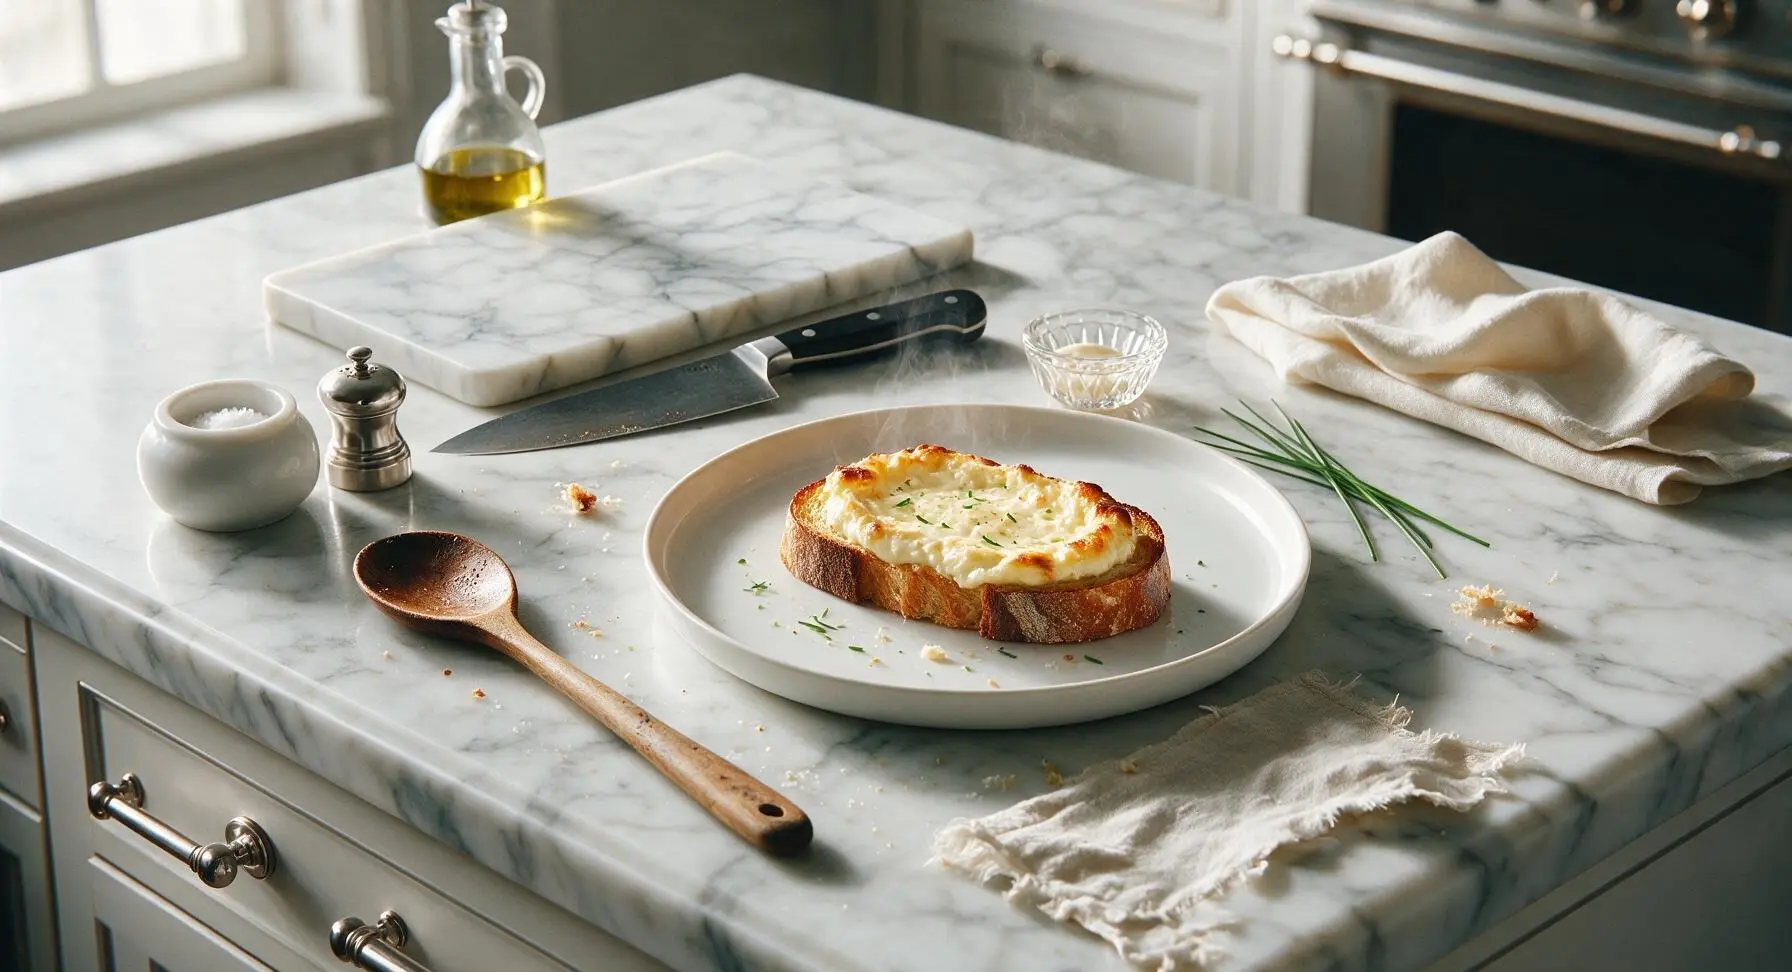
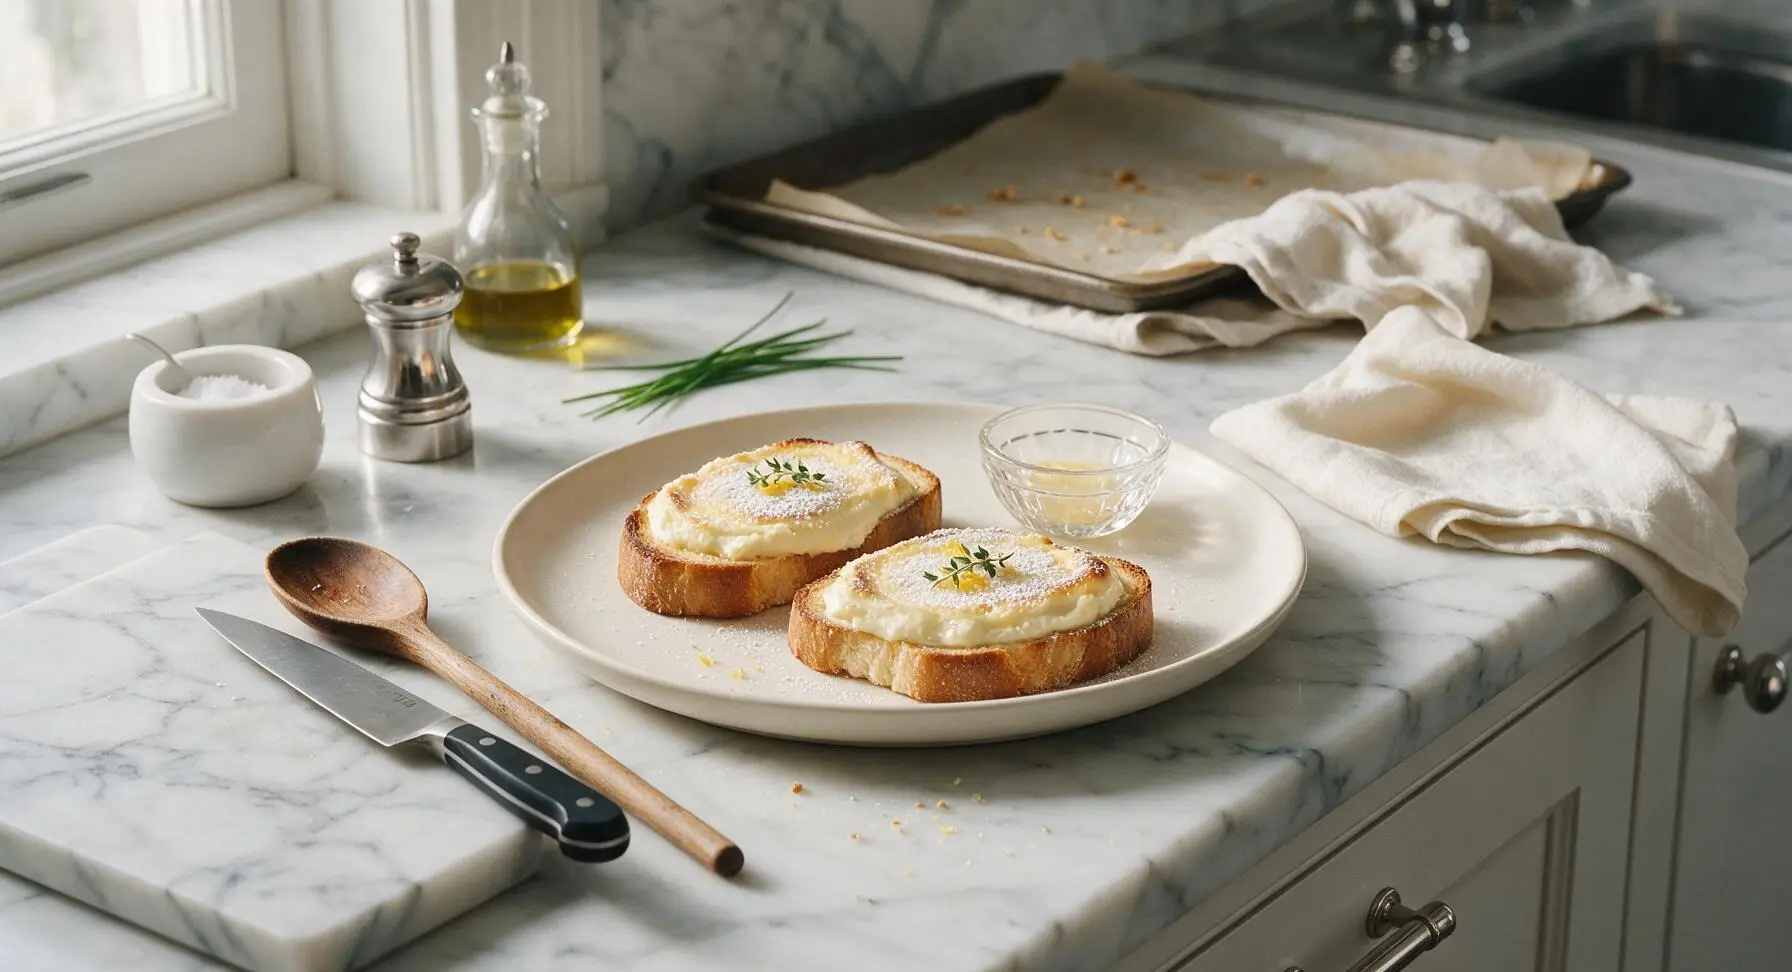
Crispy buttery sourdough topped with tangy, light baked cheesecake filling, golden and puffed at the edges—ready in 15 minutes for a luxe, low-effort morning treat.
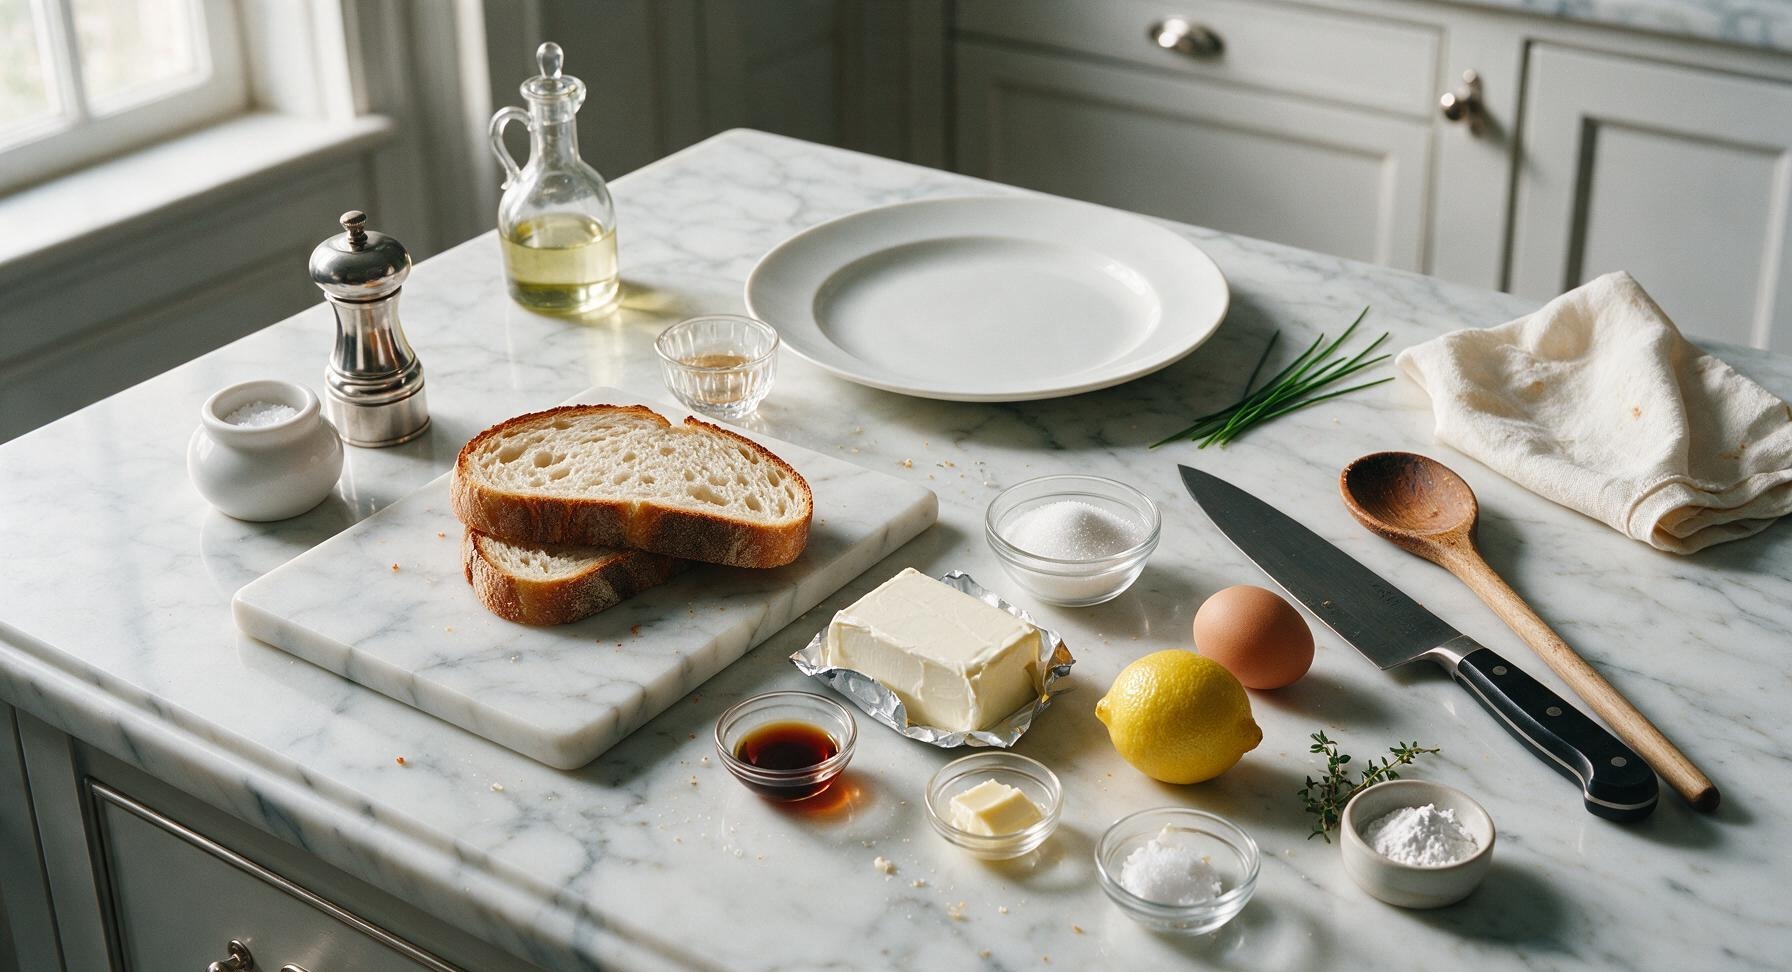
Ingredients
Steps
Prep Toast and Oven
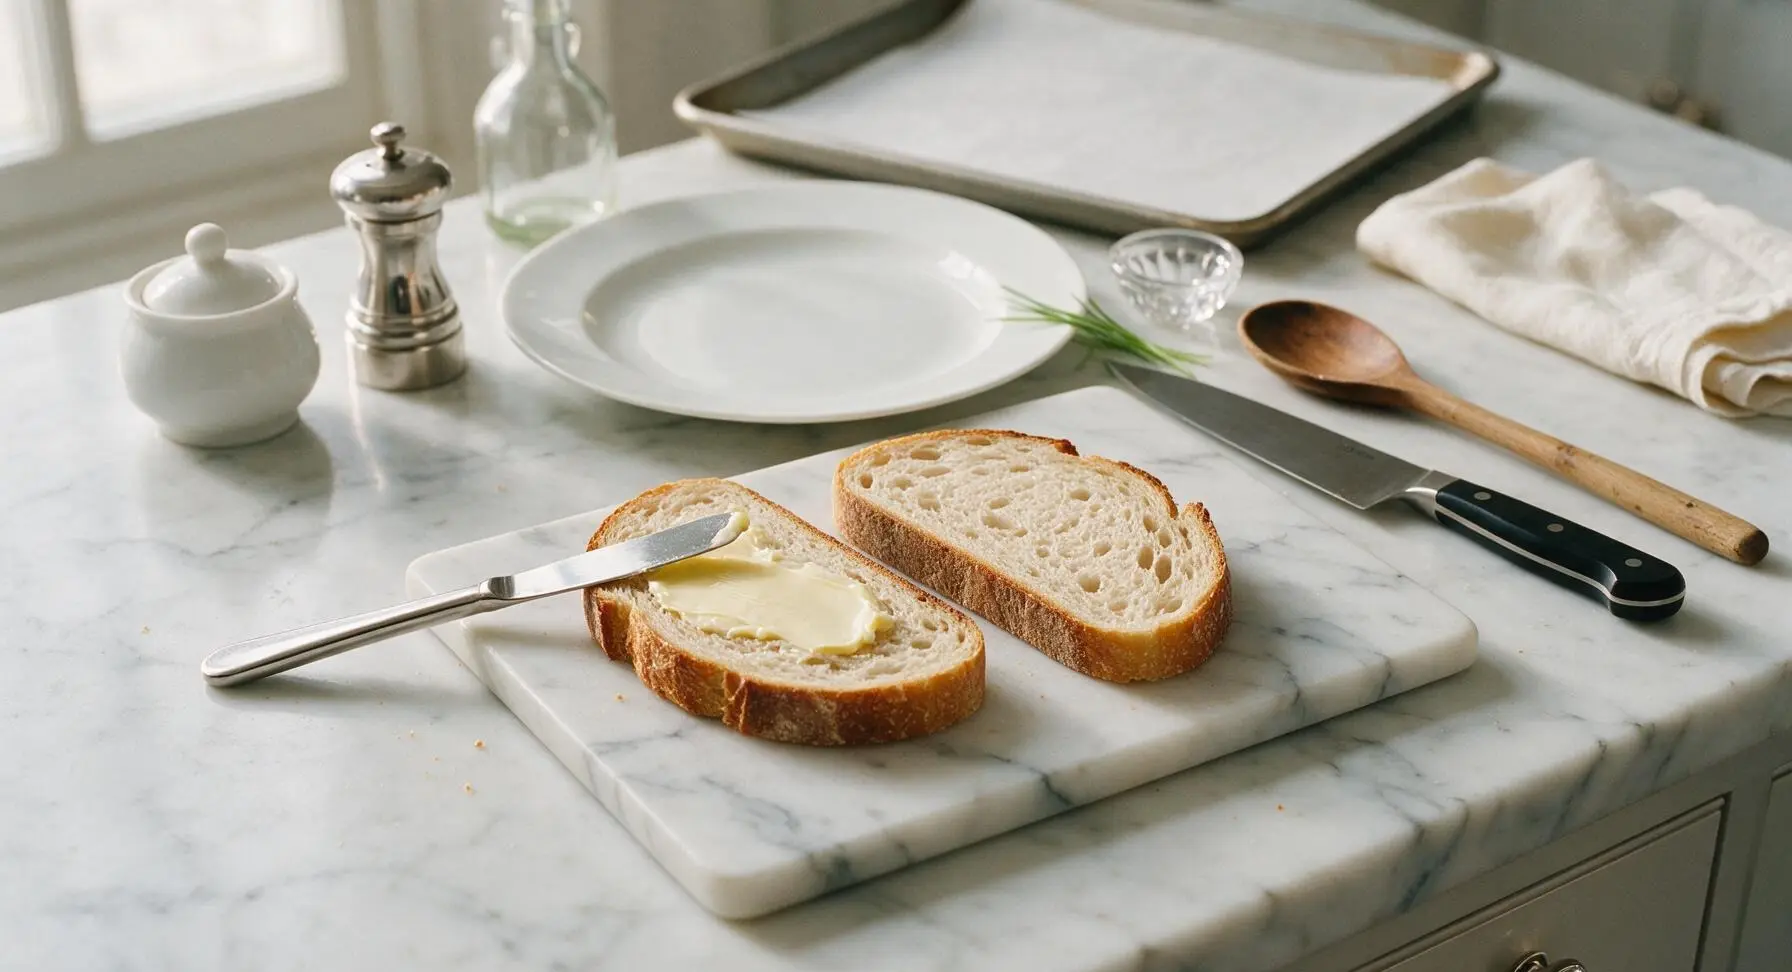
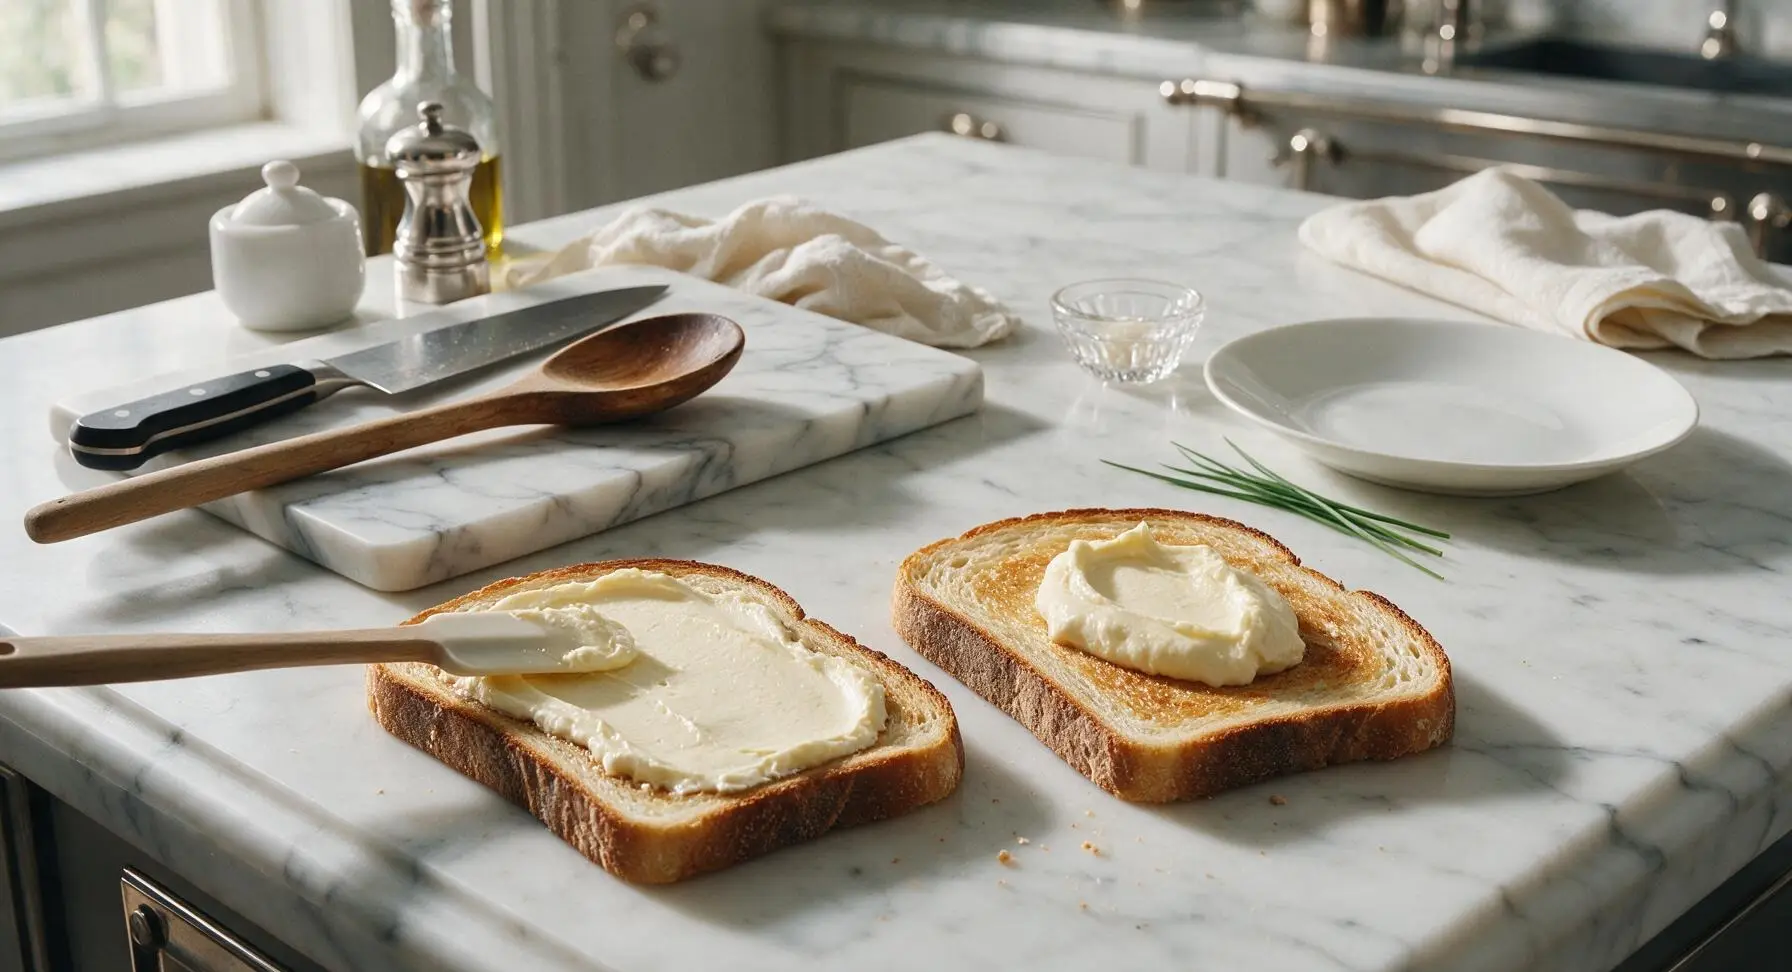
Adjust your oven rack to the upper-middle position and preheat the oven to 200°C (400°F). Place the two thick sourdough slices flat on the beech wood cutting board. Use the polished stainless steel butter knife to spread 1/2 tsp of softened unsalted butter evenly across the top surface of each slice, spreading all the way to the crust edges for even crisping.
Mix Cheesecake Filling
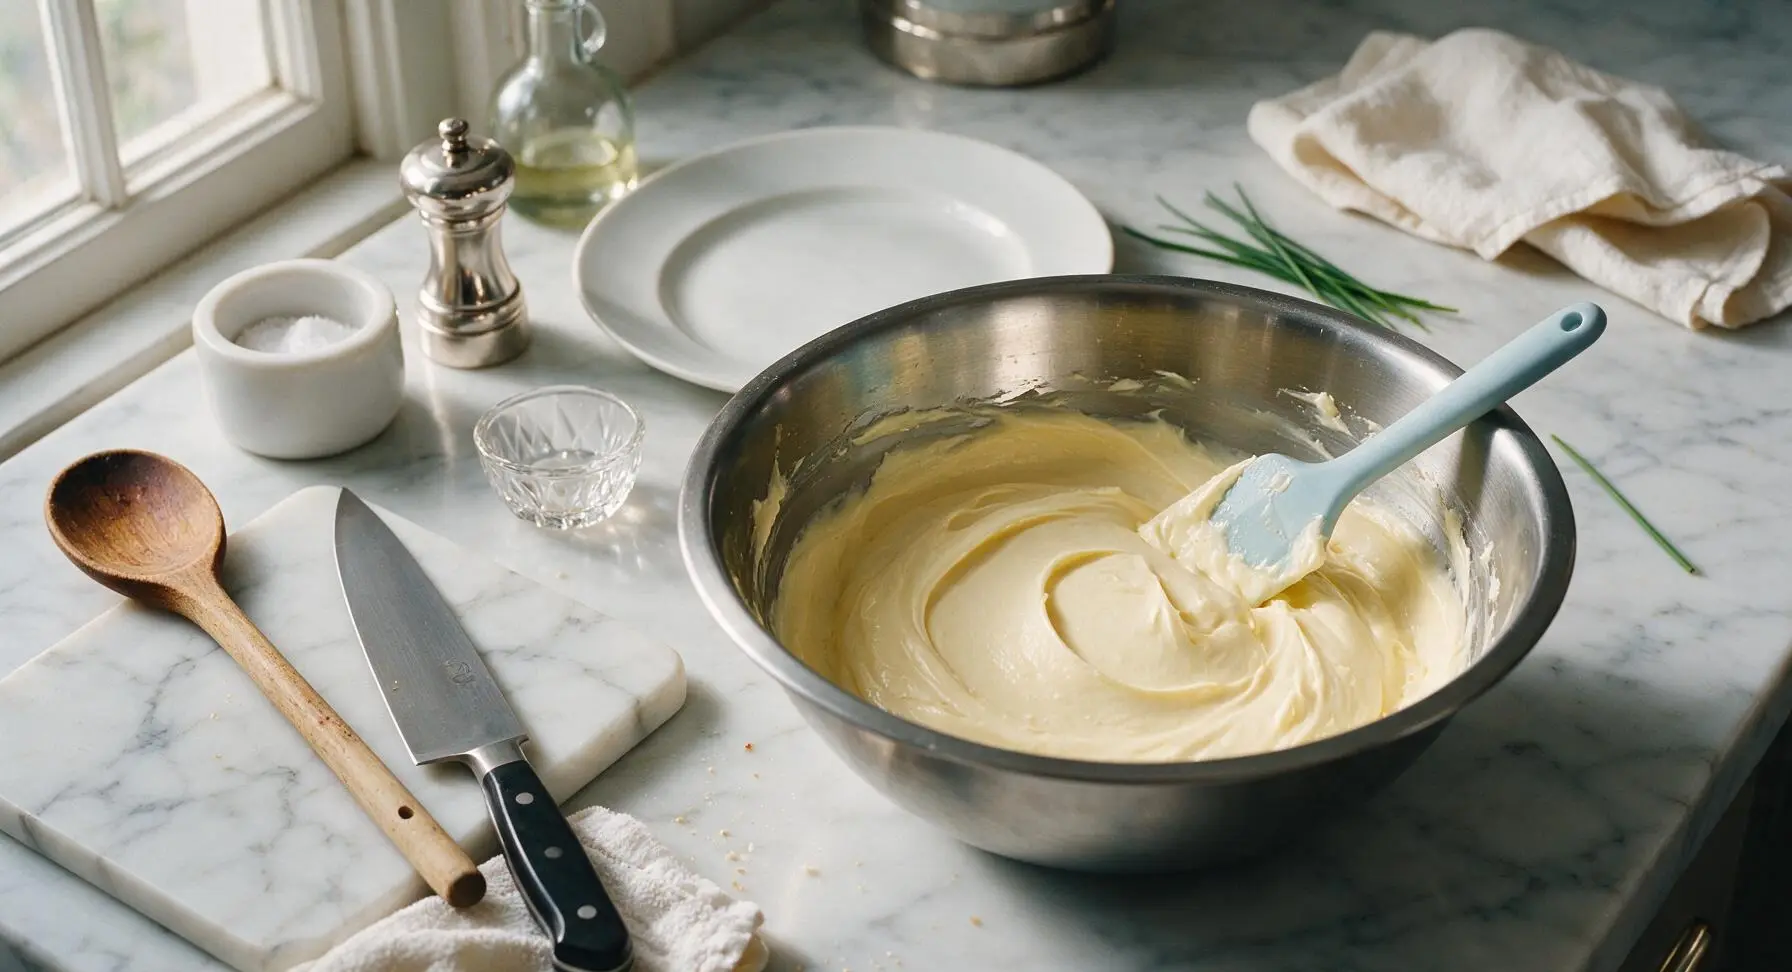
Place the 60g softened room-temperature cream cheese into the brushed stainless steel mixing bowl. Add the large egg, 1 tbsp granulated sugar, 1 tsp vanilla extract, 1 tsp fresh lemon juice, 1 tsp finely grated lemon zest (from the whole lemon on the counter), and 1/8 tsp fine sea salt. Use the pale blue silicone spatula to stir the mixture for 45 seconds until completely smooth, with no visible lumps of cream cheese. Avoid overmixing to prevent excess air incorporation, which can cause the topping to crack during baking.

Spread Filling on Toast
Spoon half of the smooth cheesecake mixture onto the center of each buttered sourdough slice. Use the silicone spatula to spread the filling evenly across the bread top, leaving a 5mm (1/4 inch) border of bare toast crust around the edge to prevent dripping during baking. The finished filling layer should be a consistent 5mm thick across the entire bread surface.
Arrange on Baking Sheet
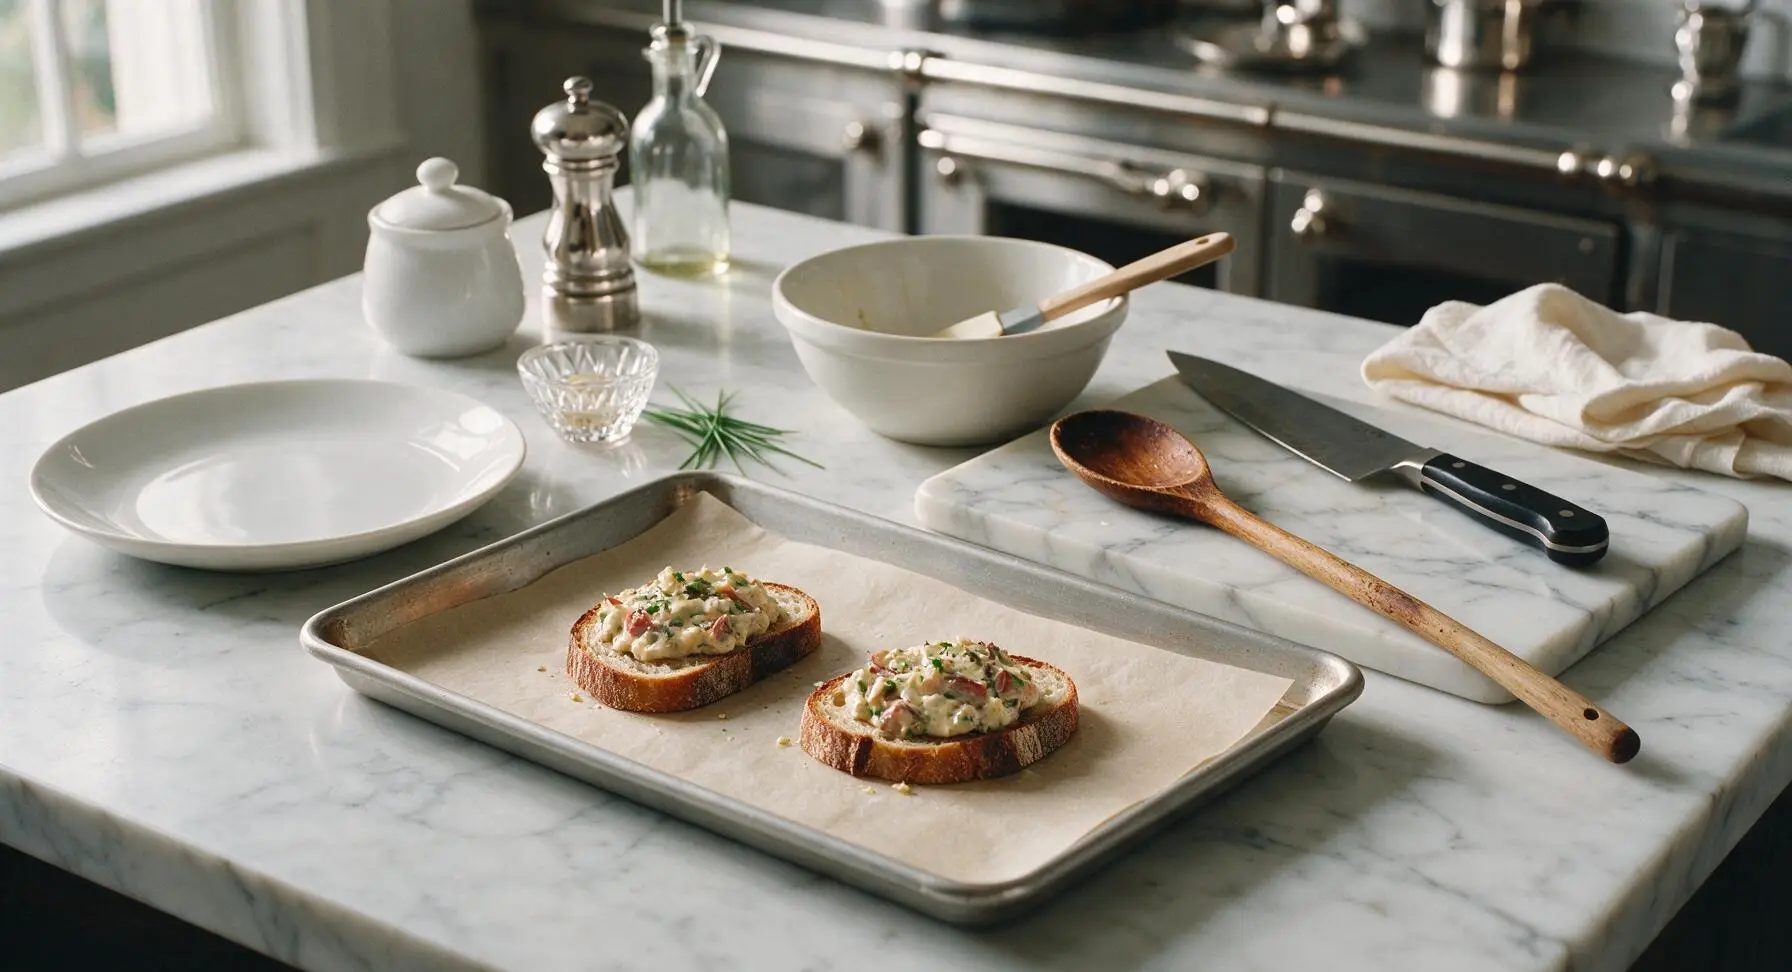
Carefully lift both filling-topped toast slices and place them 5cm (2 inches) apart on the parchment-lined aluminum baking sheet. Wipe away any stray drips of filling from the parchment or bread edges with the tip of the silicone spatula to avoid burnt spots during baking.
Bake to Golden Perfection
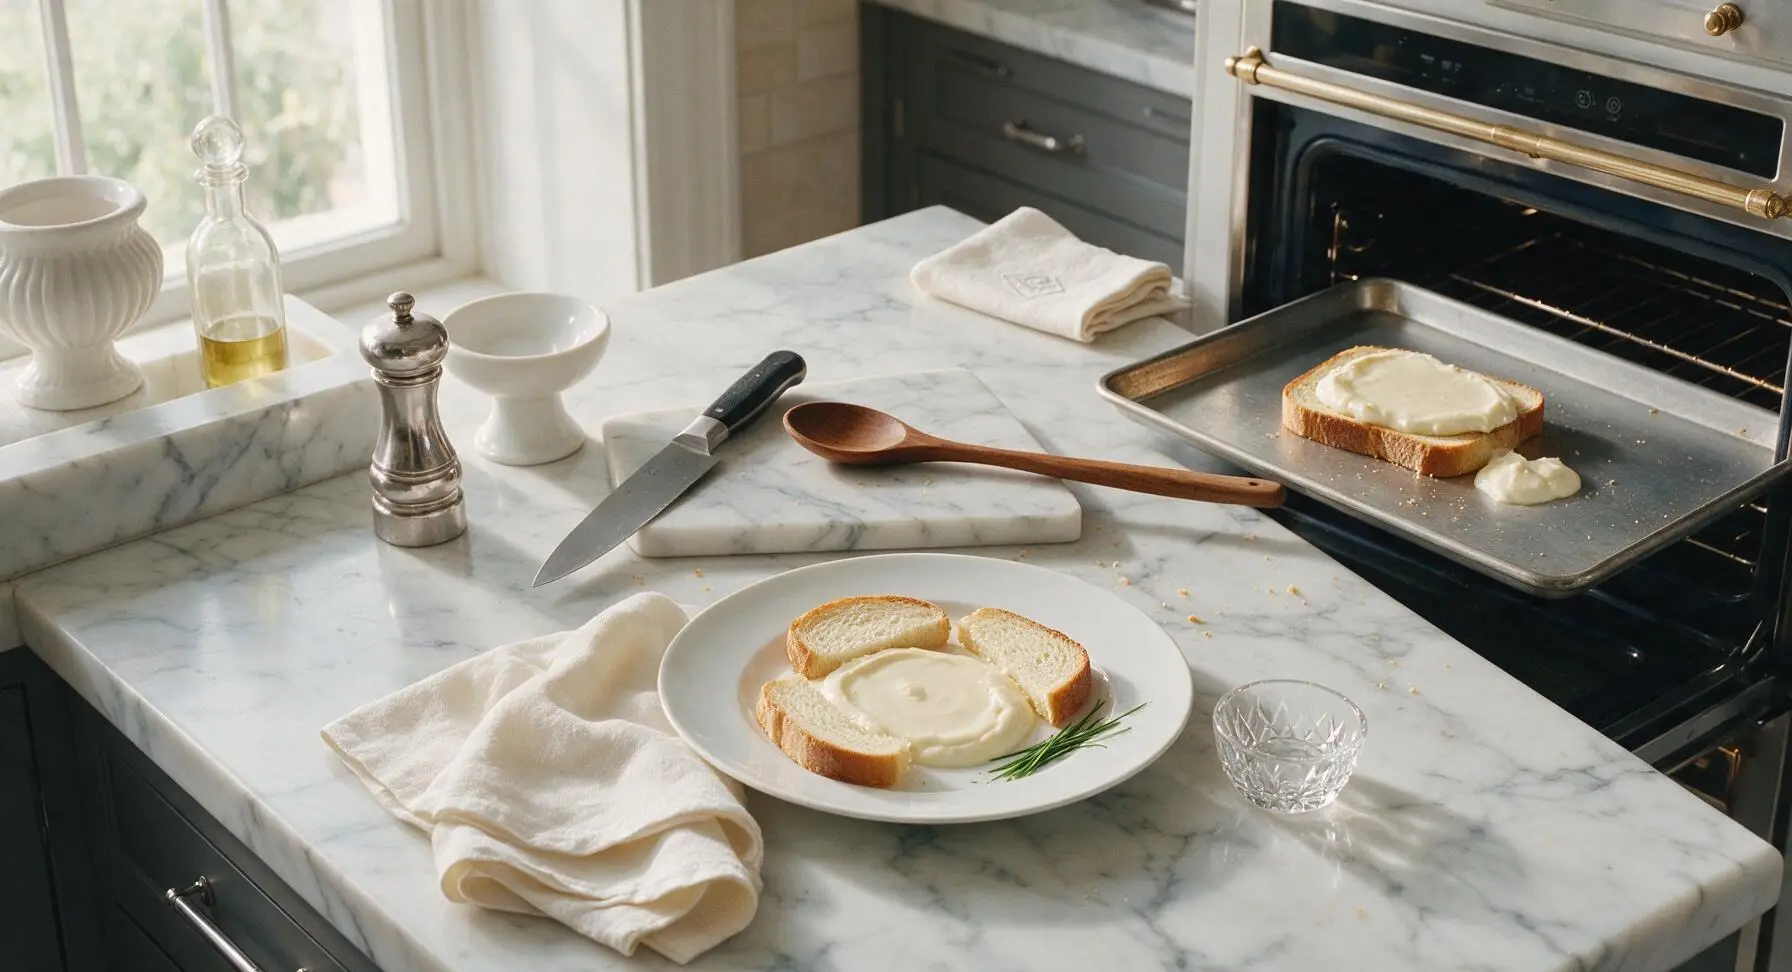
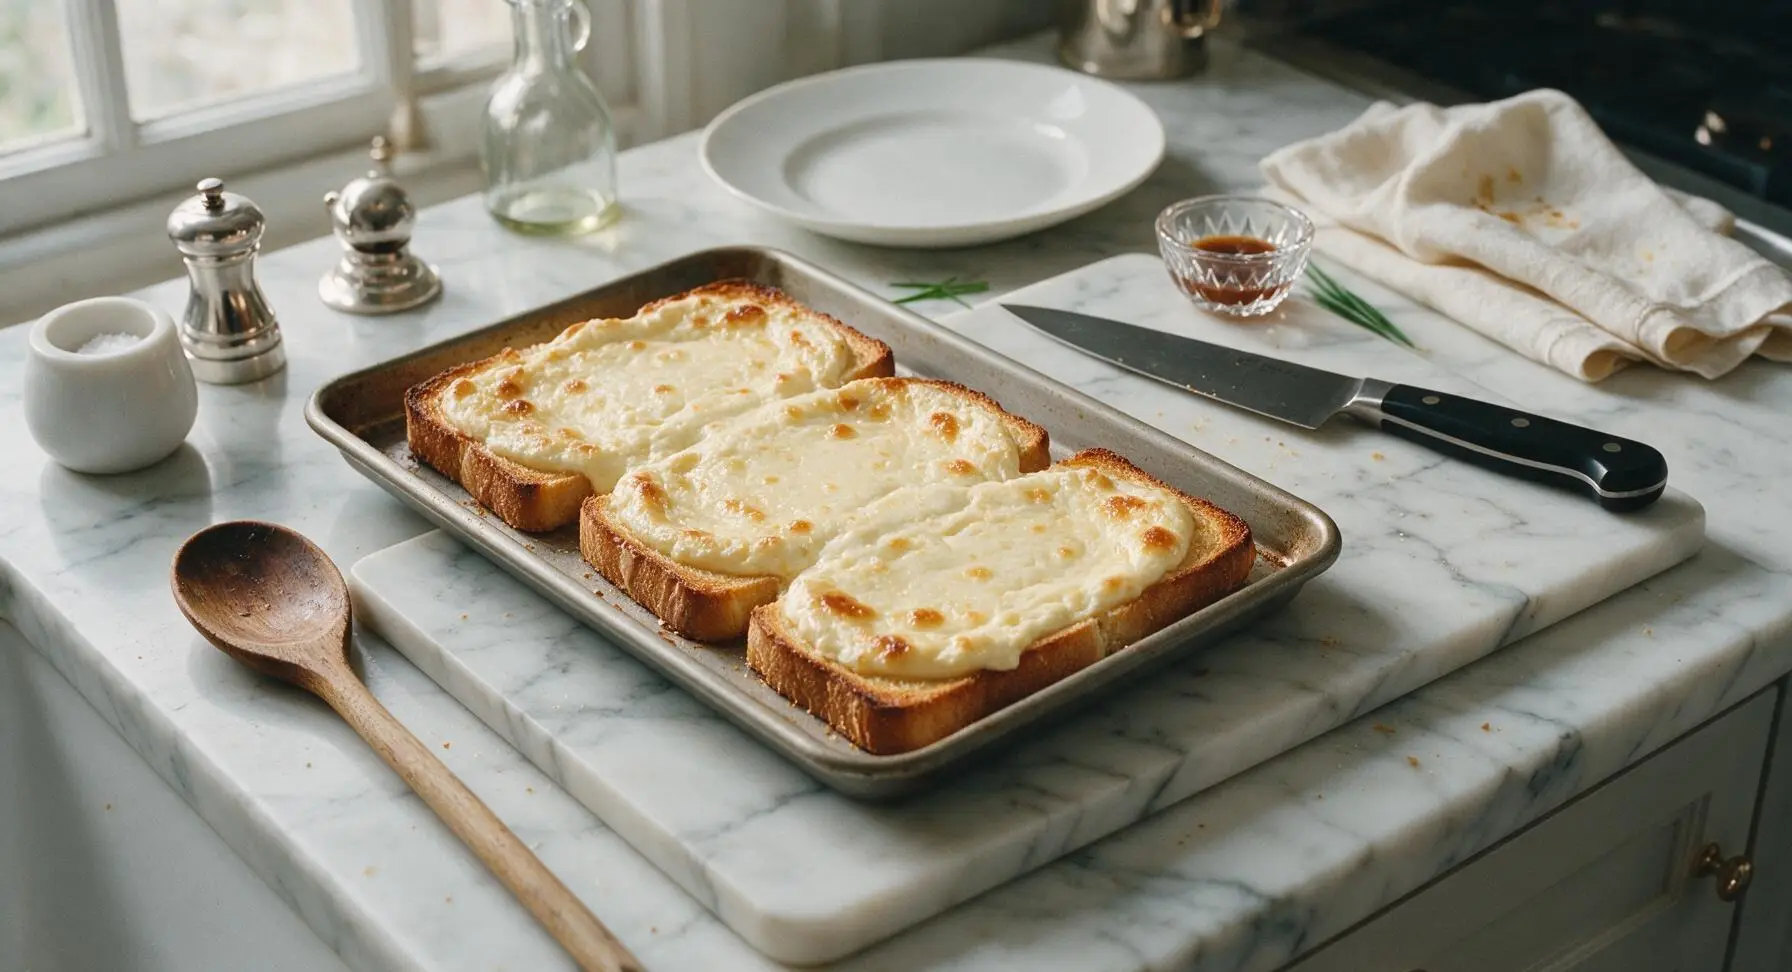
Slide the baking sheet onto the preheated upper-middle oven rack. Bake for 8-10 minutes, until the cheesecake filling is fully set (no jiggle when the sheet is gently shaken), the toast edges are deep crispy golden, and the top of the filling has scattered light golden caramelized spots. Do not bake longer than 10 minutes, as the filling will turn rubbery with overcooking.
Garnish and Serve
Let the toasts rest for 2 minutes on the baking sheet (the filling will deflate slightly as it cools, creating a perfectly creamy, dense texture). Use the silicone spatula to transfer both toasts to the matte cream ceramic coupe plate. Dust lightly with 1 tsp powdered sugar, and top with a small fresh thyme sprig plucked from the potted plant and a pinch of extra lemon zest for bright, fresh flavor.
Tips
2.Maintain the 1/4-inch bare crust border when spreading filling: The cheesecake mixture thins and spreads as it heats in the oven, and a bare edge prevents drips that burn on the hot baking sheet and leave bitter, charred flecks on your toast.
3.Bake on the upper-middle oven rack only: The higher position exposes the cheesecake topping to direct radiant heat from the top heating element, creating those perfect light golden caramelized spots without over-toasting or burning the bottom of the bread.






OMG this is such a game changer for busy weekday breakfasts! I threw this together before my work meeting this morning and it came out perfectly creamy in exactly 10 minutes. No fancy ingredients needed, just stuff I already had in the fridge. Will be making this every single week now.
My kids went absolutely crazy for this! I made it for after-school snack yesterday and they both asked for seconds before they even finished their first piece. I used sourdough bread because that’s what we had, and it held up so well to the creamy cheesecake filling. 10/10.
Super easy, tasted great, but I burned the edges a little because my oven runs hot. Next time I’ll knock 2 minutes off the cook time and it’ll be perfect. Still ate every bite though, no regrets!
Added this to my weekly meal prep rotation! I make a batch on Sunday and keep them in the fridge, then pop them in the toaster oven for 2 minutes each morning. Way cheaper than buying the fancy cheesecake toast from the café down the street, and tastes better too.
SO good. I topped mine with fresh strawberries and a drizzle of honey after baking and it tasted like a fancy restaurant dessert, not a 10 minute easy recipe. My roommate walked in and thought I ordered takeout cheesecake, lol.
I’m literally terrible at baking and I didn’t mess this up! That’s how easy it is. The filling was so smooth and creamy, no lumps at all even though I mixed it by hand with a regular fork. 10 minutes total cook time is no joke, either.
Made these for our office potluck last week and they were gone in 5 minutes flat! Everyone was asking for the recipe, I felt like a genius. Cut them into little bite-sized squares so people could grab them easily, worked like a charm.
Used gluten-free brioche bread for this and it turned out amazing! I was worried the texture would be off but it baked up perfectly, the creamy cheesecake layer didn’t make the bread soggy at all. Finally a quick sweet breakfast I can eat without stomach issues.
Made this at 1am when I was craving something sweet and it hit so hard. No weird complicated steps, minimal cleanup, tastes like a cheat meal without all the effort. 10/10 late night snack approved.
Served this at my weekend brunch last Saturday and everyone raved! I set up a little topping bar with caramel sauce, crushed graham crackers, fresh fruit, and chocolate chips so people could customize their own. Such a fun, easy brunch item that feels way fancier than it is.
This was really tasty but I found the filling a little too sweet for my taste. Next time I’ll cut the sugar by a tablespoon and I think it’ll be perfect for me. Super quick to make though, definitely worth trying.
Made this in my tiny dorm toaster oven! No fancy kitchen equipment needed, just mixed the filling in a solo cup and spread it on bread. Way better than the dining hall pastries, and so cheap to make. 10/10 for broke college students.
Made this last week in the oven and it was incredible, but I’m wondering if anyone has tested it in the air fryer? I’d love to make it faster without heating the whole oven in this summer heat.
I added a little bit of vanilla extract to the cream cheese filling like I do for regular cheesecake and it elevated this so much! Smelled like a bakery while it was baking, my dog was sitting by the oven the whole time waiting for a crumb to drop.
10 minute cook time is not a lie! I timed it from when I popped it in the oven to when I took my first bite, total time including mixing the filling was 12 minutes. Perfect for when I forget to plan breakfast and have to run out the door soon.
Has anyone tried making this with dairy-free cream cheese? I’m lactose intolerant but this looks so good I need to find a way to make it work for me.
My partner said this is better than the cheesecake we got at our favorite fancy restaurant for our anniversary. Like, are we kidding? It’s toast with cream cheese! Wild how good it is for how little effort it takes.
I swirled a little bit of brown sugar and cinnamon into the top of the filling before baking and it tasted like a cheesecake cinnamon roll on toast. So good, I’ve already made it three times this week. My jeans are mad at me but it’s worth it.
I make these for my high school students when they have early morning exam days, and it’s the only thing that gets them to show up on time, honestly. Quick to make a big batch, not messy to hand out, and the kids go crazy for them. Total win.
Total cost per slice is like 75 cents? You can’t beat that. I was spending $5 a day on fancy breakfast pastries from the coffee shop, now I make this at home and save so much money. Tastes better too, no weird preservatives.