
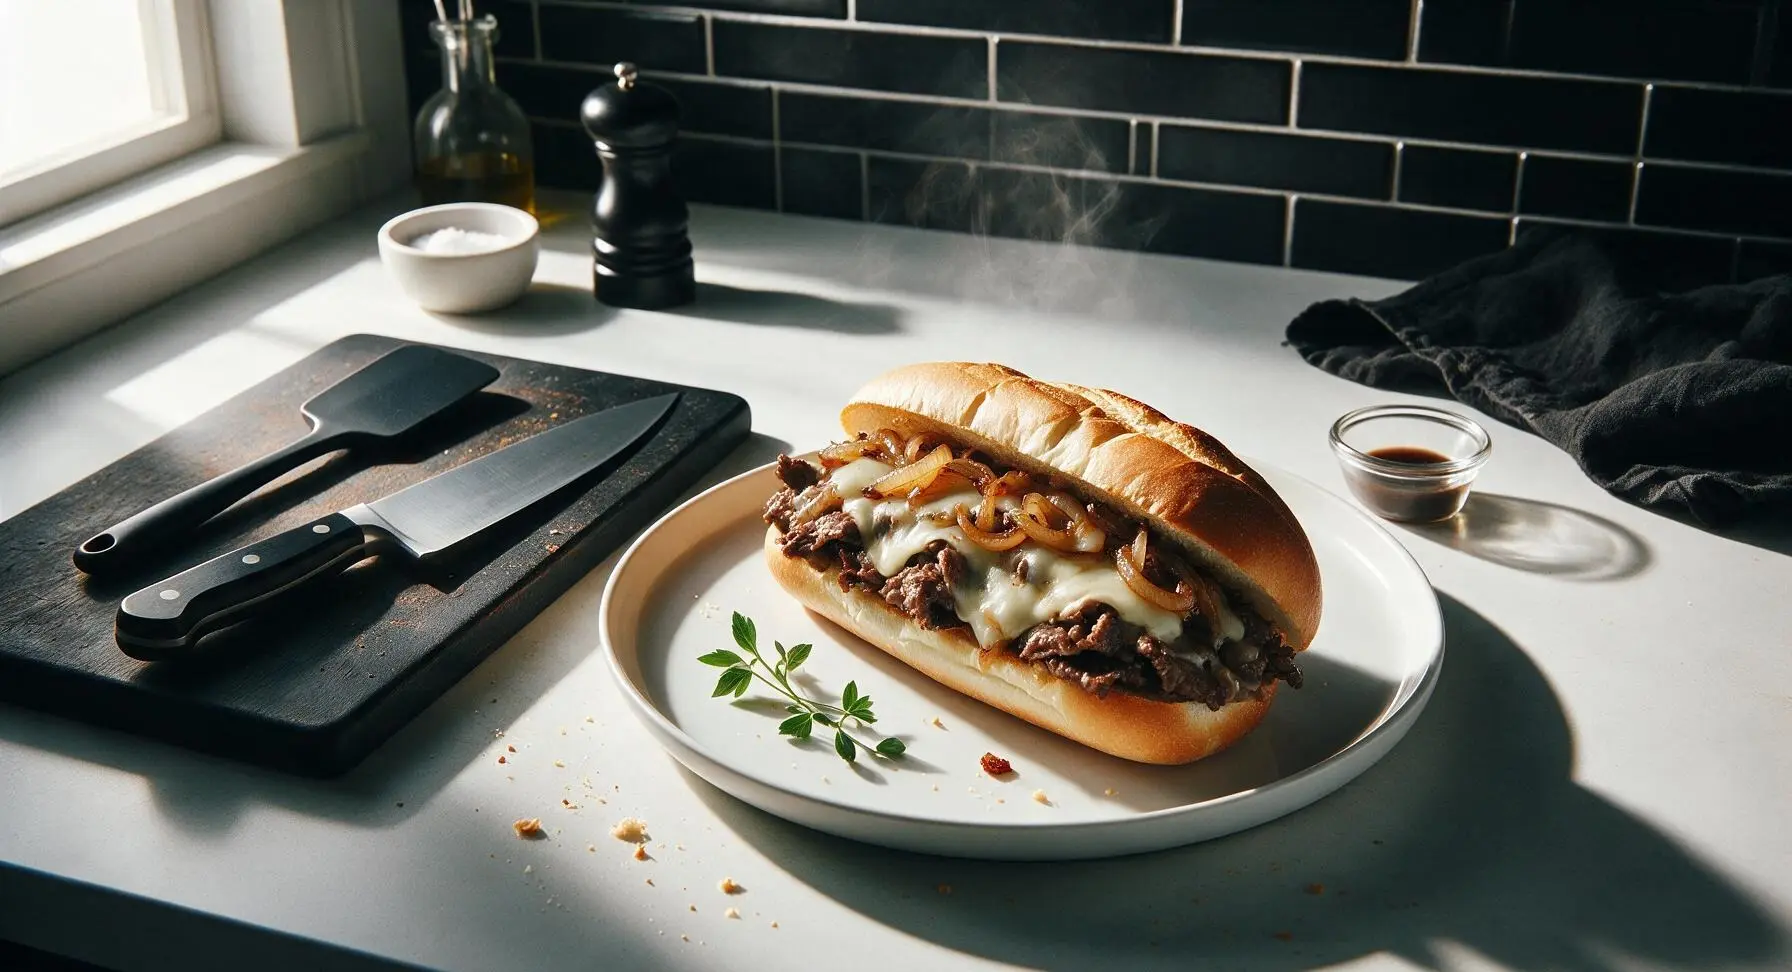
cheesesteak

title 1
cheesesteak
⏱️ cook time 20 minutes
🍽️ servings 4
⚡ Difficulty easy

intro

Juicy paper-thin seared beef, gooey melted provolone, and sweet caramelized onions piled high on a crusty hoagie roll: the iconic, messy, deeply satisfying Philly classic built for happy, casual bites.

Ingredients
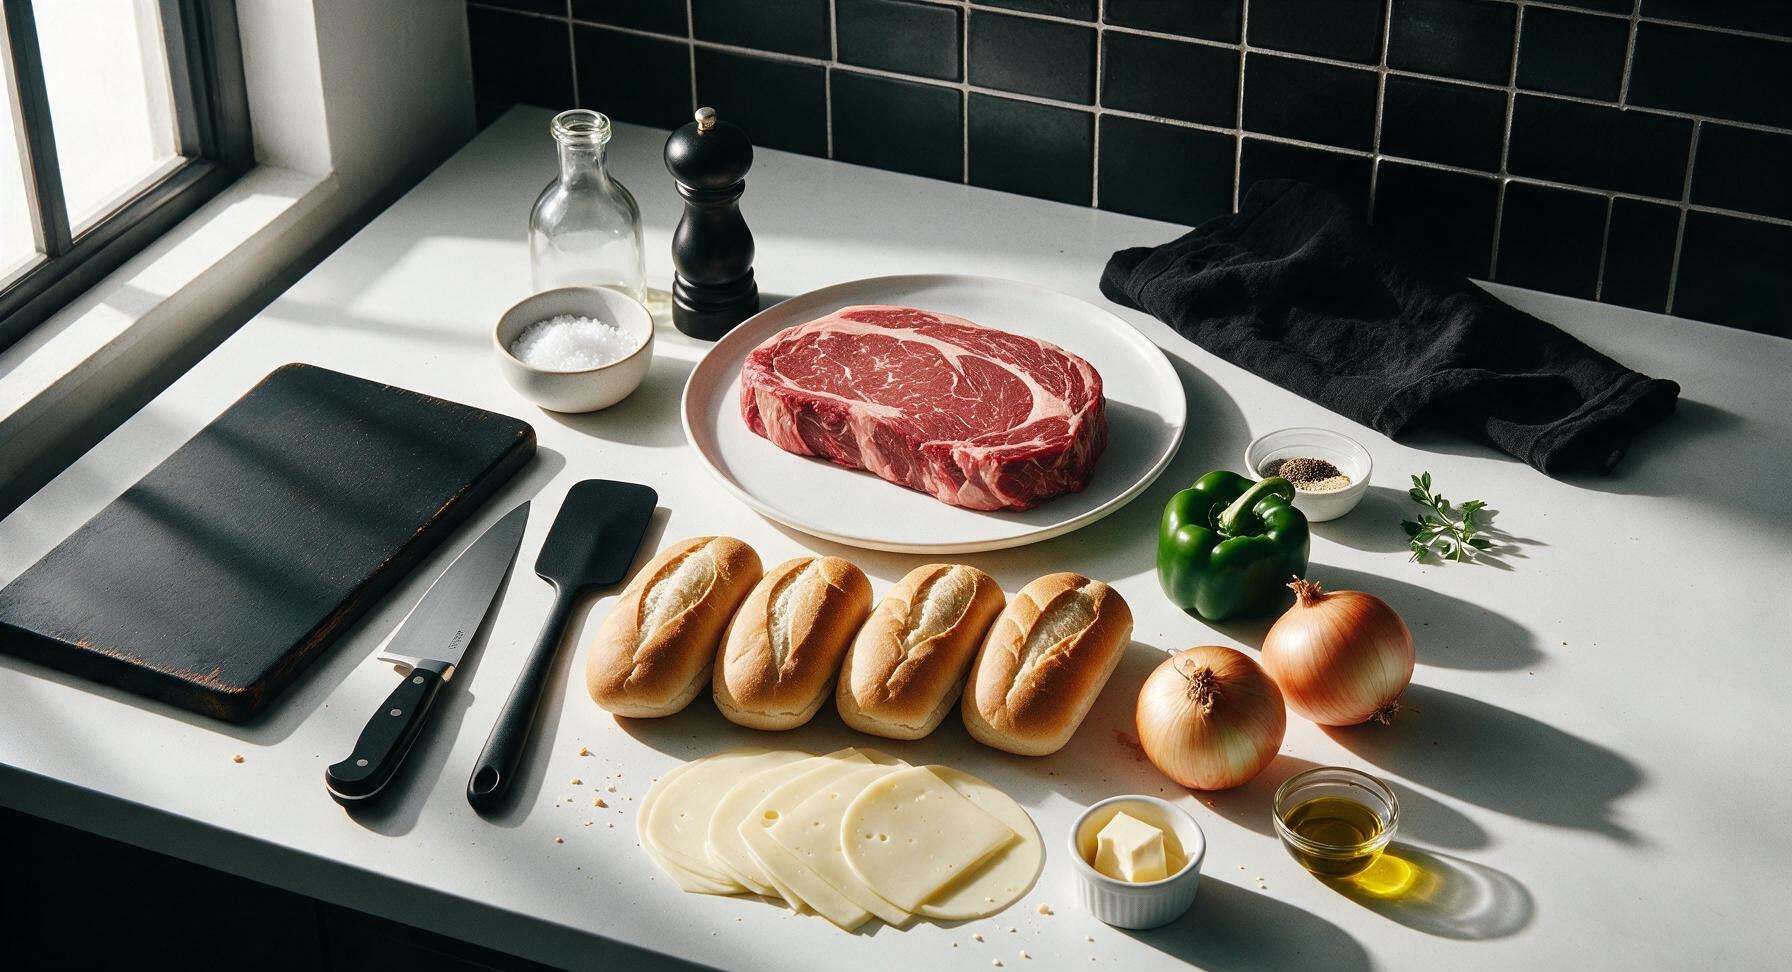
Boneless ribeye steak 700g
Crusty hoagie rolls 4 (15cm each)
Thinly sliced provolone cheese 220g
Large yellow onion 2 (approx 400g total)
Medium green bell pepper 1 (approx 150g)
Kosher salt 1.5 teaspoons
Freshly ground black pepper 1 teaspoon
Garlic powder 0.5 teaspoon
Unsalted butter 2 tablespoons (28g)
Extra-virgin olive oil 1 tablespoon

Steps

1

Prep Steak for Slicing

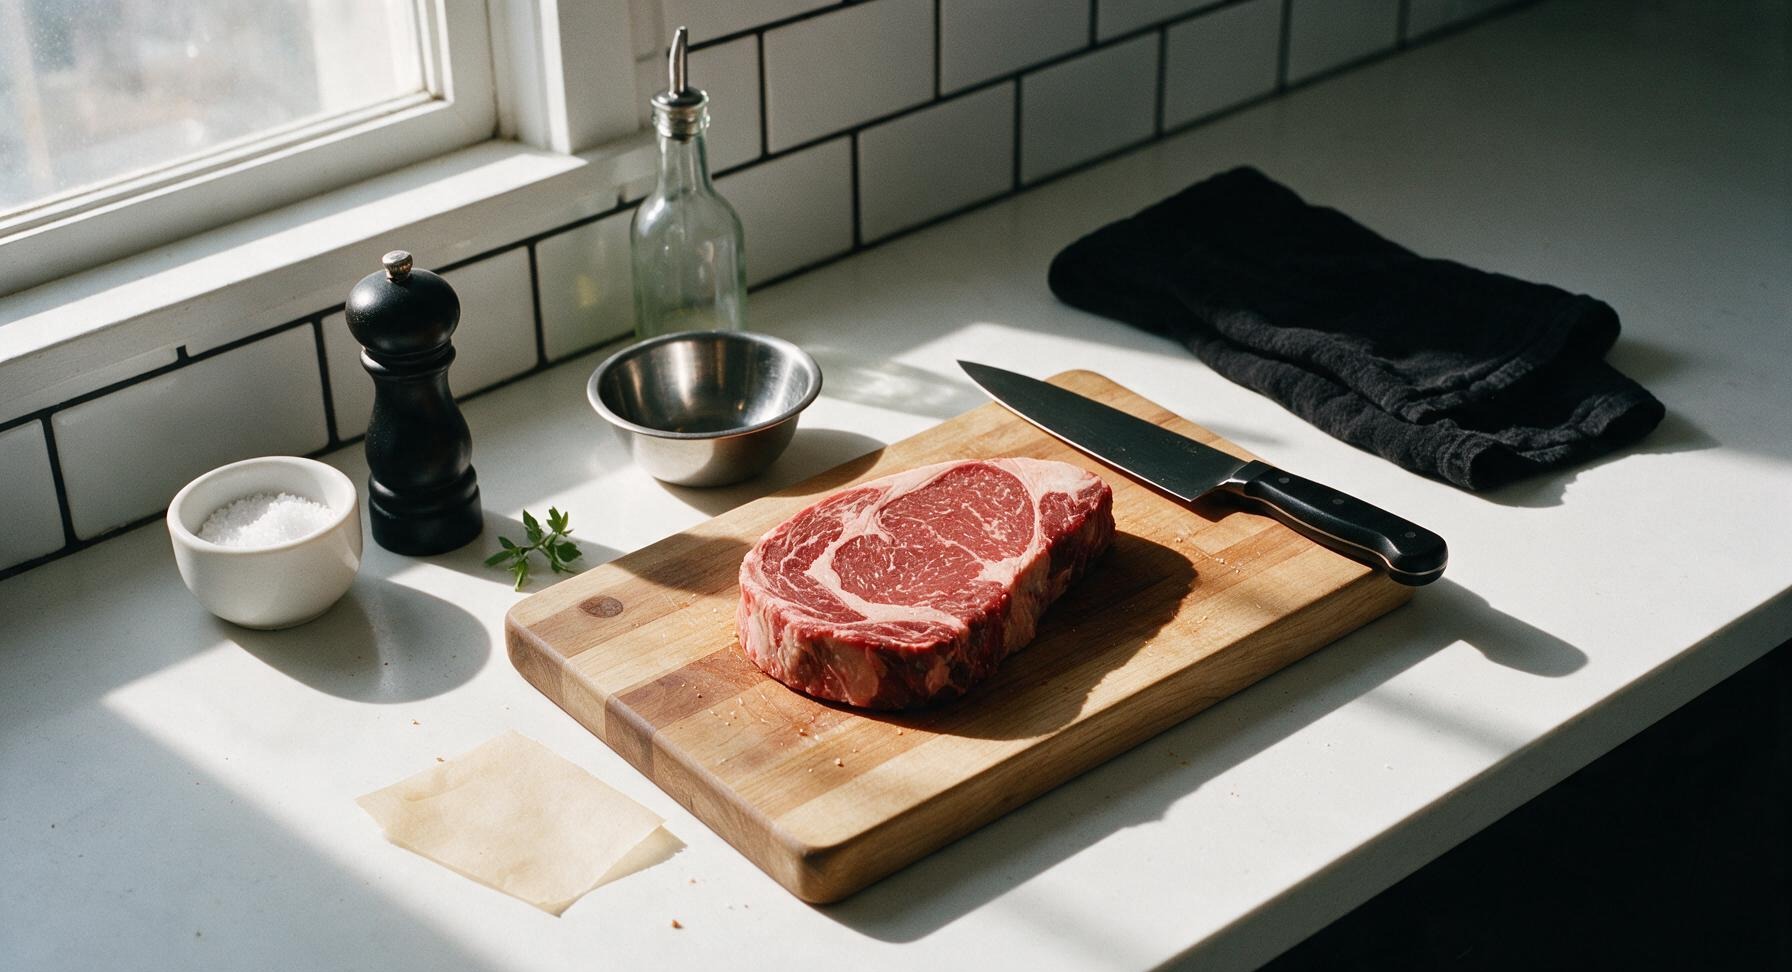
Place the 700g boneless ribeye steak on the honey maple cutting board. Pat all surfaces completely dry with paper towels, then transfer the steak to a small plate and place it in the freezer for exactly 25 minutes until it is firm to the touch but not rock-hard frozen—this firm texture lets you slice paper-thin pieces without tearing the tender marbled meat. Use this inactive chill time to measure out remaining ingredients to avoid rushing during cooking.
Step 1
step1:Prep Steak for Slicing
2

Slice All Components Thin

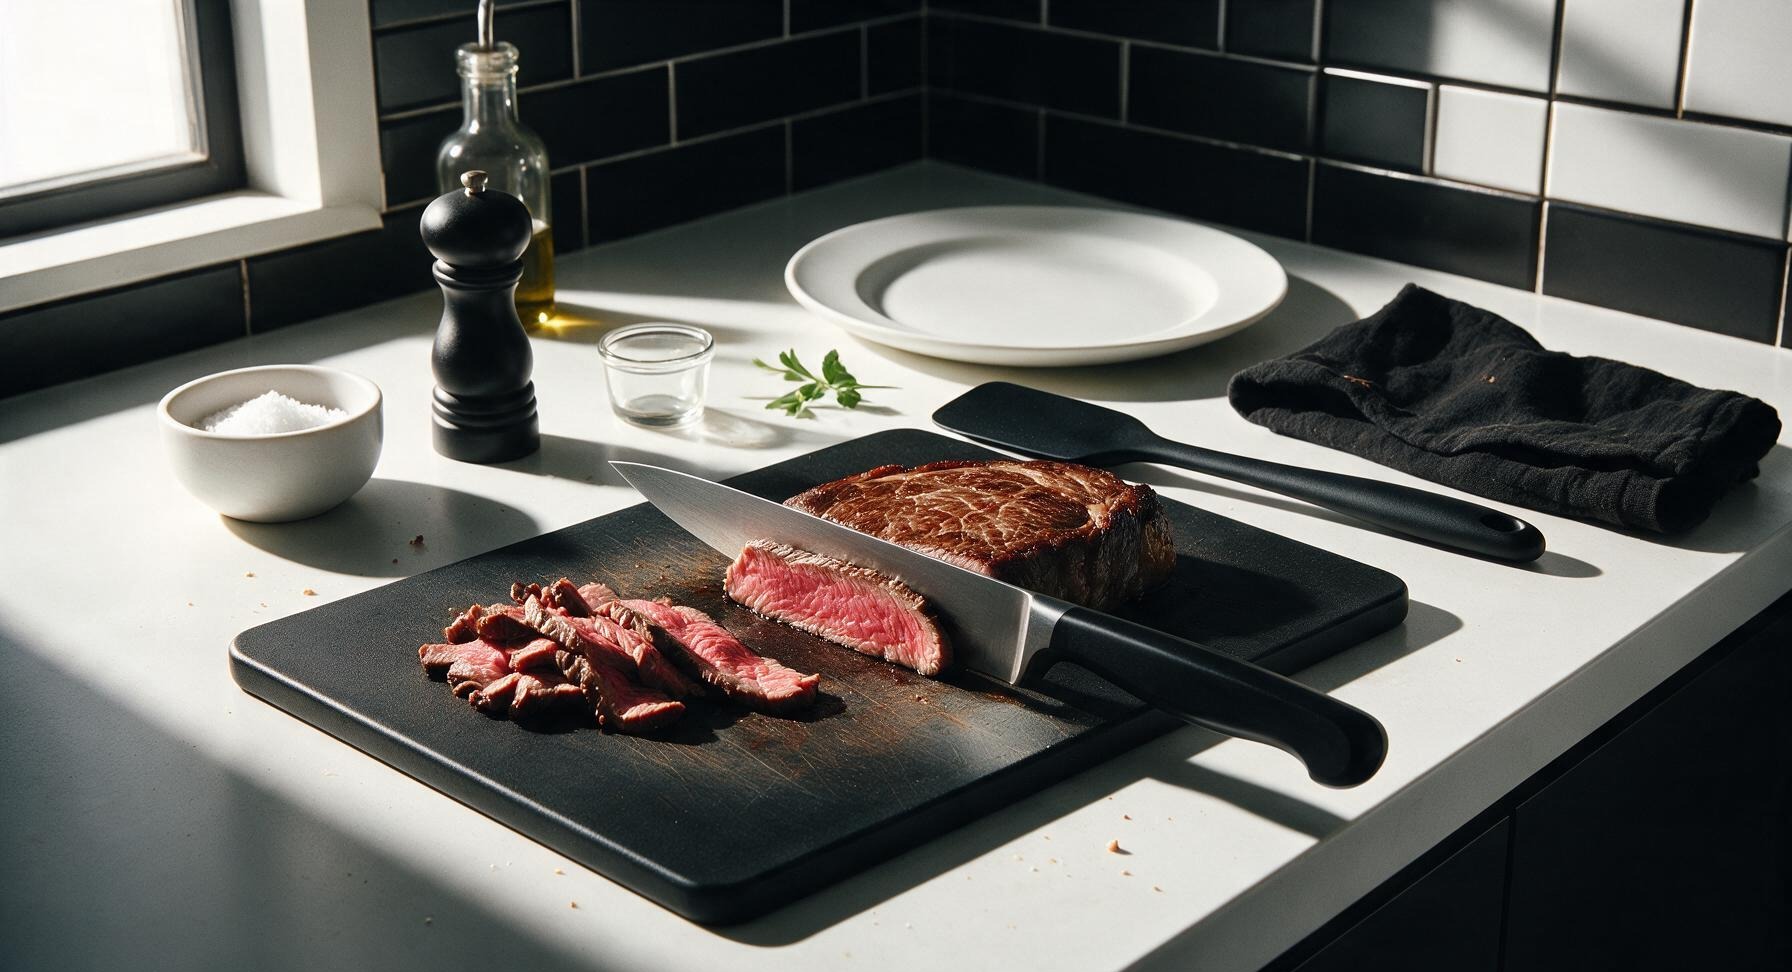
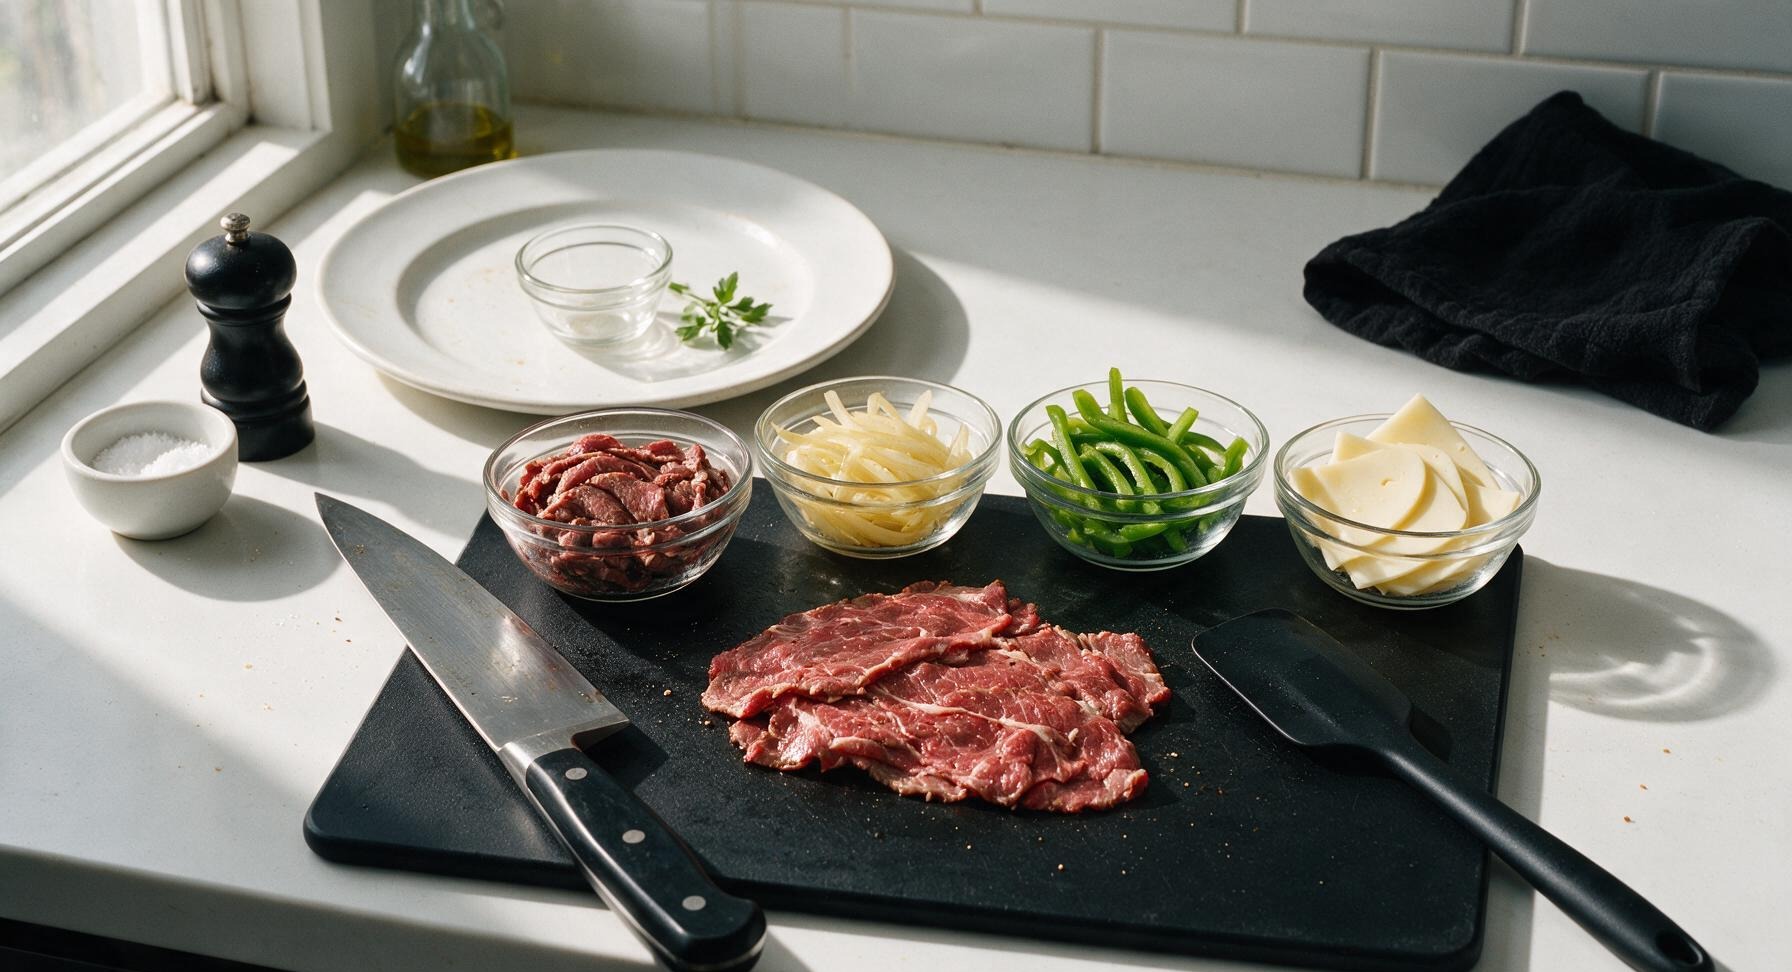
Remove the firm, partially frozen steak from the freezer. Using the chef knife, slice the ribeye against the grain into 2mm thick, paper-thin slices, discarding any large chunks of hard, unrenderable fat. Thinly slice the yellow onions and green bell pepper into 3mm wide strips, and separate the provolone slices into individual pieces. Place each prepped ingredient into a separate clear glass ramekin, then season the sliced steak with 1 teaspoon kosher salt, all the black pepper, and garlic powder, tossing gently to coat evenly.
Step 2
step2:Slice All Components Thin
Step 2
step2:Slice All Components Thin
3

Sauté Onions and Peppers

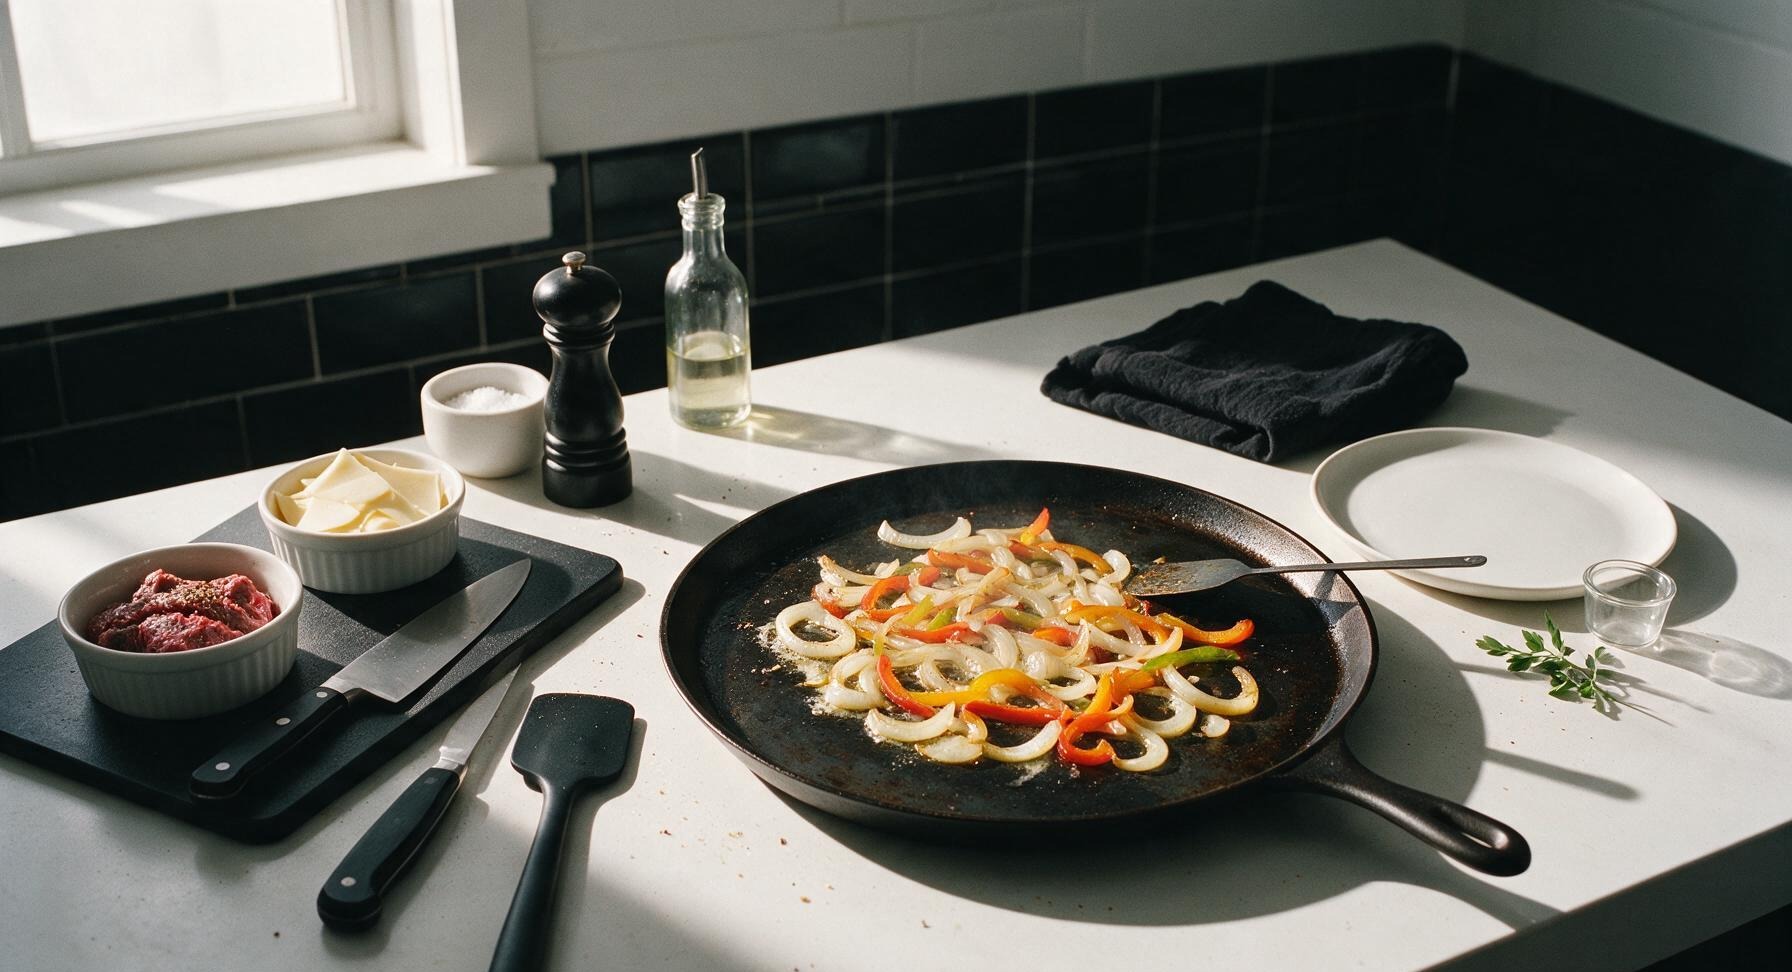
Pull the 12-inch carbon steel griddle pan from the lower cabinet and place it center-right on the counter over medium heat (350°F / 175°C). Add 1 tablespoon of unsalted butter and all the olive oil to the pan, allowing the butter to melt and form a light foam. Add the sliced onions and bell peppers to the pan, season with the remaining 0.5 teaspoon kosher salt, and cook for 8-10 minutes, stirring occasionally with the thin metal spatula, until the onions are soft, deep golden, and caramelized at the edges, and the peppers are fully tender. Push the cooked veggies to the cool outer edge of the griddle to keep warm while you cook the beef.
Step 3
step3:Sauté Onions and Peppers
4

Sear Thin Beef Slices

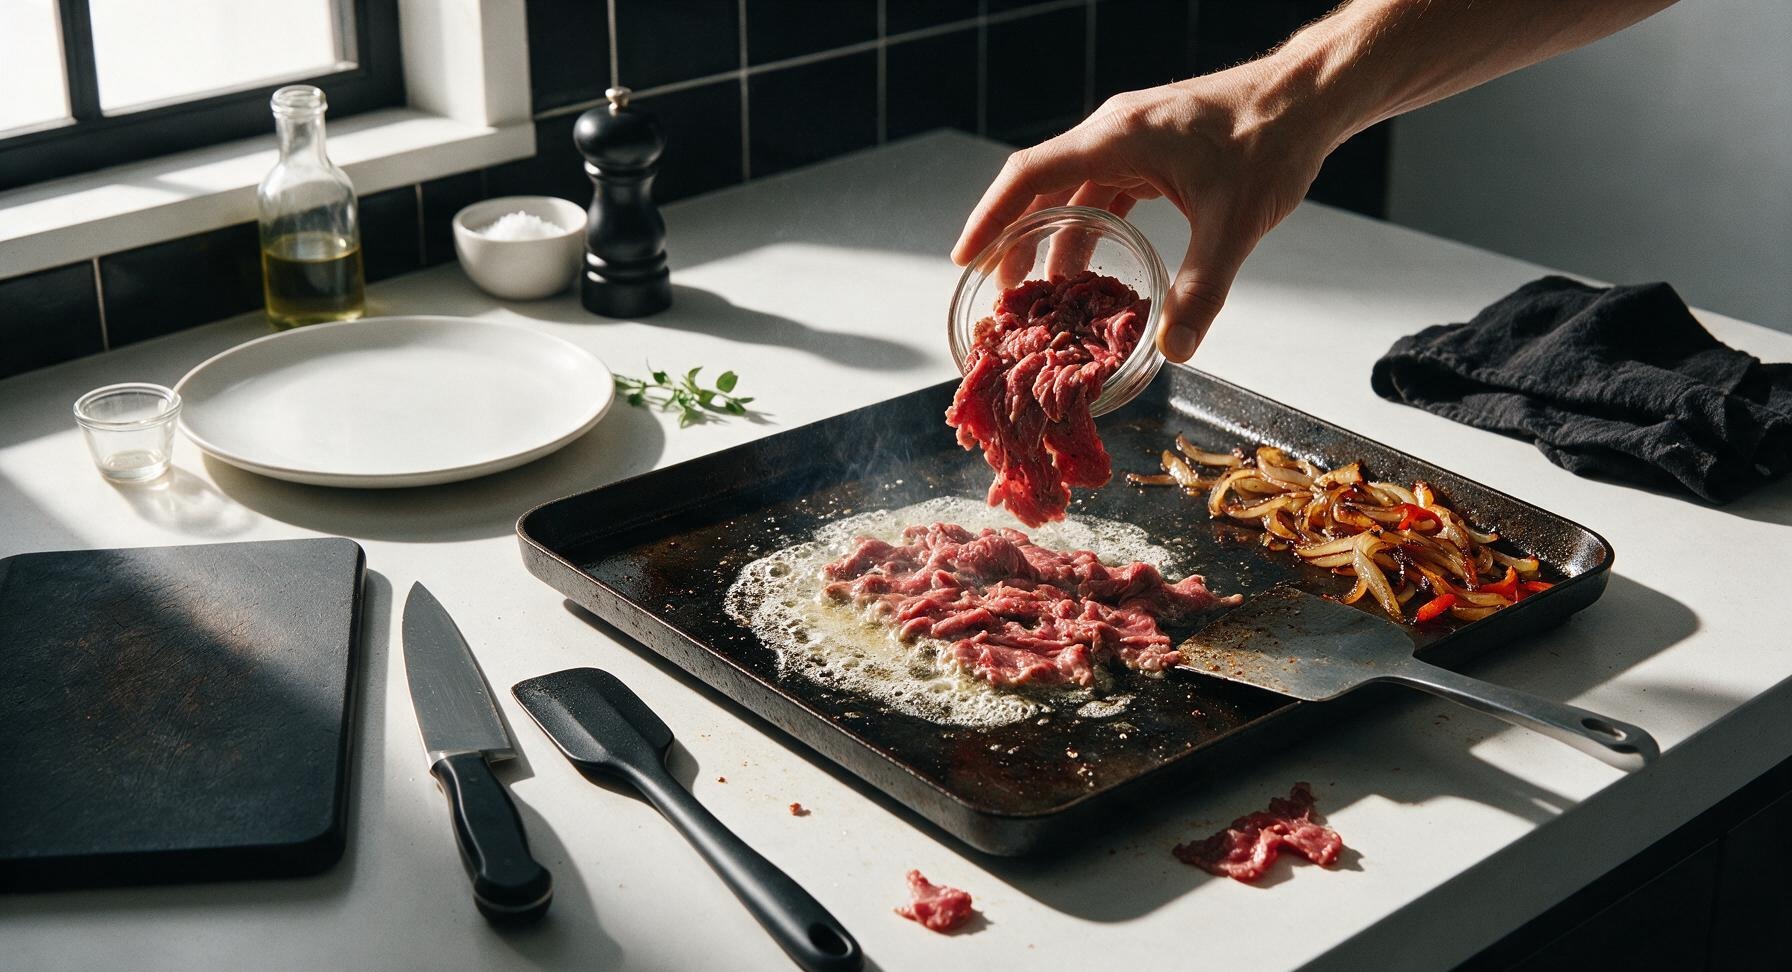
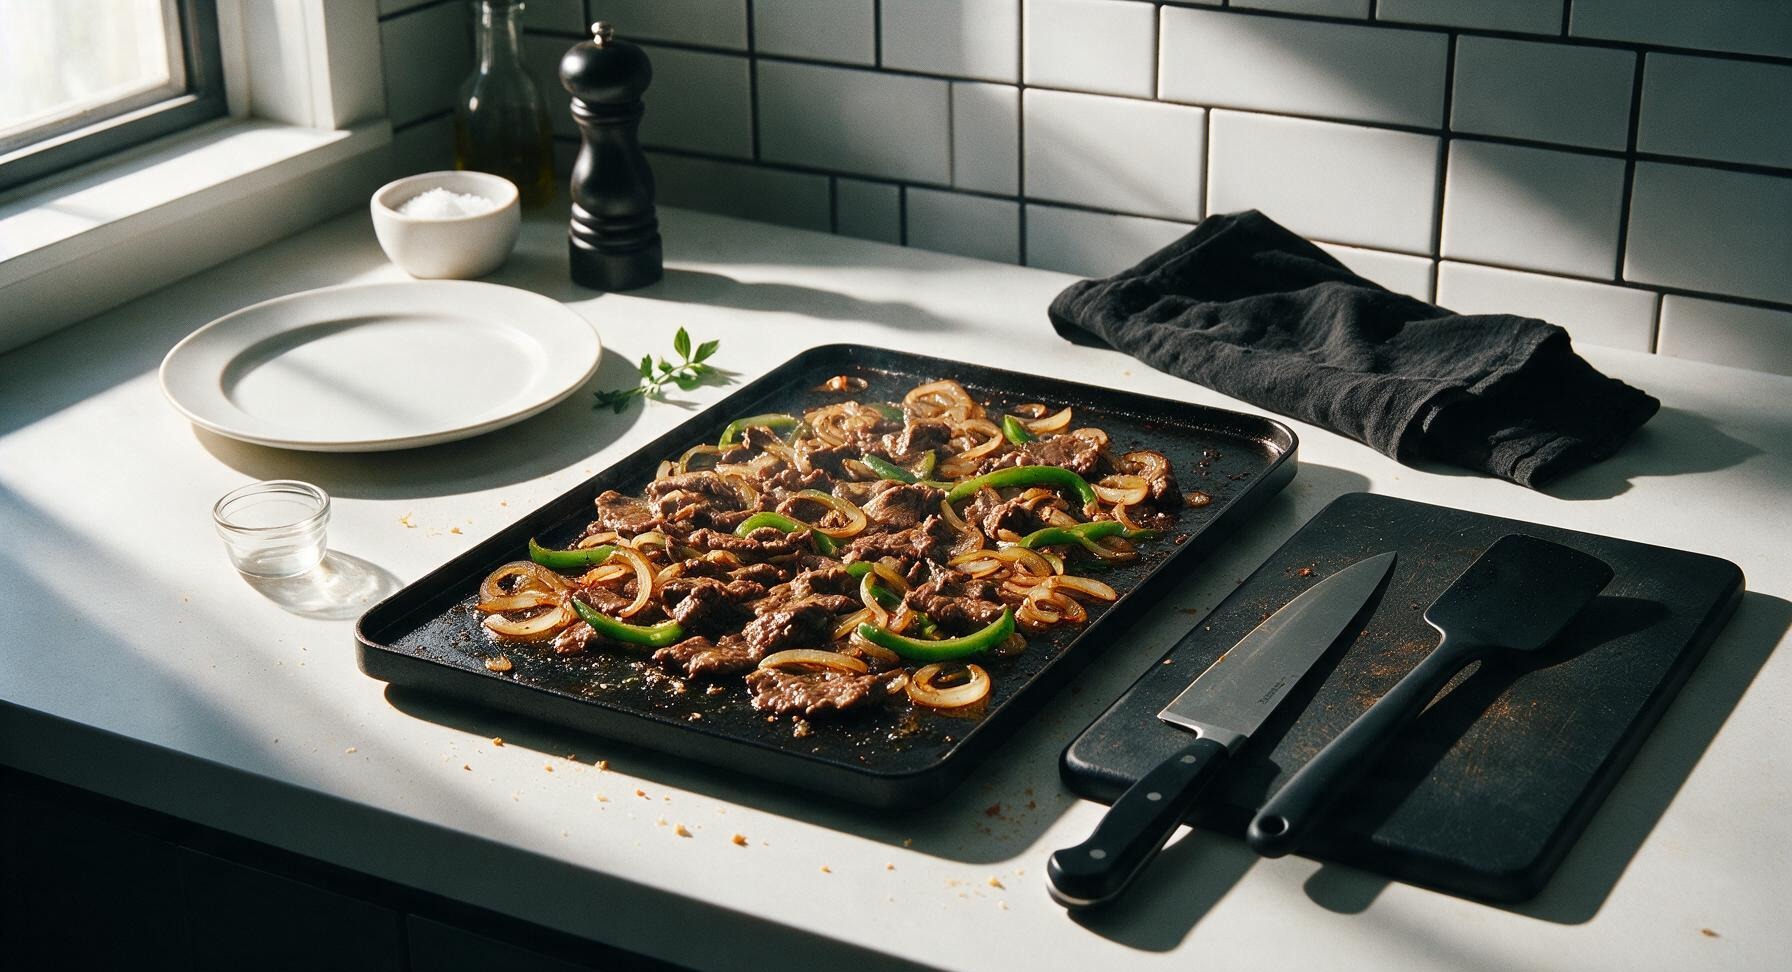
Increase the griddle heat to medium-high (400°F / 205°C). Add the remaining 1 tablespoon of butter to the empty hot center of the griddle, then add the seasoned thin beef slices in a single even layer, working in two small batches if needed to avoid overcrowding the pan (which causes steaming instead of searing). Sear the beef for 90 seconds to 2 minutes total, using the spatula to chop and turn the slices constantly, until the beef is just browned all over with no remaining pink spots. Toss the seared beef together with the caramelized onions and peppers on the griddle to combine evenly.
Step 4
step4:Sear Thin Beef Slices
Step 4
step4:Sear Thin Beef Slices
5

Melt Cheese Over Filling

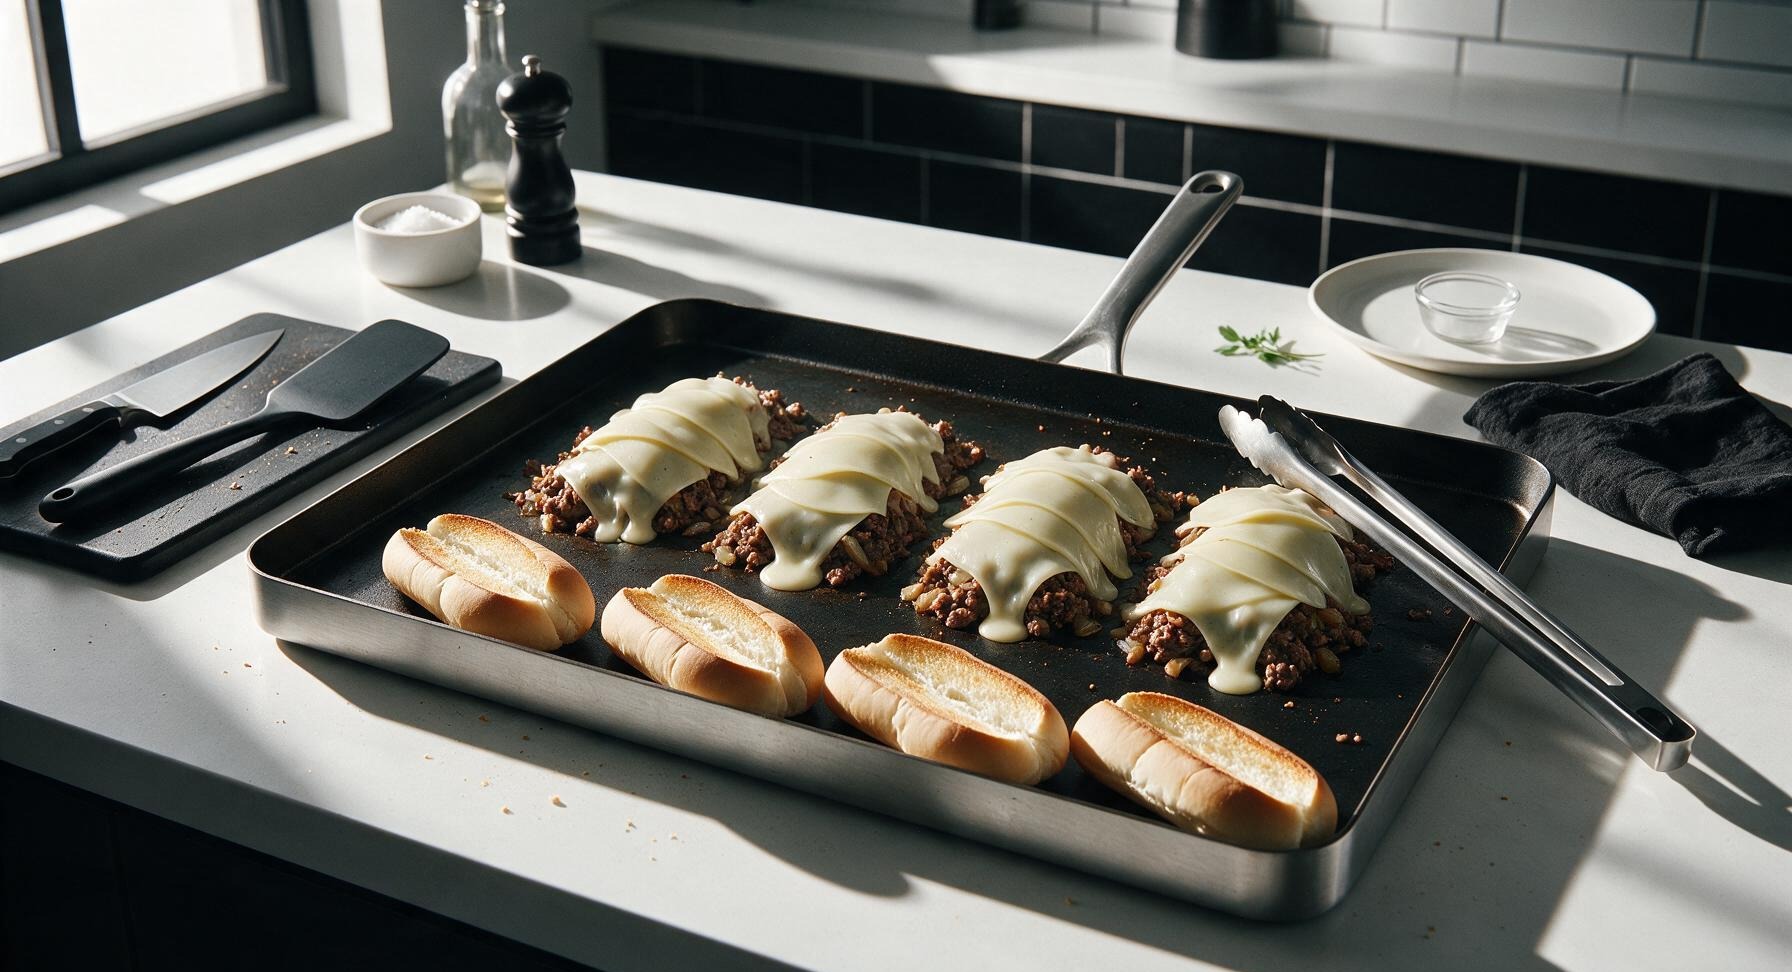
Divide the beef and vegetable mixture on the griddle into 4 equal, long mounds sized to match the length of the hoagie rolls. Lay 2-3 slices of provolone cheese over the top of each mound, then turn the griddle heat to low. Let the cheese melt for 1-2 minutes, until it is fully gooey, smooth, and dripping slightly down the sides of the beef mounds. While the cheese melts, split the 4 hoagie rolls lengthwise, leaving one edge attached to create a hinge, and toast the cut sides lightly on the empty cool edge of the griddle for 30 seconds until golden and slightly crisp.
Step 5
step5:Melt Cheese Over Filling
6

Pile Filling Into Rolls

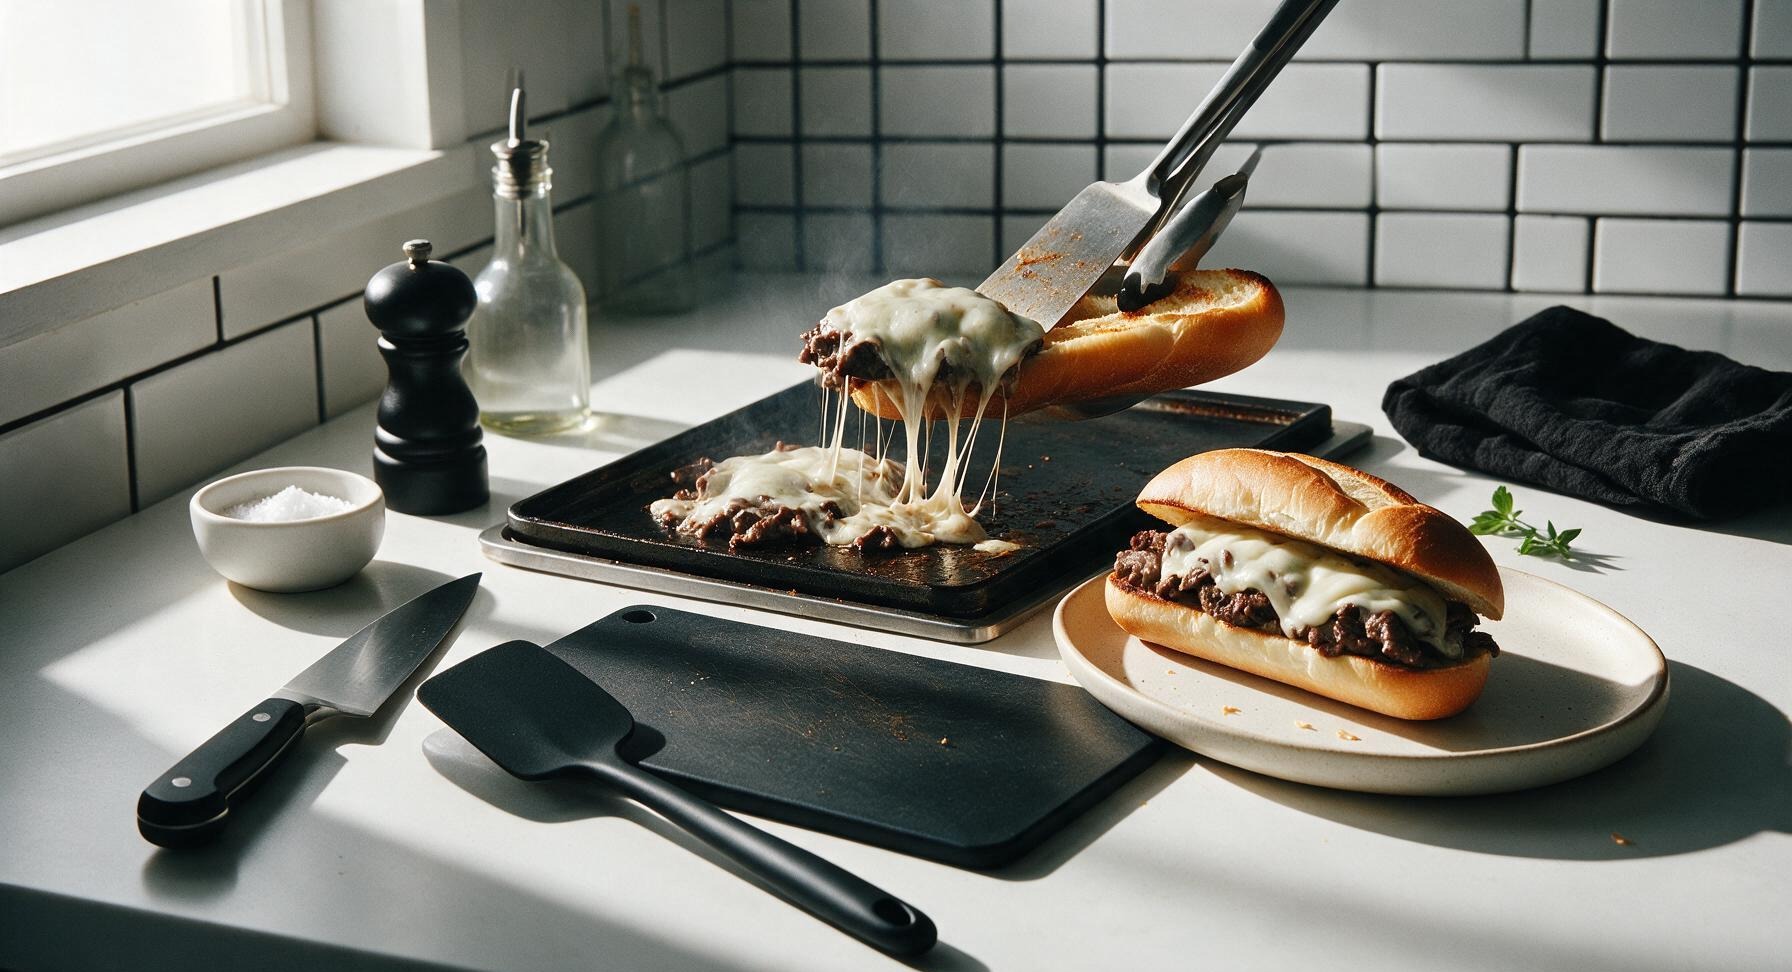
Using the metal spatula, scoop one full cheese-covered beef and veggie mound into each toasted hoagie roll, pressing gently to fit the filling securely so it does not fall out when eaten. Wipe any excess drips of cheese or beef juice from the outside of the rolls with the edge of the spatula. Transfer each assembled cheesesteak to a matte cream ceramic oval plate pulled from the lower shelf.
Step 6
step6:Pile Filling Into Rolls

Tips

1.Freeze the ribeye before slicing: Attempting to cut paper-thin slices from fully thawed, soft ribeye results in uneven, torn pieces that cook unevenly. The 25-minute chill firms the muscle fibers just enough to get consistent, deli-thin slices that cook in 90 seconds and stay juicy and tender, the hallmark of a great cheesesteak.
2.Don’t overcrowd the griddle: If you pile too much beef on the pan at once, the pan temperature will drop and the beef will steam instead of searing, leading to gray, tough meat. Cook in two small batches if needed to keep the pan hot and get a light, flavorful sear on every slice.
3.Keep the roll hinge intact: When splitting the hoagie rolls, leave a 1cm connected edge along one side to create a hinge. This holds the juicy filling and melted cheese inside the sandwich instead of letting it drip out the bottom onto your plate (or your lap) while you eat.


✨ You May Also Like

Main Course
🍜 United Kingdom

A showstopping classic of tender seared beef, savory mushroom duxelles, and crisp prosciutto wrapped in flaky golden puff pastry, baked to juicy perfection.

⏱️ 2 hours 1Main Course ★ 4.7
Main Course
🍜 India

Tender charred marinated chicken simmered in a rich, spiced creamy tomato sauce, this iconic Anglo-Indian curry pairs perfectly with basmati rice or warm naan.

⏱️ 50 minuteMain Course ★ 4.6
Main Course
🍜 Thailand

Classic tangy, sweet, and savory Thai stir-fried rice noodles with shrimp, tofu, and crunchy garnishes, balancing all five core Thai flavor profiles.

⏱️ 30 minuteMain Course ★ 4.5
Main Course
🍜 United Kingdom

Crispy golden beer-battered cod and fluffy double-fried chips, served with tangy tartar sauce and malt vinegar: the timeless, beloved British pub comfort classic.

⏱️ 45 minuteMain Course ★ 4.7
Main Course
🍜 Mexico

Smoky, chile-marinated pork tacos with caramelized pineapple, fresh cilantro, and lime: a beloved classic Mexican street food perfect for casual summer gatherings.

⏱️ 1 hour 45Main Course ★ 4.8
Main Course
🍜 United States

Crunchy Fritos corn chips layered with savory beef chili and melted cheddar, topped with cool, zesty fixings for a beloved, cozy Tex-Mex comfort food.

⏱️ 35 minuteMain Course ★ 4.8

cheesesteak:Frequently Asked Questions

1.Why is boneless ribeye the recommended beef for classic Philly cheesesteaks? ▾
Ribeye’s rich, even marbling is non-negotiable for that signature juicy, beefy bite without dryness, even when seared quickly at high heat. Leaner cuts like sirloin or round will turn tough and bland when cooked thin. For easiest paper-thin slicing, pop the ribeye in the freezer for 30 minutes first to firm it up.
2.How thin do I need to slice the ribeye for the best texture? ▾
Aim for paper-thin slices, roughly 1/8-inch thick or thinner. Thicker slices will cook up chewy instead of tender, and won’t meld properly with the melted cheese and veggies. If you don’t have a meat slicer, partially freezing the steak makes hand-slicing with a sharp chef’s knife totally doable.
3.Can I use a different cheese if I don’t have provolone? ▾
Provolone is the classic pick for its mild, creamy melt and subtle tang that doesn’t overpower the beef, but you can swap in mild American cheese or even Cheez Whiz (a beloved local Philly pick) if that’s what you prefer. Skip crumbly cheeses like feta or sharp cheddar, as they won’t get that signature gooey pull.
4.Do I have to include green bell peppers, or are they optional? ▾
Green bell peppers are a traditional topping at many classic Philly cheesesteak shops, but they’re totally optional if you don’t care for them. If you do use them, slice them thin just like the onions, and cook them until soft and slightly caramelized, not crunchy, so they match the sandwich’s tender, melt-in-your-mouth texture.
5.How do I get perfectly caramelized onions for my cheesesteak? ▾
Slice your yellow onion into thin half-moons, then cook them low and slow over medium-low heat with a little oil or butter for 15-20 minutes, stirring occasionally. Resist the urge to crank the heat to speed things up—high heat will burn the edges before the natural sugars break down into that sweet, soft, golden texture we want.
6.What makes a hoagie roll the right choice for this sandwich? ▾
A good crusty hoagie roll has a sturdy, slightly crisp crust and soft, chewy interior that holds up to juicy beef, melted cheese, and caramelized veggies without turning soggy. Avoid soft, fluffy hamburger buns or thin sandwich bread—they’ll fall apart halfway through eating, and you’ll lose half your filling to your plate.
7.Should I toast my hoagie roll before assembling the sandwich? ▾
Absolutely! Lightly toasting the cut sides of the hoagie roll on the same griddle or skillet you use for the beef and veggies adds a subtle crunch, creates a slight moisture barrier to prevent sogginess, and warms the roll through so every bite is evenly warm, not cold in the middle from the fillings.
8.What’s the best heat level to sear the thinly sliced ribeye? ▾
Crank your griddle or cast-iron skillet to medium-high heat—you want it hot enough to get a quick, deep sear on the beef without steaming it. Don’t overcrowd the pan; cook the beef in small batches if needed, so it browns nicely instead of releasing too much liquid and boiling, which leaves it tough and flavorless.
9.Do I need to season the beef heavily while it cooks? ▾
Keep seasoning simple to let the rich ribeye flavor shine. A light sprinkle of kosher salt and freshly ground black pepper right as the beef finishes searing is all you need. Skip heavy spice blends, marinades, or sauces during cooking—they’ll overpower the classic, simple flavor profile and make the filling soggy.
10.How do I get the cheese perfectly melted over the beef? ▾
Once your beef is fully seared and your veggies are mixed in, lay the thin provolone slices directly over the top of the hot filling on the griddle. Let it sit for 30 to 45 seconds until the cheese is fully gooey and starting to drip down the sides, then scoop the whole cheese-covered pile straight into your waiting toasted hoagie roll.
11.Can I prep components of this cheesesteak ahead of time for a party? ▾
You can caramelize the onions and peppers up to 3 days ahead and store them in an airtight container in the fridge, and slice your ribeye 1 day ahead if kept tightly wrapped. Wait to sear the beef and melt the cheese until right before serving, though—pre-cooked beef dries out fast, and the cheese won’t have that fresh, gooey pull if made too far in advance.
12.My last cheesesteak turned out really soggy—what did I do wrong? ▾
Sogginess usually comes from one of three missteps: using too-soft bread that doesn’t hold up to juices, skipping toasting your roll to create a moisture barrier, or cooking the beef at too low a heat so it releases excess liquid instead of searing fast. You can also drain any excess grease from the beef before adding cheese to cut down on extra moisture.
13.Is it authentic to add mushrooms to a classic Philly cheesesteak? ▾
Traditional Philly cheesesteak purists stick to just beef, cheese, and onions (with optional peppers), but mushrooms are a very popular diner and shop add-on that tastes fantastic. If you add them, slice them thin and cook them down until all their released moisture evaporates, so they don’t make your sandwich soggy.
14.How much filling should I pile on each hoagie roll? ▾
Aim for roughly 6 to 8 ounces of seared beef per standard 8-inch hoagie, plus a heaping scoop of caramelized onions and peppers (if using) and 2 to 3 slices of provolone. It should feel generously piled, but not so overstuffed that you can’t pick it up and take a bite without half the filling falling out onto your plate.
15.Can I make this cheesesteak without a cast-iron skillet or griddle? ▾
Absolutely! Any heavy-bottomed skillet will work as long as it holds heat well and you can get it up to medium-high. Just make sure not to overcrowd the pan when searing the beef—cook in two batches if your skillet is on the smaller side, so you still get that nice, crisp sear on the thin ribeye slices instead of steaming it.
16.Should I chop the beef up while it sears, or leave the slices whole? ▾
Chopping the thin ribeye slices into small, bite-sized pieces as you sear it is the classic Philly shop method! Use a stiff spatula or pair of metal tongs to break the slices apart as they cook, so every piece gets evenly browned and mixes seamlessly with the caramelized veggies and melted cheese for uniform flavor in every bite.
17.What are good classic side dishes to serve with these cheesesteaks? ▾
Stick to casual, satisfying sides that match the sandwich’s laid-back vibe: crispy crinkle-cut fries, tangy coleslaw, dill pickle spears, or ridged potato chips all work perfectly. You can also set out hot cherry pepper relish for anyone who wants a little spicy kick to cut through the rich, cheesy, beefy flavor of the sandwich.
18.How should I store leftover cheesesteak filling, if I have extra? ▾
Store any leftover seared beef, onion, and pepper mixture in an airtight container in the fridge for up to 3 days. Skip storing fully assembled sandwiches, as the roll will turn mushy and the cheese will get rubbery when chilled. When ready to eat, reheat the filling in a hot skillet, top with fresh provolone to melt, and pile into a freshly toasted hoagie.

Comments (8)

2 weeks ago

Paired these with a cold local IPA last night and it was the perfect weekend dinner. The cook time really is 20 minutes, I timed it because I’m terrible at sticking to recipe timelines and usually end up eating at 9pm. Didn’t add any extra veggies, kept it classic with just onions and Whiz, no notes.

1 week ago

My kids loved it! I’ve been searching for quick dinner ideas that don’t require a million ingredients, and this checks every box. I didn’t have ribeye so I used thinly sliced sirloin from the grocery store deli counter, worked like a charm. Even my toddler who refuses all meat lately ate half a sandwich, total win!

5 days ago

Wait the deli counter will slice sirloin thin for you? That’s such a good hack, I’ve been struggling to get my steak thin enough with a regular knife at home!

2 days ago

That’s such a great hack using deli-sliced sirloin, BusyMomof3 — I’m so glad your toddler gobbled it up! @WeeknightCooker, most grocery store deli counters will slice raw meat thin for you if you ask, it saves so much time and effort at home!

5 days ago

Wait, hold up — I grew up in Philly and I’m super skeptical of non-local cheesesteak recipes, but this one actually hits? The tip to freeze the steak for 20 minutes before slicing to get it paper thin is genius, no more chewy uneven chunks for me. I will say, don’t skip the fried onions, they make the whole sandwich.

3 days ago

Another ex-Philly person here, can confirm the freeze trick is a game changer if you don’t have a deli slicer at home! I’ve been making these for years and never thought to do that, thanks for the reminder.

3 days ago

Added this to my weekly meal prep rotation! I pre-cooked the thinly sliced steak and onions on Sunday, then just assembled and heated everything up on toasted rolls for lunches all week. Super easy, way better than the sad takeout cheesesteaks by my office, and I didn’t get sick of eating it three days in a row which says a lot. Knocked off one star because I forgot to buy cheese on my first grocery run for it, total user error lol

2 days ago

Quick question — can I make these with chicken instead of beef? My partner doesn’t eat red meat but has been begging for cheesesteaks lately, and I don’t want to ruin the recipe by swapping proteins without checking first!

yesterday

I made these with chicken breast sliced super thin last week and it was amazing! Just added a little extra garlic powder to the chicken when cooking, worked perfectly.

2 hours ago

Great question! Chicken absolutely works for this — just slice it extra thin (the same freeze trick works for chicken too!) and cook it the same way you would the steak. A little extra paprika or garlic powder on the chicken goes a long way, like @ChickenCheesesteakFan mentioned! Hope your partner loves it.

yesterday

Made these for our Sunday football watch party potluck and they were gone in 10 minutes flat. I shaved the ribeye extra thin like the recipe said and loaded them up with sautéed onions and peppers, total game changer. Only thing I’ll do different next time is toast the hoagie rolls a little longer for extra crunch.

30 minutes ago

Wait did you use the Cheez Whiz or go with a different cheese? I’m making these for my own tailgate next weekend and can’t decide!

5 minutes ago

Love that these were a hit at your watch party, Troy! Toasting the rolls longer is a pro move, I do that too when I’m feeding a crowd. @GrillDadMike, I lean into classic Whiz for tailgates because it melts super smooth and holds up great for serving groups!

2 hours ago

OMG this was SO good! I made this for last night’s family dinner and even my super picky 10 year old asked for seconds. I used provolone instead of Cheez Whiz because that’s what I had on hand and it still slapped. The 20 minute cook time is no joke too, perfect for busy weeknights!

30 minutes ago

So glad your kiddo loved it, Jessie! Provolone is a fantastic swap if you’re not a Cheez Whiz fan — I sometimes mix a little provolone with Whiz for extra depth, too. Great call making it work for your weeknight rush!

30 minutes ago

First time ever making a cheesesteak at home and I was shocked how easy it was! I was worried I’d mess up the meat, but cooking it in batches on high heat so it gets a little crispy instead of steaming made all the difference. Only complaint is that my hoagie rolls were a little too small, so I had leftover filling that I ate straight out of the pan with a fork, no regrets.

just now

So proud of you for nailing your first homemade cheesesteak! Cooking the meat in batches is such an important step, I’m glad that tip worked for you. Next time grab the bigger hoagie rolls — no judgment on eating the leftover filling straight from the pan, I’ve done that many times myself!



