
cheesy tater tot casserole no meat

title 1
cheesy tater tot casserole no meat
⏱️ cook time 50 minutes
🍽️ servings 6
⚡ Difficulty easy

intro

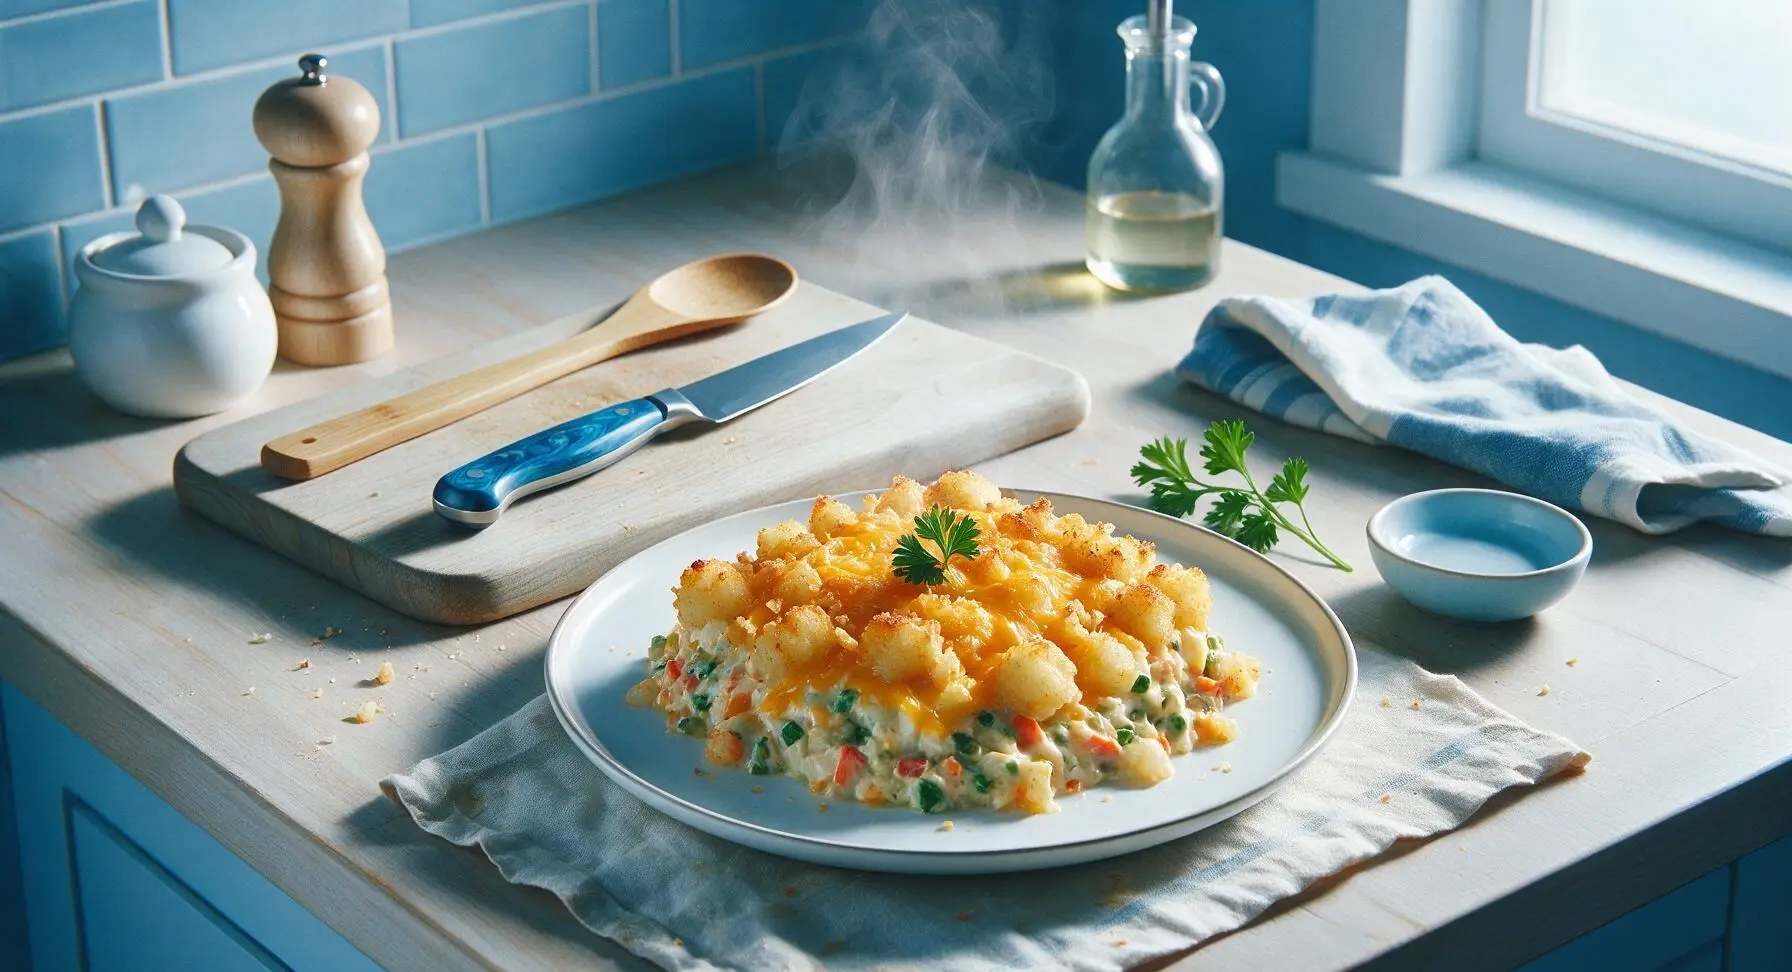
Creamy, veggie-packed vegetarian tater tot casserole loaded with melted sharp cheddar and a crispy golden potato top. Gooey, cozy, and perfect for easy low-fuss family meals.

Ingredients
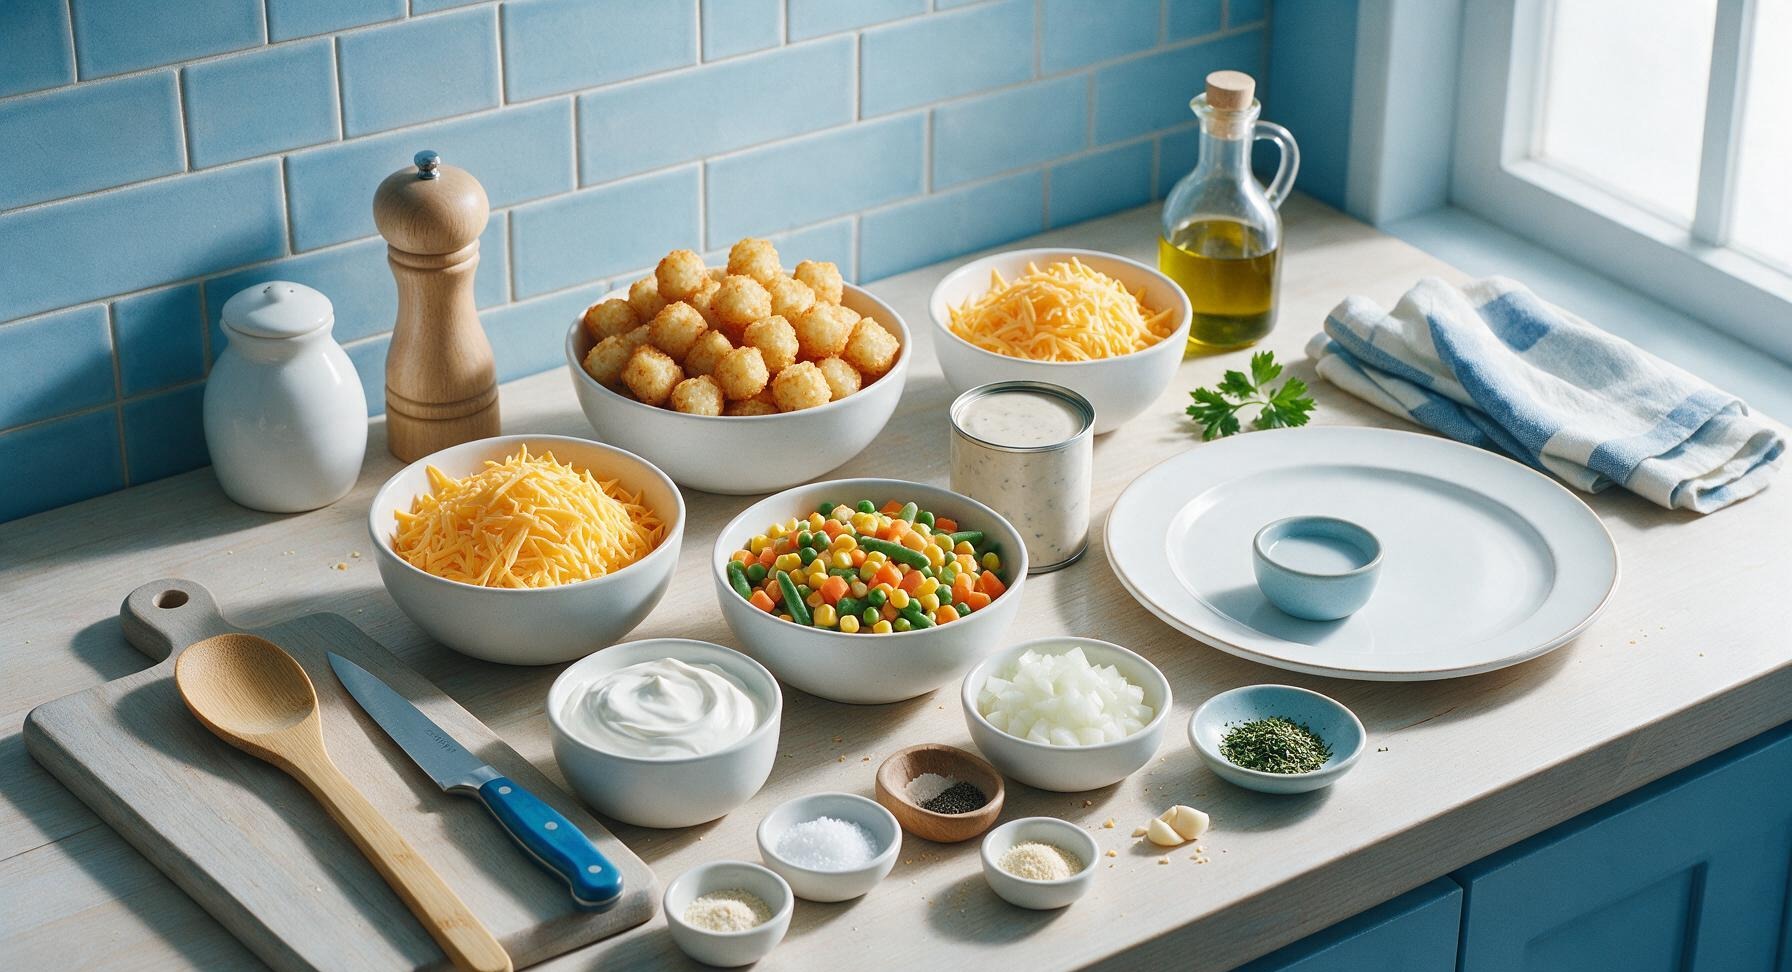
Frozen tater tots 2 lbs (900g)
Sharp cheddar cheese 8 oz (225g), shredded, divided
Condensed cream of mushroom soup 1 (10.5oz/300g) can
Frozen mixed vegetables (corn, peas, carrots, green beans) 16 oz (450g)
Full-fat sour cream 1 cup (227g)
Yellow onion 1 small (110g), diced
Garlic cloves 2, minced
Olive oil 1 tbsp
Kosher salt 1 tsp
Ground black pepper 1/2 tsp
Garlic powder 1/2 tsp
Onion powder 1/2 tsp
Dried parsley flakes 1 tsp, for garnish

Steps

1

Preheat Oven and Prep Dish

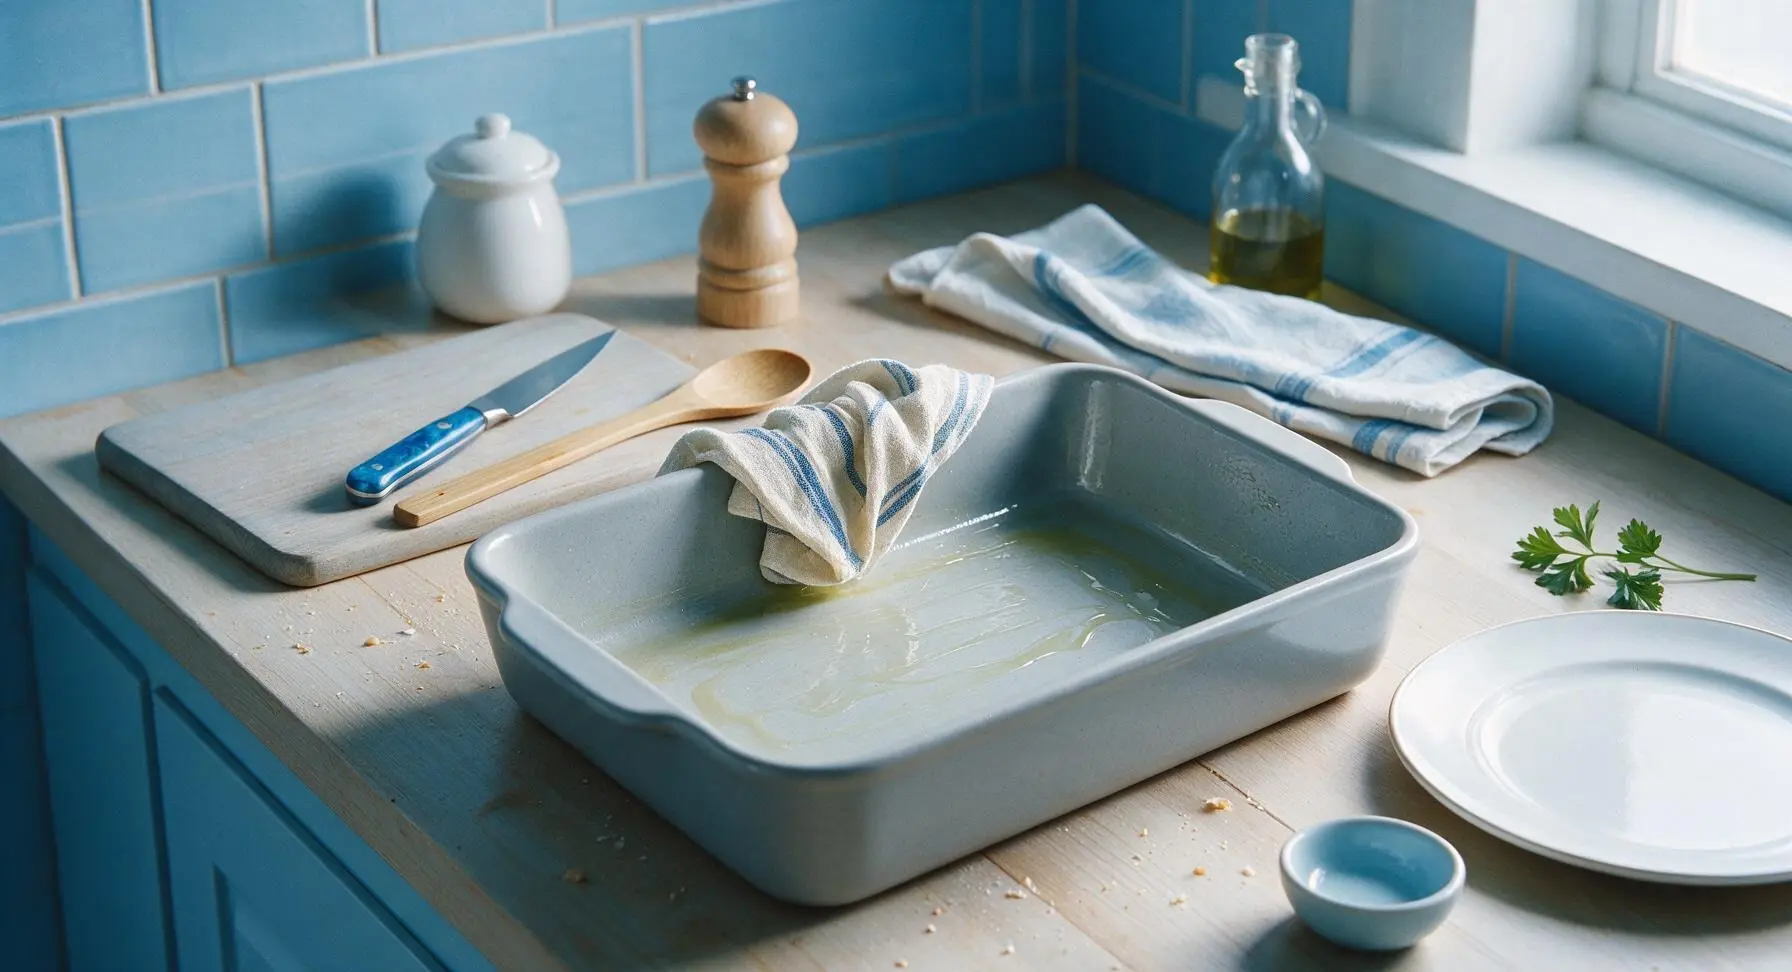
Adjust your oven rack to the middle position, then preheat the oven to 375°F (190°C). Use a corner of the folded blue-striped cream kitchen towel to spread a thin, even coating of olive oil across the interior bottom and sides of the 9x13 inch matte light gray ceramic baking dish to prevent sticking. Set the greased dish in the center of the counter.
Step 1
step1:Preheat Oven and Prep Dish
2

Sauté Onion and Garlic

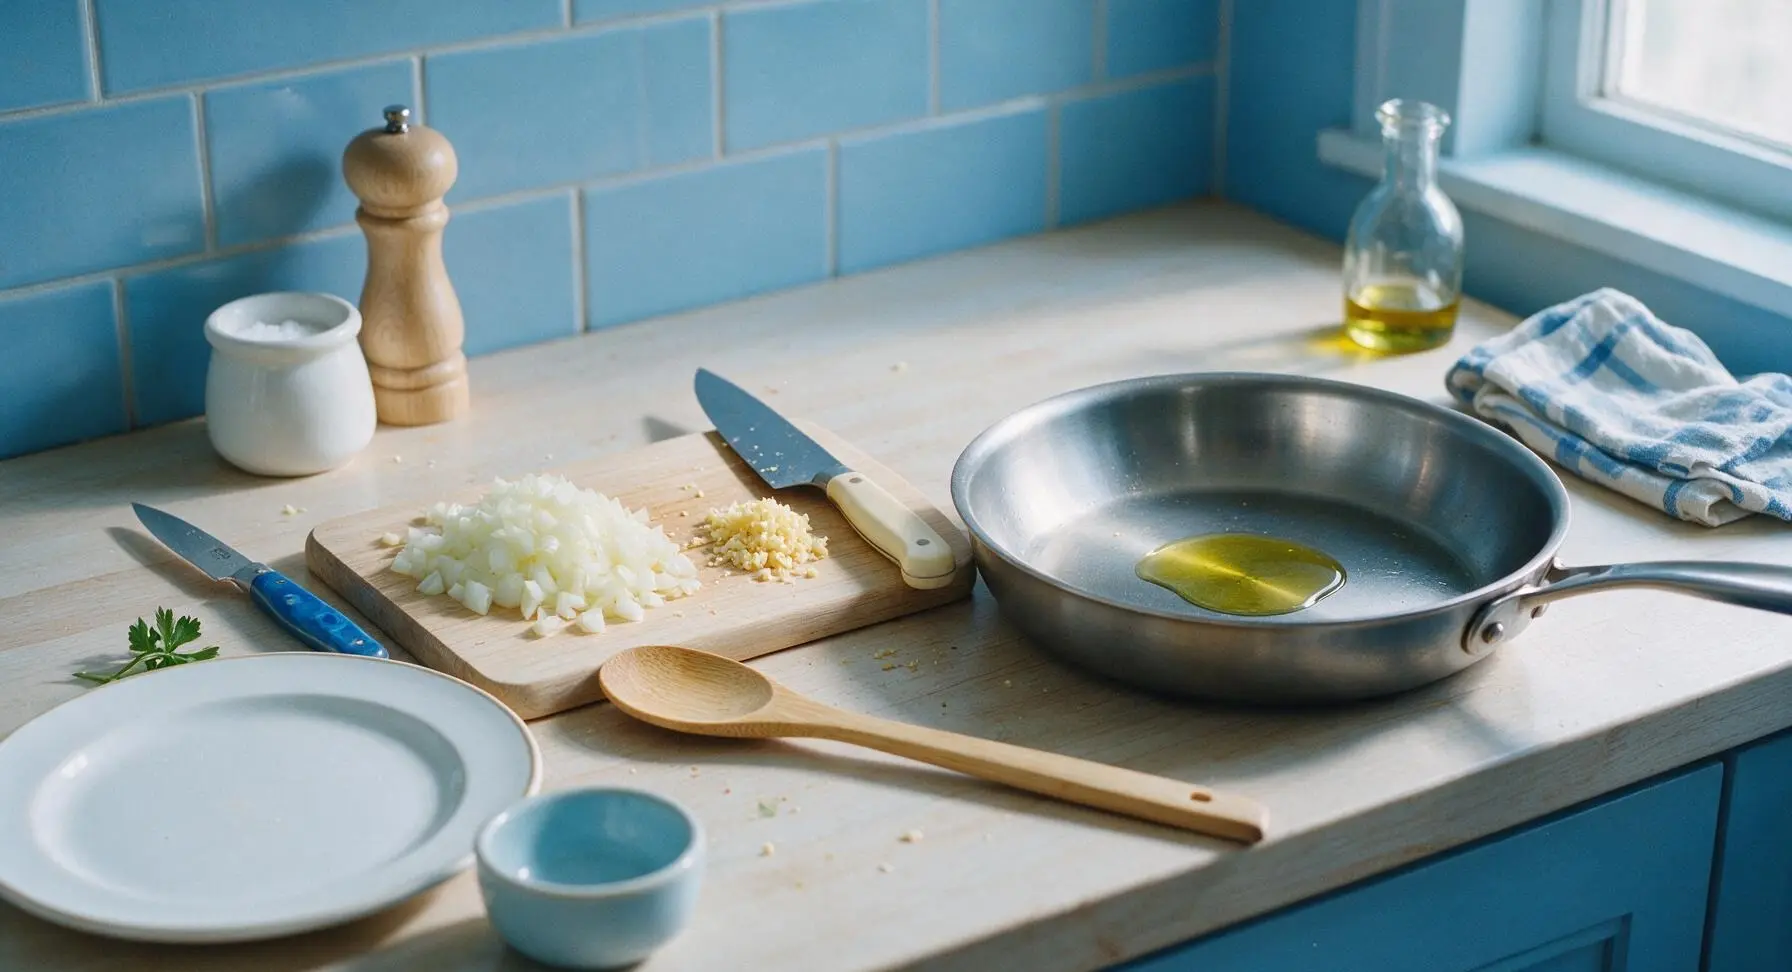
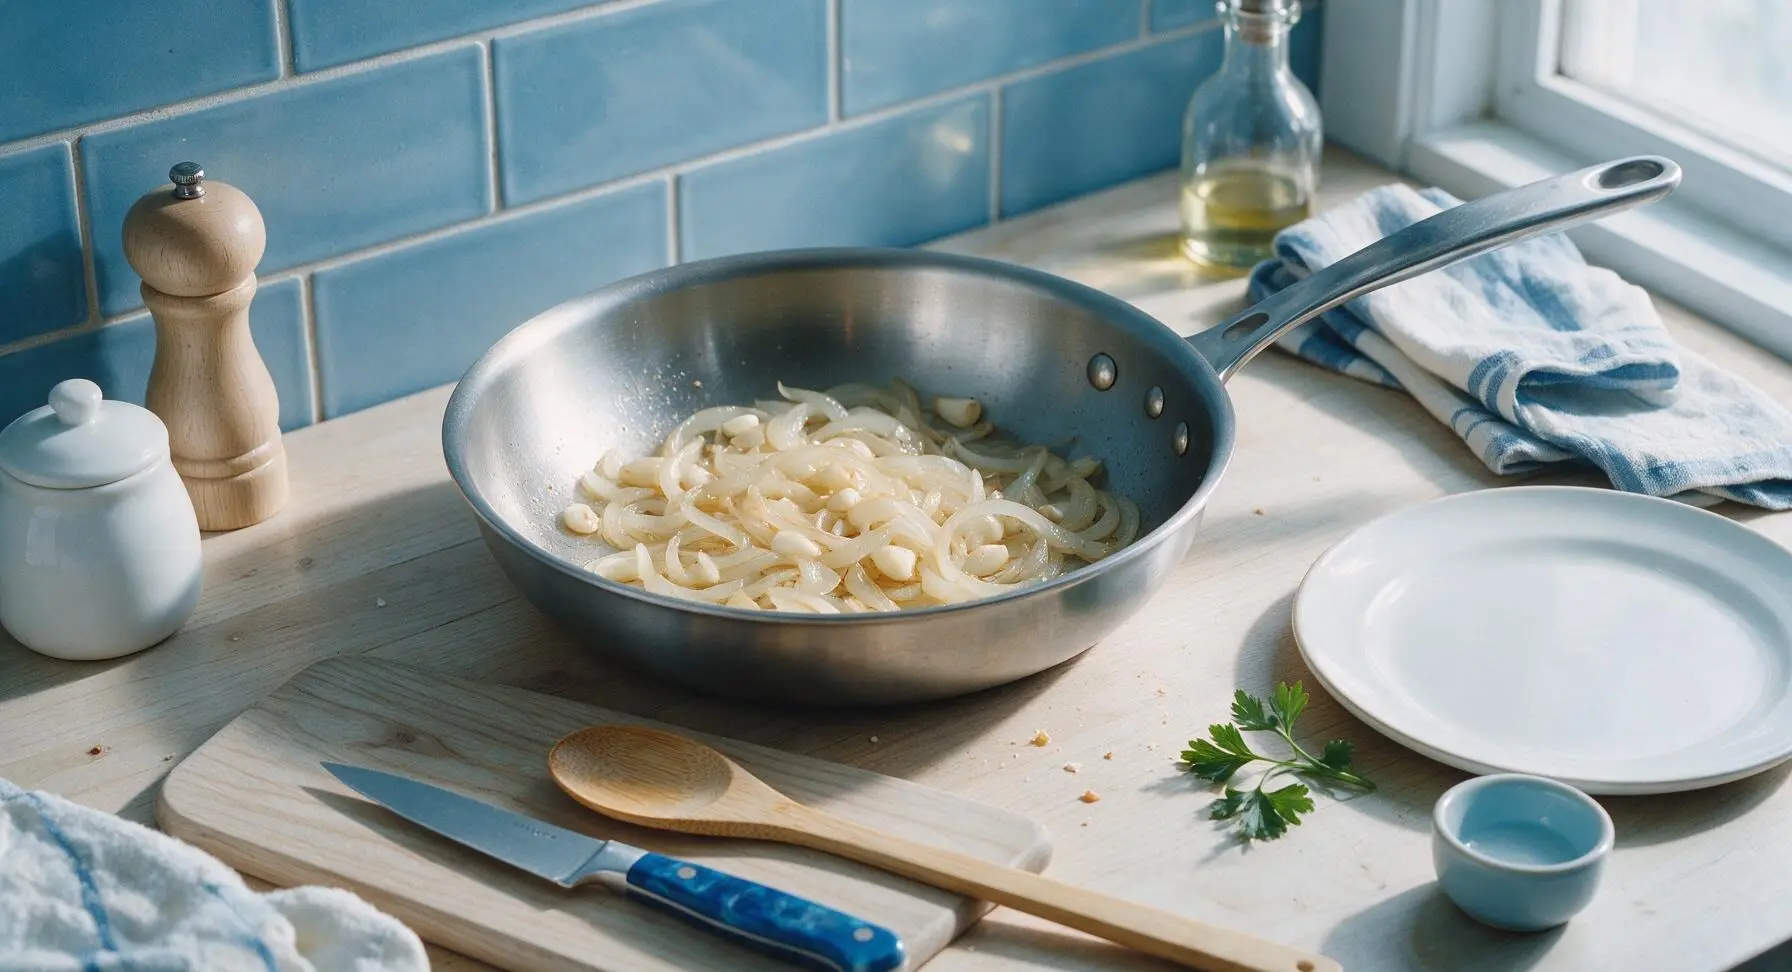
Place the 10-inch matte stainless steel skillet over medium heat, add 1 tablespoon olive oil. Once the oil shimmers (about 1 minute), add the diced yellow onion (chopped on the acacia cutting board with the chef knife) and sauté for 3 minutes until soft and translucent. Add the minced garlic and cook for 30 seconds until fragrant, taking care not to brown or burn the garlic. Remove the skillet from heat and let the aromatics cool for 2 minutes.
Step 2
step2:Sauté Onion and Garlic
Step 2
step2:Sauté Onion and Garlic
3

Mix Creamy Filling

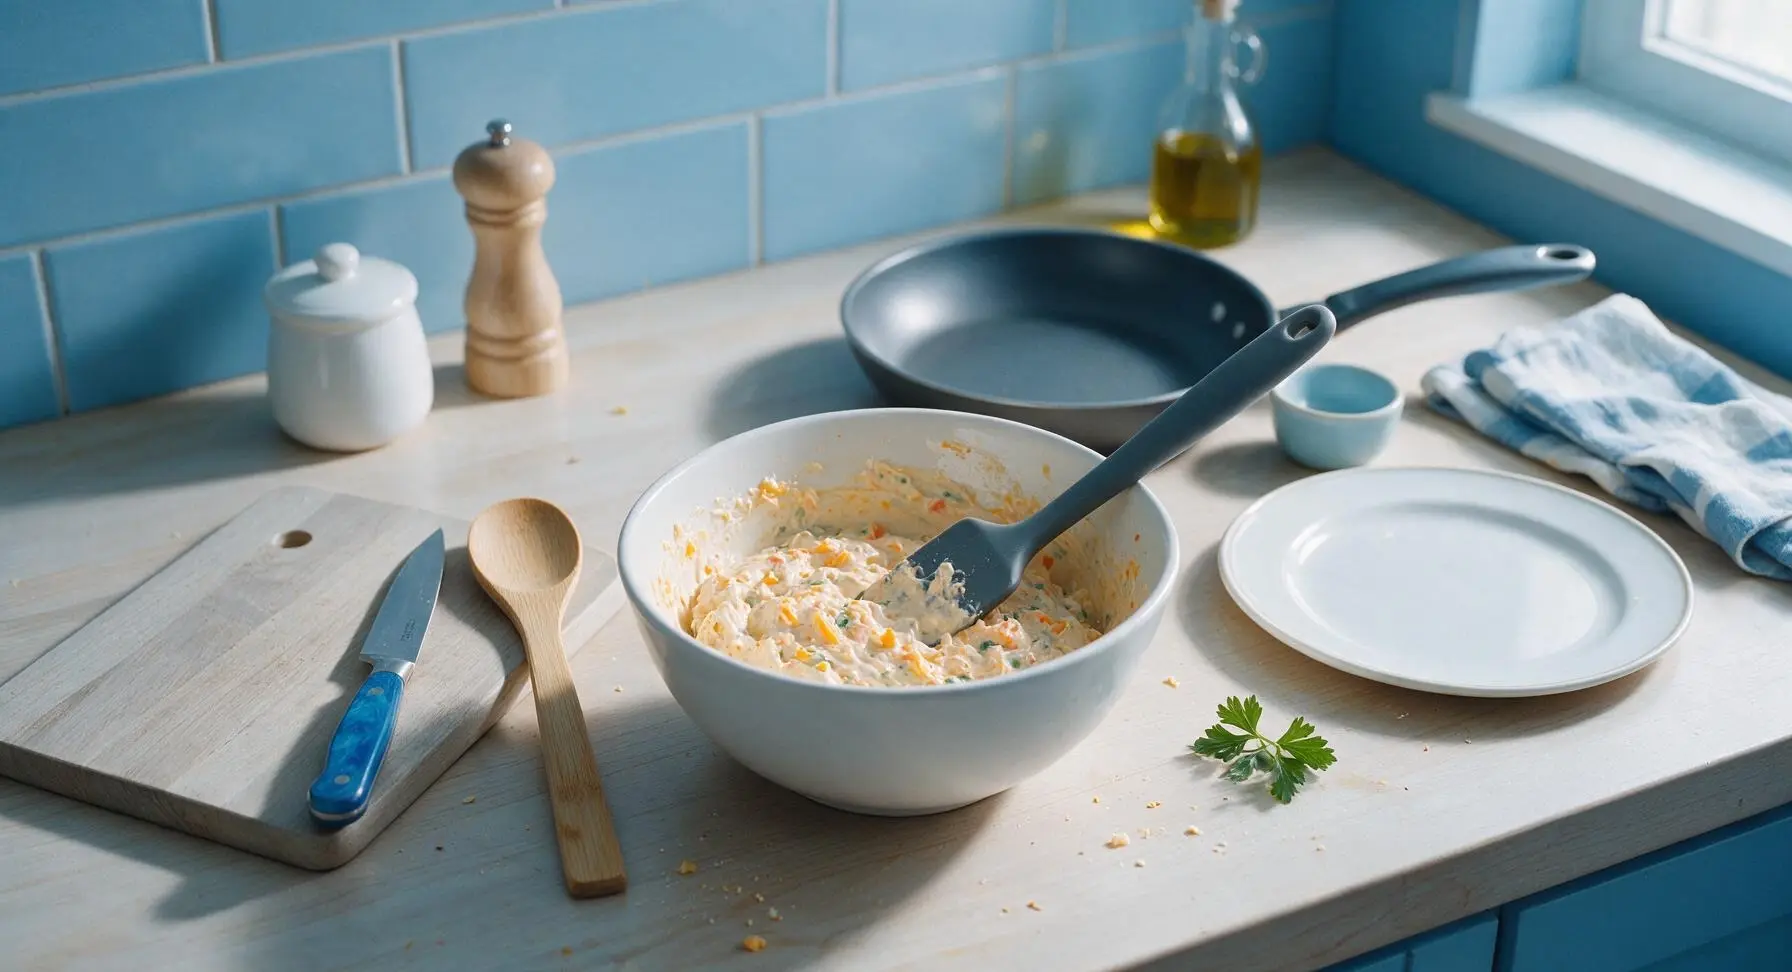
In the medium matte white ceramic mixing bowl, combine the cooled sautéed onion and garlic, condensed cream of mushroom soup, sour cream, kosher salt, black pepper, garlic powder, onion powder, and 4oz (half the total) of shredded sharp cheddar cheese. Stir thoroughly with the matte charcoal gray silicone spatula until no streaks of sour cream remain. Fold in the frozen mixed vegetables, stirring until every piece is evenly coated in the creamy sauce.
Step 3
step3:Mix Creamy Filling
4

Layer Filling in Dish

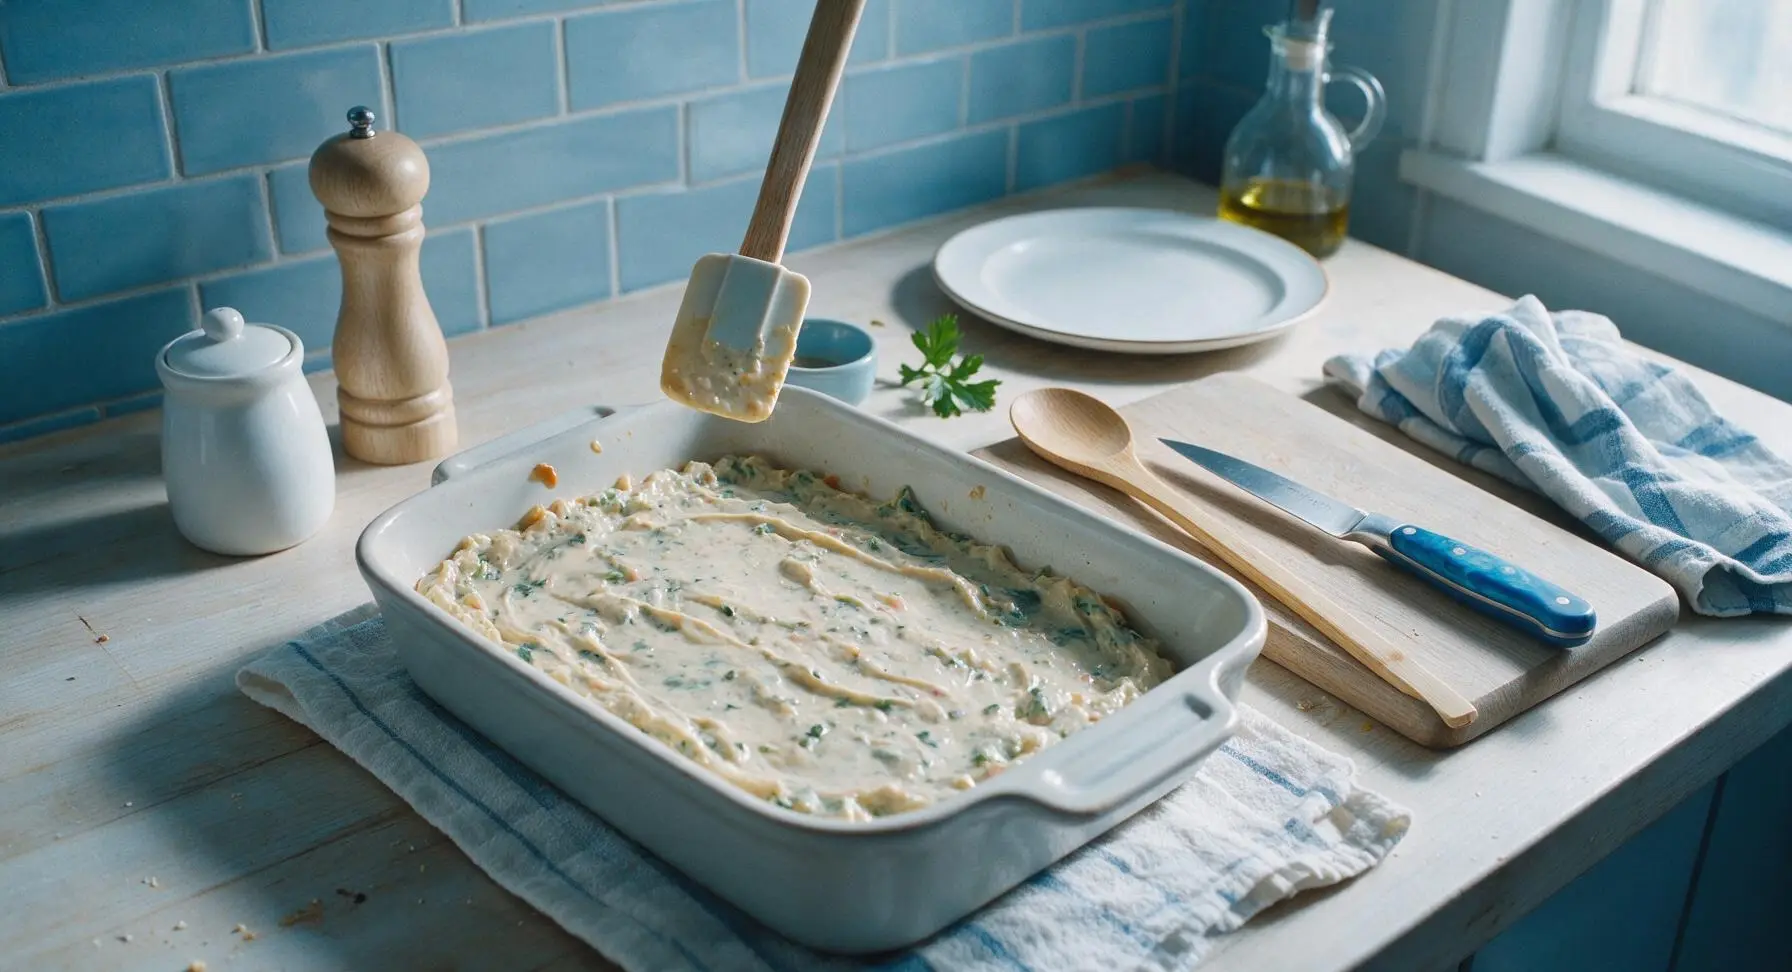
Pour the entire creamy vegetable mixture from the mixing bowl into the greased 9x13 inch ceramic baking dish. Use the silicone spatula to spread the mixture into a perfectly even, flat layer across the bottom of the dish, ensuring no gaps are present along the dish edges.
Step 4
step4:Layer Filling in Dish
5

Top with Cheese and Tots

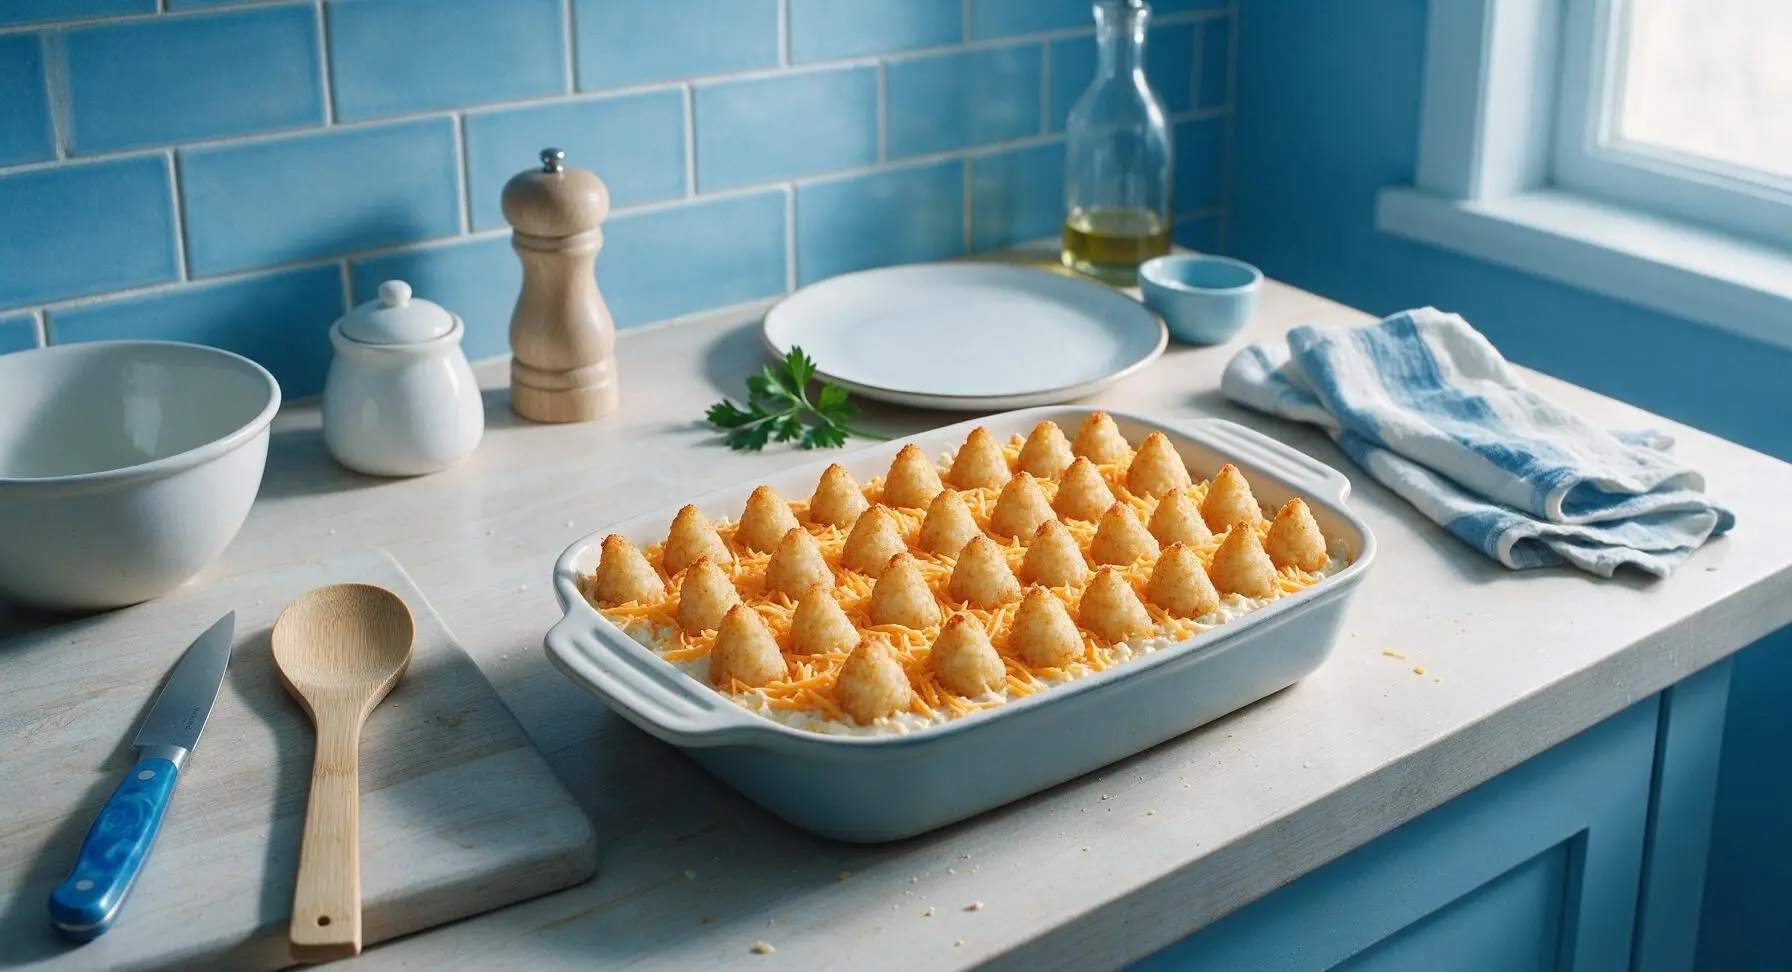
Sprinkle the remaining 4oz of shredded sharp cheddar cheese evenly over the top of the creamy filling layer. Arrange the frozen tater tots in tight, evenly spaced rows across the entire surface of the cheese, pointed side up, covering the filling completely with no gaps (reserve any extra tots for a separate snack). Do not press the tots down into the filling, as this will make them soggy.
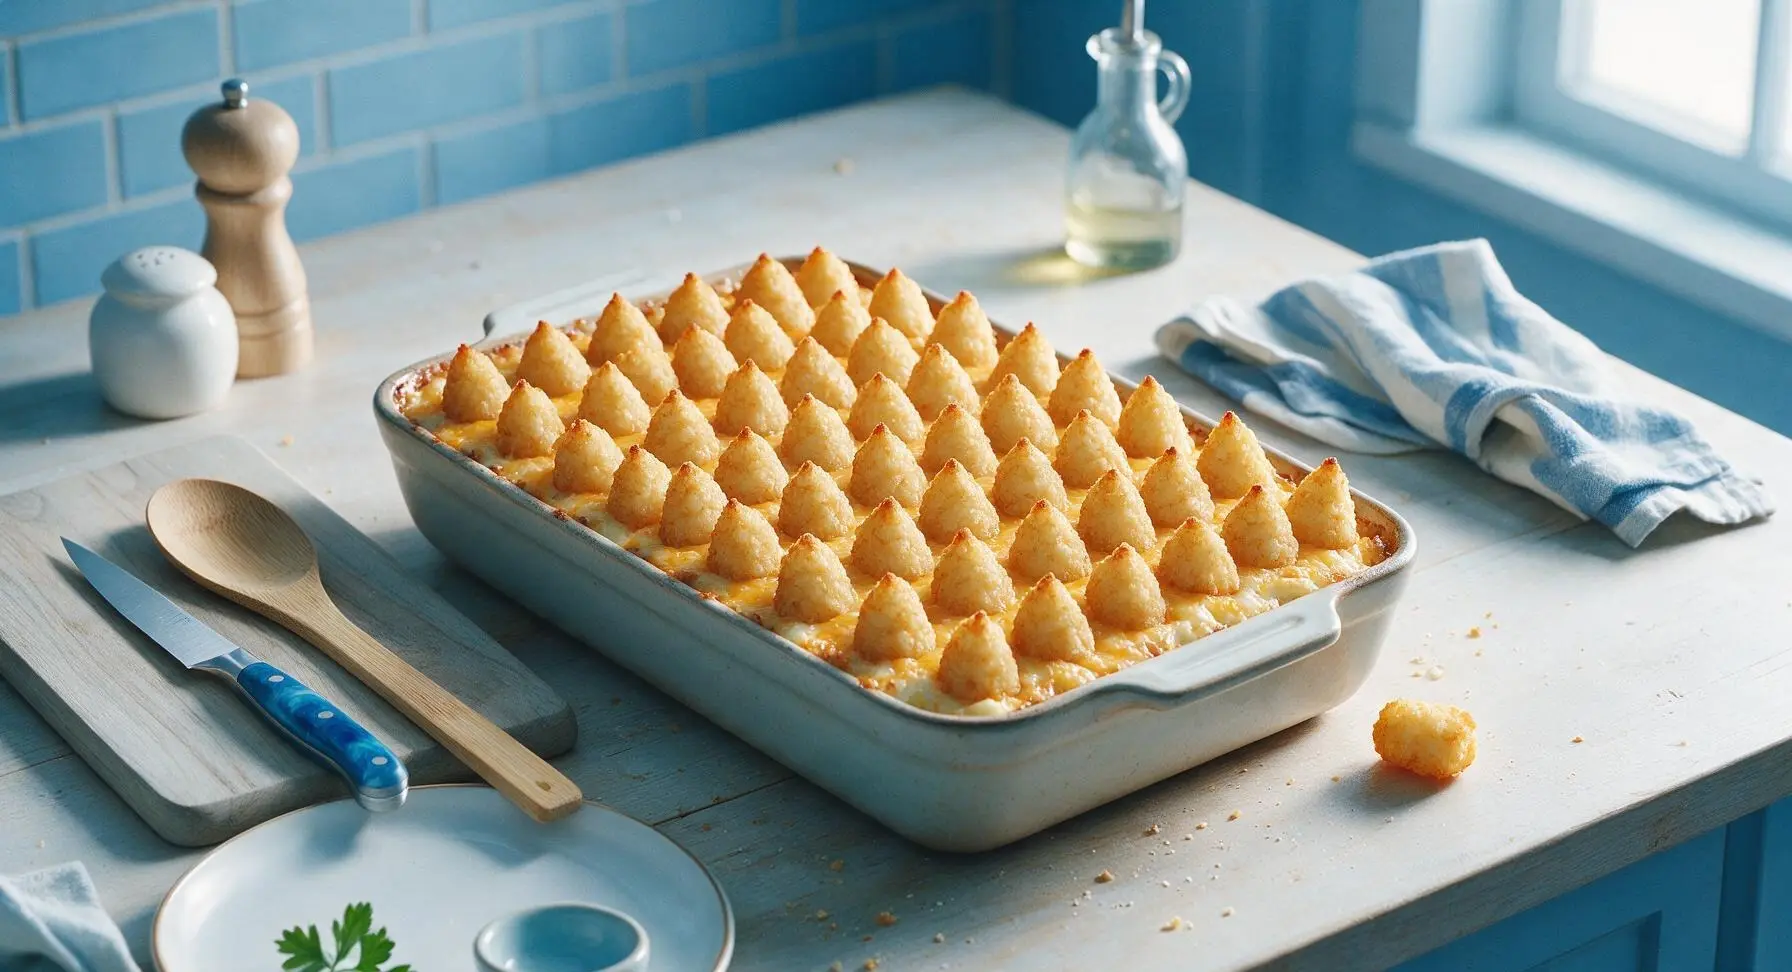
Step 5
step5:Top with Cheese and Tots
Step 5
step5:Top with Cheese and Tots
6

Bake Covered Until Bubbly

Tightly cover the baking dish with a sheet of aluminum foil, crimping the edges firmly around the dish rim to create an airtight seal that traps steam. Place the dish on the middle oven rack, and bake for 35 minutes at 375°F (190°C), until the filling is hot and bubbling around the edges.
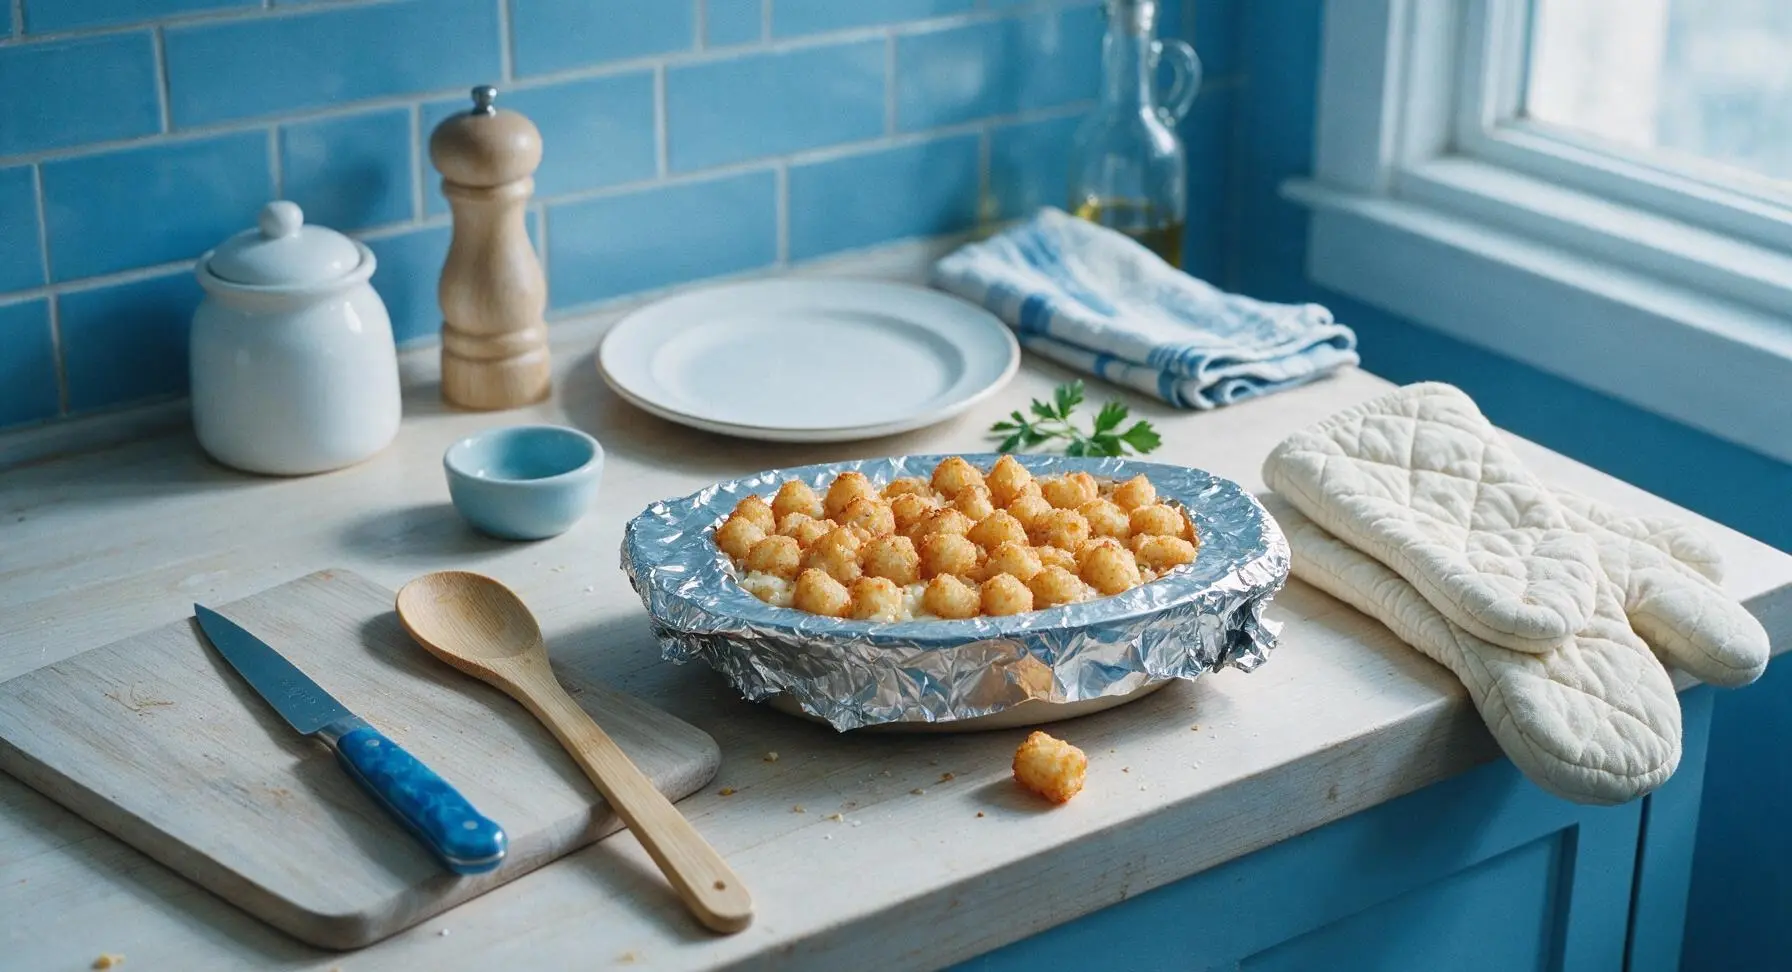
Step 6
step6:Bake Covered Until Bubbly
7

Bake Uncovered to Crisp

Carefully remove the foil from the baking dish (stand back to avoid burns from escaping hot steam), then return the dish to the oven. Bake uncovered for an additional 15 minutes, until the tater tots are deep golden brown and crispy on all sides, and the cheese is fully melted and bubbling between the tots. Remove the dish from the oven, sprinkle with dried parsley flakes, and let rest 5 minutes before serving.
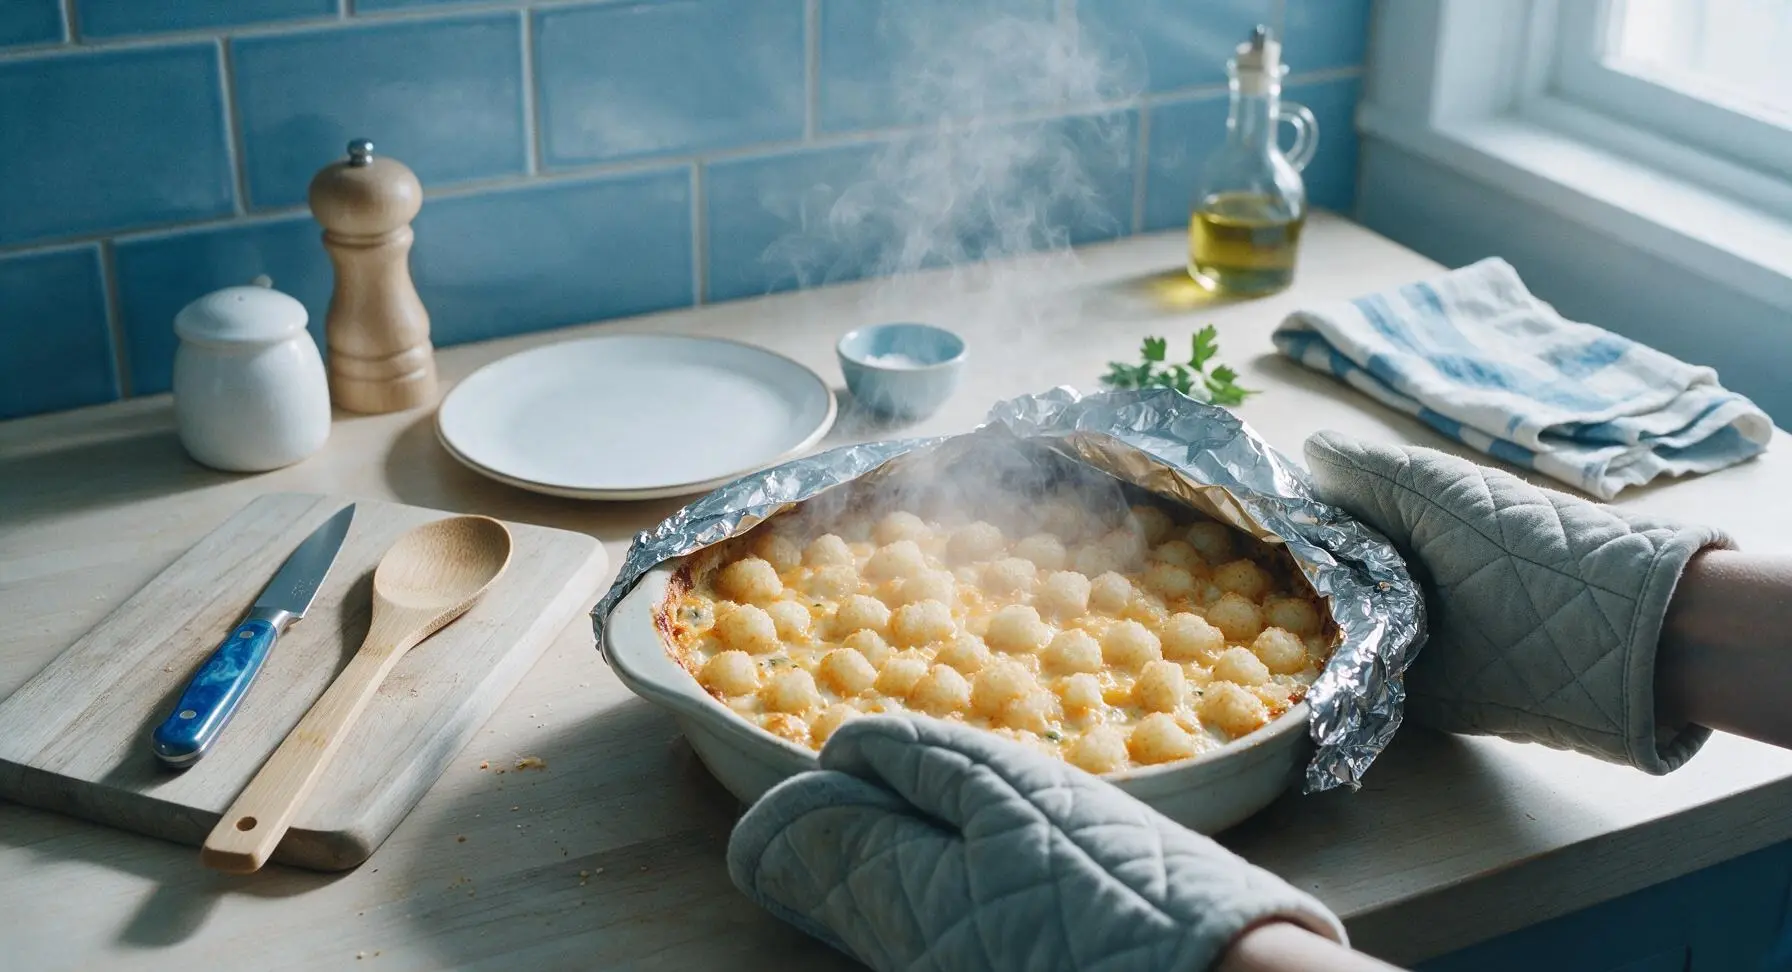
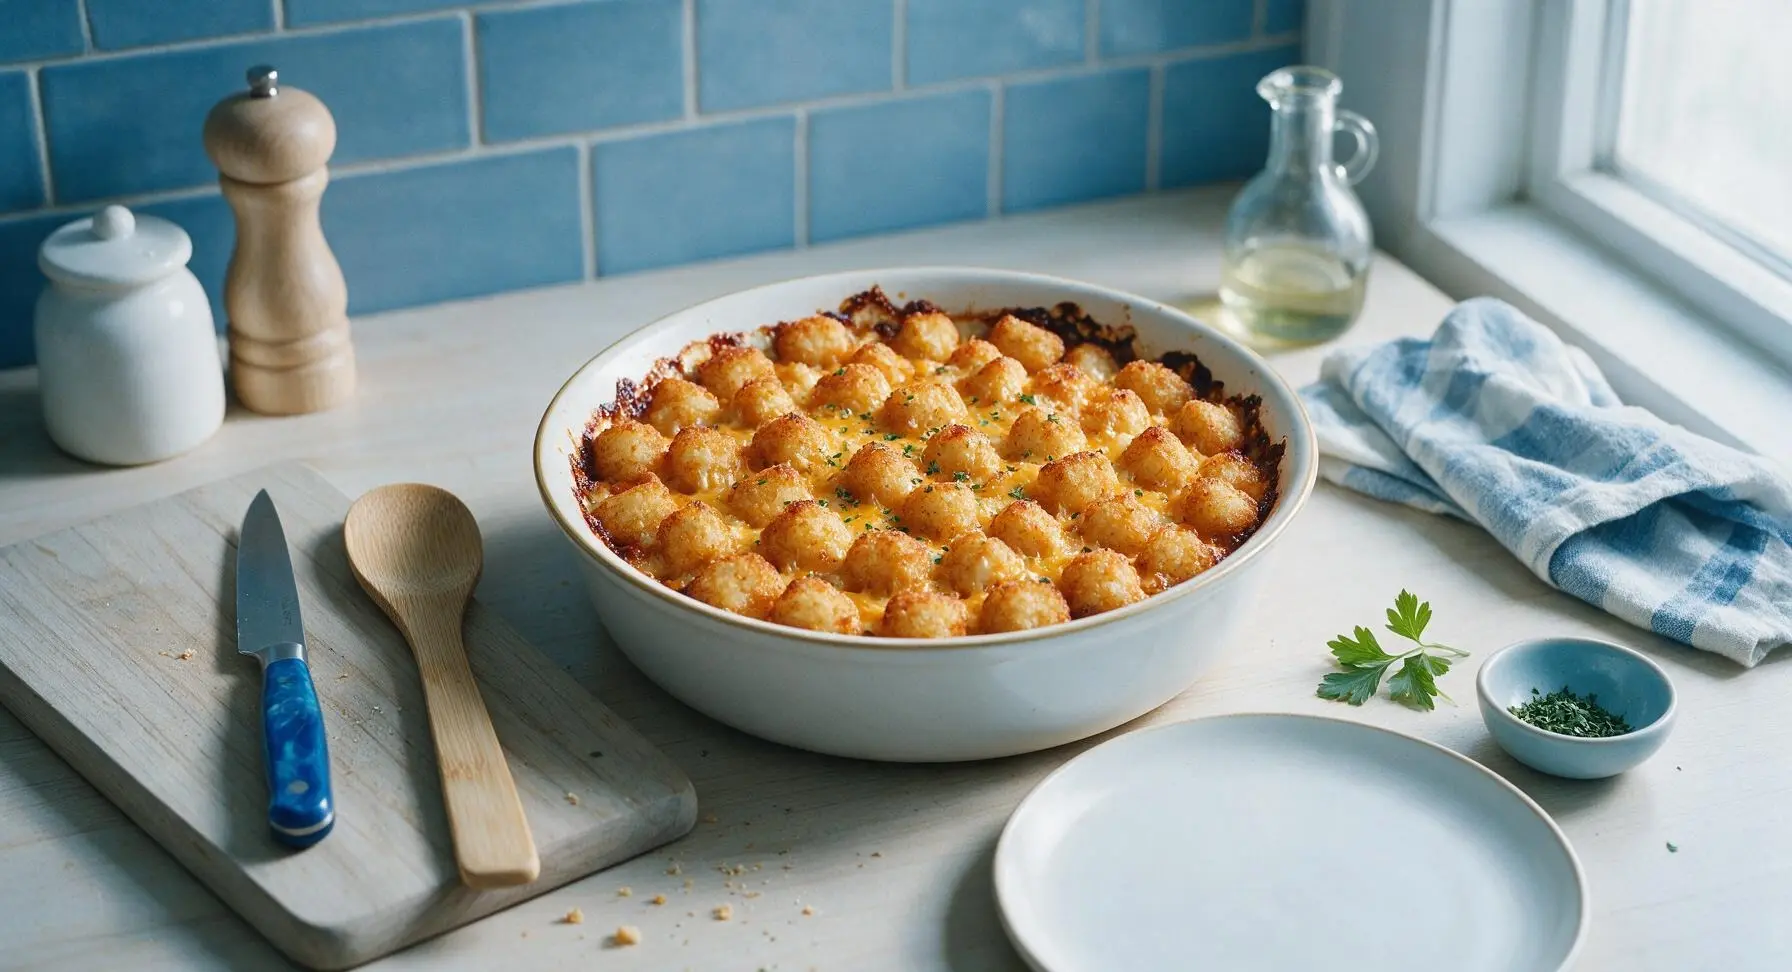
Step 7
step7:Bake Uncovered to Crisp
Step 7
step7:Bake Uncovered to Crisp

Tips

1.Never thaw frozen tater tots before arranging them on the casserole: frozen tots release moisture slowly as they bake, which creates a crispy outer crust instead of a soggy, mushy potato layer that seeps into the creamy filling.
2.For extra crunchy tater tots, spritz the arranged tot layer lightly with olive oil cooking spray before adding the foil: the thin oil coating helps the potato surface brown faster and develop a crunchy, takeout-style texture without drying out the potato interior.
3.Resist the urge to serve the casserole immediately after removing it from the oven: letting it rest 5 full minutes allows the creamy cheese and vegetable filling to set, so scoops hold their clean shape instead of running across the plate.


✨ You May Also Like

Main Course
🍜 United Kingdom

A showstopping classic of tender seared beef, savory mushroom duxelles, and crisp prosciutto wrapped in flaky golden puff pastry, baked to juicy perfection.

⏱️ 2 hours 1Main Course ★ 4.7
Main Course
🍜 India

Tender charred marinated chicken simmered in a rich, spiced creamy tomato sauce, this iconic Anglo-Indian curry pairs perfectly with basmati rice or warm naan.

⏱️ 50 minuteMain Course ★ 4.6
Main Course
🍜 Thailand

Classic tangy, sweet, and savory Thai stir-fried rice noodles with shrimp, tofu, and crunchy garnishes, balancing all five core Thai flavor profiles.

⏱️ 30 minuteMain Course ★ 4.5
Main Course
🍜 United Kingdom

Crispy golden beer-battered cod and fluffy double-fried chips, served with tangy tartar sauce and malt vinegar: the timeless, beloved British pub comfort classic.

⏱️ 45 minuteMain Course ★ 4.7
Main Course
🍜 Mexico

Smoky, chile-marinated pork tacos with caramelized pineapple, fresh cilantro, and lime: a beloved classic Mexican street food perfect for casual summer gatherings.

⏱️ 1 hour 45Main Course ★ 4.8
Main Course
🍜 United States

Crunchy Fritos corn chips layered with savory beef chili and melted cheddar, topped with cool, zesty fixings for a beloved, cozy Tex-Mex comfort food.

⏱️ 35 minuteMain Course ★ 4.8

cheesy tater tot casserole no meat:Frequently Asked Questions

1.Do I need to thaw the frozen tater tots or mixed vegetables before assembling the casserole? ▾
No, skip thawing both for the best texture. Thawed tater tots turn soggy instead of crisping into that golden, crunchy top, and thawed frozen veggies release excess water that makes the creamy base runny. Layer frozen veggies straight into the filling, then arrange frozen tater tots in an even single layer on top right before baking.
2.Can I use a different cheese if I don’t have sharp cheddar on hand? ▾
Absolutely, though sharp cheddar adds the best tangy, bold bite that cuts through the rich, creamy filling. Great swaps include smoked gouda for a cozy savory twist, colby-jack for a milder, ultra-melty finish, or pepper jack for a subtle spicy kick. Avoid pre-shredded cheese with anti-caking agents, as those make the sauce grainy instead of smooth and gooey.
3.Why does my tater tot casserole turn out watery sometimes? ▾
Watery casserole almost always traces back to excess trapped moisture. Never thaw frozen veggies ahead of time, as they leach extra water as they defrost, and stick to full-fat sour cream and undiluted condensed soup—low-fat dairy often has added water that separates during baking. If it’s still runny, bake uncovered for the last 10 minutes to let extra steam evaporate.
4.Can I make this casserole ahead of time for meal prep or a potluck? ▾
Definitely! This dish is ideal for prepping 1 to 2 days in advance. Assemble the creamy veggie filling, cover tightly, and store it in the fridge, but wait to add the frozen tater tots until right before baking—tots left sitting on the moist filling in the fridge will turn soggy. Baked leftovers keep for 3 days in an airtight fridge container.
5.Do I have to use cream of mushroom soup, or are there good substitutes? ▾
You don’t have to stick to cream of mushroom! Easy vegetarian swaps include condensed cream of celery, cream of onion, or cream of potato soup for the same rich, creamy texture without mushroom flavor. If you want to skip canned soup entirely, you can use a simple homemade roux-thickened cheese sauce, though canned soup cuts prep time down dramatically.
6.How do I get the tater tot top extra crispy instead of soft and soggy? ▾
Follow two simple rules for that perfect crunchy top. First, arrange tater tots in a single, even layer without overlapping—crowded tots trap steam and turn soft. Second, bake the casserole uncovered the whole time. For extra crunch, spritz tot tops lightly with cooking spray and add a pinch of coarse salt before baking, or broil for the last 2 to 3 minutes (watch closely to avoid burning).
7.Can I add extra mix-ins to this no-meat casserole? ▾
Of course! This recipe is super customizable to your taste. Great vegetarian add-ins include sautéed diced onions and bell peppers, drained canned black beans for a protein boost, sliced mushrooms, or pickled jalapeños for a spicy kick. Just make sure to sauté any fresh veggies first to cook off excess moisture, so your casserole doesn’t turn runny.
8.What’s the best way to reheat leftovers so the tater tots don’t get mushy? ▾
For the best texture, reheat portions in a 350°F oven, covered with foil for the first 10 minutes, then uncovered for 5 more minutes to crisp the tots back up. The microwave works in a pinch, but it will soften tater tots—if you use it, heat in 30-second bursts, then pop the portion in a toaster oven for 1 minute to crisp the top if you have one.

Comments (5)

2 days ago

OMG this cheesy tater tot casserole was such a game changer for our weekly meatless Monday family dinner! My two picky kids went back for SECONDS, which never happens. I added a little extra shredded cheddar on top because we’re cheese obsessed, and it was SO good. Already planning to make it for our neighborhood potluck next weekend!

yesterday

Wait did you add the extra cheese before baking or at the end? I’m a total cheese fiend too and wanna copy that hack!

yesterday

So glad your family loved it! If you’re adding extra cheese, sprinkling it on during the last 10 minutes of baking gives it that perfect melty, slightly crispy top—chef’s kiss!

3 days ago

Super easy recipe, perfect for Sunday meal prep! I divided it into 5 single-serve containers for work lunches this week, and it reheats like a dream. Only reason it’s not 5 stars is I wish it had a little more texture—next time I’ll toss in some frozen broccoli to bulk it up a bit. Great base recipe though!

2 days ago

Love the meal prep idea! Adding frozen broccoli is such a smart call—you can toss it right in with the creamy soup layer before adding the tater tots so it cooks evenly. Thanks for sharing the great tweak!

1 week ago

Brought this to my church potluck last Wednesday and people were literally asking me for the recipe before they even finished their first bite! The no-meat version is so much lighter than the classic ground beef tater tot casserole I grew up with, but you don’t even miss the meat at all because the cheese and creamy sauce is so flavorful. 10/10, will be making this on repeat.

yesterday

Dude this recipe is so easy even I can’t mess it up, and I burn toast half the time. All the ingredients are cheap, it takes no time to throw together, and my roommates lost their minds when it came out of the oven. We ate the whole pan in one sitting lmao.

2 hours ago

LMAO same, I’m such a terrible cook but even I nailed this! Pro tip: spray the baking dish with nonstick spray first, I almost forgot and almost had a total burnt, stuck mess on my hands.

30 minutes ago

As a lifelong vegetarian, I’m always looking for cozy comfort food recipes that don’t rely on weird fake meat substitutes, and this hits so hard! The only issue I had was my tater tots got a little soggier than I wanted on the top layer—does anyone have tips for crispier tots?

5 minutes ago

I had the same problem the first time I made it! Now I bake the tater tots on a sheet pan for 10 minutes before putting them on top of the casserole, and they come out perfectly crispy every time. Total game changer!

just now

Great tip from CrispyTaterLover! You can also make sure you arrange the tater tots in a single, even layer on top without overcrowding them to let hot air circulate, which helps them crisp up instead of getting soggy. Hope that helps for next time!



