
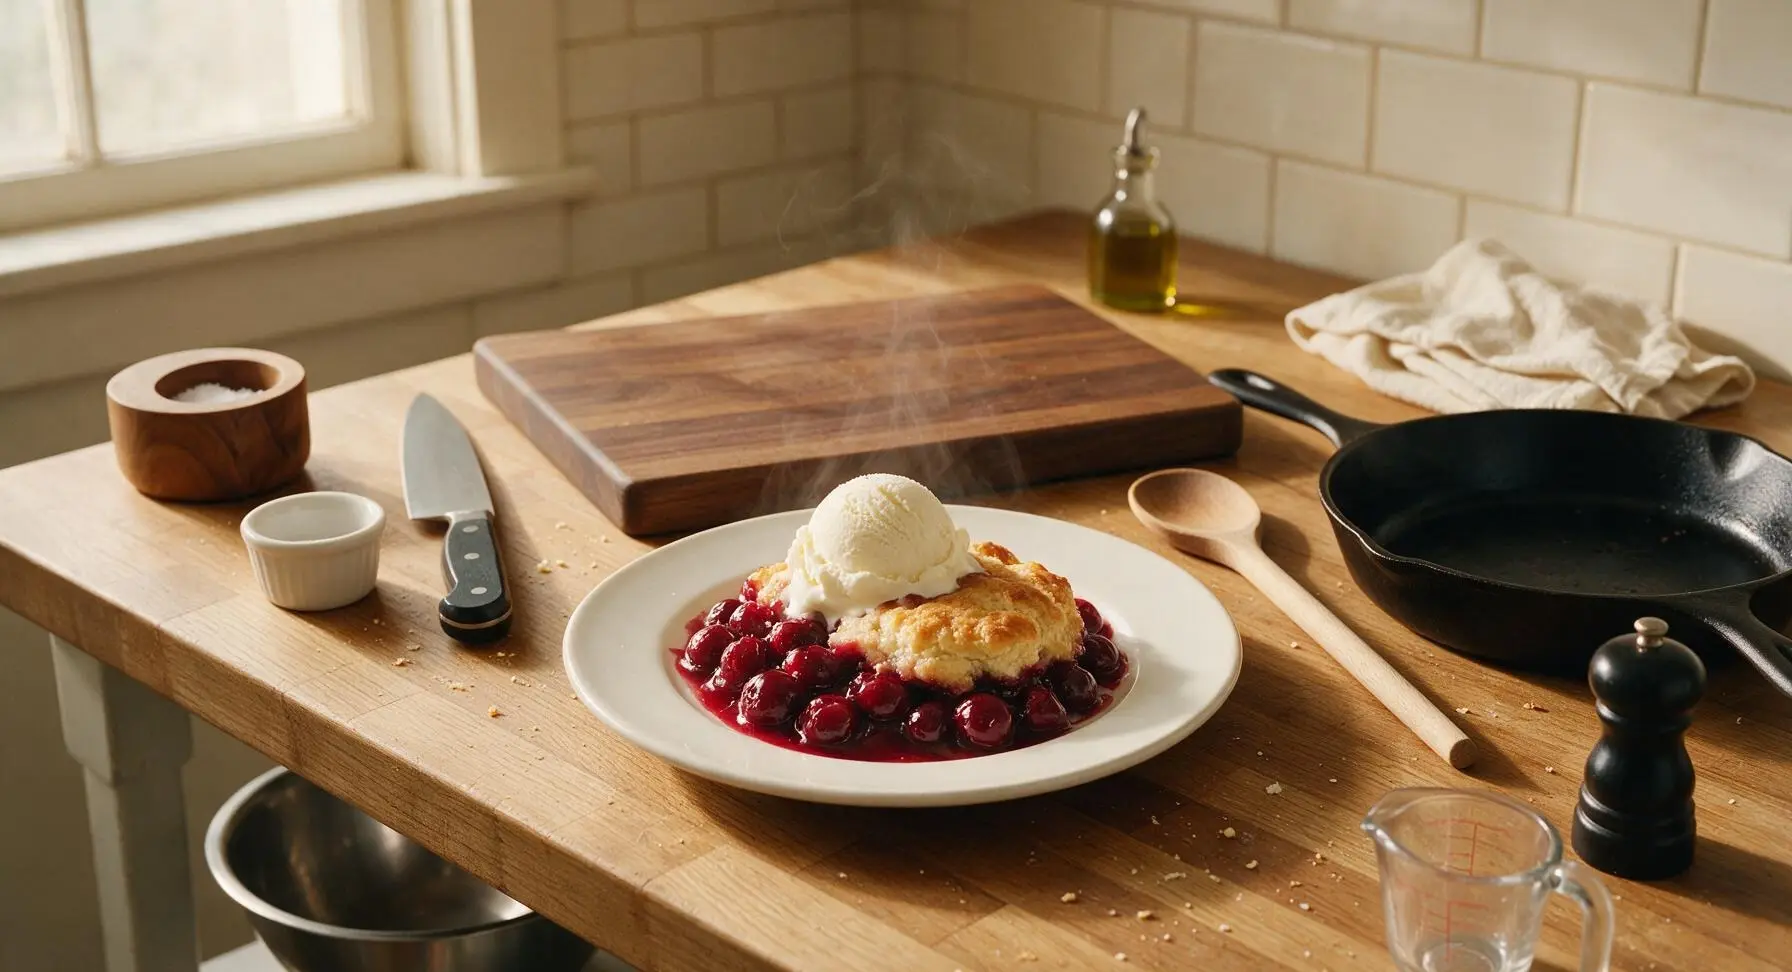
Cherry Cobbler

title 1
Cherry Cobbler
⏱️ cook time 40 minutes
🍽️ servings 6
⚡ Difficulty easy

intro

Juicy tart-sweet baked cherries topped with a tender, golden flaky biscuit crust—this classic cobbler is the ultimate cozy summer dessert, perfect served warm with melting vanilla ice cream.

Ingredients
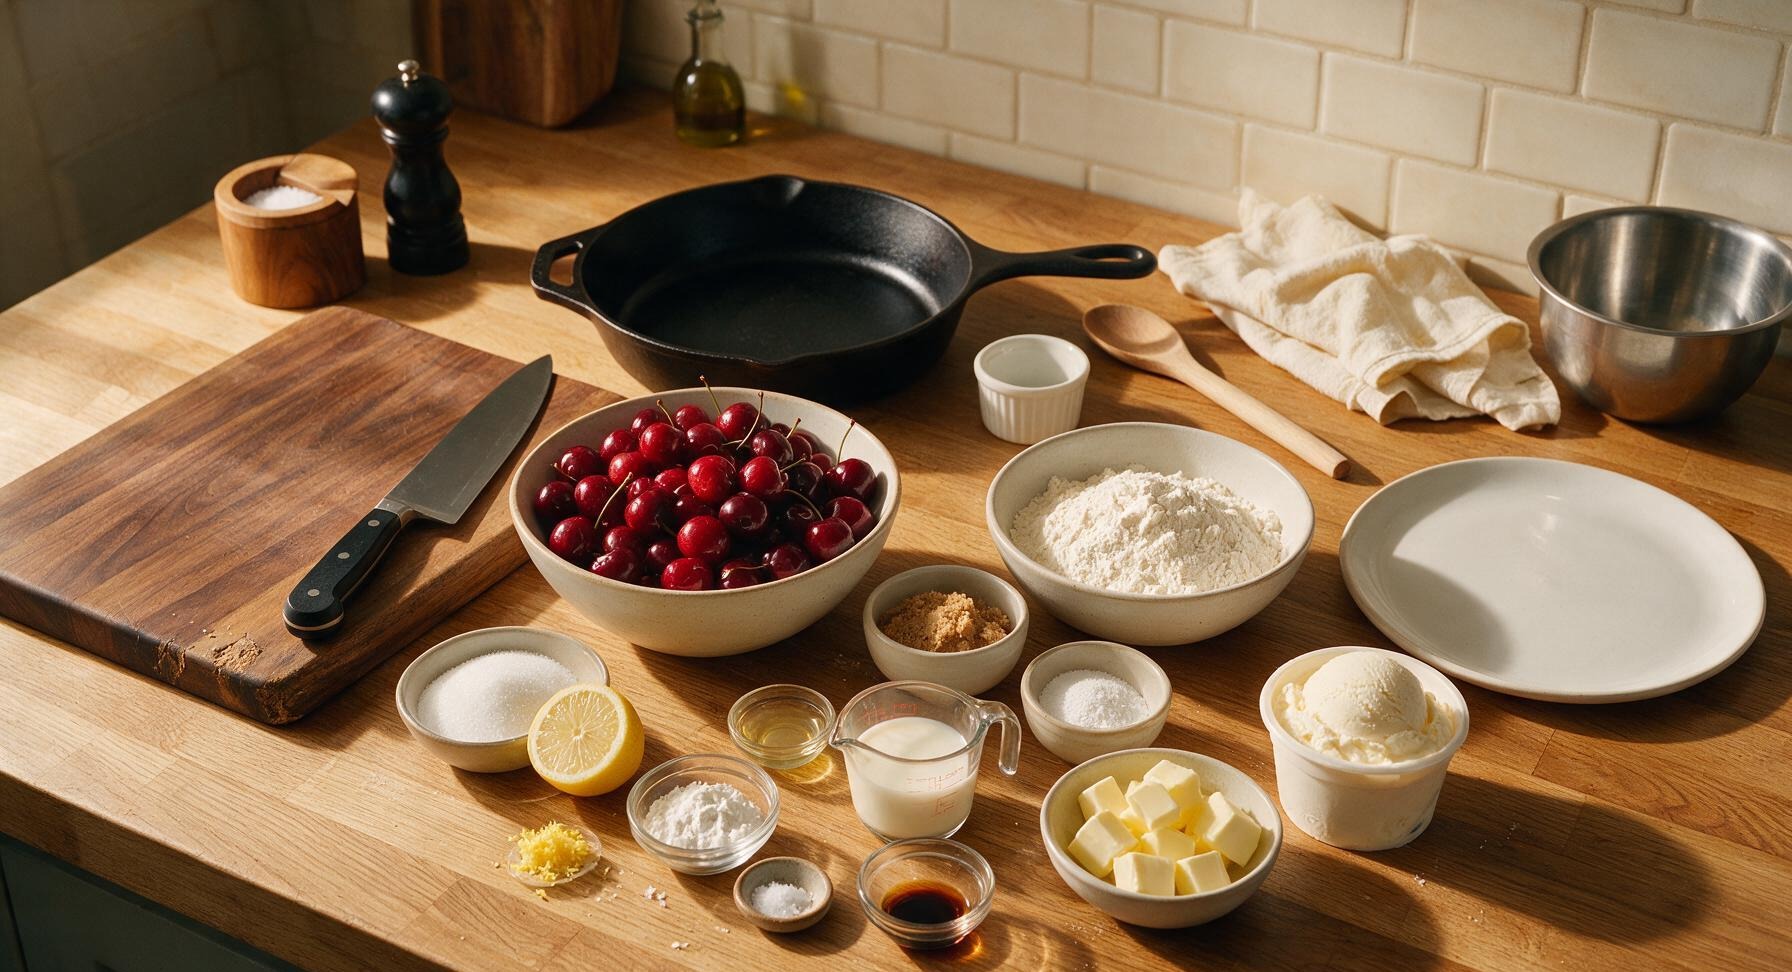
Fresh sweet cherries 2 lbs (approx 6 cups, pitted)
Granulated sugar 1/3 cup
Cornstarch 2 tablespoons
Fresh lemon juice 1 tablespoon
Lemon zest 1 teaspoon
Fine sea salt 1/4 teaspoon (divided)
Almond extract 1/4 teaspoon
All-purpose flour 1 1/2 cups
Packed light brown sugar 1/4 cup
Baking powder 1 1/2 teaspoons
Cold unsalted butter 6 tablespoons (cut into 1/2-inch cubes)
Whole milk 2/3 cup
Vanilla extract 1/2 teaspoon
Vanilla ice cream (for serving) 1 pint

Steps

1

Pit fresh cherries

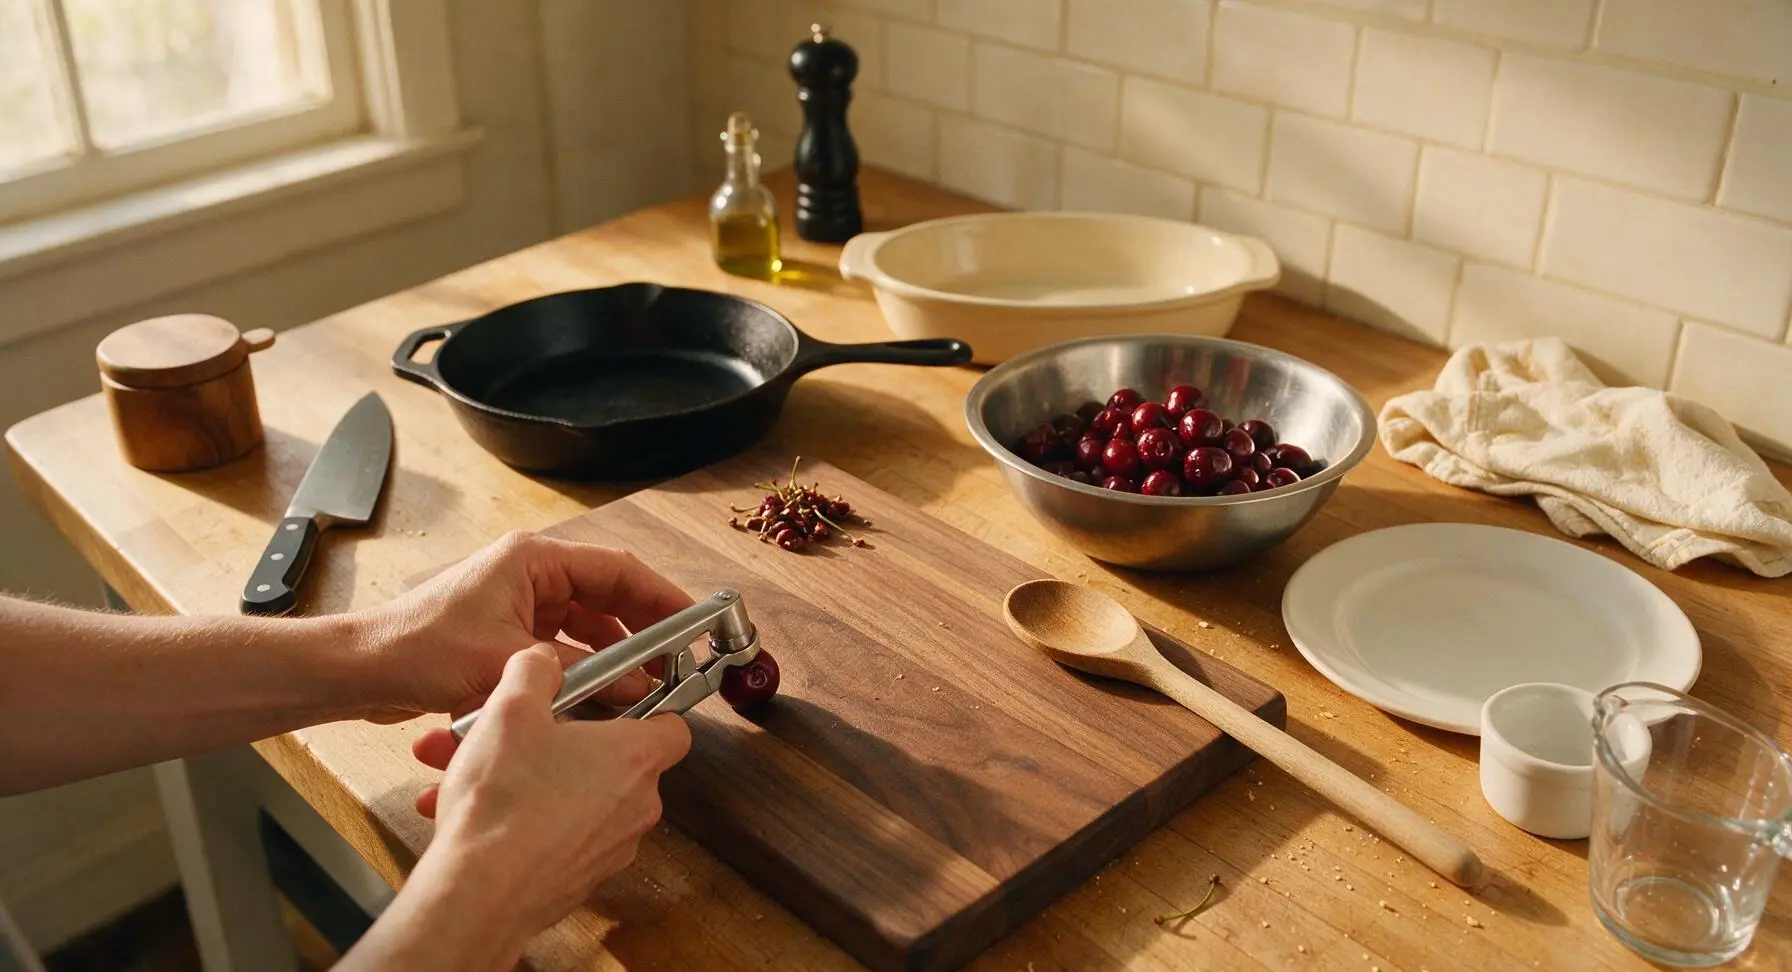
Preheat your oven to 375°F (190°C). Working over the large beech wood cutting board, use the stainless steel cherry pitter to remove pits from all 2 pounds of fresh sweet cherries, transferring pitted, whole cherries to the medium stainless steel mixing bowl as you work. Discard stems and pits in a small pile at the corner of the board; do not chop the cherries, as whole fruit creates a juicier, more textured filling. This prep step takes approximately 10 minutes.
Step 1
step1:Pit fresh cherries
2

Toss cherry filling

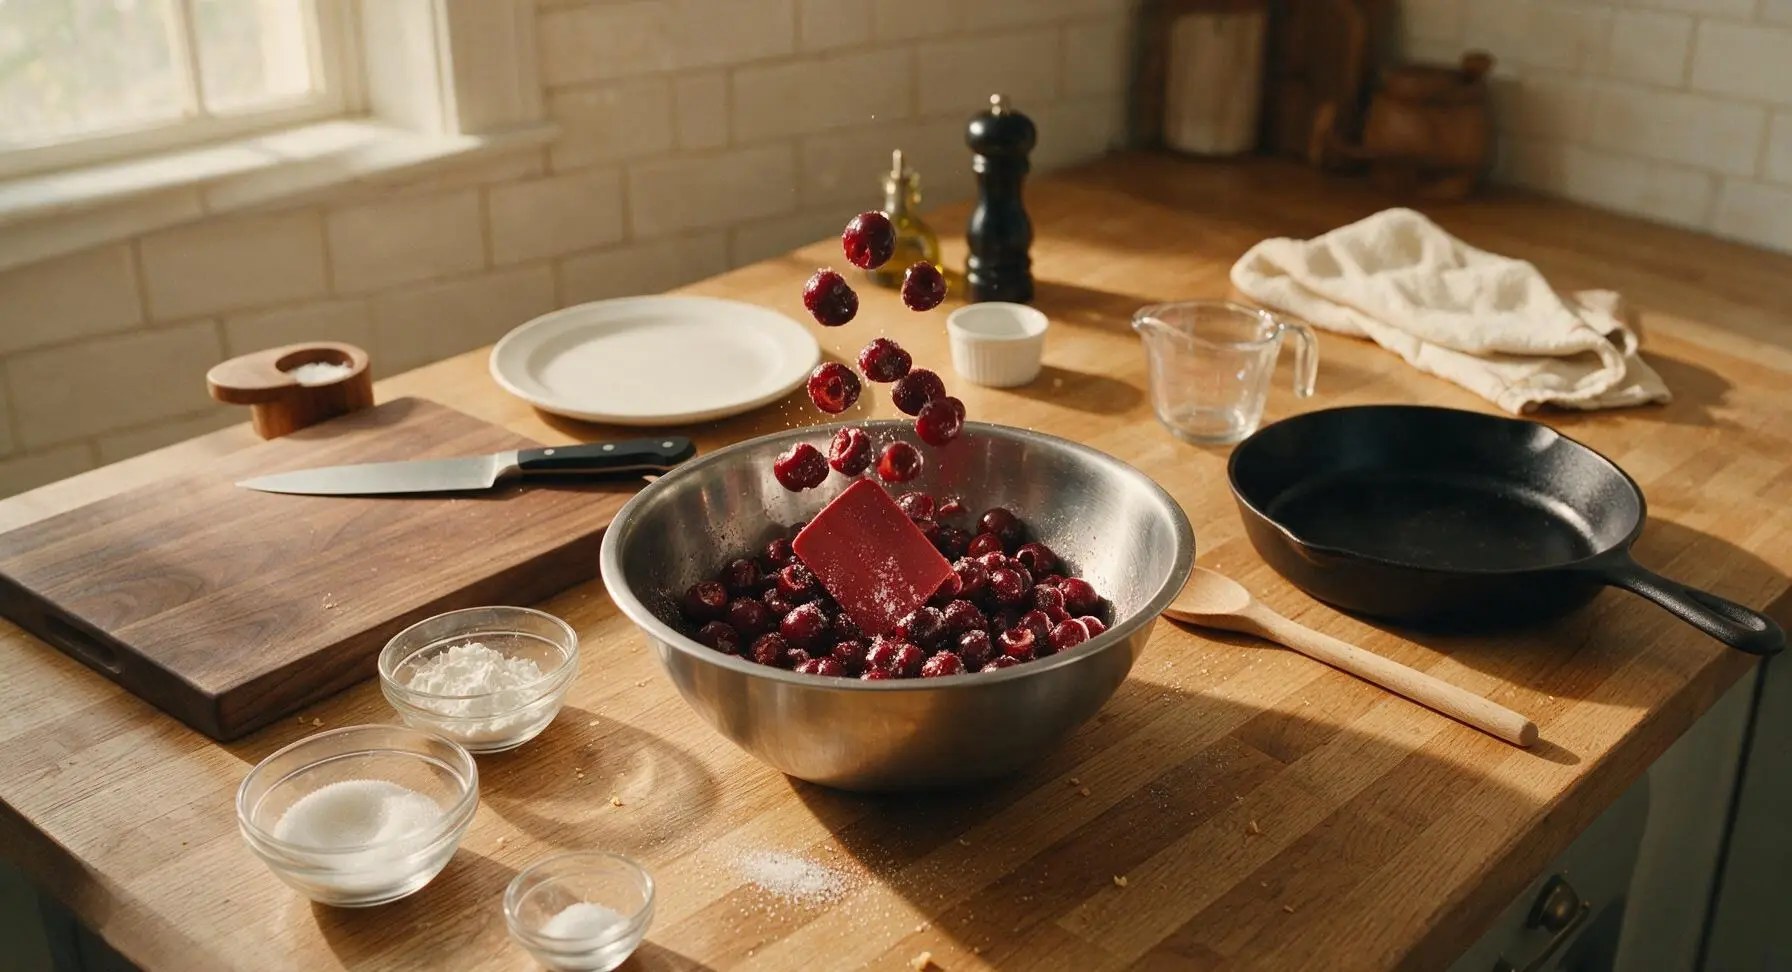
To the medium mixing bowl of pitted cherries, add 1/3 cup granulated sugar, 2 tablespoons cornstarch, 1 tablespoon fresh lemon juice, 1 teaspoon lemon zest, 1/8 teaspoon fine sea salt, and 1/4 teaspoon almond extract. Use the matte red silicone spatula to gently toss all ingredients until cherries are evenly coated, and no dry, white cornstarch clumps remain at the bottom of the bowl. Let the mixture rest for 5 minutes at room temperature to allow cherries to release their natural juices.
Step 2
step2:Toss cherry filling
3

Add filling to baking dish

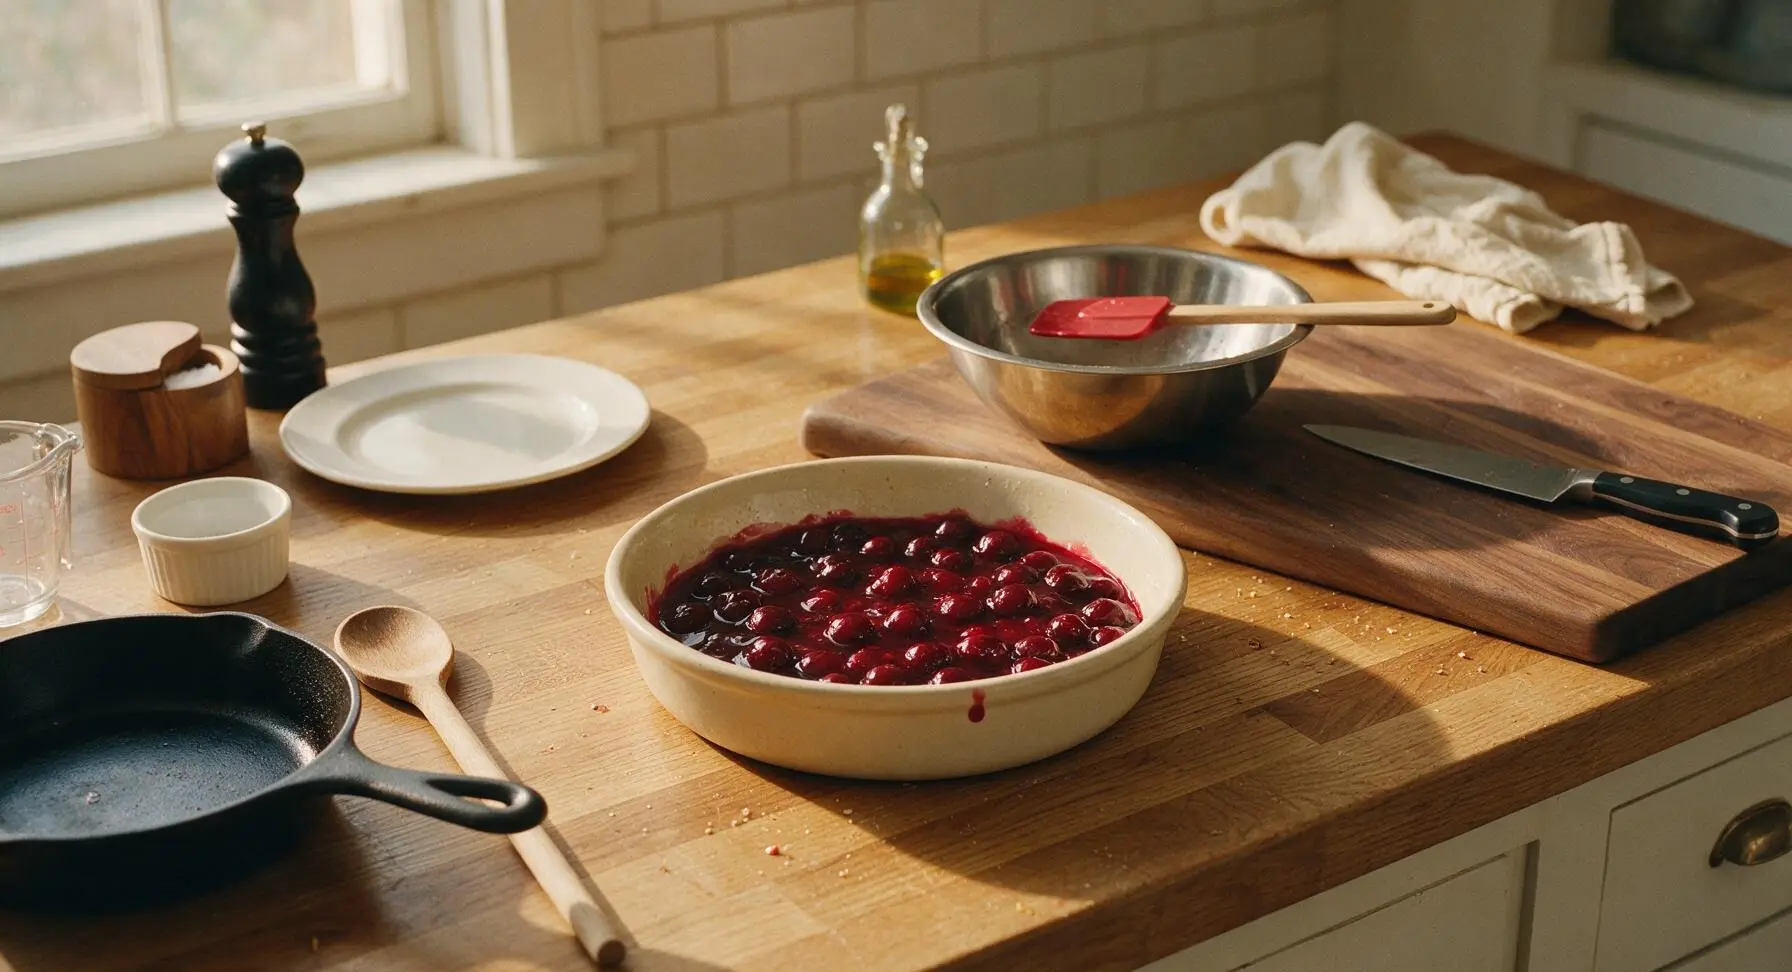
Pour the entire cherry filling mixture, including all accumulated sweet juices at the bottom of the mixing bowl, into the 9-inch cream stoneware baking dish. Use the silicone spatula to spread the cherries into a flat, even layer across the bottom of the dish, ensuring no large gaps between fruit. Set the dish aside temporarily while you prepare the biscuit topping.
Step 3
step3:Add filling to baking dish
4

Mix biscuit topping

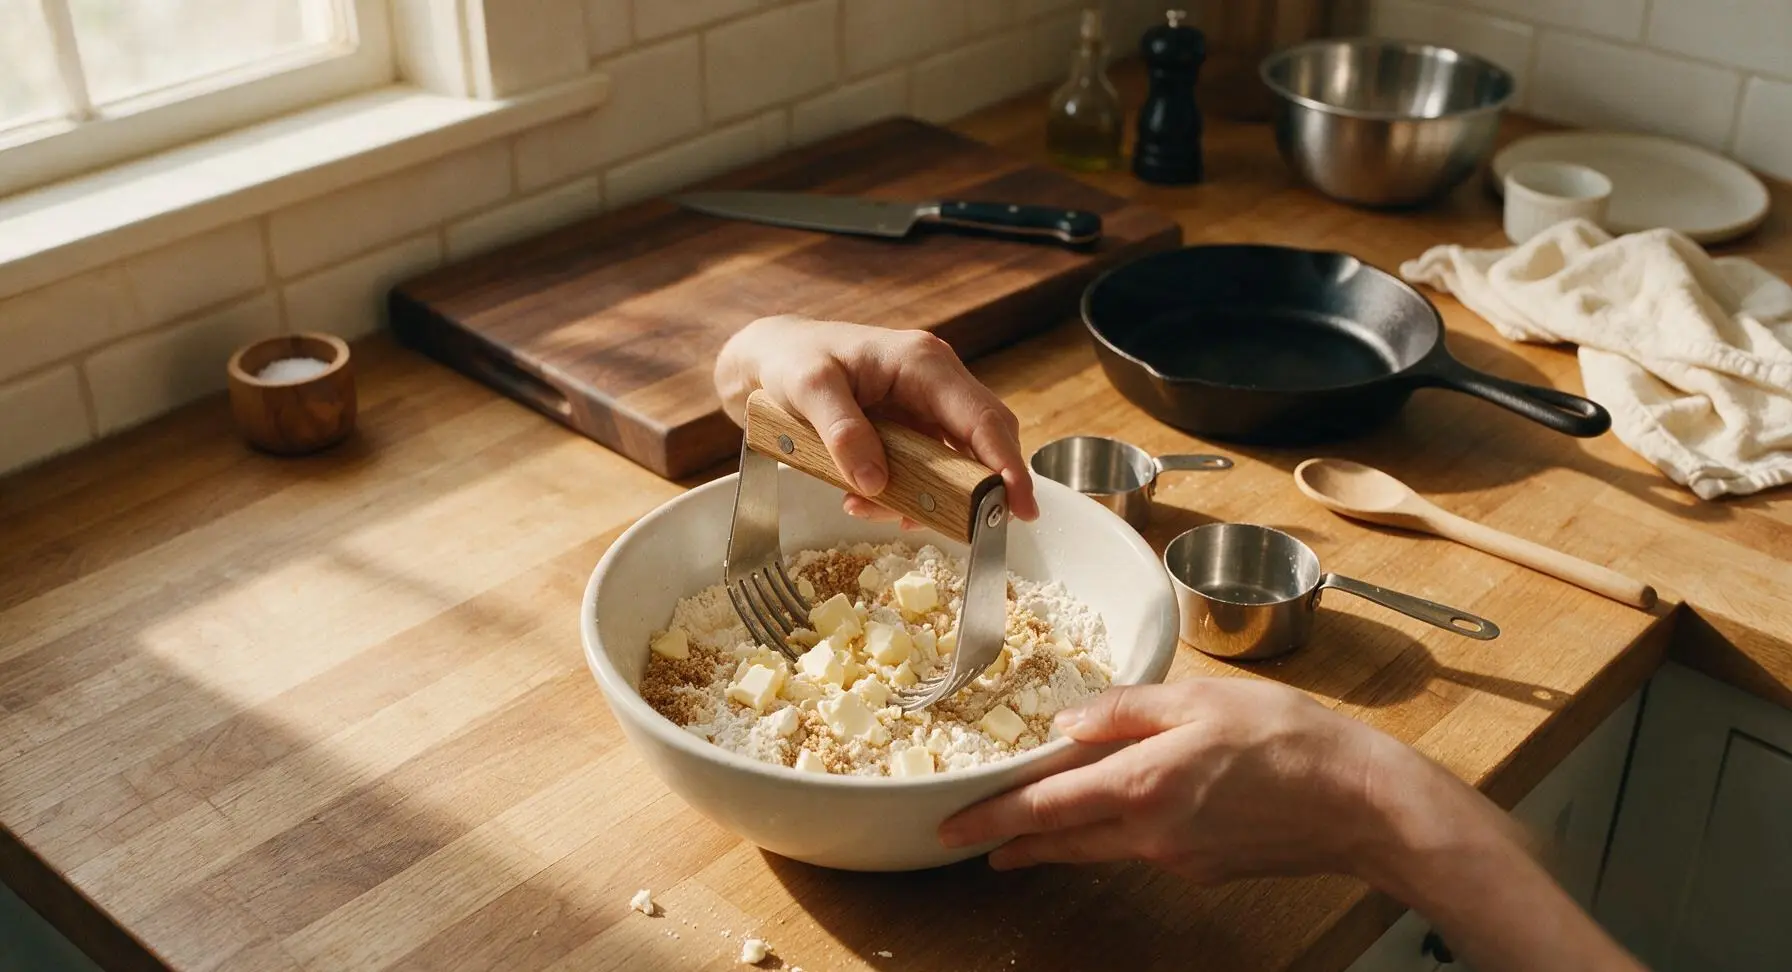
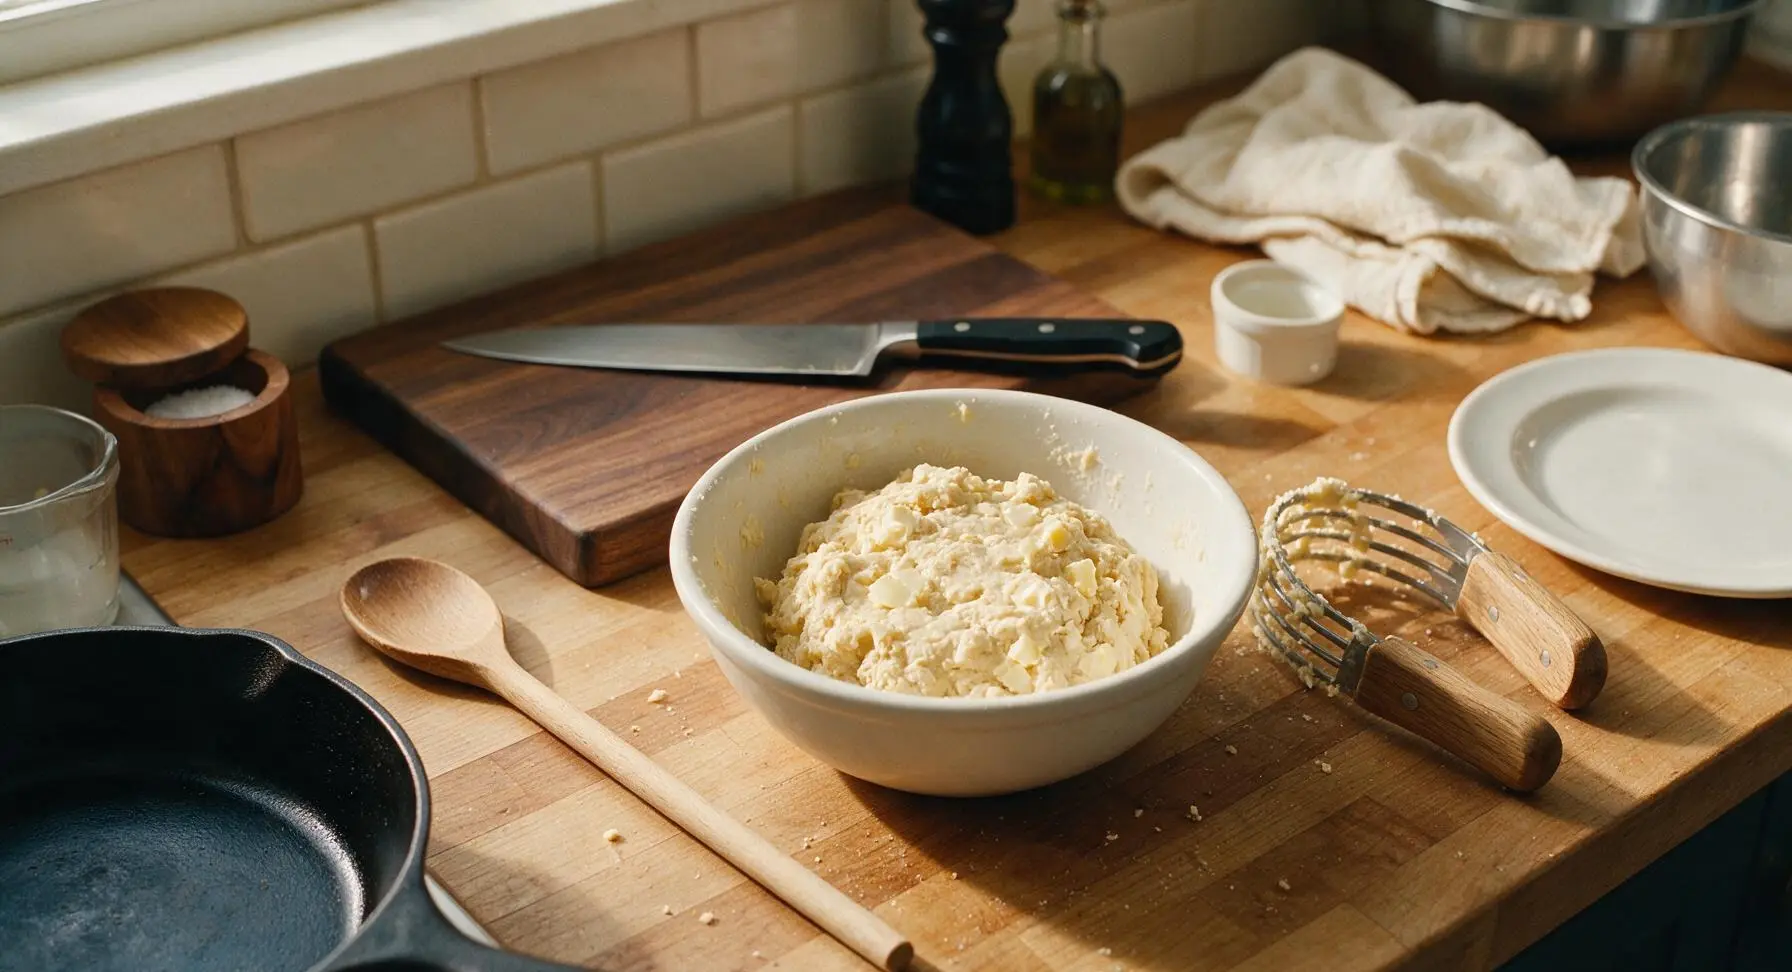
In the small matte white ceramic mixing bowl, combine 1 1/2 cups all-purpose flour, 1/4 cup packed light brown sugar, 1 1/2 teaspoons baking powder, and the remaining 1/8 teaspoon fine sea salt. Whisk briefly to evenly combine dry ingredients. Add the 6 tablespoons of cold cubed unsalted butter, and use the oak-handled pastry blender to cut the butter into the dry ingredients until the mixture resembles coarse, sandy crumbs with scattered pea-sized butter pieces remaining (these cold butter bits create flaky layers in the baked topping). Stir in 2/3 cup whole milk and 1/2 teaspoon vanilla extract, mixing just until no dry flour remains at the bottom of the bowl—do not overmix, as this will develop gluten and create a tough, dense topping.
Step 4
step4:Mix biscuit topping
Step 4
step4:Mix biscuit topping
5

Drop topping over fruit

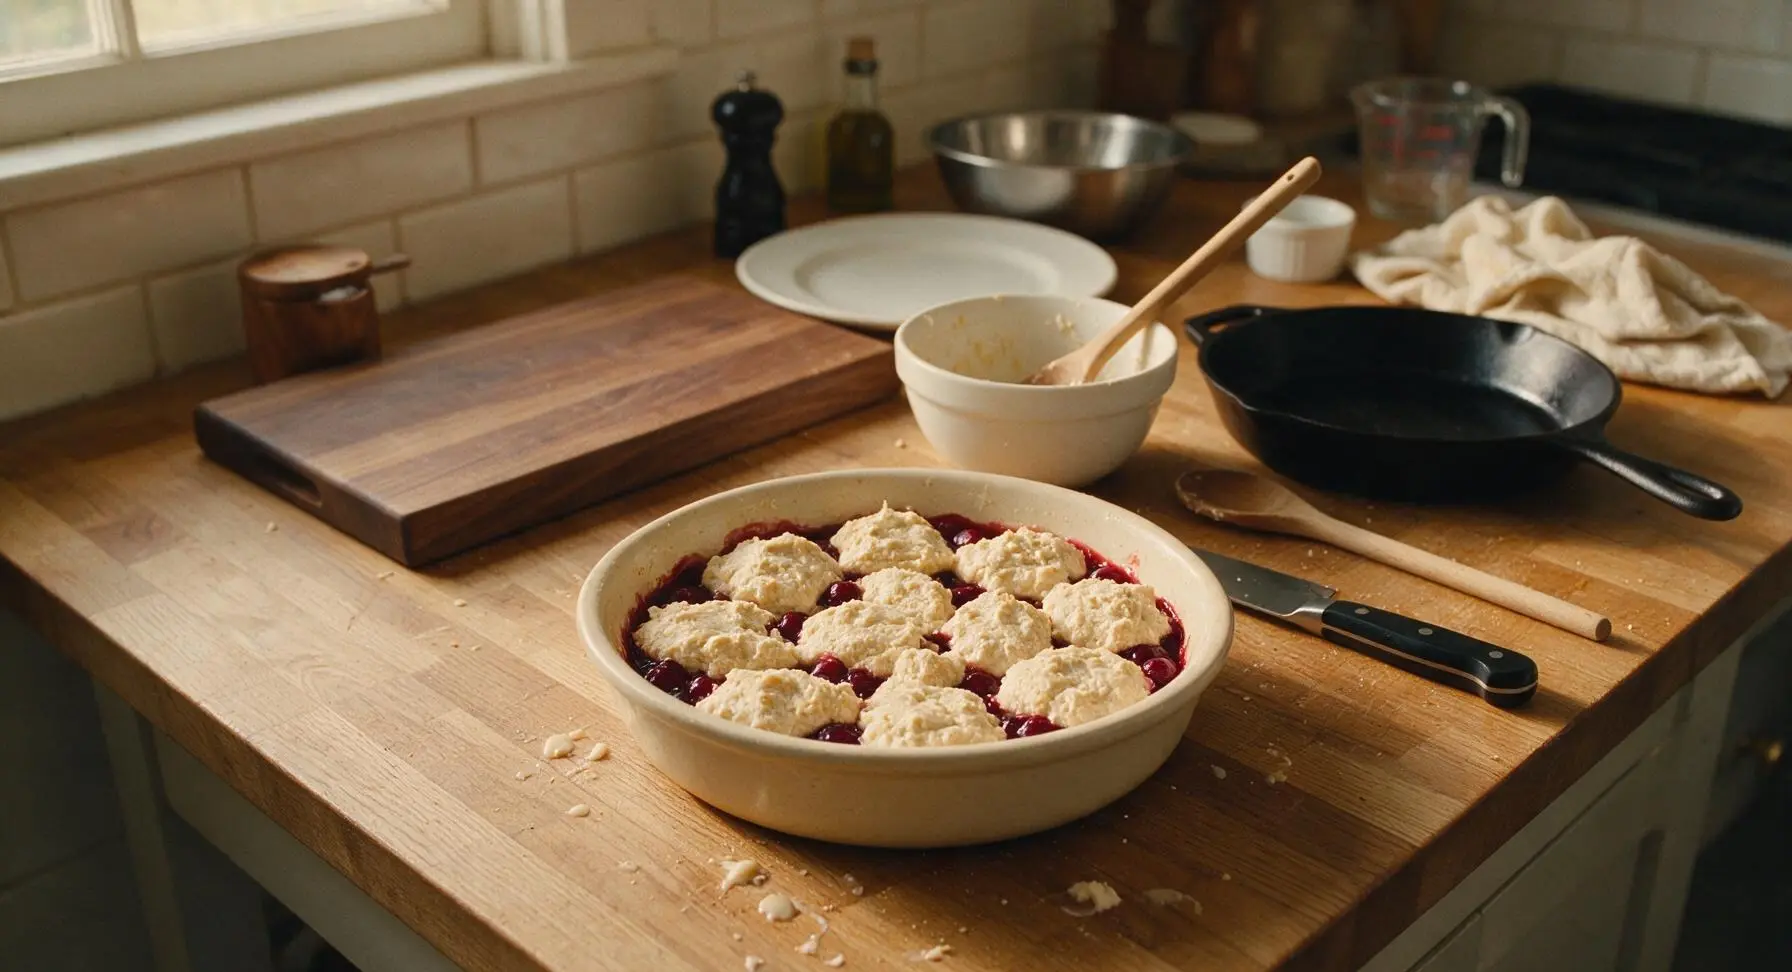
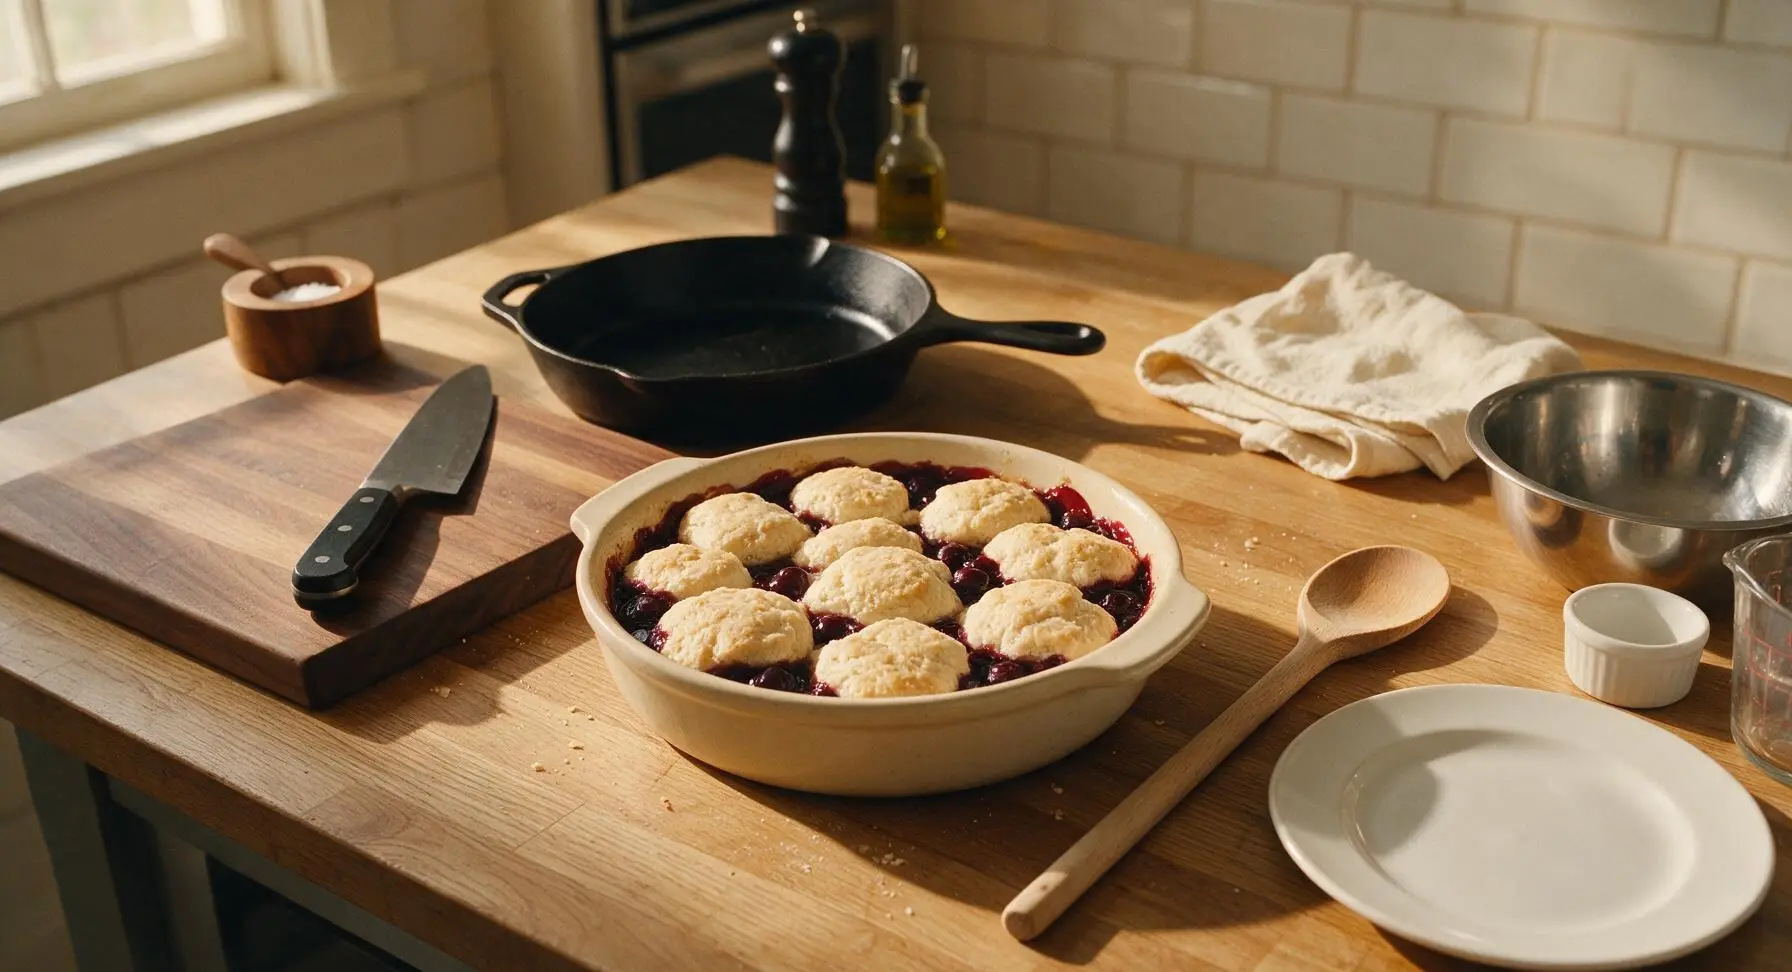
Use a large spoon to drop 2-tablespoon mounds of the thick biscuit batter evenly across the surface of the cherry filling in the baking dish, leaving 1/2-inch gaps between mounds to allow cherry juice to bubble up during baking. Do not spread the batter into a smooth, solid layer—rough, uneven mounds will crisp into a textured, golden top as they bake. Aim to cover roughly 70% of the cherry surface, leaving peekaboo gaps for the fruit to show through.
Step 5
step5:Drop topping over fruit
6

Bake until golden bubbly

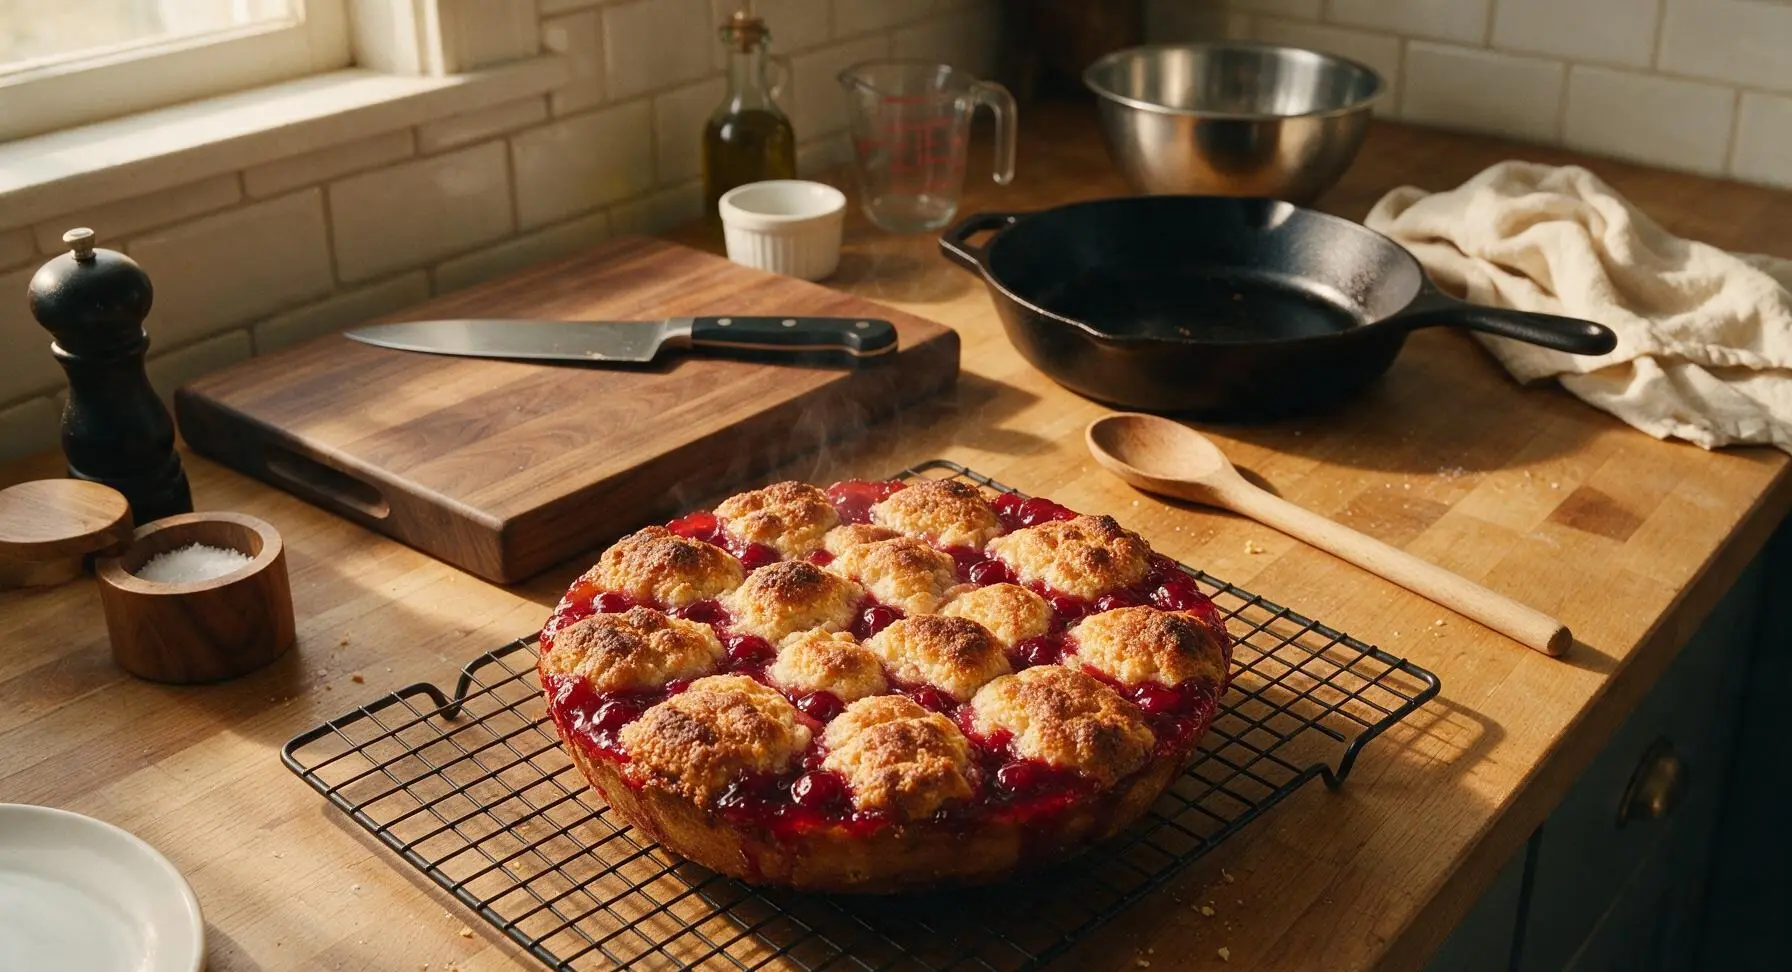
Carefully place the assembled cobbler on the middle rack of the preheated 375°F (190°C) oven. Bake for 35-40 minutes, until the biscuit topping is deep golden brown on the peaks, and thick, bubbling cherry juice is visible simmering up through the gaps between biscuit mounds. If the topping browns too quickly before the filling bubbles, tent the top loosely with a strip of aluminum foil for the final 10 minutes of baking. Once done, transfer the hot dish to the matte black wire cooling rack set on the counter, and let it rest for 10 minutes to allow the filling to thicken.
Step 6
step6:Bake until golden bubbly
Step 6
step6:Bake until golden bubbly
7

Serve warm with ice cream

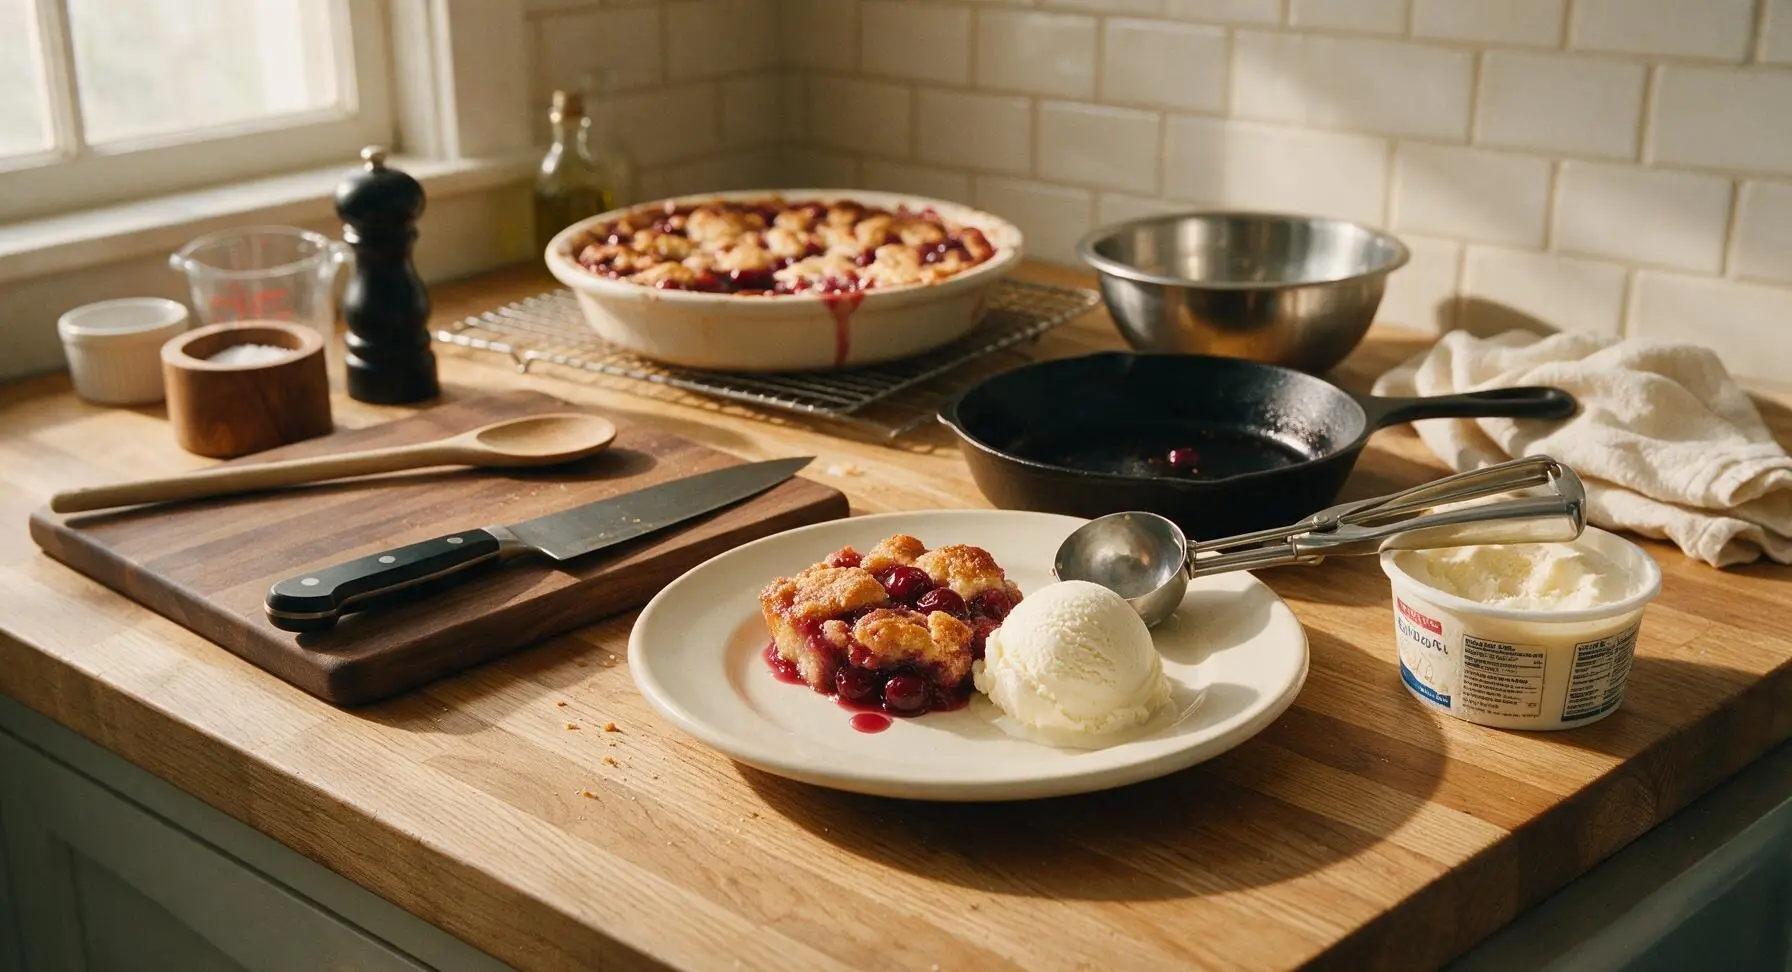
Scoop generous portions of the warm cobbler onto the cream white ceramic dessert plates, ensuring each serving includes both a chunk of crisp biscuit topping and a spoonful of thick cherry filling. Use the polished stainless steel ice cream scoop to add a rounded scoop of vanilla ice cream alongside each cobbler portion, and garnish with a tiny sprig of fresh mint plucked from the windowsill plant if desired. Serve immediately while the cobbler is warm and the ice cream is soft and melting.
Step 7
step7:Serve warm with ice cream

Tips

1.Keep your butter ice-cold for the biscuit topping, and avoid overmixing the batter. Cold butter melts slowly in the hot oven, creating light, flaky layers in the topping instead of a dense, bread-like texture; overmixing develops gluten in the flour, which leads to tough, chewy biscuits instead of tender, crumbly ones.
2.Don’t skip the 10-minute rest after pulling the cobbler from the oven. The cornstarch in the filling needs time to set as it cools slightly; serving immediately will result in runny, watery filling that spills across the plate, while a short rest lets the sauce thicken to the perfect spoon-coating consistency.
3.If fresh cherries are out of season, substitute 2 pounds of frozen pitted cherries without thawing them first. Frozen cherries are picked and frozen at peak ripeness, so they deliver nearly the same bright, tart-sweet flavor as fresh; adding them frozen prevents excess juice release that would make the filling thin, and you only need to add 2 extra minutes of baking time to account for the colder fruit.


✨ You May Also Like

Desserts & Baking
🍜 Italy

Creamy, coffee-kissed classic Northern Italian no-bake dessert, with layers of rum-spiked mascarpone cream, soft ladyfingers, and a rich cocoa dusting.

⏱️ 4 hours 3Desserts & Baking ★ 4.7
Desserts & Baking
🍜 France

Flaky, shatteringly crisp, buttery French croissants with golden exteriors and soft, airy layered interiors, perfect for pairing with coffee for a special morning treat.

⏱️ 12 hours Desserts & Baking ★ 4.5
Desserts & Baking
🍜 United States

Warm, spiced baked apples topped with a fluffy golden biscuit crust, this cozy dessert pairs perfectly with vanilla ice cream for cool-weather comfort.

⏱️ 55 minuteDesserts & Baking ★ 4.6
Desserts & Baking
🍜 United States

A star-spangled classic American blueberry pie with buttery flaky crust and bright sweet-tart filling, perfect for summer patriotic gatherings.

⏱️ 1 hour 25Desserts & Baking ★ 4.7
Desserts & Baking
🍜 United States

A beloved no-bake regional Maine candy with a chewy coconut-potato center coated in rich dark chocolate, a New England holiday staple since the 1870s.

⏱️ 2 hours 3Desserts & Baking ★ 4.8
Desserts & Baking
🍜 France

Luxuriously creamy, floral frozen custard made with aromatic Tahitian vanilla beans, boasting a smooth, rich texture that melts slowly on the tongue.

⏱️ 3 hours 3Desserts & Baking ★ 4.5

Cherry Cobbler:Frequently Asked Questions

1.Can I use frozen cherries instead of fresh for this cobbler? ▾
Absolutely, frozen cherries work beautifully if fresh sweet cherries are out of season. Just thaw them first and drain off ⅔ of the excess released juice to avoid a runny filling—you won’t need to adjust the cornstarch amount otherwise. You’ll still get that bright, tart-sweet cherry flavor that makes this dessert feel like summer, even with frozen fruit.
2.Why is my cobbler filling runny after I pull it out of the oven? ▾
Runny filling usually comes from two common culprits: skipping the 20-minute post-bake rest (the filling continues to set as it cools!) or skimping on the cornstarch measurement. If your cherries are extra juicy, add 1 extra teaspoon of cornstarch, but never skip that rest period for perfectly thick, scoopable filling.
3.Do I need a special tool to pit all those fresh cherries? ▾
Pitting fresh cherries is way easier than you might think, no fancy cherry pitter required! Use a sturdy unfolded paper clip, a small round pastry tip, or the flat end of a wooden skewer to push the pit out through the stem end. Just work over a bowl to catch any escaping juice so you don’t lose that sweet, flavorful liquid for your filling.
4.Can I make this cobbler ahead of time for a summer cookout? ▾
You can prep the separate components a full day ahead to cut down on day-of work! Toss the cherry filling and store it covered in the fridge, and mix the dry biscuit crust ingredients in a separate container. Wait to combine the wet crust ingredients and assemble the cobbler until right before baking, so the biscuit topping stays light and flaky, not soggy.
5.What’s the actual difference between Southern cherry cobbler and cherry crisp? ▾
Great question! A classic Southern cobbler uses a thick, drop-biscuit style crust that bakes up golden and flaky on top of the fruit, with soft, dumpling-like edges that soak up cherry juice. A crisp, by contrast, has a streusel topping made with oats, butter, flour, and sugar that bakes up crunchy and crumbly, with no biscuit dough involved.
6.Can I use sour cherries instead of sweet cherries in this recipe? ▾
Absolutely! Sour (or tart) cherries are actually the traditional pick for many old-school Southern cobbler recipes. If you swap in sour cherries, just add an extra 2 to 3 tablespoons of granulated sugar to the filling to balance their sharp tang, and keep the lemon juice, zest, and cornstarch measurements exactly the same.
7.Why did my biscuit topping turn out dense instead of light and flaky? ▾
Dense biscuit topping almost always comes from two easy-to-fix mistakes: overworking the dough, or using butter that’s too warm. Keep your butter ice-cold when cutting it into the flour, and mix the dough just until the ingredients come together—lumps are totally fine! Overmixing develops gluten, which leads to tough, dense biscuits.
8.Do I have to serve this cobbler with vanilla ice cream? ▾
Vanilla ice cream is the classic pairing for a reason—the cold, creamy sweetness cuts the bright tartness of the warm cherries and buttery crust perfectly. That said, it’s also delicious with freshly whipped sweet cream, a light drizzle of heavy cream, a dollop of crème fraîche, or even a scoop of salted caramel ice cream if you want to mix things up.
9.Can I bake this cobbler in a cast iron skillet instead of a baking dish? ▾
Baking this cobbler in a 10-inch cast iron skillet is actually my favorite way to make it! Cast iron distributes heat super evenly, so you get a perfectly golden, crisp edge on both the biscuit crust and the cherry filling, with no hot spots that cause burnt patches. Just make sure your skillet is well-seasoned so the filling doesn’t stick.
10.How should I store leftover cobbler, and how long will it keep? ▾
Leftover cobbler will keep well for up to 4 days stored in an airtight container in the fridge. You can eat it cold straight from the fridge if you like, or reheat individual portions in the microwave for 30 to 45 seconds, or in a 325°F oven for 10 minutes until the filling is bubbly and the crust is warm again.
11.Can I freeze cherry cobbler to enjoy later? ▾
You can freeze fully baked, completely cooled cobbler tightly wrapped in plastic wrap and a layer of heavy-duty foil for up to 3 months. Thaw it in the fridge overnight, then reheat in a 350°F oven for 15 to 20 minutes until warmed through. I don’t recommend freezing unbaked cobbler, as the biscuit topping will turn soggy once thawed.
12.Is there an easy way to adapt this recipe to be gluten-free? ▾
Definitely! To make this cobbler gluten-free, swap the all-purpose flour in the biscuit crust for a 1:1 gluten-free all-purpose baking blend that contains xanthan gum. All the filling ingredients—cherries, sugar, cornstarch, lemon juice, and zest—are naturally gluten-free, so you won’t need to adjust those at all for great results.
13.Should I cover the cobbler with foil while it’s baking? ▾
You don’t need to cover the cobbler for the full bake time, but if you notice the biscuit top turning a deep golden brown before the filling is bubbly (usually around the 30-minute mark), loosely tent a piece of foil over the top for the remaining 10 to 15 minutes. This prevents the crust from burning while the filling finishes cooking through.
14.Can I add extra mix-ins to the cherry filling for more flavor? ▾
Of course! A tiny splash of pure almond extract (only ¼ teaspoon—it’s very potent!) pairs beautifully with cherries for a classic, cozy flavor combo. You can also toss in a handful of fresh blueberries, a pinch of warm cinnamon, or a tablespoon of bourbon for a grown-up twist, just don’t add so much that you overpower the bright cherry flavor.

Comments (6)

2 days ago

OMG this cobbler was SO good! I threw it together last minute for our Sunday family dinner and everyone went back for seconds. The crust got that perfect crispy, buttery top and the cherry filling was just sweet enough, not cloying at all. Total game changer for potlucks this summer! 10/10 will make again.

30 minutes ago

Super easy recipe, even for someone who burns toast half the time! Cook time was exactly 40 minutes like the recipe said, no guesswork or fussy steps. I used frozen sweet cherries because that’s all I had on hand and it still turned out amazing. My roommate ate half the pan in one sitting lmao.

5 days ago

Made this for my kids’ after-school snack yesterday and they devoured it! Quick question though—has anyone tried swapping the cherries for peaches? I have a ton of fresh peaches from our tree that I need to use up this week.

3 days ago

Hi there! So glad your kids loved the cobbler! Peaches work perfectly as a swap here—just dice them up and toss with a tiny extra tablespoon of flour if they’re extra juicy to keep the filling from getting runny. Enjoy!

2 weeks ago

Brought this to our neighborhood block party last weekend and people were asking me for the recipe before I even set the pan down! The sweet-tart cherry filling pairs so good with a scoop of vanilla bean ice cream on top, trust me.

1 week ago

Oh I did the ice cream thing too when I made this last month! Salted caramel ice cream is chef’s kiss with it too, highly recommend if you haven’t tried it yet.

2 hours ago

Wait, quick question—my cobbler topping came out a little more doughy than crispy on the bottom when I made this last night. Did I do something wrong? I followed the measurements exactly, I swear!

30 minutes ago

I had that happen the first time I made it too! Turns out I poured the filling over the batter instead of dolloping the batter on top of the filling like the recipe says. Make sure you don’t stir it once you layer it, that helps the crust rise up and get crispy all over!

just now

Great tip from @BakeLikeAPro! Also, double check that your oven is fully preheated before you pop the pan in—if it’s too cool, the butter in the batter melts too fast and the crust won’t set up crisp on top. Hope that helps for next time!

yesterday

Honey, I’ve been making Southern cobbler for over 40 years and this recipe is just as good as the one my own mama taught me! No fancy ingredients, no fussy steps, just pure, warm, comforting goodness. I made it for my grandkids this weekend and they asked for thirds. Can’t beat that!

2 hours ago

Wow, high praise coming from someone who’s been making cobbler that long! I’m a born and raised Georgia girl, and I was nervous this wouldn’t live up to the classic cobbler I grew up on, but it was spot on, y’all. So happy you loved it!

5 minutes ago

This makes our whole day to hear! There’s nothing better than a simple, nostalgic recipe that tastes like home, and we’re so glad it got the grandkid (and veteran cobbler maker) seal of approval!



