
chick fil a breading

title 1
chick fil a breading
⏱️ cook time 12 minutes
🍽️ servings 4
⚡ Difficulty easy

intro

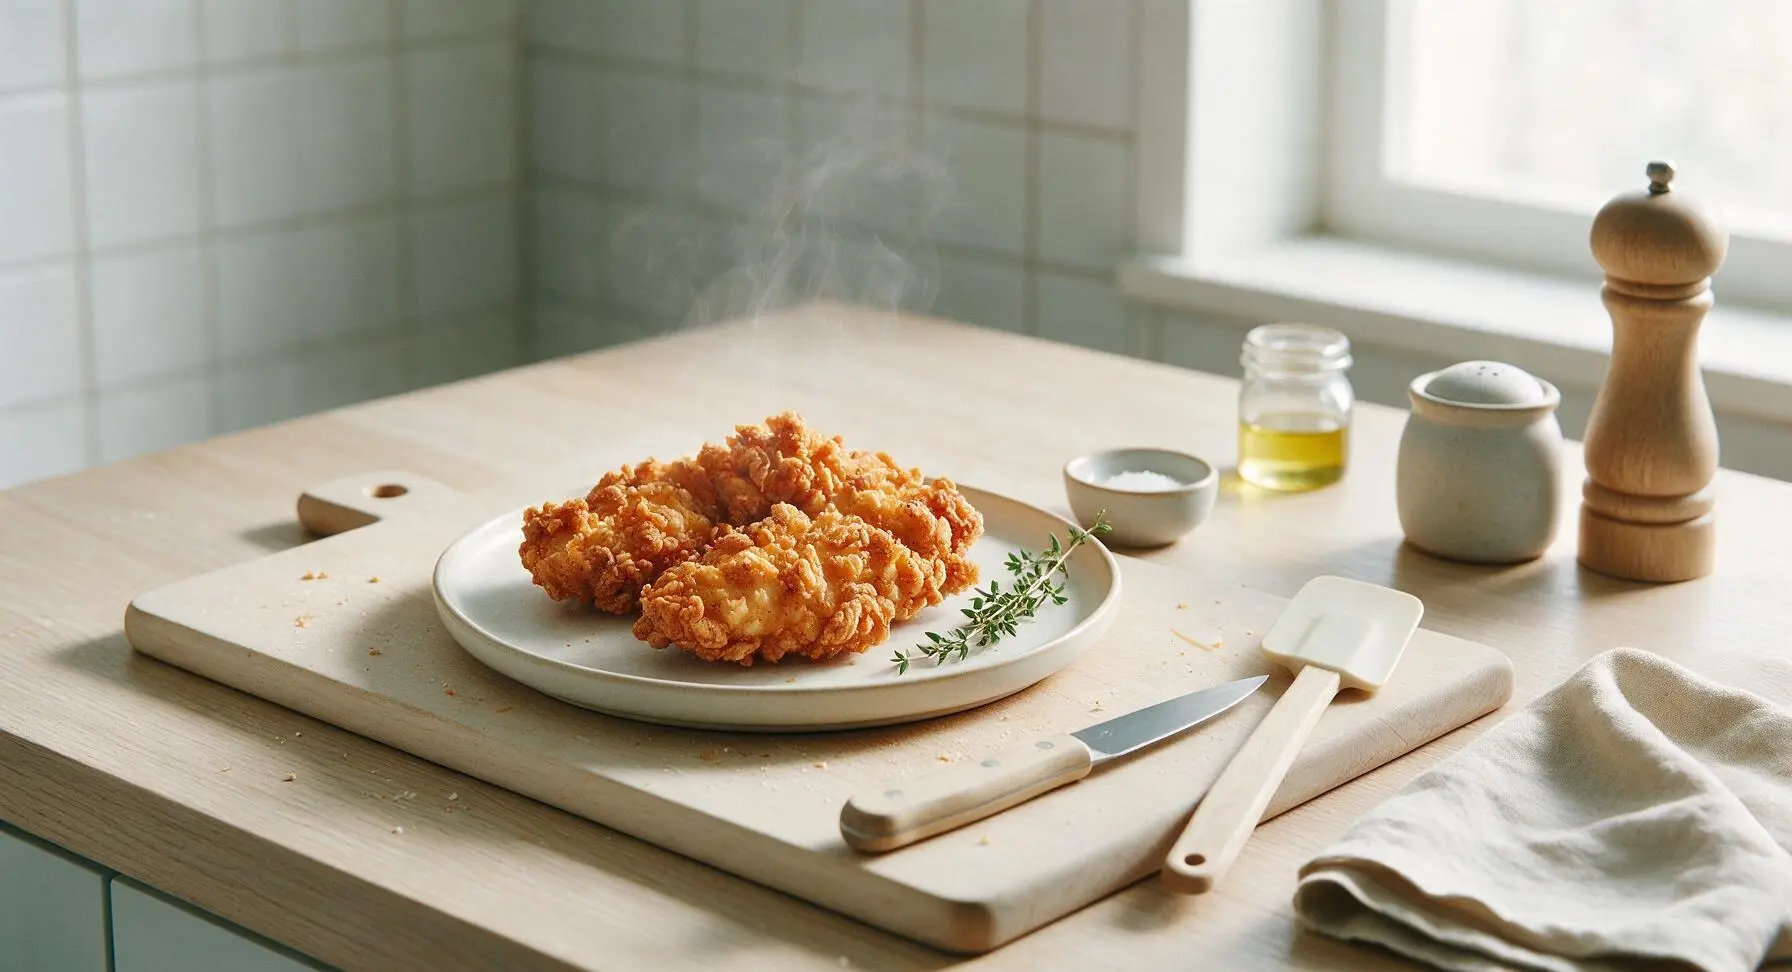
This copycat Chick-fil-A breading delivers the iconic craggy crunch, subtle sweet-savory seasoning, and tangy note that matches the beloved fast food classic perfectly for juicy, crispy chicken at home.

Ingredients
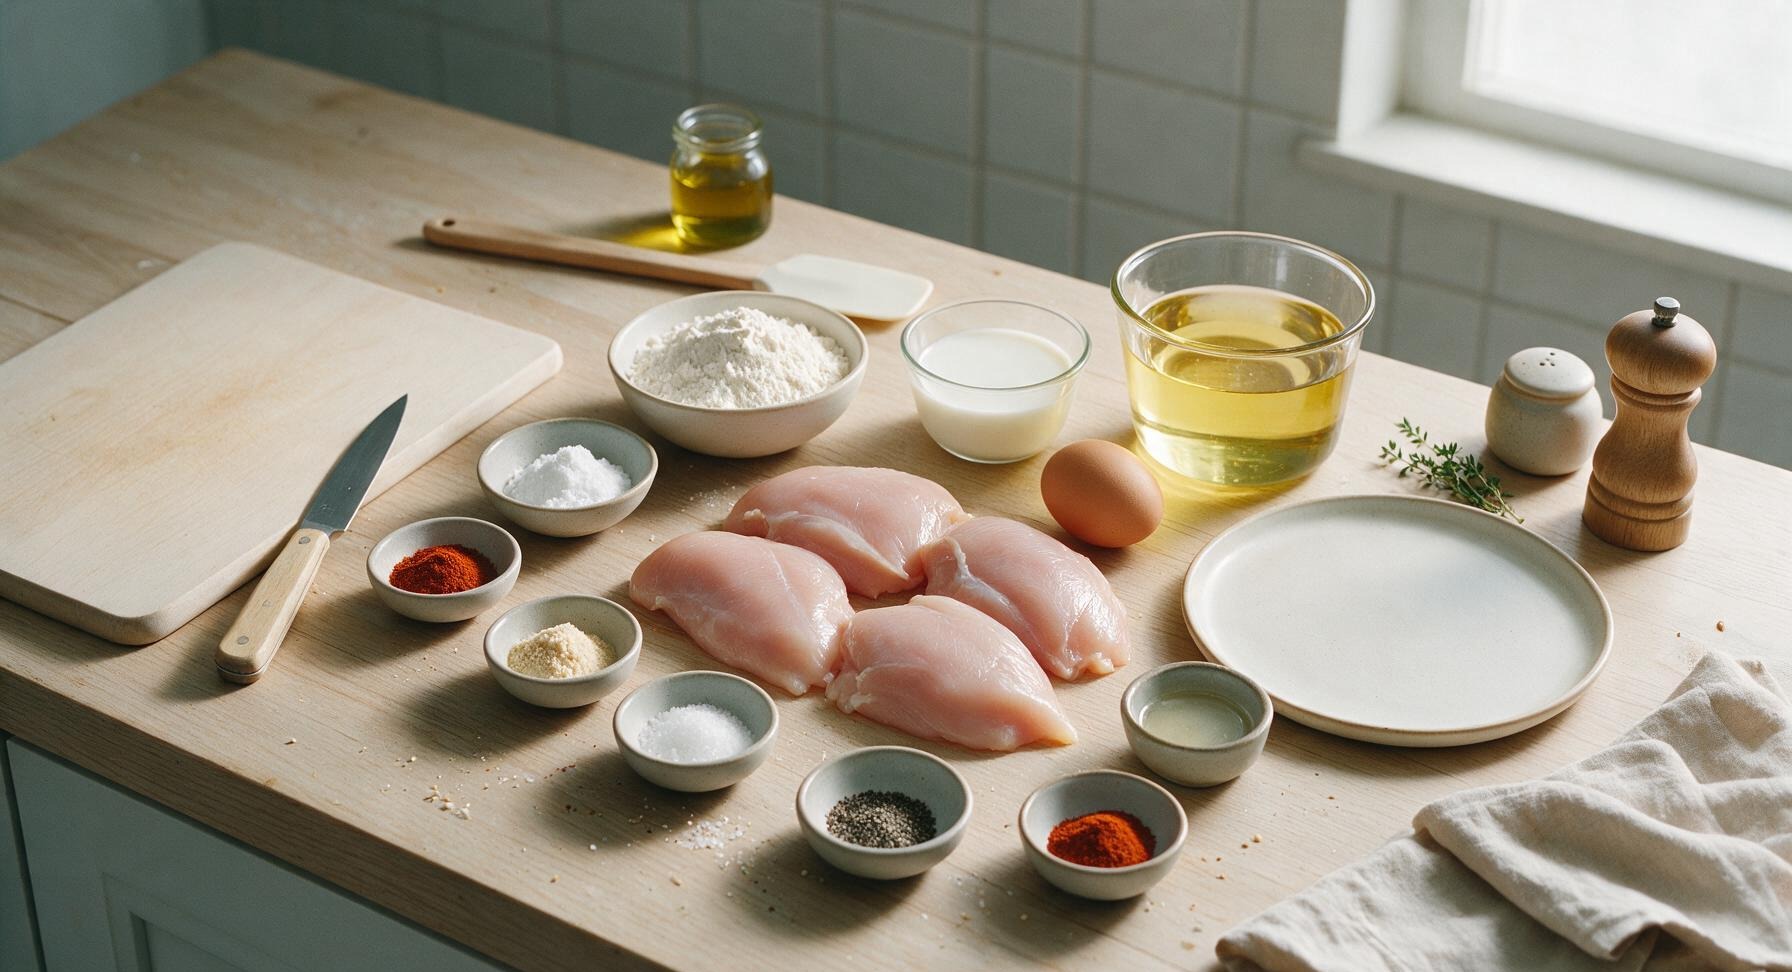
Boneless skinless chicken breasts, pounded to 1/2-inch thickness 4 pieces (115g each)
All-purpose flour 1 1/2 cups (180g)
Powdered sugar 2 tbsp (15g)
Paprika 1 tsp
Garlic powder 1 tsp
Onion powder 1 tsp
Kosher salt 2 tsp
Freshly ground black pepper 1/2 tsp
Cayenne pepper 1/4 tsp
Whole milk 1/2 cup (120ml)
Large egg 1
Dill pickle brine 2 tbsp
Neutral frying oil (canola or peanut) 4 cups (for frying)

Steps

1

Pound chicken evenly

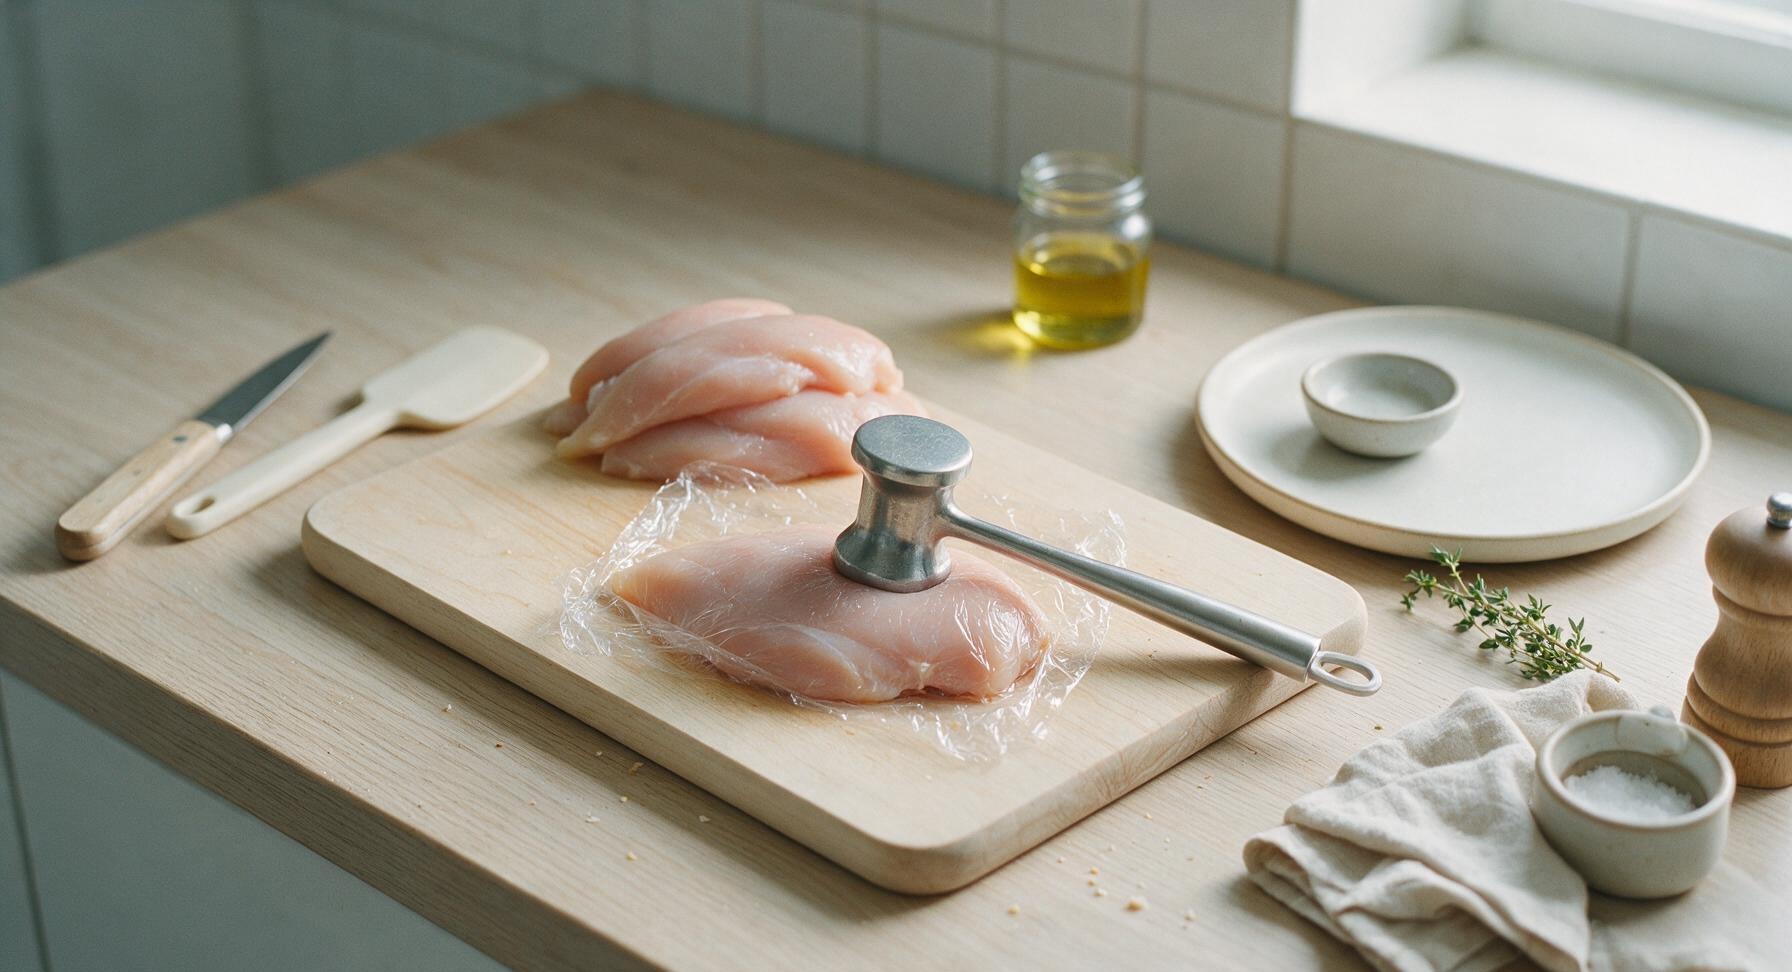
Place each chicken breast on the bamboo cutting board, cover loosely with a piece of plastic wrap to prevent splatter. Use the flat side of the stainless steel meat mallet to pound the chicken to an even 1/2-inch thickness across the entire cutlet. This ensures even cooking and consistent breading adhesion. Set pounded cutlets aside on the edge of the cutting board.
Step 1
step1:Pound chicken evenly
2

Whisk dry breading mix

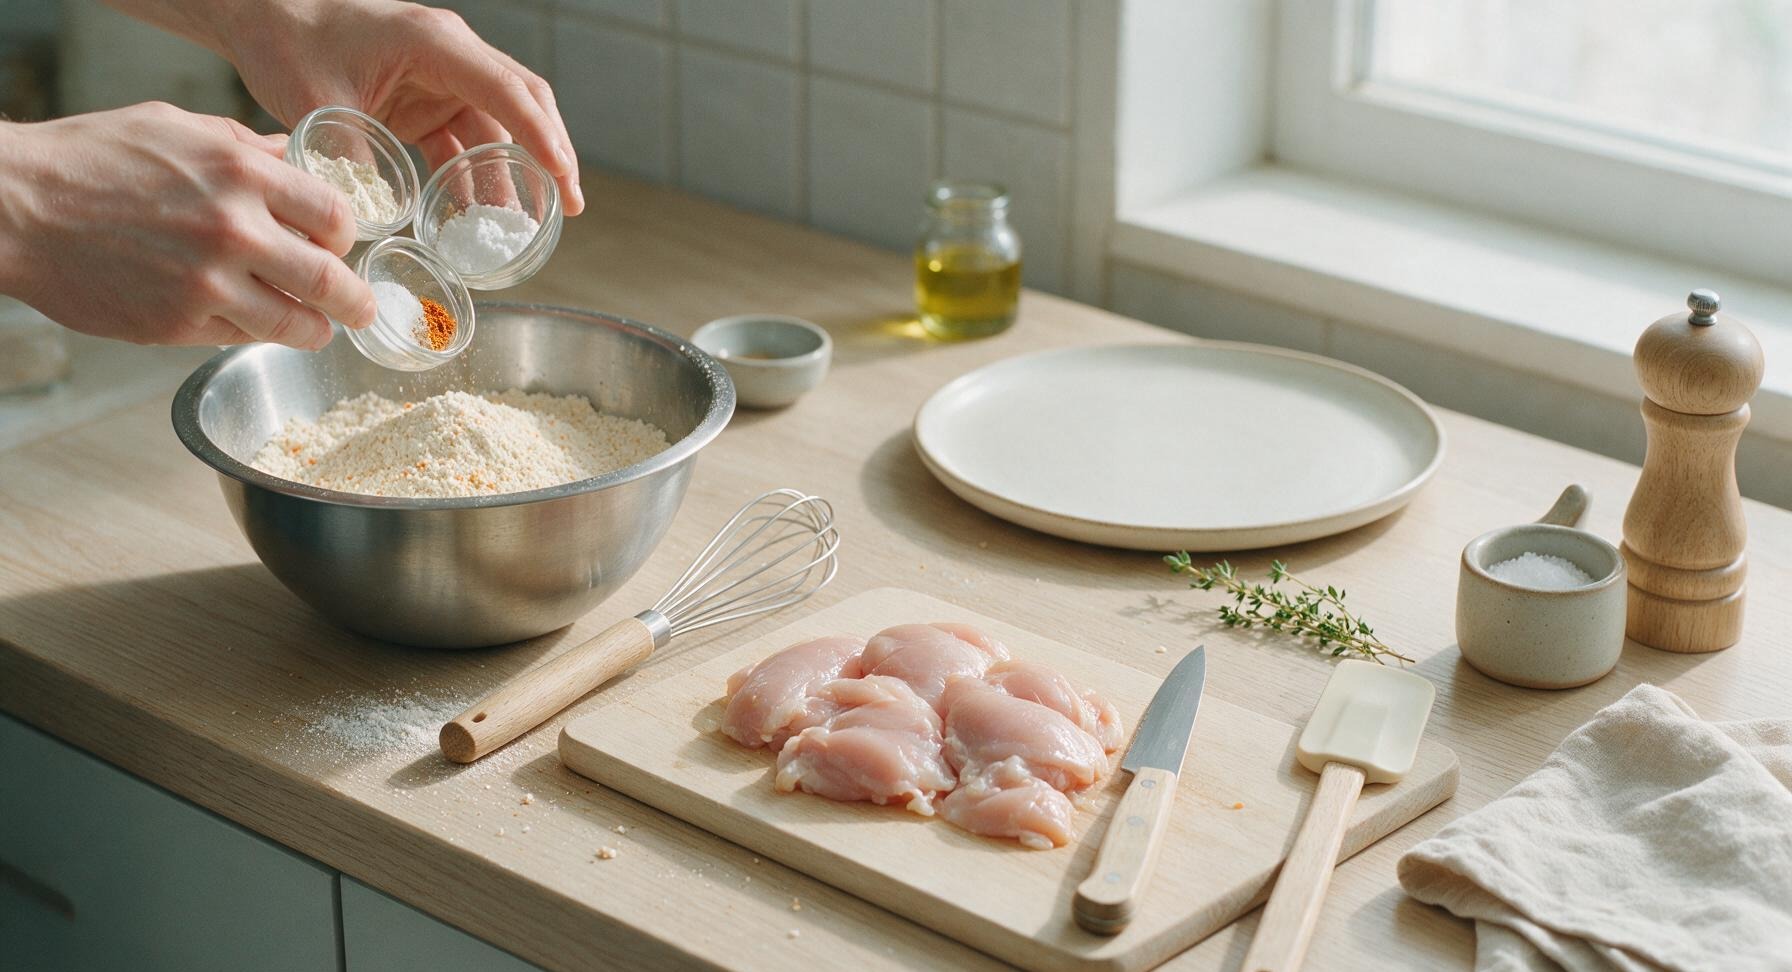
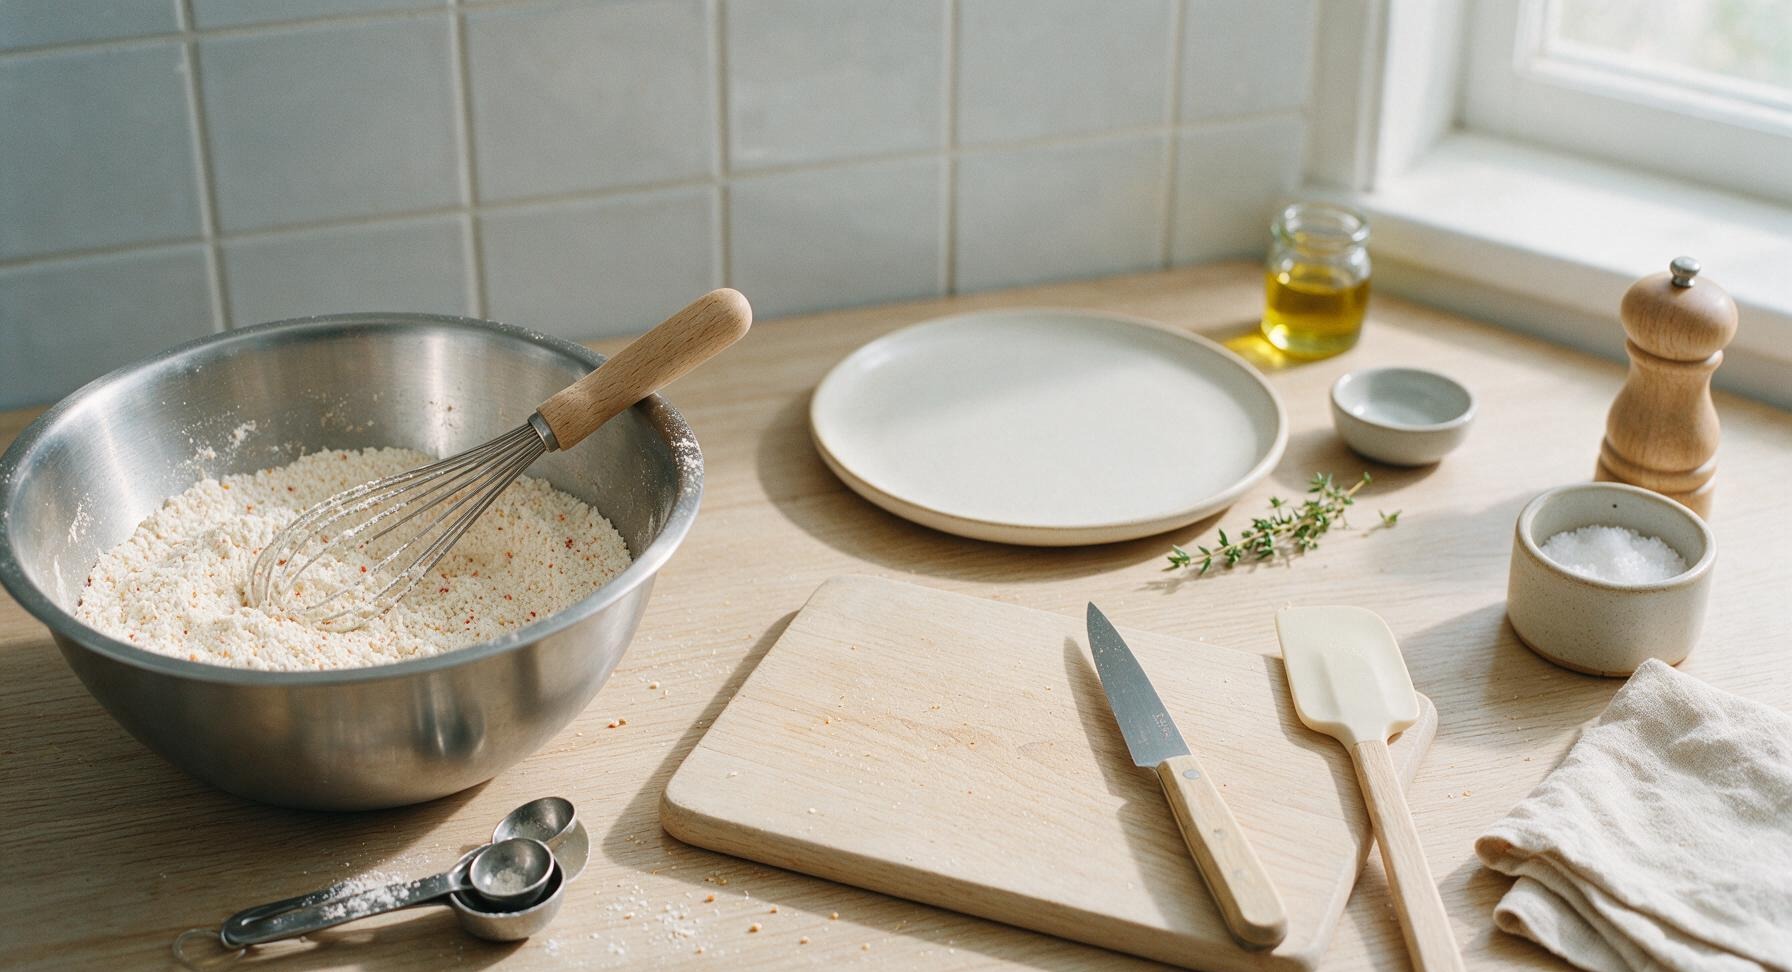
Add the all-purpose flour, powdered sugar, paprika, garlic powder, onion powder, kosher salt, black pepper, and cayenne pepper to the left brushed stainless steel mixing bowl. Use the beech-handle wire whisk to stir the mixture for 30 seconds until all spices and powdered sugar are fully evenly distributed, with no clumps of sugar or spice visible. The finished dry mix should be a uniform pale off-white color with faint orange flecks from the paprika and cayenne.
Step 2
step2:Whisk dry breading mix
Step 2
step2:Whisk dry breading mix
3

Mix wet egg wash

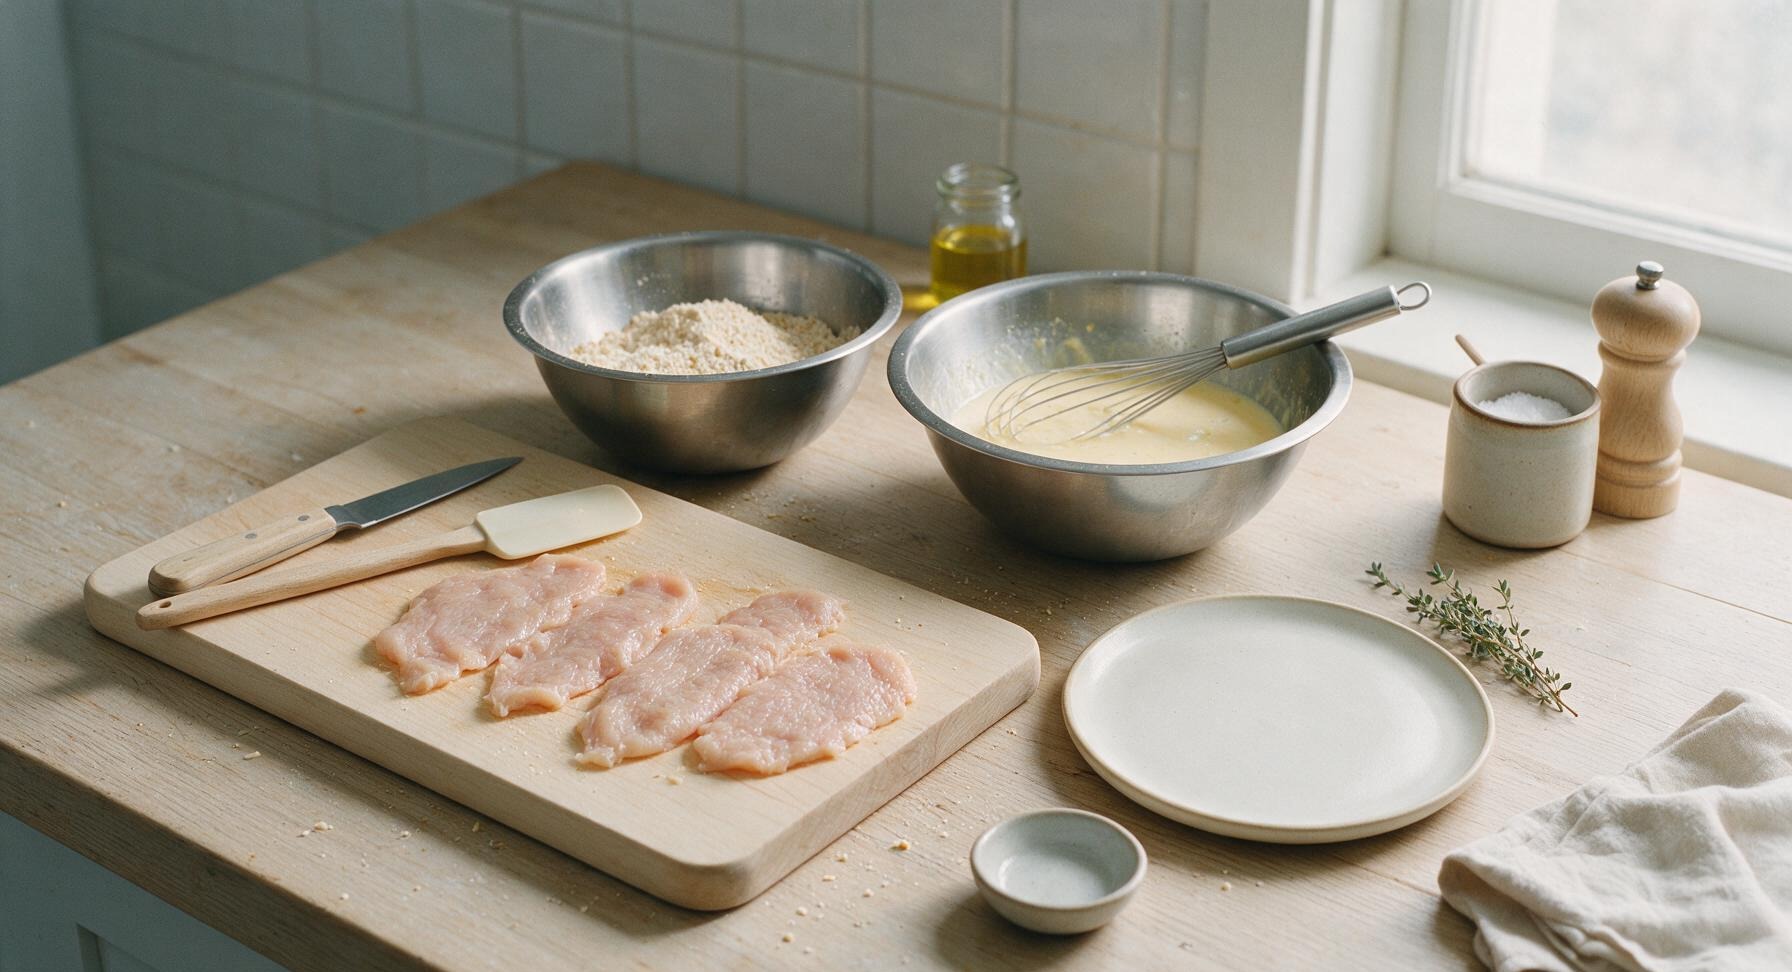
Crack the large egg into the right brushed stainless steel mixing bowl. Add the whole milk and dill pickle brine to the bowl. Use the wire whisk to beat the mixture for 20 seconds until the egg is fully incorporated, with no streaks of clear egg white remaining. The finished wet mix should be a smooth, pale creamy yellow, thin enough to coat the chicken without clumping.
Step 3
step3:Mix wet egg wash
4

Apply first dry coat

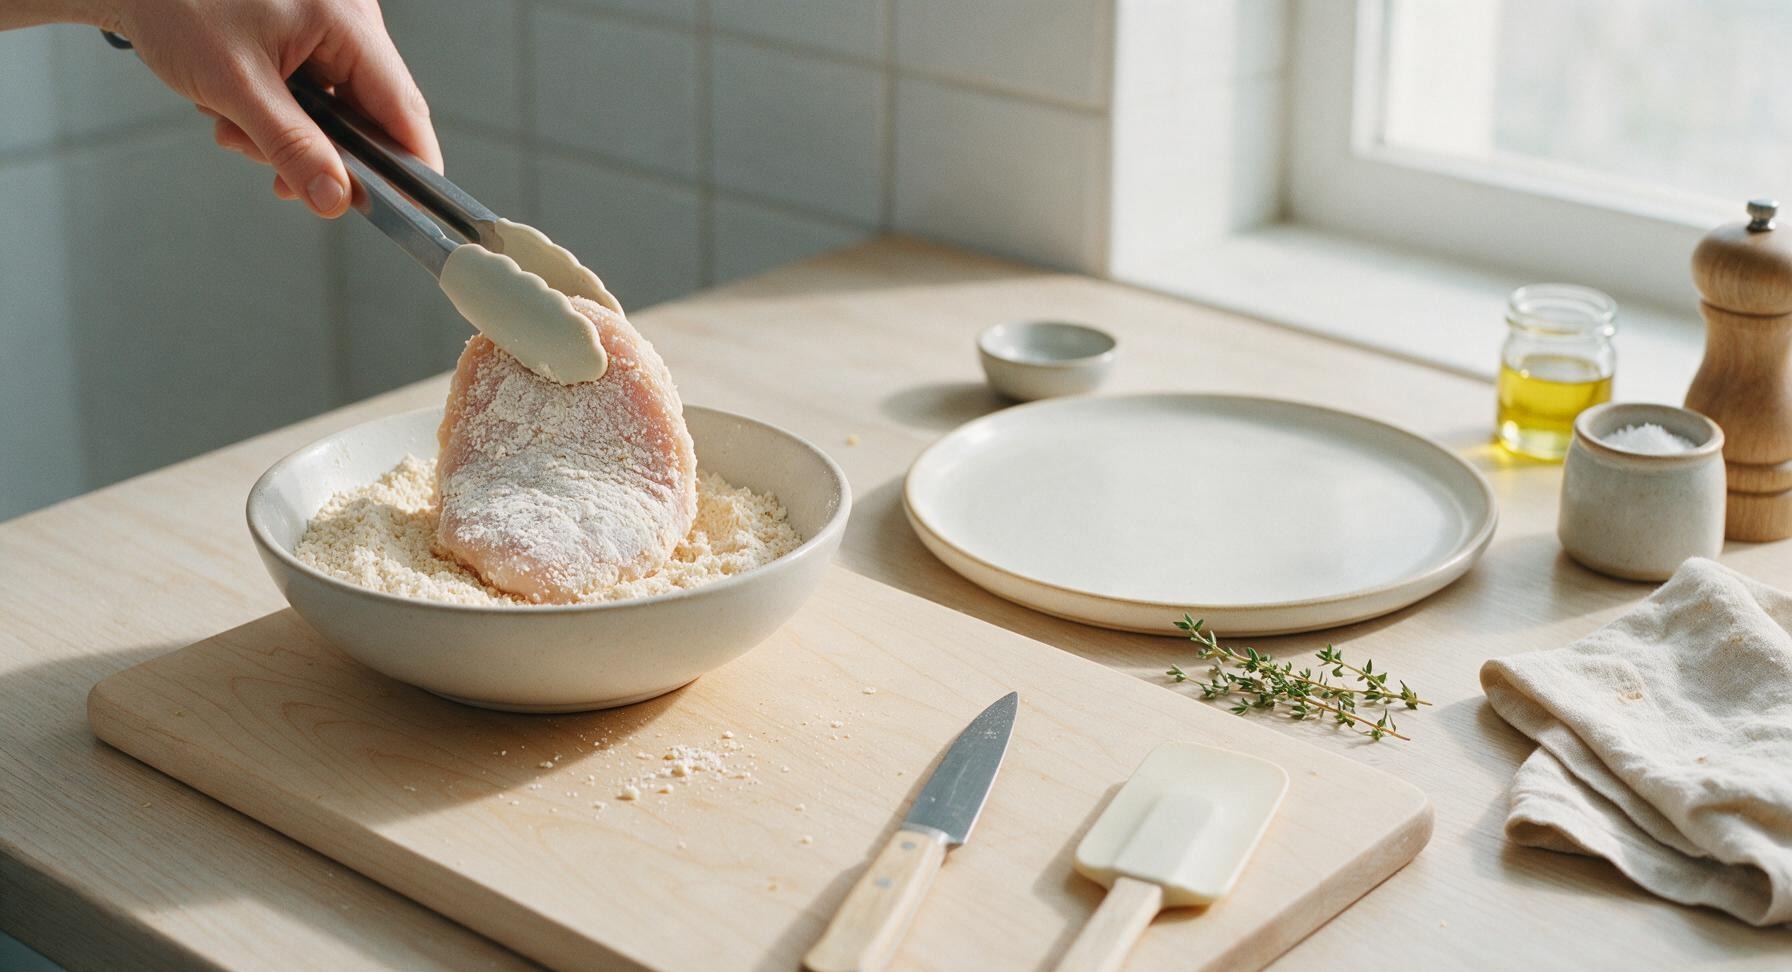
Working one cutlet at a time, pick up a pounded chicken breast with the silicone-tipped kitchen tongs and place it fully into the dry breading mix. Press firmly to coat all sides of the chicken, then lift and shake off any excess loose flour. This initial dry layer helps the wet wash adhere tightly without sliding off during frying.
Step 4
step4:Apply first dry coat
5

Dip in egg wash

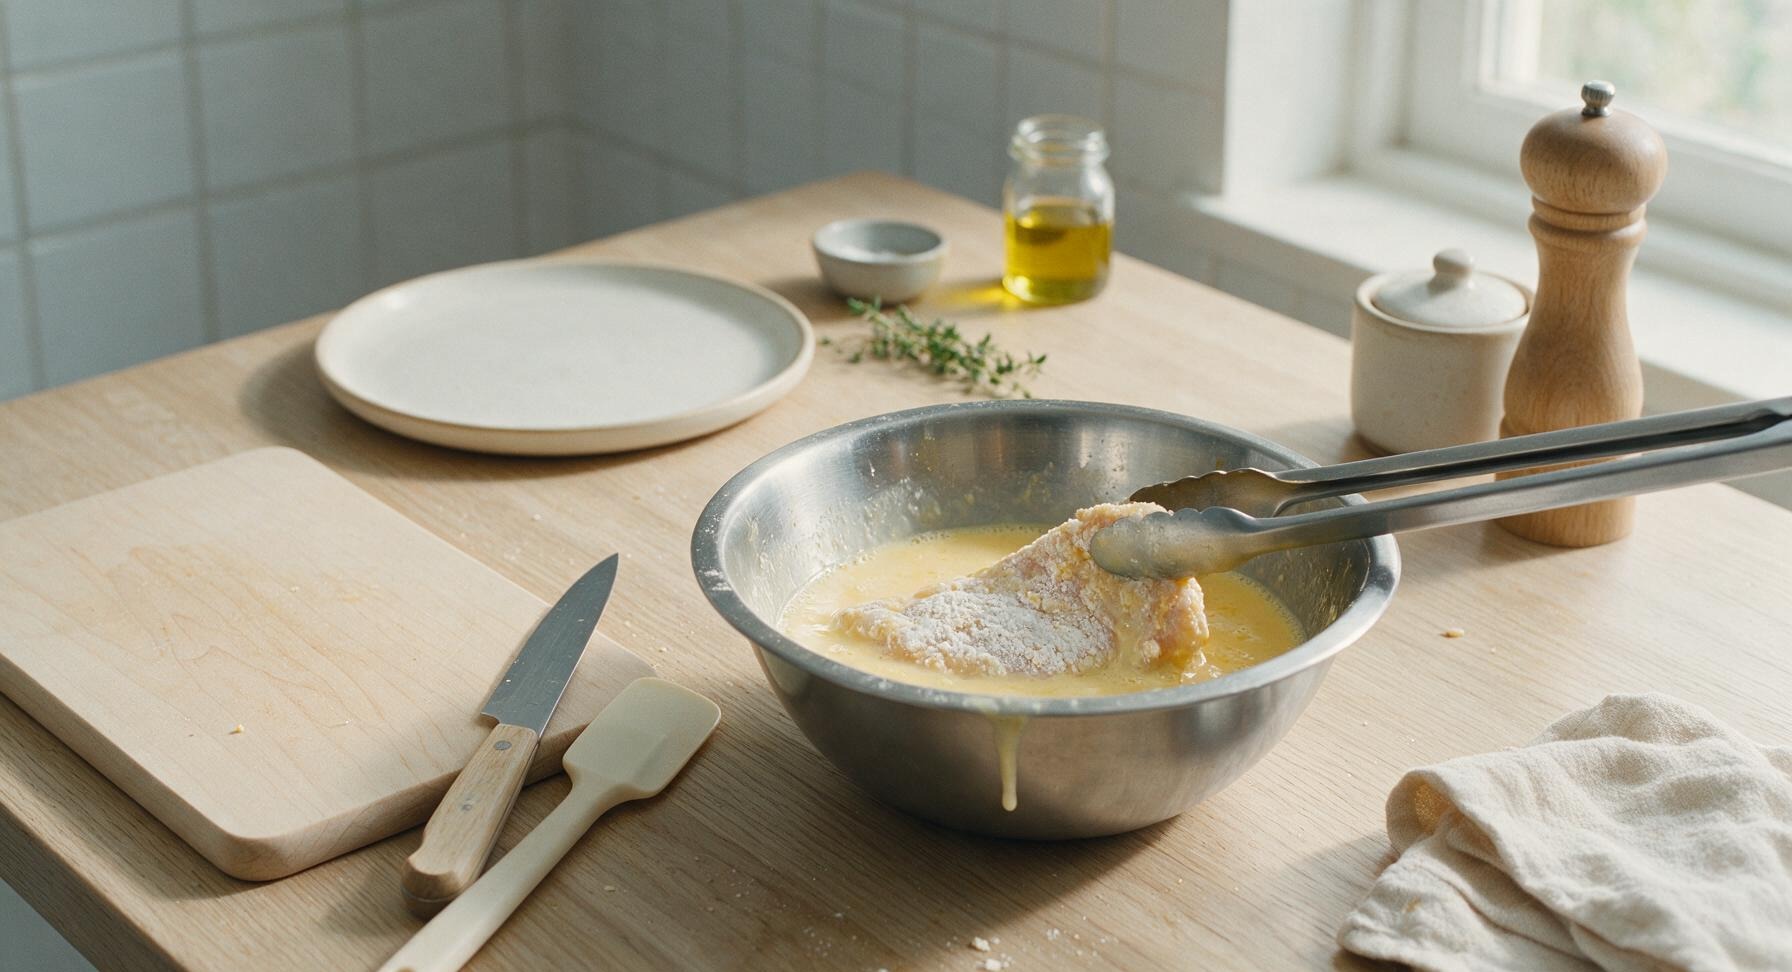
Transfer the flour-coated chicken cutlet directly from the dry mix into the wet egg wash bowl. Turn the cutlet with the tongs to fully coat every surface, allowing any excess wet mix to drip back into the bowl for 2 seconds before moving to the final breading step. Do not let the chicken soak in the wet wash, as this will cause the breading to become soggy.
Step 5
step5:Dip in egg wash
6

Press final breading coat

Lift the wet-coated cutlet from the egg wash and place it back into the dry breading mix. Press the flour firmly onto all sides of the chicken, building up a thick, uneven, craggy coating. Pile extra breading mix onto the top of the cutlet and press firmly to create the iconic textured, crispy crust that stays crunchy after cooking. Place fully coated cutlets on a clean section of the cutting board, and let them rest for 5 minutes to allow the breading to set before frying—this prevents the breading from falling off during cooking.
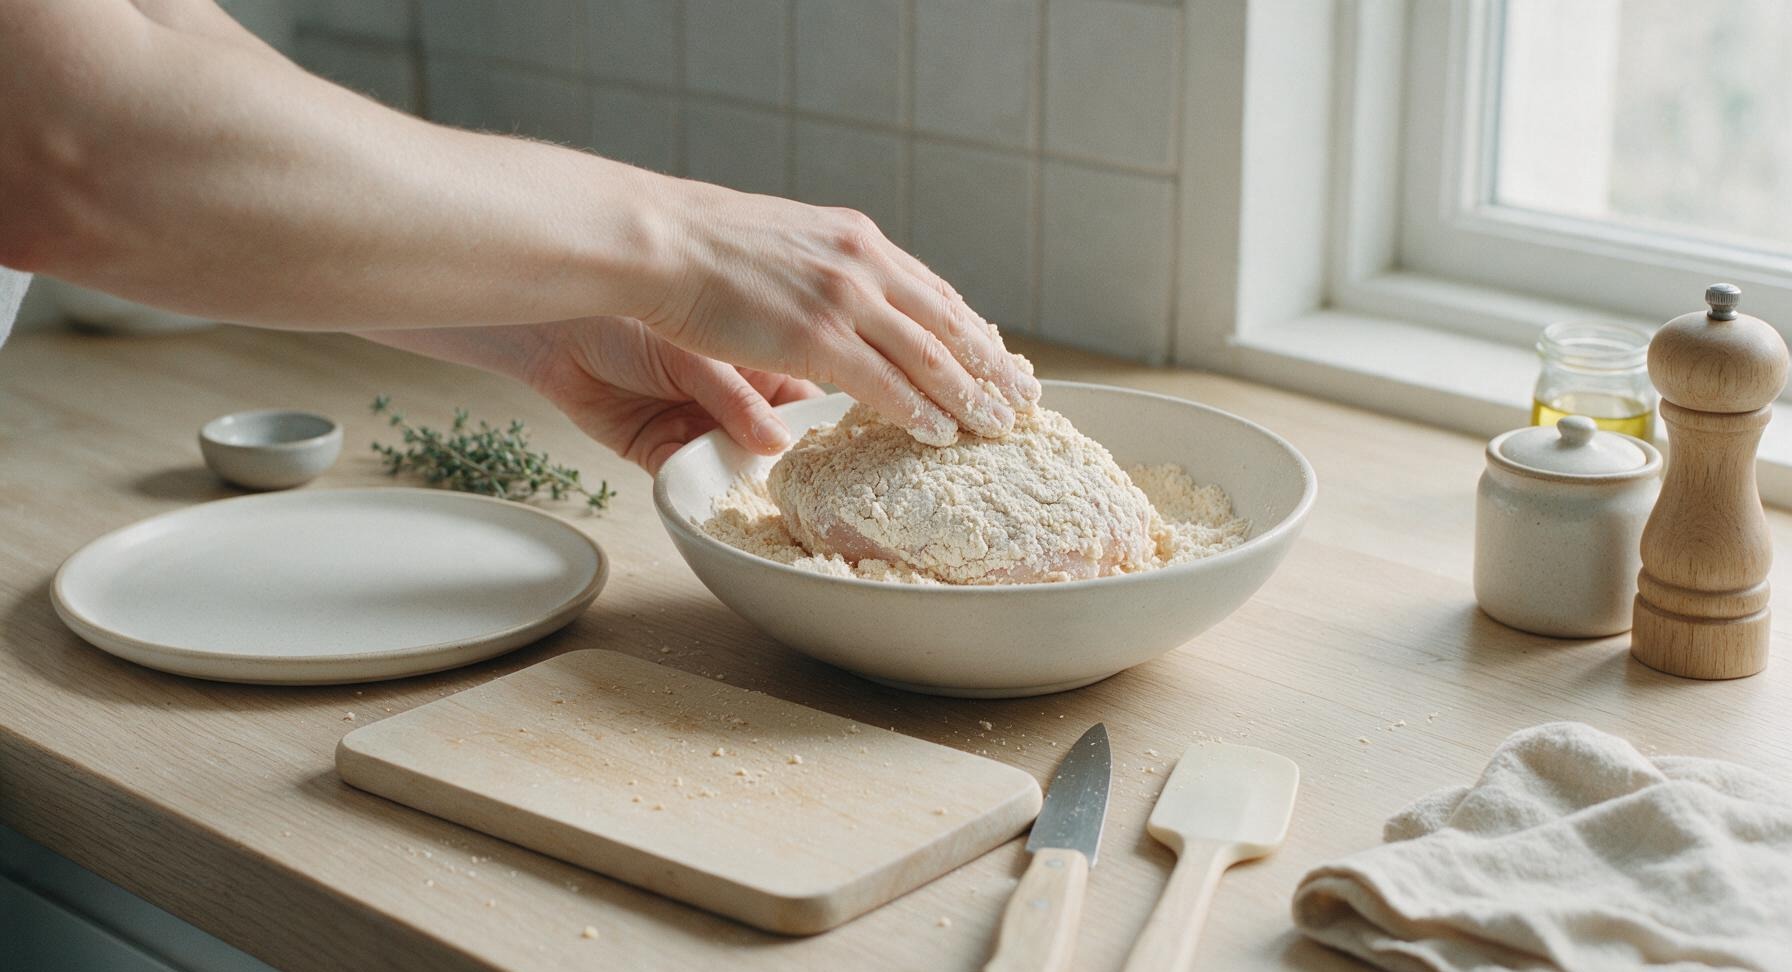
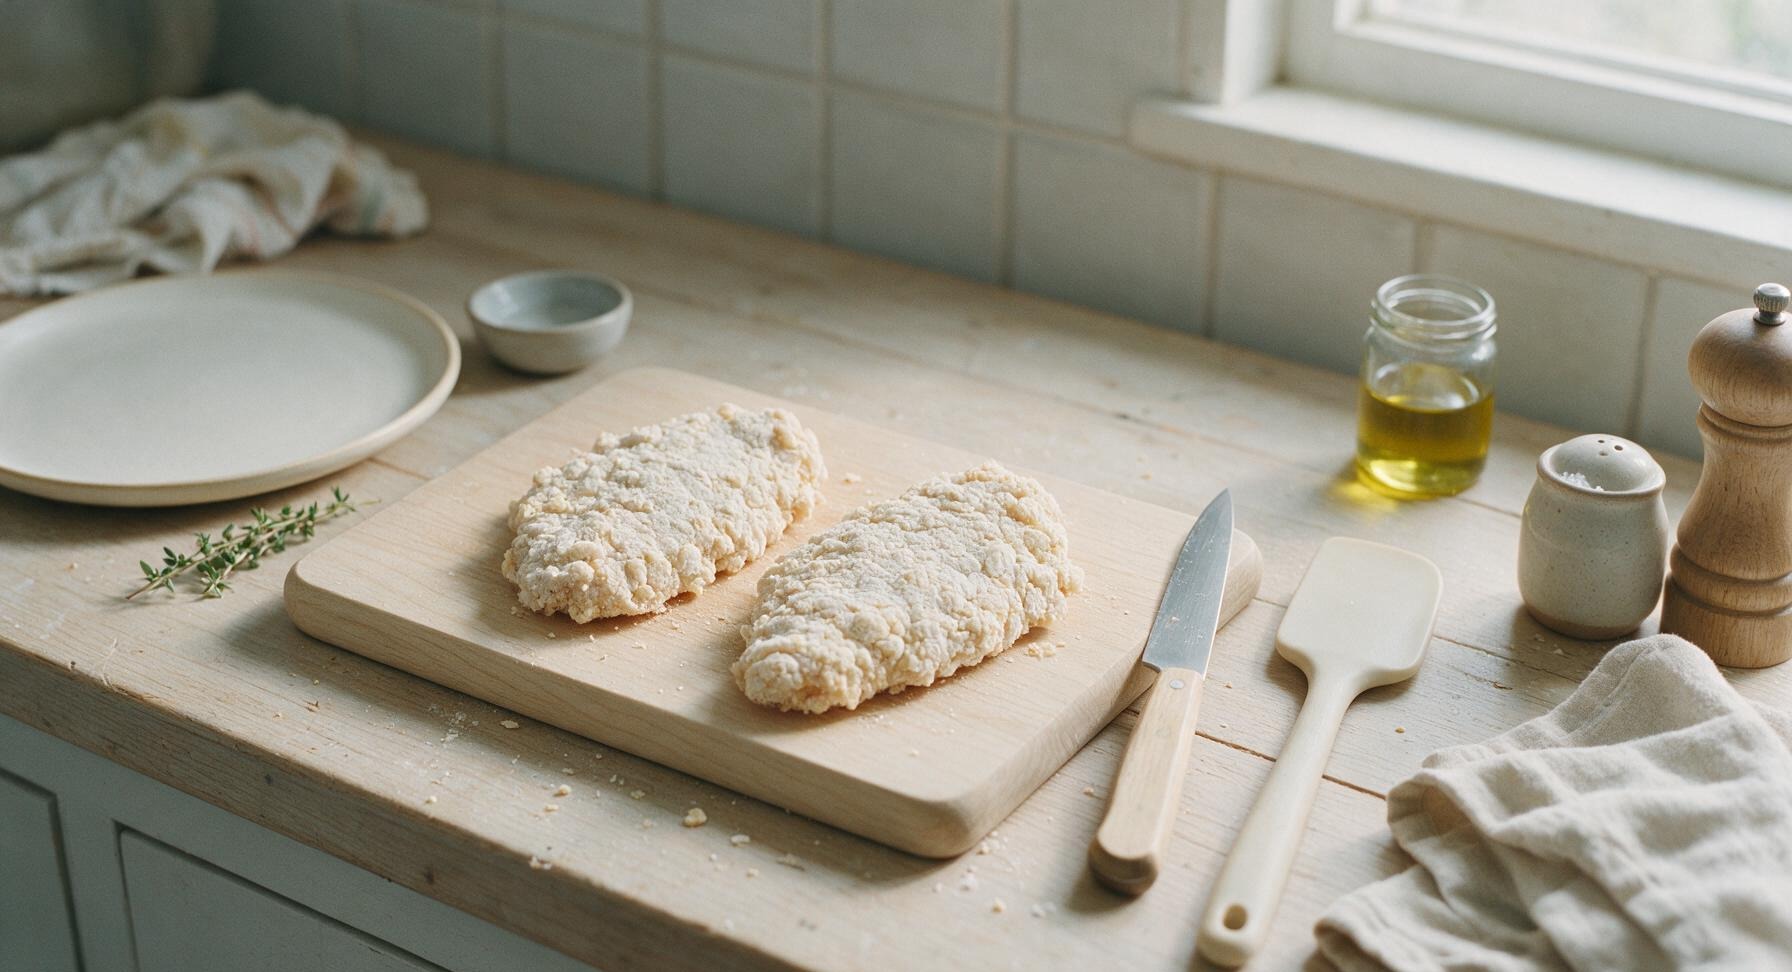
Step 6
step6:Press final breading coat
Step 6
step6:Press final breading coat
7

Fry to crispy perfection

Heat 2 inches of neutral canola or peanut oil in the enameled cast iron skillet to 350°F (175°C). Carefully lower the breaded chicken cutlets into the hot oil using the tongs, working in 2-cutlet batches to avoid dropping the oil temperature. Fry for 3-4 minutes per side, until the breading is a deep, even golden amber and the internal temperature of the chicken reaches 165°F (74°C). Do not move the chicken for the first 2 minutes of frying to let the breading set and form a firm crust.
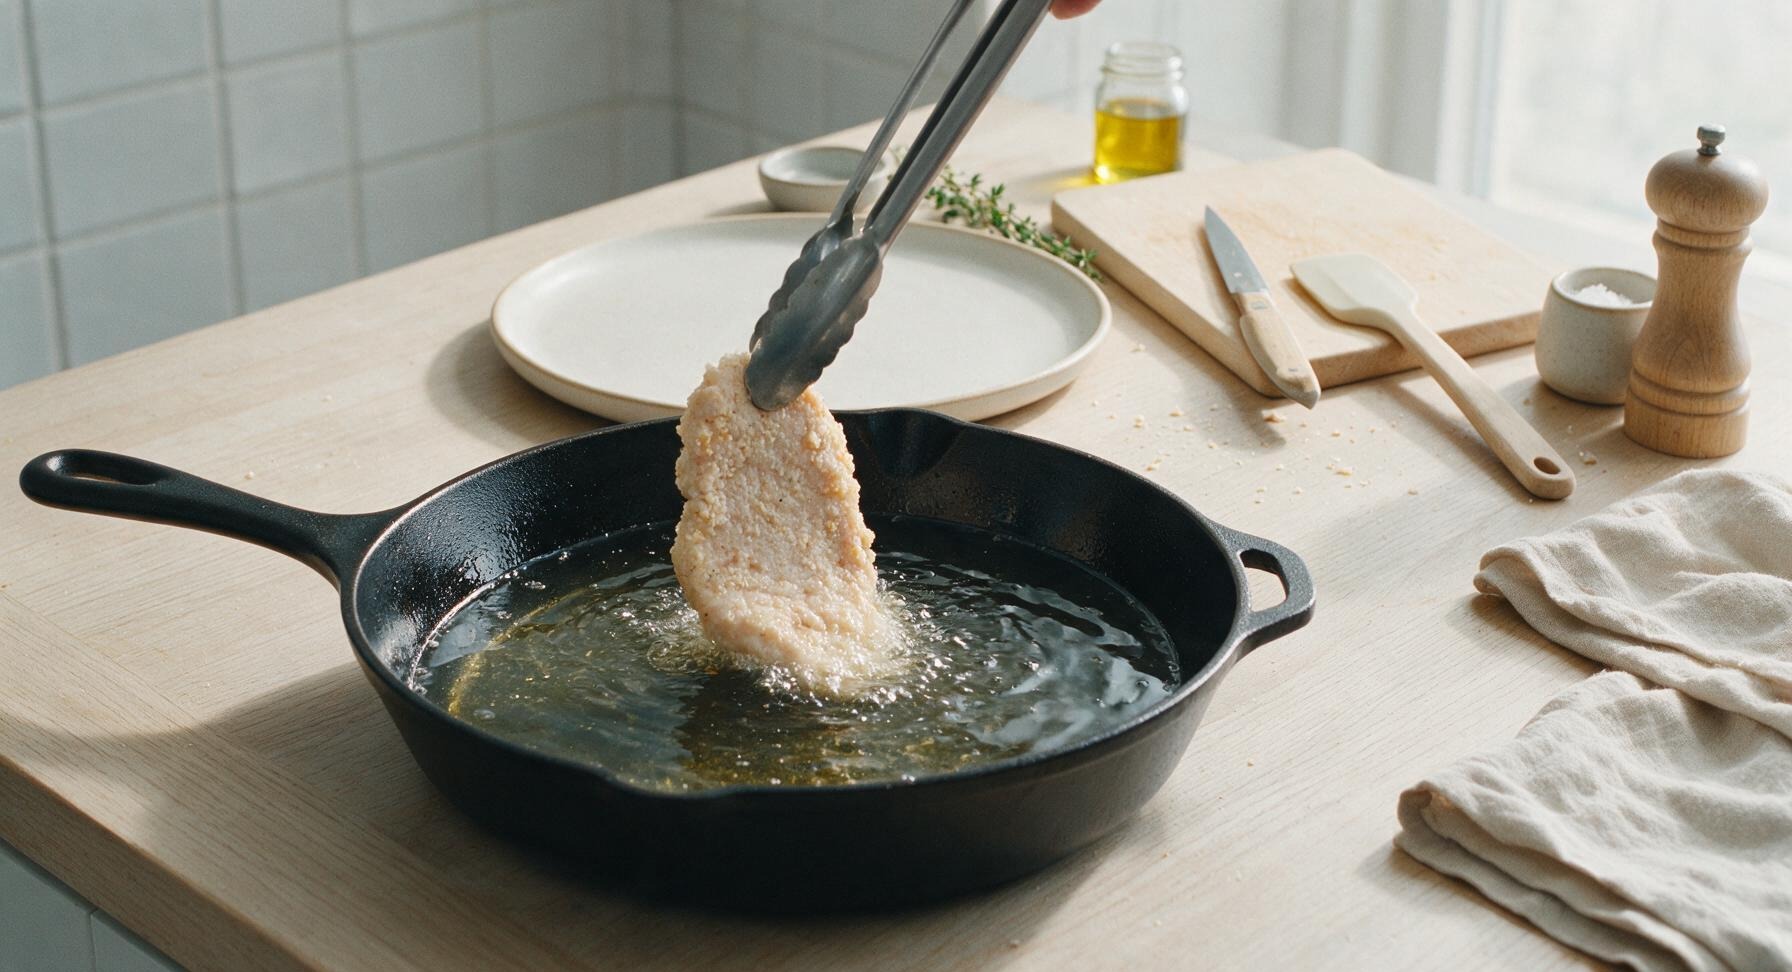
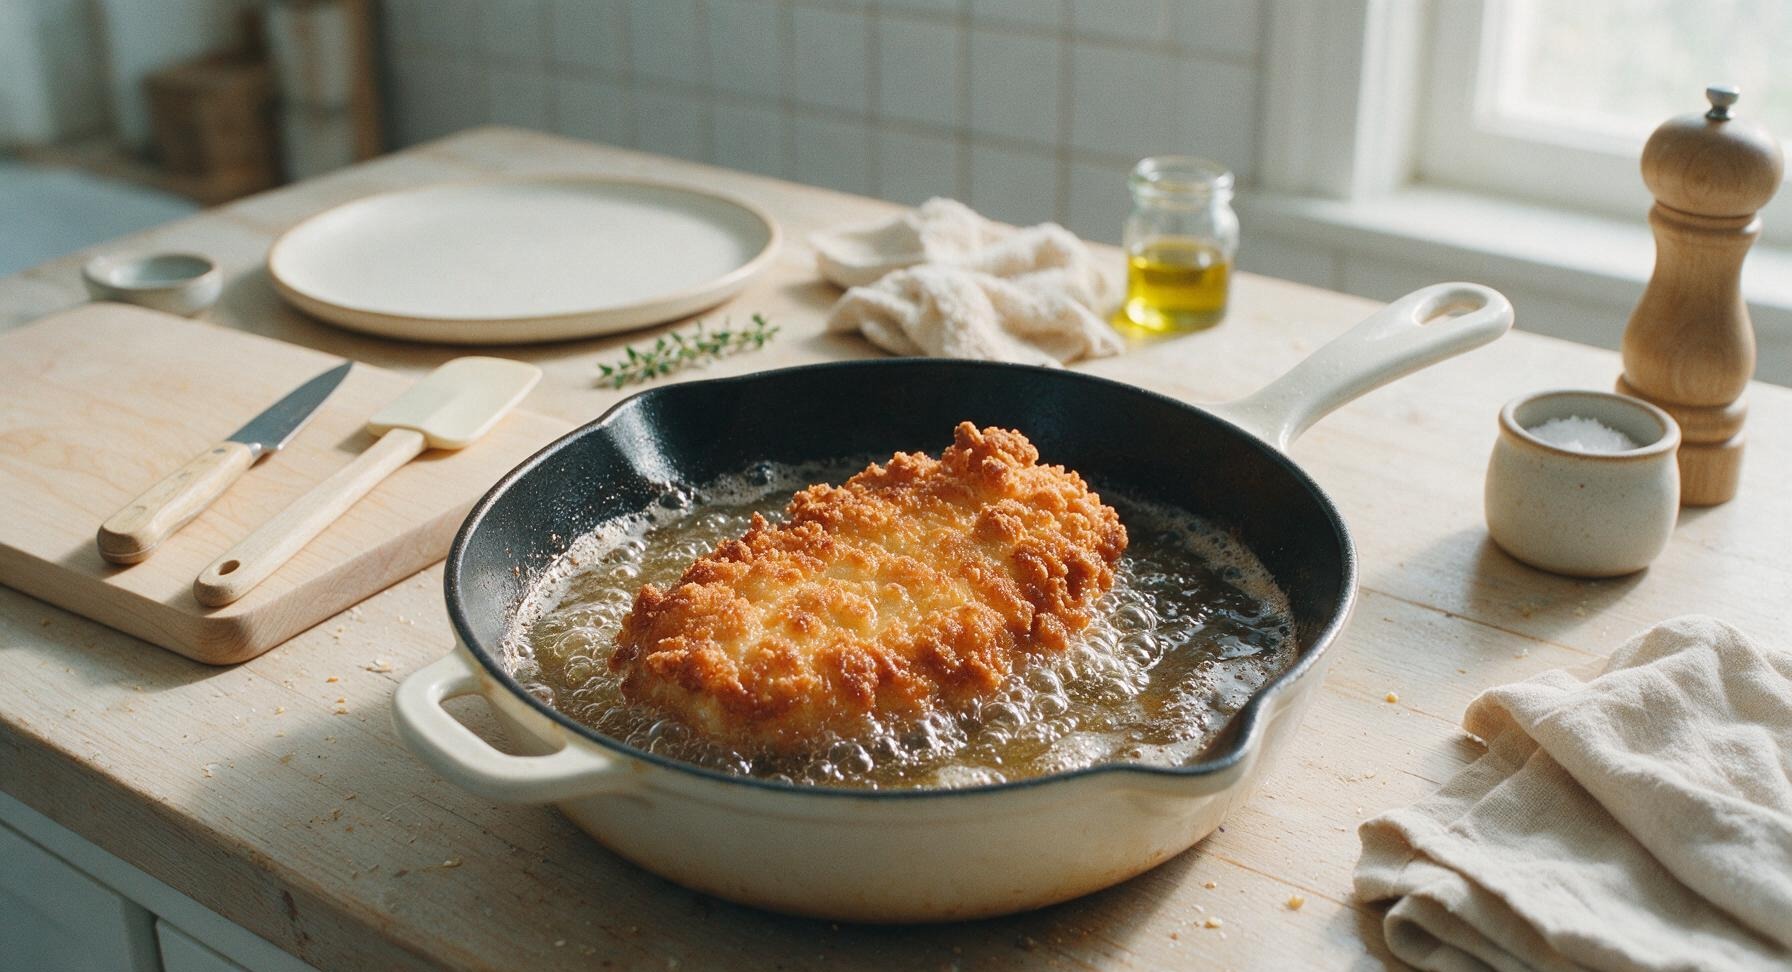
Step 7
step7:Fry to crispy perfection
Step 7
step7:Fry to crispy perfection
8

Drain and rest cutlets

Once golden and fully cooked, use the tongs to lift the chicken cutlets from the hot oil, holding them above the skillet for 10 seconds to let excess oil drip off. Transfer the cutlets to the matte off-white ceramic dinner plate, and let them rest for 3 minutes to allow the breading to set fully before serving. Avoid stacking the cutlets, as trapped steam will make the crispy breading turn soggy.
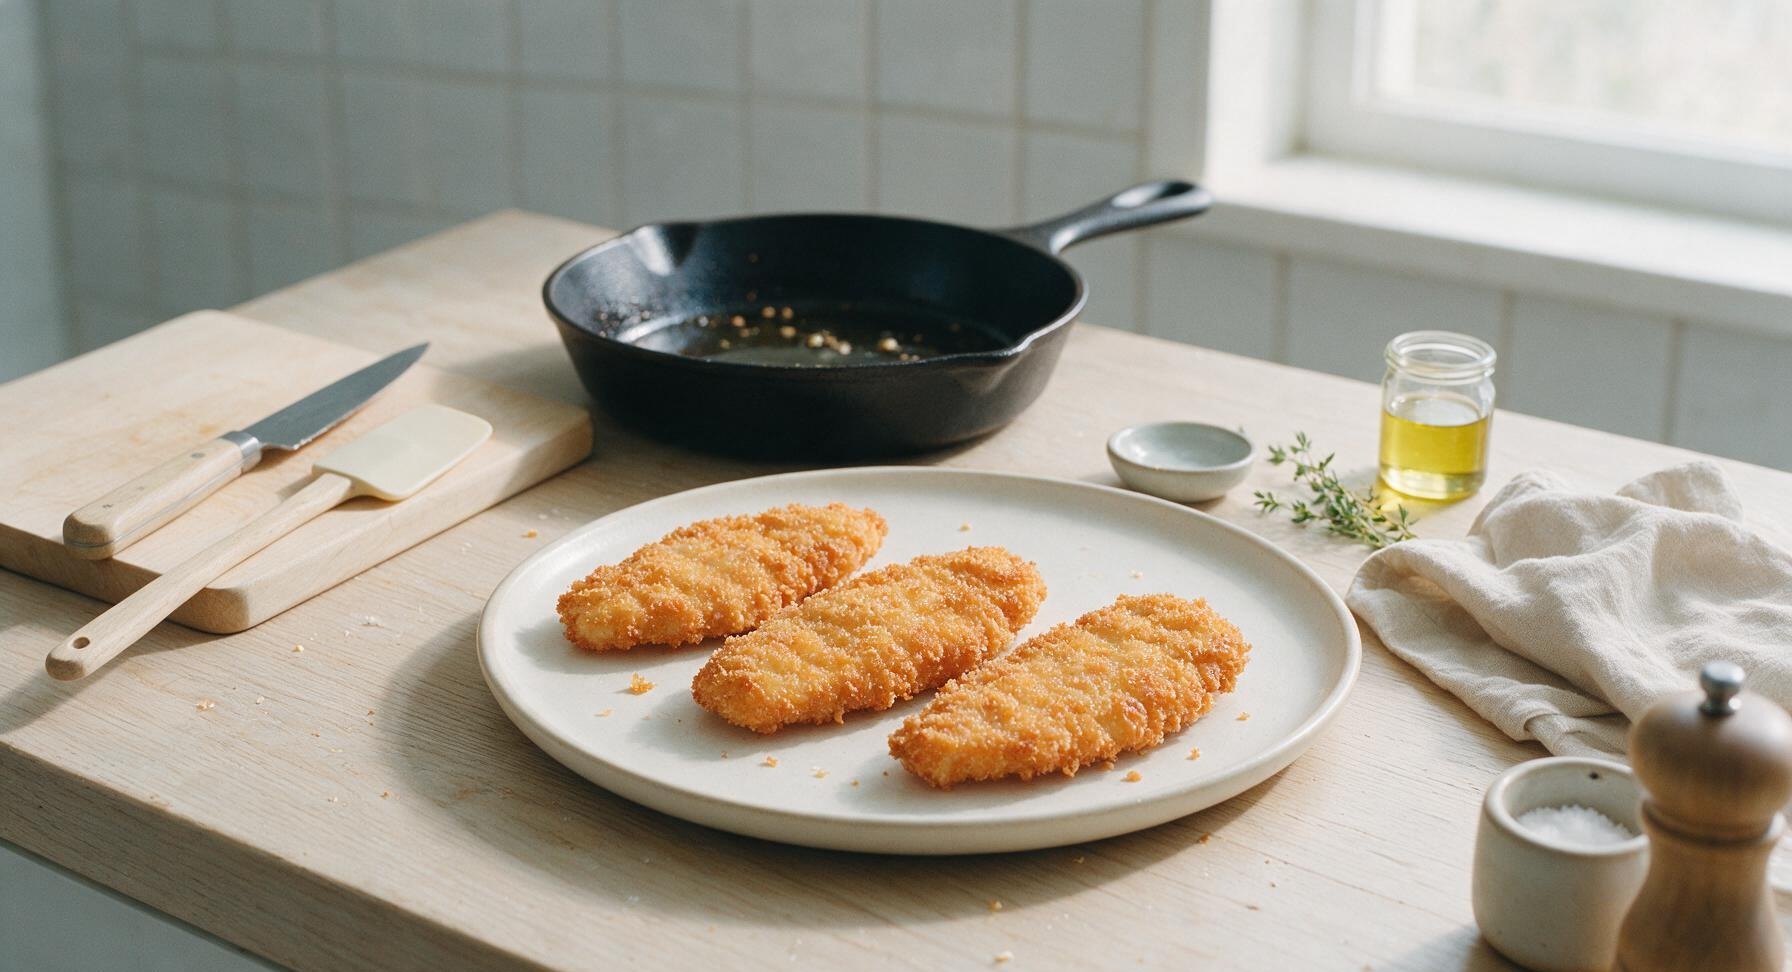
Step 8
step8:Drain and rest cutlets

Tips

1.Let breaded cutlets rest 5 minutes before frying: this rest time lets the flour and egg wash bind into a cohesive coating, preventing the breading from sliding off, cracking, or separating from the chicken while it cooks for an evenly crisp crust.
2.Don’t skip the powdered sugar: this is the signature secret ingredient that matches Chick-fil-A’s subtle sweet-savory flavor balance, and it helps the breading brown to a perfect golden amber without burning at frying temperature.
3.Maintain a steady 350°F (175°C) oil temperature: oil that is too hot will burn the breading before the chicken cooks through, while oil that is too cool will make the breading absorb excess grease and turn heavy and soggy instead of light and crisp.


✨ You May Also Like

Main Course
🍜 United Kingdom

A showstopping classic of tender seared beef, savory mushroom duxelles, and crisp prosciutto wrapped in flaky golden puff pastry, baked to juicy perfection.

⏱️ 2 hours 1Main Course ★ 4.7
Main Course
🍜 India

Tender charred marinated chicken simmered in a rich, spiced creamy tomato sauce, this iconic Anglo-Indian curry pairs perfectly with basmati rice or warm naan.

⏱️ 50 minuteMain Course ★ 4.6
Main Course
🍜 Thailand

Classic tangy, sweet, and savory Thai stir-fried rice noodles with shrimp, tofu, and crunchy garnishes, balancing all five core Thai flavor profiles.

⏱️ 30 minuteMain Course ★ 4.5
Main Course
🍜 United Kingdom

Crispy golden beer-battered cod and fluffy double-fried chips, served with tangy tartar sauce and malt vinegar: the timeless, beloved British pub comfort classic.

⏱️ 45 minuteMain Course ★ 4.7
Main Course
🍜 Mexico

Smoky, chile-marinated pork tacos with caramelized pineapple, fresh cilantro, and lime: a beloved classic Mexican street food perfect for casual summer gatherings.

⏱️ 1 hour 45Main Course ★ 4.8
Main Course
🍜 United States

Crunchy Fritos corn chips layered with savory beef chili and melted cheddar, topped with cool, zesty fixings for a beloved, cozy Tex-Mex comfort food.

⏱️ 35 minuteMain Course ★ 4.8

chick fil a breading:Frequently Asked Questions

1.Why is there powdered sugar in this Chick-fil-A breading recipe? ▾
That small measure of powdered sugar is non-negotiable for nailing the chain’s signature subtle sweet-savory balance. It also helps the breading caramelize gently as it cooks to create that perfect golden, craggy crunch everyone loves. Don’t swap it for granulated sugar—its coarser texture leaves gritty, uneven sweet spots across the coating.
2.How do I get that iconic shaggy, craggy crunch instead of a smooth, tough breading? ▾
After dredging your chicken in the seasoned flour, press the coating firmly onto every surface, then let the chicken rest on a wire rack for 15 to 20 minutes before cooking. This rest lets the flour hydrate into small, rough clumps that fry up into that signature shaggy crunch, instead of sliding off or turning dense and tough.
3.Can I use this breading for cuts other than pounded chicken breasts, like tenders or nuggets? ▾
Absolutely! This breading works perfectly for chicken tenders, nuggets, and even boneless skinless chicken thighs if you prefer juicier dark meat. Just make sure whatever you’re coating is cut to a uniform thickness, and keep frying oil at a steady 350°F to avoid soggy, oil-soaked breading that misses the mark on crunch.
4.The recipe mentions a classic tangy note—do I add tangy ingredients directly to the dry breading? ▾
That signature tang doesn’t go into the dry breading mix! For authentic flavor, brine your pounded chicken in dill pickle juice mixed with a splash of milk for 30 to 60 minutes before dredging. The subtle pickle tang sinks into the chicken, pairing perfectly with the sweet-savory coating without making it soggy or overly briny.
5.Can I pre-mix this breading ahead of time, and how do I store leftover mix safely? ▾
You can absolutely mix a big batch of the dry breading ingredients ahead for quick weeknight meals. Store unused mix that never touched raw chicken in an airtight container in a cool, dark pantry for up to 3 months. Always discard any breading that came into contact with raw chicken to avoid dangerous cross-contamination risks.

Comments (11)

2 days ago

OMG this breading is a GAME CHANGER!!! I made this for Sunday dinner last night and my picky 7 year old asked for thirds??? Tastes exactly like Chick-fil-A, I even used the pickle juice brine tip I saw in the notes and *chefs kiss*. I’m never buying frozen chicken strips again. SO good.

yesterday

Wait you used pickle juice brine? How long did you let the chicken sit in it? I’ve been trying to nail that tang for months!

yesterday

So glad your family loved it! For the pickle juice brine, we recommend letting chicken tenders sit for 30 mins to 1 hour in the fridge for that perfect classic Chick-fil-A tang without it getting too salty!

5 days ago

Took this to our neighborhood potluck last weekend and people were hounding me for the recipe all night. The only tweak I made was adding a tiny extra dash of paprika for a little smoke, and it slapped. Cook time was spot on 12 minutes in my air fryer too, no soggy breading at all.

3 days ago

Love the paprika tweak! That’s such a great way to add a little extra depth for folks who love a smoky kick—so happy it was a potluck hit!

30 minutes ago

So easy even I can make it lmao. Meal prepped 6 chicken sandwiches with this breading for the week and they reheat way better than I expected. 10/10, saved so much money vs hitting the drive thru every day.

1 week ago

This breading is so good when I make it for myself! Wait, has anyone tried this with a 1:1 gluten free flour swap? My kid has celiac and we’ve been chasing a good crispy chicken copycat forever. Would the ratios still work the same?

5 days ago

I did this last week with Bob’s Red Mill 1:1 GF flour and it worked perfectly! I added a tiny extra pinch of xanthan gum just to be safe but I don’t even think I needed it. Crispy just like the regular version!

3 days ago

Great question! We’ve tested this with 1:1 GF flour blends and it works great as a direct swap, no ratio adjustments needed. So glad other folks have had success with it too!

2 hours ago

I was so nervous I’d mess this up because I’m terrible at frying, but the instructions were so straightforward! The breading stayed on every single piece, no flaking off into the oil. My roommates thought I ordered takeout lmao.

30 minutes ago

That makes our day! So proud of you for nailing it on the first try—nothing beats that feeling of making restaurant-worthy food at home, right?

5 minutes ago

Made these for the football watch party yesterday and they vanished in 10 minutes. Even my buddy who swears nothing beats the real Chick-fil-A said this was better. Dipped them in that copycat sauce too, chef’s kiss.

3 days ago

I fried a test batch of this and the flavor is perfect! Has anyone baked these instead of frying? I’m trying to cut back on oil but don’t want to lose that crisp factor. What temp and time worked for you if you did?

2 days ago

I baked mine at 425F for 18 minutes, flipping halfway, and sprayed a little olive oil on the tops before putting them in. Got super crispy, no sogginess at all! Way less oil than frying and still tasted spot on.

2 days ago

Great question! If baking, we recommend 425F on a wire rack over a baking sheet for 15-18 minutes, flipping halfway, with a light spritz of cooking oil for that perfect crisp. The wire rack is key to avoiding soggy bottoms!

1 week ago

Super good, but I felt like it needed a little extra salt? Maybe it’s just my taste buds though, because my husband thought it was perfect. Next time I’ll add a pinch more to the flour mix to match my preference.

5 days ago

Thanks for the honest feedback! Salt preference can vary so much from person to person, so adding an extra pinch to taste is always a great call. So glad it was still a hit with your husband!

5 days ago

Wait a second, I mixed this breading up last night and used it on chicken nuggets for the kids and it was so crispy, but does this work on other stuff? Like fried pickles or onion rings? I have a bunch of the mix left and don’t want it to go to waste.

3 days ago

I used the leftover mix on fried zucchini chips last week and it was INCREDIBLE. Tasted exactly like the fried veggies you get at fairs, I was shocked. Just sliced the zucchini thin, patted dry, and breaded the same way!

3 days ago

It absolutely works on other fried favorites! We’ve used it for onion rings, fried pickles, even crispy shrimp—just make sure whatever you’re breading is patted dry first so the coating sticks perfectly. Love the fried zucchini idea too!

2 weeks ago

12 minute cook time??? Sign me up. I’m always scrambling to get dinner on the table between soccer practice and homework, and this was so fast to throw together. My kids already asked when we can have it again. 10/10, will be in our weekly rotation.

1 week ago

Same! I keep a jar of the dry mix pre-mixed in my pantry now so I don’t even have to measure spices on weeknights. Total game changer for busy nights!

just now

I’ve tried literally every copycat Chick-fil-A breading recipe on the internet and this is the closest one by a mile. The balance of powdered sugar and savory spices is exactly right, no weird aftertaste like some other recipes I’ve tried. Absolute home run.



