
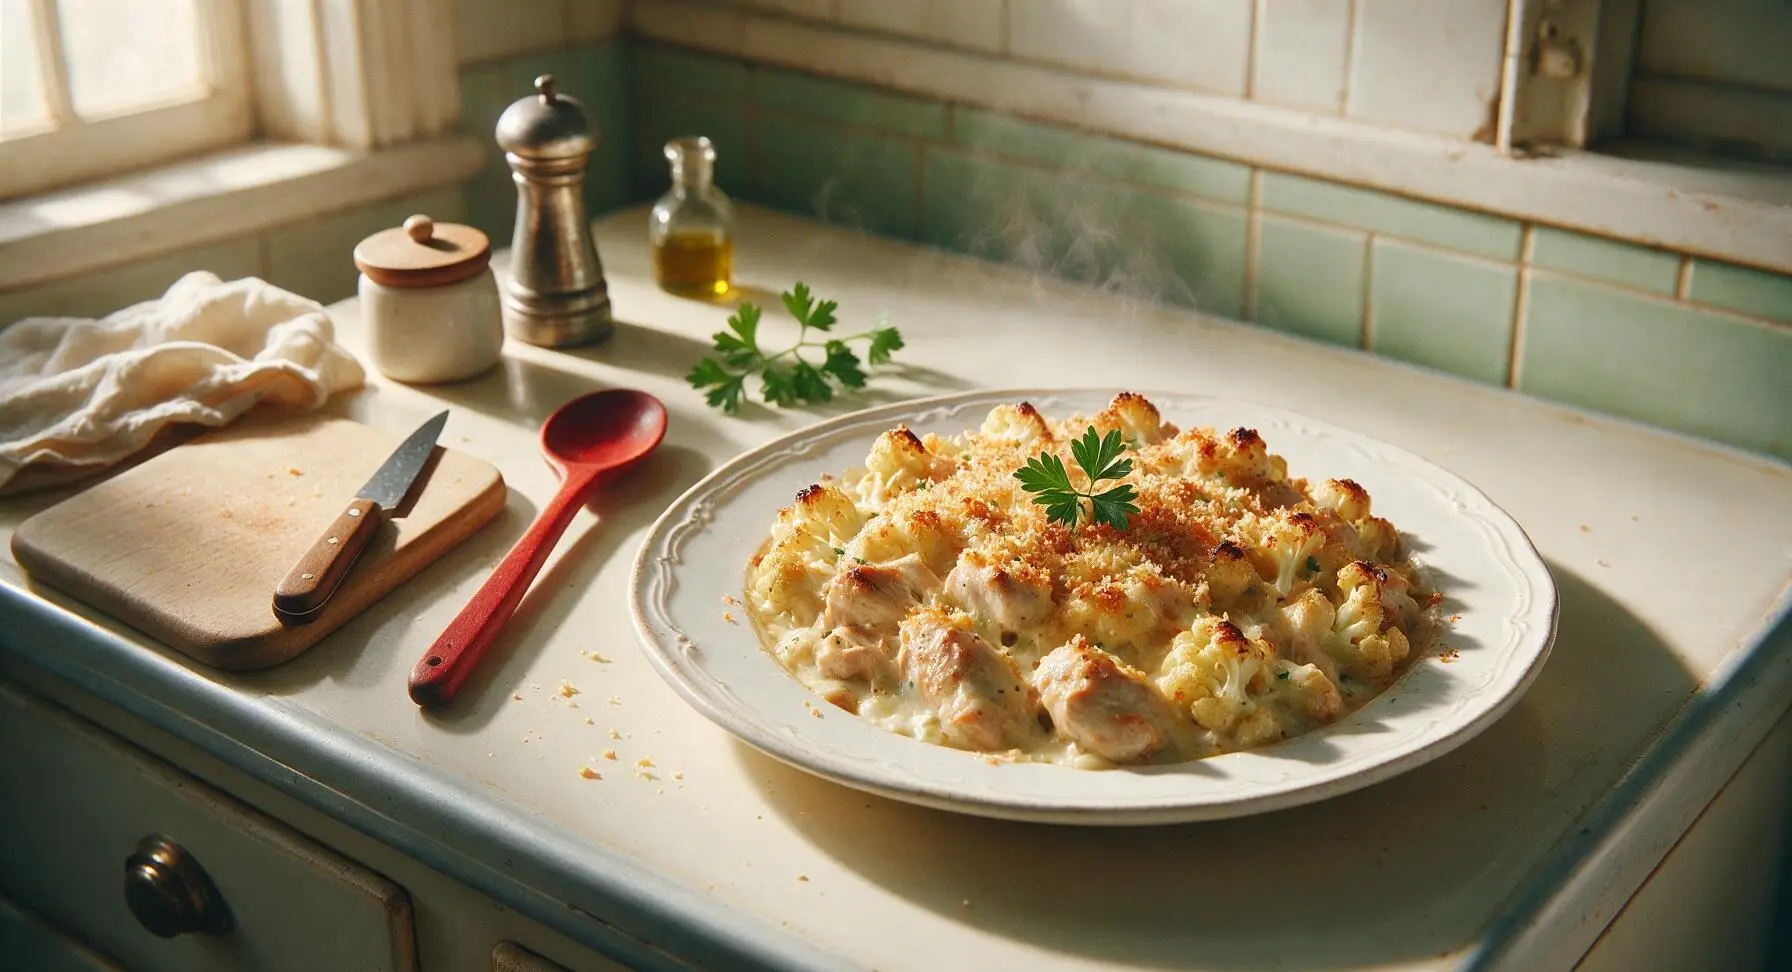
chicken and cauliflower bake

title 1
chicken and cauliflower bake
⏱️ cook time 35 minutes
🍽️ servings 4
⚡ Difficulty easy

intro

Creamy, cheesy tender chicken and roasted cauliflower baked to golden bubbly perfection, with a crisp panko top—cozy, satisfying, minimal cleanup for busy nights.

Ingredients
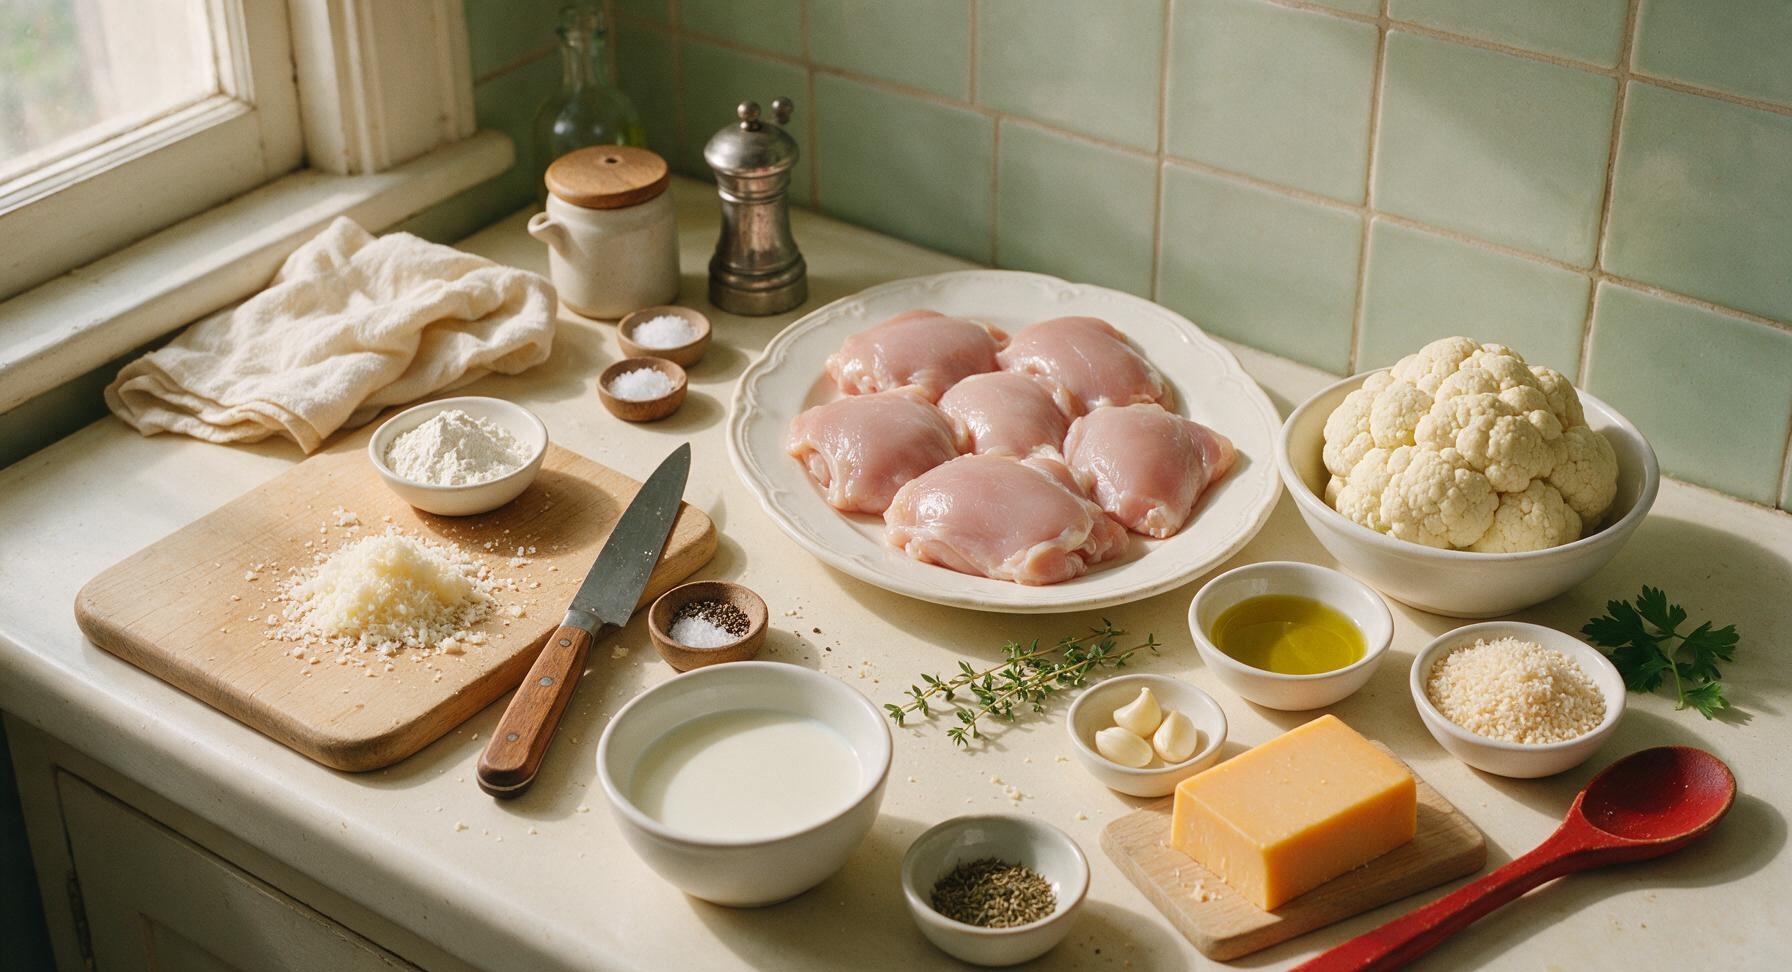
Boneless, skinless chicken thighs 500g
Medium cauliflower head 700g (1 medium head)
Extra-virgin olive oil 2 tablespoons
Garlic cloves 3 (minced)
All-purpose flour 2 tablespoons
Whole milk 180ml
Sharp cheddar cheese 120g (freshly grated)
Grated parmesan cheese 30g (divided)
Panko breadcrumbs 30g
Dried thyme 1 teaspoon
Fresh thyme sprigs 2 (for garnish)
Kosher salt 3/4 teaspoon (divided)
Freshly ground black pepper 1/2 teaspoon

Steps

1

Prep Cauliflower, Preheat Oven

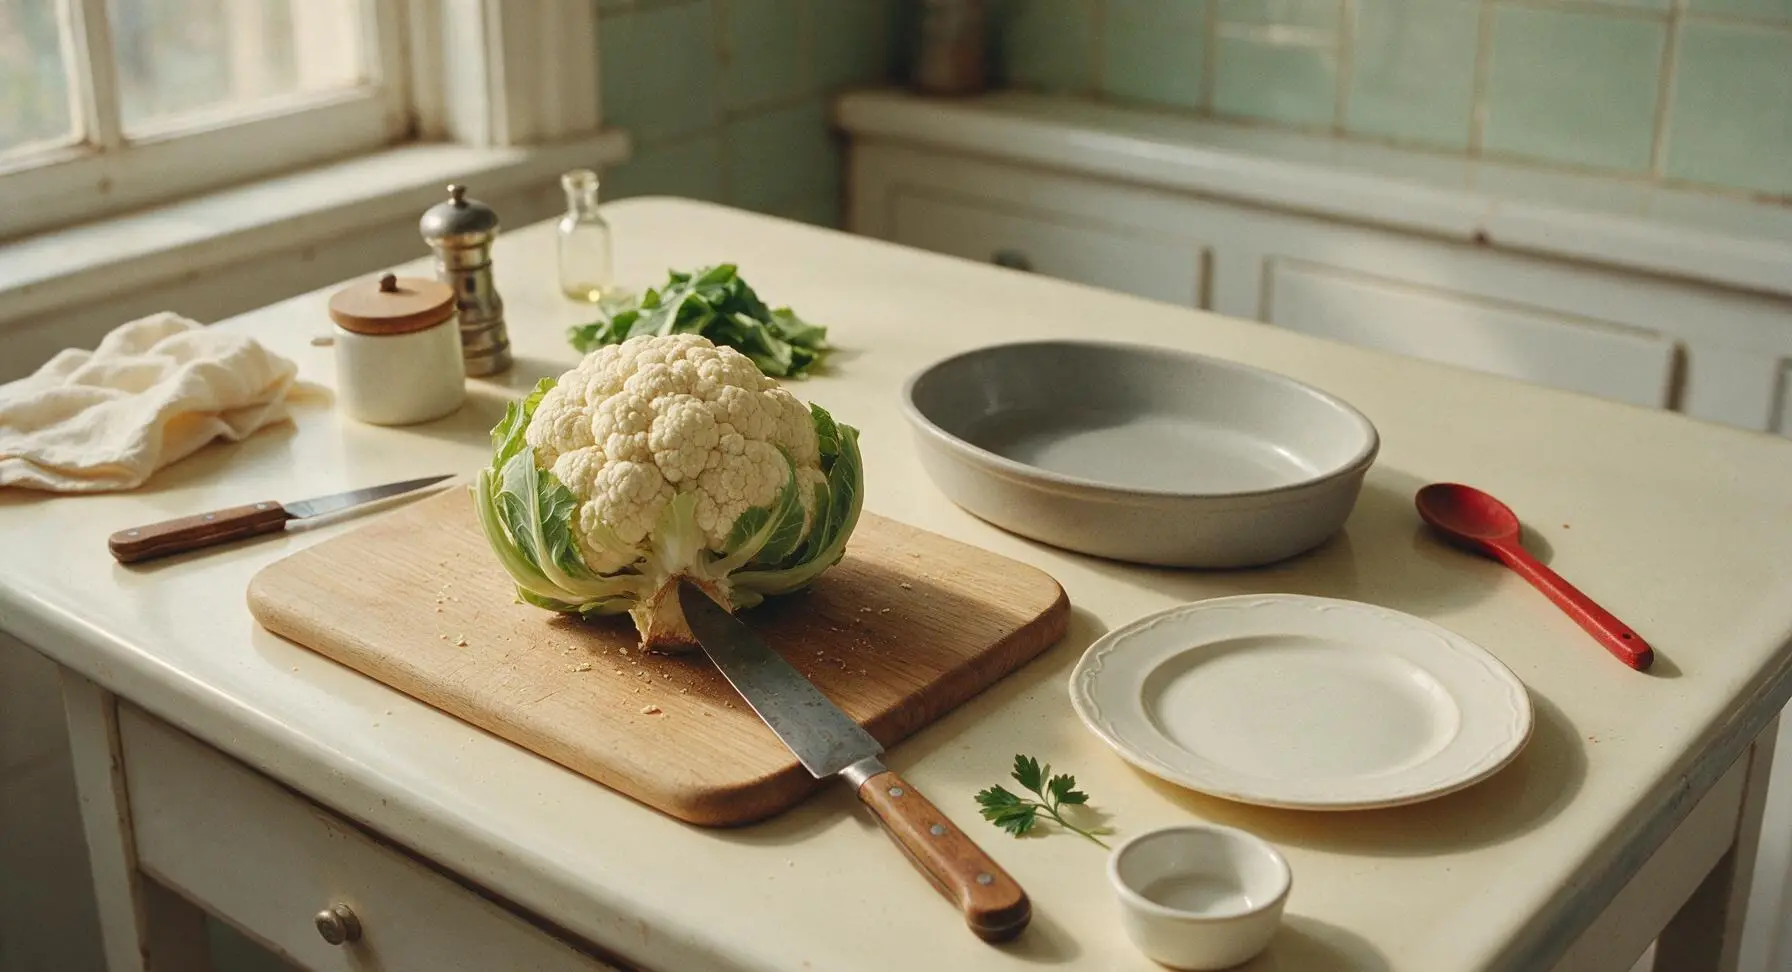
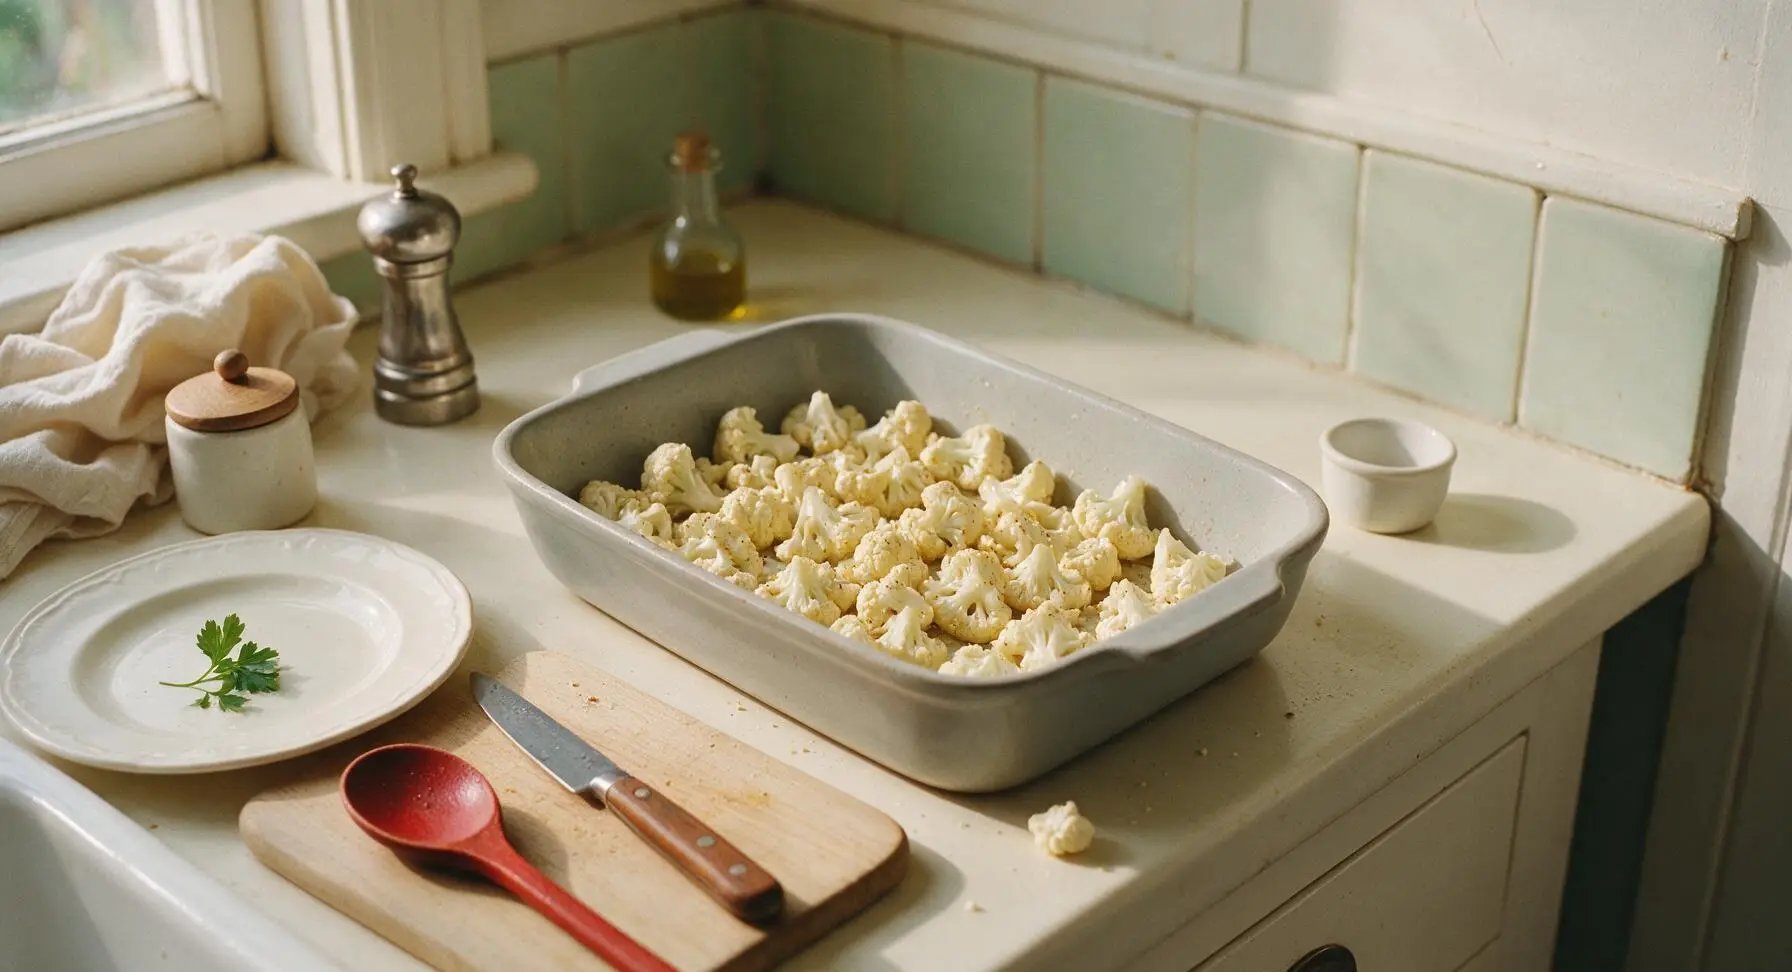
Adjust your oven rack to the middle position and preheat to 400°F (200°C). Place the whole cauliflower on the medium oak cutting board, use the 8-inch chef knife to trim away outer leaves and the tough woody core, then cut the head into uniform 3cm florets. Toss the cut florets with 1 tablespoon olive oil, 3/8 teaspoon kosher salt, and 1/4 teaspoon freshly ground black pepper, then spread them in a single even layer across the bottom of the matte light gray ceramic baking dish.
Step 1
step1:Prep Cauliflower, Preheat Oven
Step 1
step1:Prep Cauliflower, Preheat Oven
2

Roast Cauliflower Briefly

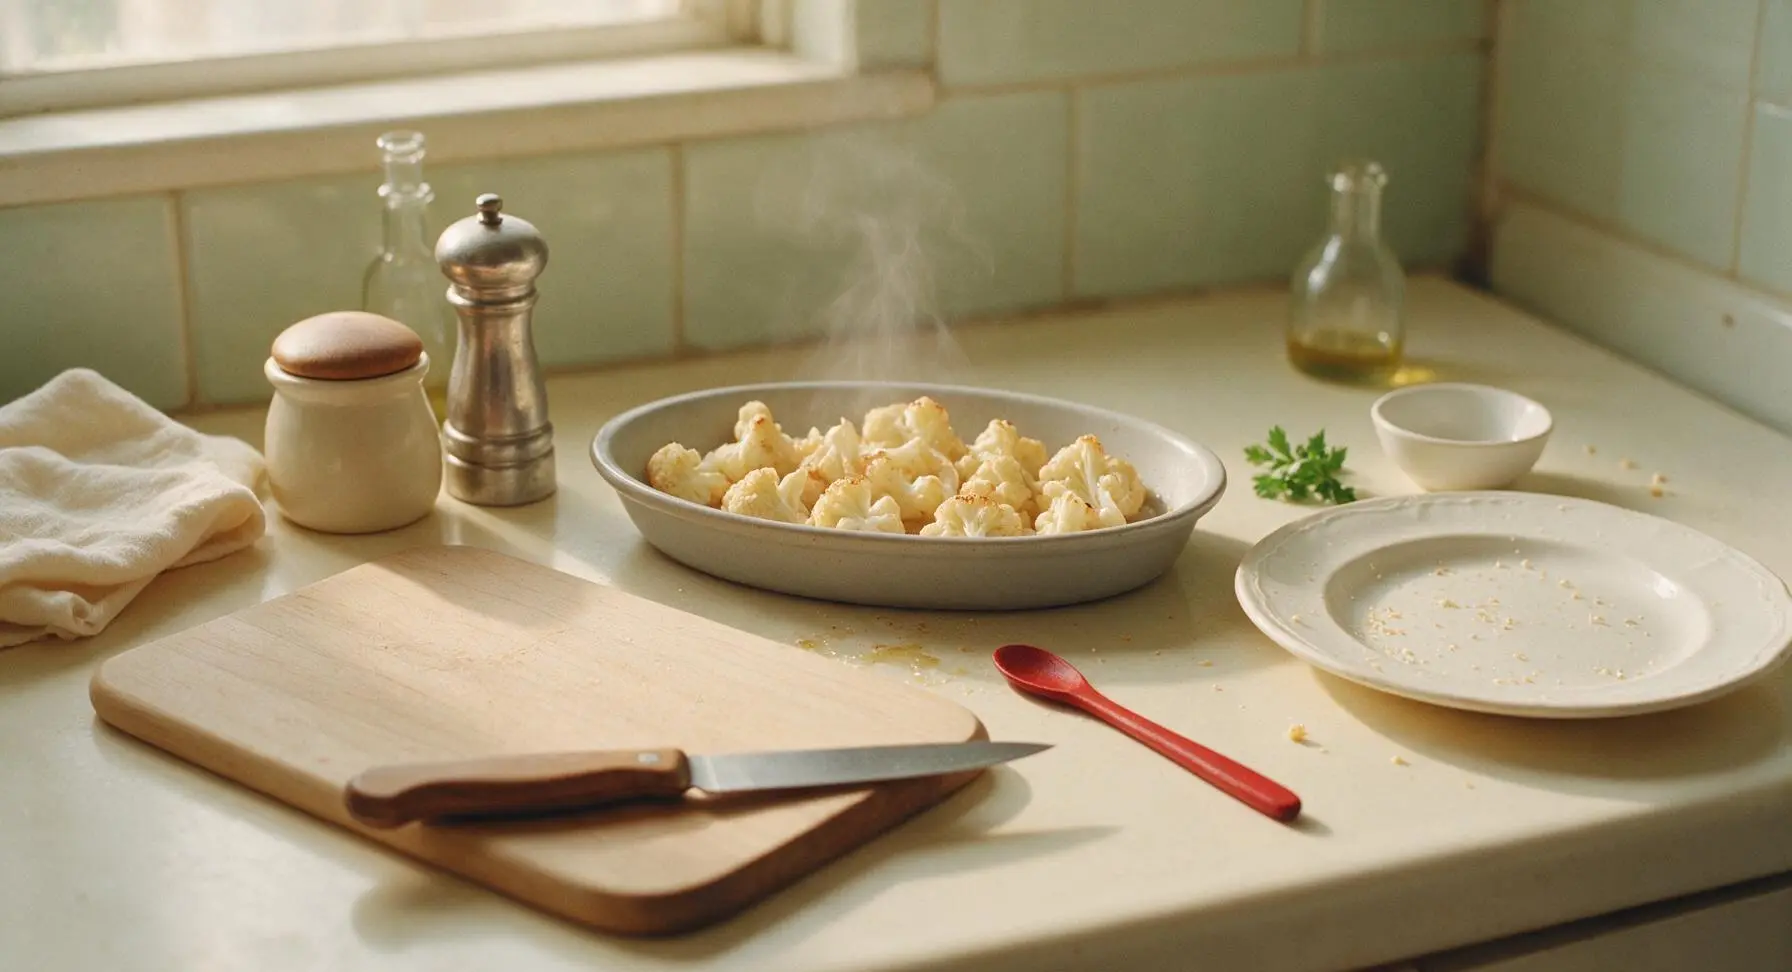
Place the baking dish with seasoned cauliflower on the middle oven rack, roast for 10 minutes until florets are just tender at the edges and lightly pale golden, but not fully soft (they will finish cooking with the chicken). Remove the dish from the oven and set it temporarily on the back edge of the oak counter; do not turn the oven off.
Step 2
step2:Roast Cauliflower Briefly
3

Sear Bite-Sized Chicken

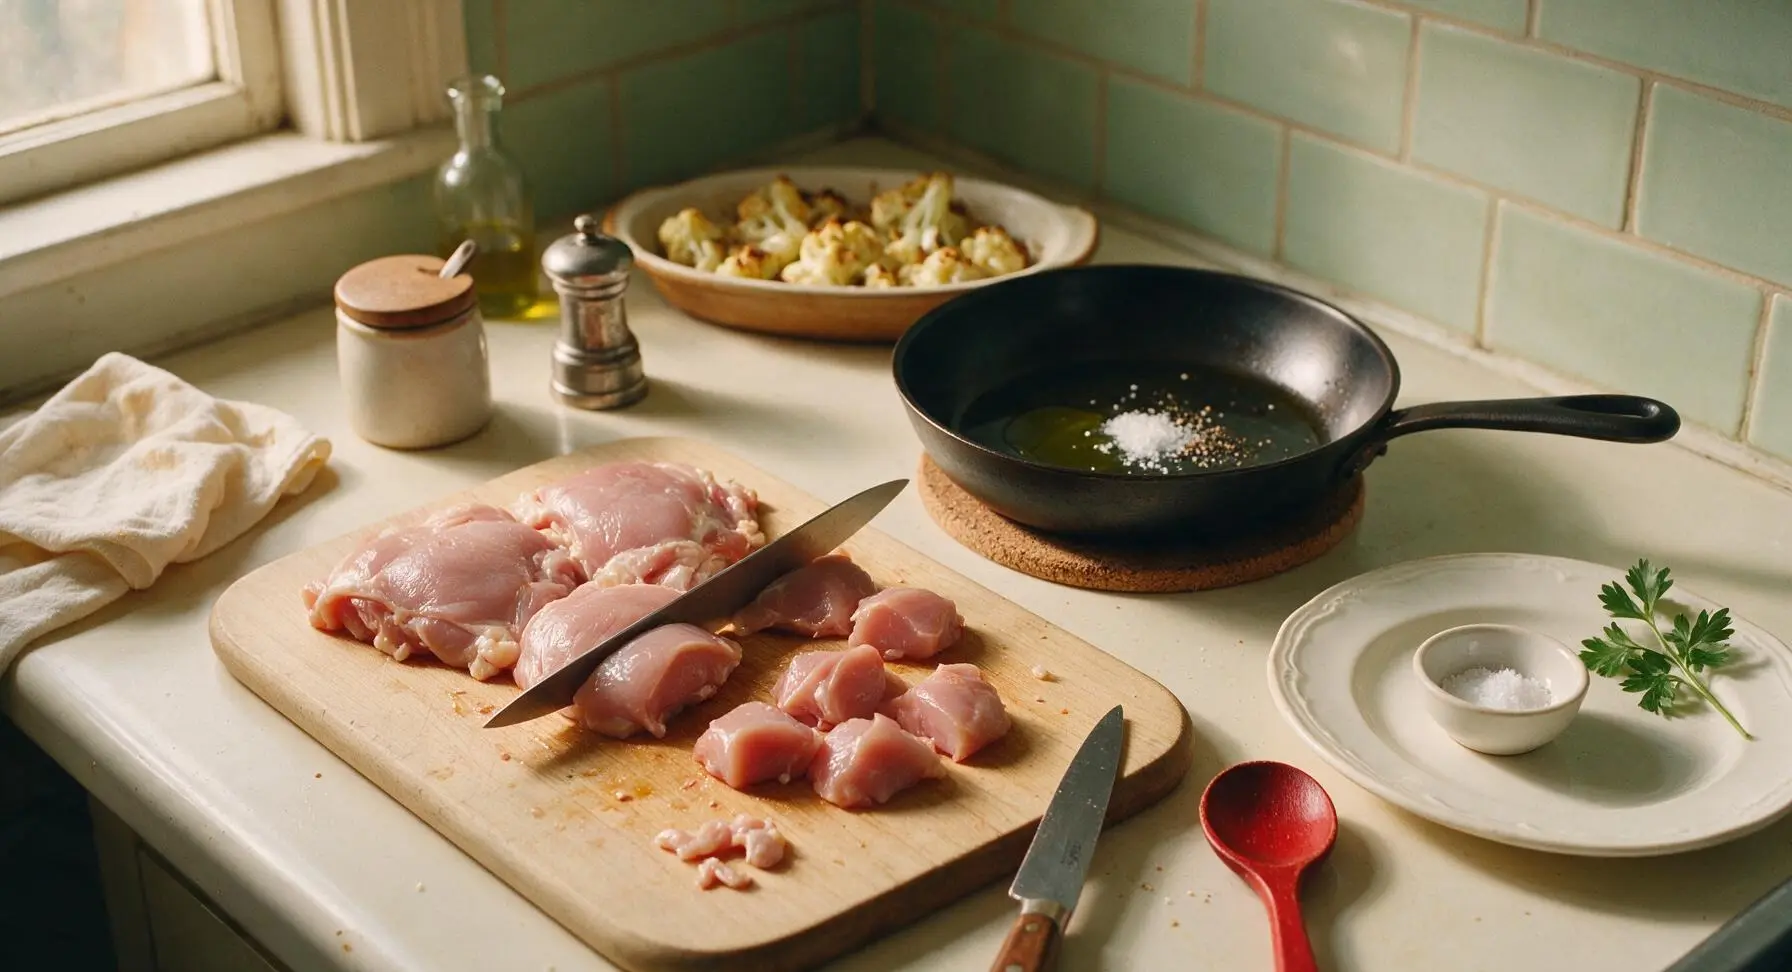
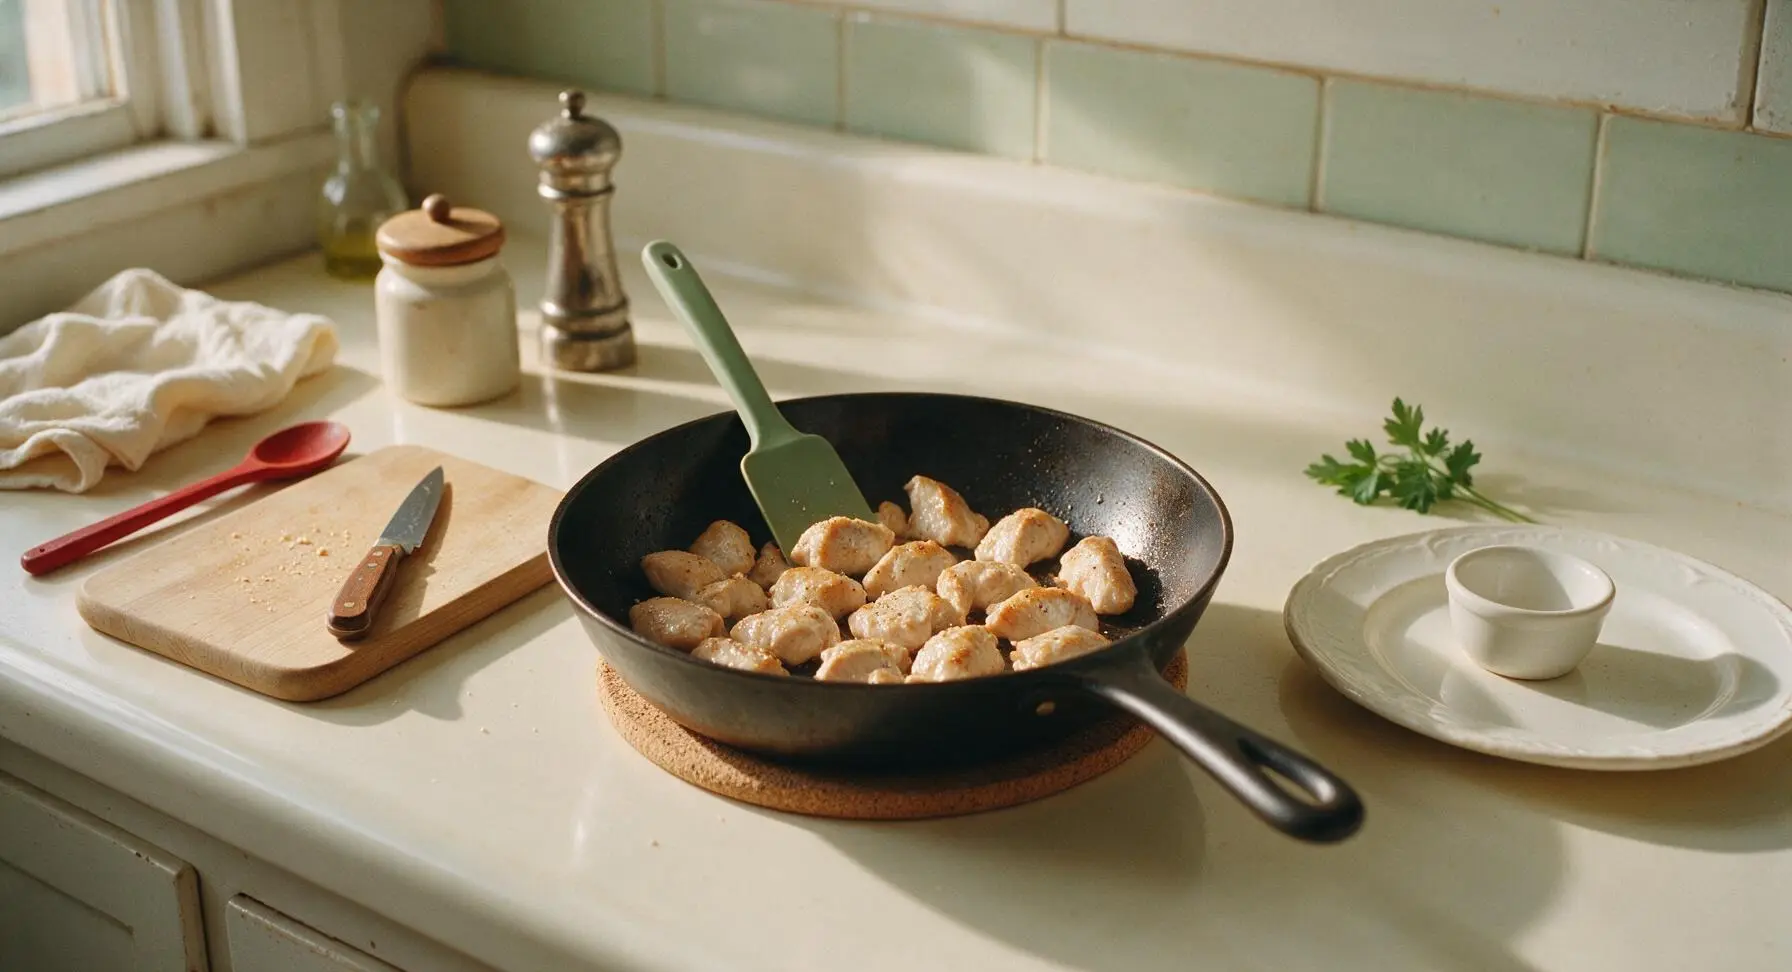
While the cauliflower roasts, place the boneless skinless chicken thighs on the oak cutting board and use the chef knife to cut them into uniform 2.5cm bite-sized pieces. Heat the remaining 1 tablespoon olive oil in the matte black carbon steel skillet over medium heat, add the cut chicken, season with the remaining 3/8 teaspoon kosher salt and 1/4 teaspoon black pepper, and sear for 4 minutes, turning occasionally, until pieces are lightly browned on all sides but not fully cooked through (they will finish baking in the oven). Transfer the hot skillet to the center cork trivet on the counter.
Step 3
step3:Sear Bite-Sized Chicken
Step 3
step3:Sear Bite-Sized Chicken
4

Make Creamy Cheese Sauce

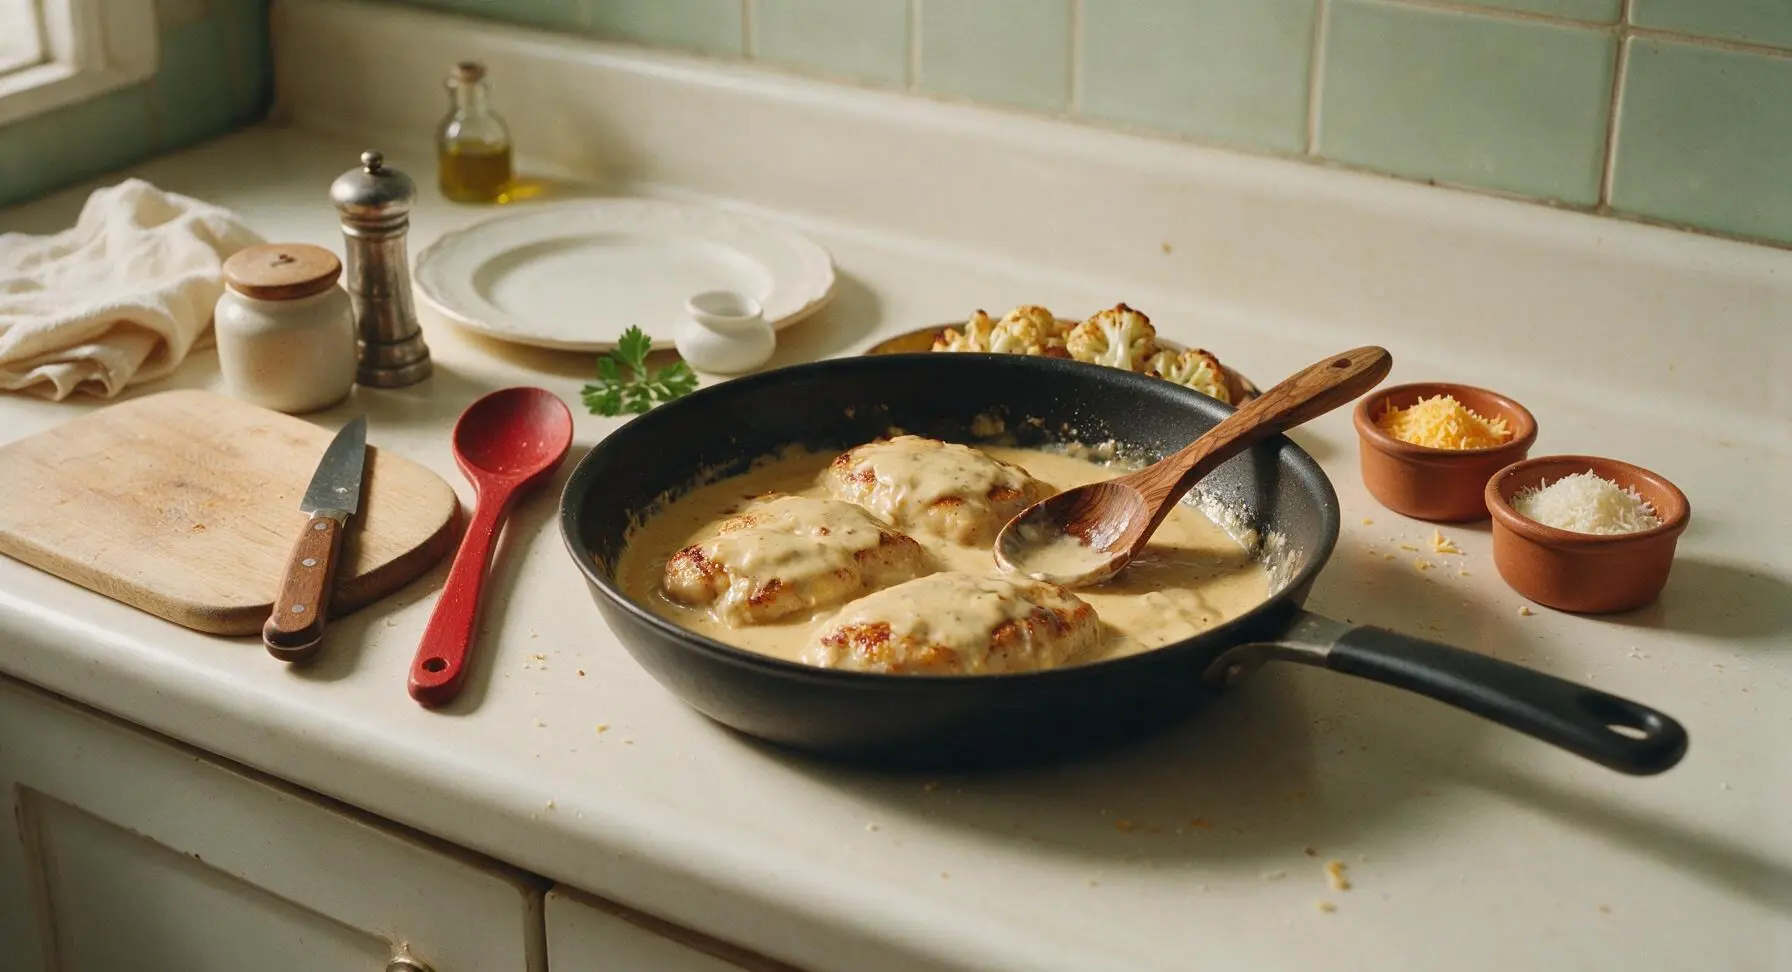
Lower the heat under the skillet to medium-low, add the minced garlic to the pan with the chicken, and sauté for 30 seconds until fragrant (take care not to burn the garlic, as it will turn bitter). Sprinkle the all-purpose flour over the chicken and garlic, stir constantly with the olive wood spoon for 1 minute to cook out the raw flour taste. Slowly pour in the whole milk while stirring continuously, add the dried thyme, and bring to a gentle simmer for 2 minutes until the sauce thickens enough to coat the back of the spoon. Remove the skillet from heat, stir in 90g of the grated sharp cheddar and 15g of the parmesan until fully melted and smooth.
Step 4
step4:Make Creamy Cheese Sauce
5

Combine and Bake Casserole

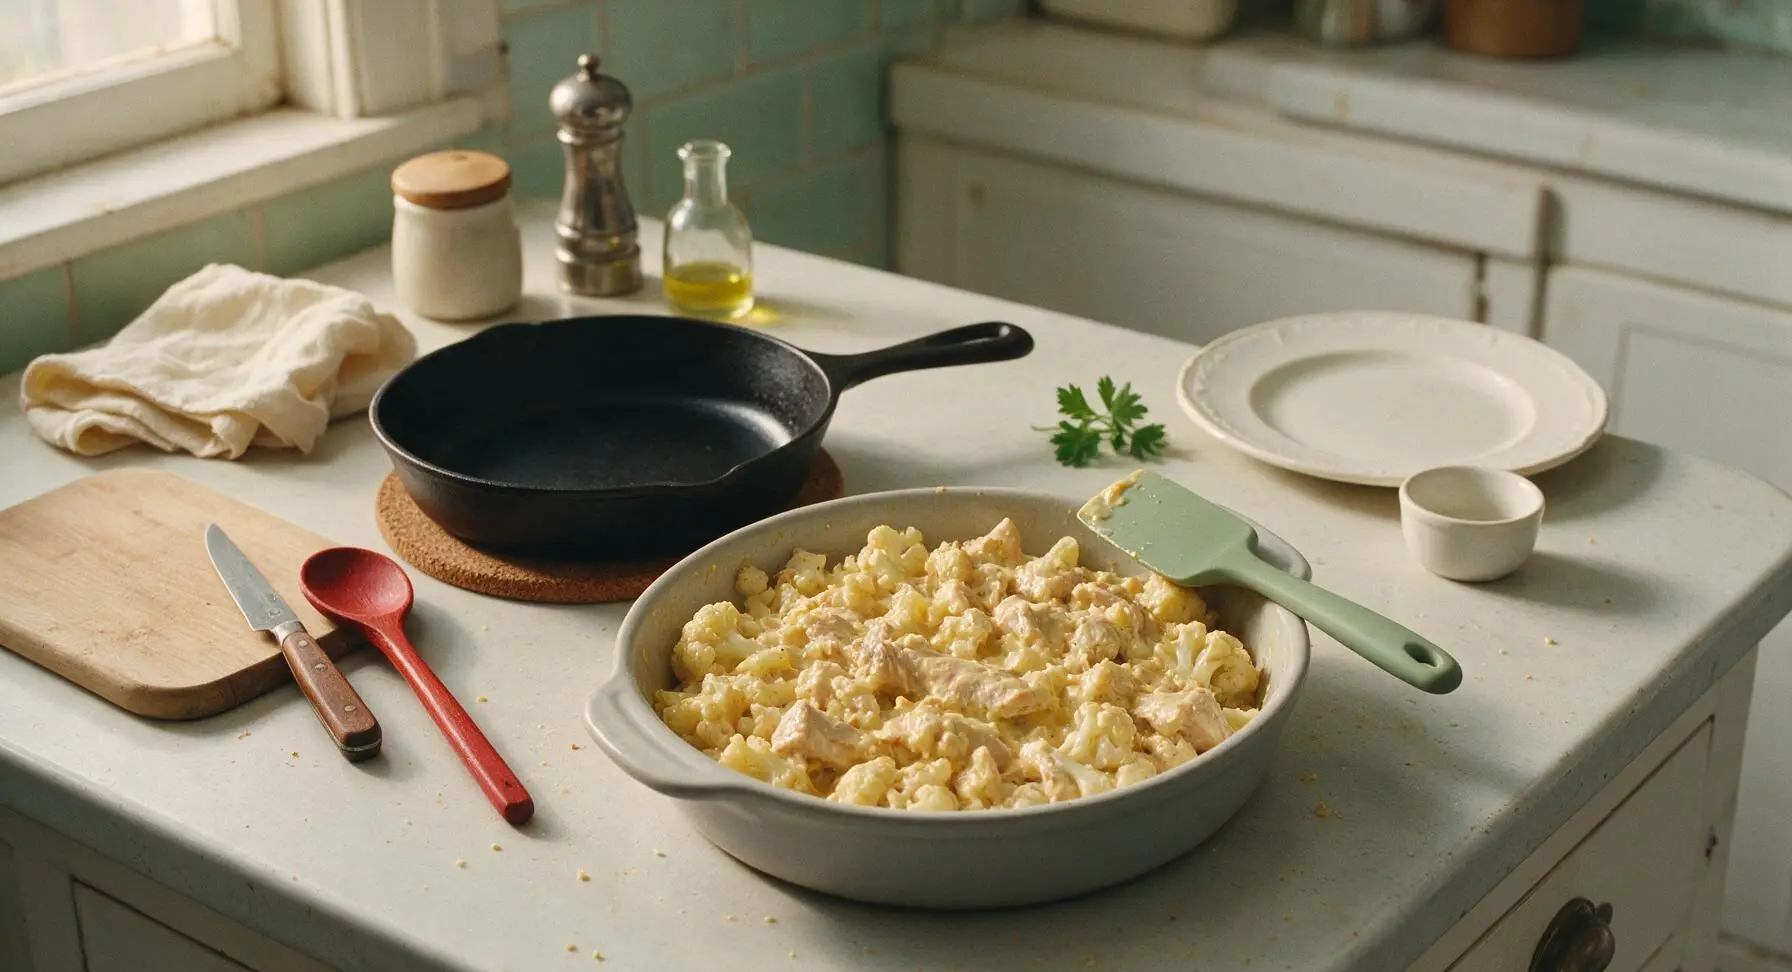
Pour the chicken and cheese sauce mixture evenly over the partially roasted cauliflower in the light gray ceramic baking dish, use the sage green silicone spatula to gently stir the mixture so every cauliflower floret is lightly coated in sauce. Spread the mixture into an even layer, return the baking dish to the middle oven rack, and bake uncovered for 20 minutes until the sauce is actively bubbling around the edges of the dish.
Step 5
step5:Combine and Bake Casserole
6

Add Crispy Panko Topping

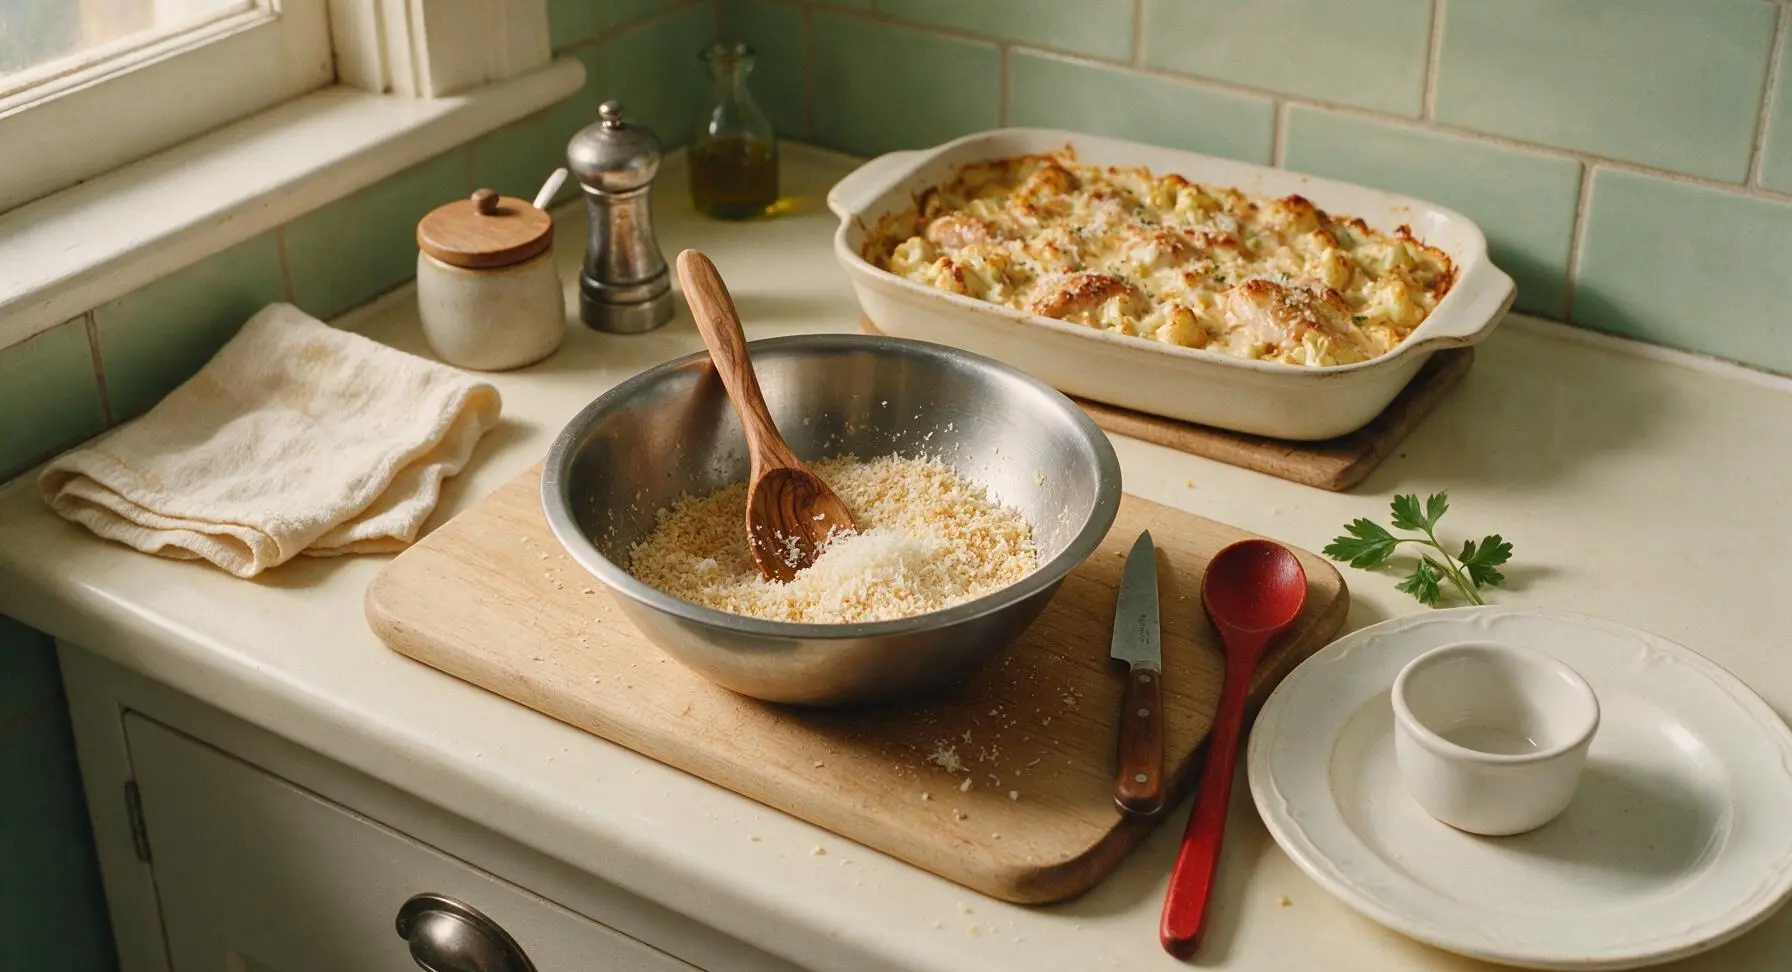
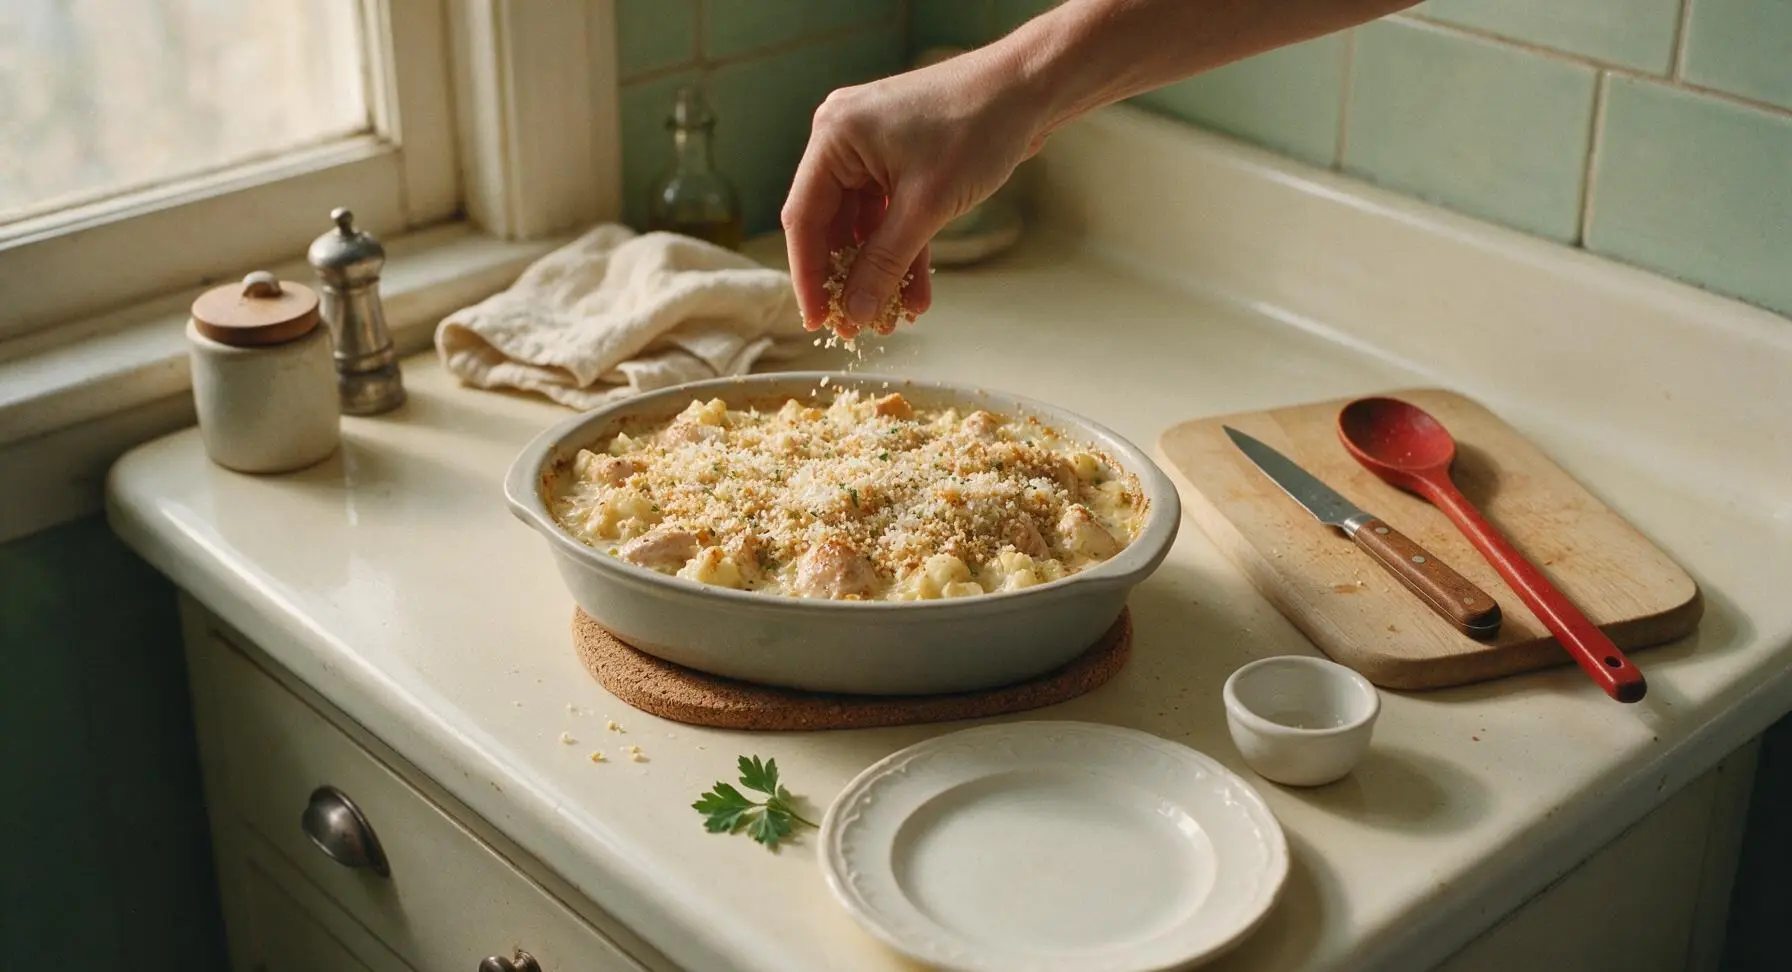
While the casserole bakes, mix the remaining 30g sharp cheddar, 15g parmesan, and panko breadcrumbs in the medium stainless steel mixing bowl until evenly combined. After the casserole has baked for 20 minutes, carefully pull the oven rack out slightly, sprinkle the panko-cheese mixture evenly over the entire top of the bake. Return the dish to the oven for 5 more minutes until the topping is deep golden and crisp.
Step 6
step6:Add Crispy Panko Topping
Step 6
step6:Add Crispy Panko Topping
7

Rest and Garnish Bake

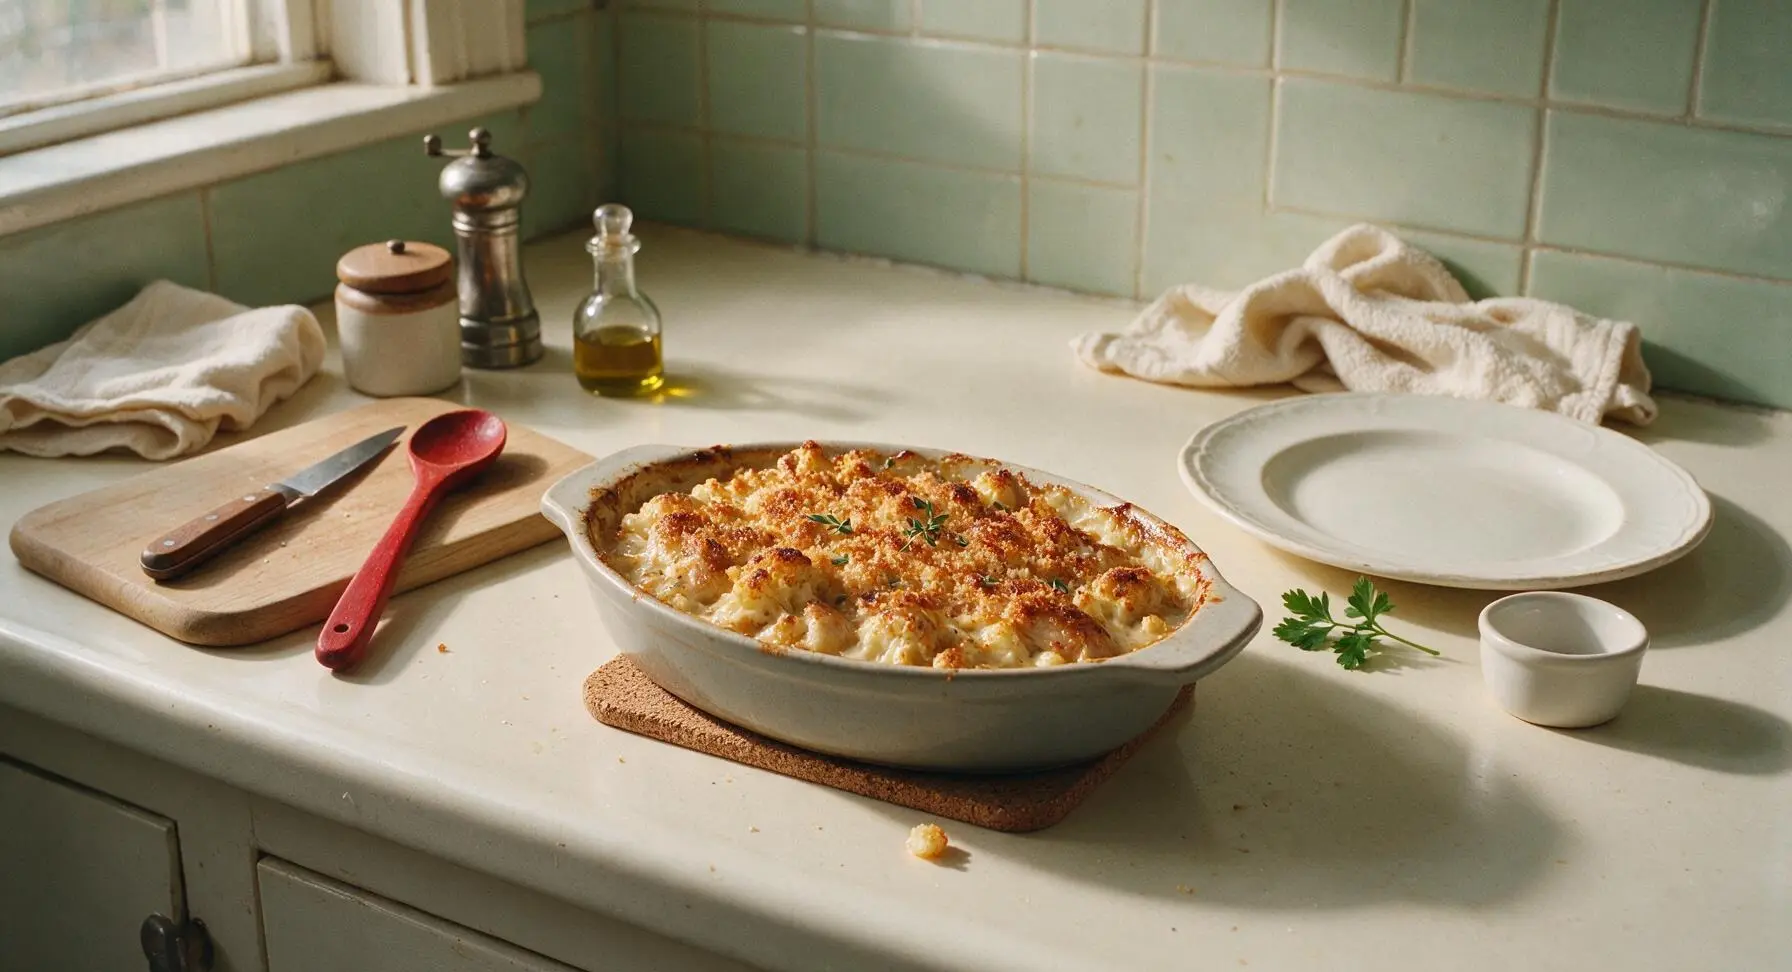
Once the topping is deep golden and crisp, remove the baking dish from the oven, transfer it to the cork trivet, and let it rest for 5 minutes on the counter to allow the sauce to set (this prevents runny servings). Sprinkle fresh thyme leaves over the top of the bake before serving.
Step 7
step7:Rest and Garnish Bake

Tips

1.Choose boneless skinless chicken thighs over chicken breast: Thighs have a slightly higher fat content that keeps them juicy and tender during baking, whereas lean breast meat can easily turn dry and rubbery even when coated in creamy sauce.
2.Cut cauliflower and chicken into uniformly sized pieces: This ensures every piece cooks at the same rate, so you won’t bite into undercooked large cauliflower florets or overcooked, tough tiny chicken bits.
3.Let the bake rest for a full 5 minutes after removing it from the oven: This rest time allows the cheese sauce to thicken and set, so it won’t run across the plate when served, and gives the panko topping time to crisp up further as it cools slightly.


✨ You May Also Like

Main Course
🍜 United Kingdom

A showstopping classic of tender seared beef, savory mushroom duxelles, and crisp prosciutto wrapped in flaky golden puff pastry, baked to juicy perfection.

⏱️ 2 hours 1Main Course ★ 4.7
Main Course
🍜 India

Tender charred marinated chicken simmered in a rich, spiced creamy tomato sauce, this iconic Anglo-Indian curry pairs perfectly with basmati rice or warm naan.

⏱️ 50 minuteMain Course ★ 4.6
Main Course
🍜 Thailand

Classic tangy, sweet, and savory Thai stir-fried rice noodles with shrimp, tofu, and crunchy garnishes, balancing all five core Thai flavor profiles.

⏱️ 30 minuteMain Course ★ 4.5
Main Course
🍜 United Kingdom

Crispy golden beer-battered cod and fluffy double-fried chips, served with tangy tartar sauce and malt vinegar: the timeless, beloved British pub comfort classic.

⏱️ 45 minuteMain Course ★ 4.7
Main Course
🍜 Mexico

Smoky, chile-marinated pork tacos with caramelized pineapple, fresh cilantro, and lime: a beloved classic Mexican street food perfect for casual summer gatherings.

⏱️ 1 hour 45Main Course ★ 4.8
Main Course
🍜 United States

Crunchy Fritos corn chips layered with savory beef chili and melted cheddar, topped with cool, zesty fixings for a beloved, cozy Tex-Mex comfort food.

⏱️ 35 minuteMain Course ★ 4.8

chicken and cauliflower bake:Frequently Asked Questions

1.Can I use chicken breasts instead of boneless, skinless chicken thighs for this bake? ▾
You absolutely can, though boneless skinless thighs stay juicier through baking thanks to their subtle marbling. If using breasts, cut them into uniform 1.5-inch chunks, consider a quick 15-minute brine in lightly salted water first, and pull the bake once chicken hits 165°F internally to avoid dry, tough bites.
2.Do I need to pre-cook the cauliflower before adding it to the bake? ▾
You don’t have to fully pre-cook it, but I recommend tossing cauliflower florets in oil and roasting them for 10 minutes at 400°F first. This removes excess moisture that would make your bake watery, and brings out a nutty, sweet roasted flavor that raw cauliflower can’t match. Skip this and you may end up with a soggy final dish.
3.What can I use instead of all-purpose flour to make this bake gluten-free? ▾
Swap all-purpose flour 1:1 for a certified gluten-free all-purpose baking blend that includes xanthan gum to keep the creamy sauce thick and smooth. For the crisp panko topping, use gluten-free panko, or swap for crushed rice cereal or finely ground almond meal for a grain-free option. Double-check all add-ins are labeled gluten-free to avoid cross-contamination.
4.Why does my bake turn out watery every time I make it? ▾
Watery bakes almost always trace back to excess moisture from the cauliflower. Be sure to cut florets into uniform sizes, don’t over-steam them if you pre-cook, and pat them dry with paper towels before mixing into the sauce. Also, leave the dish uncovered for the last 15 minutes of baking so excess steam can escape and the top crisps properly.
5.Can I assemble this bake ahead of time for busy weeknights? ▾
Absolutely! You can fully assemble the dish (hold off on adding the panko topping until right before baking) up to 24 hours in advance, cover it tightly, and store it in the fridge. When you’re ready to cook, add the panko, then tack on 5-7 minutes to the total bake time to account for the cold start, until bubbly and golden.
6.What kind of cheese works best for that bubbly, golden melted top? ▾
I love a mix of shredded sharp cheddar and Gruyère for the best balance of tangy, nutty flavor and perfect, smooth melt. Skip pre-shredded cheese sold with anti-caking coatings, as those won’t melt as evenly into the creamy sauce. Freshly shredded cheese creates that ideal stretchy, bubbly golden top everyone loves.
7.How do I get the panko topping extra crisp instead of soggy? ▾
Toss your panko crumbs with a tablespoon of melted extra-virgin olive oil or melted butter before sprinkling them over the top of the bake, and only add the topping during the last 12-15 minutes of cooking. Adding it too early means crumbs absorb sauce moisture and turn soft, instead of toasting up to that perfect crunchy golden crust.
8.Can I freeze this Chicken and Cauliflower Bake for later meals? ▾
You can freeze either the fully assembled unbaked bake, or leftover baked portions, for up to 3 months. Wrap it tightly in a double layer of plastic wrap and foil to prevent freezer burn. Thaw it in the fridge overnight before baking, and add 10-12 minutes to cook time until the center is hot and bubbly.
9.What oven temperature should I use, and how long does this bake take to cook? ▾
Bake at 400°F (200°C) for a total of 30-35 minutes. Bake covered for the first 20 minutes to let the chicken cook through and the sauce thicken, then uncover, add the panko topping, and bake for the final 10-15 minutes until the top is golden, sauce bubbles around the edges, and chicken hits 165°F internally.
10.Can I add other vegetables to this bake to bulk it up? ▾
Absolutely! This recipe is super flexible for mix-ins. Try adding chopped roasted broccoli, diced bell pepper, sautéed spinach (squeezed very dry to avoid sogginess), or even cubed roasted sweet potato. Just keep total added veggies to around 1 cup so you don’t throw off the sauce ratio, which can lead to a dry bake.
11.My chicken always comes out tough in bakes like this—what am I doing wrong? ▾
Tough chicken usually comes from either overcooking, or cutting pieces too small so they dry out fast. Cut chicken into uniform 1.5-inch chunks so they cook at the same rate, and use an instant-read thermometer to pull the bake as soon as chicken hits 165°F. Thighs are far more forgiving here than breasts, thanks to their fat content.
12.What can I use instead of heavy cream for the sauce if I want a lighter option? ▾
You can swap heavy cream for half-and-half, or even evaporated whole milk for a lighter texture that still stays rich. If you’re dairy-free, use unsweetened plain oat milk (it has the closest creamy texture to dairy) mixed with a small cornstarch slurry to help it thicken, since it won’t reduce the same way heavy cream does during baking.
13.How long do leftovers stay fresh, and what’s the best way to reheat them? ▾
Leftovers will stay fresh in an airtight container in the fridge for 3-4 days. For the best texture, reheat portions in a 350°F oven for 10-12 minutes, covered with foil, until heated through—this helps keep the panko topping crisp. Microwaving works in a pinch, but it will make the panko soft and the sauce slightly separated.
14.Do I need any special baking dish to make this recipe? ▾
You don’t need any fancy equipment! A standard 9x13 inch glass or ceramic baking dish works perfectly. Just avoid using a very shallow baking sheet, as the creamy sauce will bubble over the edges during cooking. A 12-inch cast iron skillet works great too—you can sauté garlic and make the roux right in it to cut down on dishes.
15.Can I make this recipe without flour for a lower-carb version? ▾
You can skip the all-purpose flour entirely if you want a lower-carb bake. Instead, make your creamy base with 4 oz of softened cream cheese mixed into warm chicken broth, which creates a thick, rich sauce without flour. You can also replace the panko topping with a mix of grated parmesan and crushed pork rinds for a crispy, ultra low-carb top.
16.How do I cut the cauliflower so all the pieces cook evenly? ▾
Start by removing all outer green leaves and the tough woody core at the base of the cauliflower head, then break or cut the head into 1 to 1.5-inch florets. Try to keep all florets roughly the same size so smaller pieces don’t burn while larger pieces stay crunchy and undercooked. Pat cut florets completely dry before tossing with oil.
17.What easy add-ins can boost the sauce flavor without extra work? ▾
Stir a teaspoon of Dijon mustard, a pinch of smoked paprika, a half-teaspoon of dried thyme, or a quarter cup of grated parmesan into the roux-based sauce before mixing in chicken and cauliflower. Those small additions add huge depth of flavor without extra prep time, and complement both the chicken and nutty roasted cauliflower perfectly.
18.My garlic always burns when I make baked dishes like this—how do I prevent that? ▾
Garlic burns very quickly, so never add it to a screaming hot pan for your roux base. Cook garlic in warm olive oil over medium-low heat for only 30-60 seconds, until it smells fragrant and just starts to turn pale golden, before whisking in the flour. Burnt garlic adds a bitter, unpleasant taste that throws off the whole dish.

Comments (12)

2 days ago

Made this for last night’s family dinner and everyone went back for seconds! I added a little extra cheddar on top because we’re cheese obsessed in this house, and it was chef’s kiss. 35 minute cook time is no joke, perfect for when I get home late from work and don’t want to spend hours in the kitchen.

5 days ago

Super easy to throw together between study sessions! I used frozen cauliflower florets because that’s all I had in my freezer, and it still turned out great. Way cheaper and healthier than ordering takeout again, will definitely be making this on repeat.

1 week ago

Tossed in a pinch of red pepper flakes and a dash of my go-to hot sauce before baking, and wow, that kicked it up perfectly! The chicken stays so juicy, I was worried it would dry out in the oven but it didn’t at all. Such a great base recipe to tweak to your own taste.

yesterday

OMG, my kids who refuse to eat any vegetable actually ate every last bite of their cauliflower tonight! I didn’t even have to bargain with them over dessert. This is a total game changer for our weeknight meal rotation. How did I not think to bake these two together before?

2 hours ago

That makes my day to hear! It’s such a win when picky eaters get on board with veggie-forward meals, right? So stoked this is working for your family dinners.

1 week ago

Took this to my office potluck last week and people were practically chasing me down for the recipe! It holds up really well in a casserole dish, doesn’t get soggy even after sitting out for a couple hours. Only regret is I didn’t make a double batch — it was gone in 10 minutes flat.

3 days ago

Same! I brought mine to a neighborhood block party and it was a total hit. Double batch is non-negotiable for groups, I learned that the hard way too lol

3 days ago

This is perfect for my weekly meal prep! High protein, low carb, and it reheats like a dream in the microwave. No sad soggy leftovers here, which is my biggest pet peeve with baked casseroles. Will be a Sunday prep staple for sure.

2 days ago

So glad the leftovers hold up for you! I intentionally tested this recipe for meal prep friendliness because I know so many of us are prepping lunches for the week, so that means a lot.

2 weeks ago

Nice simple recipe, even my old arthritic hands didn’t have trouble with the prep! I used bone-in chicken thighs instead of breast because that’s what I prefer, and it came out so flavorful. My grandson said it tastes just like the casseroles I used to make when he was little.

1 week ago

The bone-in thigh swap is genius! I did that too last night and the flavor was so much deeper, highly recommend that tweak to anyone reading.

2 hours ago

Full transparency: I thought I hated cauliflower until I made this. Roasting it in the oven with the chicken and seasoning makes it taste so nutty and good, not mushy and bland like the steamed cauliflower I grew up being forced to eat. Who knew?!

30 minutes ago

Welcome to the roasted cauliflower fan club! Steaming really does it a disservice — high heat baking brings out all that natural caramelized sweetness that makes it so tasty. So happy you gave it a shot!

3 days ago

SO good! I made this on Sunday and portioned it out for lunches all week, but my husband ate half of it before Monday even rolled around. Guess I need to make two pans next time lmao. The seasoning is perfect, not too overpowering so even my toddler will eat it without complaint.

2 days ago

LMAO same, my partner did the exact same thing! I was like “wait those are my work lunches!!” Men, honestly 😂

1 day ago

Oh no, the husband lunch heist is real! I’ve started hiding my meal prep portions on the top shelf behind the frozen veggies just to keep them safe, highly recommend the strategy 😂 So glad the whole family loves it!

yesterday

So happy this is naturally gluten free! I didn’t have to swap out any weird, expensive specialty ingredients to make it work for my celiac-friendly diet, which is such a relief. That creamy sauce? I could legit drink it, no joke. How do you get it so smooth without any weird thickeners?

2 hours ago

I was wondering the same thing! The sauce is so silky even without flour or cornstarch, I was shocked. I think it’s just the melted cheese and a little bit of the chicken drippings mixing together, right?

1 hour ago

You nailed it, Fran! The sauce is just a mix of melted cheese, chicken juices from baking, and a touch of heavy cream — no weird thickeners needed, it comes together all on its own as it bakes. So glad it works for your gluten free diet, Gabby!

30 minutes ago

This was my first time ever making a baked casserole all by myself! It turned out pretty good, but my cauliflower was a little crispier and tougher than I thought it would be. Did I cut the florets too big? I still ate the whole pan though, the flavor was 10/10.

5 minutes ago

Oh honey, that’s an easy fix! Next time cut your florets a little smaller, or toss them with a tiny bit of oil before putting them in the pan so they cook evenly. You’re doing great for a new cook!

just now

Maggie’s advice is spot on! If you like softer cauliflower, you can also pop the florets in the microwave for 2 minutes before adding them to the baking dish to give them a head start. So proud of you for making your first casserole — that’s such a fun milestone!

5 minutes ago

Wow, this is so dang cheap to make! I grabbed boneless chicken thighs on manager’s special, a whole head of cauliflower for $1.99, and a bag of shredded cheddar from the discount rack, and the whole pan cost me under $10 to throw together. Feeds me for 4 whole days, that’s way better than dropping $12 a day on fast food runs for lunch.

2 minutes ago

Right?! I did the math and it’s like $2 per serving, it’s insane. I stock up on frozen cauliflower when it’s BOGO at the grocery store to make it even cheaper.

just now

Love that budget hack with the frozen cauliflower, that’s genius! This recipe was designed to be accessible for folks on tight budgets, so it makes me so happy to see people stretching their grocery dollars with it. Great call grabbing sale chicken thighs too, they have so much flavor!



