
chicken and gravy
intro
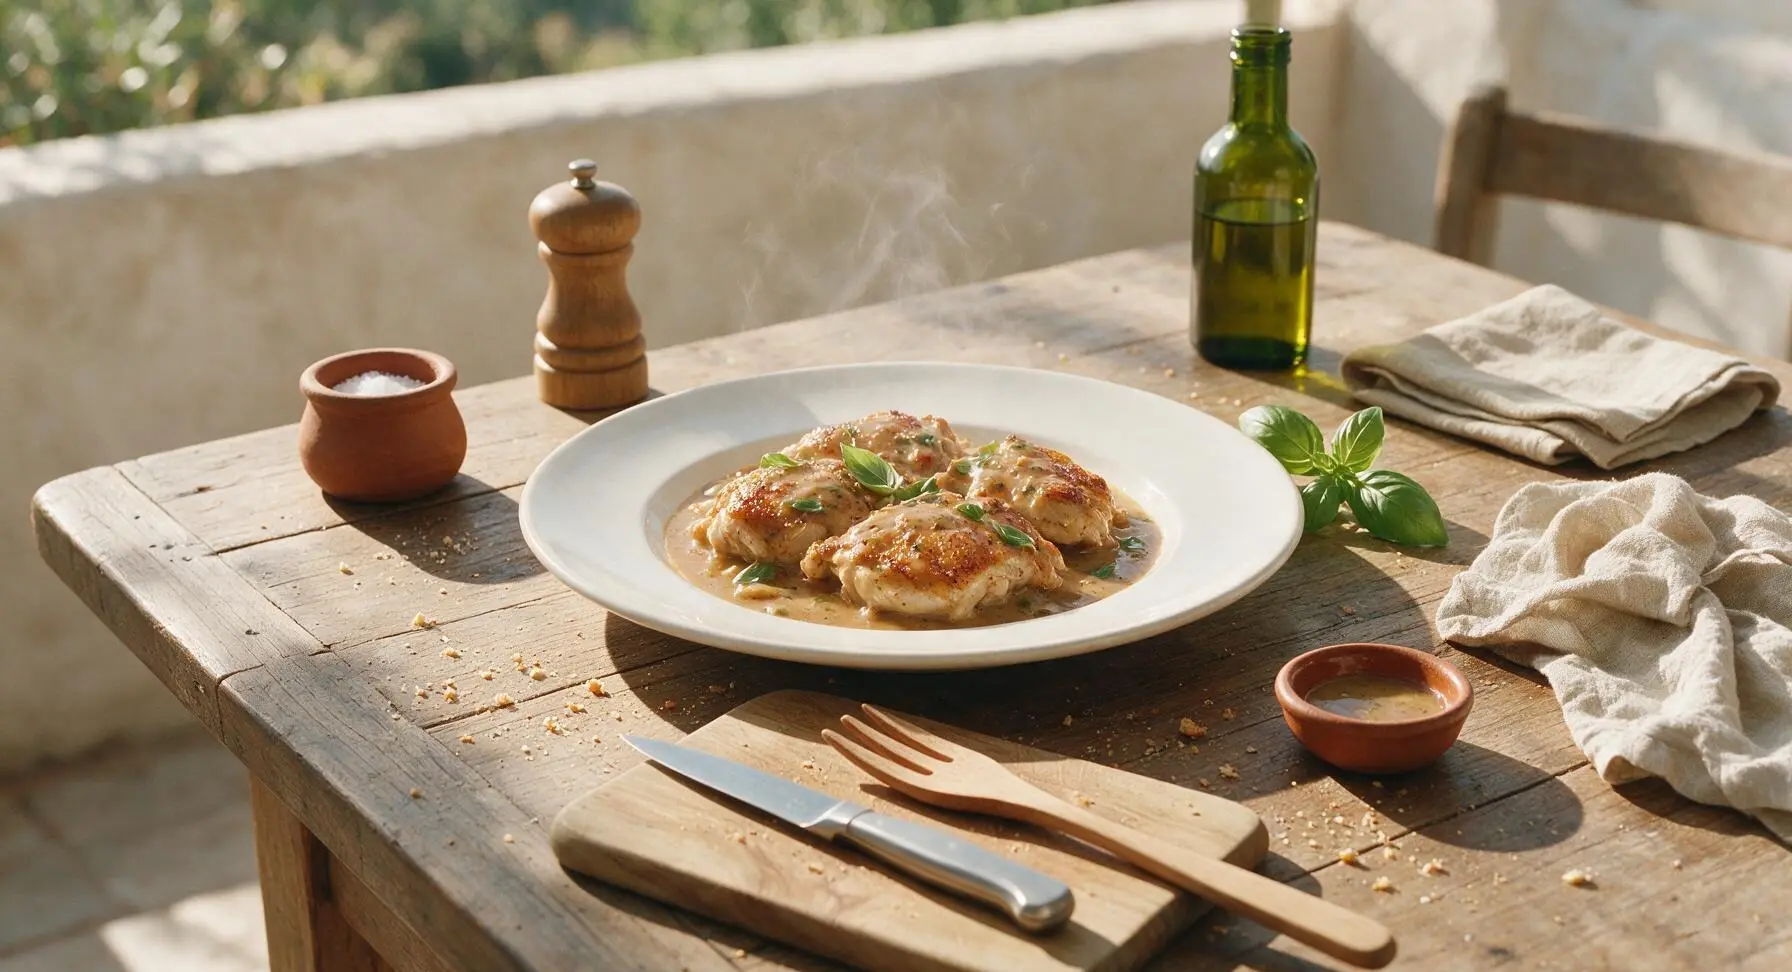
Juicy, crispy-skinned pan-seared chicken smothered in rich, savory scratch-made pan gravy—simple, cozy one-pan comfort food perfect for gathering around the family table.
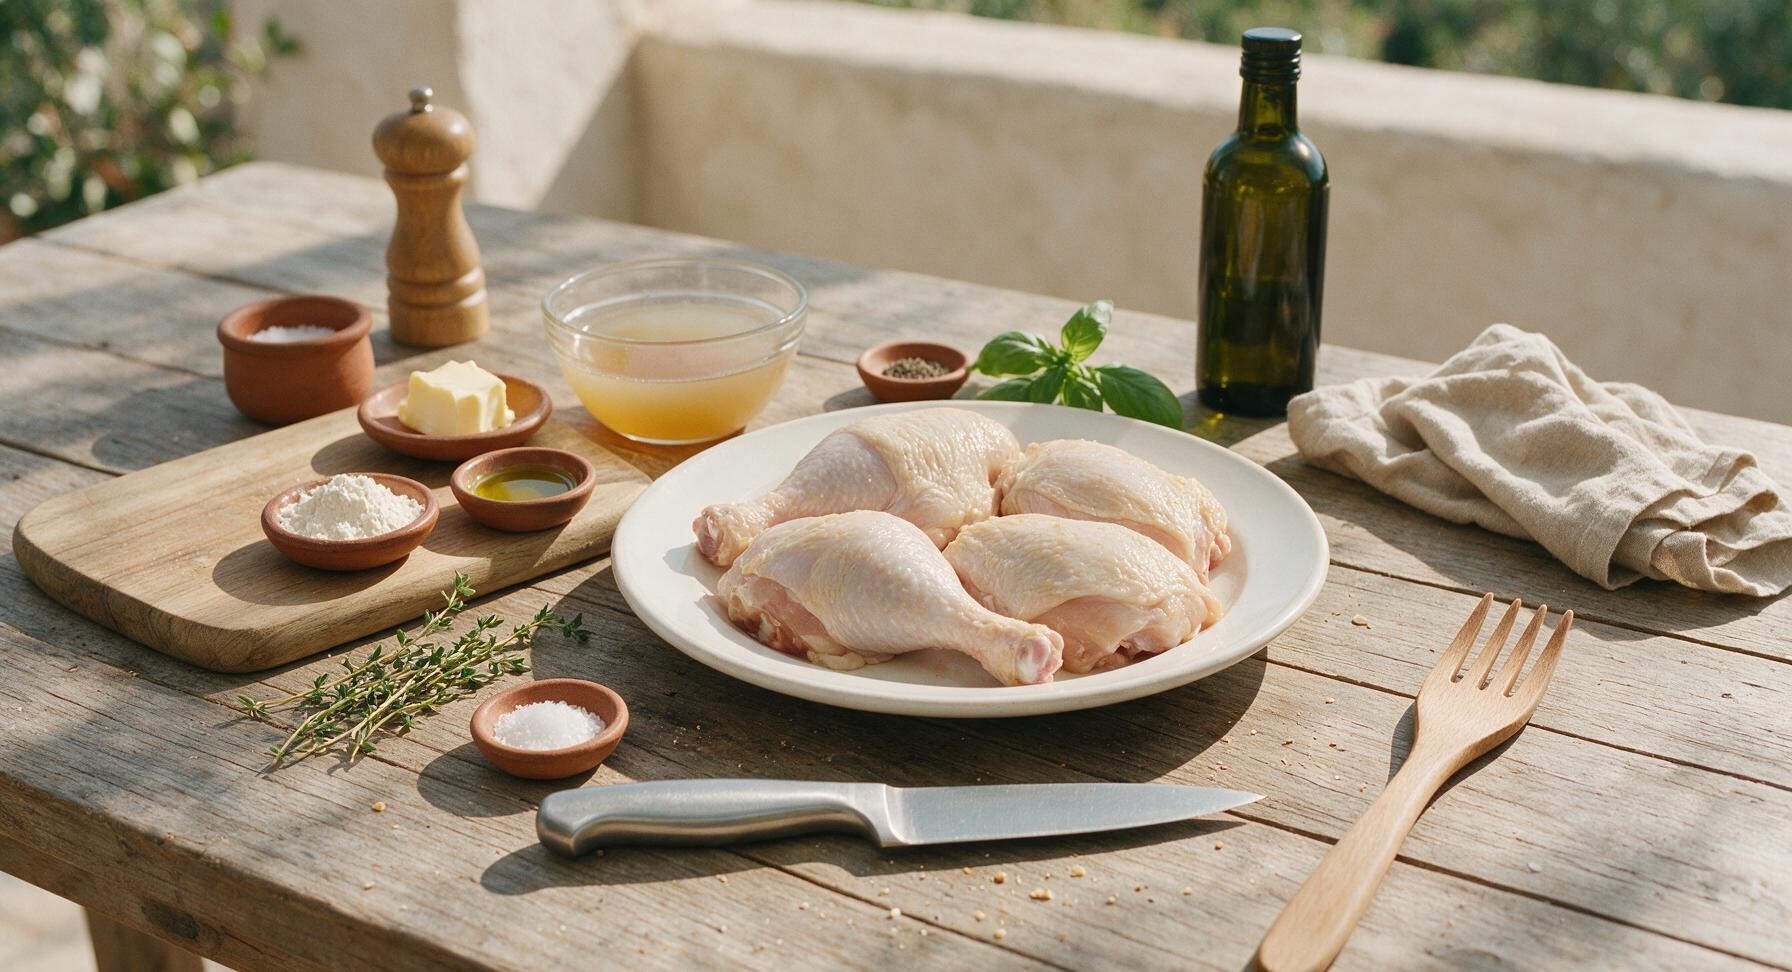
Ingredients
Steps
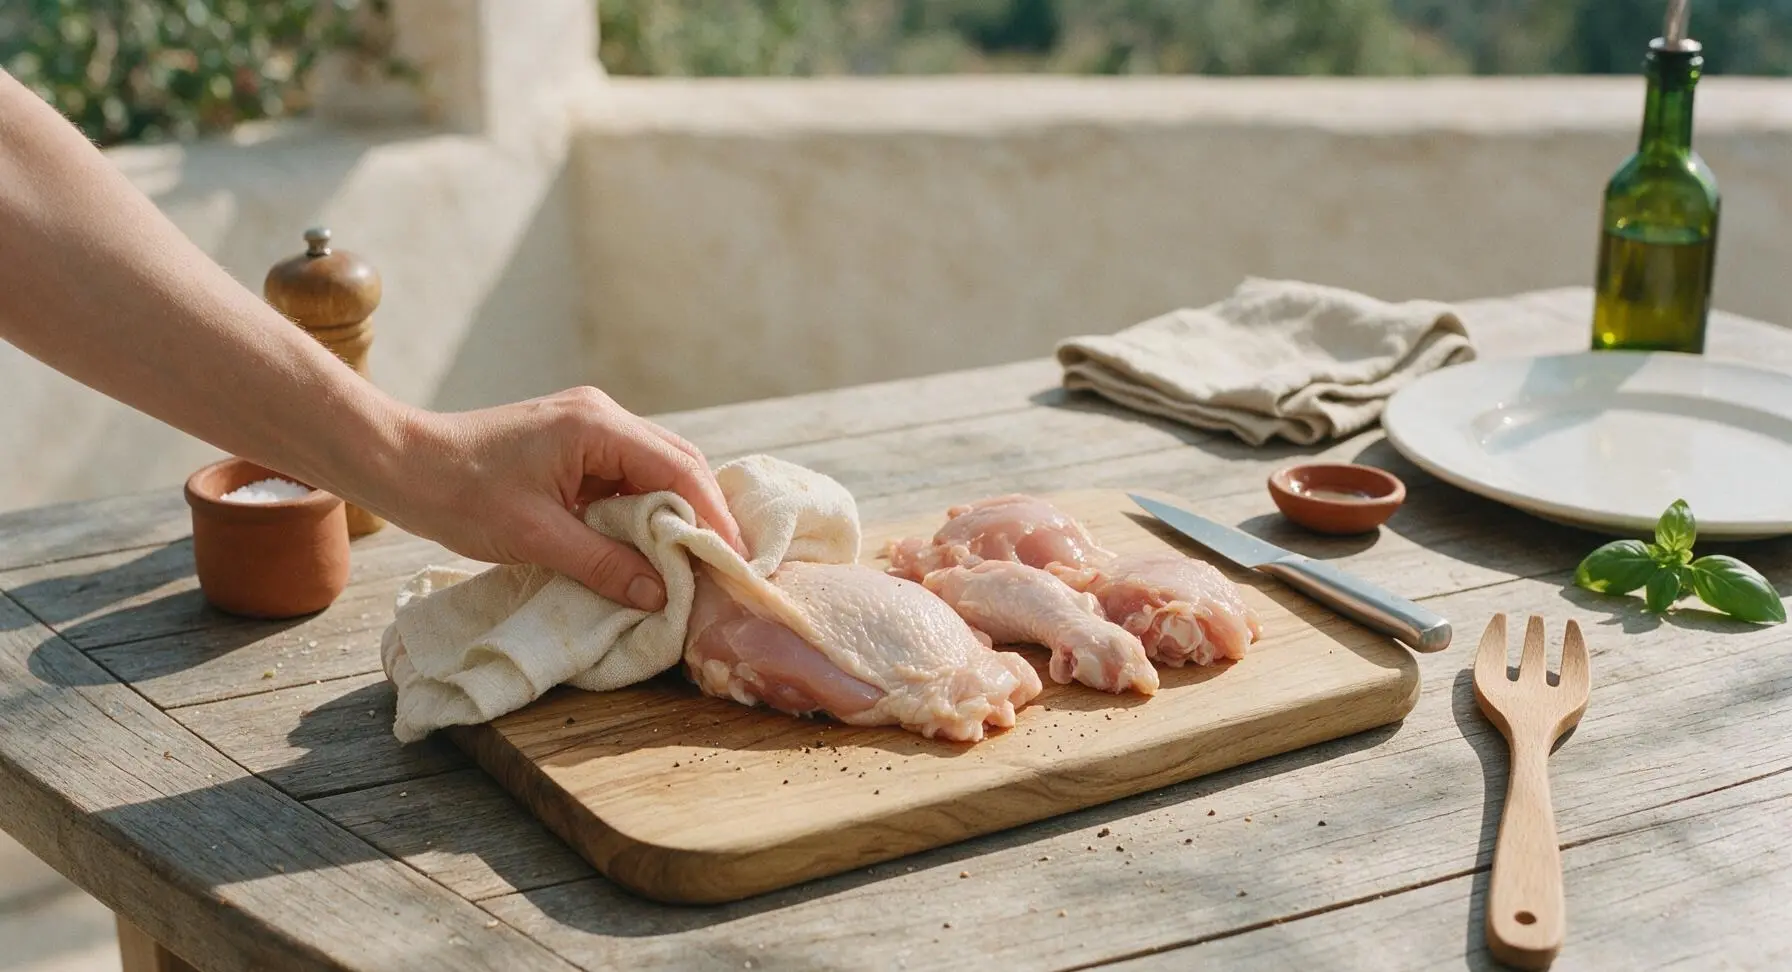
Pat Chicken Dry
Place the chicken pieces on the light acacia cutting board. Use the corner of the folded cream linen towel to pat every surface of the chicken (including gently lifting the skin to pat underneath) completely dry. Season all sides evenly with ¾ teaspoon of the kosher salt and all of the black pepper, pressing the seasoning gently to adhere to the meat and skin. Let the chicken rest at room temperature for 5 minutes while the skillet preheats.
Sear Chicken Skin-Side
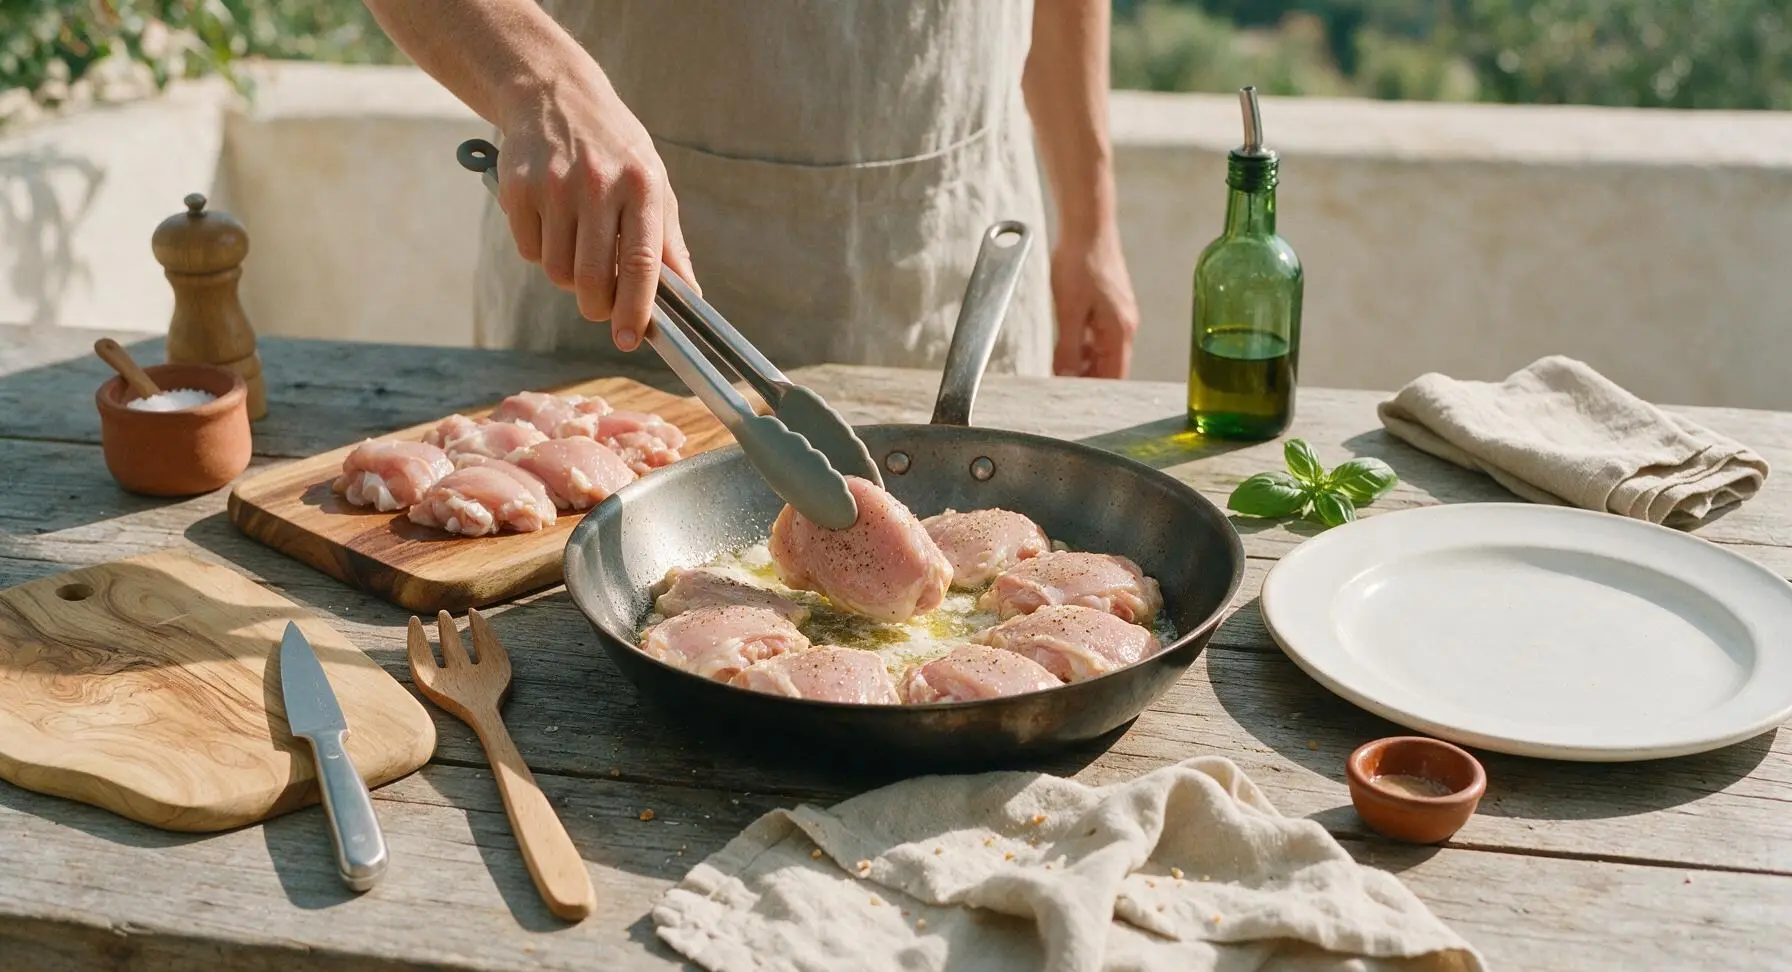
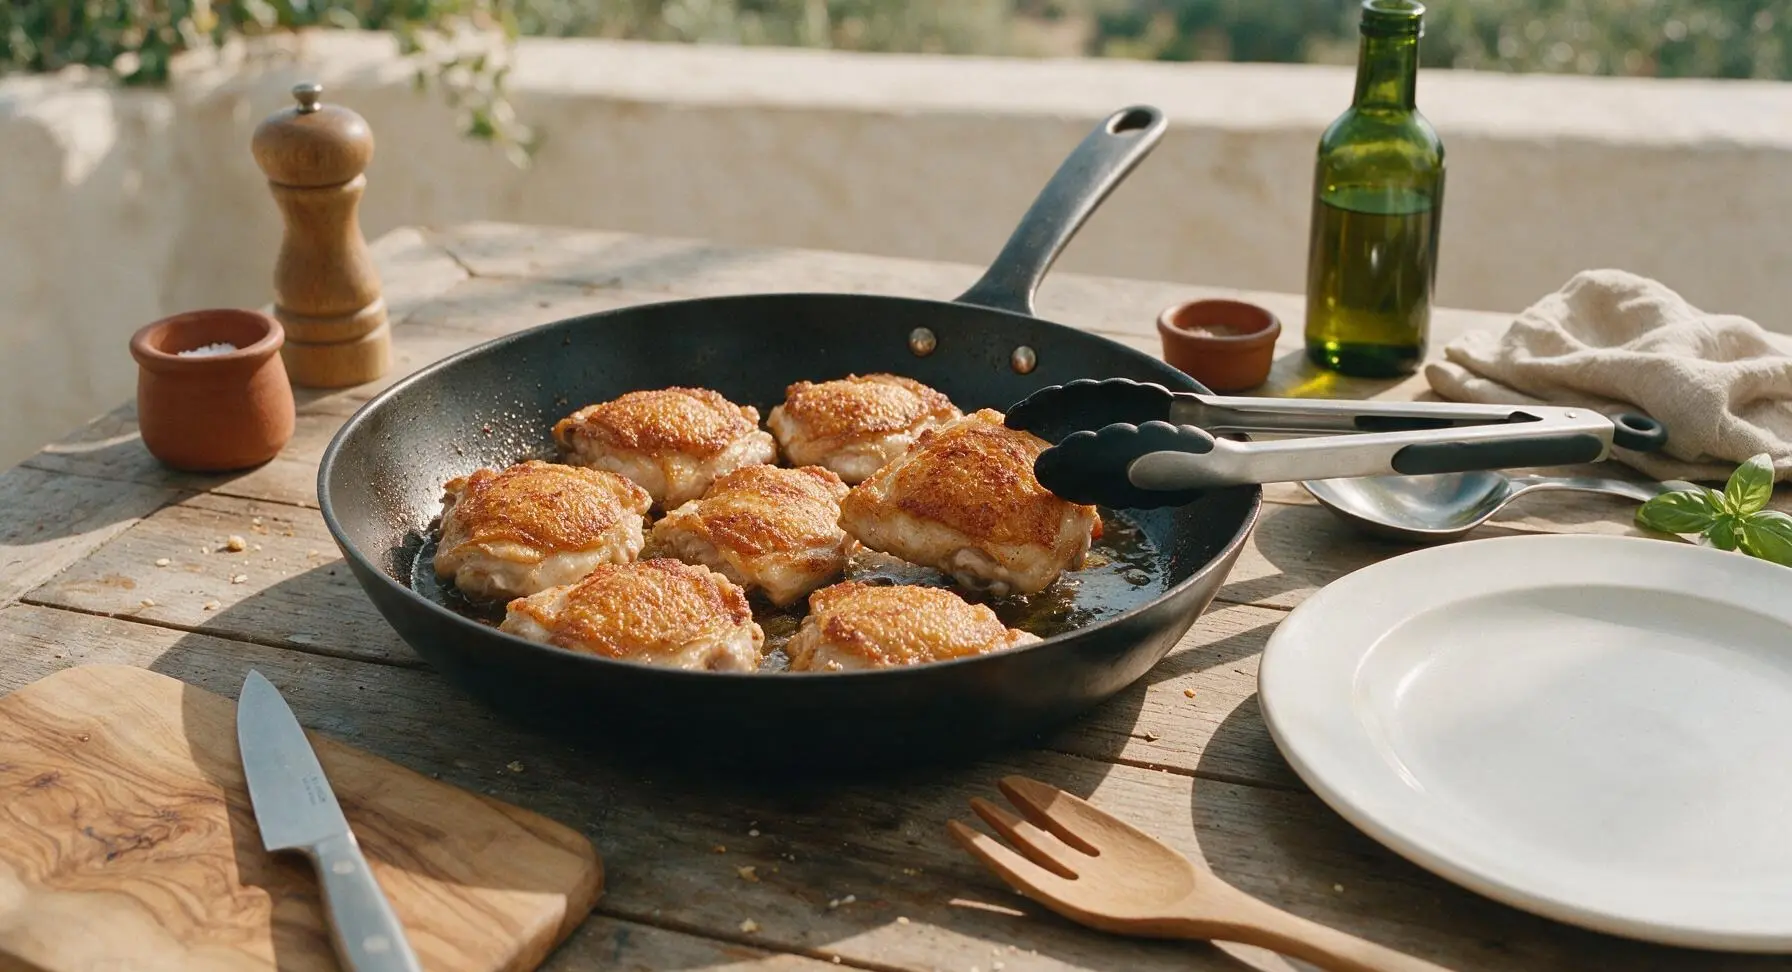
Heat the 12-inch carbon steel skillet over medium heat (350°F/175°C surface temperature). Add 1 tablespoon olive oil and 1 tablespoon of the unsalted butter, swirling until the butter melts and foams slightly but does not turn brown. Arrange the chicken pieces skin-side down in the skillet in a single layer, leaving 1cm of space between each piece to avoid steaming. Cook undisturbed for 8-9 minutes, until the skin is deep golden brown and crispy, releasing easily from the pan when lifted with the silicone-tipped tongs.
Cook Chicken Through
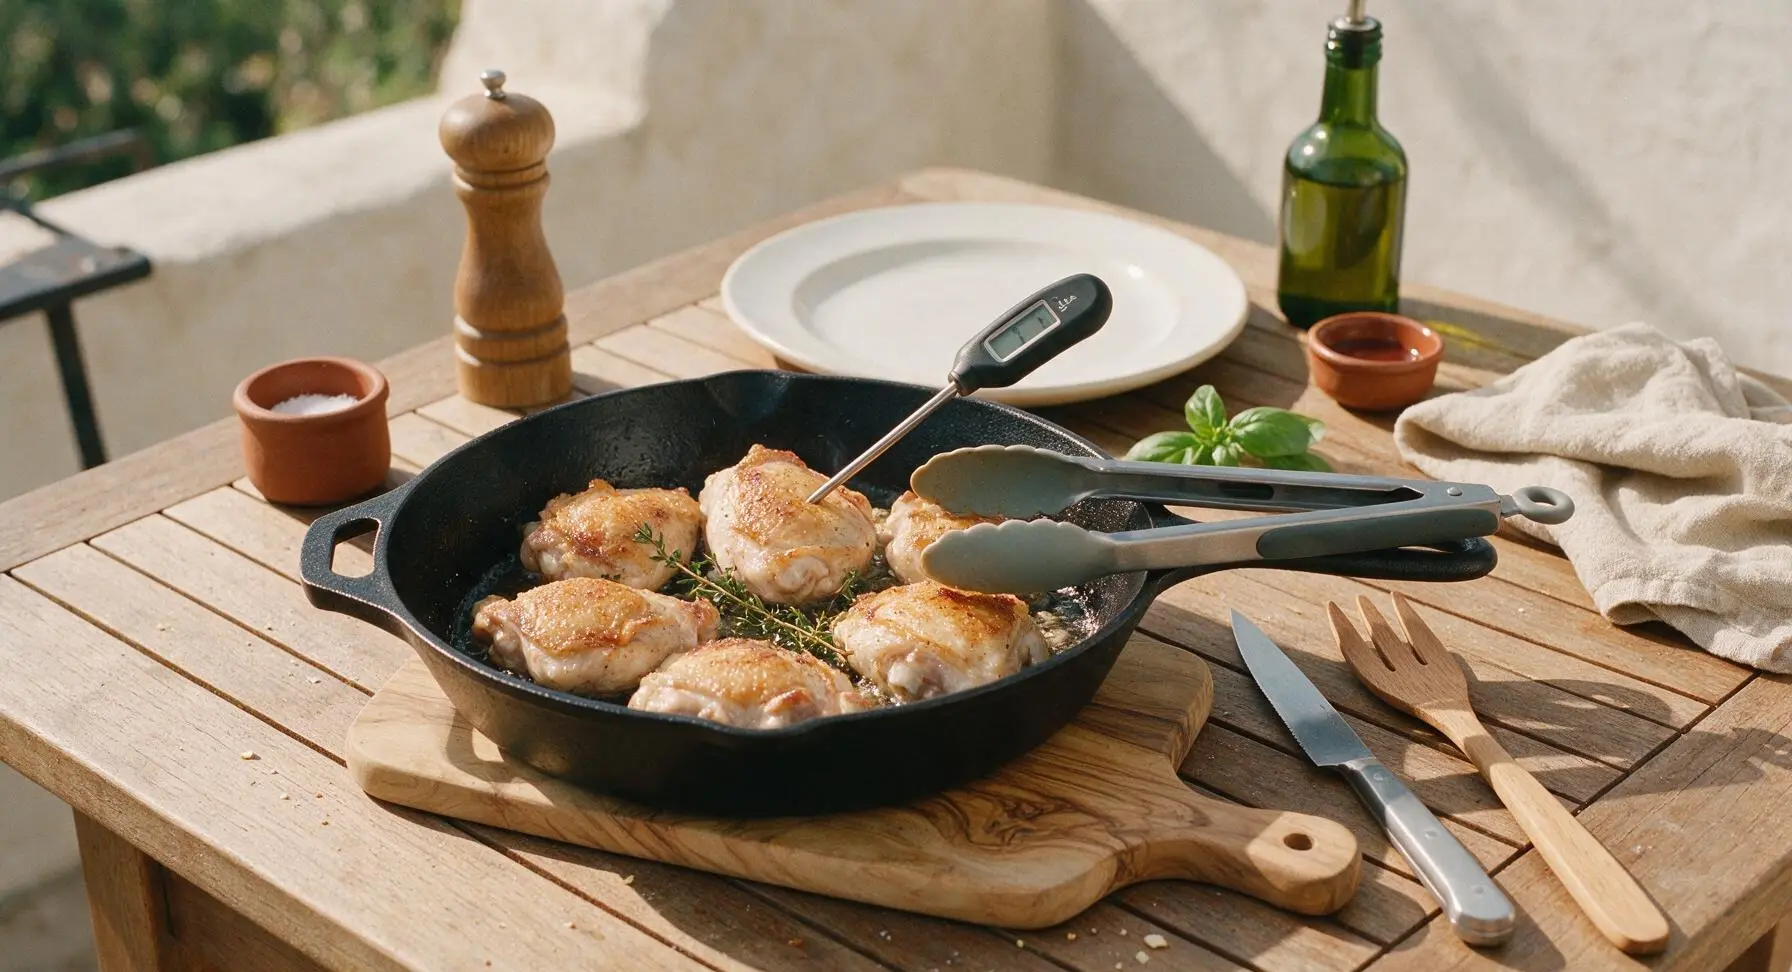
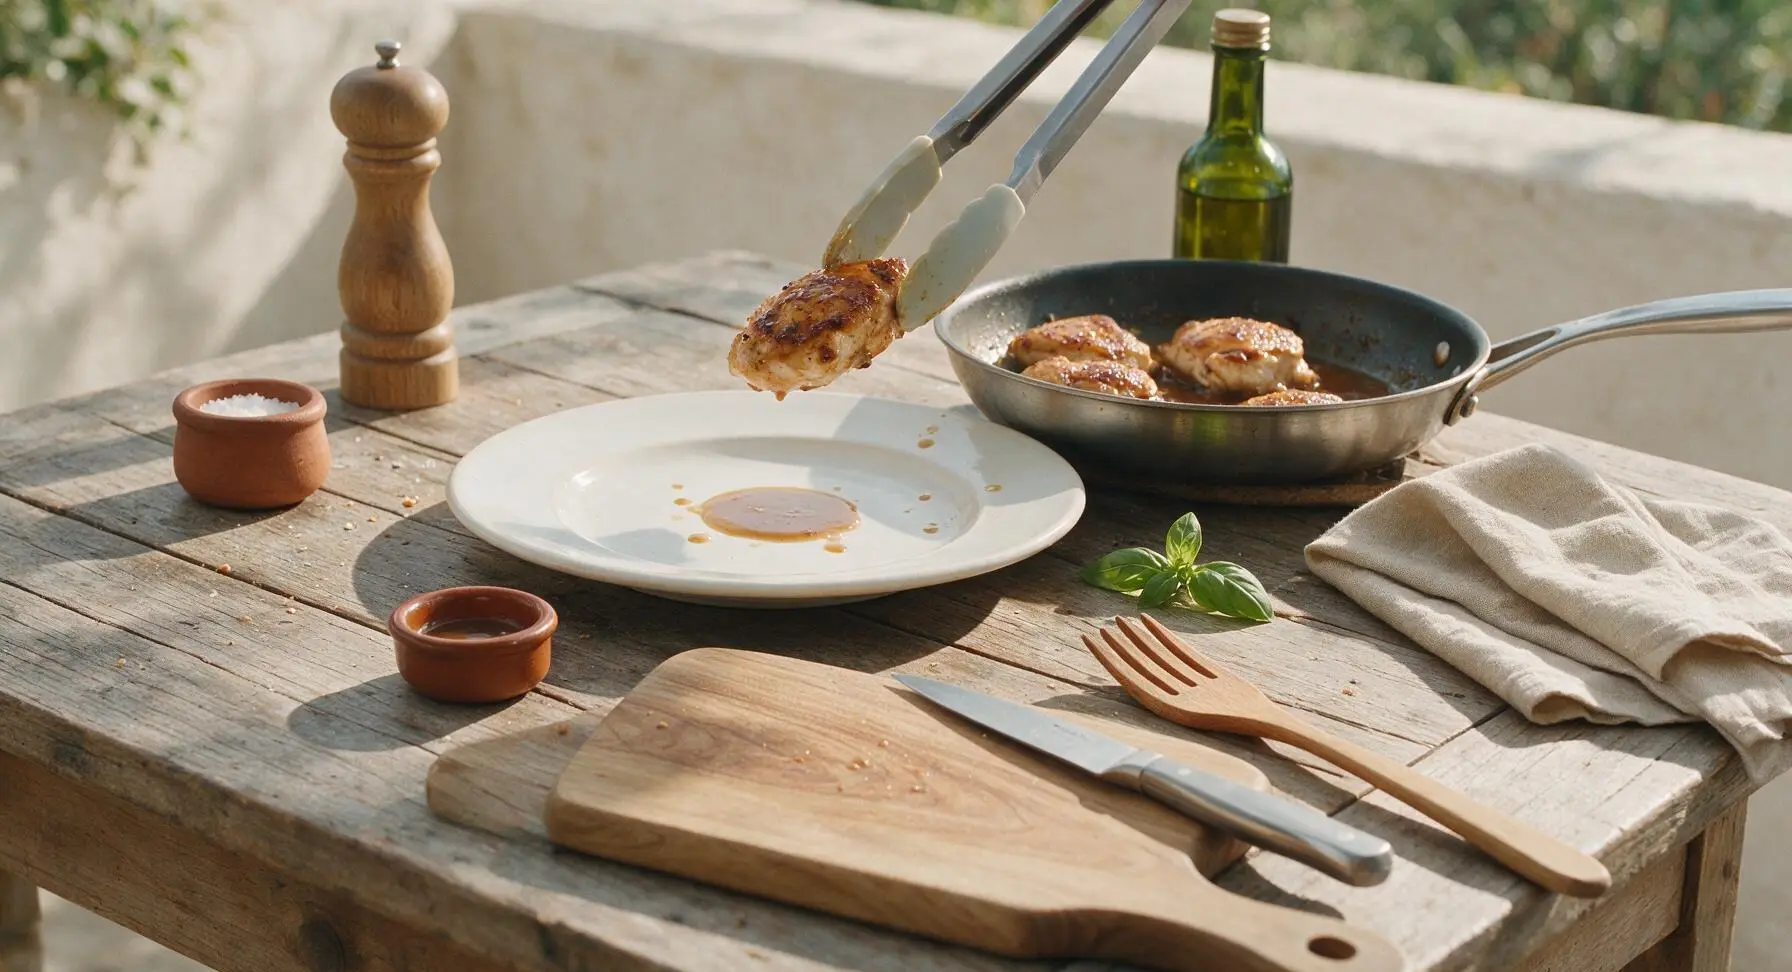
Use the silicone-tipped tongs to flip each chicken piece to the flesh-side down. Add 2 sprigs of thyme to the skillet, tucking them between the chicken pieces to infuse the fat. Continue cooking for another 6-7 minutes, until the digital instant-read thermometer inserted into the thickest part of the chicken (avoiding contact with bone) reads an internal temperature of 165°F/74°C. Transfer the cooked chicken to a clean plate, tent loosely with a small sheet of aluminum foil, and set aside to rest for 5 minutes.
Build Gravy Roux
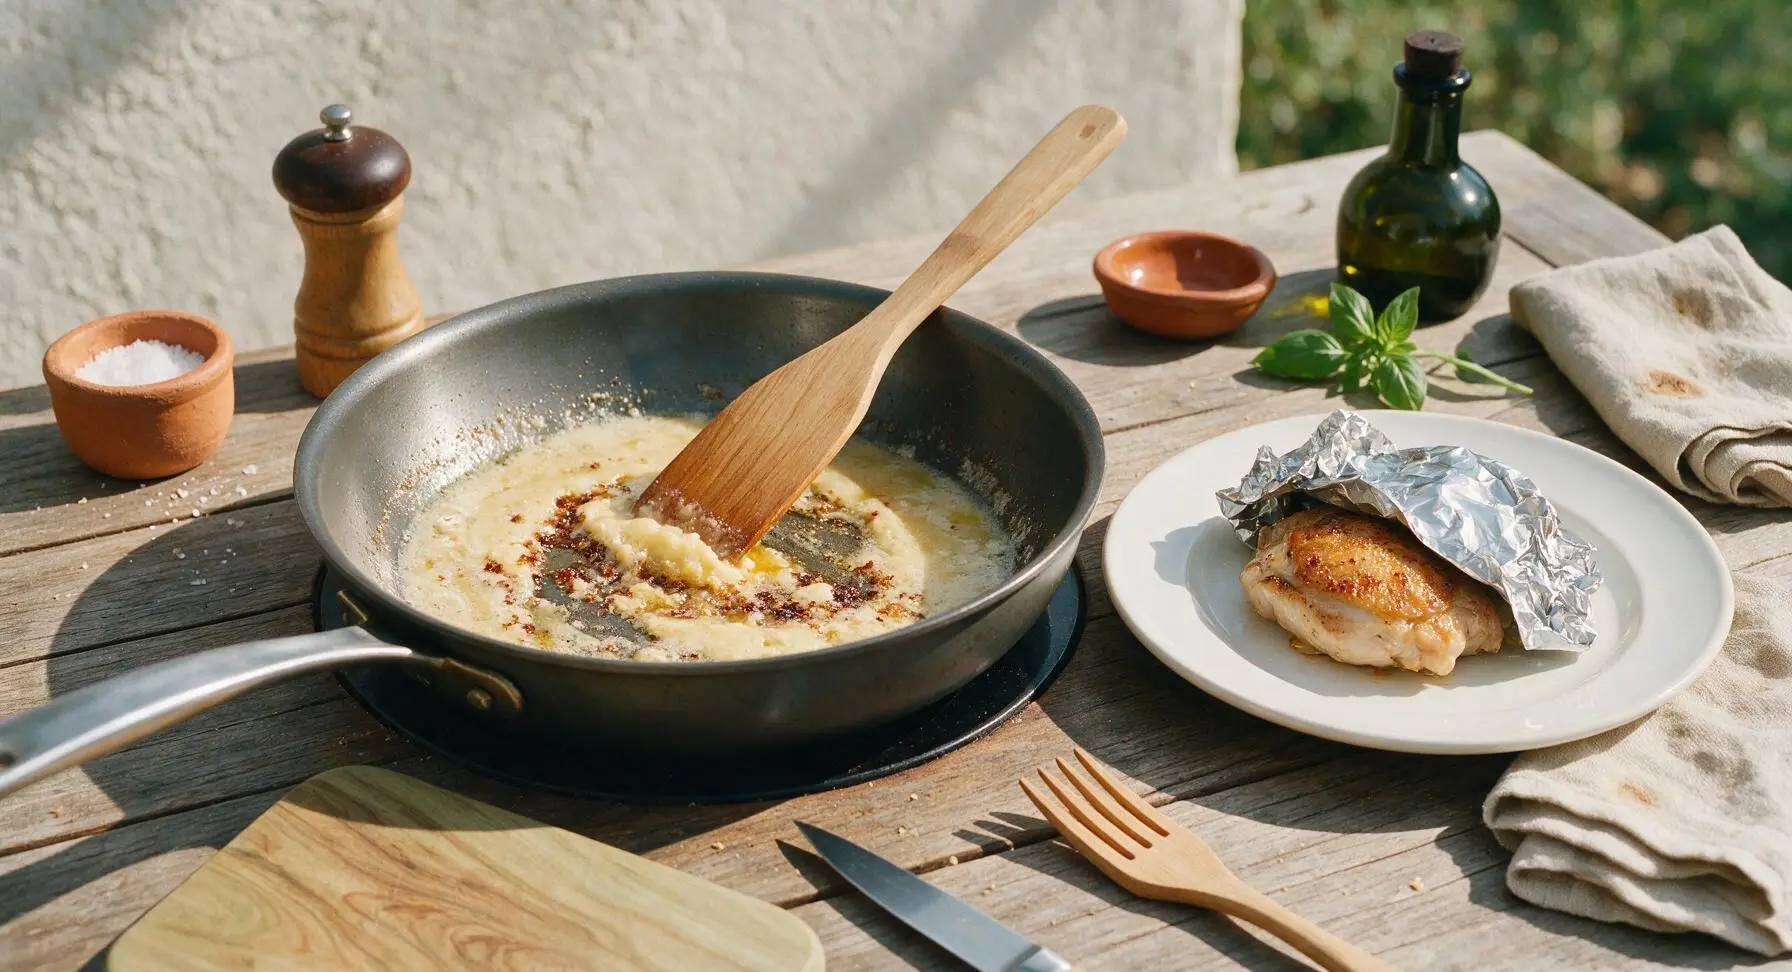
Reduce the skillet heat to medium-low (325°F/160°C). Do not wipe out the skillet—reserve all browned pan drippings and rendered chicken fat, aiming for approximately 2 tablespoons of fat; pour off any excess if more remains. Add the remaining 1 tablespoon of unsalted butter to the pan, stirring until melted with the flat-edged maple spatula. Sprinkle all 3 tablespoons of all-purpose flour into the pan, stirring constantly to combine with the fat, cooking for 2 minutes until the roux turns a pale golden tan and smells nutty, with no raw flour aroma remaining. Scrape up all browned fond bits from the pan bottom as you stir.
Simmer Gravy Smooth
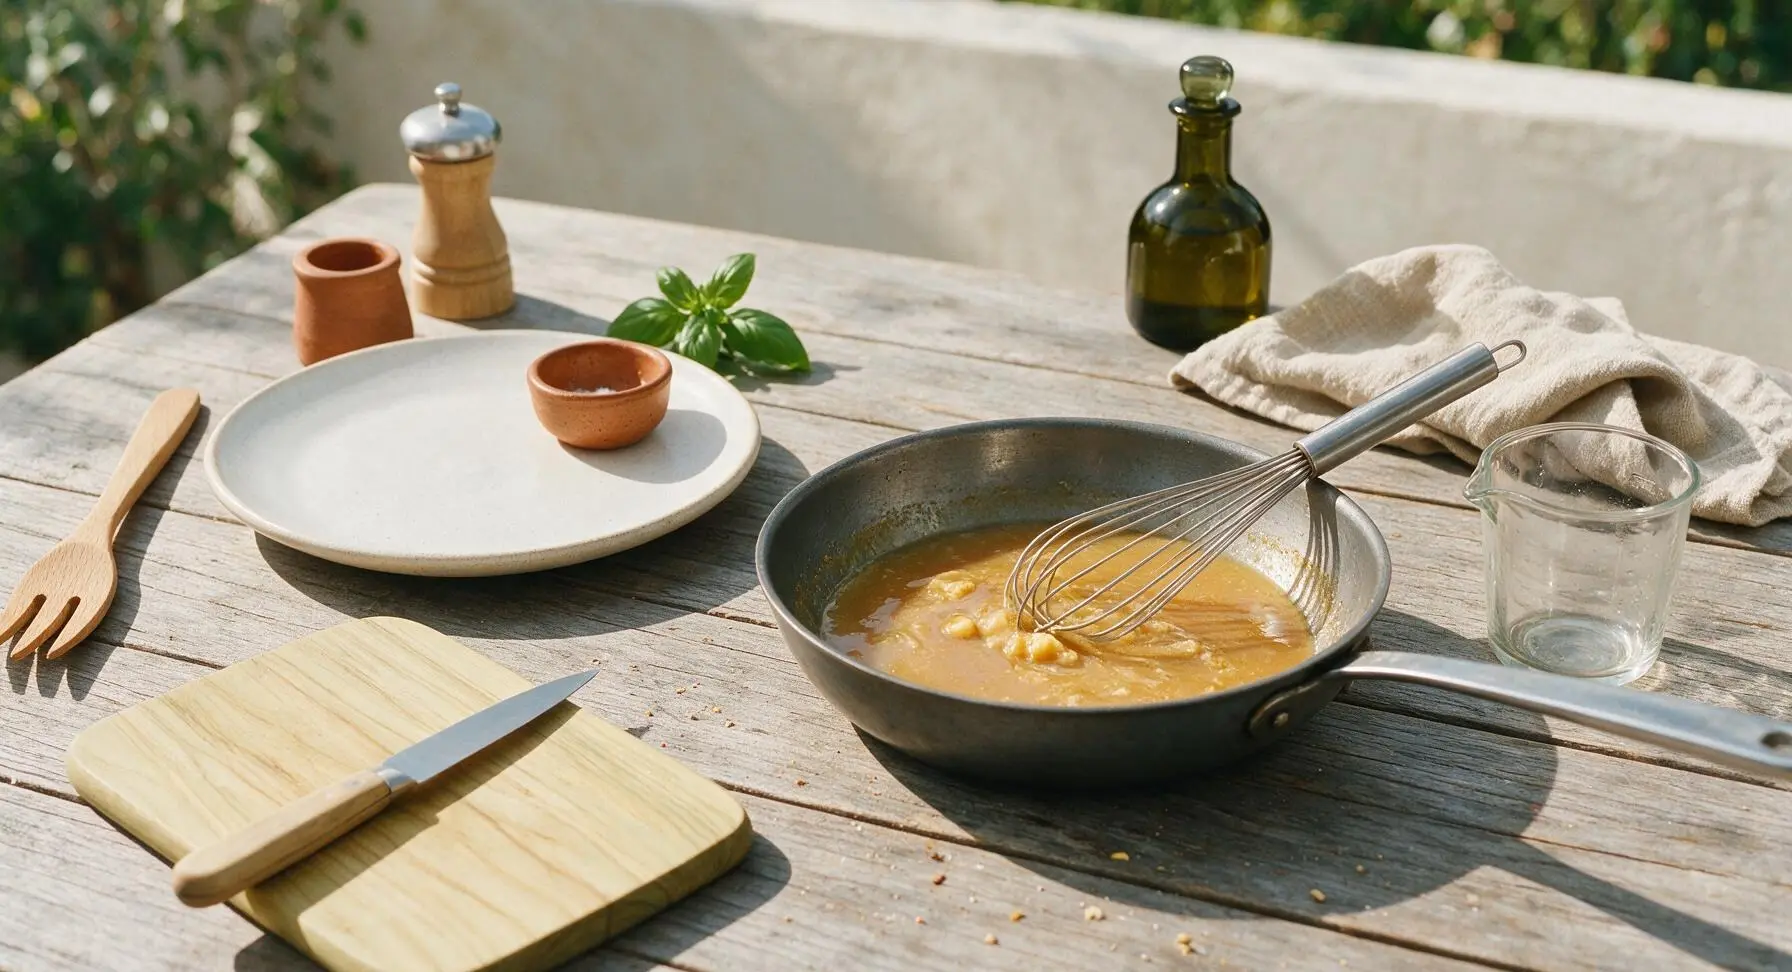
Slowly pour the chicken broth into the skillet ¼ cup at a time, whisking constantly with the stainless steel wire whisk to work out any lumps between additions. Once all broth is incorporated, add the remaining ¼ teaspoon kosher salt and the remaining 2 fresh thyme sprigs. Bring the gravy to a gentle, low simmer, cooking for 3-4 minutes and whisking occasionally, until it thickens enough to evenly coat the back of a spoon (a line drawn through the coating with your finger will hold its shape without running). Use the tongs to fish out and discard the spent thyme sprigs.
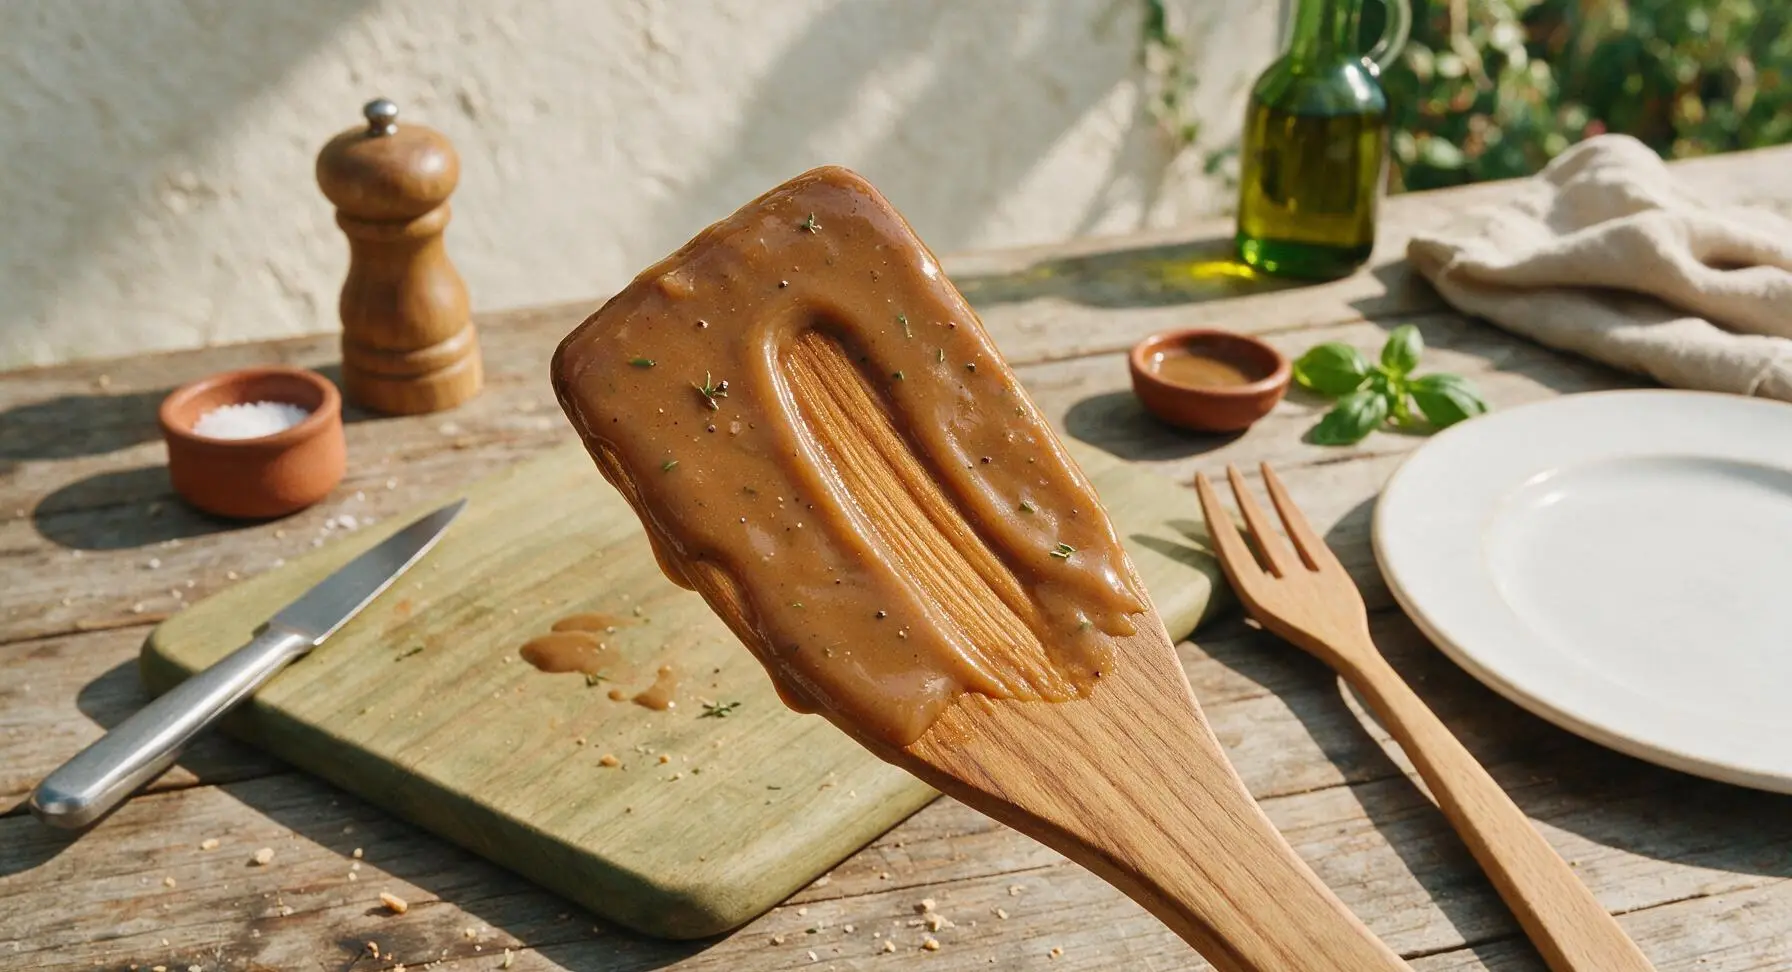
Coat Chicken in Gravy
Return the rested chicken pieces to the skillet of finished gravy, using the maple spatula to spoon gravy generously over the top of each piece to coat the crispy skin fully. Let the chicken warm in the gravy for 1 minute, allowing the savory chicken juices released during resting to blend into the gravy for deeper flavor. Taste the gravy and adjust with a pinch more salt or pepper if desired.
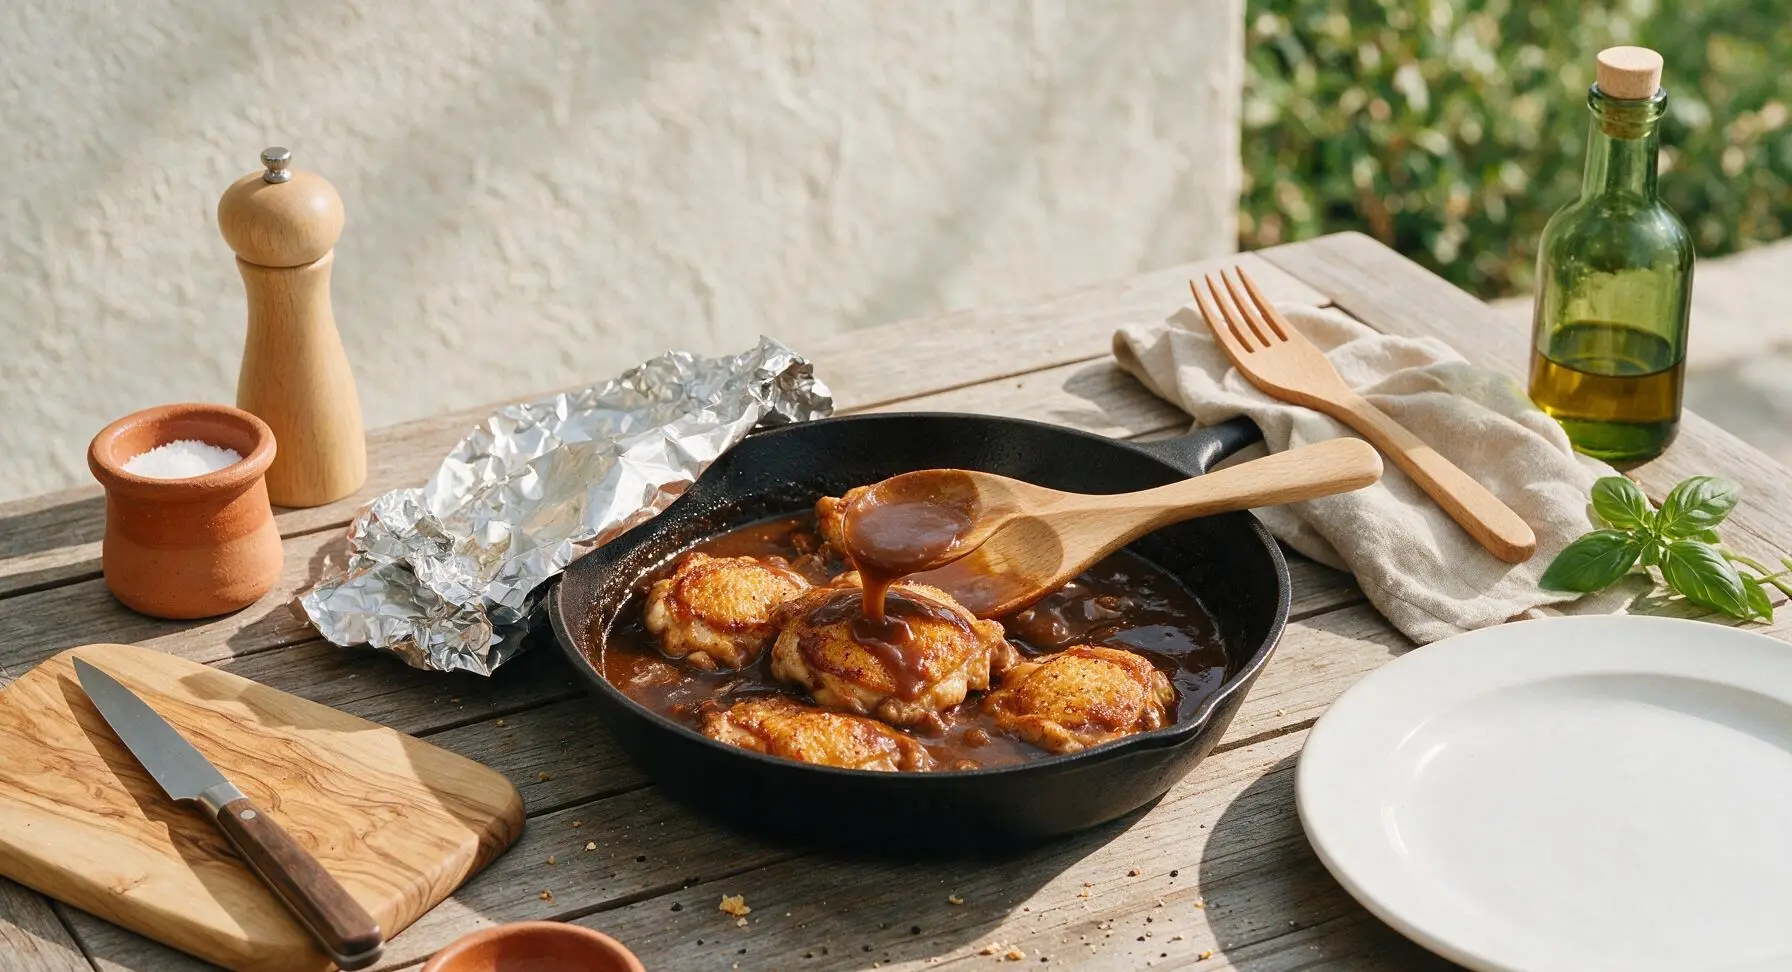
Plate and Serve
Transfer one piece of chicken to each matte cream stoneware dinner plate, spooning approximately ¼ cup of gravy over each piece. Garnish each plate with a small fresh thyme sprig, and serve immediately while the chicken is hot and the gravy is glossy.
Tips
2.Cook the roux for the full 2 minutes before adding broth: undercooked roux leaves gravy with a distinct raw flour aftertaste, while cooking to pale golden activates the flour’s thickening power and adds a subtle nutty depth.
3.Add broth in small increments while whisking constantly: pouring all broth at once will cause lumps that are nearly impossible to smooth out, while slow additions let you control consistency and create a silky, lump-free gravy.






OMG this was such a game changer for weeknight dinners! I was so sick of dry, bland pan-seared chicken that tastes like cardboard, and this came out perfectly tender in every single bite. The pan gravy was so rich and savory I almost wanted to drink it straight from the pan lmao. My two super picky kids went back for seconds, and my husband asked before we even finished dinner when I’m making it again! The 25 minute cook time is no joke — I got this on the table faster than our usual takeout order last night. 10/10 will be adding this to my regular meal prep rotation.
Brought this to our neighborhood block party potluck last weekend and literally every single person asked me for the recipe! The pan gravy is insane — I tossed in a little extra fresh thyme from my windowsill planter and it paired perfectly. I’m usually terrible at getting a good sear on chicken without burning it, but this method was so easy even I nailed it on the first try. SO good, will be making this for regular Sunday family dinner from now on.
As a total newbie cook living off campus this semester, I was low-key terrified to make gravy from scratch, but this recipe was so straightforward! My chicken came out perfect and tender, only hiccup was my gravy turned out a little lumpy — did I add the flour too fast or not whisk hard enough? Tasted incredible regardless, I paired it with mashed cauliflower and roasted green beans for my weekly meal prep and didn’t get bored of it all week.