
chicken and macaroni casserole
intro
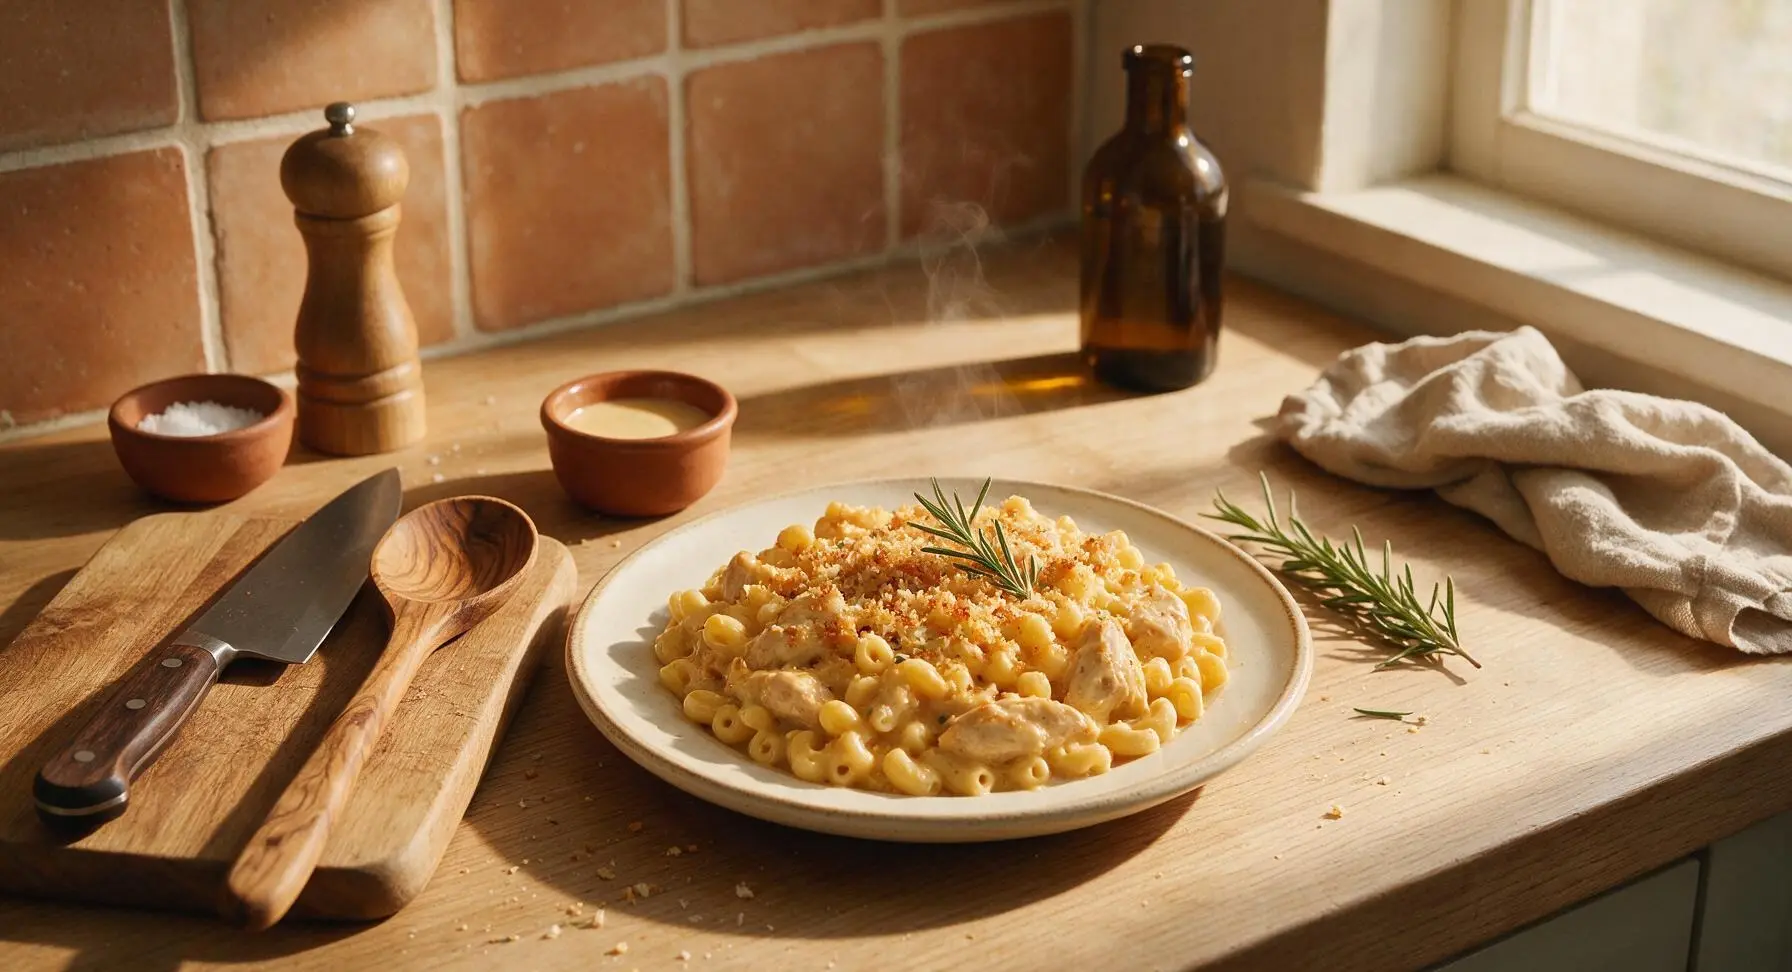
Creamy, velvety cheddar sauce coats tender pasta and juicy chicken, topped with crisp buttered panko. This nostalgic baked casserole is cozy, satisfying, and made for gathering around the Sunday table.
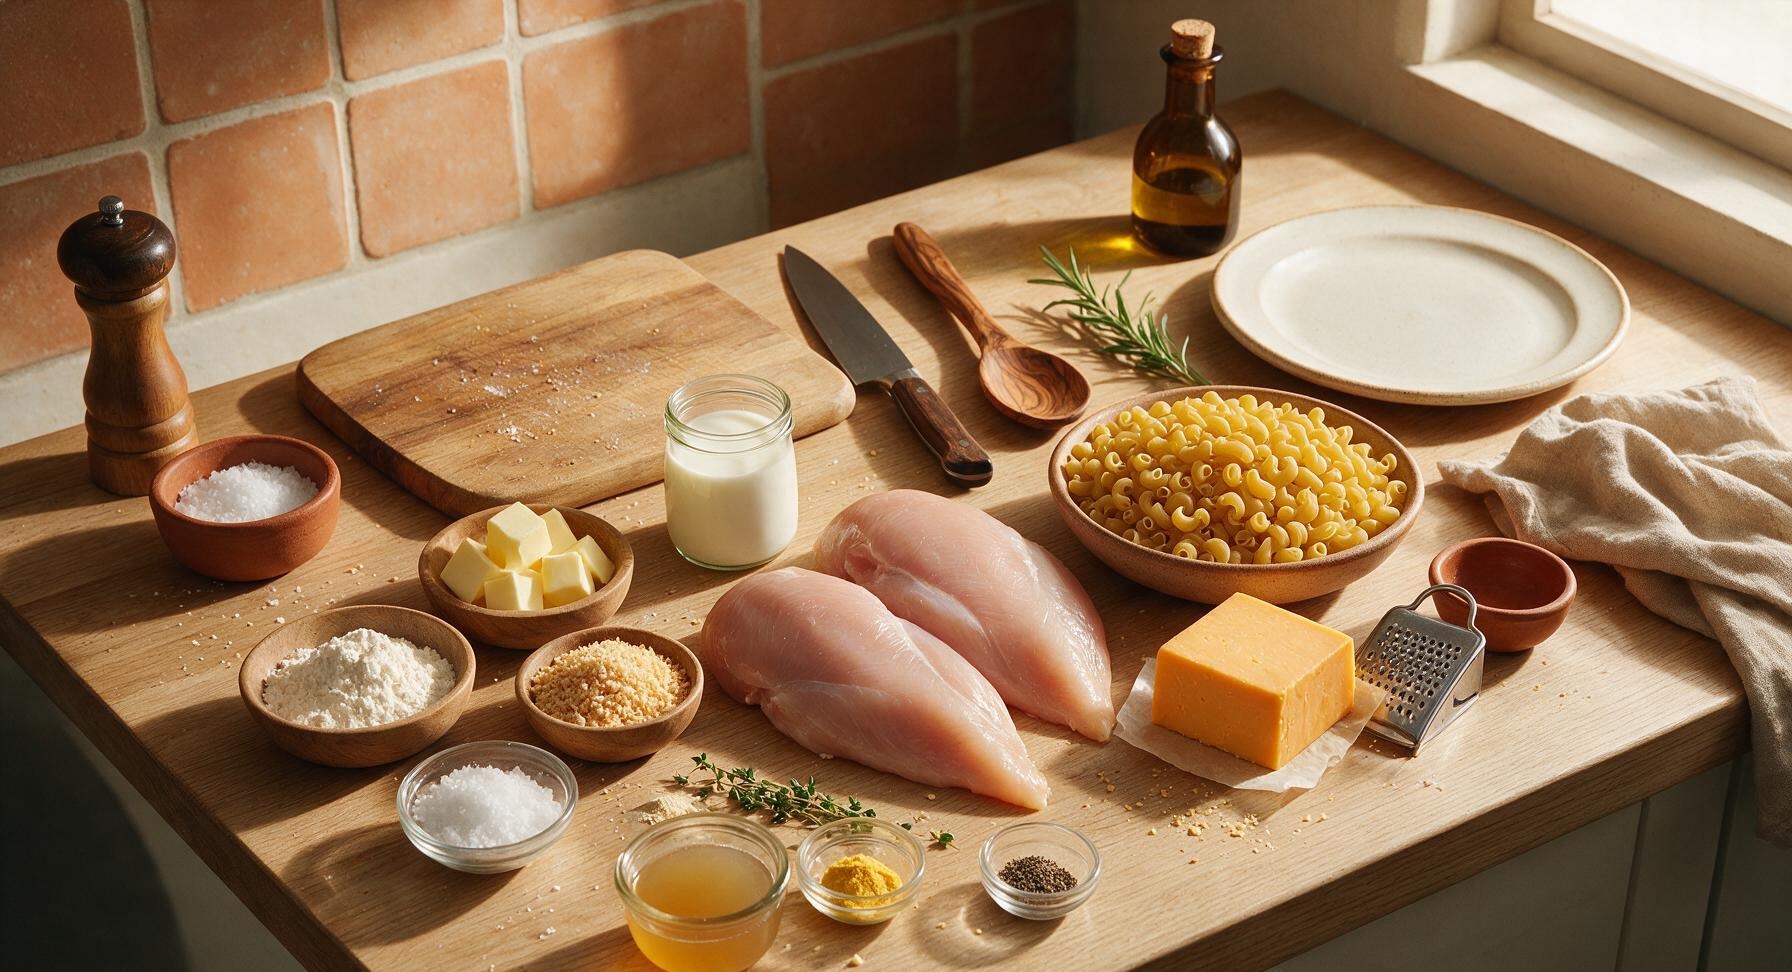
Ingredients
Steps
Poach and Shred Chicken
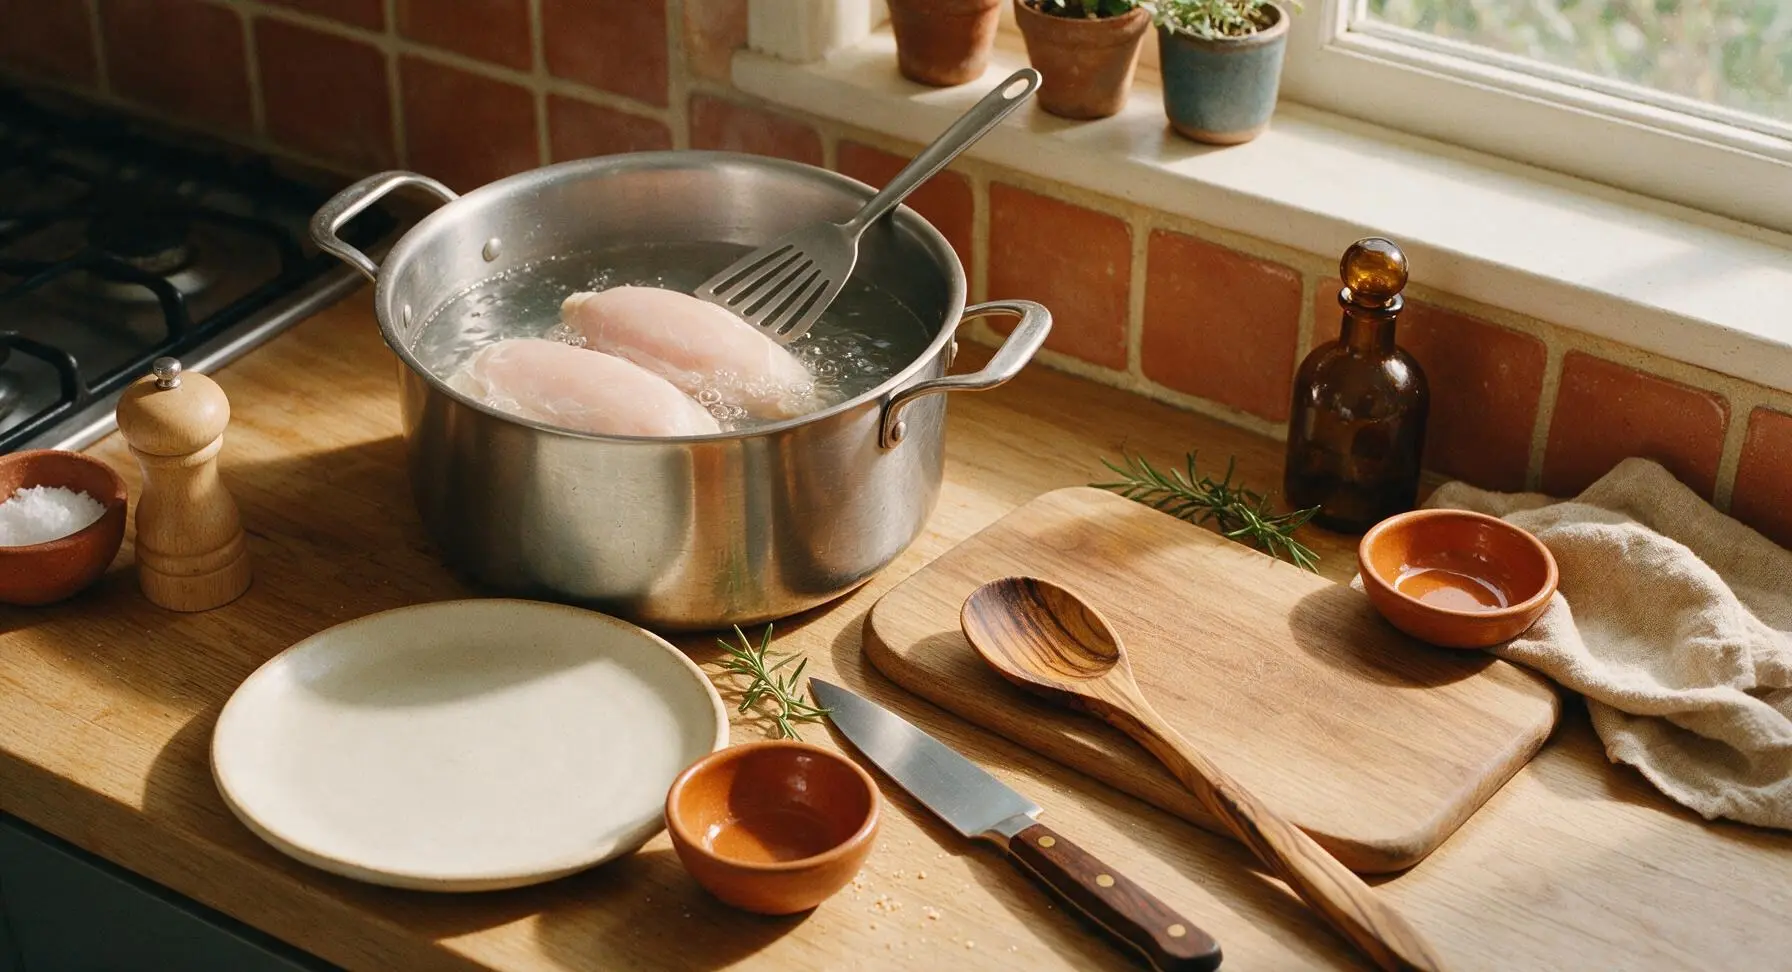
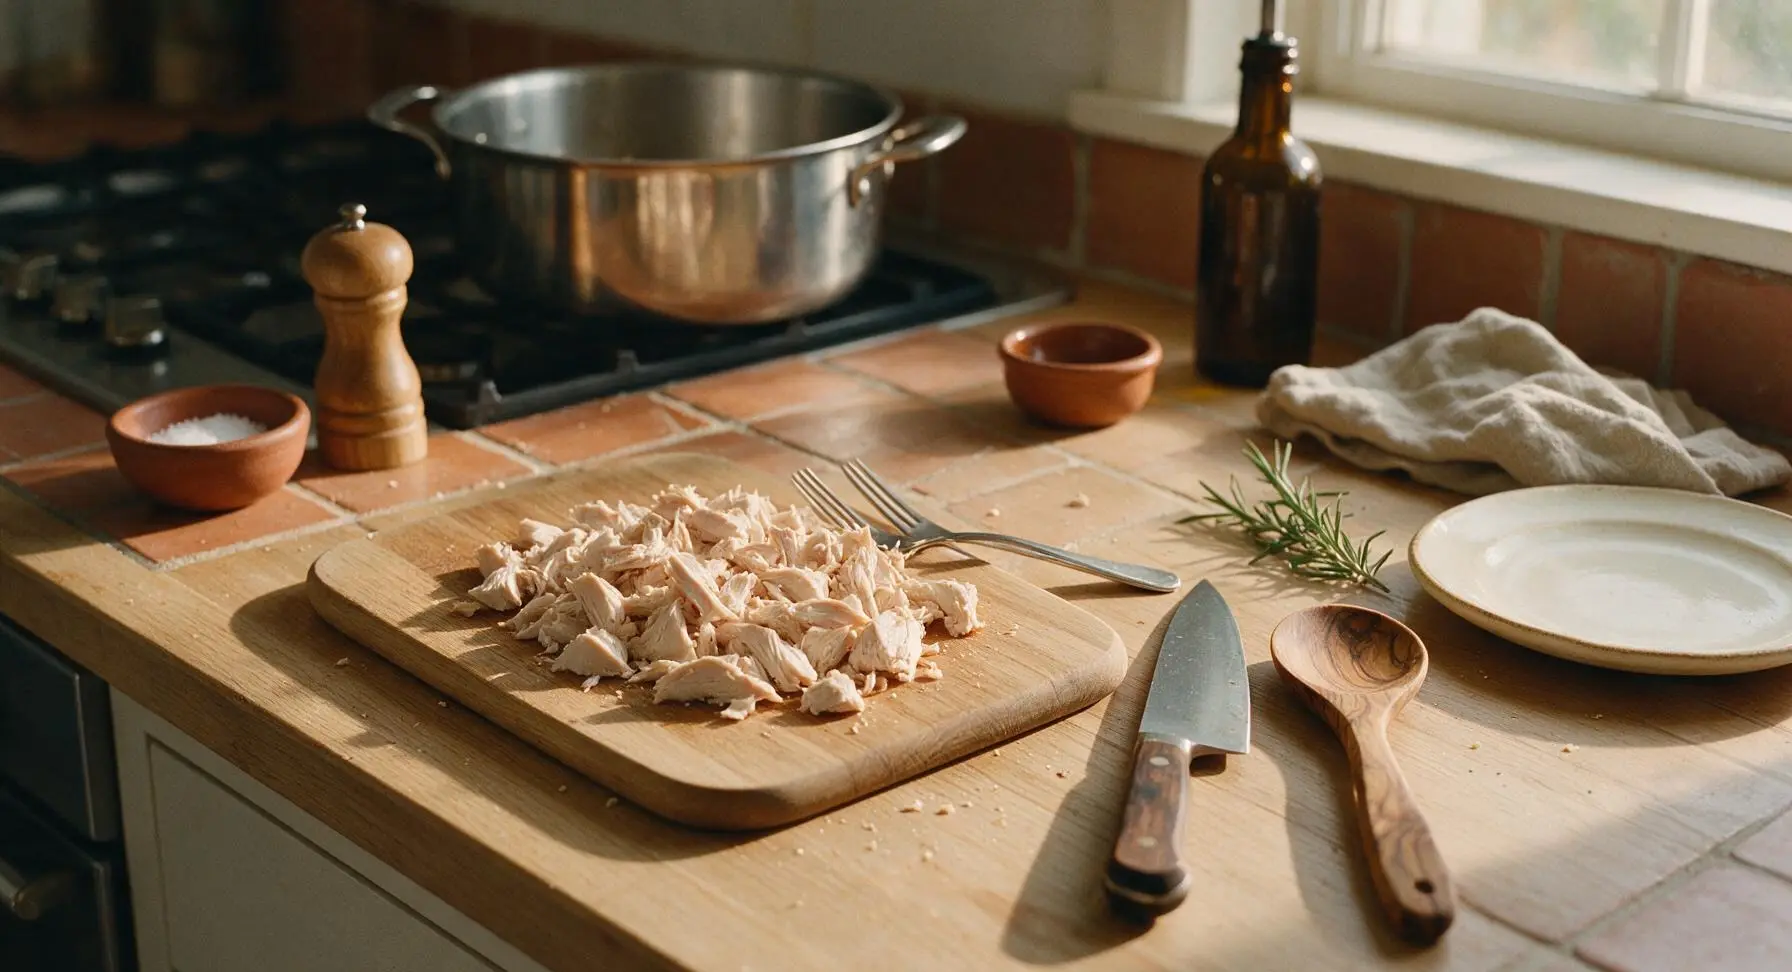
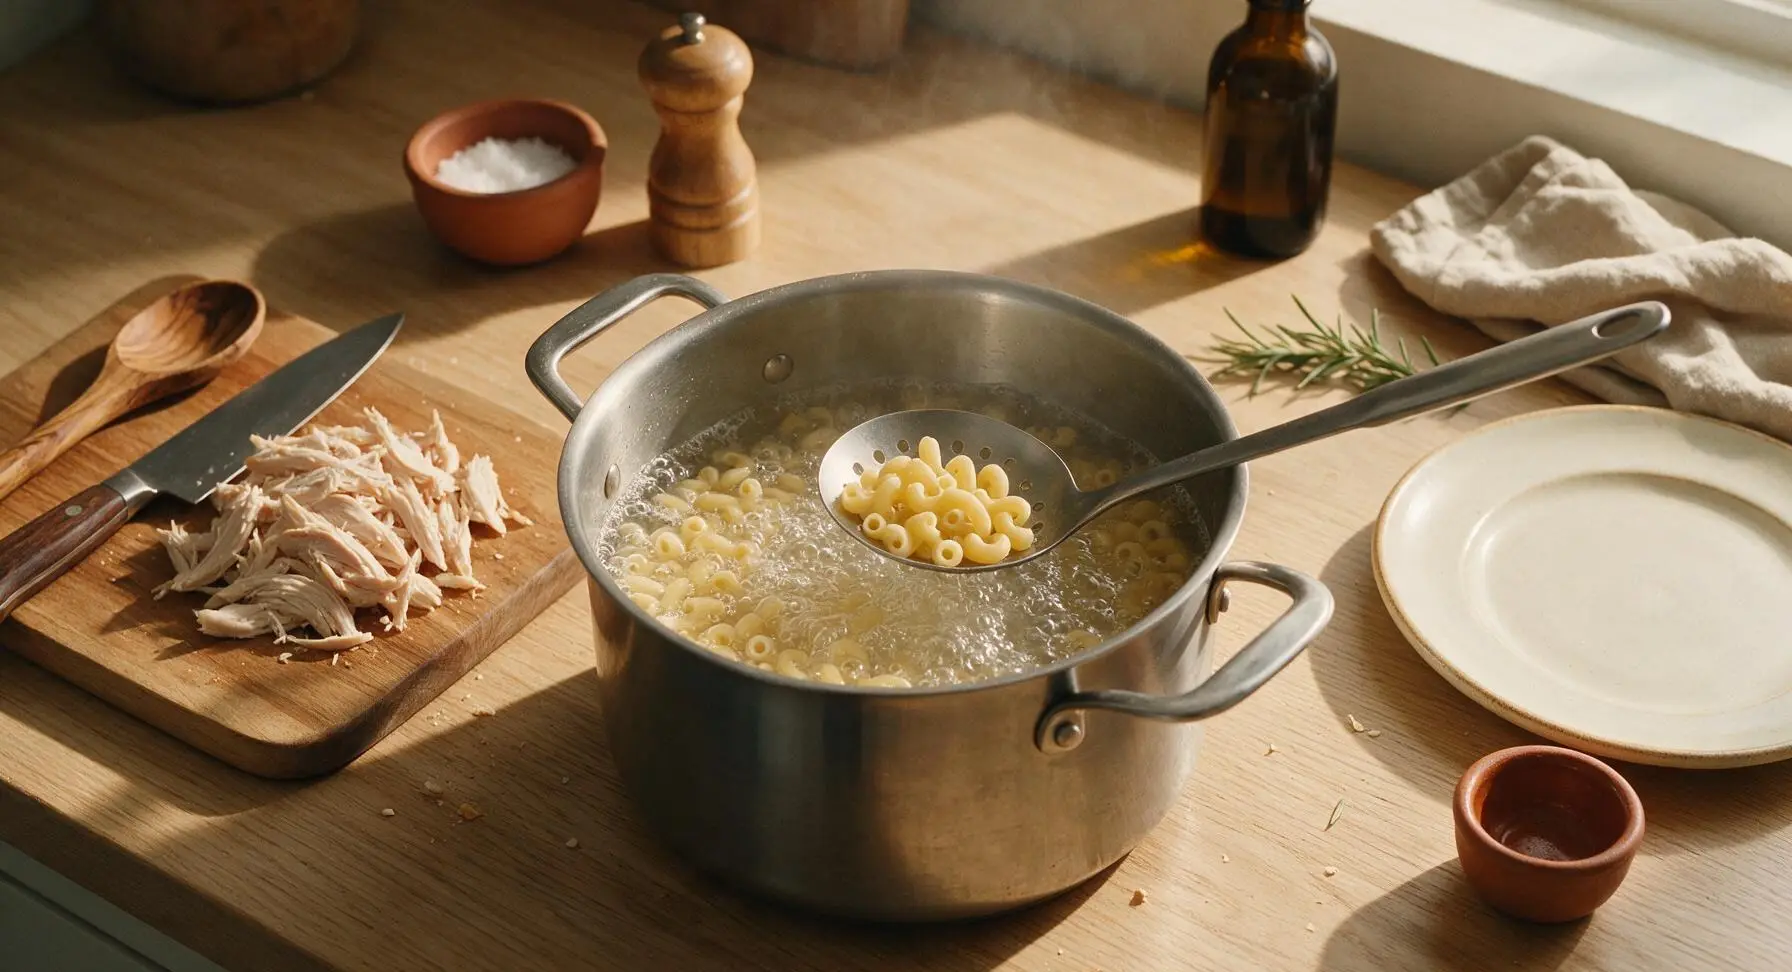
Fill the 5-quart stainless steel stock pot halfway with water, add 1/2 tsp kosher salt, and bring to a rolling boil over medium-high heat. Add chicken breasts, reduce heat to a gentle simmer, and cook for 12-14 minutes until internal temperature reaches 74°C/165°F and chicken is opaque all the way through with no pink remaining in the thickest part. Remove chicken to the maple cutting board, let rest 5 minutes to retain juices, then shred into rough 2cm bite-sized pieces using two forks. Set shredded chicken aside.
Boil Elbow Macaroni
Refill the same stock pot with fresh water, add 1 tbsp kosher salt, and bring to a rolling boil over high heat. Add dry elbow macaroni, stir once with the slotted stainless steel pasta spoon to prevent sticking, and cook for 6 minutes until pasta is very al dente (firm to the bite, 2 minutes shorter than the package’s recommended cook time, as it will finish cooking in the oven). Drain pasta well in a colander, do not rinse (rinsing removes starch that helps the sauce cling), and set aside.
Shred Cheddar Cheese
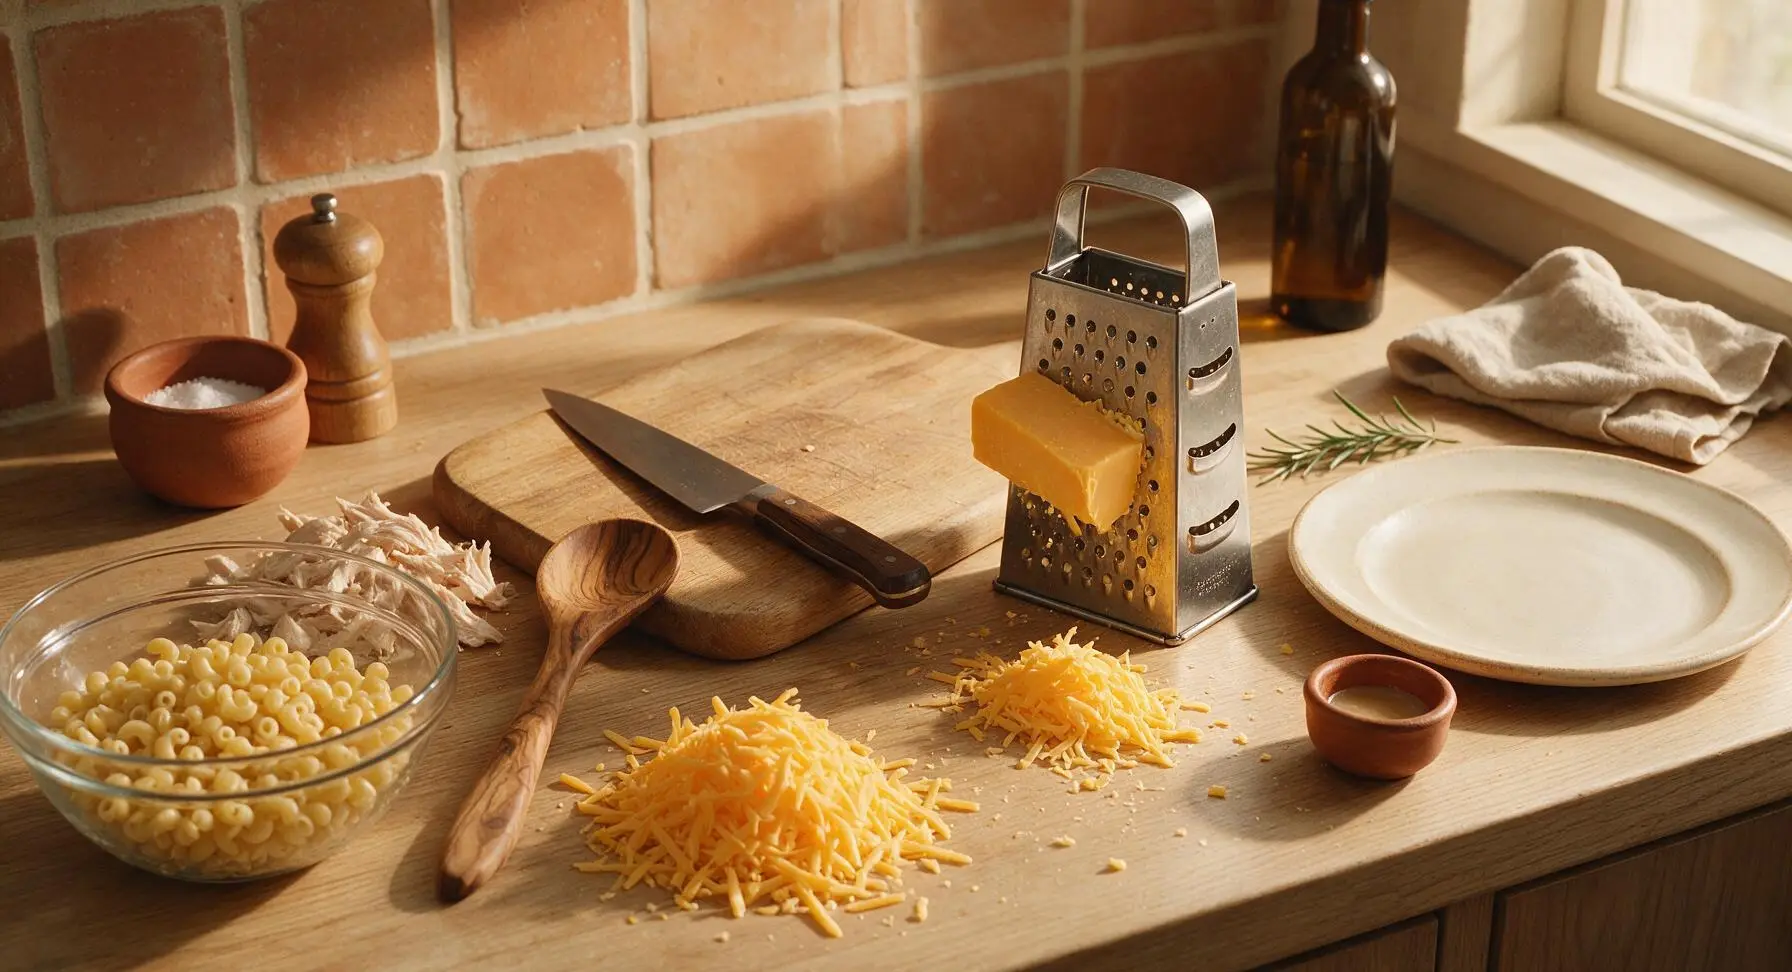
Place the stainless steel box grater on the counter to the right of the maple cutting board. Shred the block of sharp cheddar using the large holes of the grater, dividing the shredded cheese into two separate piles: 175g for mixing into the cheese sauce, 75g for the casserole topping. Set both piles aside.
Make Cheese Sauce Base
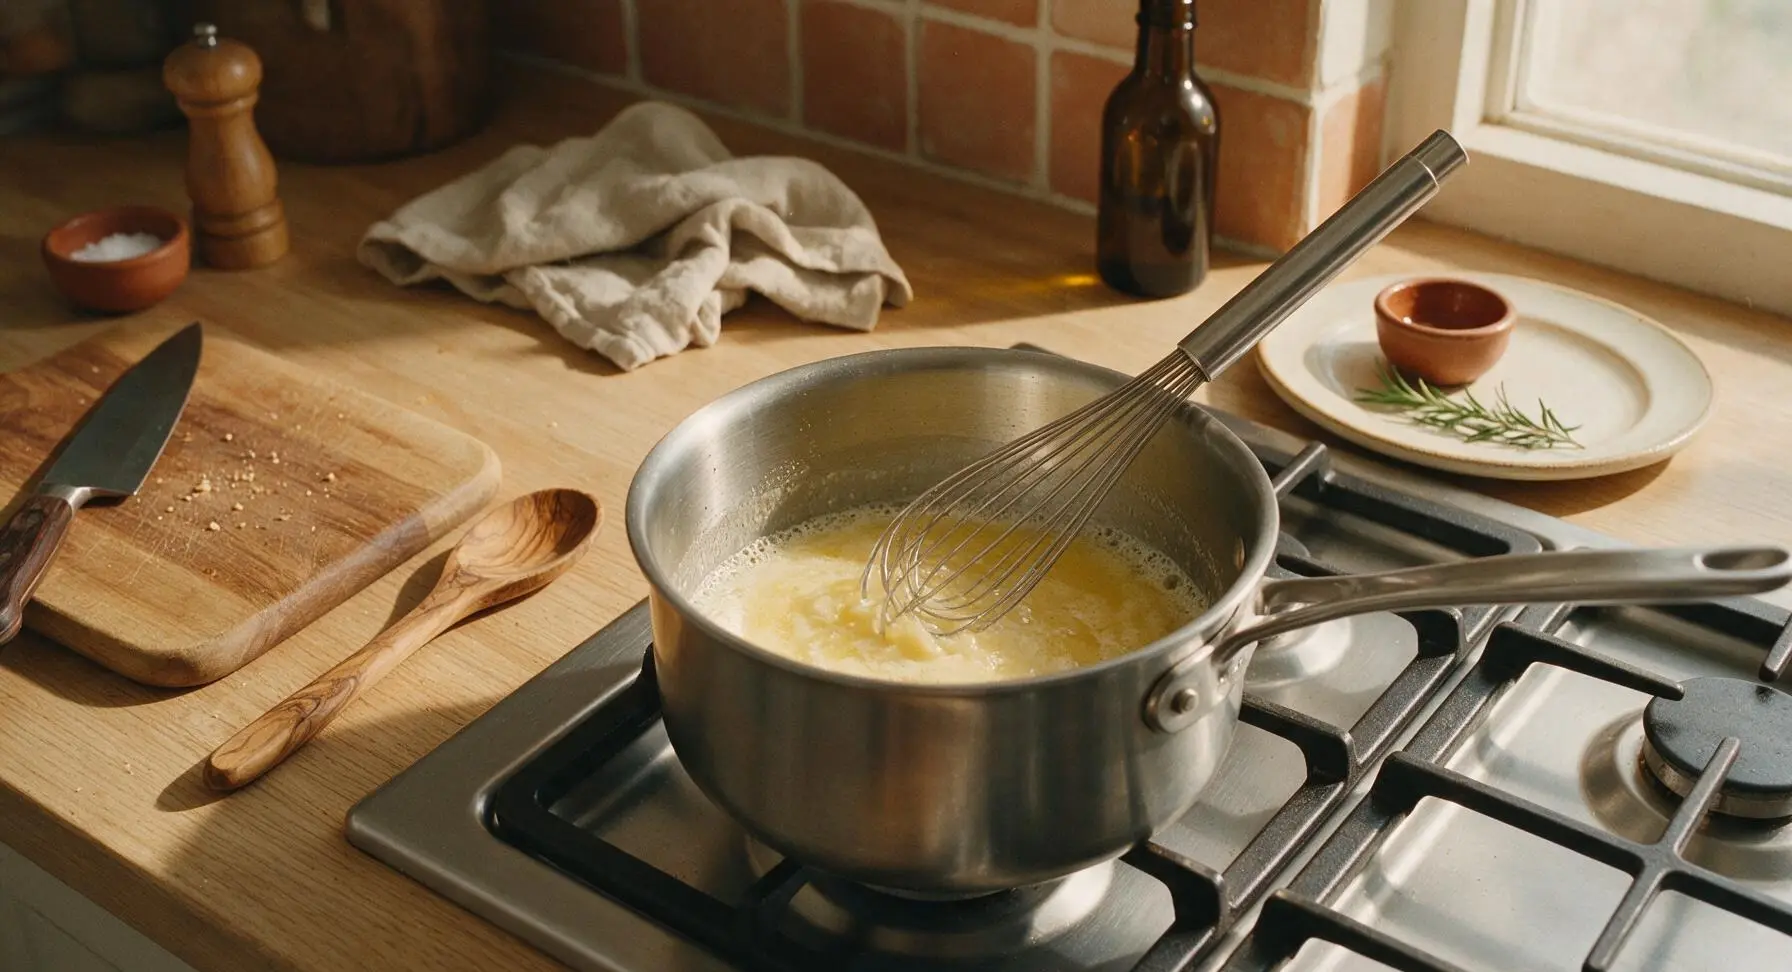
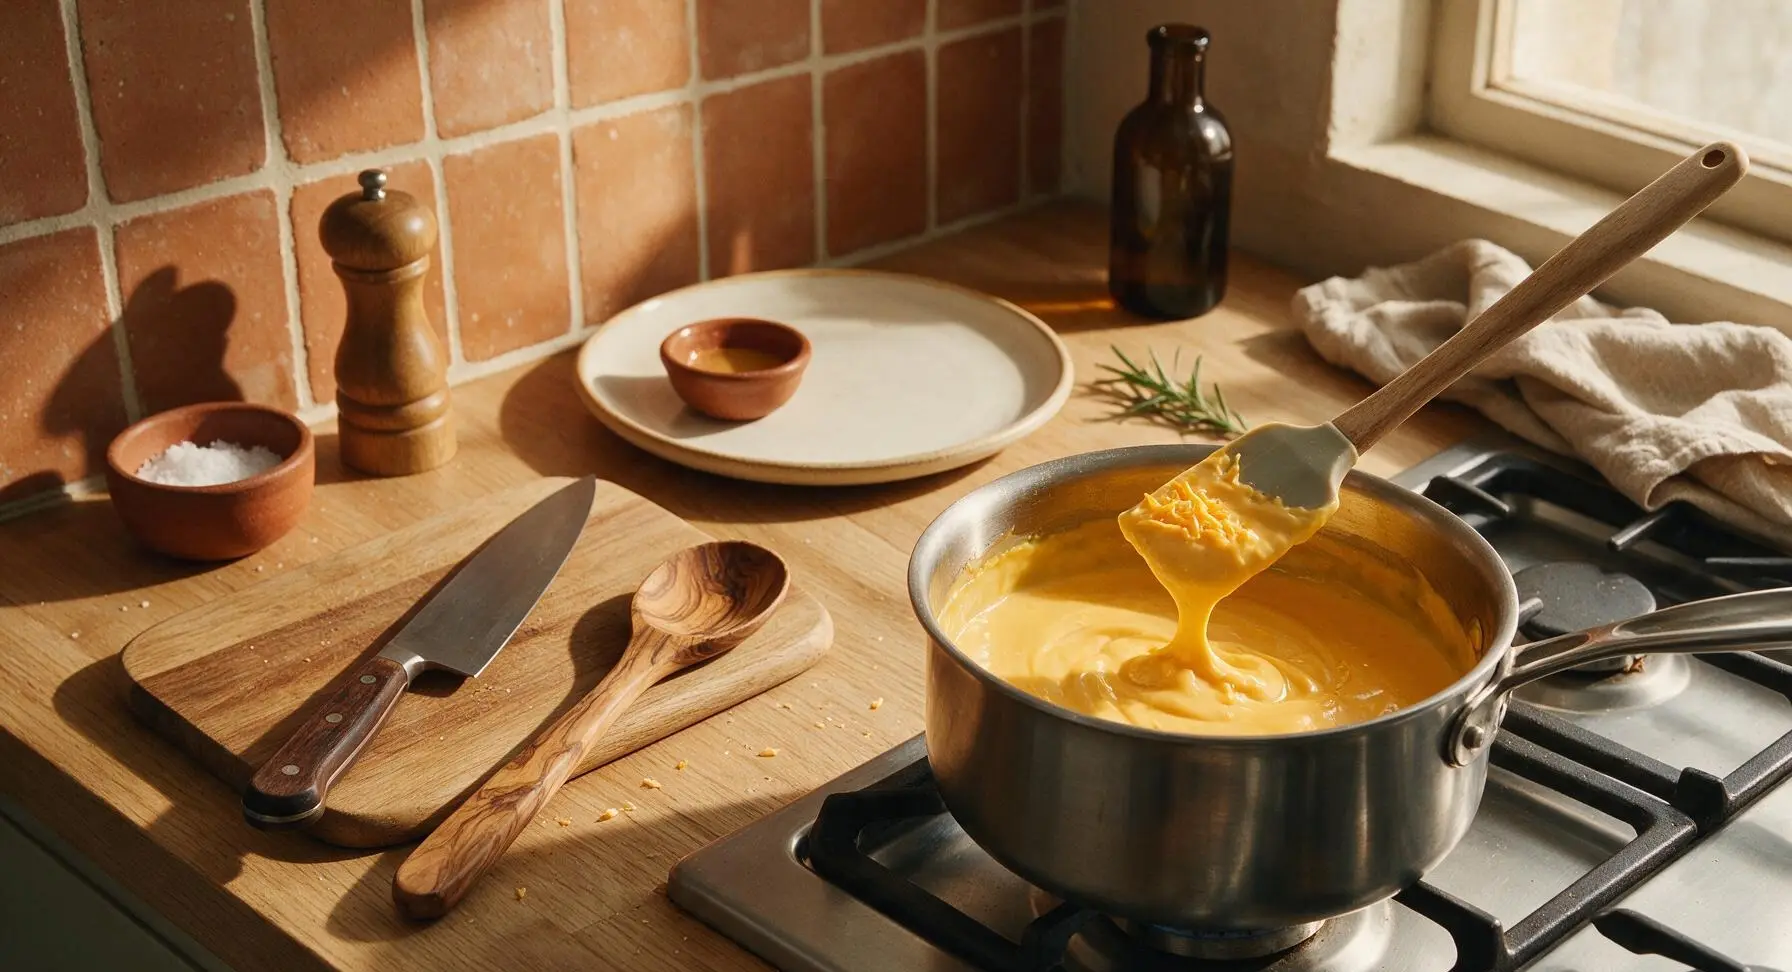
Place the 3-quart heavy-bottomed stainless steel saucepan on the front-right stovetop burner over medium heat. Melt 45g (3 tbsp) of the unsalted butter, then whisk in all-purpose flour, garlic powder, onion powder, dry mustard, remaining 1/2 tsp kosher salt, and freshly ground black pepper. Cook the roux for 2 full minutes, stirring constantly with the stainless steel wire whisk, until it smells lightly nutty and turns a pale golden color (this cooks out the raw flour taste). Slowly pour in whole milk and chicken broth, whisking constantly to prevent lumps from forming, and bring the sauce to a gentle simmer. Cook for 3-4 minutes, stirring occasionally, until the sauce thickens enough to coat the back of a spoon (a line drawn with your finger across the coated spoon will hold its shape without running). Remove the pan from heat, stir in the 175g portion of shredded cheddar until fully melted and completely smooth.
Assemble Casserole Layers
Set the 9x13 inch matte white ceramic baking dish at the center of the soapstone counter. Add the drained macaroni, shredded chicken, and fresh thyme leaves (stripped from their woody stems) to the dish, then pour the warm cheese sauce evenly over the top. Stir gently with the red silicone spatula until every piece of pasta and chicken is evenly coated in sauce, then smooth the top into a flat, even layer with the spatula.
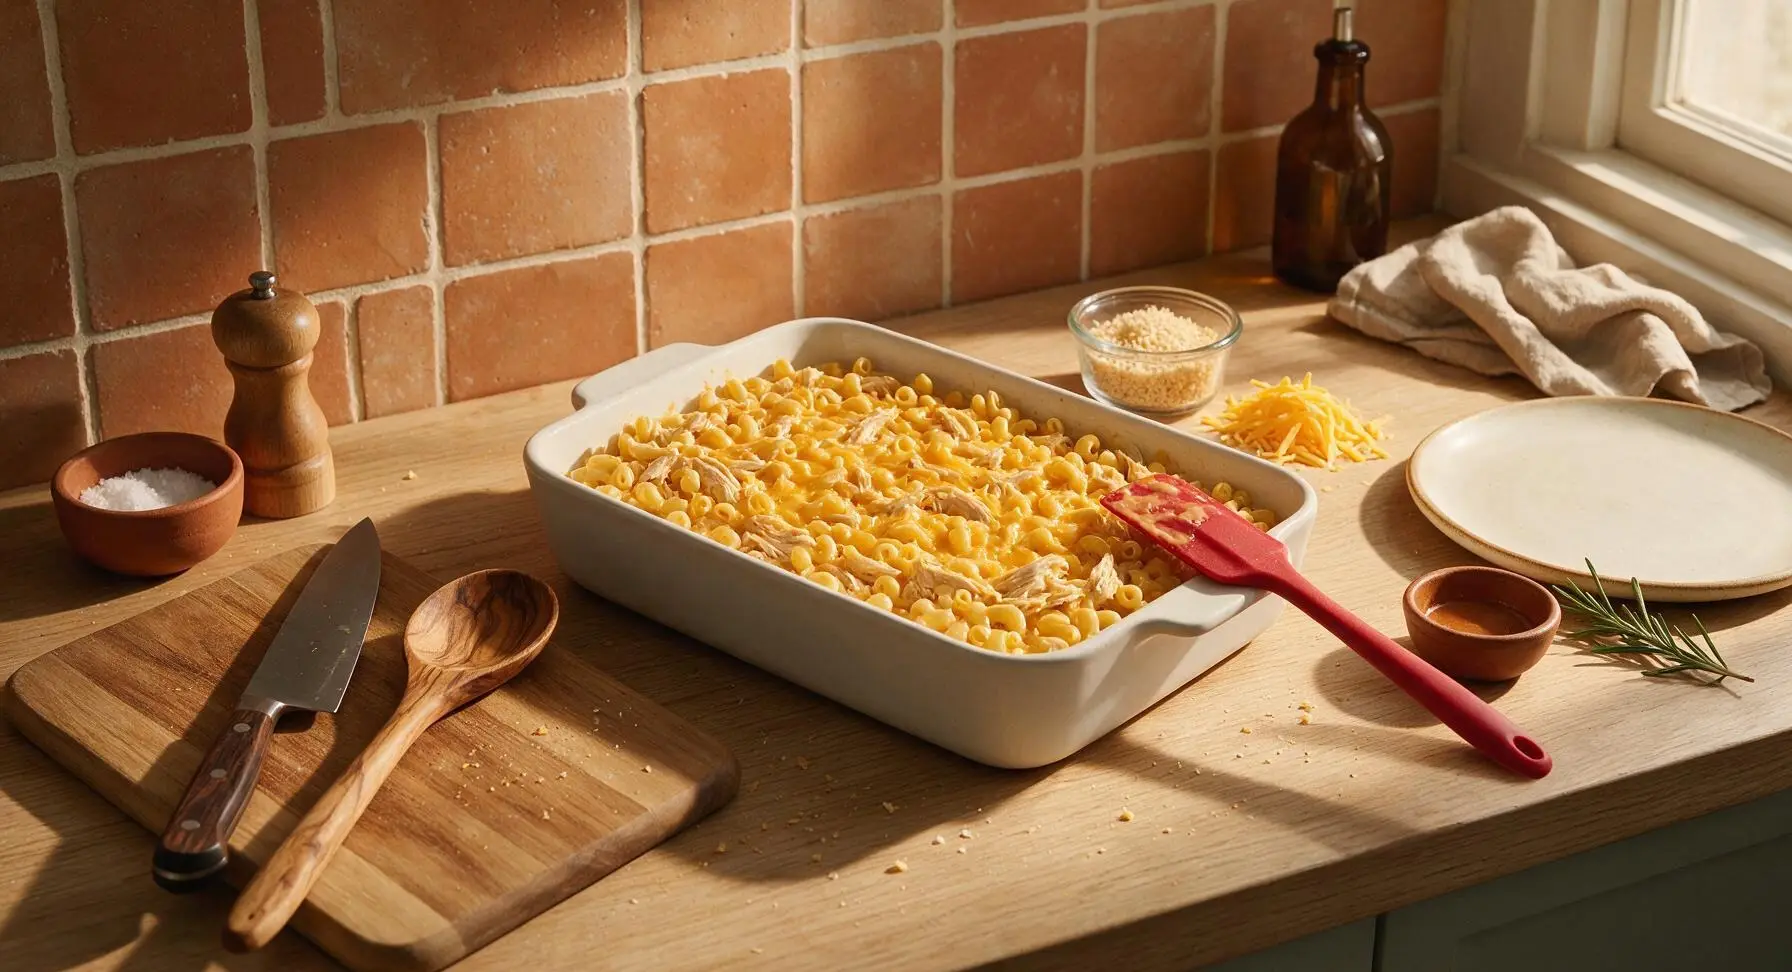
Add Crispy Panko Topping
Melt the remaining 15g (1 tbsp) of unsalted butter in the small clear glass ramekin, then add panko breadcrumbs and toss until every crumb is lightly coated in butter. Sprinkle the reserved 75g of shredded cheddar in an even layer over the top of the casserole, then scatter the buttered panko crumbs over the cheese to cover the surface completely.
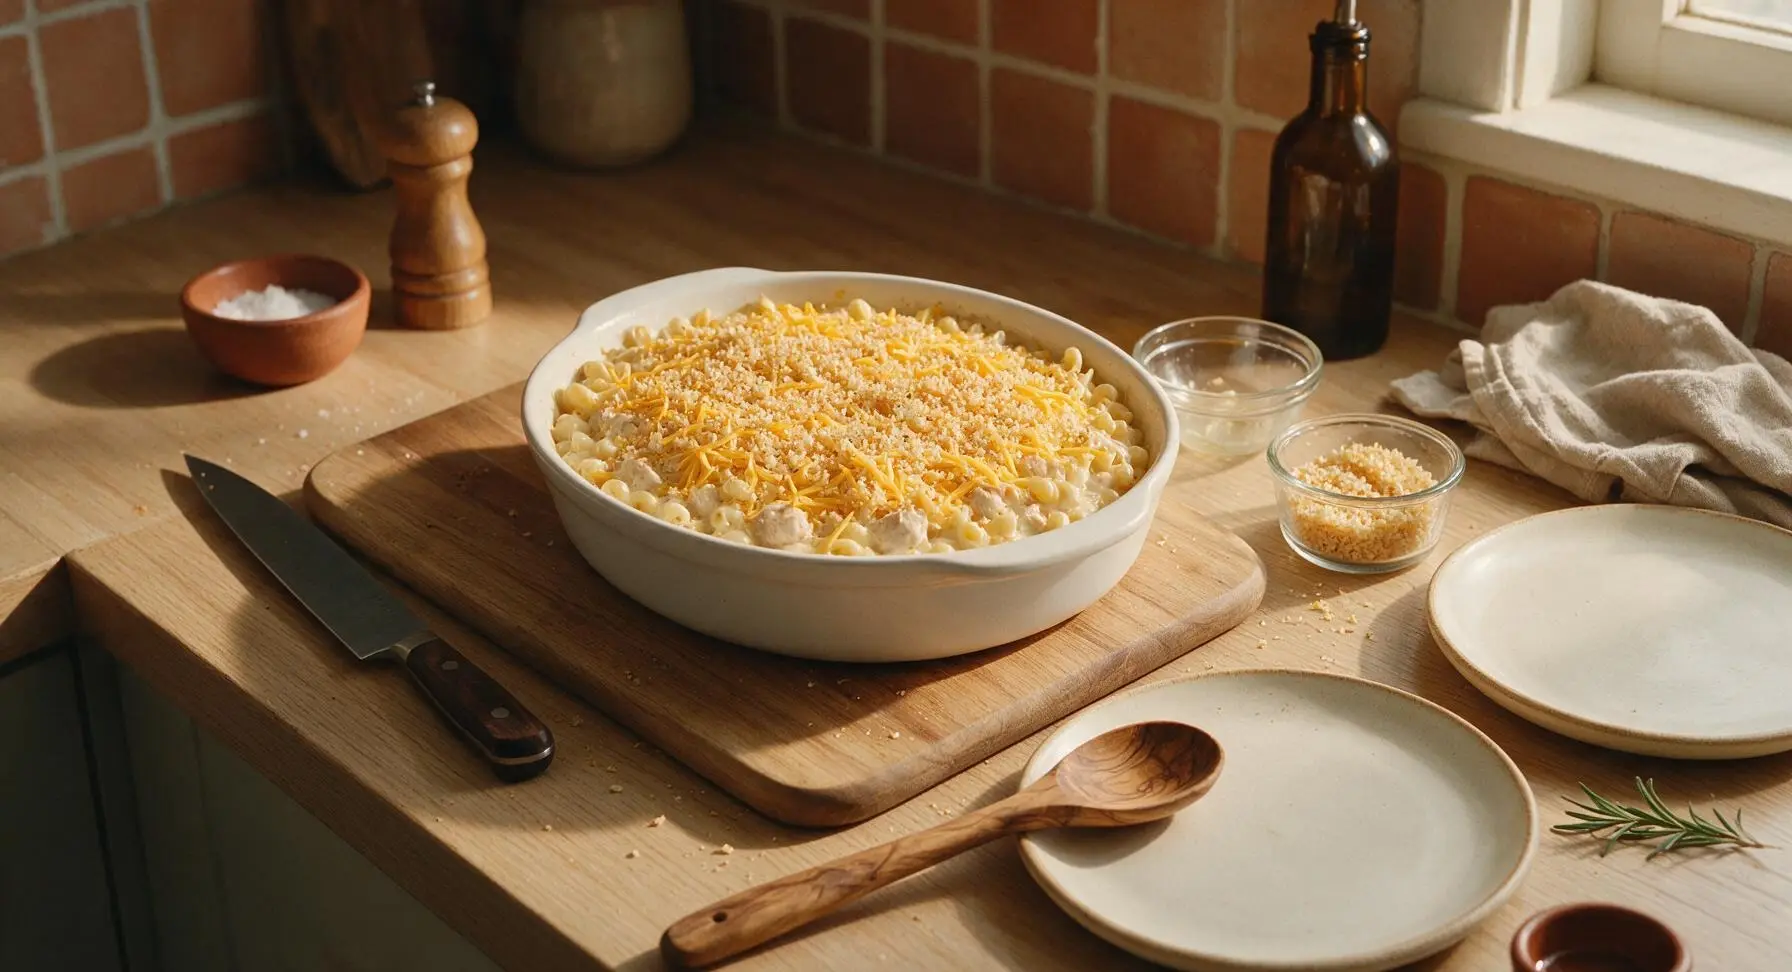
Bake Until Bubbly
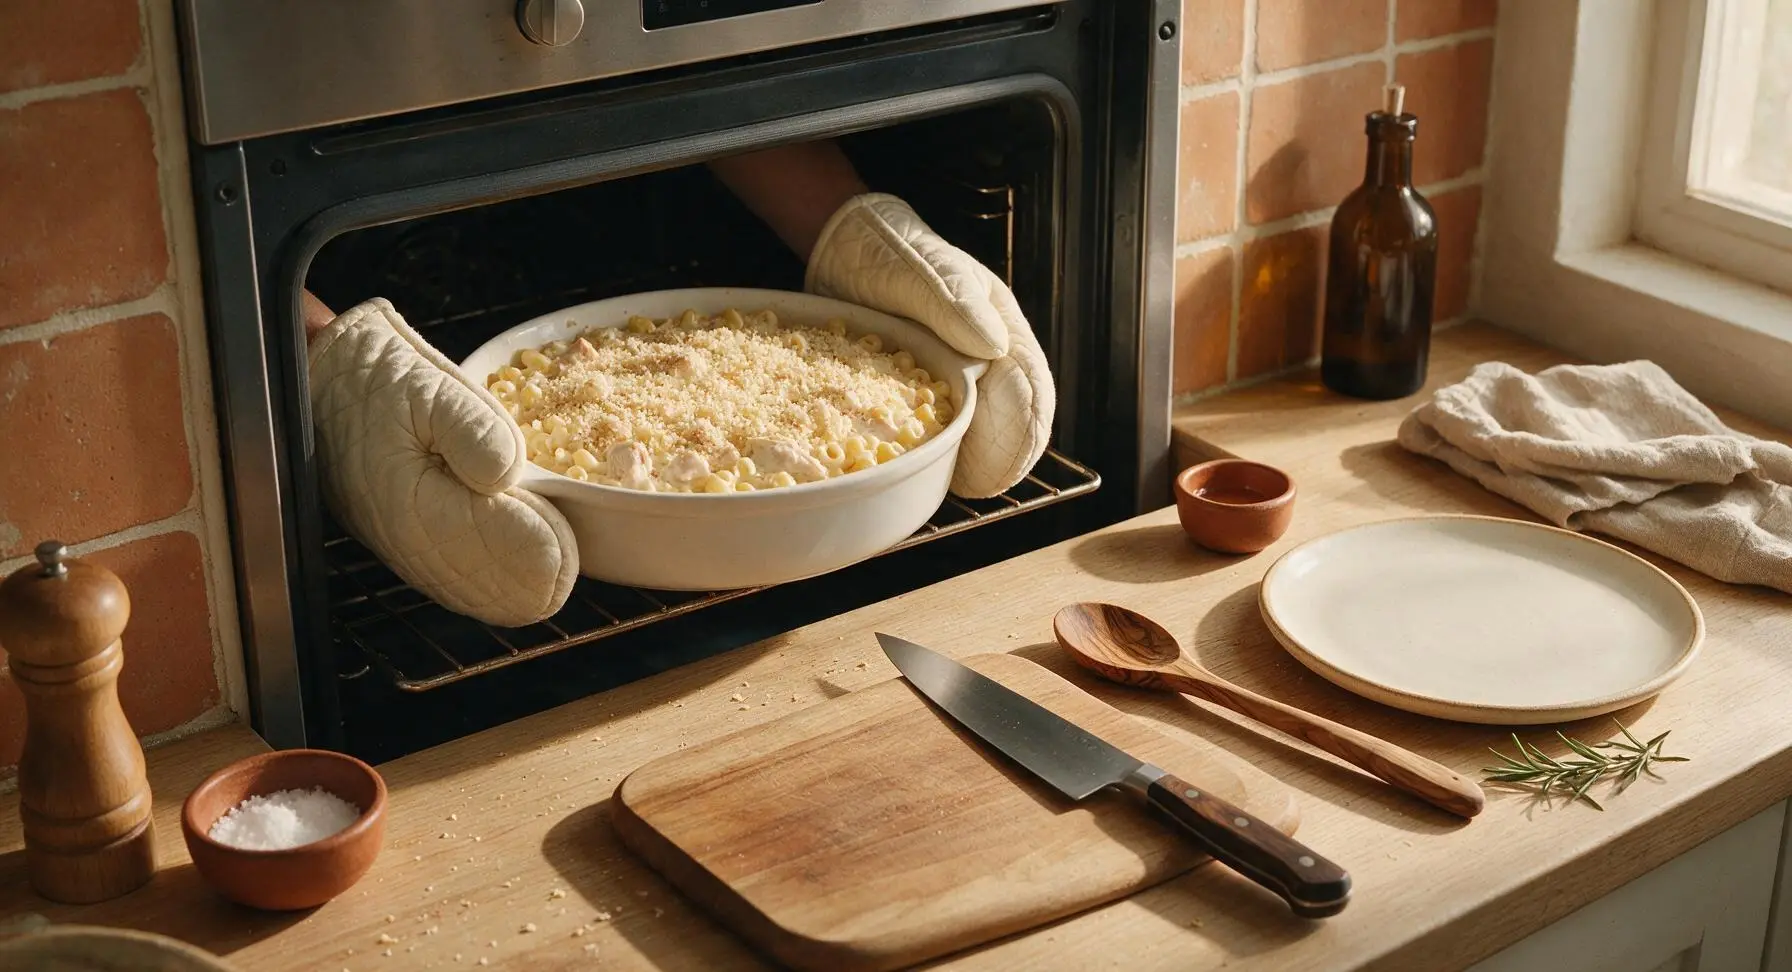
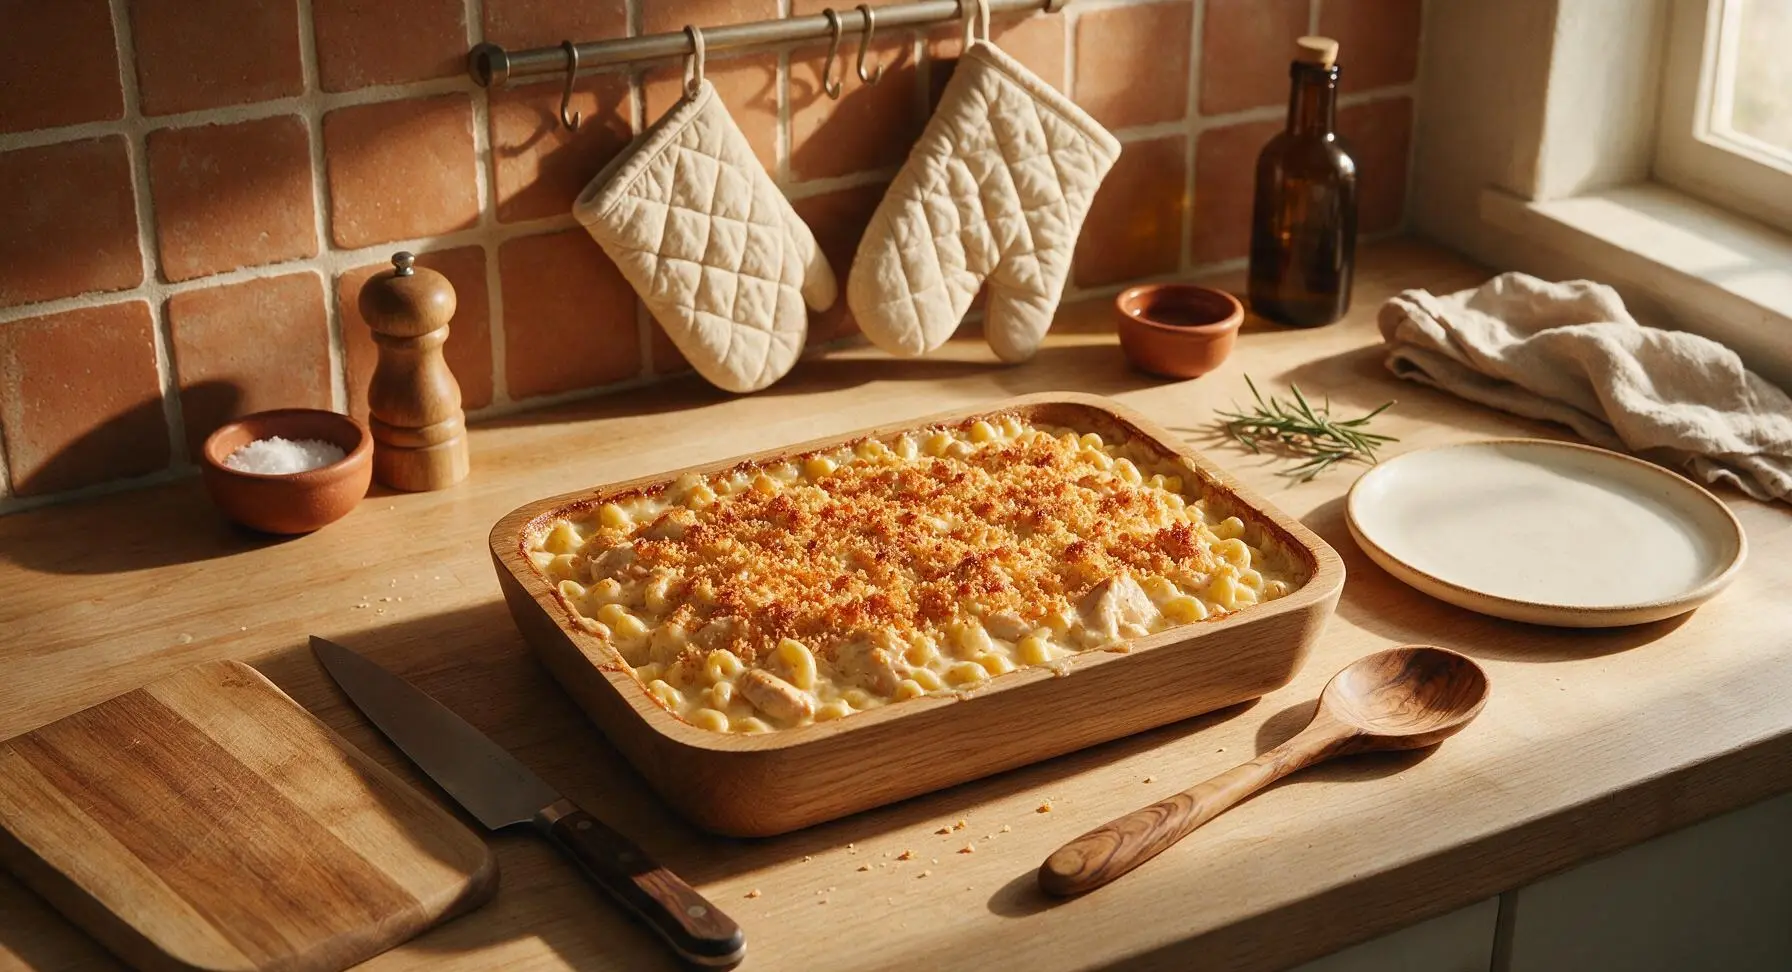
Place the assembled baking dish on the middle rack of an oven preheated to 190°C/375°F. Bake for 25-30 minutes, until the cheese sauce is bubbling vigorously around the entire edge of the dish, and the panko topping is a deep, even golden brown and crisp to the touch. Remove the dish from the oven using the quilted cream cotton oven mitts, and let it rest for 10 full minutes on the counter before serving to allow the sauce to set.
Tips
2.Shred cheddar fresh from a block instead of using pre-shredded store-bought cheese: pre-shredded cheese is coated in potato starch and anti-caking agents that prevent it from melting into a perfectly smooth, creamy sauce.
3.Let the casserole rest a full 10 minutes after removing it from the oven: this cooling time allows the hot cheese sauce to thicken and set, so servings hold their shape instead of running across the plate when scooped.






OMG this was SO good! Threw this together on a busy weeknight when I had zero meal plan, total game changer. My kids loved it, ate seconds without even complaining about the peas and carrots, total win for mom!
Solid casserole! Added a little extra smoked paprika and a handful of crushed fried onions on top for crunch, turned out great. Took this to my buddy’s game night and it was gone in 10 minutes flat.
Super easy even for someone who burns toast half the time! Used canned chicken I had stashed in my dorm pantry and it still slapped, will 100% make this again for my roommates.
Brought this to our church potluck last Sunday and so many people tracked me down to ask for the recipe! Creamy, hearty, not too heavy, perfect for feeding a crowd without breaking the bank.
Great meal prep recipe! Made a big pan on Sunday, portioned it out for work lunches all week, held up really well in the fridge. Only thing I’d change is cutting back a little on the salt next time.
Made this last night and it was incredible! Quick question though — can I use frozen mixed veggies in this next time instead of fresh? I have a giant bag in the freezer I need to use up before it gets freezer burn.
Just pulled this out of the oven and my whole apartment smells insane!!! Used a mix of sharp cheddar and smoked gouda because that’s what I had in the cheese drawer, would 10/10 recommend.
This tastes just like the creamy chicken casserole my mom used to make when I was a kid! Such a cozy, nostalgic meal, my grandkids go crazy for it every time I pull it out of the oven.
Made this a little lighter by swapping half the creamy sauce for plain Greek yogurt and using whole wheat pasta, and it still tasted amazing! Great way to cut a few calories without losing that rich, creamy texture.
The flavor was good but my sauce came out really lumpy? Not sure what I did wrong, I followed the directions exactly for the roux and still ended up with little flour clumps everywhere.
Total game changer for weeknight dinners! 40 minutes total from fridge to table is exactly what I need with my chaotic work schedule, no fancy hard-to-find ingredients required.
Obsessed with this recipe! I added a can of diced green chiles and a sprinkle of cayenne for a little kick, it was chef’s kiss. Who else has tried fun add-ins to mix this up?
My 8 year old is the pickiest eater on the planet and he asked for SECONDS of this. I repeat, my kid who only eats chicken nuggets and plain pizza asked for seconds of a casserole with veggies in it. I’m making this every single week from now on.
Love this recipe so far, the flavor is amazing! Quick question — can I freeze this after baking? I like to make double batches of casseroles to pull out on nights I don’t feel like cooking at all after work.
Made this for our weekly family dinner last night, my daughter and son-in-law brought my two grandbabies over, and everyone cleaned their plates. The creamy sauce is perfect, not too rich, just right for a cozy weeknight meal.
Made this gluten free by using brown rice pasta and a GF all-purpose flour blend for the roux, and you couldn’t even tell the difference! So happy to have a creamy casserole I can eat without my stomach hurting afterward.