
chicken and rice in the oven

title 1
chicken and rice in the oven
⏱️ cook time 50 minutes
🍽️ servings 4
⚡ Difficulty easy

intro

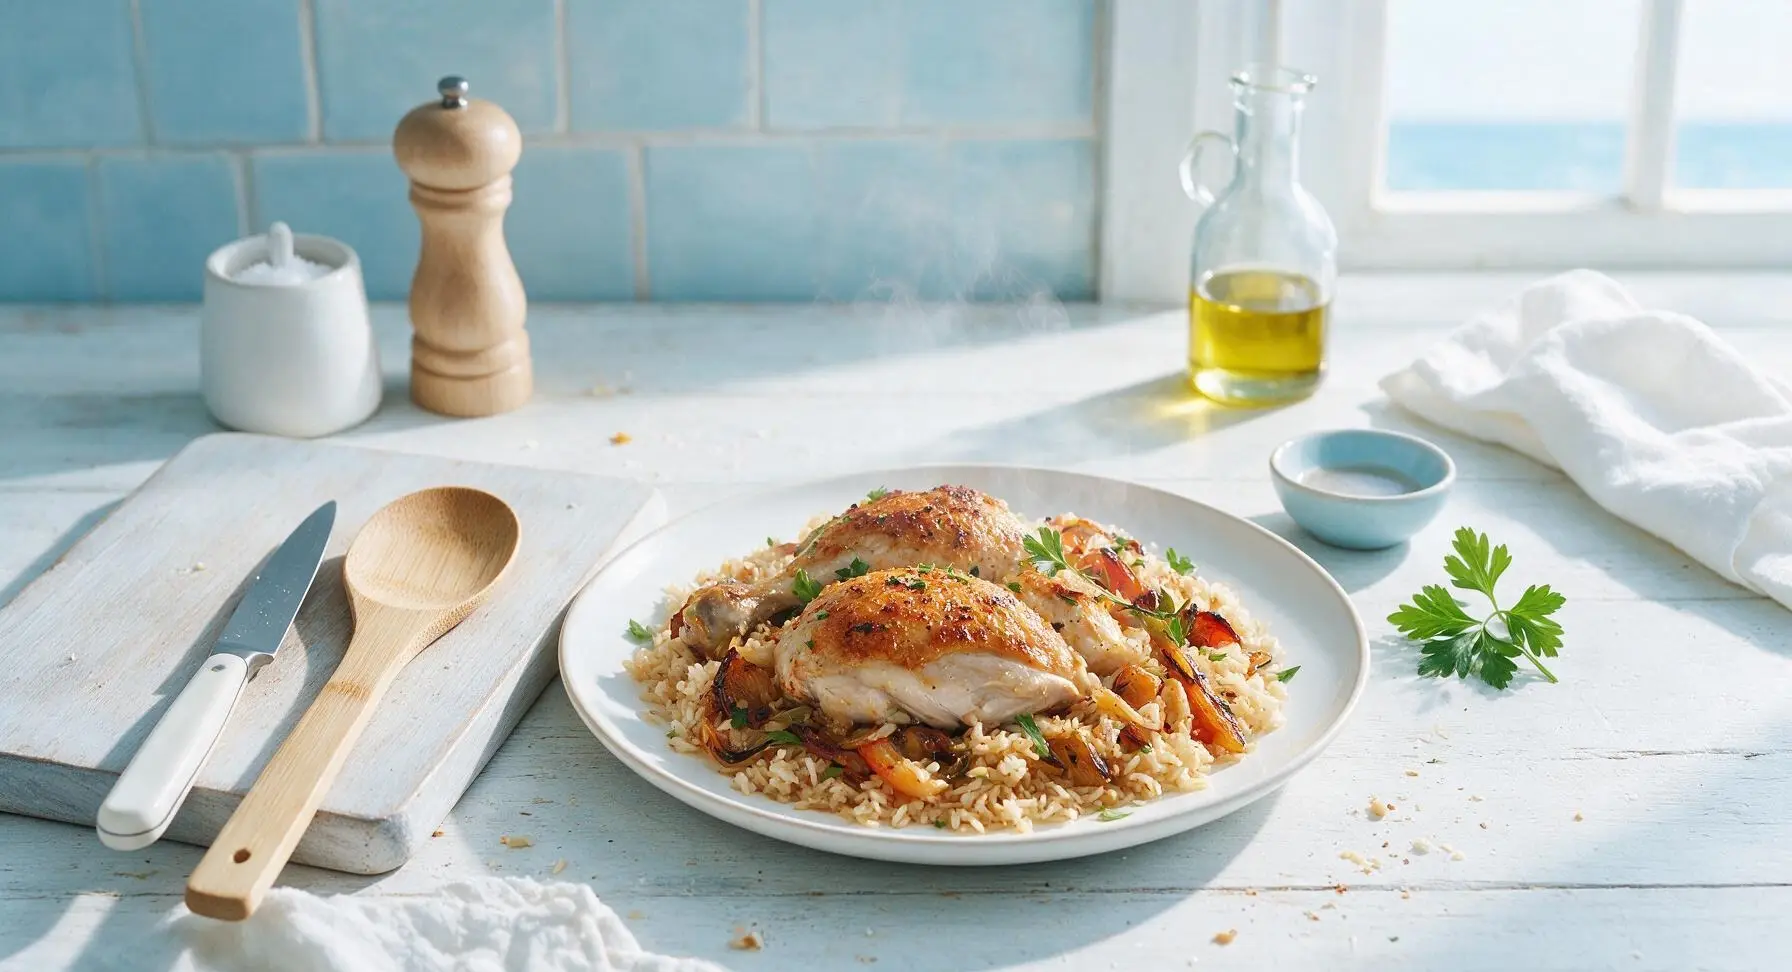
Tender, juicy crispy-skinned chicken baked over fluffy, savory rice with caramelized vegetables, all made in one pan for minimal cleanup and maximum cozy, comforting flavor.

Ingredients
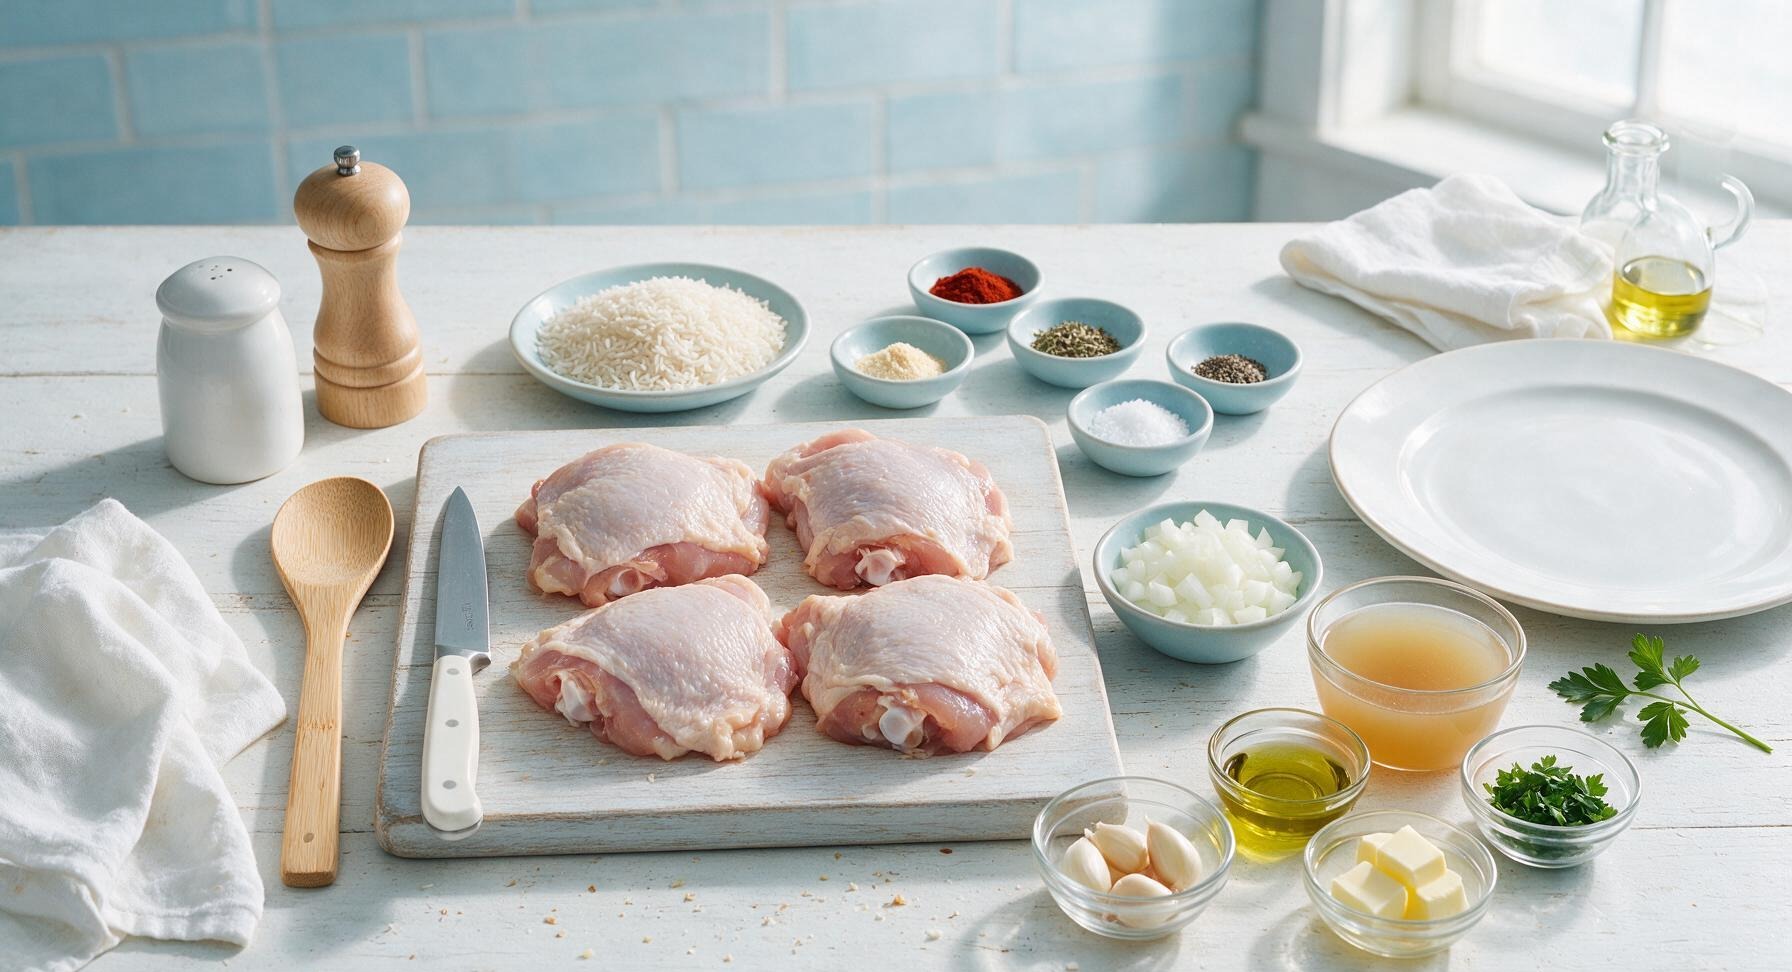
Bone-in, skin-on chicken thighs 4 pieces (600g total, patted dry)
Long-grain white rice (uncooked) 1.5 cups (270g, rinsed and drained)
Low-sodium chicken broth 2.5 cups (600ml)
Yellow onion 1 medium (150g, diced)
Carrot 1 medium (100g, small diced)
Garlic 6 cloves (30g, 4 minced, 2 whole)
Extra-virgin olive oil 2 tablespoons (30ml)
Smoked paprika 1 teaspoon (2g)
Garlic powder 1 teaspoon (3g)
Dried thyme ½ teaspoon (1g)
Kosher salt 1.5 teaspoons (9g)
Freshly ground black pepper ½ teaspoon (1g)
Unsalted butter 2 tablespoons (28g, cut into 4 small pieces)
Fresh flat-leaf parsley 2 tablespoons (5g, chopped, for garnish)

Steps

1

Preheat Oven and Pan

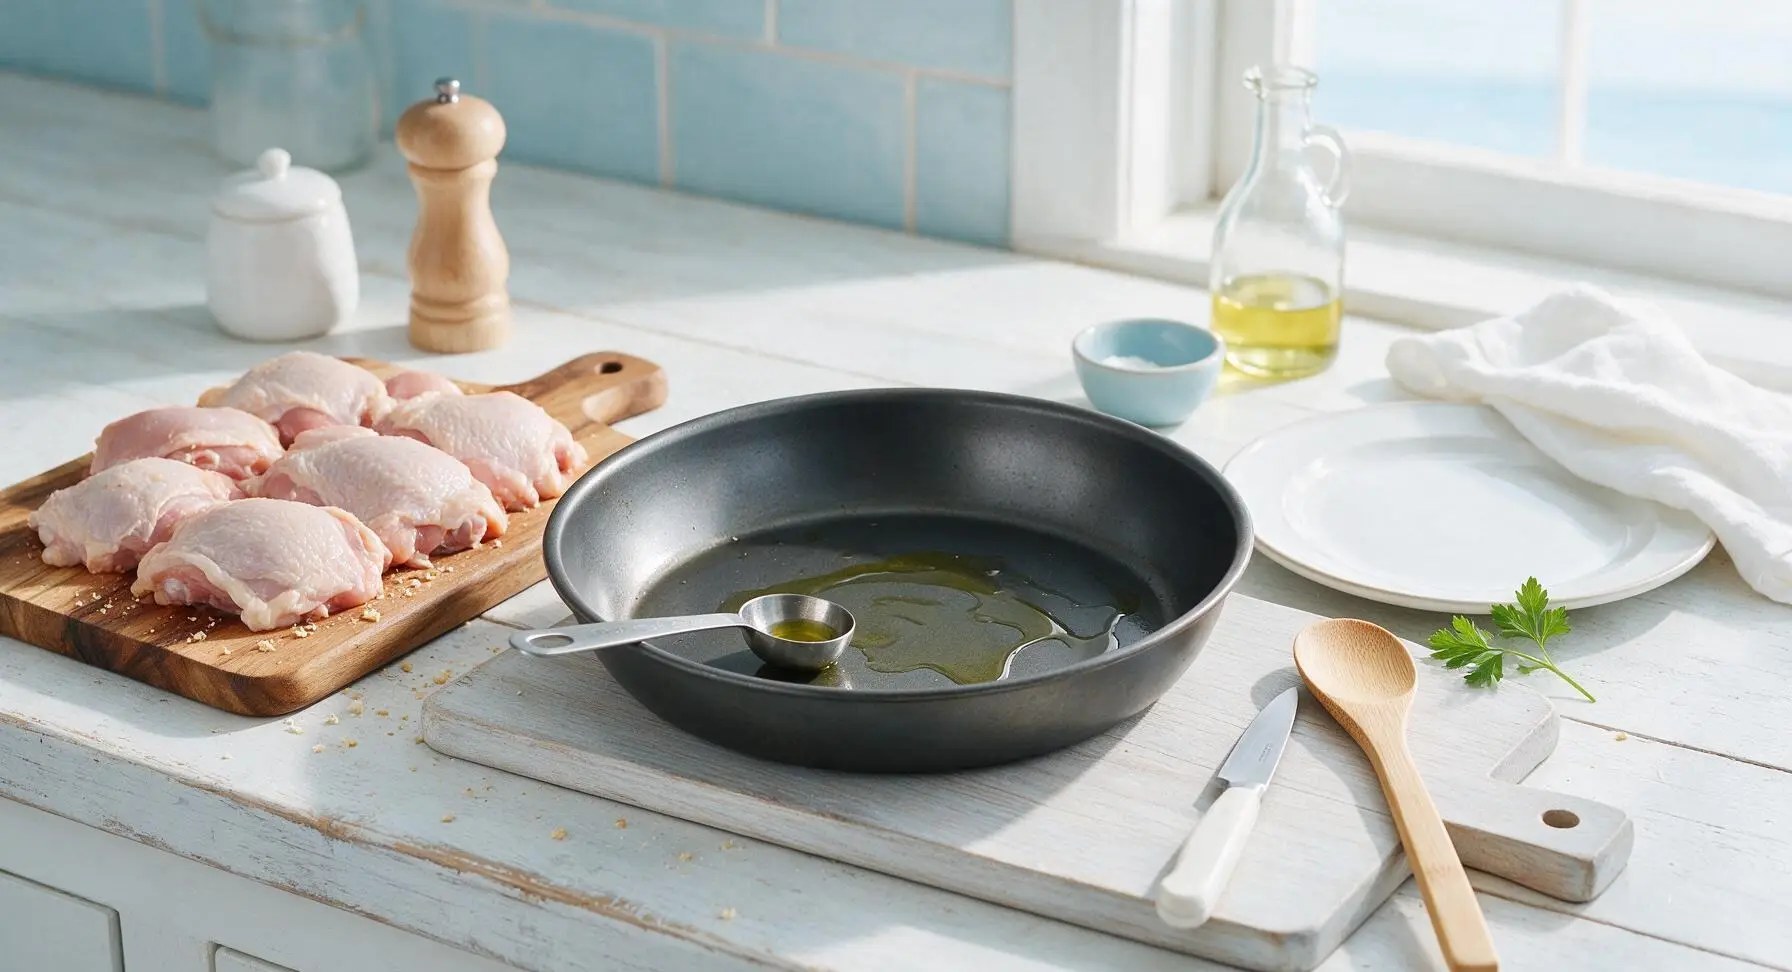
Adjust oven rack to the middle position, preheat oven to 375°F (190°C). Place the 9x13 inch matte carbon steel roasting pan on the counter, add 1 tablespoon of olive oil, and use a paper towel to lightly coat the bottom and lower sides of the pan. This prevents rice from sticking during baking.
Step 1
step1:Preheat Oven and Pan
2

Season Chicken Thighs

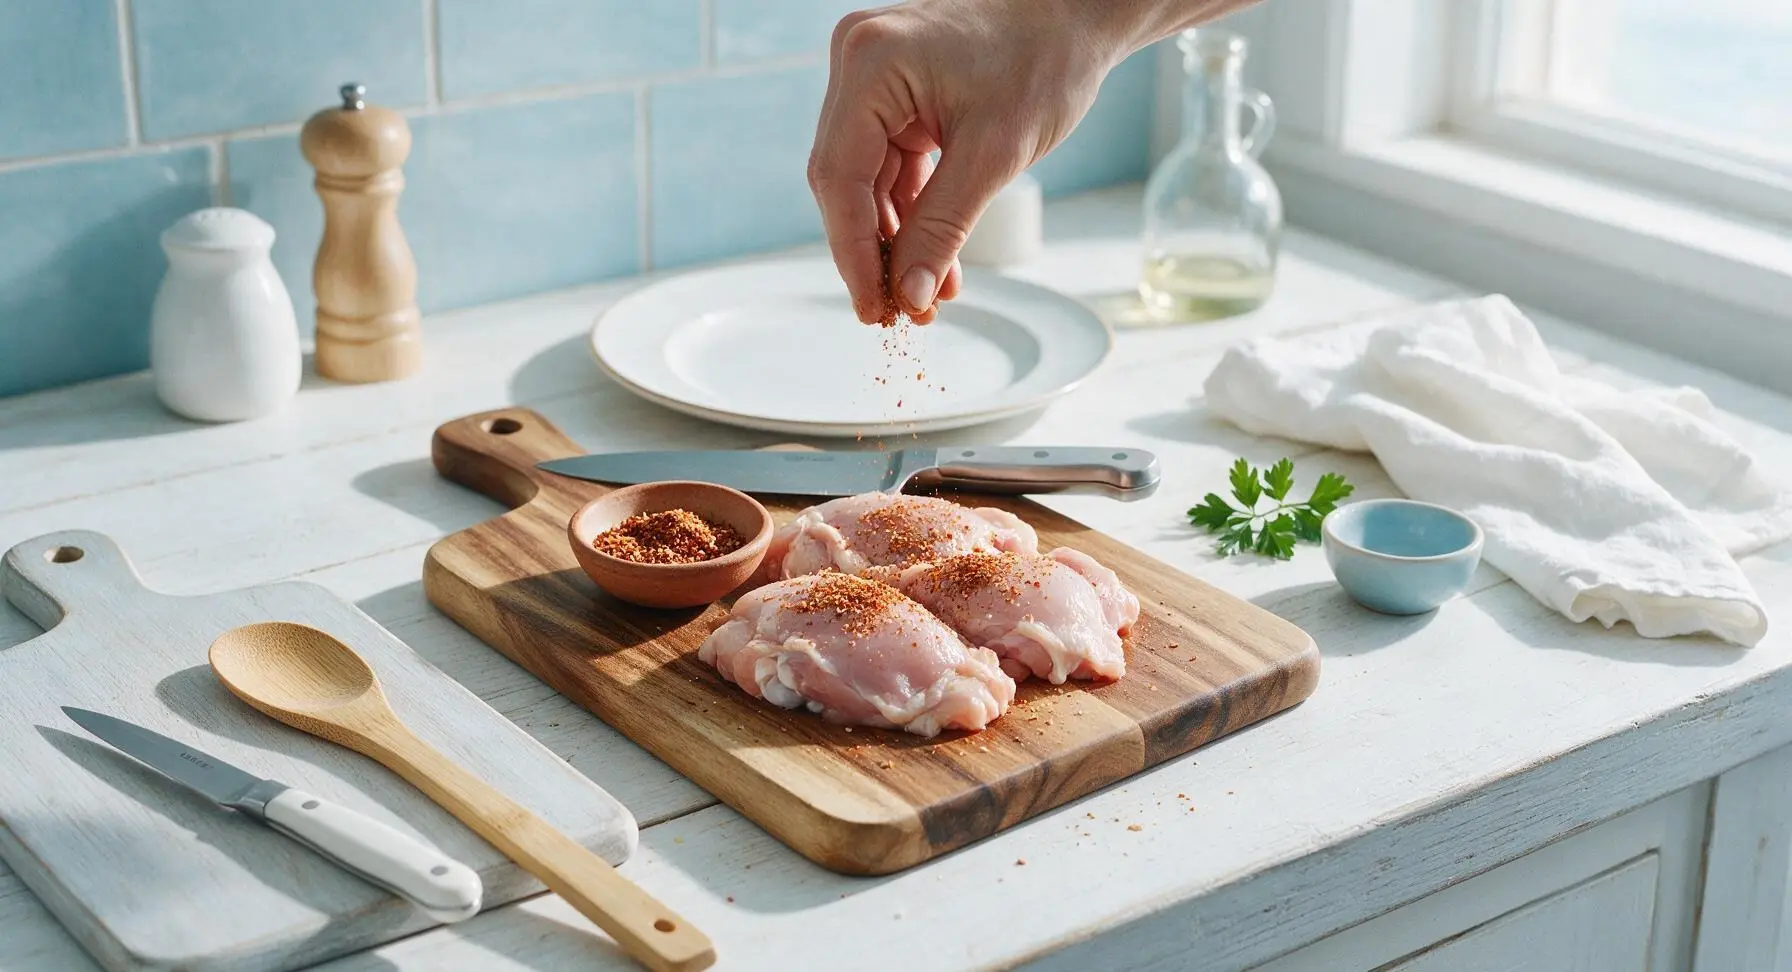
In a small terracotta pinch bowl, mix smoked paprika, garlic powder, dried thyme, 1 teaspoon of kosher salt, and ¼ teaspoon black pepper. Pat the chicken thighs completely dry with paper towels (dry skin is critical for crispiness), then rub all sides of the thighs with 1 tablespoon of olive oil, and sprinkle the spice mix evenly over the skin and flesh sides, pressing lightly so the spices adhere.
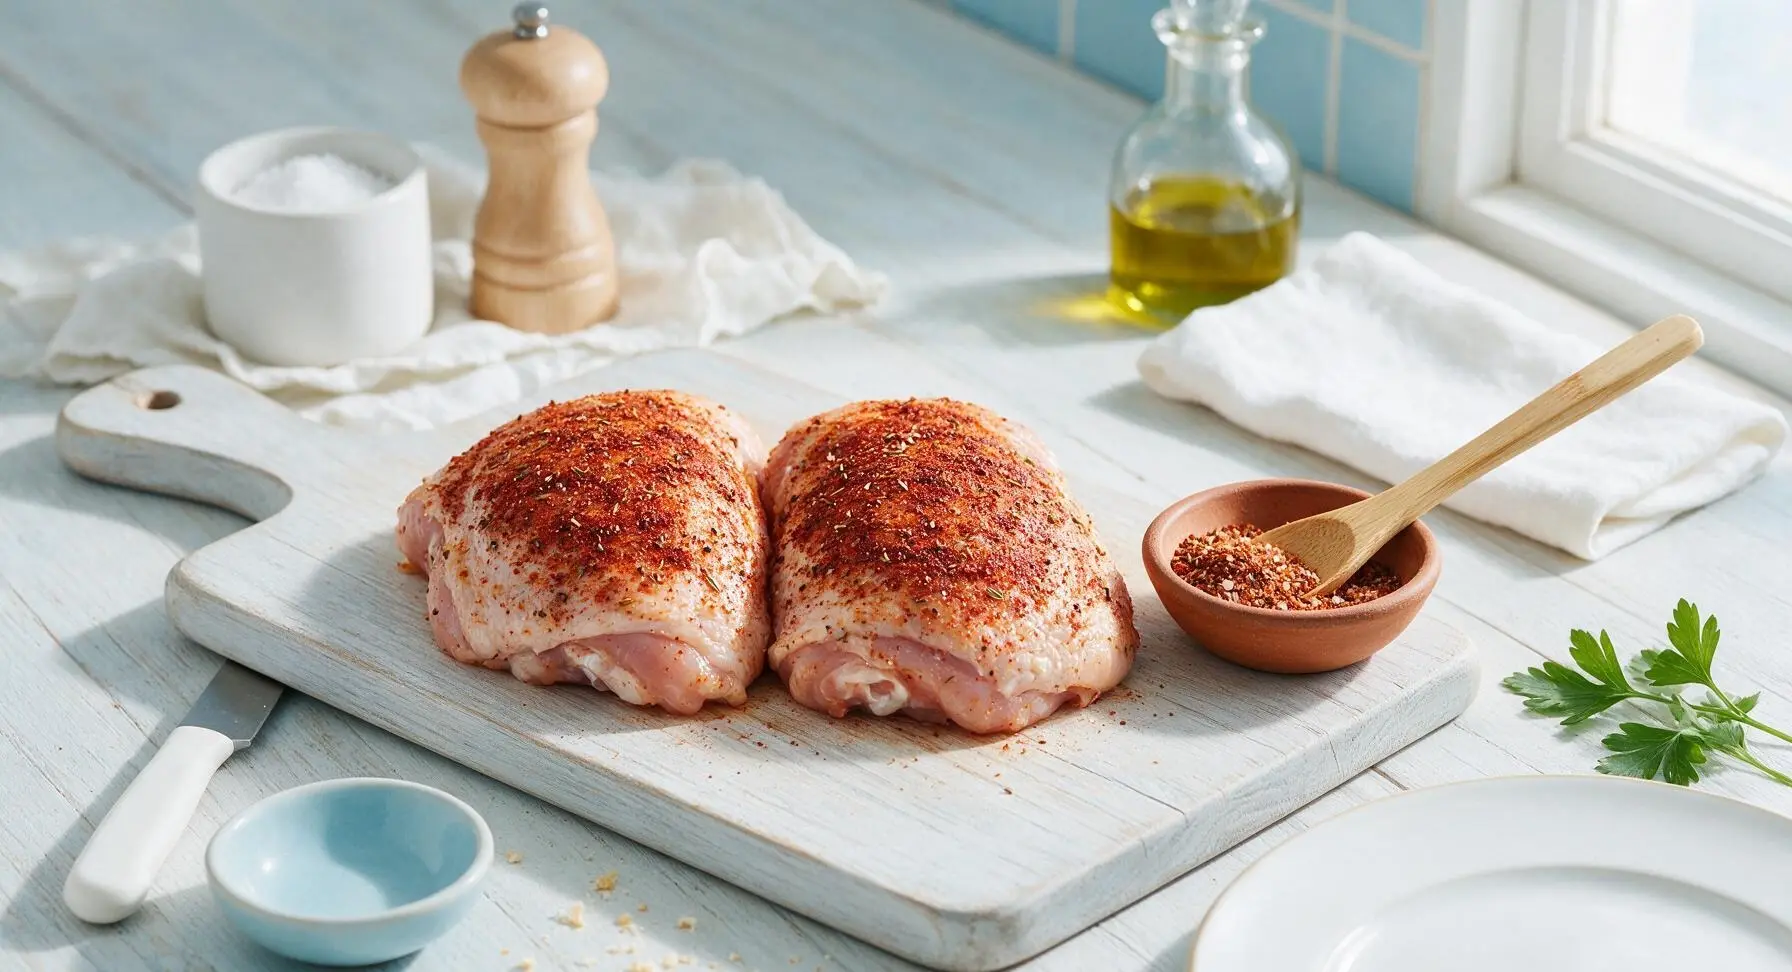
Step 2
step2:Season Chicken Thighs
Step 2
step2:Season Chicken Thighs
3

Sauté Base Aromatics

Heat the oiled roasting pan over medium heat on the stovetop. Add diced onion and carrot, cook for 3 minutes, stirring occasionally with the silicone-tipped tongs, until onion turns translucent and edges start to turn pale golden. Add minced garlic and whole garlic cloves, cook for 30 seconds more until fragrant, being careful not to burn the garlic.
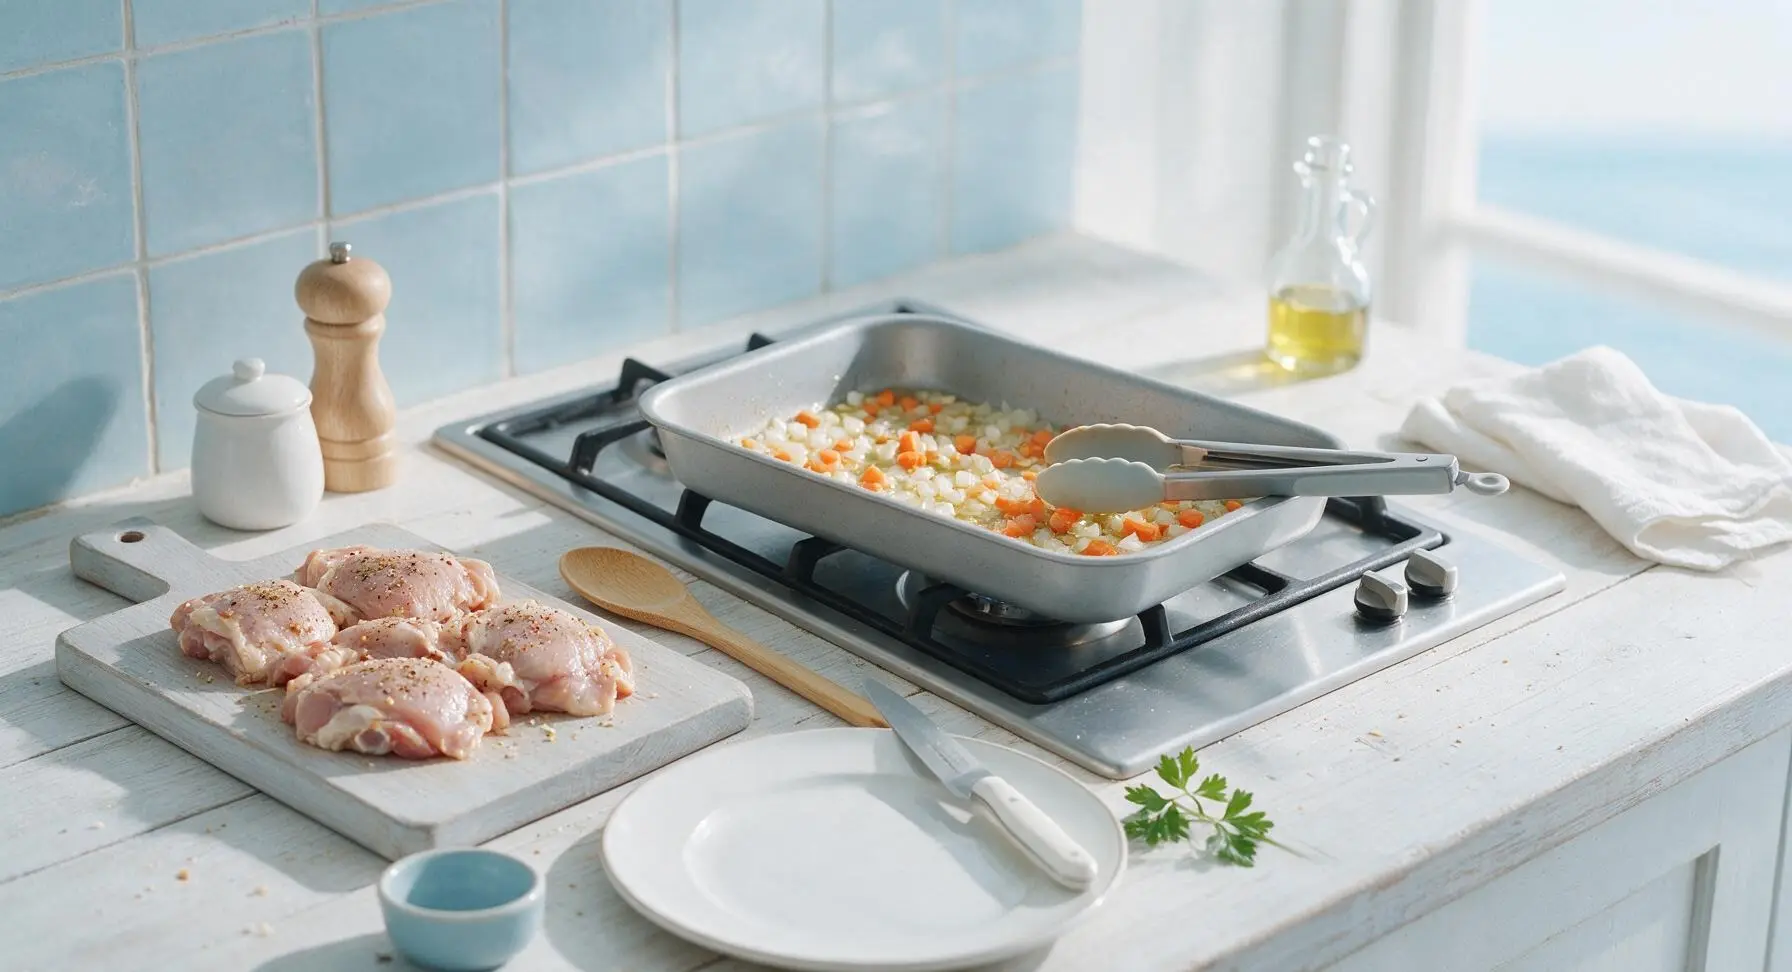
Step 3
step3:Sauté Base Aromatics
4

Layer Rice and Broth

Remove the roasting pan from stovetop heat. Spread the rinsed, drained long-grain rice in an even layer across the bottom of the pan, over the sautéed aromatics. Pour the full 2.5 cups of chicken broth evenly over the rice, then sprinkle the remaining ½ teaspoon salt and ¼ teaspoon black pepper over the liquid. Stir very gently with the small wire whisk to evenly distribute the rice and vegetables, making sure no rice is clumped or stuck above the liquid line.
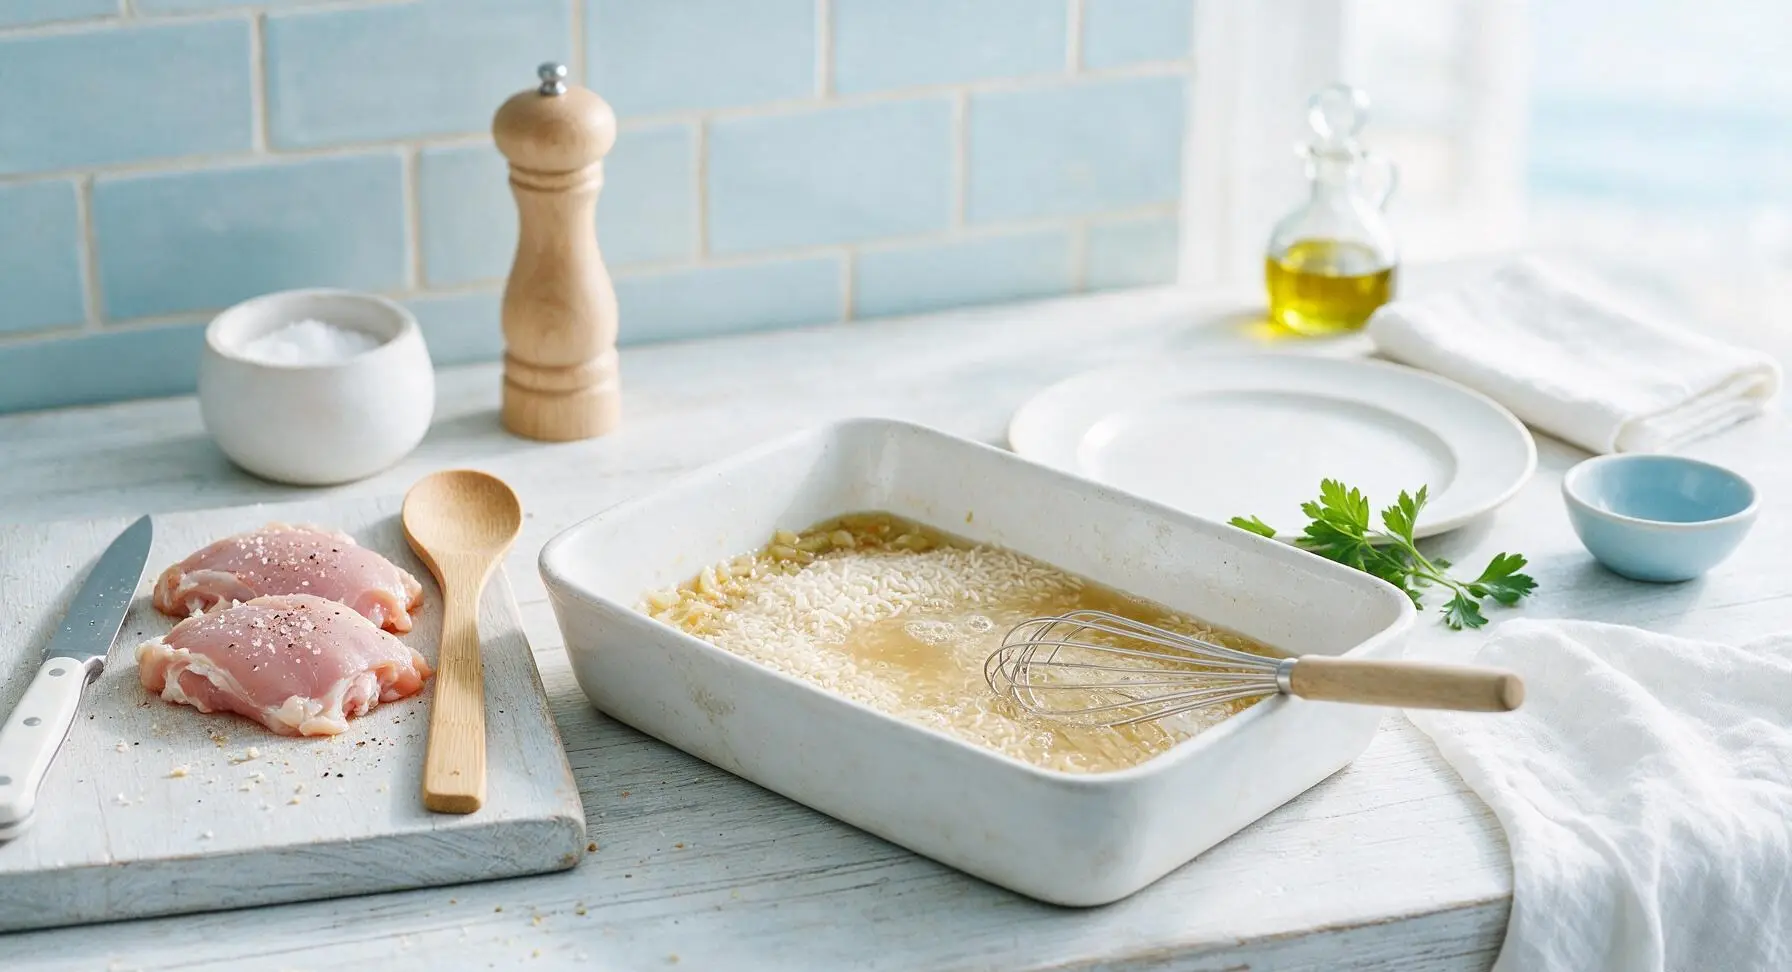
Step 4
step4:Layer Rice and Broth
5

Top with Chicken and Butter

Nestle the seasoned chicken thighs skin-side up on top of the rice and liquid, spacing them evenly across the pan (do not submerge them fully—skin should sit above the liquid to crisp). Place the small pieces of cut butter around the chicken pieces, directly on the rice surface. The butter will melt as it bakes to add richness to the rice.
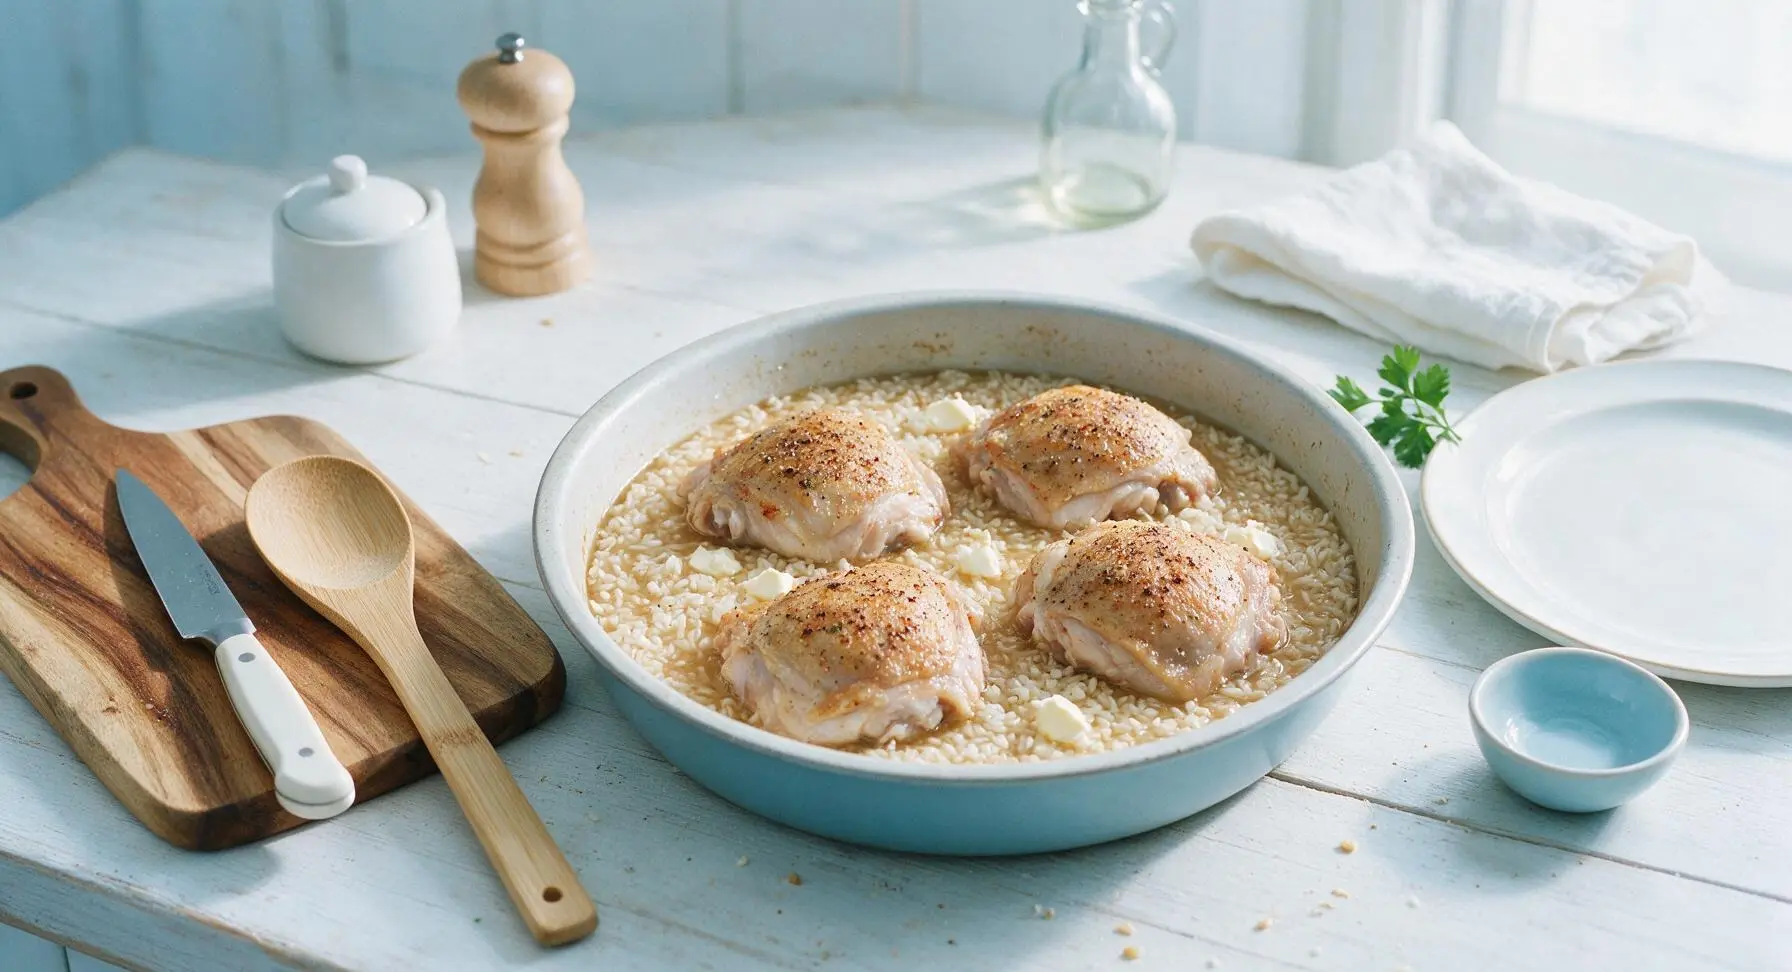
Step 5
step5:Top with Chicken and Butter
6

Bake Covered Tightly

Cover the roasting pan tightly with a double layer of heavy-duty aluminum foil, pressing the edges firmly against the pan rim to create a complete steam seal (no gaps, or rice will not cook evenly). Place the pan on the middle oven rack, bake for 35 minutes at 375°F (190°C). Do not open the oven door or lift the foil during this time, as escaping steam will lead to undercooked, crunchy rice.
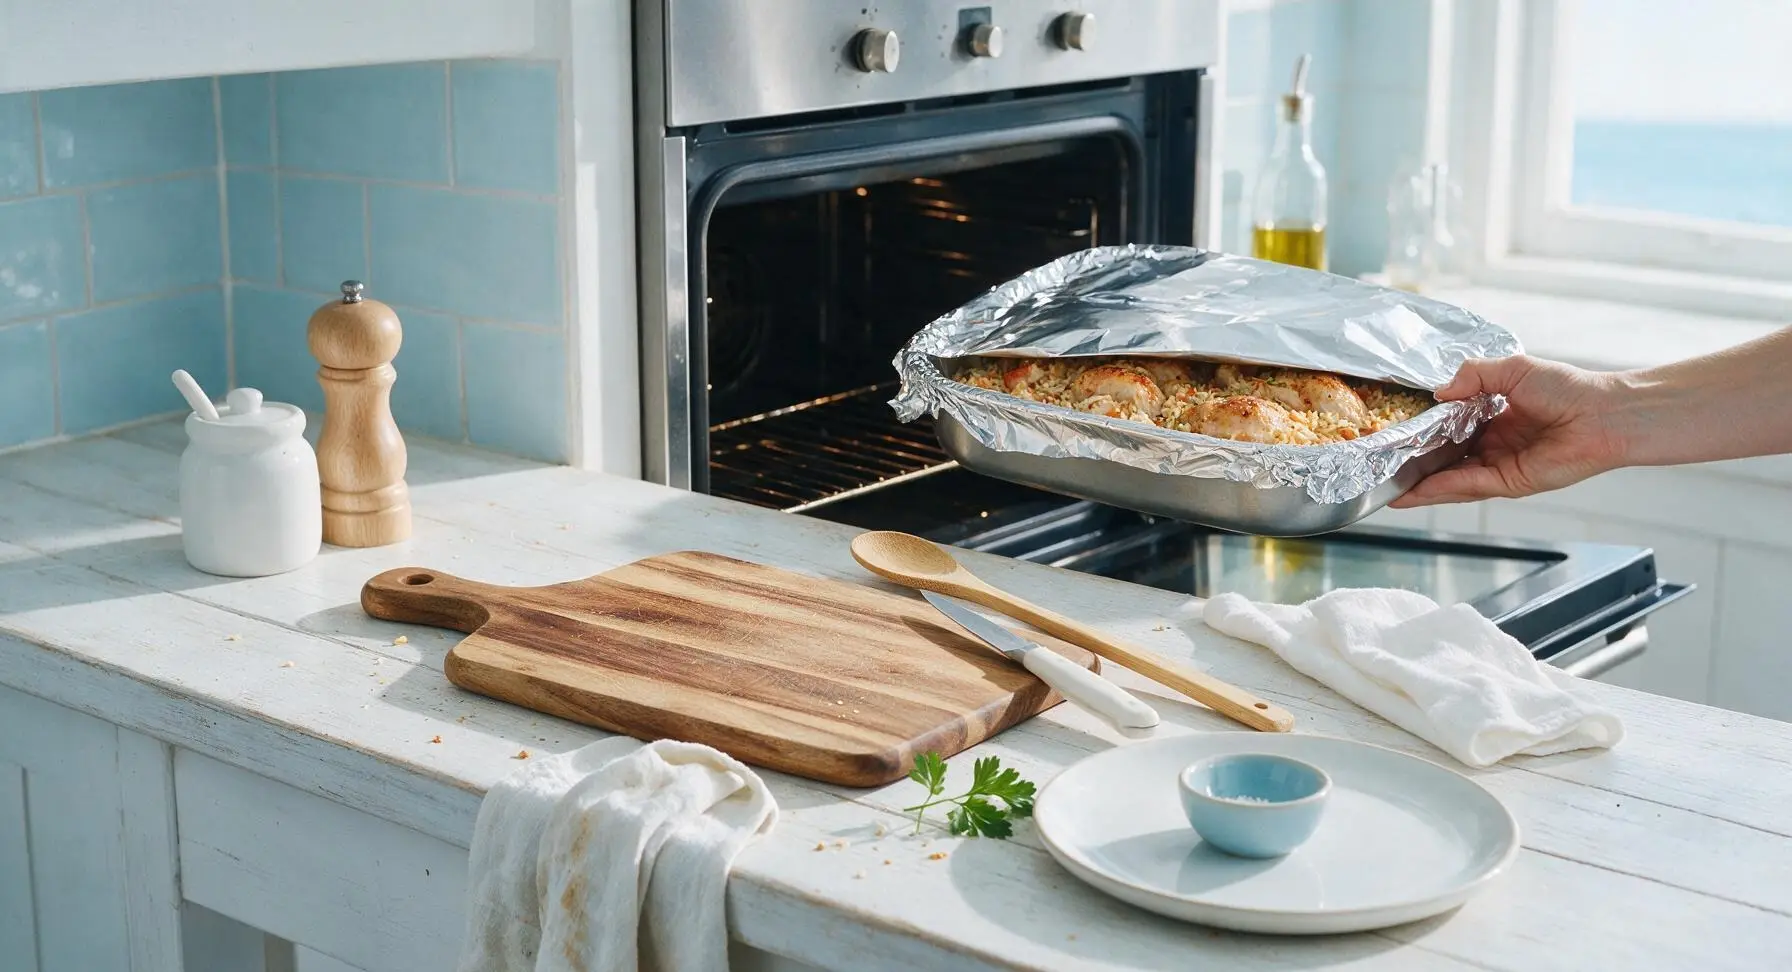
Step 6
step6:Bake Covered Tightly
7

Uncover to Crisp Skin

After 35 minutes of covered baking, carefully remove the pan from the oven (keep oven on). Lift off the foil, pointing the opening away from your face to avoid burns from escaping hot steam. The rice should be almost fully tender, with a small amount of liquid remaining at the pan bottom. Return the uncovered pan to the oven, bake for 12-15 minutes more, until chicken skin is deep golden and crispy, all liquid is absorbed, and rice is fully fluffy.
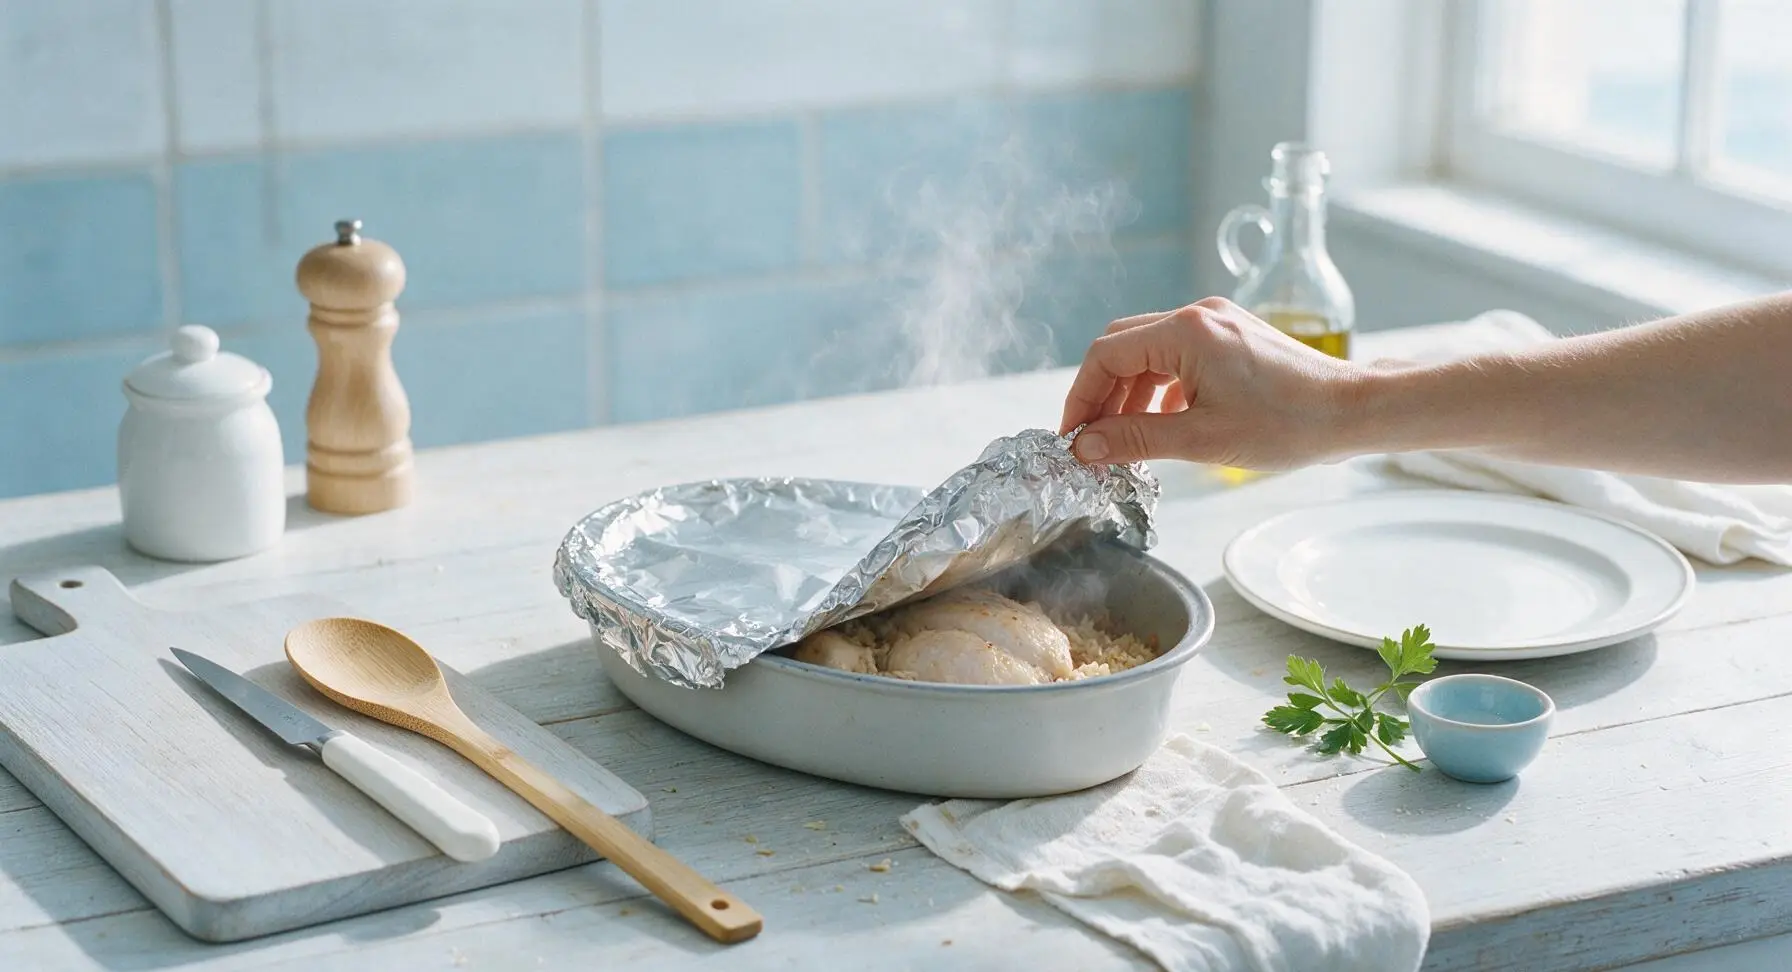
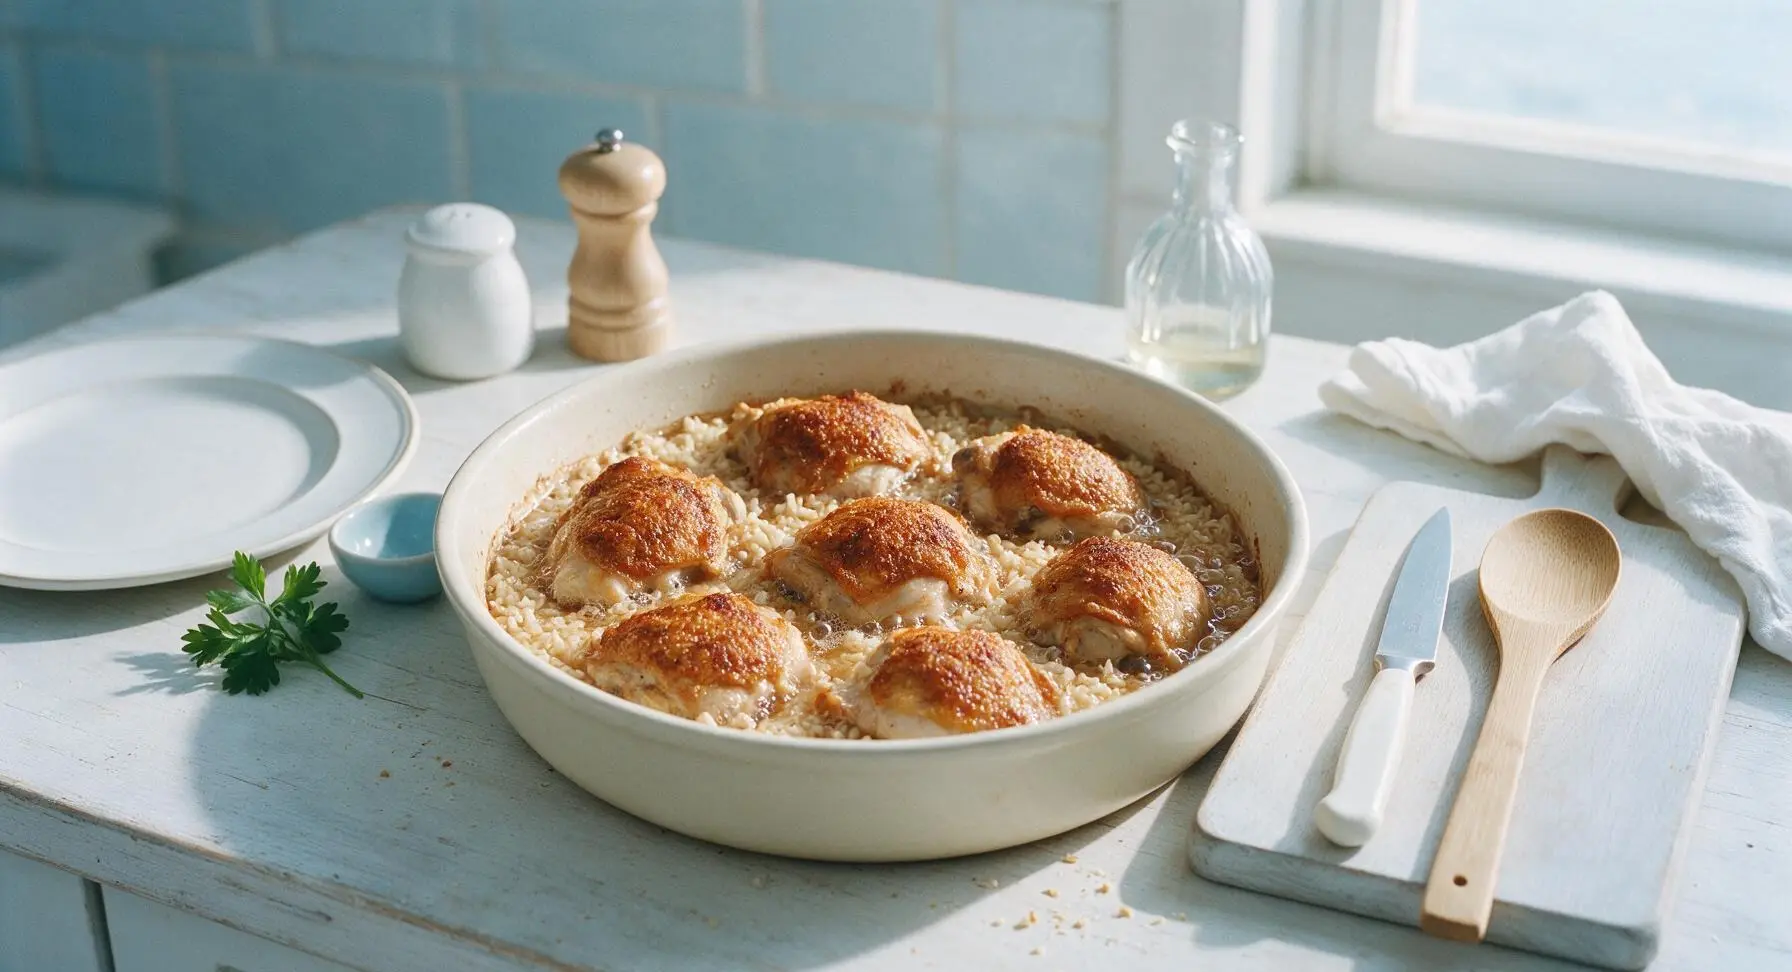
Step 7
step7:Uncover to Crisp Skin
Step 7
step7:Uncover to Crisp Skin
8

Rest and Garnish

Remove the pan from the oven, let it rest for 5 minutes uncovered to allow rice to absorb any remaining pan juices. Use a fork to gently fluff the rice around the chicken, taking care not to tear the crispy chicken skin. Sprinkle chopped fresh flat-leaf parsley over the top of the dish before serving.
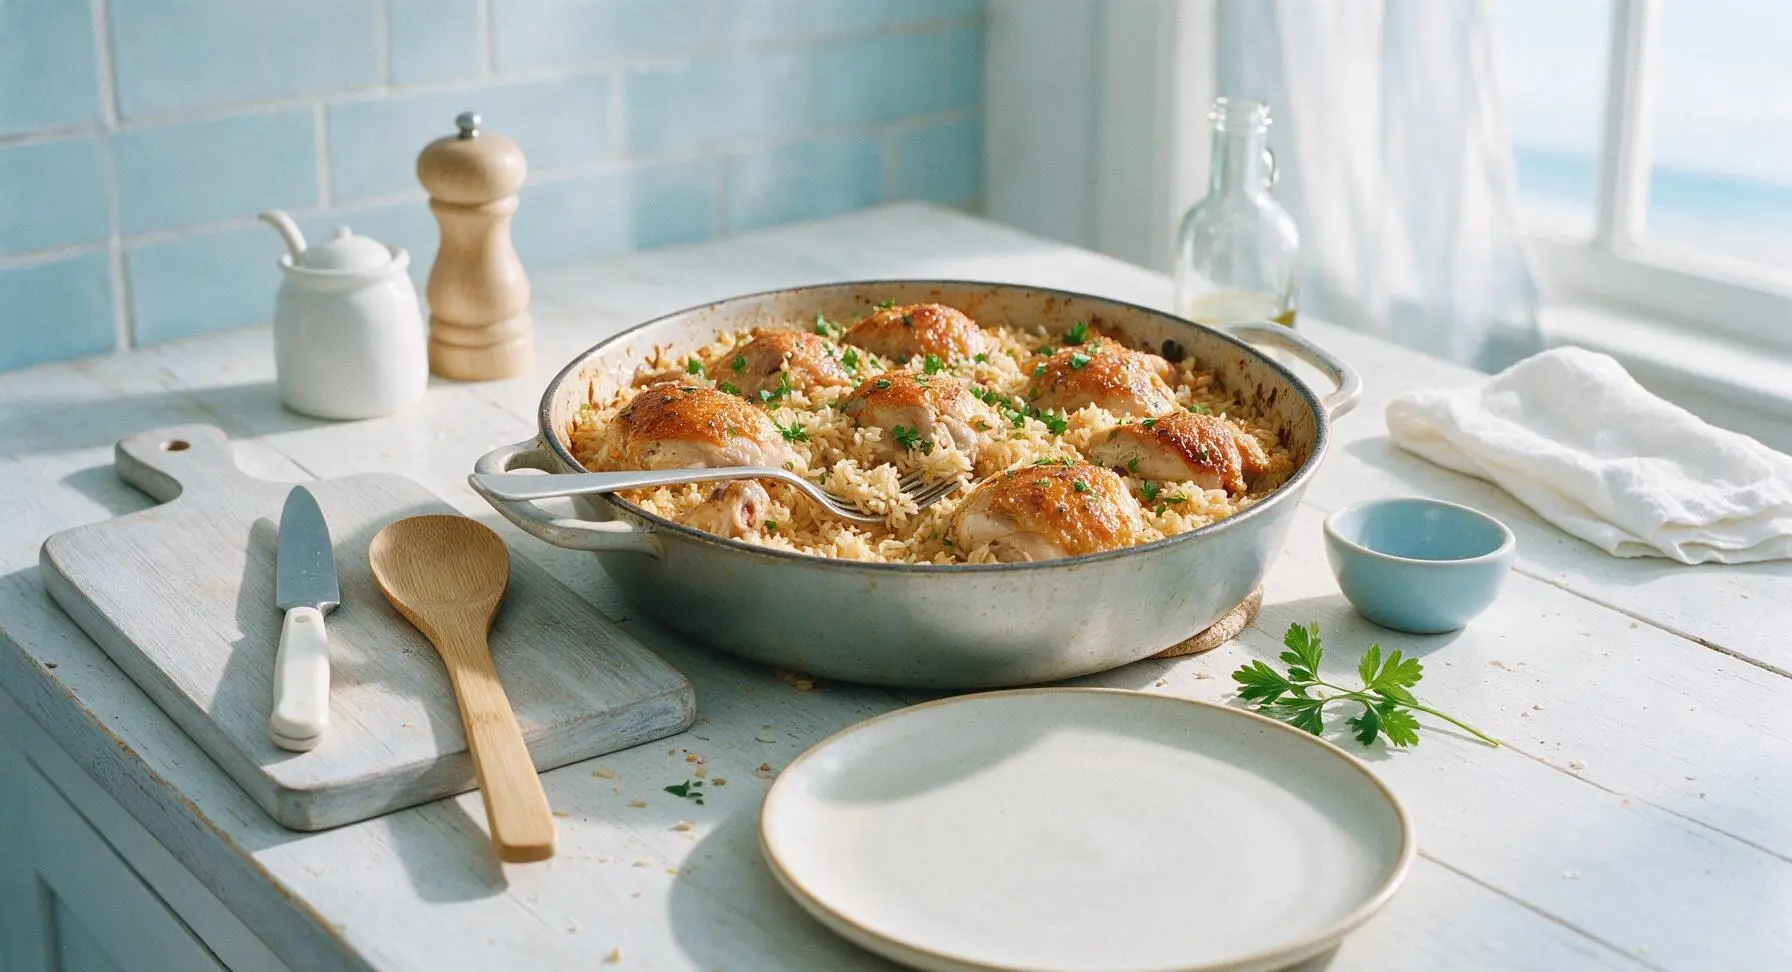
Step 8
step8:Rest and Garnish

Tips

1.Use long-grain white rice instead of short-grain or instant rice for this recipe: Long-grain rice stays light, fluffy, and separate when baked in trapped steam, while short-grain rice turns sticky and mushy, and instant rice overcooks into a soft, uneven texture by the time the chicken is done.
2.Pat chicken thighs completely dry with paper towels before applying the spice rub: Any residual moisture on the chicken skin will steam instead of crisp during the uncovered baking phase, resulting in soft, rubbery skin rather than the desired golden, crispy crust.
3.Never lift the aluminum foil during the first 35 minutes of covered baking: The trapped steam inside the sealed pan is what cooks the rice evenly from edge to edge; even a quick peek releases enough steam and drops the pan temperature to leave a layer of crunchy, undercooked rice at the pan bottom.


✨ You May Also Like

Main Course
🍜 United Kingdom

A showstopping classic of tender seared beef, savory mushroom duxelles, and crisp prosciutto wrapped in flaky golden puff pastry, baked to juicy perfection.

⏱️ 2 hours 1Main Course ★ 4.7
Main Course
🍜 India

Tender charred marinated chicken simmered in a rich, spiced creamy tomato sauce, this iconic Anglo-Indian curry pairs perfectly with basmati rice or warm naan.

⏱️ 50 minuteMain Course ★ 4.6
Main Course
🍜 Thailand

Classic tangy, sweet, and savory Thai stir-fried rice noodles with shrimp, tofu, and crunchy garnishes, balancing all five core Thai flavor profiles.

⏱️ 30 minuteMain Course ★ 4.5
Main Course
🍜 United Kingdom

Crispy golden beer-battered cod and fluffy double-fried chips, served with tangy tartar sauce and malt vinegar: the timeless, beloved British pub comfort classic.

⏱️ 45 minuteMain Course ★ 4.7
Main Course
🍜 Mexico

Smoky, chile-marinated pork tacos with caramelized pineapple, fresh cilantro, and lime: a beloved classic Mexican street food perfect for casual summer gatherings.

⏱️ 1 hour 45Main Course ★ 4.8
Main Course
🍜 United States

Crunchy Fritos corn chips layered with savory beef chili and melted cheddar, topped with cool, zesty fixings for a beloved, cozy Tex-Mex comfort food.

⏱️ 35 minuteMain Course ★ 4.8

chicken and rice in the oven:Frequently Asked Questions

1.Why do you recommend bone-in, skin-on chicken thighs instead of chicken breasts for this recipe? ▾
Bone-in, skin-on thighs stay juicy through the longer bake time needed for rice to cook through, unlike lean breasts that easily dry out. Rendered chicken fat drips down to flavor the rice and veggies, and the skin crisps up for perfect texture. If you swap for breasts, cut bake time by 10 minutes to avoid tough, dry meat.
2.Can I use brown rice instead of long-grain white rice for this dish? ▾
Long-grain white rice is ideal because it cooks in the same 25-30 minute window as the chicken thighs without turning mushy. If you use brown rice, parboil it for 15 minutes first, or add an extra ½ cup of broth and extend covered bake time by 20 minutes so it softens fully before the chicken overcooks.
3.Why does my rice turn out either mushy or undercooked when I make one-pan chicken and rice? ▾
The two biggest culprits are lifting the foil lid too early (which lets critical steam escape) and using the wrong rice-to-liquid ratio. Stick to 2 cups of low-sodium chicken broth per 1 cup of uncooked long-grain white rice, keep the pan tightly covered for the first 25 minutes, and resist peeking to lock steam in.
4.Do I need to sear the chicken first before putting the pan in the oven? ▾
Searing is totally optional, but it does add an extra layer of deep, savory flavor and extra-crispy skin. If you skip searing, pat the chicken skin completely dry with paper towels, season generously, and place it skin-side up directly on top of the rice and veggie mixture before baking.
5.Can I add extra vegetables beyond onion and carrot without ruining the recipe? ▾
Absolutely! Diced bell pepper, celery, garlic, or frozen peas work beautifully here. Just keep added veggies to 1 cup total, cut into uniform ½-inch dice so they cook evenly, and toss them with the uncooked rice, onion, and carrot before pouring in broth. Stir in peas during the last 5 minutes to keep them from turning mushy.
6.Why isn’t my chicken skin getting crispy when I bake this? ▾
Soggy chicken skin almost always comes from excess moisture. Pat the skin completely dry with paper towels before seasoning, don’t submerge the chicken under broth or rice (keep it skin-side up, resting on top of other ingredients), and remove the foil cover for the last 10 minutes of baking to let skin crisp fully.
7.Can I use regular-sodium chicken broth instead of low-sodium? ▾
You can, but cut back on any added salt you use to season the chicken and veggies to avoid an overly salty final dish. Low-sodium broth lets you fully control salt levels to match your taste, since rendered chicken fat and caramelized onion and carrot already add rich, natural savoriness to the baking rice.
8.What size and type of pan works best for even cooking? ▾
A 9x13-inch heavy-duty metal or ceramic baking dish, or a large deep-sided oven-safe skillet, works perfectly. Make sure the pan is at least 2 inches deep so rice and broth don’t bubble over as they cook, and spread the rice mixture in an even thin layer across the bottom so every grain cooks at the same rate.
9.How should I store leftovers, and how long will they stay good? ▾
Let leftovers cool completely within 2 hours of baking, then transfer to an airtight container and refrigerate for up to 4 days. To reheat, sprinkle a teaspoon of water over the top to add moisture, cover, and warm in the microwave or a 325°F oven for 10-12 minutes until heated through. Stored properly, the rice and chicken stay surprisingly moist.
10.How do I keep rice from sticking hard to the bottom of the pan? ▾
Lightly grease the bottom and sides of your pan with a thin layer of olive oil or nonstick spray before adding ingredients to cut down on sticking. Also, make sure you use the full measured amount of broth to fully hydrate the rice as it bakes—undercooked, dry rice is far more likely to glue itself to the pan than gently steamed, fluffy rice.

Comments (3)

2 days ago

OMG this one-pan chicken and rice is a total game changer for our weeknight family dinners! I was so sick of scrubbing 3 different pots and pans after cooking every night, and this came together so easy—50 minutes total and almost zero mess? My kids loved it! My picky 7-year-old asked for seconds, even my husband who turns his nose up at “boring rice” raved about how flavorful every bite was. 10/10 will be adding this to our regular meal prep rotation for sure!

yesterday

Wait quick question—did you use regular long grain white rice or swap for brown rice? I’ve tried a couple similar baked rice recipes with brown rice and it always comes out weirdly crunchy in the middle, no matter how long I leave it in. Wanna make sure I get this right on the first try!

yesterday

Great question! If you’re swapping in brown rice, add an extra 1/4 cup of chicken broth and tack on 10 extra minutes of covered bake time before laying the chicken pieces on top—that’ll get it perfectly tender every time, no crunchy bits left!

1 week ago

Made this for a potluck at my office last week and people were coming up to me asking for the recipe the whole time! It was so straightforward even for someone like me who burns toast half the time, lmao. The chicken got that perfect crispy skin on top and the rice soaked up all that garlic and paprika flavor, SO good. Only tweak I made was tossing in a handful of frozen broccoli the last 15 minutes of cook time and it worked perfectly without making the rice soggy at all.

5 days ago

Love that you added broccoli! Tossing in extra frozen veggies during the last 10-15 minutes of bake time is such an easy hack to get an extra serving of greens in without adding extra pots to wash, awesome call.

30 minutes ago

Tried this last night after seeing it pop up on my feed, total home run. I was fully expecting the rice to turn out mushy since it cooks right in the oven with the chicken, but it was fluffy and perfectly seasoned all the way through. Cook time was exactly 50 minutes like the recipe said, no guesswork or random mid-cook adjustments needed. Already sent the link to my roommate who’s always complaining he doesn’t have time to cook after his evening retail shifts.



