chicken and tater tot bake

title 1
chicken and tater tot bake
⏱️ cook time 45 minutes
🍽️ servings 6
⚡ Difficulty easy

intro

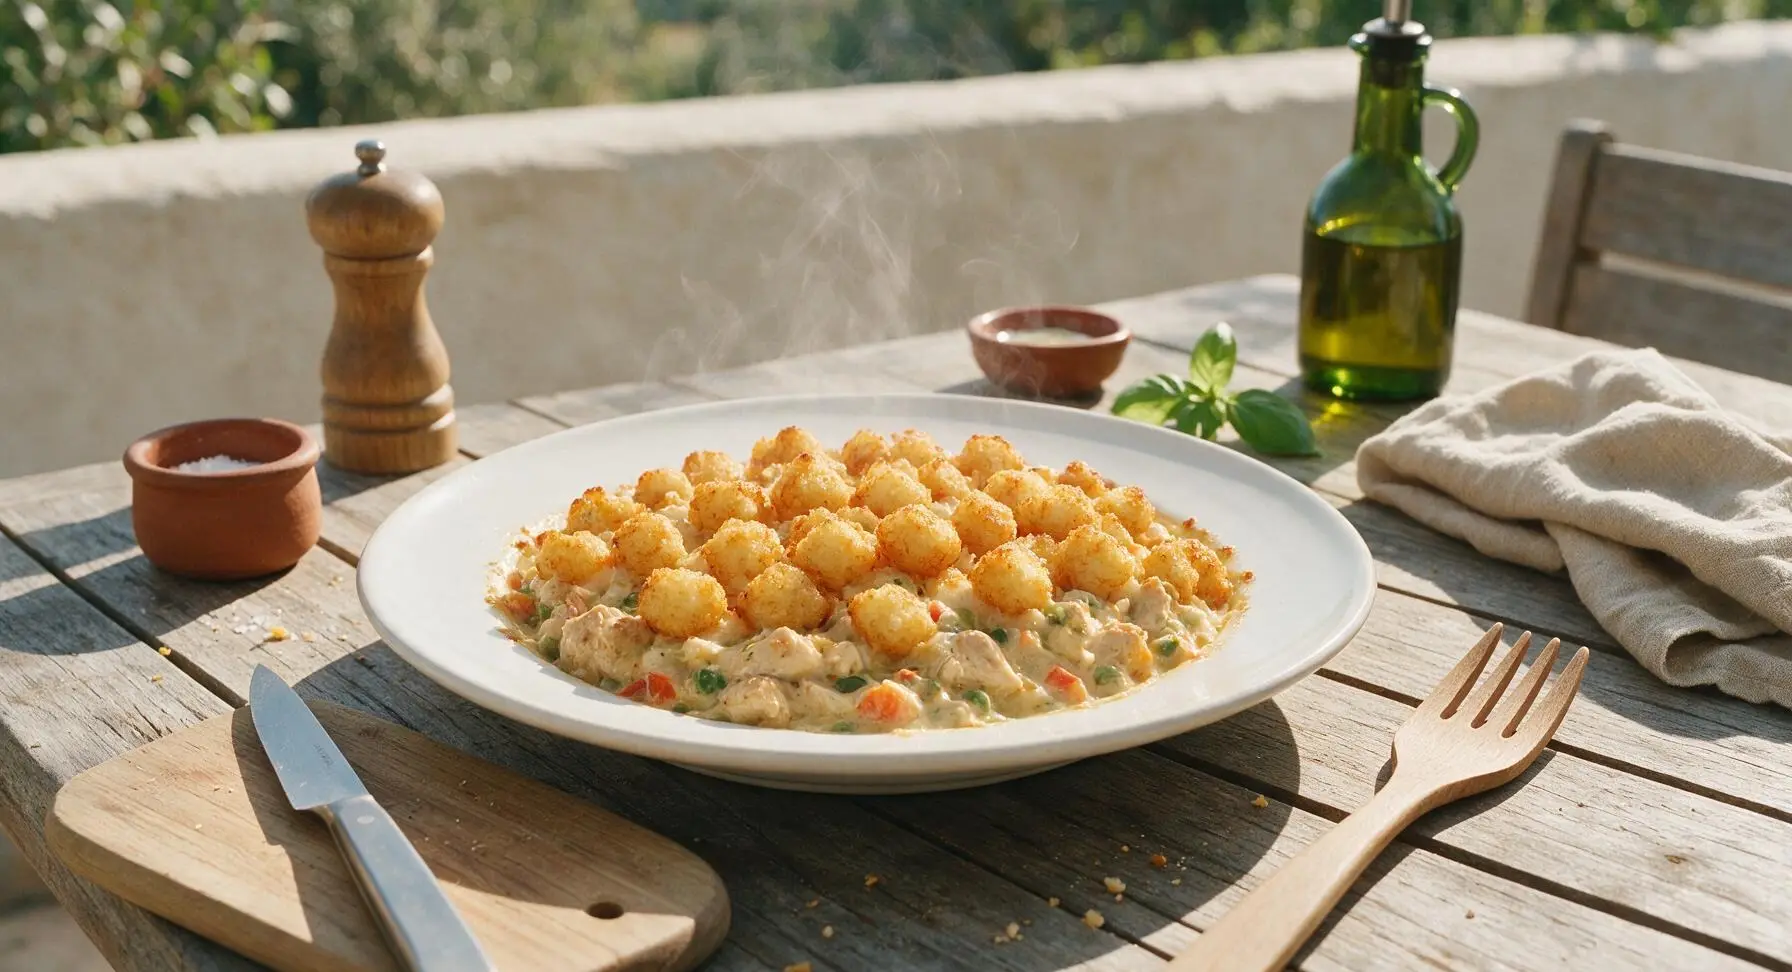
Crispy golden tater tots top creamy, savory chicken and vegetable filling, baked to bubbly perfection. This nostalgic Midwest comfort food is simple for busy weeknights and loved by all ages.

Ingredients
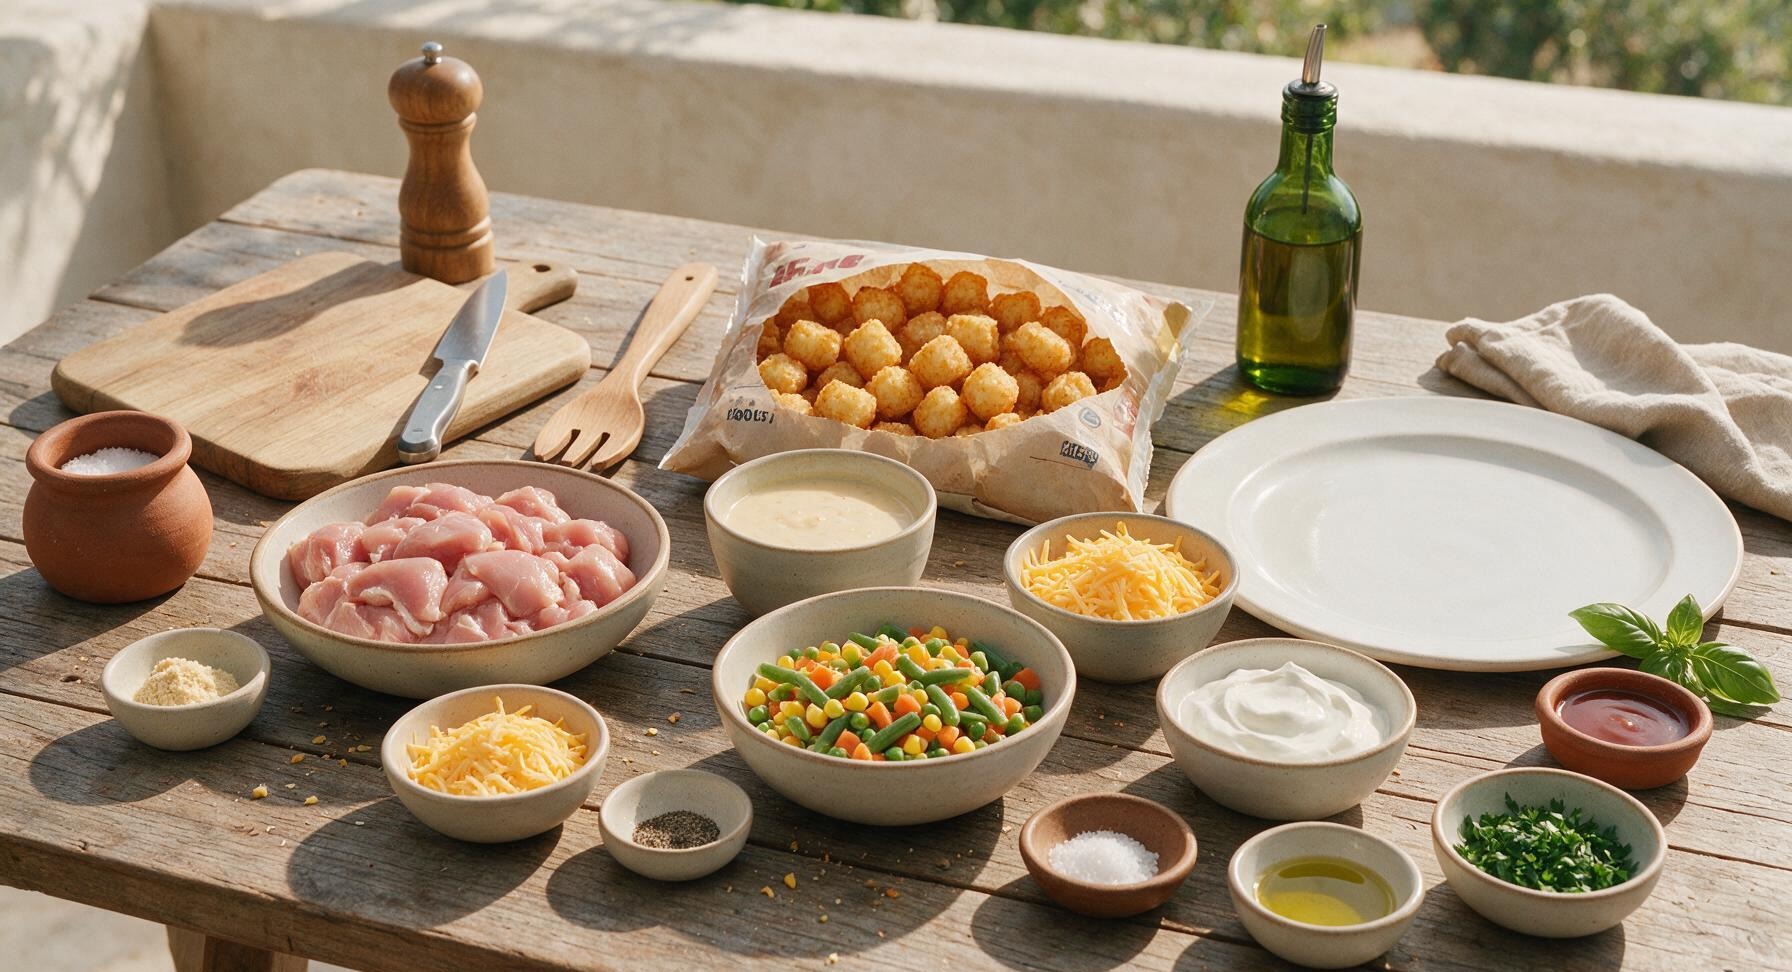
Boneless, skinless chicken thighs 450g, trimmed and cut into 2cm pieces
Frozen tater tots 900g (1 standard family-size bag)
Condensed cream of chicken soup 600g (2 10.5oz cans)
Frozen mixed vegetables (corn, green beans, peas, carrots) 300g, thawed and excess water drained
Shredded sharp cheddar cheese 150g, divided
Full-fat sour cream 120g
Garlic powder 1 tsp
Onion powder 1 tsp
Kosher salt 1/2 tsp
Ground black pepper 1/2 tsp
Extra-virgin olive oil 1 tsp, for greasing baking dish
Fresh flat-leaf parsley 2 tbsp, finely chopped

Steps

1

Preheat Oven, Prep Pan

Adjust oven rack to the middle position, preheat oven to 200C (400F). Use a crumpled paper towel to lightly grease the interior of the 9x13 inch matte light gray ceramic baking dish with 1 tsp of olive oil, ensuring the bottom and 2-inch sides are evenly coated to prevent sticking. Set the prepared dish in the center of the counter.

Step 1
step1:Preheat Oven, Prep Pan
2

Dice Chicken Thighs

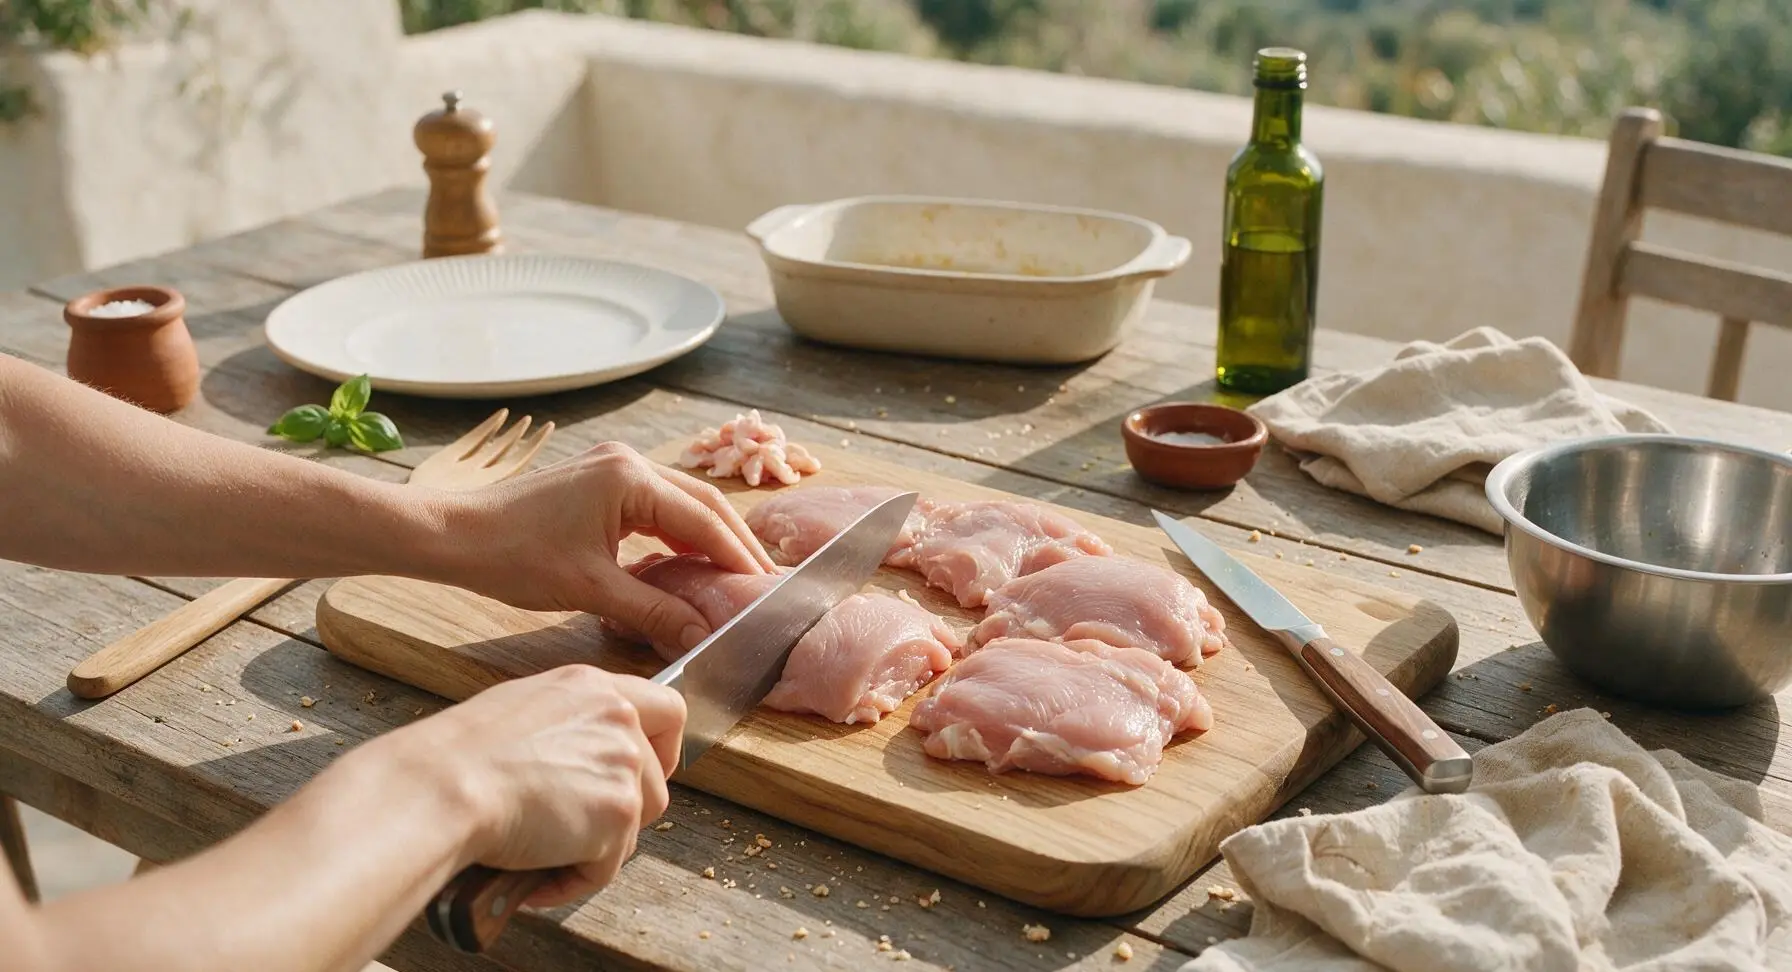
Place the 450g of boneless, skinless chicken thighs on the medium light maple cutting board. Using the 8-inch stainless steel chef knife with walnut handle, trim any excess visible hard fat or silver skin from the thighs, then cut the meat into uniform 2cm (3/4 inch) pieces. Uniform sizing ensures the chicken cooks evenly without dry spots.
Step 2
step2:Dice Chicken Thighs
3

Combine Filling Ingredients

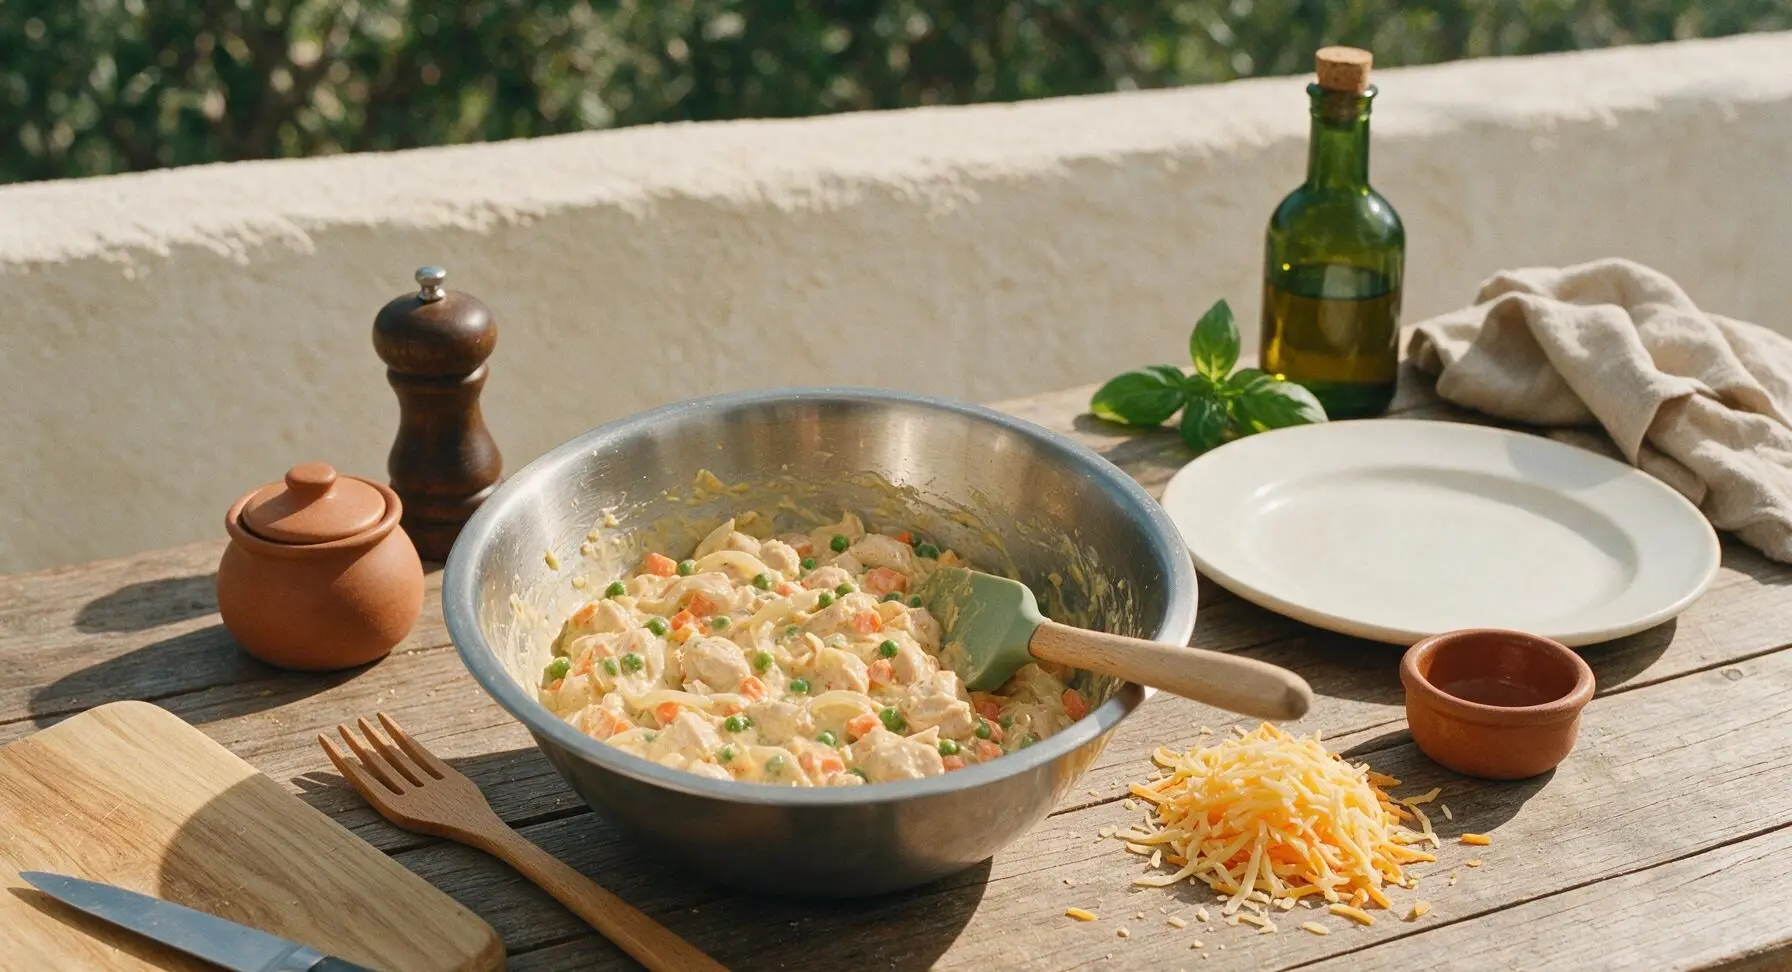
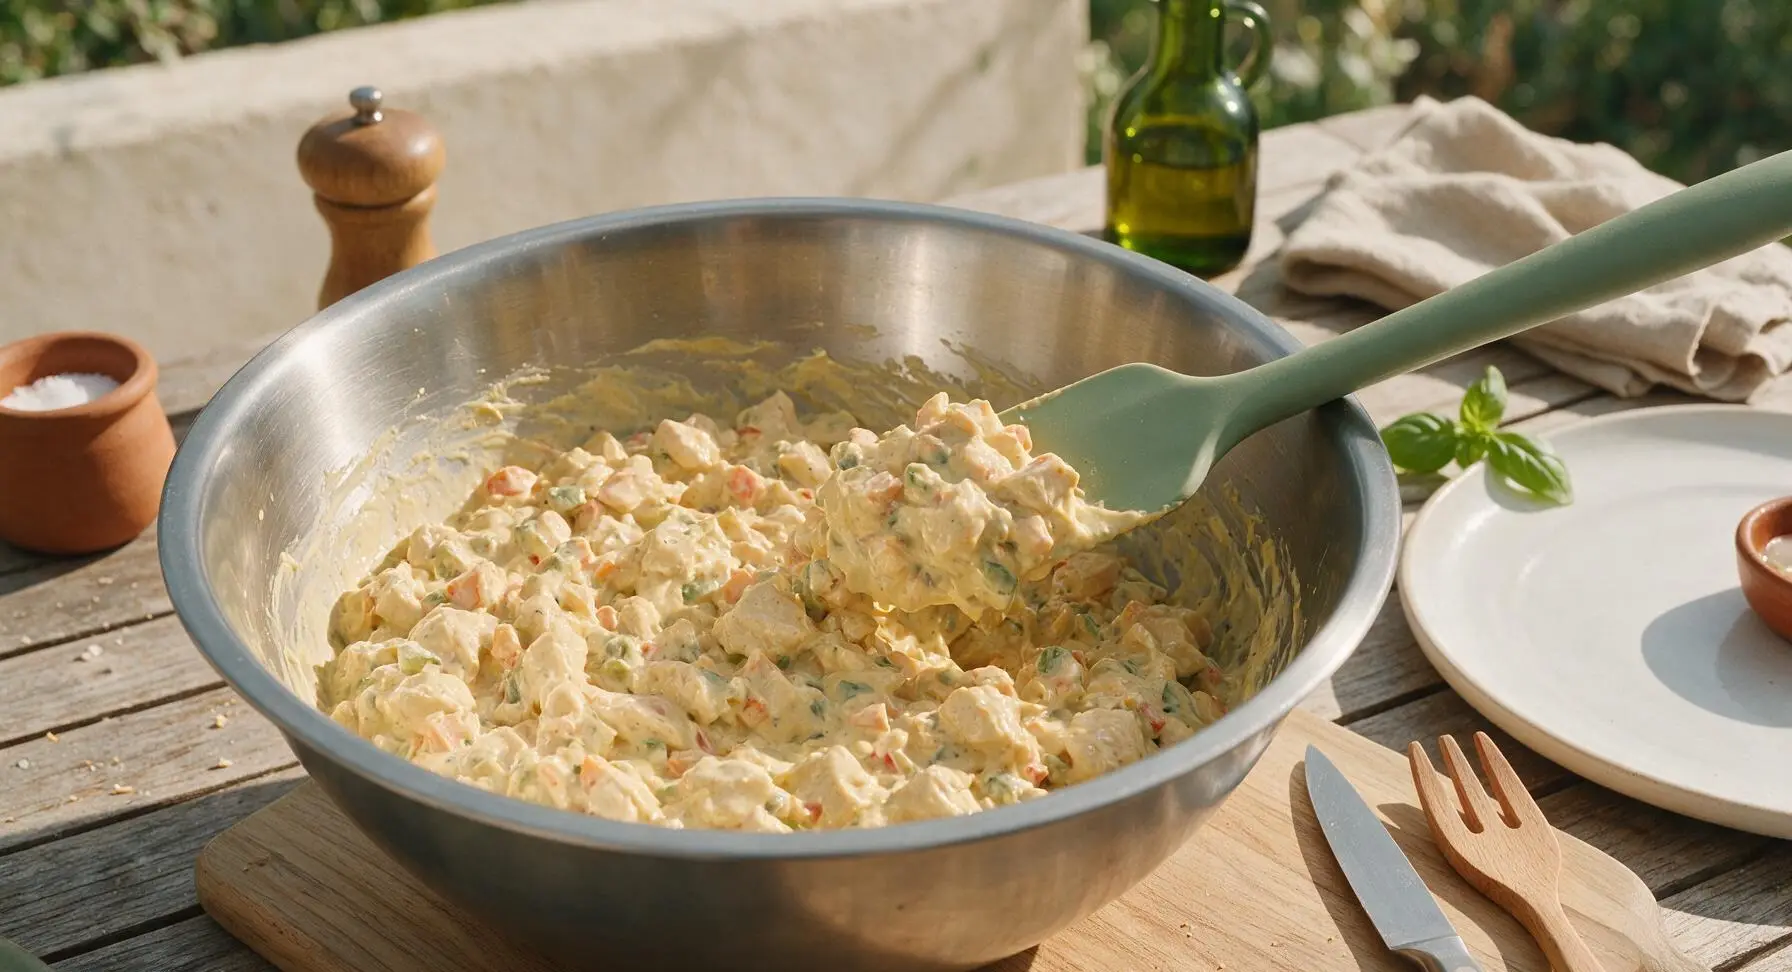
In the large brushed stainless steel mixing bowl, add the diced chicken, drained thawed mixed vegetables, condensed cream of chicken soup, sour cream, 100g of the shredded cheddar, garlic powder, onion powder, salt, and black pepper. Use the matte sage green silicone spatula to stir the mixture until fully combined, with no dry pockets of spice or uncoated chicken pieces visible. The finished mixture will be thick and pale creamy yellow.
Step 3
step3:Combine Filling Ingredients
Step 3
step3:Combine Filling Ingredients
4

Spread Filling Evenly

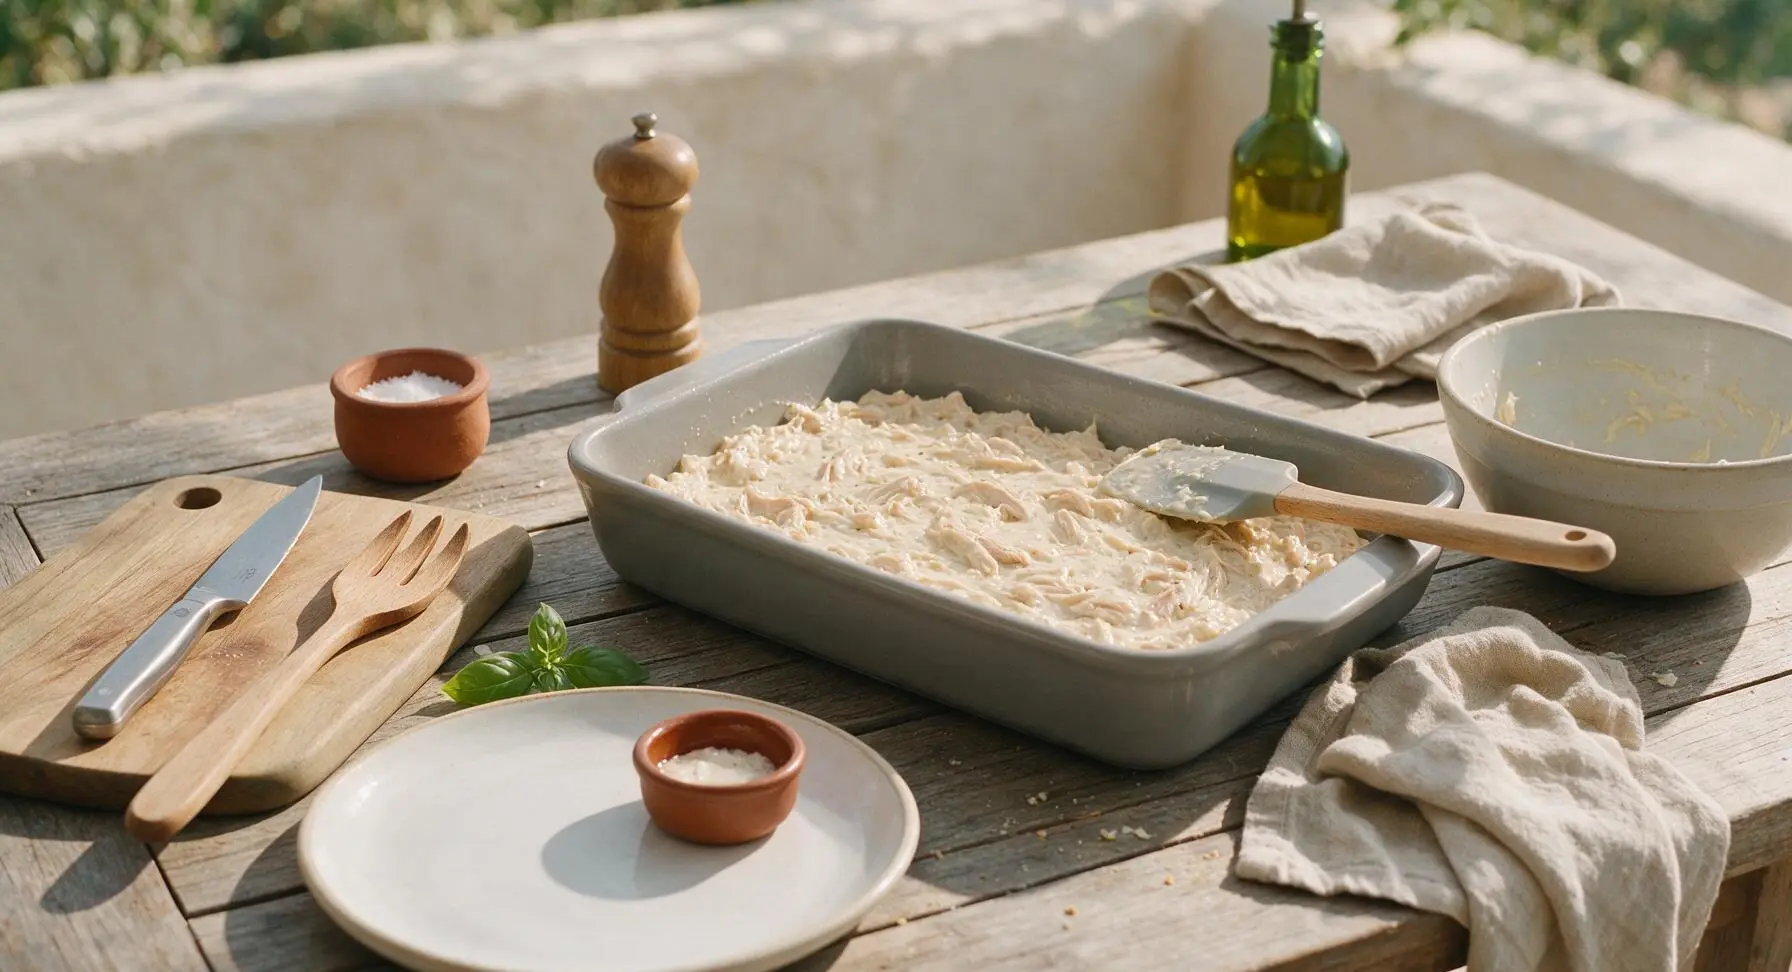
Scrape all of the creamy chicken filling from the mixing bowl into the prepared 9x13 inch baking dish. Use the silicone spatula to spread the filling into a single smooth, even layer across the entire bottom of the dish, pressing gently to eliminate trapped air gaps. An even layer ensures every bite has equal amounts of filling and crispy tater tot topping.
Step 4
step4:Spread Filling Evenly
5

Arrange Tater Tot Layer

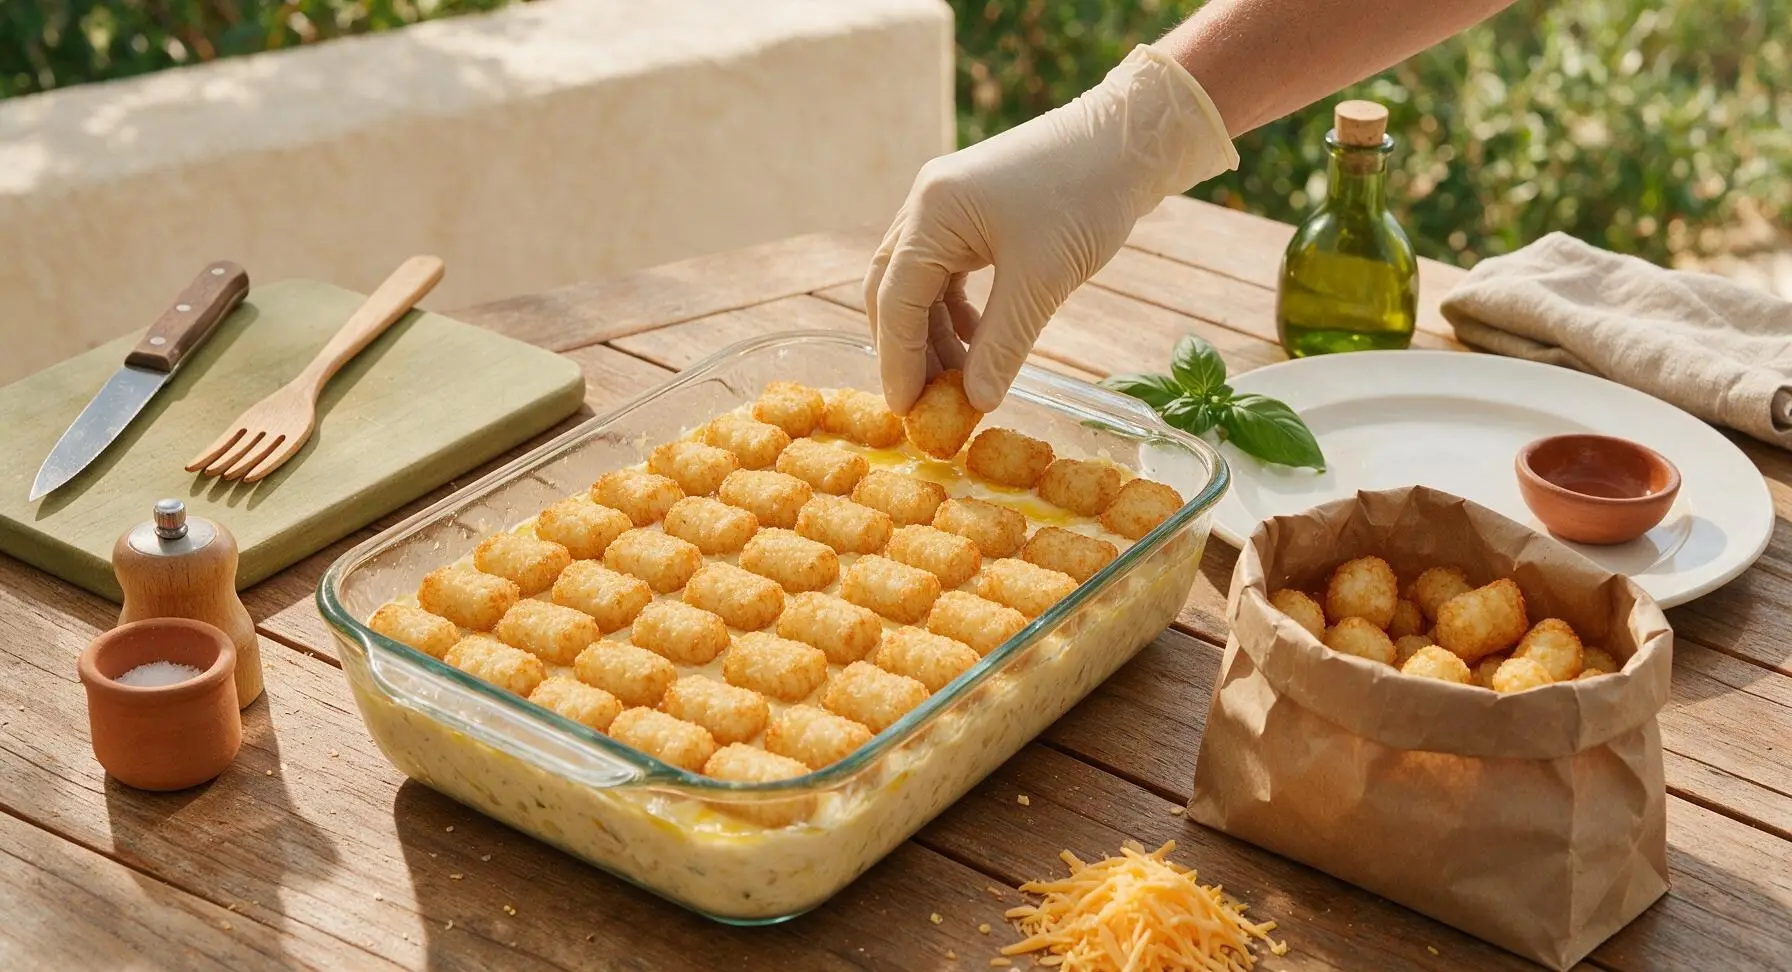
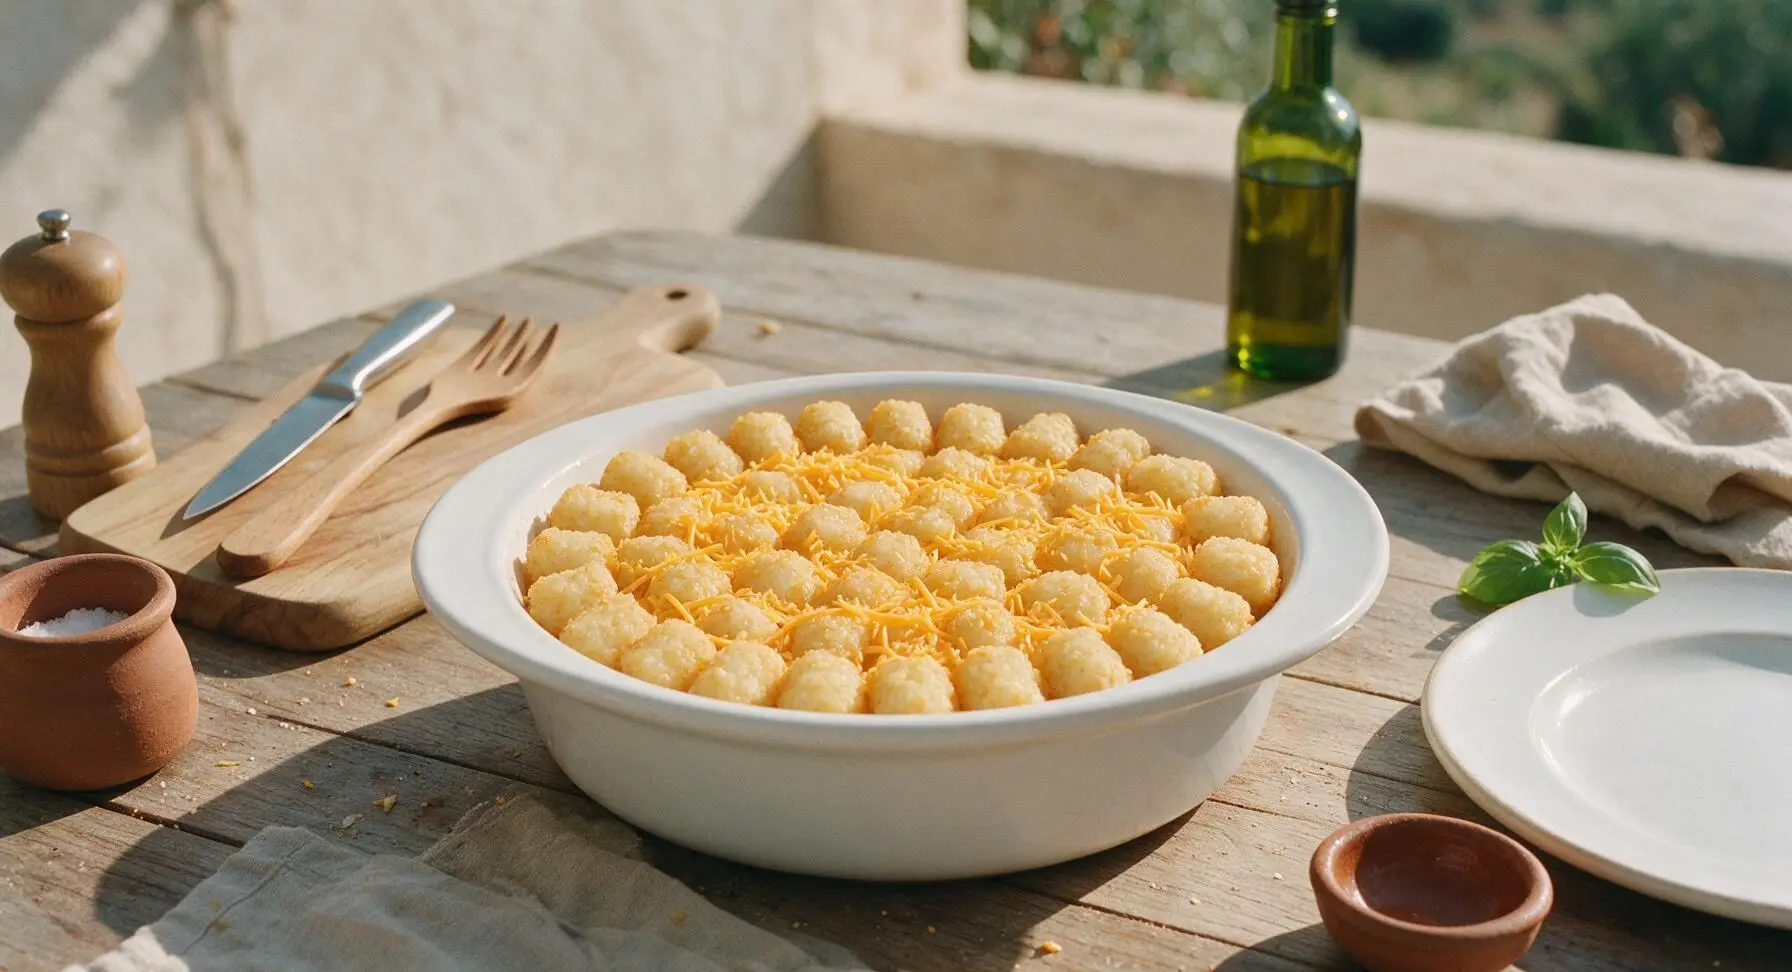
Arrange the frozen tater tots in a single tight, even layer across the entire surface of the filling, placing them flat-side down for maximum crispness. Do not thaw the tots first—frozen tots will crisp better in the oven without becoming soggy from filling moisture. Sprinkle the remaining 50g of shredded cheddar cheese evenly over the top of the arranged tater tots.
Step 5
step5:Arrange Tater Tot Layer
Step 5
step5:Arrange Tater Tot Layer
6

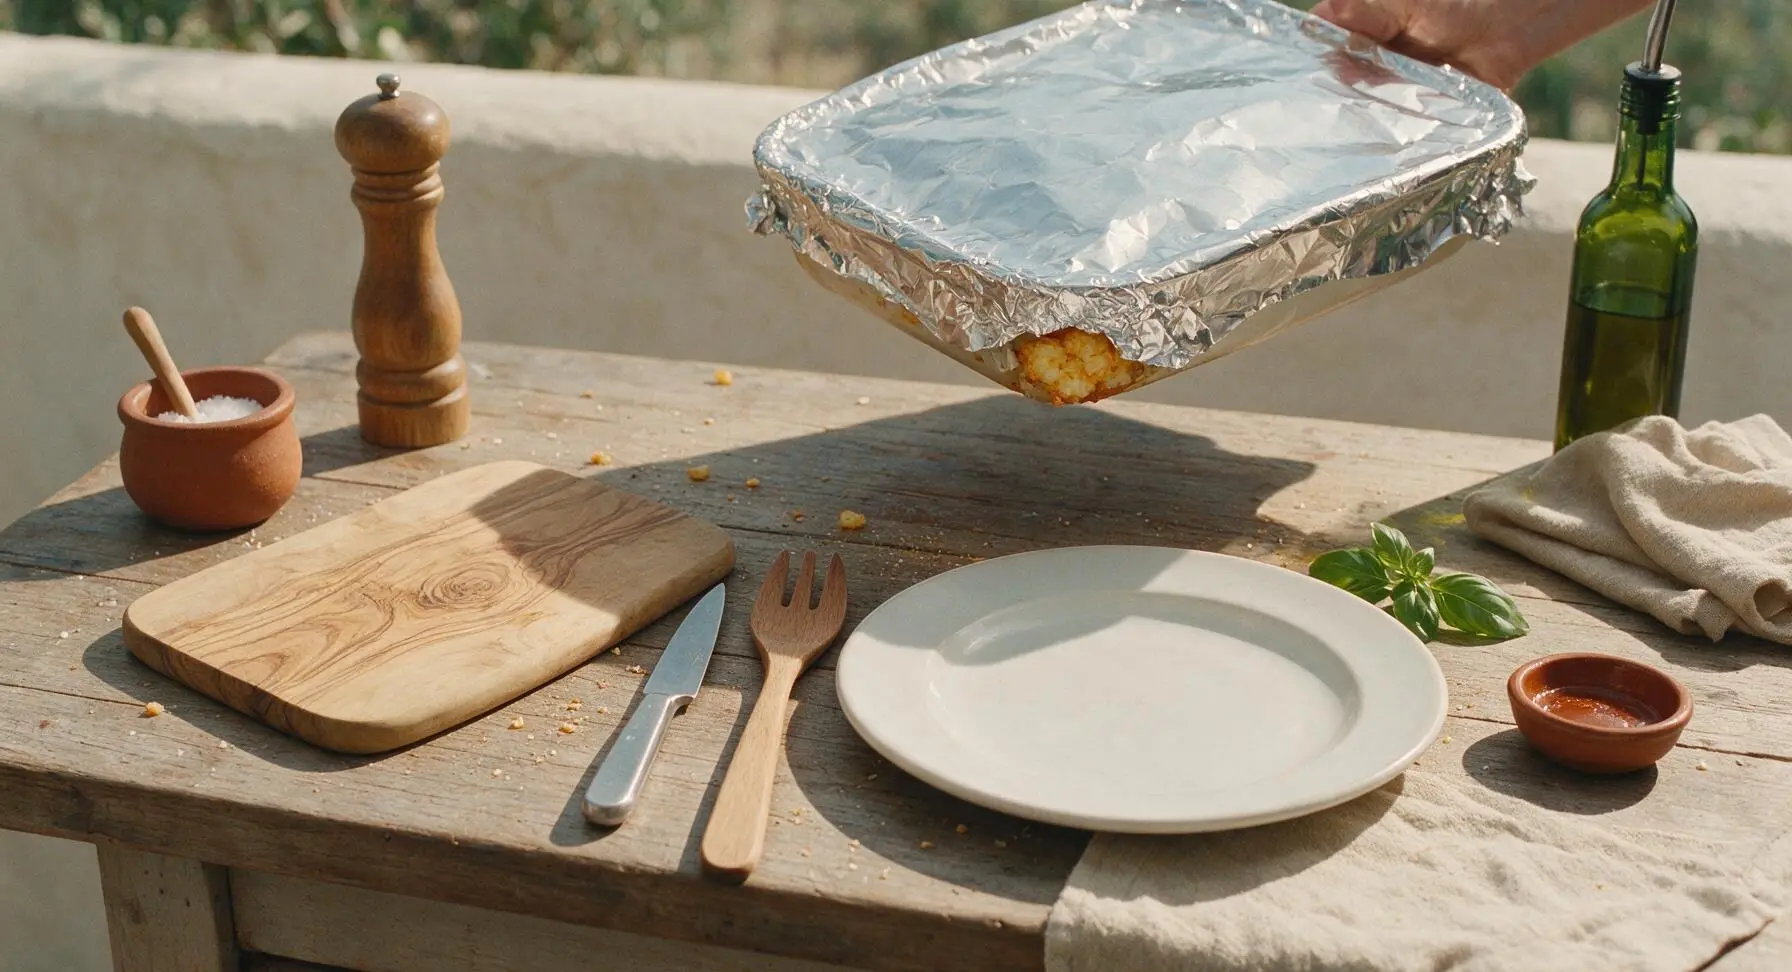
Bake Covered Until Bubbly

Tightly cover the baking dish with standard aluminum foil, crimping the edges tightly to create a steam seal. Place the dish on the middle oven rack, bake for 30 minutes at 200C (400F). The filling will be hot and bubbly around the edges when this stage is complete, and the chicken will reach a safe internal temperature of 74C (165F).
Step 6
step6:Bake Covered Until Bubbly
7

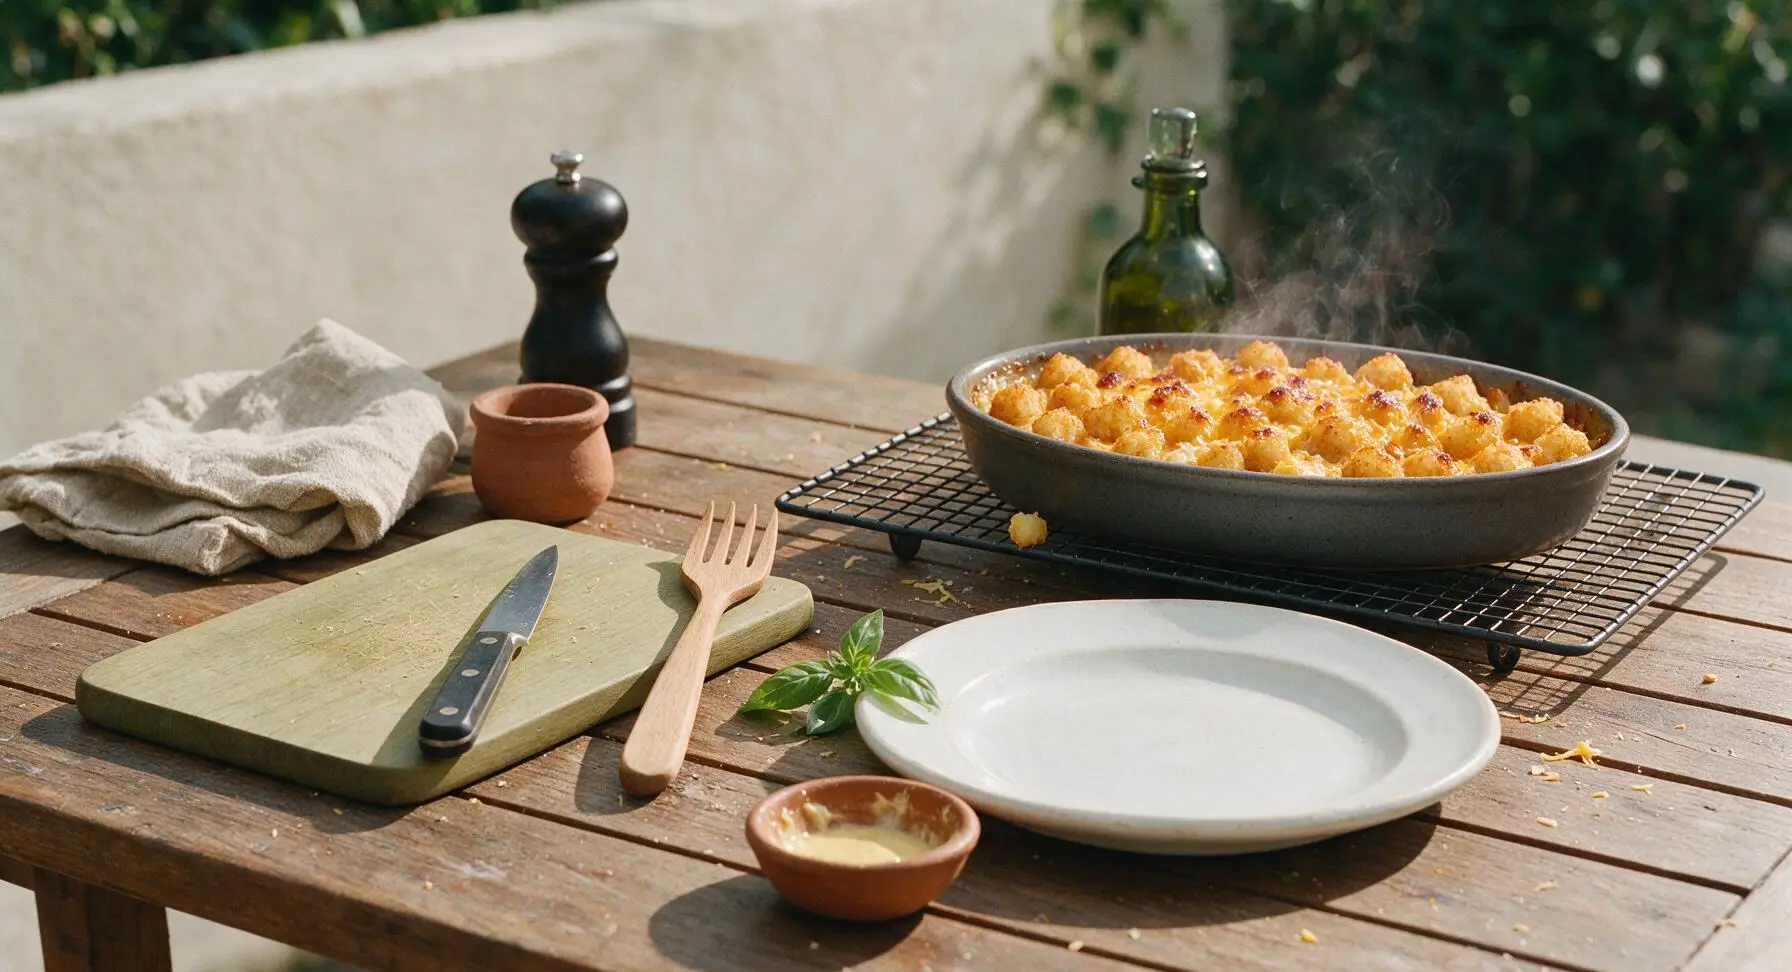
Uncover to Crisp Topping

Carefully remove the foil from the baking dish (tilt the lid away from your face to avoid burns from escaping hot steam), return the dish to the middle oven rack. Bake uncovered for an additional 15 minutes, until the tater tots are deep golden brown and crispy on the edges, and the cheese on top is fully melted and slightly bubbly and browned in spots.
Step 7
step7:Uncover to Crisp Topping
8

Rest and Garnish Casserole

Let the baked casserole rest on the cooling rack for 5 minutes to allow the filling to set, which makes scooping cleaner and prevents runny servings. Sprinkle the top evenly with the 2 tbsp of finely chopped fresh flat-leaf parsley before serving.

Step 8
step8:Rest and Garnish Casserole

Tips

1.Opt for boneless, skinless chicken thighs instead of chicken breast: Thighs retain moisture far better during the 45-minute bake time, resulting in tender, juicy bites, while lean breast meat is prone to drying out and becoming stringy.
2.Keep tater tots fully frozen until you arrange them on the filling: Frozen tots develop a shatteringly crisp exterior as they bake, while thawed tots absorb excess moisture from the creamy filling and turn soggy.
3.Let the casserole rest for 5 full minutes after removing it from the oven: This short rest allows the creamy filling to thicken and set, so scoops hold their neat shape instead of running across the plate when served.

✨ You May Also Like

Dinner
🍜 United States

A festive, hearty spread of classic Swedish small plates, featuring cured fish, tender meatballs, cheese, and seasonal sides, perfect for holiday gatherings.

⏱️ 2 hoursDinner ★ 4.8
Dinner
🍜 United States

Iconic Midwestern comfort meal pairing rich, spiced beef chili with soft, frosted cinnamon rolls for the perfect sweet-savory cold-weather bite.

⏱️ 1 hour 45Dinner ★ 4.7
Dinner
🍜 Canada

A beloved sweet-savory pizza loaded with smoky ham, juicy pineapple, and gooey melted cheese on a crisp golden crust, perfect for casual shared meals.

⏱️ 25 minuteDinner ★ 4.9
Dinner
🍜 United States

Juicy herb-roasted turkey with savory sourdough stuffing and rich pan gravy, the iconic cozy holiday meal made for gathering loved ones around the table.

⏱️ 4 hours 3Dinner ★ 4.9
Dinner
🍜 Italy

Crispy chewy crust, tangy tomato sauce, gooey melted mozzarella, and spicy curled pepperoni: this takeout favorite is simple to make perfectly at home.

⏱️ 35 minuteDinner ★ 4.9
Dinner
🍜 Italy

Crispy, chewy crust loaded with colorful fresh veggies, melted mozzarella, and zesty tomato sauce: a satisfying, crowd-pleasing meatless meal.

⏱️ 35 minuteDinner ★ 4.8

chicken and tater tot bake:Frequently Asked Questions

1.Can I substitute boneless, skinless chicken breasts for the thighs in this recipe? ▾
You absolutely can, but note that chicken thighs stay juicier through the longer bake time thanks to their slight natural fat content. If using breasts, cut them into uniform 1-inch cubes, avoid overbaking, and stir an extra 2 tablespoons of sour cream into the filling to prevent dry, rubbery results.
2.Do I need to thaw frozen tater tots before adding them to the top of the bake? ▾
No, skip thawing your tater tots for the crispiest top layer. If you thaw them first, they’ll release excess starch and moisture and turn soggy instead of developing that signature golden, crunchy crust. Arrange them in a single, even layer straight from the bag over the filling right before baking.
3.Can I use a different flavor of condensed soup if I don’t have cream of chicken on hand? ▾
You have several great swap options here! Condensed cream of mushroom, cream of celery, or even cheddar cheese soup all work beautifully without throwing off the creamy, savory profile. Just stick to the standard 10.5-ounce can size to keep the filling consistency perfectly balanced.
4.Do I need to cook the chicken before assembling the casserole? ▾
For this recipe, it’s safest to quickly brown cubed chicken thighs first before mixing them into the filling. This cuts down on overall bake time, ensures chicken cooks through evenly to a safe 165°F, and adds a deep, savory flavor you won’t get from adding raw chicken straight to the dish.
5.How do I keep the tater tot topping from getting soggy while baking? ▾
The two biggest tricks for crispy, non-soggy tater tots are using them straight from the freezer (no thawing!) and arranging them in a single, loosely packed layer instead of piling them high. Bake the casserole uncovered for the full cook time to let hot air circulate around every tot.
6.Can I add extra shredded sharp cheddar to this recipe? ▾
Of course—this is cozy Midwest comfort food, after all! You can stir half an extra cup of sharp cheddar right into the creamy filling for extra cheesiness, or sprinkle a quarter cup over the tater tots during the last 10 minutes of baking for a melty, golden cheese crust. Just don’t add so much that the filling turns greasy.
7.Do I need to thaw the frozen mixed vegetables before stirring them into the filling? ▾
No, you don’t need to thaw your frozen corn, green beans, peas, and carrots first. They’ll cook perfectly through the casserole’s bake time, and adding them frozen keeps them from turning mushy. Just give them a quick shake to break up any large frozen clumps before mixing them in.
8.How long does this bake need to rest before I can serve it? ▾
Let the bake rest for 5 to 7 minutes after you pull it out of the oven. This short rest gives the hot, bubbly filling time to set up so it doesn’t run all over your plate when you scoop it, and it cools just enough to avoid burnt tongues on that first delicious bite.
9.Can I make this casserole ahead of time for busy weeknights? ▾
You can assemble the chicken, veggie, and soup filling up to 24 hours ahead, cover it tightly, and store it in the fridge. Wait to add the frozen tater tots right before baking to keep them crispy; adding tots too early lets them absorb moisture from the filling and turn unpleasantly soft.
10.What oven temperature and cook time works best for this bake? ▾
Bake this casserole uncovered at 375°F for 40 to 45 minutes. You’ll know it’s done when the filling is bubbling around the edges of the dish, the chicken reaches a 165°F internal temperature, and the tater tots are deep golden and crispy all across the top.
11.Can I use fresh vegetables instead of the frozen mixed veggie blend? ▾
Absolutely! If you prefer fresh produce, dice carrots into small ¼-inch pieces, trim and cut green beans into short segments, and use sweet corn cut straight from the cob, plus shelled fresh peas. Parboil firmer veggies like carrots for 3 minutes first so they’re tender, not crunchy, when the bake is done.
12.Is this chicken and tater tot bake freezer-friendly? ▾
It is! Store fully cooled, leftover bake in an airtight, freezer-safe container for up to 3 months. You can also freeze an uncooked assembled bake (add tots right before baking from frozen) — just add 15 to 20 minutes to the total cook time, and confirm the chicken hits 165°F before serving.
13.What sides pair well with this rich, creamy tater tot bake? ▾
This hearty, savory bake pairs perfectly with light, bright sides to cut through its richness. A simple crisp green salad with tangy vinaigrette, steamed broccoli, dill pickle spears, or creamy coleslaw all work beautifully, and you won’t need anything too heavy to round out the comforting meal.
14.My filling turned out too thick when I mixed it up—how do I fix that? ▾
If your filling feels too thick when combining ingredients, stir in 2 to 3 tablespoons of whole milk or low-sodium chicken broth, one tablespoon at a time, until it reaches a smooth, creamy consistency that easily coats the chicken and veggies. Don’t add too much liquid at once, or you’ll end up with a runny, watery filling.
15.Can I make this recipe without canned condensed soup? ▾
You can skip the canned condensed soup by making a quick homemade substitute: melt 2 tablespoons of butter, whisk in 2 tablespoons of flour, then stir in 1 cup of chicken broth and ½ cup of half-and-half, simmering until thickened. Season with garlic powder, black pepper, and a pinch of thyme to match the classic soup flavor.
16.Why did my chicken come out dry even when I used thighs? ▾
Dry chicken usually comes from overbaking the casserole, or cutting your chicken pieces too small so they cook much faster than expected. Stick to the 40-45 minute bake time at 375°F, cut thighs into uniform 1-inch cubes, and check that your oven is calibrated so it doesn’t run hotter than the set temp.
17.Can I add extra mix-ins to customize this bake for my family’s tastes? ▾
Absolutely! This recipe is incredibly customizable. Try adding crumbled cooked bacon, diced sautéed onions, a sprinkle of ranch seasoning, a dash of hot sauce, or even a handful of chopped broccoli to the filling—just don’t add so many extras that the filling overflows your baking dish.

Comments (0)