
chicken bake costco
intro
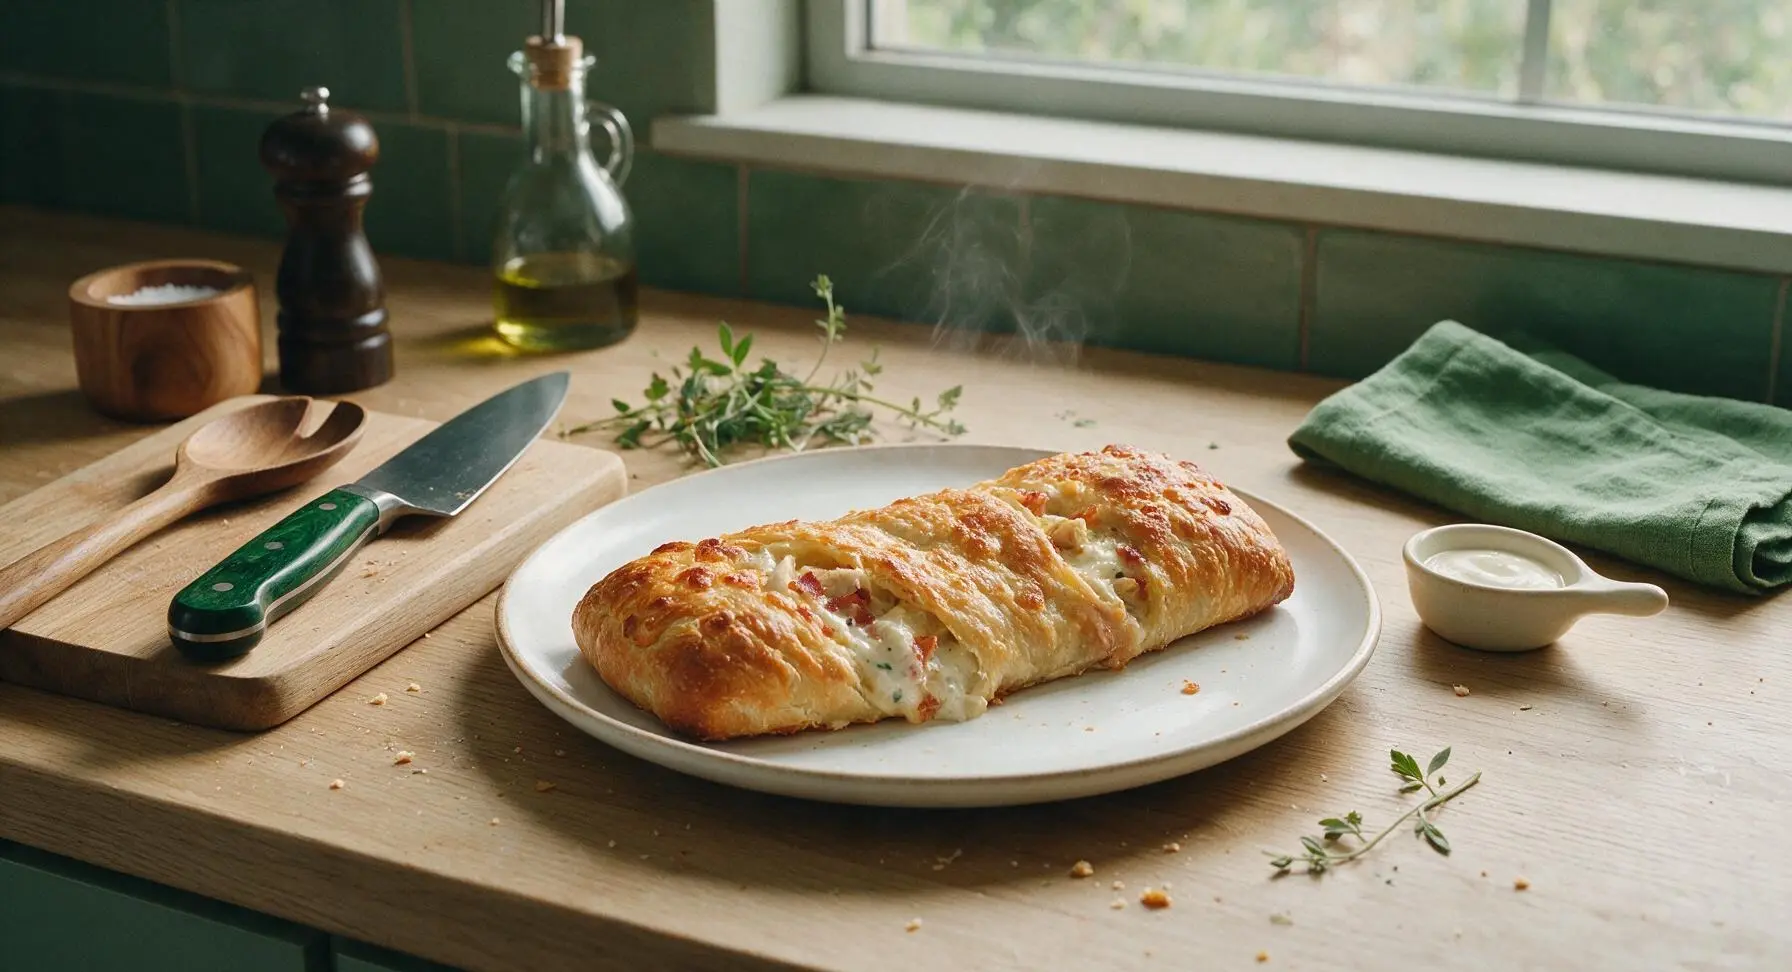
This spot-on copycat Costco chicken bake features a crispy golden crust stuffed with tender chicken, melty cheese, bacon, and creamy Caesar dressing, just like the food court favorite.
Ingredients
Steps
Mix Chicken Filling
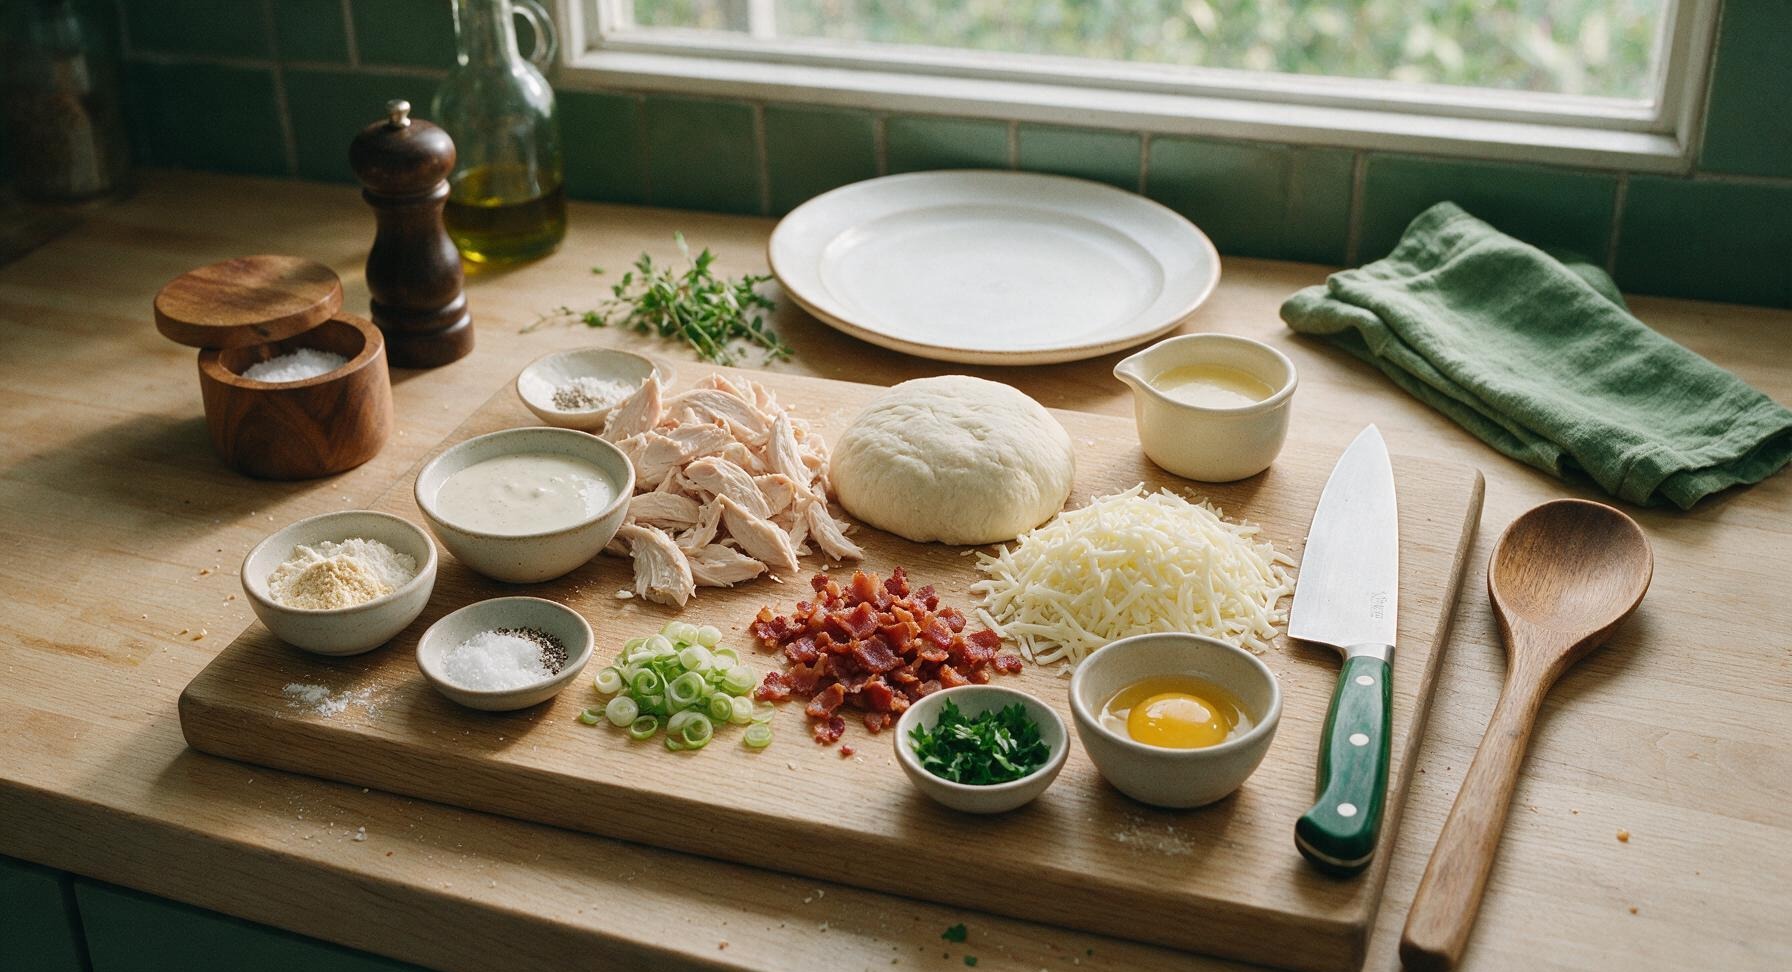
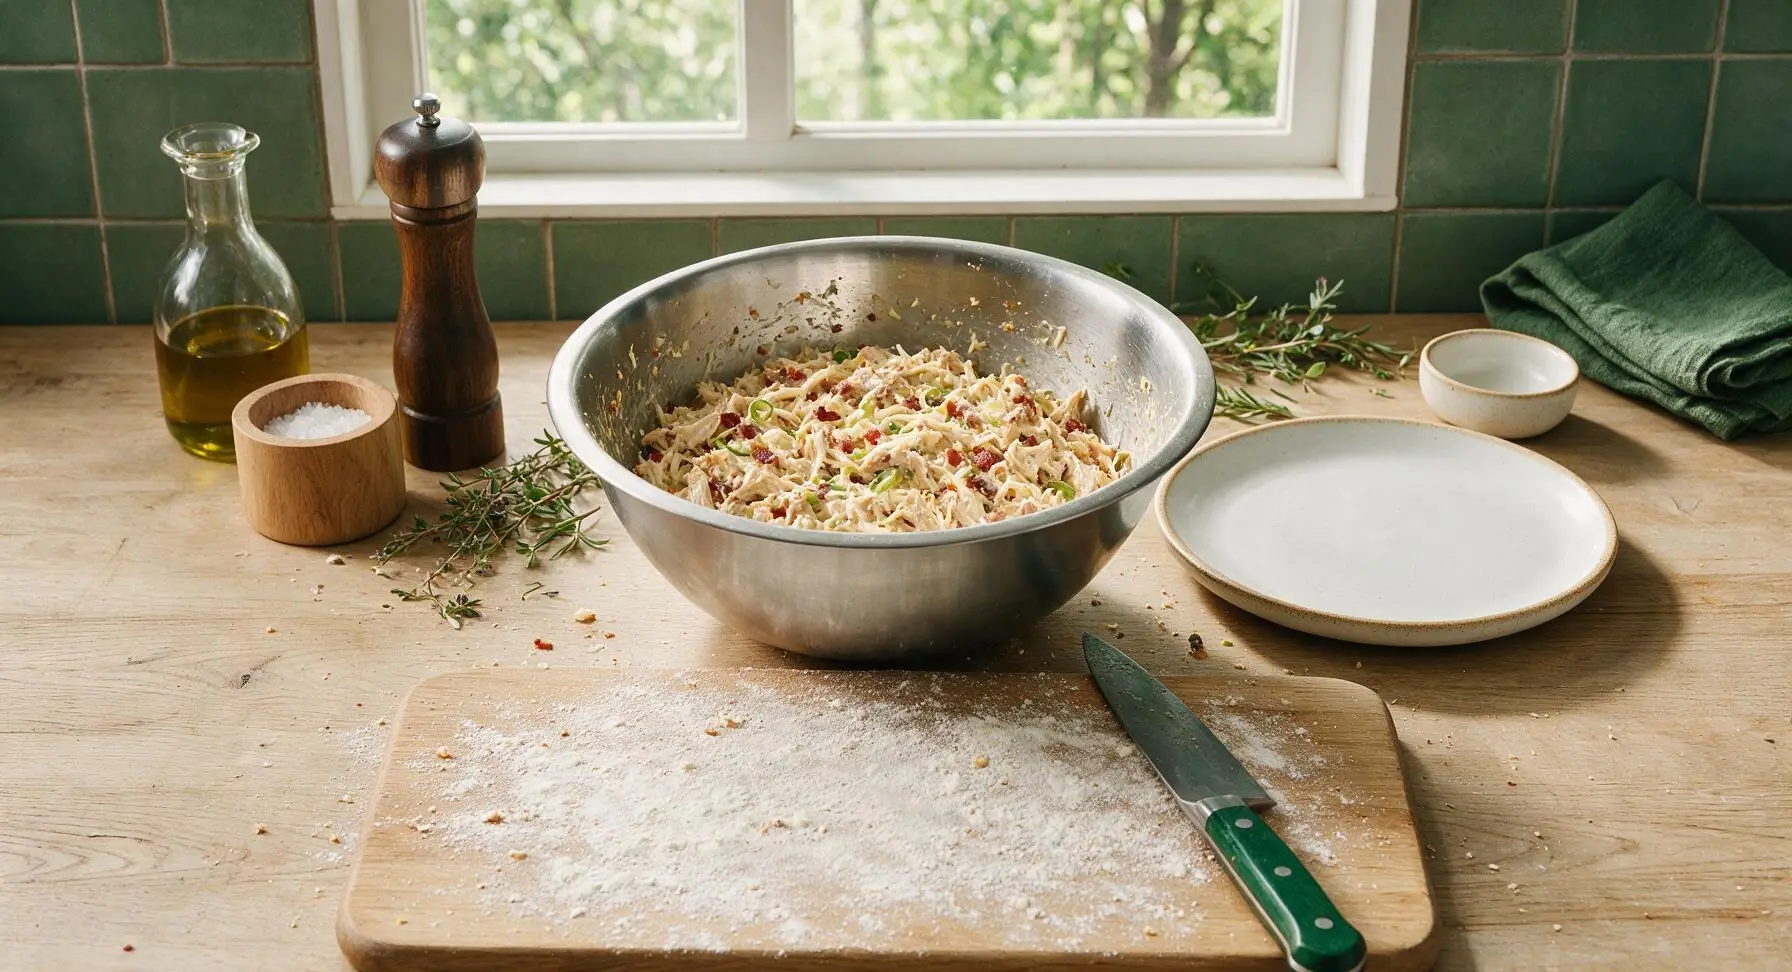
Add the shredded cooked chicken, crumbled bacon, shredded mozzarella, sliced green onions, Caesar dressing, garlic powder, salt, and black pepper to the stainless steel mixing bowl. Stir until all ingredients are evenly coated in dressing, with no dry clumps of cheese or uncoated chicken visible. Set aside while you prep the dough.
Roll Out Dough Portions
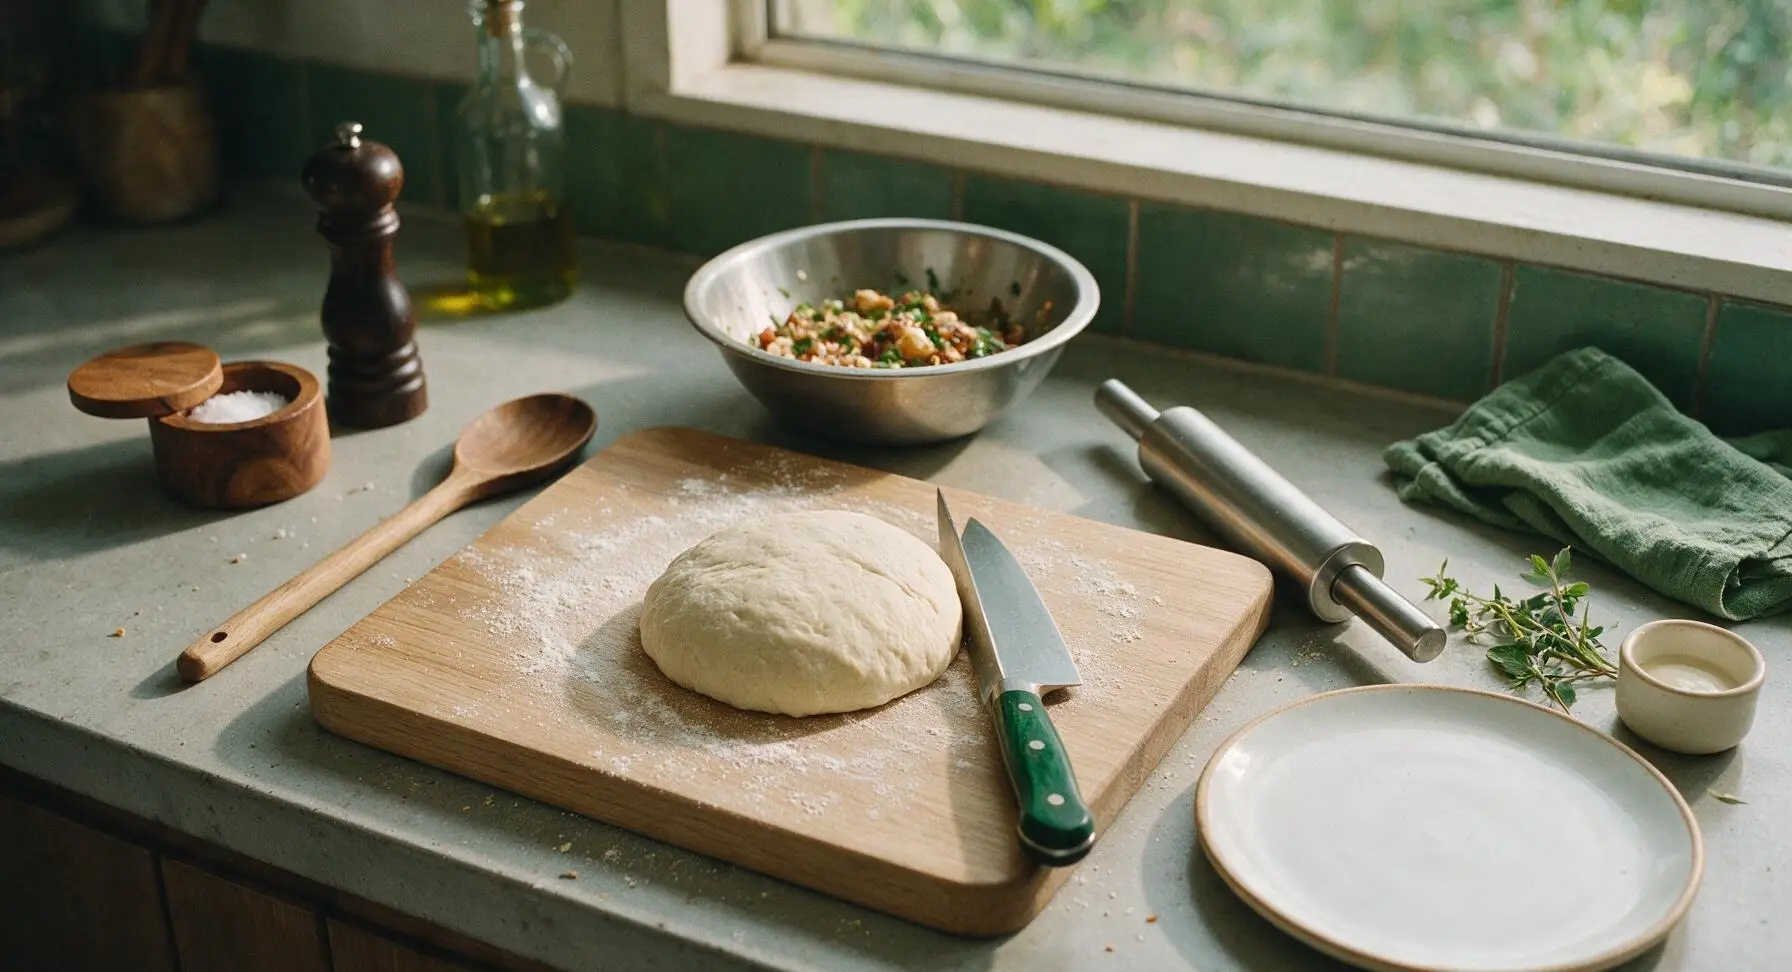
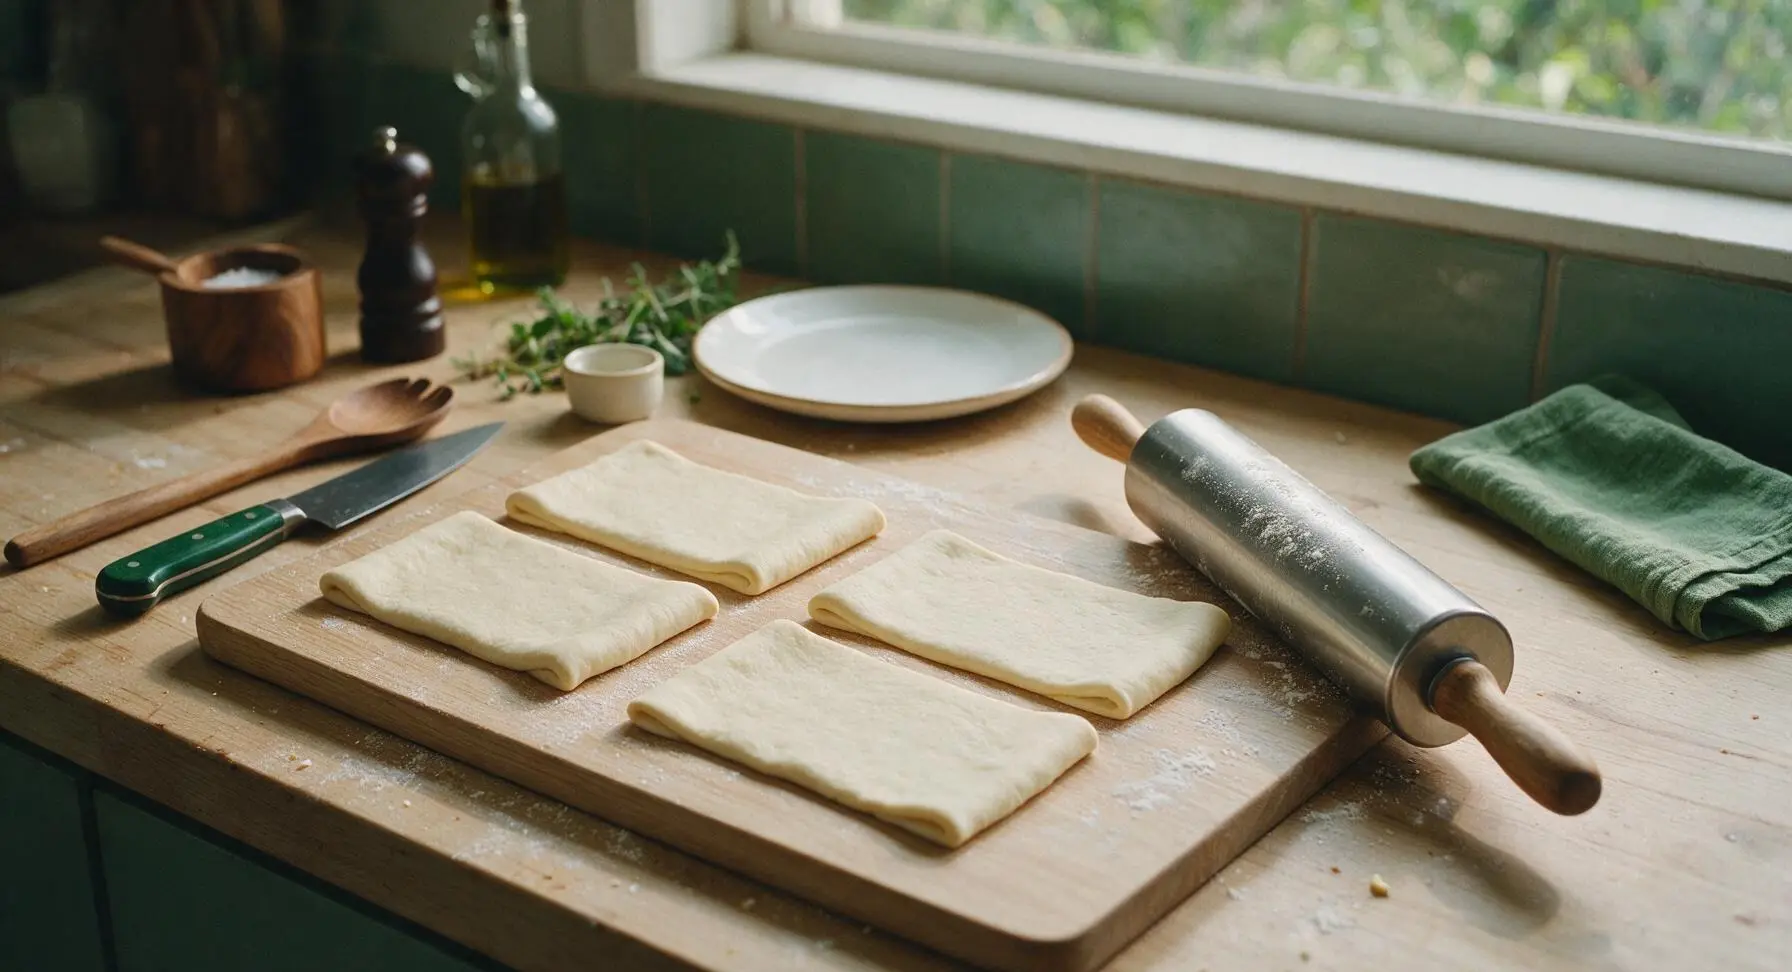
Lightly dust the maple cutting board with the 2 tablespoons of all-purpose flour. Divide the pizza dough into 4 equal 110g portions. Use the stainless steel rolling pin to roll each portion into a 20x15cm rectangle, about 1/4 cm thick, with even edges. Lift dough occasionally while rolling to ensure it does not stick to the board, adding a pinch more flour if needed.
Fill Dough Rectangles
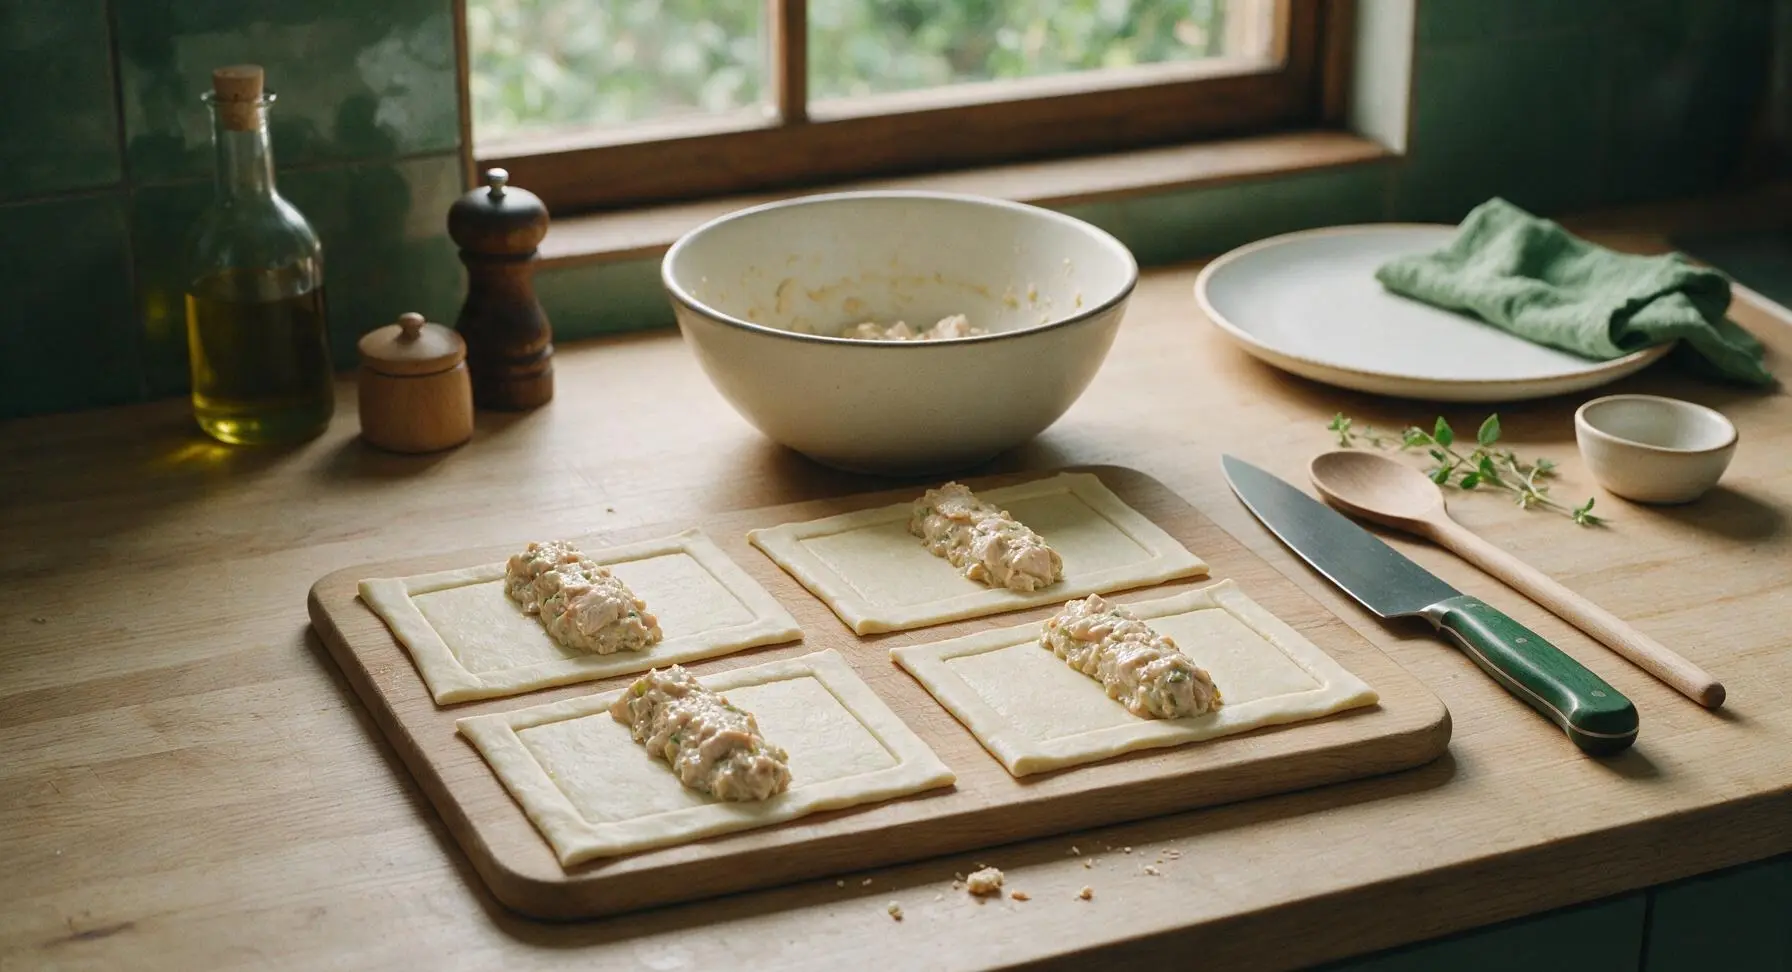
Scoop 1/4 of the chicken filling mixture (approximately 170g) down the longitudinal center of each rolled dough rectangle, leaving a clear 2cm border along all edges. Do not overfill, as this will cause the bakes to burst open while baking. Gently press the filling into a compact log shape down the center to make rolling easier.
Crimp to Seal Bakes
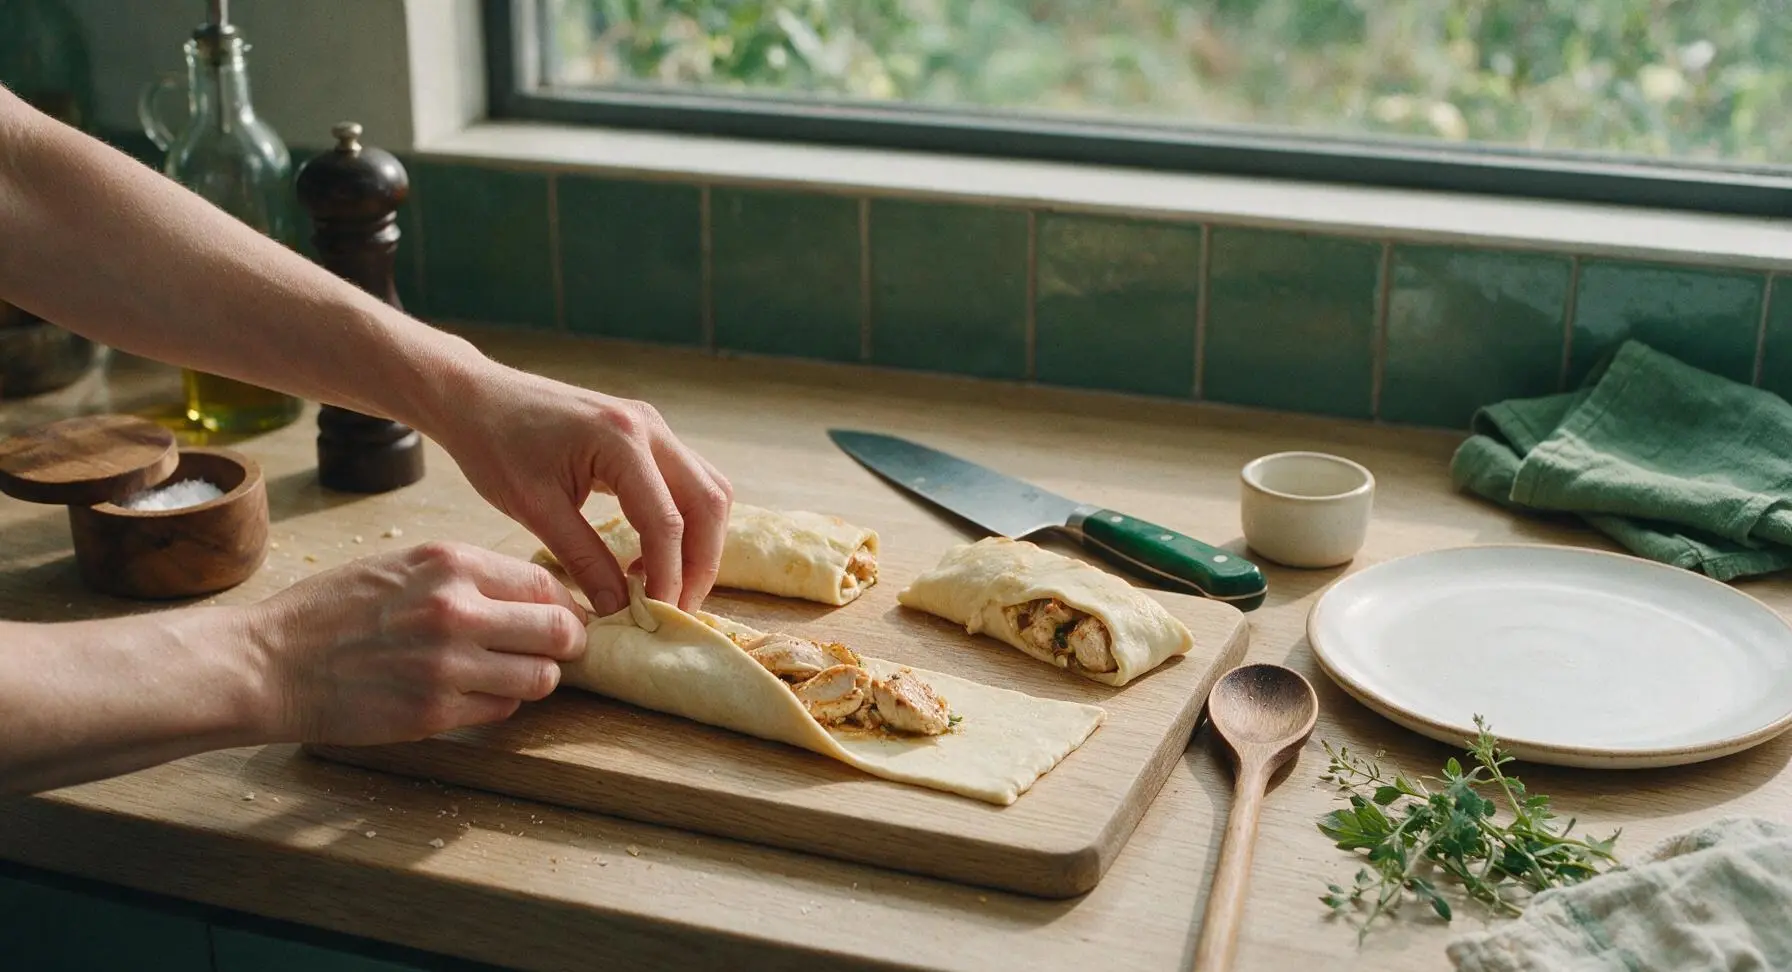
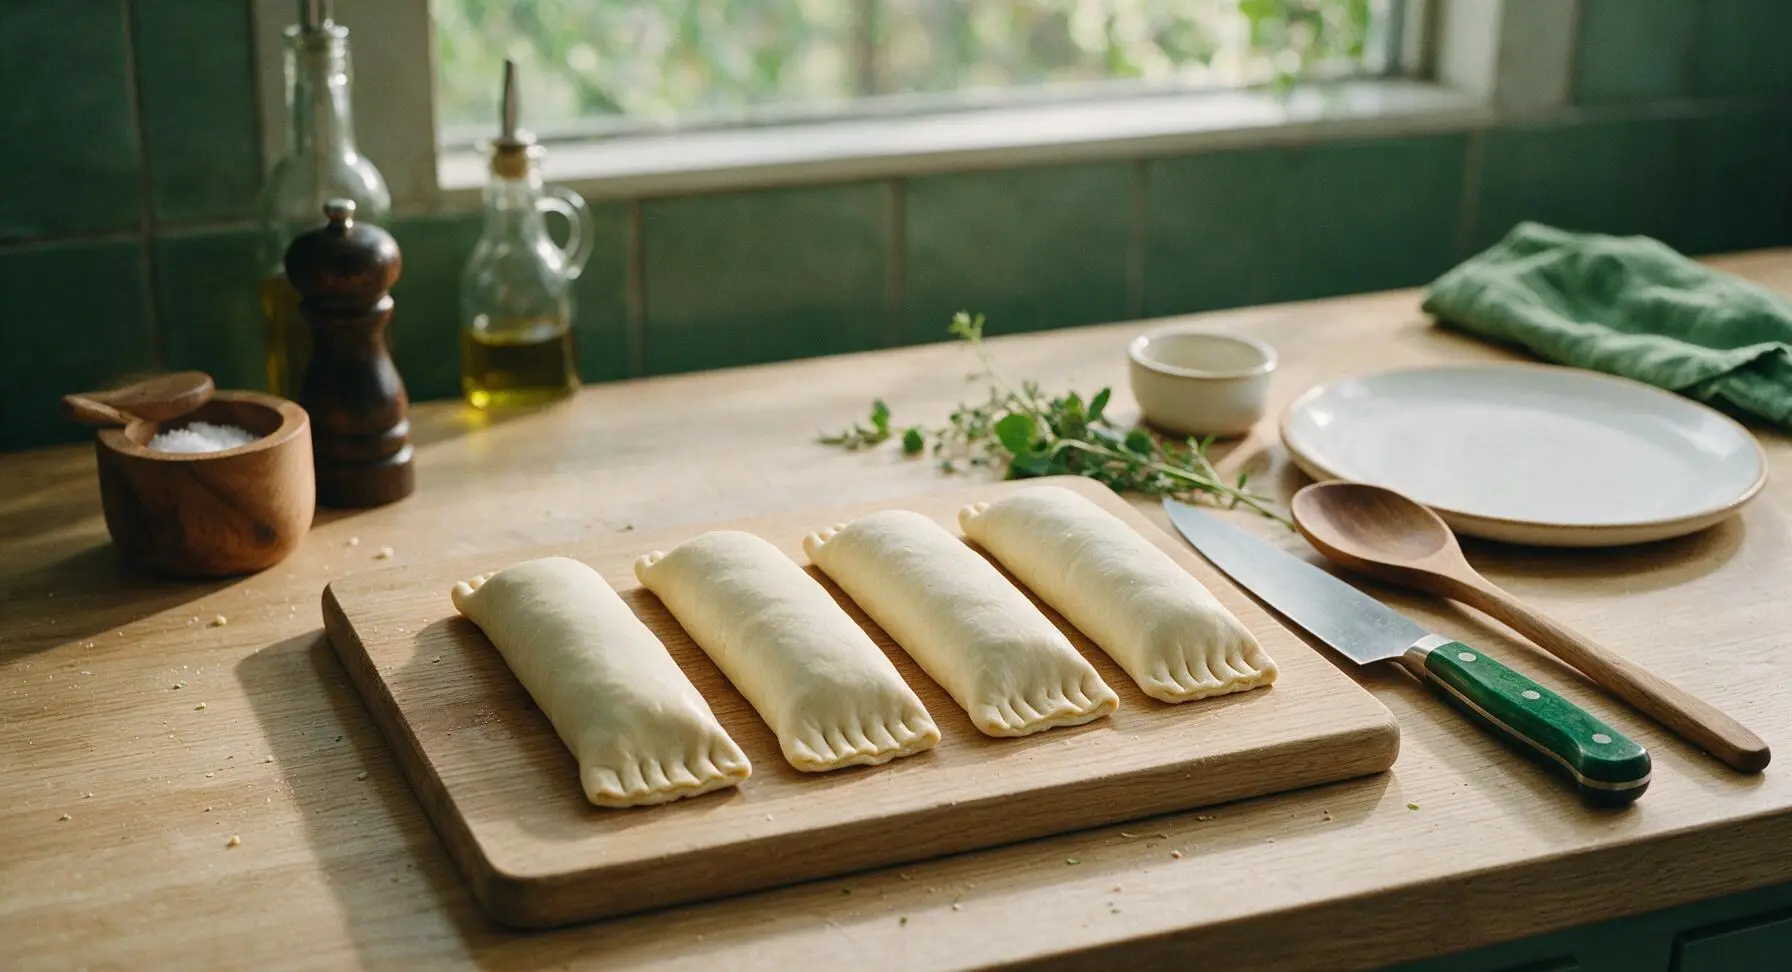
Fold the long sides of each dough rectangle up over the filling, pinching the seam tightly to create a secure seal. Fold the short ends in and pinch firmly to close, so no filling can leak out during baking. Roll each sealed log so the seam faces down, and gently tuck the ends under to form a neat, tight 18cm long cylindrical bake.
Apply Egg Wash Coating
Crack the whole egg into the clear glass ramekin, whisk with a fork until fully smooth with no streaks of egg white. Use the silicone pastry brush to coat the entire top and sides of each sealed dough log with a thin, even layer of egg wash. This will create the signature deep golden, crispy crust during baking. Transfer the coated logs to the parchment-lined aluminum baking sheet, spaced 5cm apart to allow room for rising as they bake.
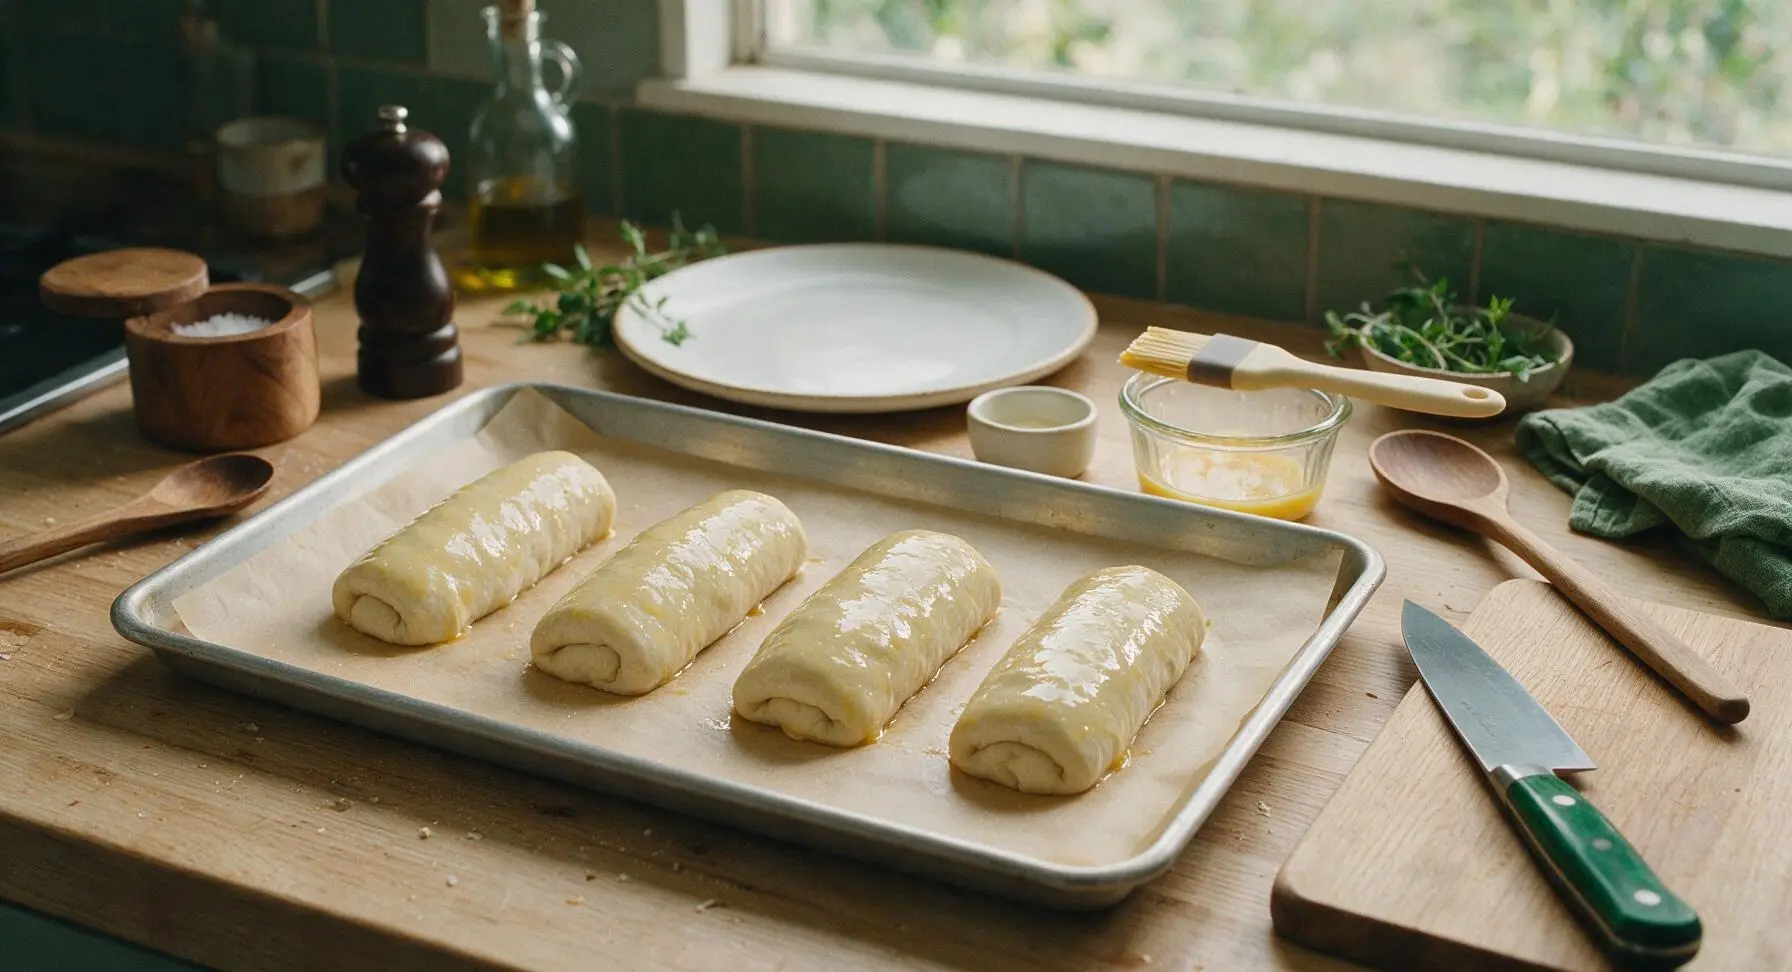
Bake to Crispy Perfection
Place the baking sheet in a preheated 200C (400F) oven. Bake for 22-25 minutes, rotating the sheet halfway through cooking for even browning. The bakes are done when the crust is deep golden brown all over, seams are fully set, and faint bubbling of melted cheese is visible at any small seam gaps.
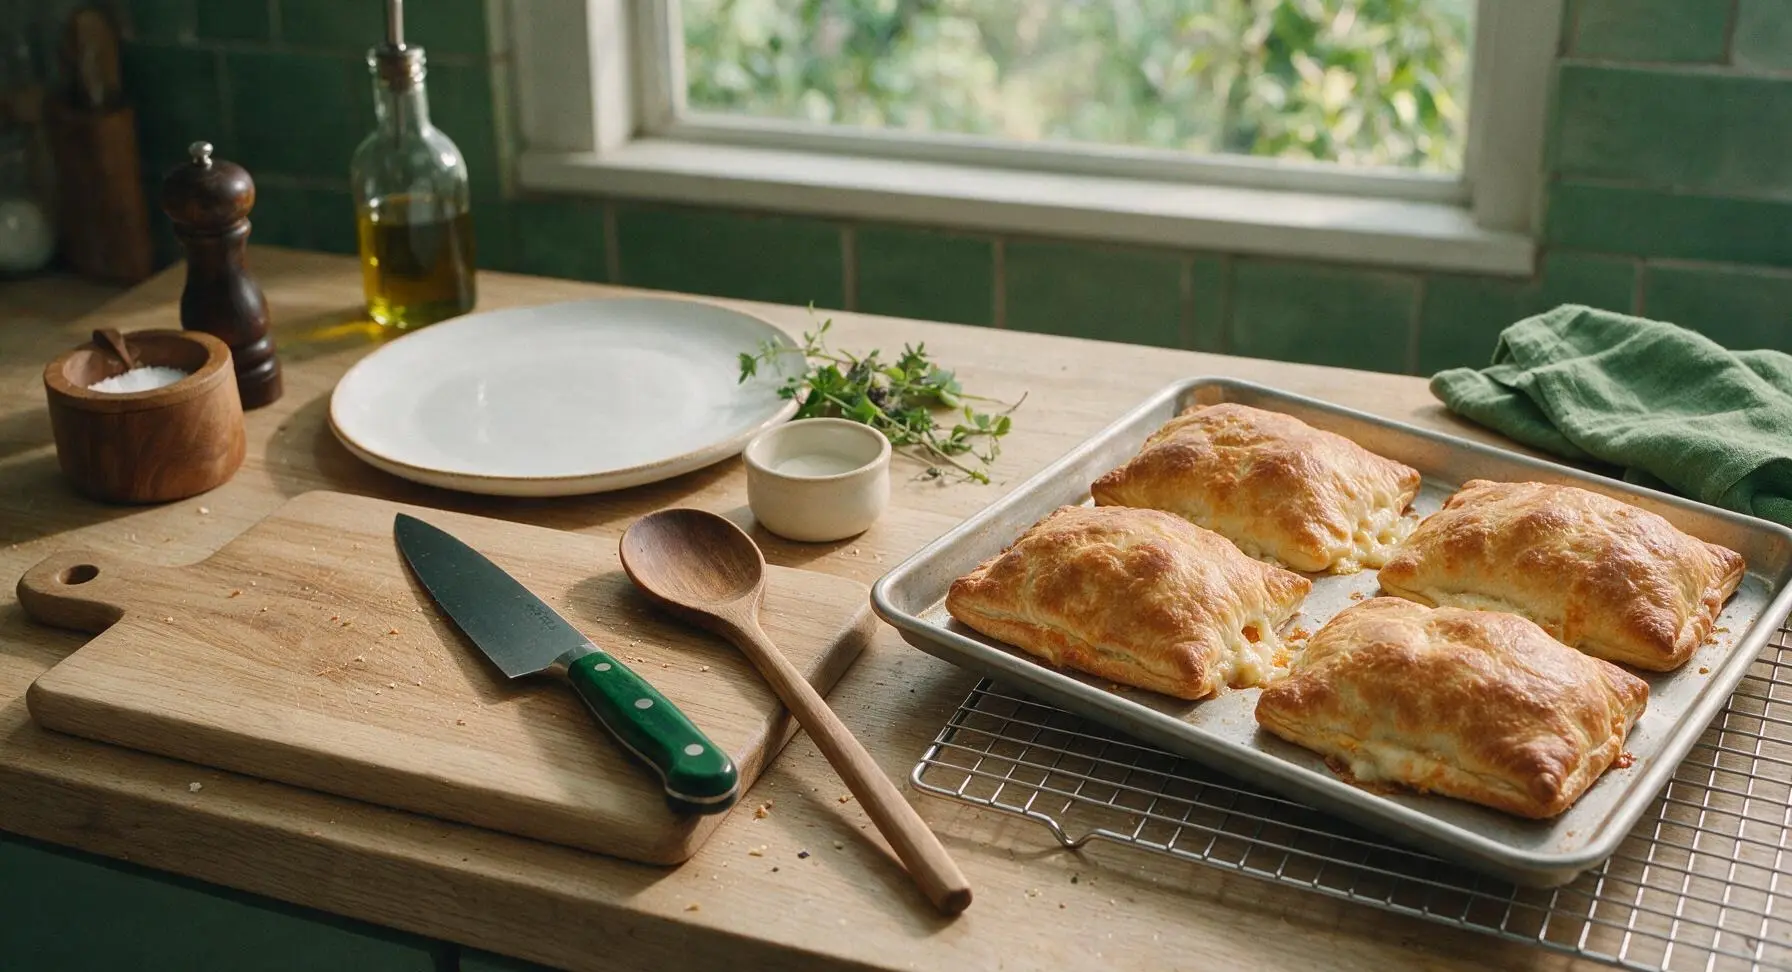
Rest Before Serving
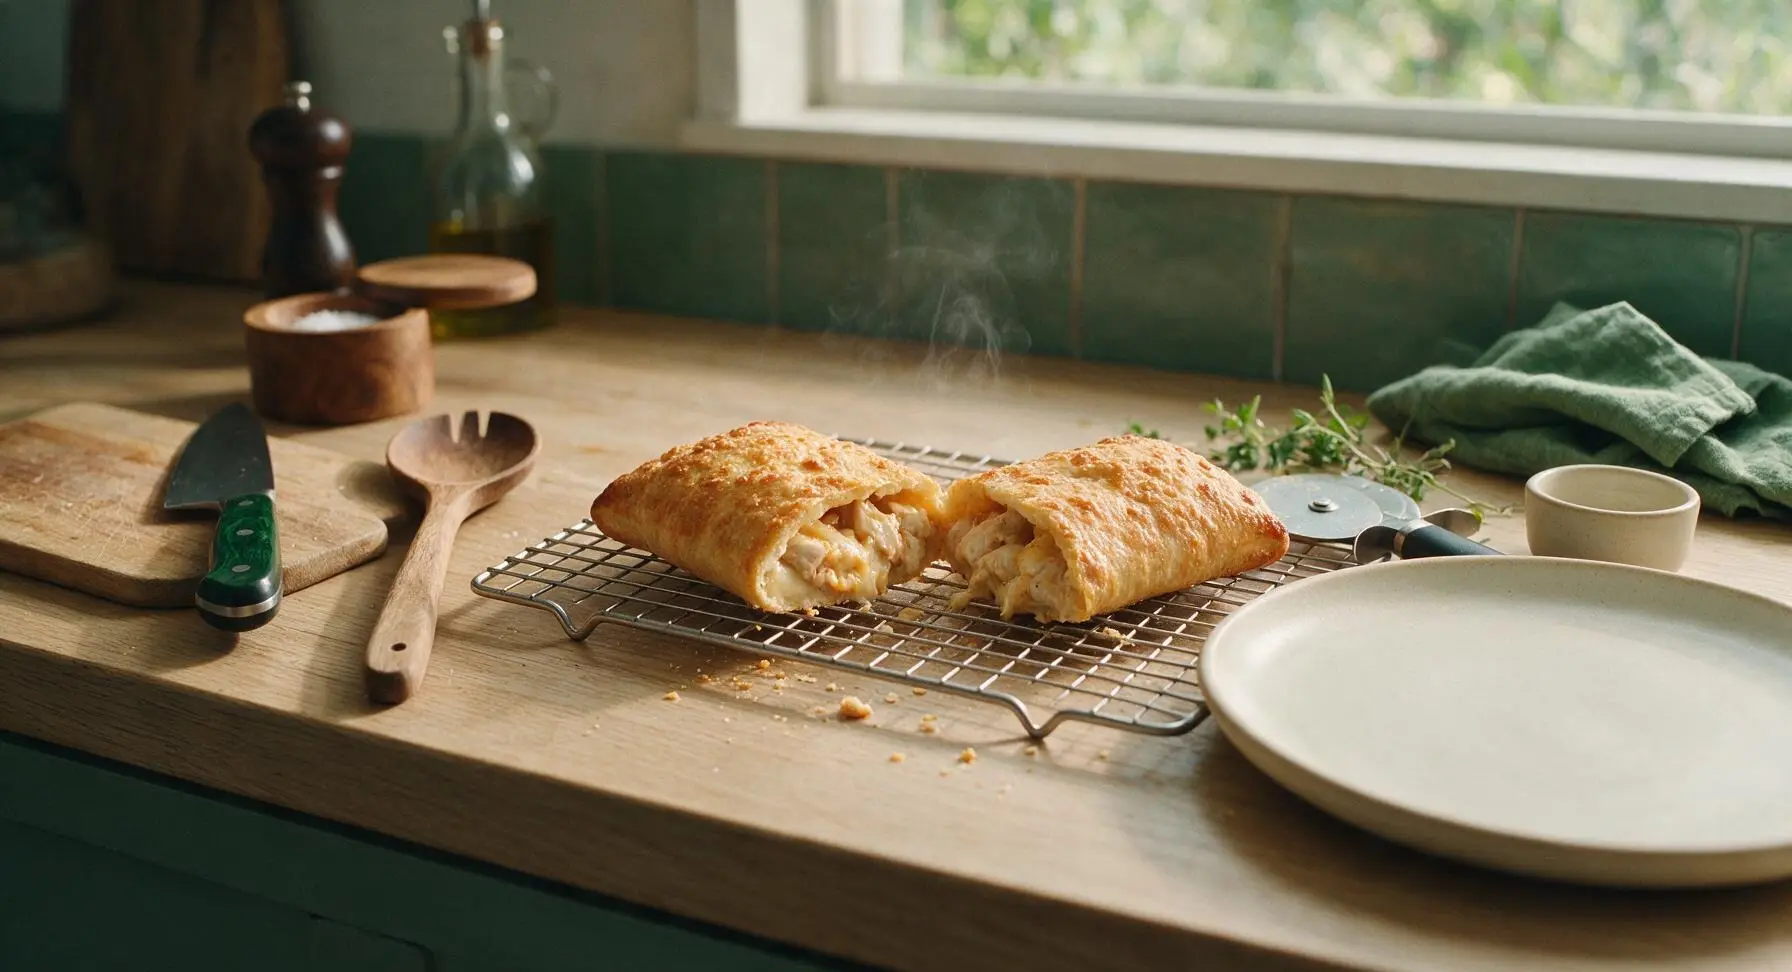
Allow the chicken bakes to rest on the cooling rack for 5 minutes after removing from the oven. This lets the molten cheese and hot filling set slightly, so it does not run out when cut, and prevents burns from overly hot filling. Transfer to plates to serve, garnished with a light sprinkle of fresh parsley if desired.
Tips
2.Resist the urge to overfill the dough pockets: adding extra filling may seem tempting, but it will push through the crimped seams during baking, leaking cheese and chicken onto the baking sheet and leaving you with a flattened, less fluffy bake with less structural integrity to hold as a handheld meal.
3.Let the bakes rest the full 5 minutes after baking: the internal filling reaches over 90C (195F) in the oven, and cutting into them immediately will cause all the creamy, cheesy filling to pour out instead of staying neatly inside the crust, and increases the risk of burns from extremely hot melted cheese and dressing.






OMG this is a total game changer!!! I used to drive 20 minutes out of my way to the Costco food court just for these chicken bakes, and this copycat version tastes EXACTLY the same, if not better? My kids devoured two each at dinner last night, even my super picky middle one who turns his nose up at anything with Caesar dressing. Total cook time was actually under 25 minutes like you said, super easy even for a weeknight. 10/10 will be adding this to our regular meal prep rotation!
Made these for our neighborhood block party potluck this weekend and people were asking me for the recipe all night! I added a little extra bacon bits because why not, and they came out so cheesy and gooey, just like the Costco ones. Super easy to throw together even when I was juggling 3 other dishes for the party. Will absolutely make again for the next tailgate.
Wait hold on, is the filling supposed to be as creamy as the Costco version? Mine came out a little drier than I remembered, I think I skimped on the Caesar dressing when I was measuring. Flavor was still spot on though, just missing that little oozing creaminess when you bite into it.
SO good! I made a batch on Sunday to take for work lunches all week, and they reheated perfectly in the air fryer at 375 for 5 minutes. Crispy on the outside, filling still hot and cheesy, no sad soggy crust at all. Way cheaper than buying them at Costco every week too, saved me like $15 this week alone. Easy recipe, minimal cleanup, can’t beat it.
I’m literally the worst at baking, I burn toast half the time, and even I managed to pull this off! The instructions were so straightforward, no weird fancy ingredients, everything I found at my regular grocery store. Mine looked a little lumpy when I folded the dough over but they tasted amazing, my roommate thought I ordered delivery from Costco lmao.
Wait a second, do these have that same garlic butter brush on the crust that the food court ones do? I swear that buttery garlicky crust is 50% of the reason I get a chicken bake every time I go to Costco, I don’t want to miss that part!