
Chicken Biscuit Casserole
intro
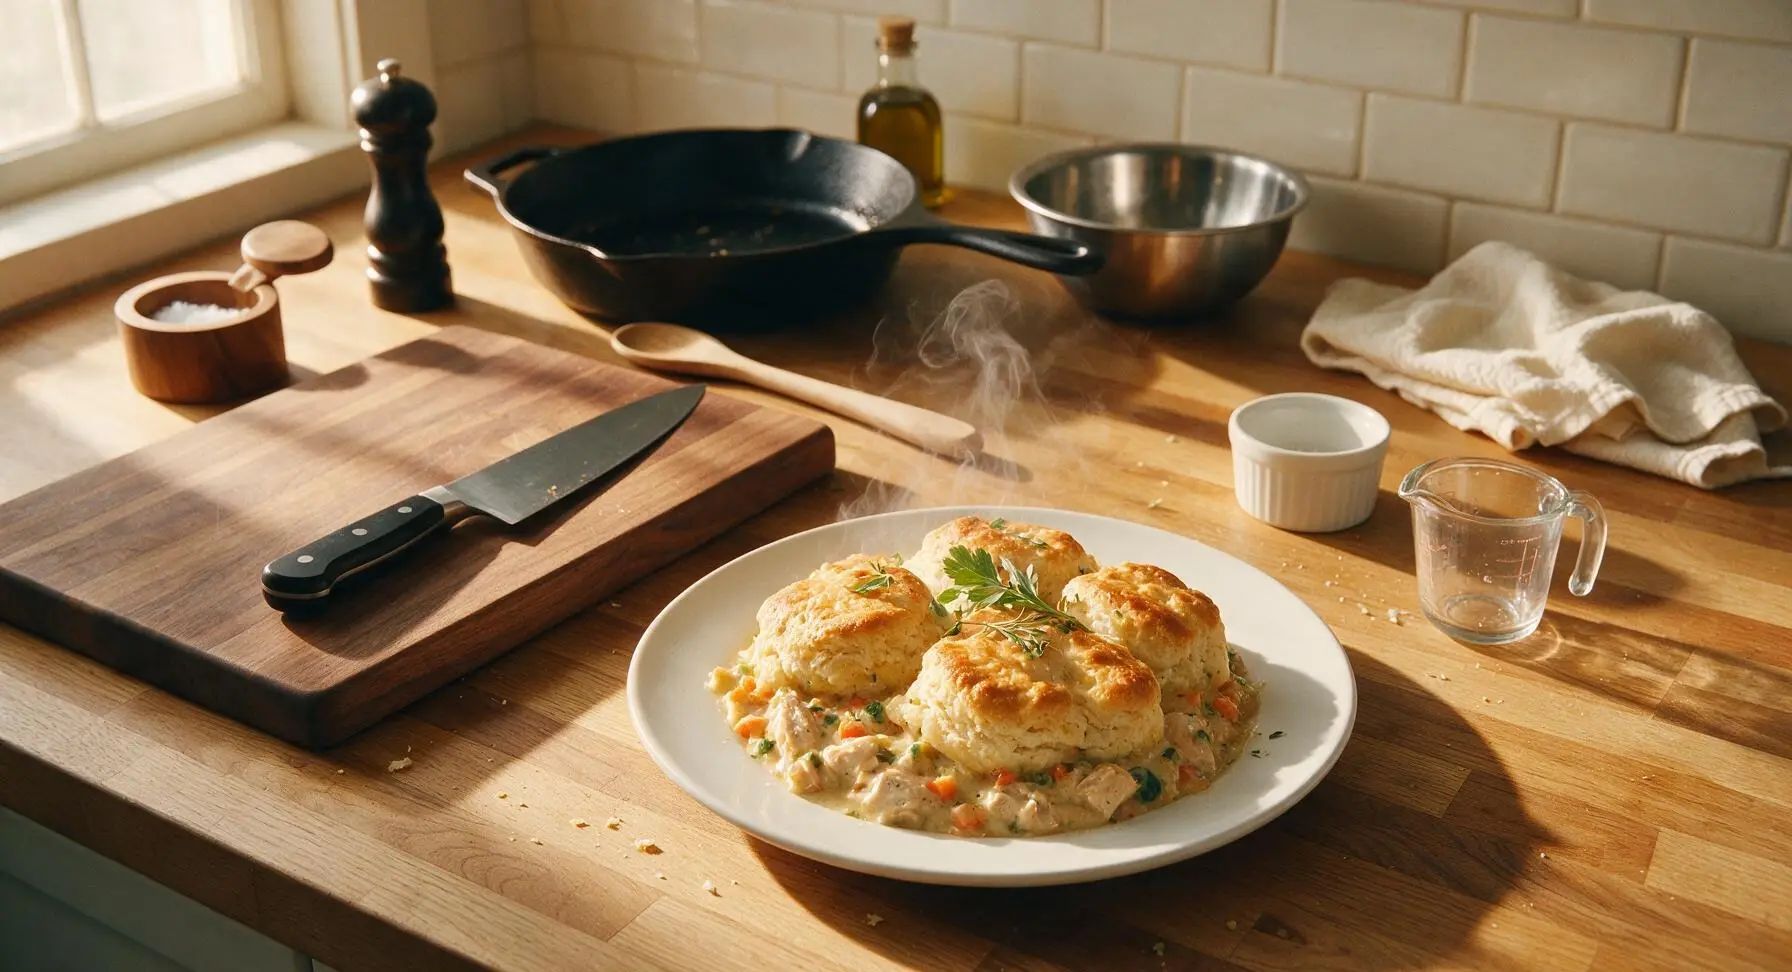
Creamy savory chicken and vegetable filling baked under flaky golden buttermilk biscuits—this nostalgic, cozy casserole is the ultimate shareable comfort food for gathering around the table.
Ingredients
Steps
Preheat Oven and Prep Dish
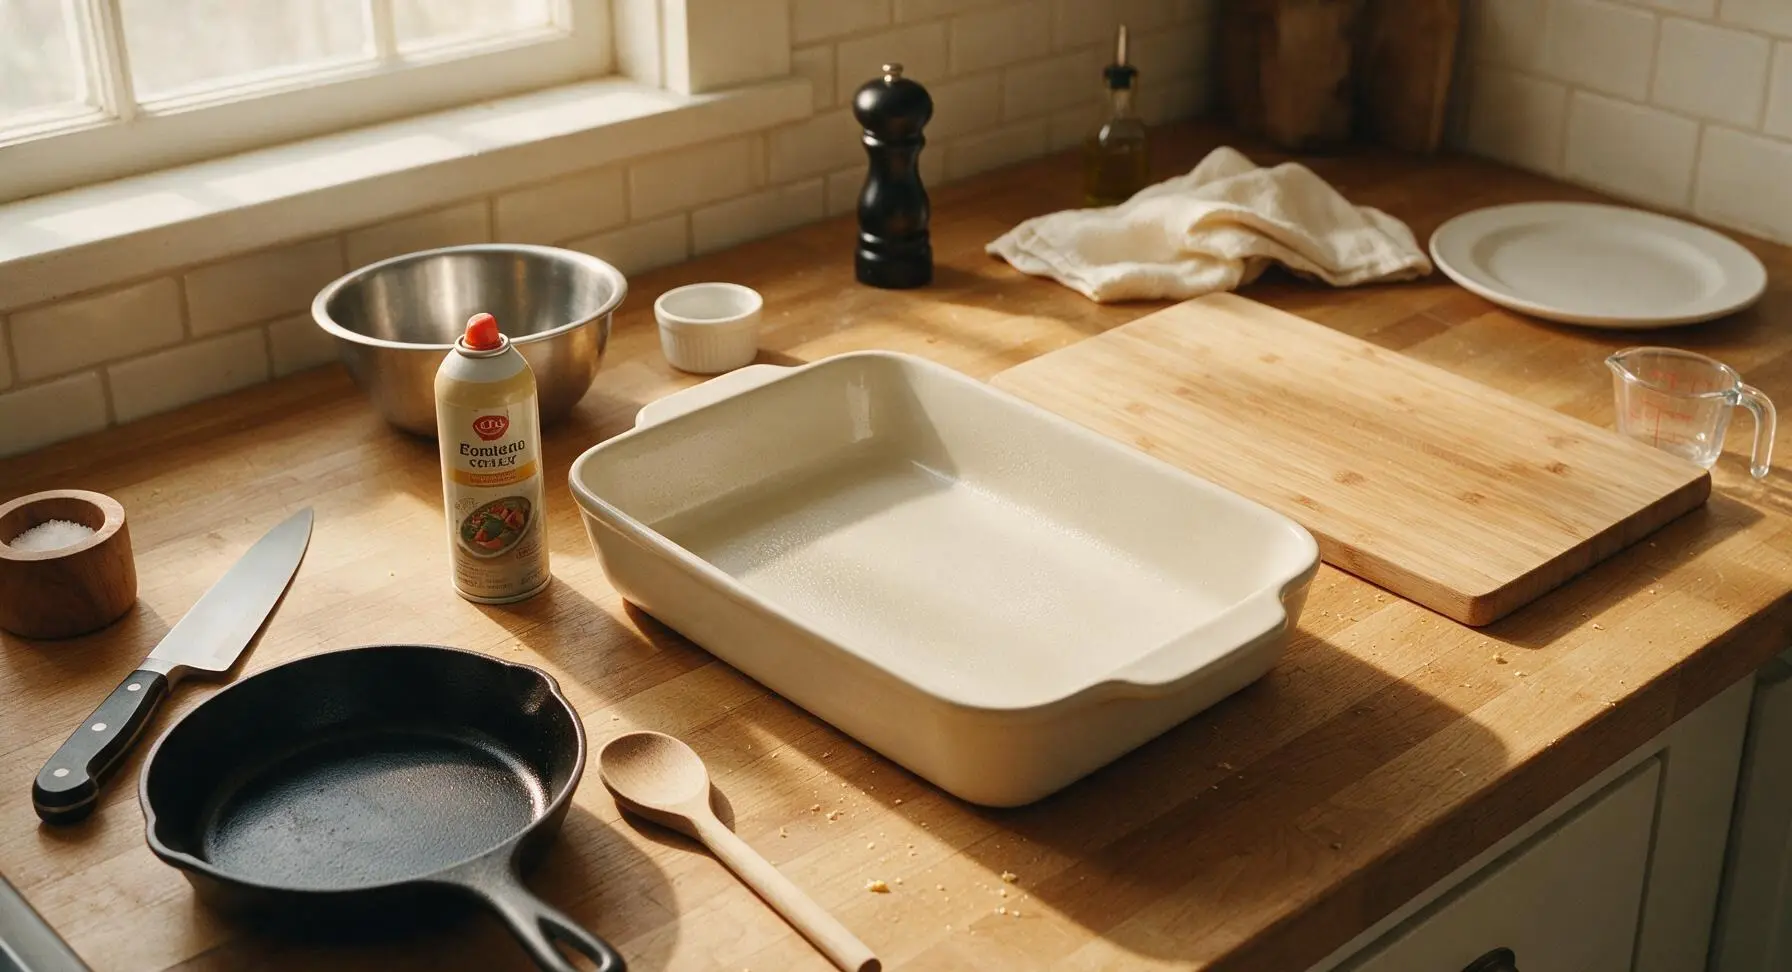
Preheat your oven to 375°F (190°C). Give the interior of the 9x13 inch matte off-white ceramic baking dish a light, even coat of non-stick cooking spray to prevent the filling from sticking during baking. Set the prepared dish in the center of the counter, ready to receive the filling.
Mix Casserole Filling
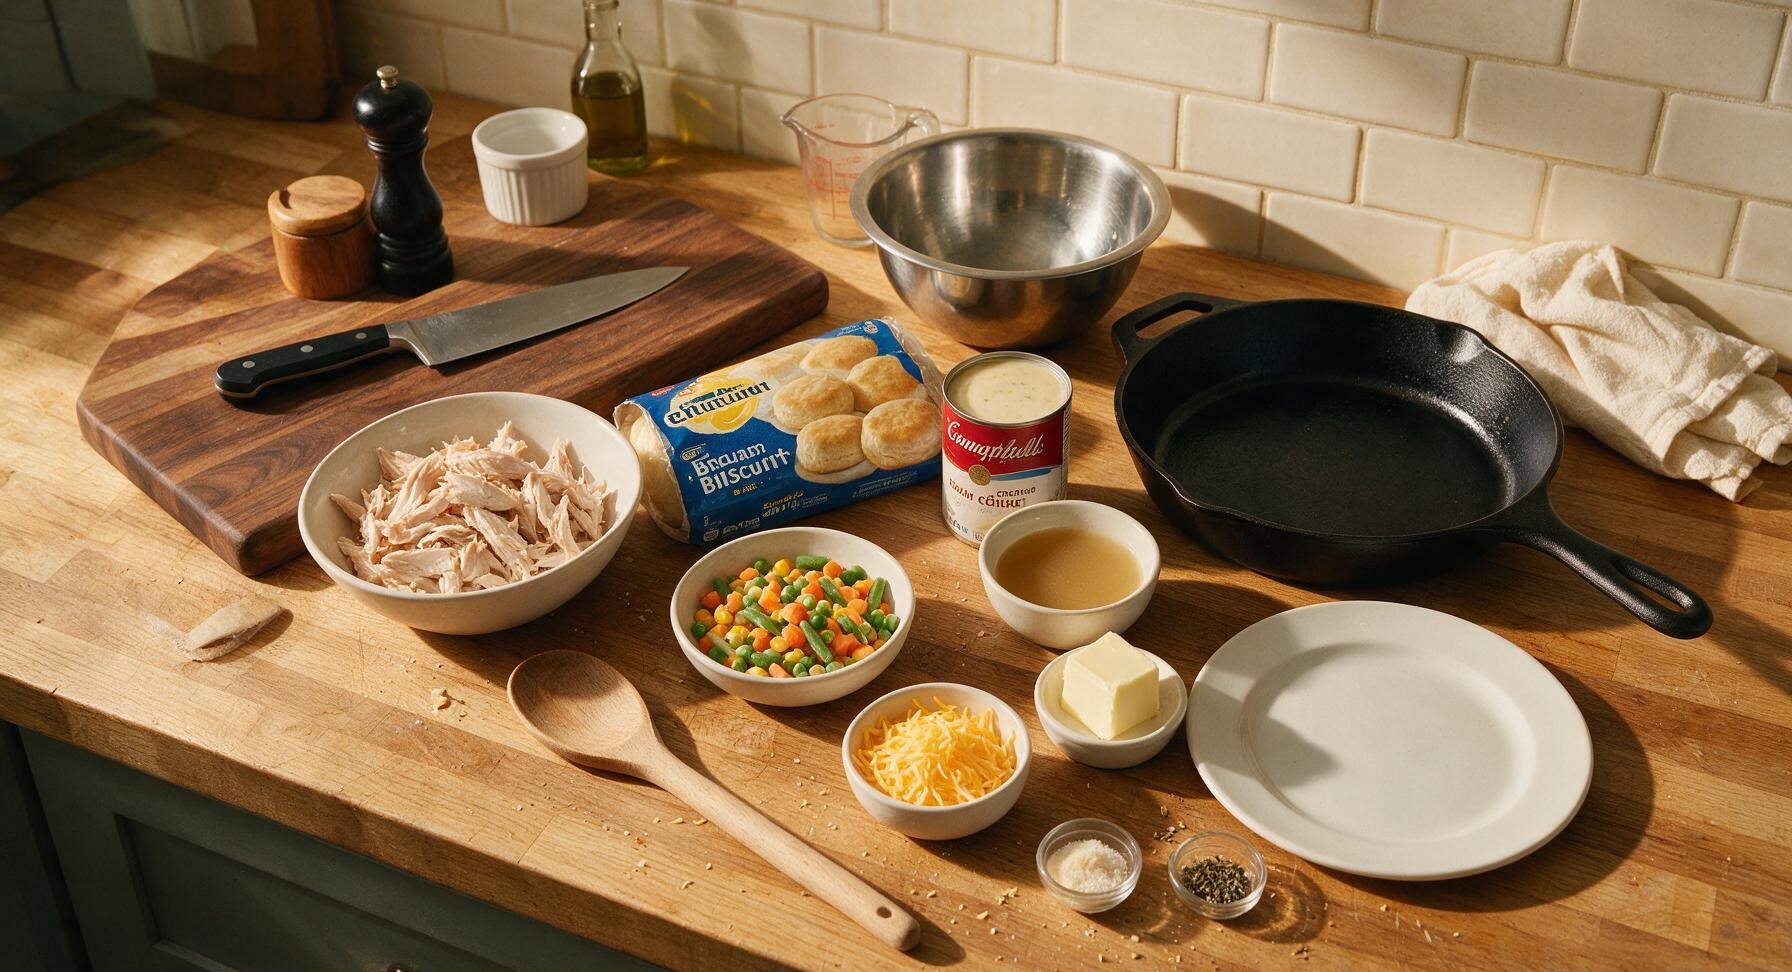
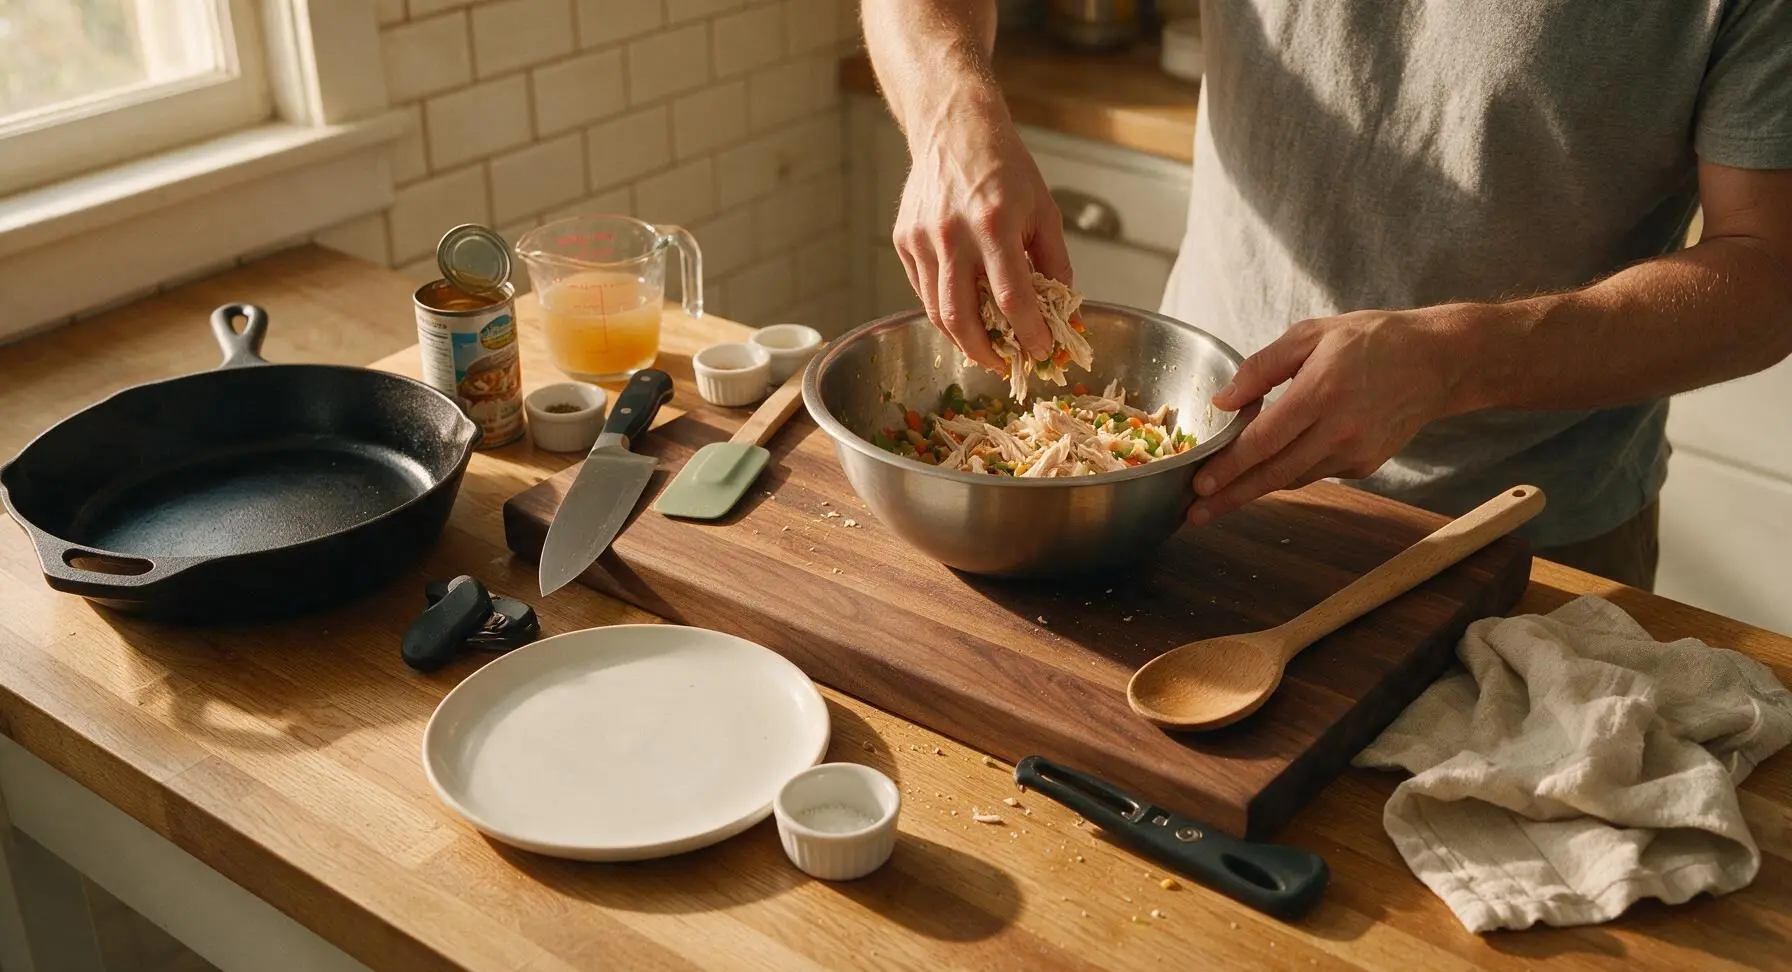
Set the medium brushed stainless steel mixing bowl on the bamboo cutting board. Use the matte black can opener to open the can of cream of chicken soup, then add the shredded cooked chicken, thawed frozen mixed vegetables, soup, chicken broth, ½ teaspoon garlic powder, ½ teaspoon dried thyme, and ¼ teaspoon black pepper to the bowl. Stir thoroughly with the sage green silicone spatula until no dry lumps of soup or undistributed spice remain; the finished mixture will be thick but easily pourable.
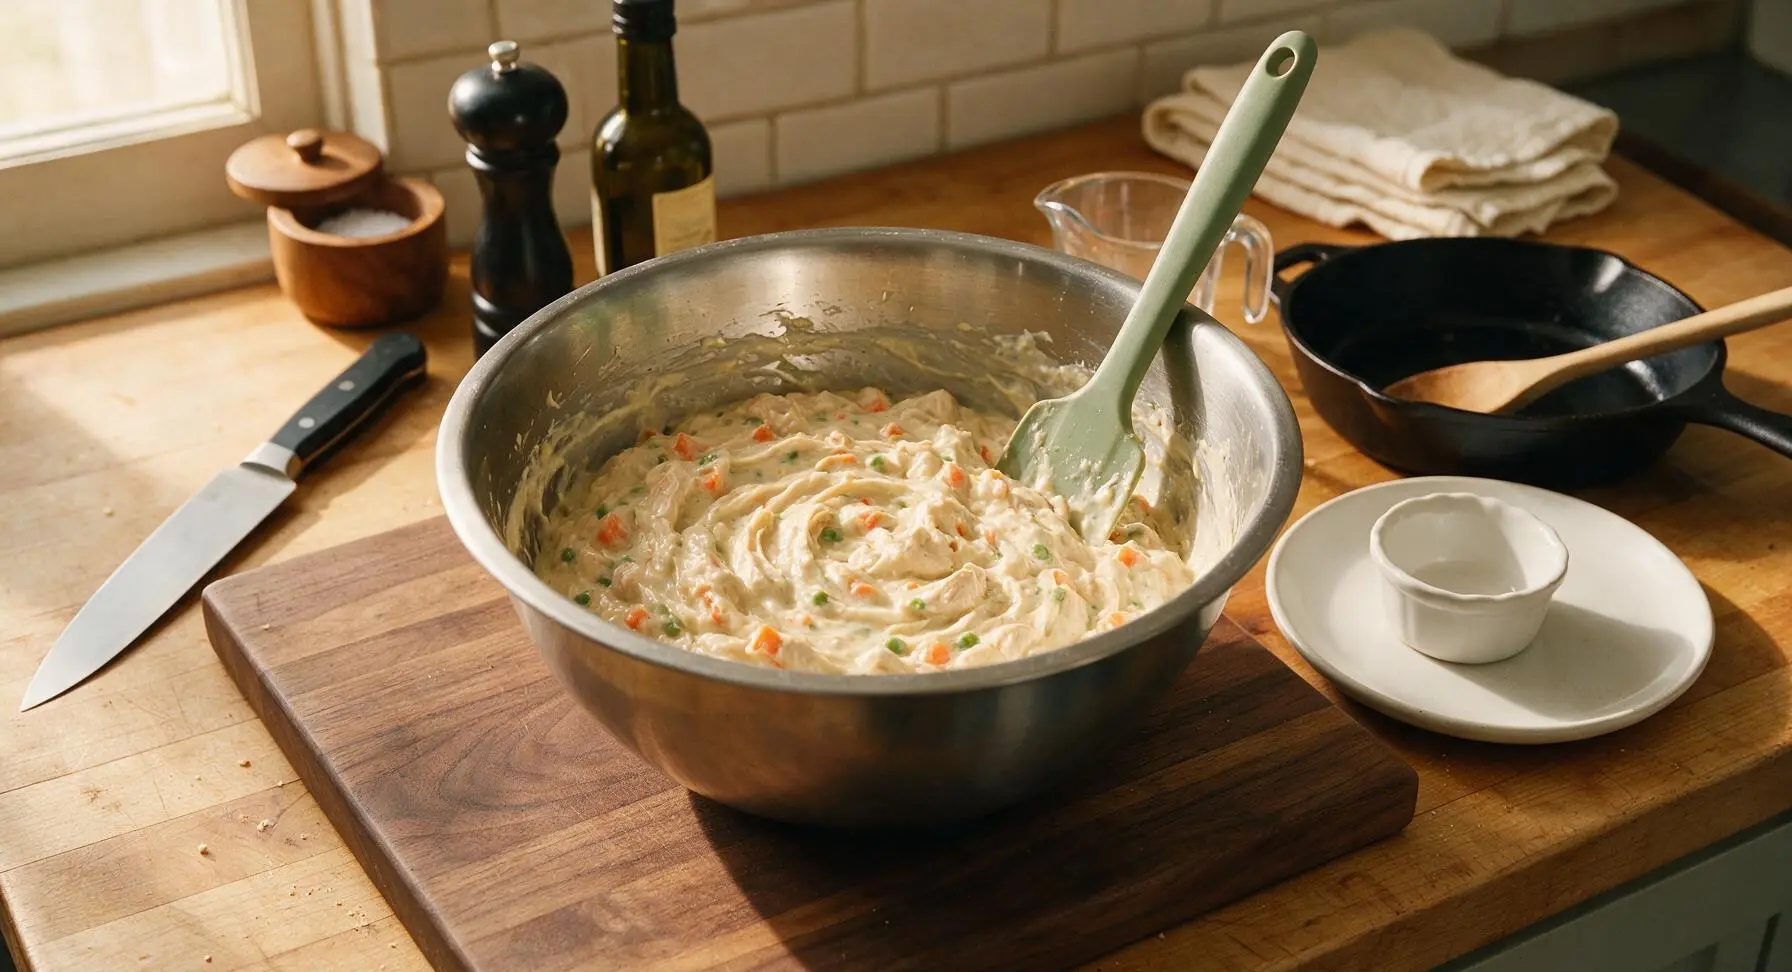
Fold in Cheddar Cheese
Add the ½ cup shredded sharp cheddar cheese to the filling mixture. Fold gently with the silicone spatula just until the cheese is evenly distributed; do not overmix, as small clumps of cheese will melt into gooey, flavorful pockets as the casserole bakes.
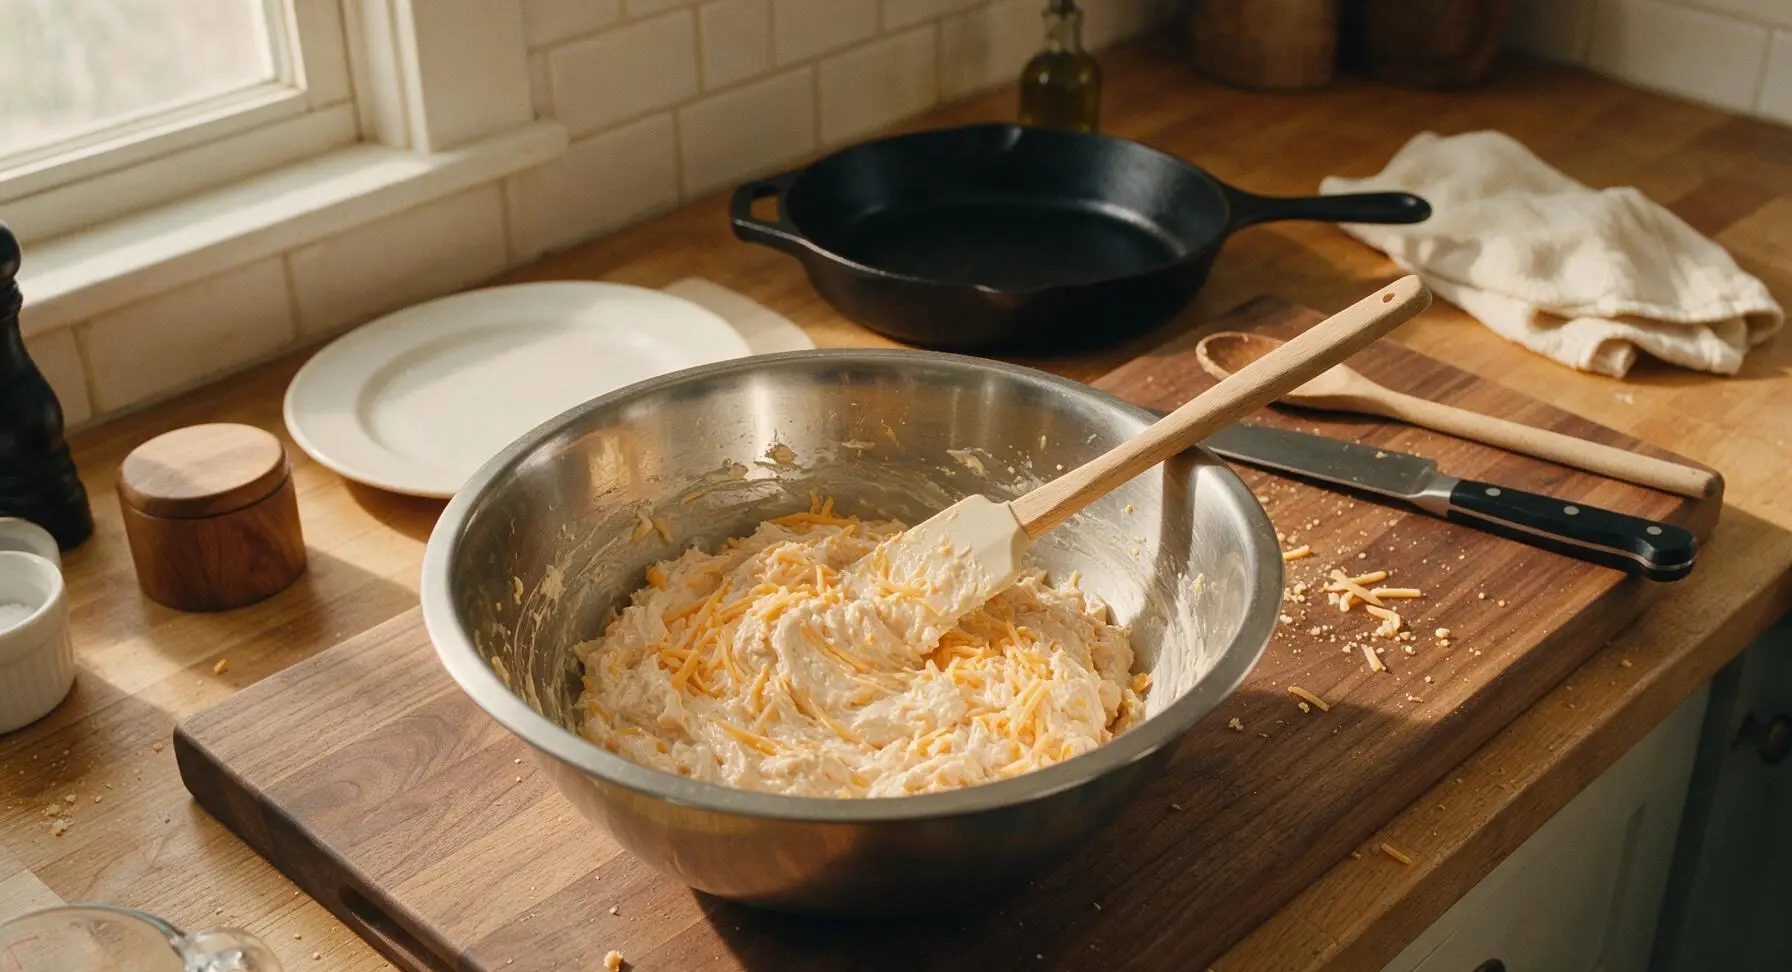
Transfer Filling to Dish
Pour the entire chicken and cheese filling mixture into the prepared ceramic baking dish. Use the silicone spatula to spread the filling into a smooth, even layer across the entire bottom of the dish, eliminating any high or low spots that would cause uneven biscuit baking.
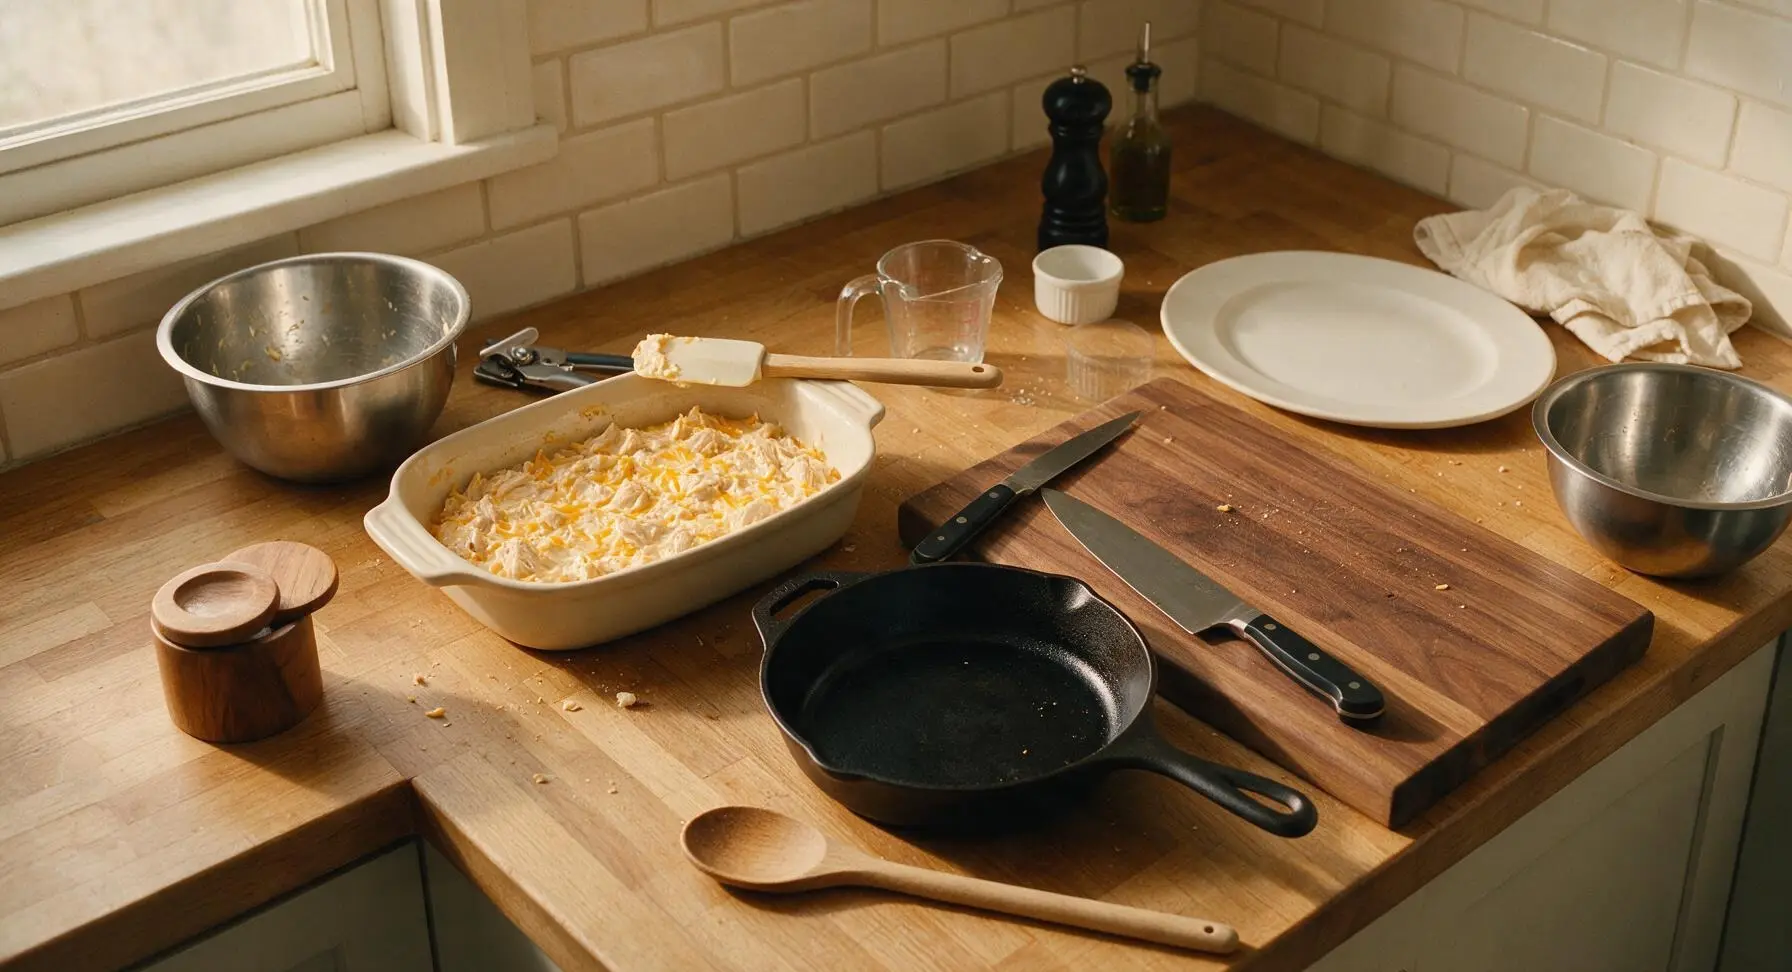
Top with Biscuit Dough
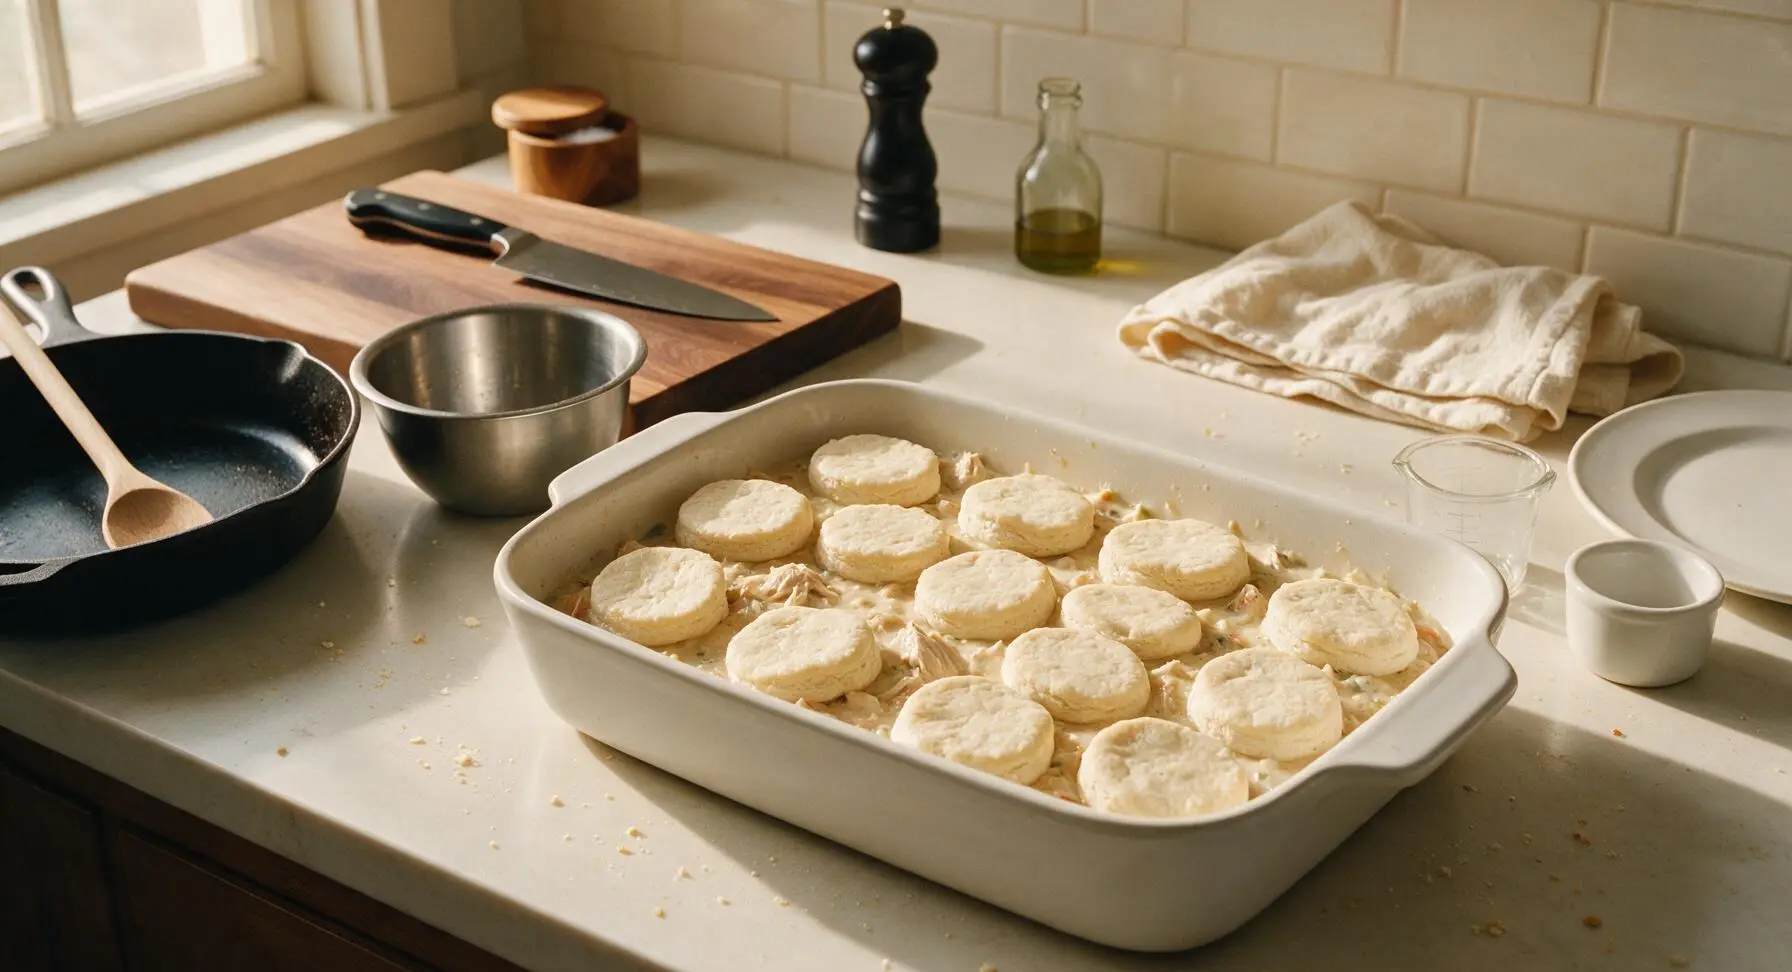
Use the matte black can opener to open the can of refrigerated buttermilk biscuit dough. Separate each individual biscuit into 2 equal horizontal halves, creating 16 thin biscuit rounds total. Arrange the halves in a loose, slightly overlapping layer across the top of the filling, leaving ½-inch gaps between pieces to allow steam to escape and sauce to bubble up. Do not press the biscuits down into the filling, as this will cause soggy bottoms.
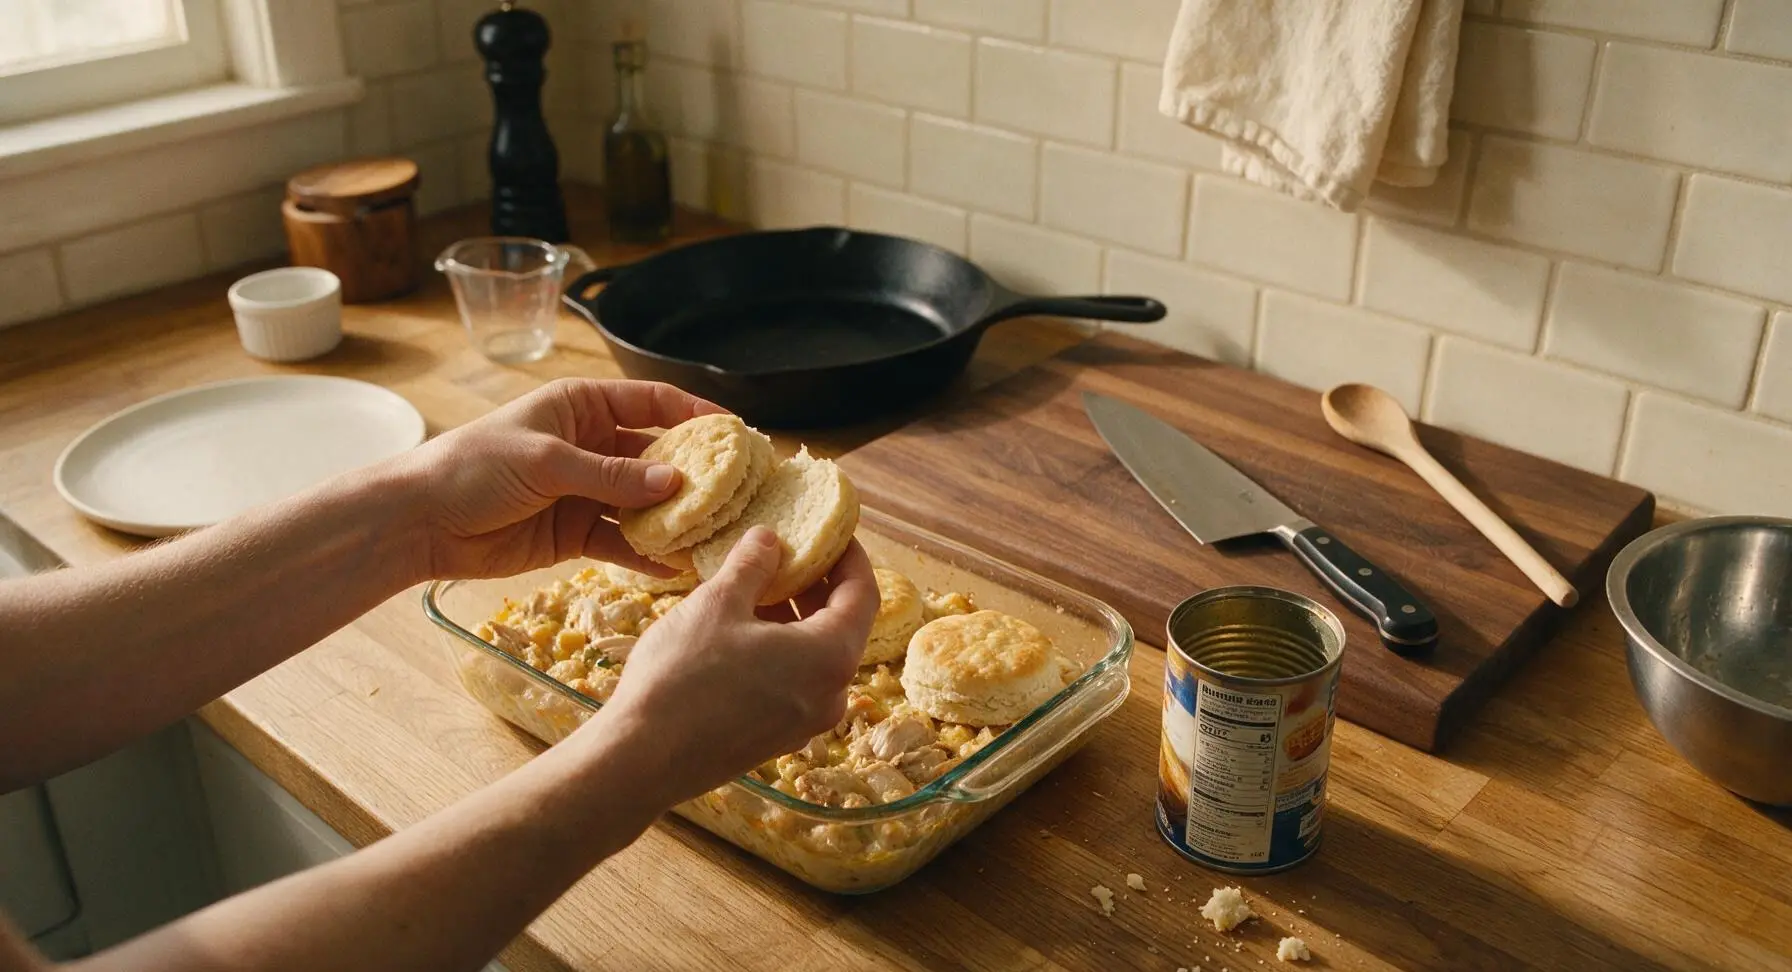
Brush with Garlic Butter
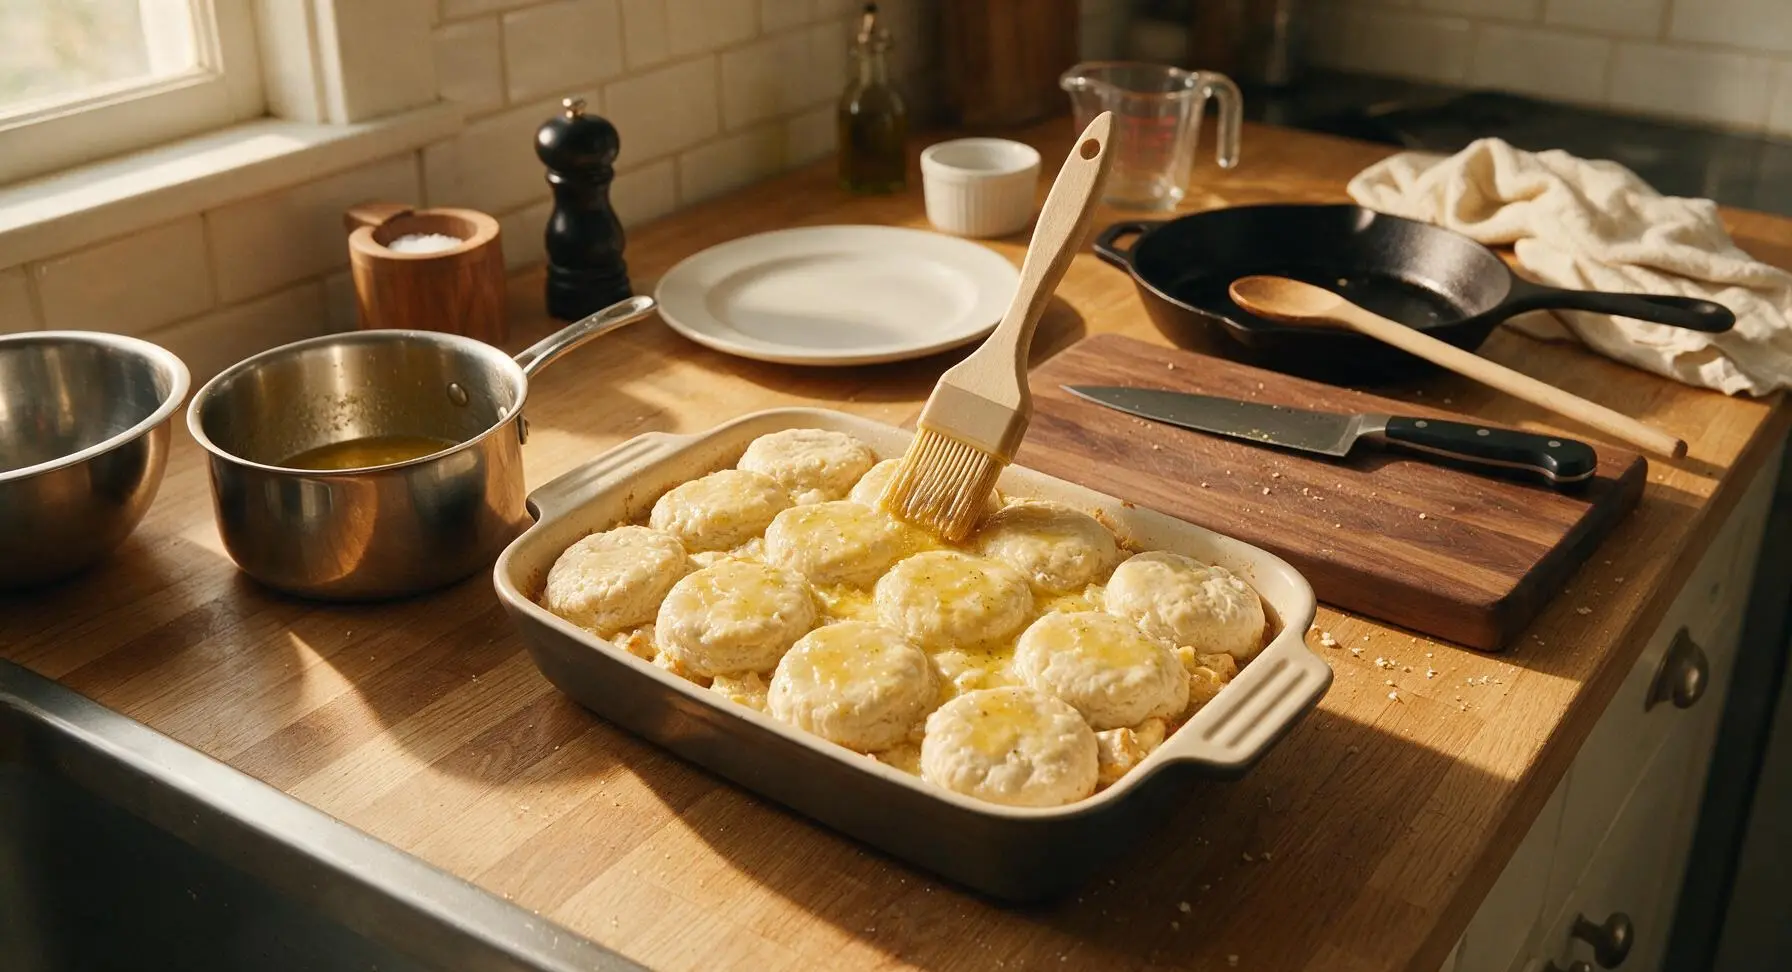
Melt the 4 tablespoons of unsalted butter in the 2-quart polished stainless steel saucepan over low heat (about 1 minute), then stir in the remaining ½ teaspoon garlic powder. Use the silicone pastry brush to coat the top surface of every biscuit half generously with the garlic butter, making sure to cover the biscuit edges so they crisp to a deep golden brown during baking.
Bake Until Bubbly
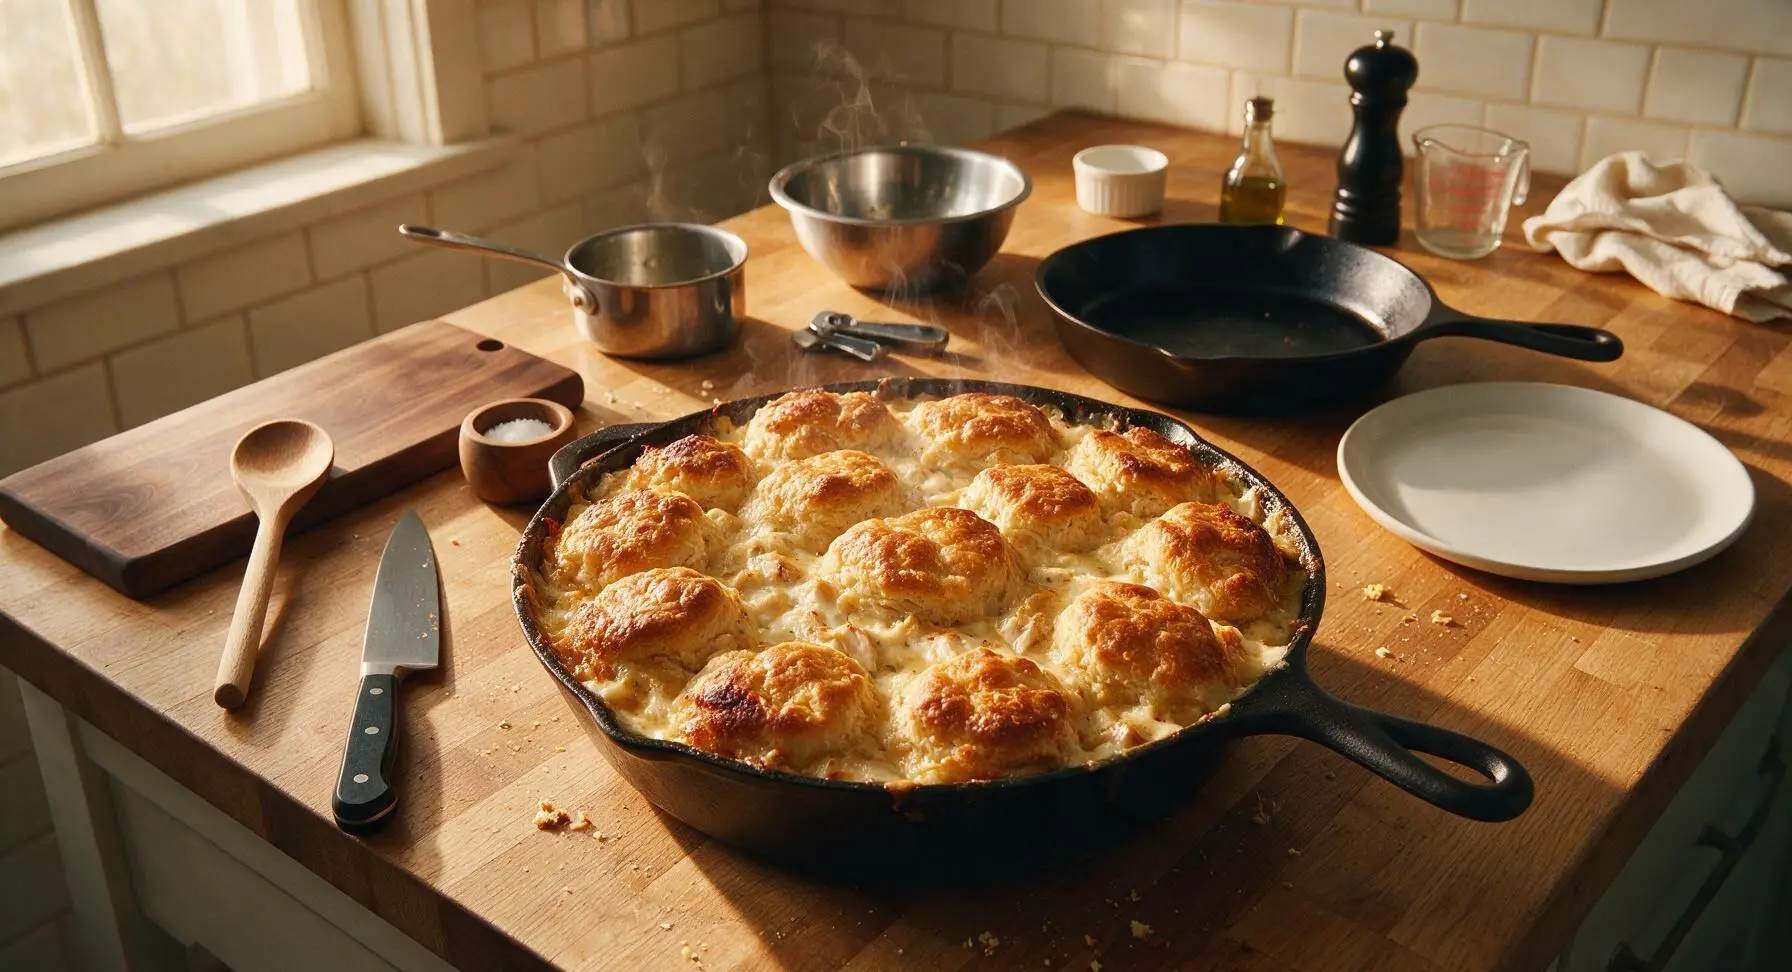
Carefully place the baking dish on the middle rack of the preheated 375°F (190°C) oven. Bake for 30-35 minutes, until the biscuits are a deep flaky golden brown, the filling bubbles vigorously around the edges of the dish, and the center of the casserole reaches 165°F (74°C). If biscuit tops brown too quickly after 20 minutes, tent loosely with aluminum foil to prevent burning.
Rest and Serve Warm
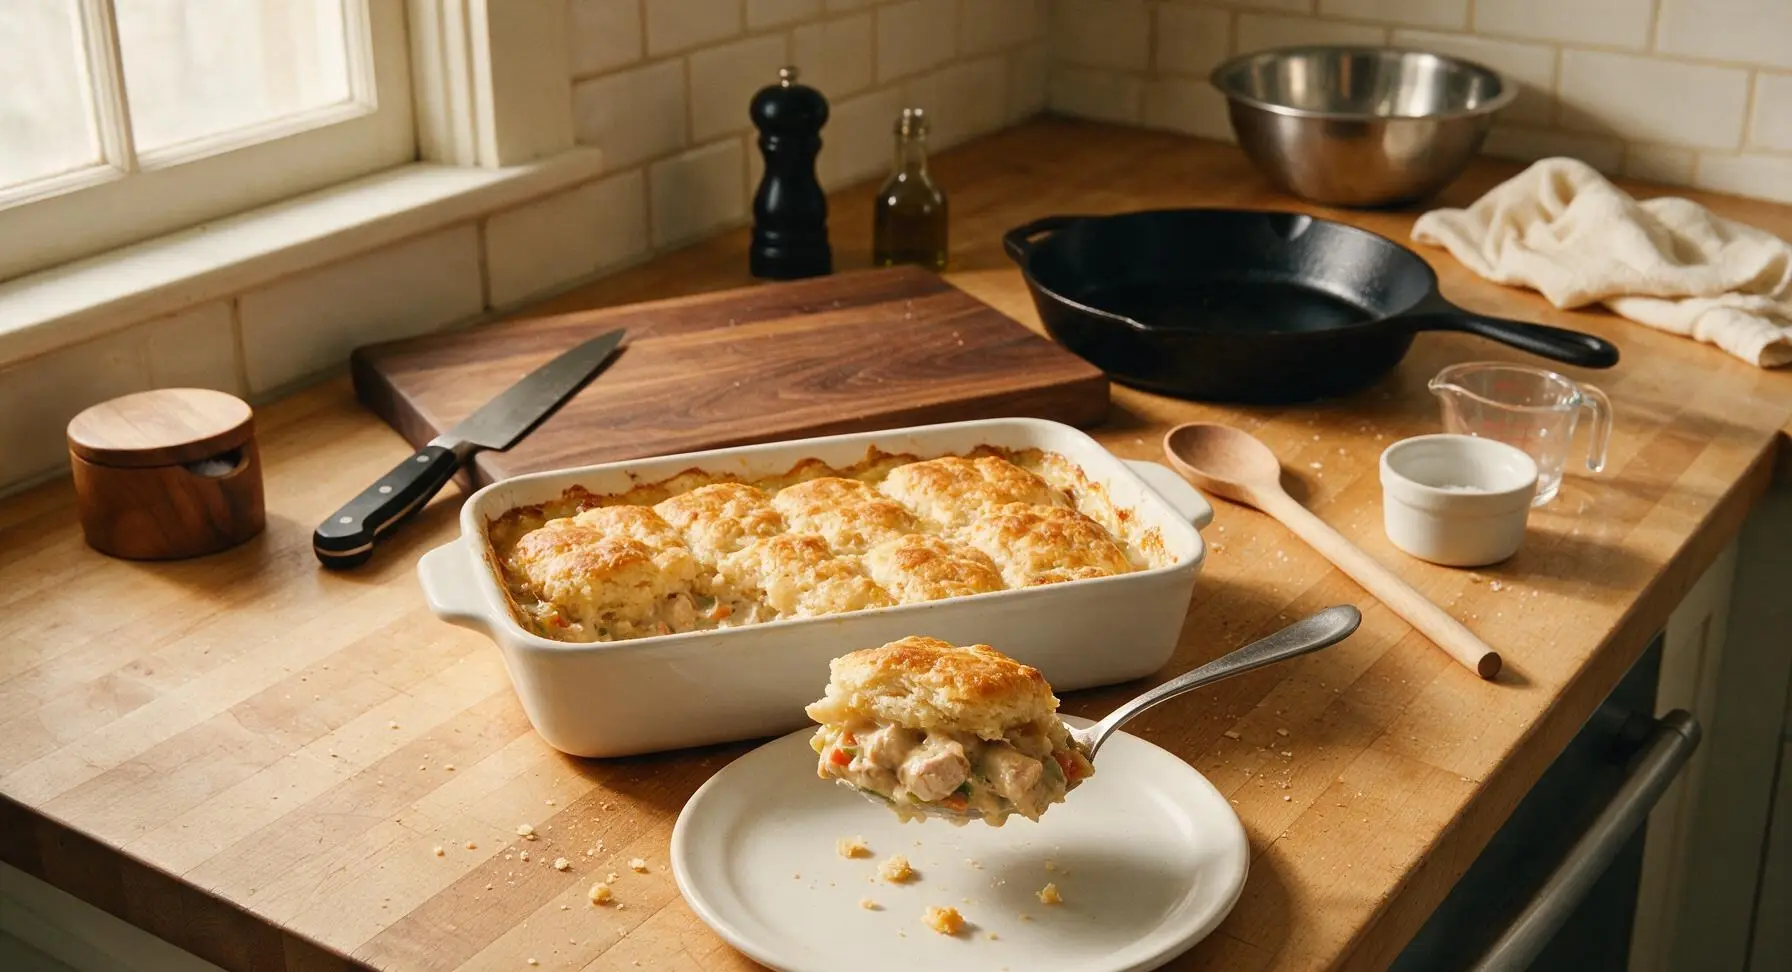
Let the casserole rest for 5 full minutes at room temperature to allow the filling to set (this prevents runny, loose servings when scooping). Use the stainless steel serving spoon to scoop generous portions onto the off-white ceramic dinner plates, garnish with a small sprig of fresh thyme if desired, and serve immediately.
Tips
2.Always leave gaps between biscuit halves when arranging the topping: trapped steam from the hot filling will make the bottom of the biscuits soggy if they are sealed tightly together. Splitting each biscuit into two thin halves ensures the dough cooks all the way through, with no raw, doughy centers under a browned top.
3.Do not skip the 5-minute rest time after baking: the creamy filling will be very thin and runny straight out of the oven, and will thicken to a perfect scoopable consistency as it cools slightly. For extra cheesy flavor, sprinkle an extra 2 tablespoons of cheddar over the biscuit tops during the last 5 minutes of baking.



OMG this chicken biscuit casserole was a total game changer for our weeknight family dinner! My super picky 7 and 9 year old asked for SECONDS, which never happens. I used a can of flaky homestyle biscuits and threw in a handful of frozen mixed veggies, it came out perfect in 35 minutes just like the recipe said. 10/10 will be making this for our next potluck too!
Made this for my Sunday football watch party and it was gone before halftime, no cap. Super easy to throw together while I was manning the grill for appetizers, and the creamy chicken with the buttery biscuit top hits so hard. Only change I made was adding a sprinkle of smoked paprika on top before baking for a little extra kick. SO good.
Perfect easy meal for my dorm meal prep! I don’t have a fancy kitchen, just a basic baking dish and a tiny oven, and this turned out amazing. Portioned it out into 4 containers for the week and it reheats like a dream. Way cheaper and tastier than getting takeout every night.
I’ve been making a version of this for 20 years and I have to say, this recipe is the easiest one I’ve ever tried! No weird canned soup aftertaste, the seasoning is spot on. My only note is that if you’re using extra thick biscuits, you might need to add 5 extra minutes of bake time so the middle doesn’t get doughy.
Made this when my grandkids came to visit over the weekend and it was just like the chicken and biscuits I used to make for their dad when he was little. Cozy, creamy, and not too heavy. I stirred in a little extra shredded cheddar because my grandkids are cheese obsessed, and they ate every bite. Will be adding this to my regular rotation.
Took this on our recent car camping trip, prepped all the filling ahead at home and just popped it in the camp oven when we got to our site. It was the perfect warm, filling meal after a long day of hiking, fed all four of us with zero leftovers. Wish I’d thought to make this for camping trips sooner!
First time cooking for my in-laws and I was so nervous, but this recipe made me look like a total pro! It was so easy to follow, even for someone who’s still learning to cook, and my mother-in-law asked for the recipe before she left. Total win, will be making this for every family gathering from now on.
Toddler dad win over here! My 3 year old usually throws all his food on the floor, but he shoveled this down and even signed ‘more’ which is basically a Michelin star in our house. I did skip the onion because he hates crunchy bits, and it still turned out flavorful. 10/10, no notes.
Swapped the regular biscuits for gluten-free flaky biscuits to accommodate my celiac, and it came out just as good as the original! I was worried the GF biscuits would get weird or crunchy, but they baked up perfectly on top. Finally a comfort food casserole I don’t have to completely rework to eat.
Made this for our office potluck last week and everyone was raving! It’s so easy to scale up for a crowd, doesn’t require any fancy ingredients, and holds up great in a slow cooker on warm if you need to transport it. Already got three requests to bring it back for our holiday lunch next month.