
chicken coating
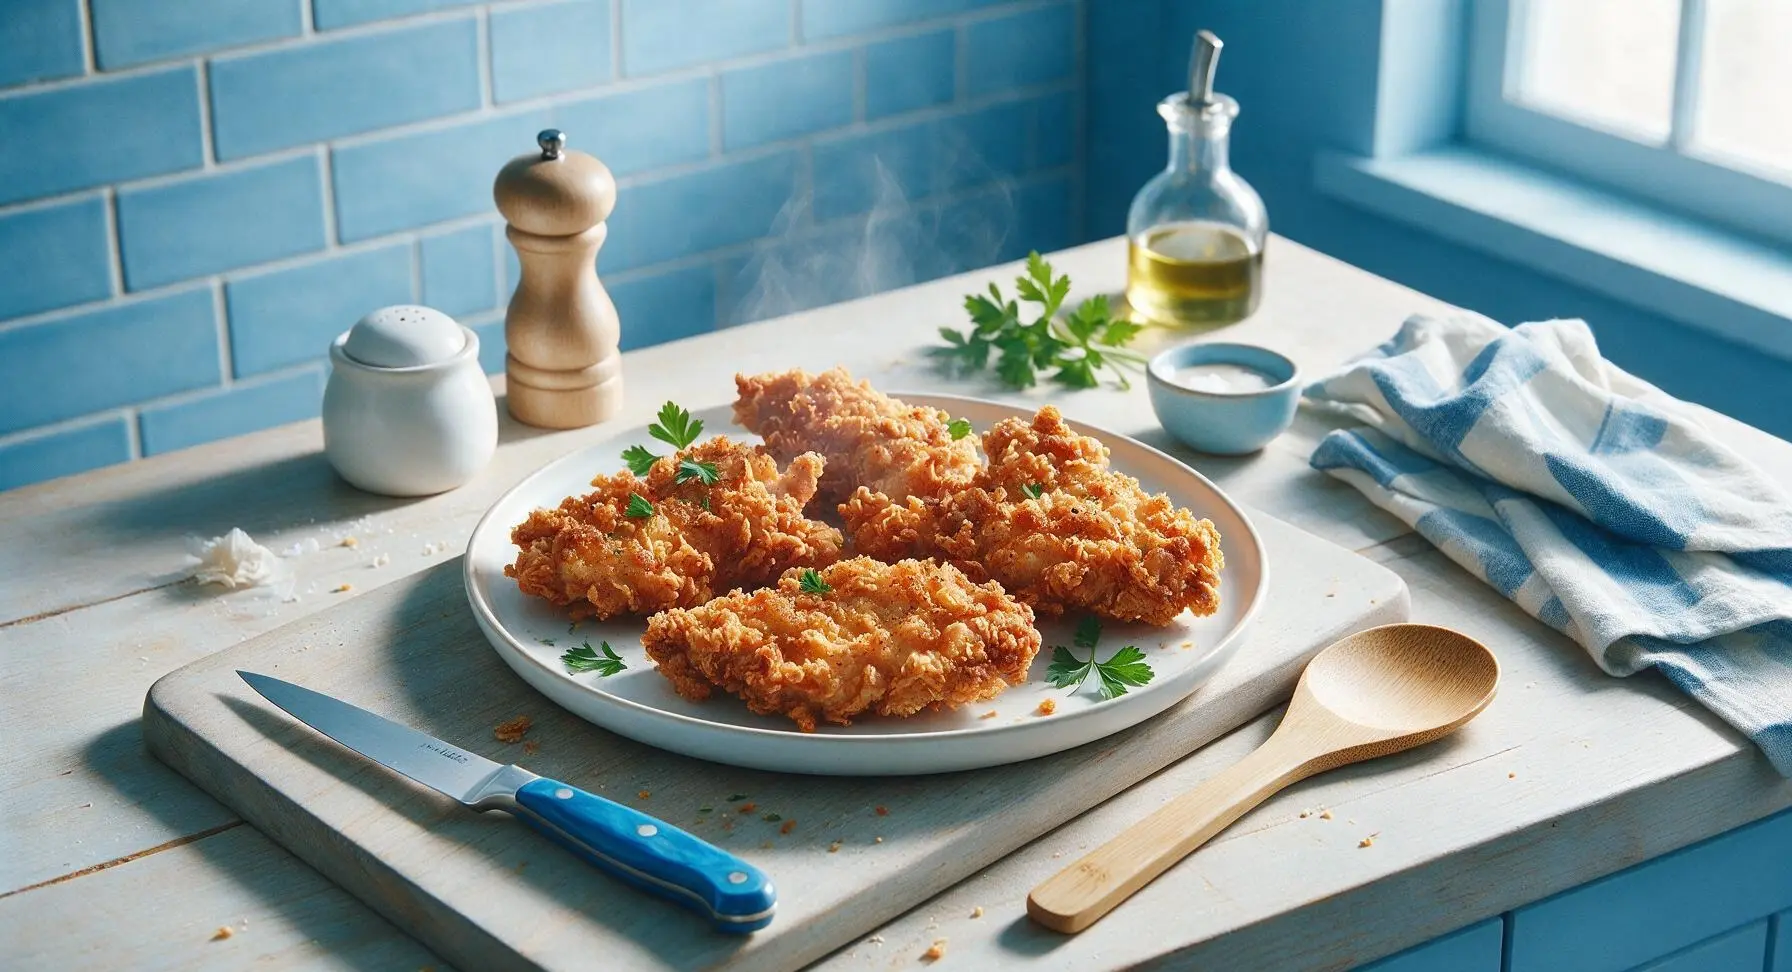
intro
This shatteringly crisp, well-seasoned chicken coating adheres perfectly to every cut, works for frying, baking, or air frying, and holds its crunch for summer picnics and family meals.
Ingredients
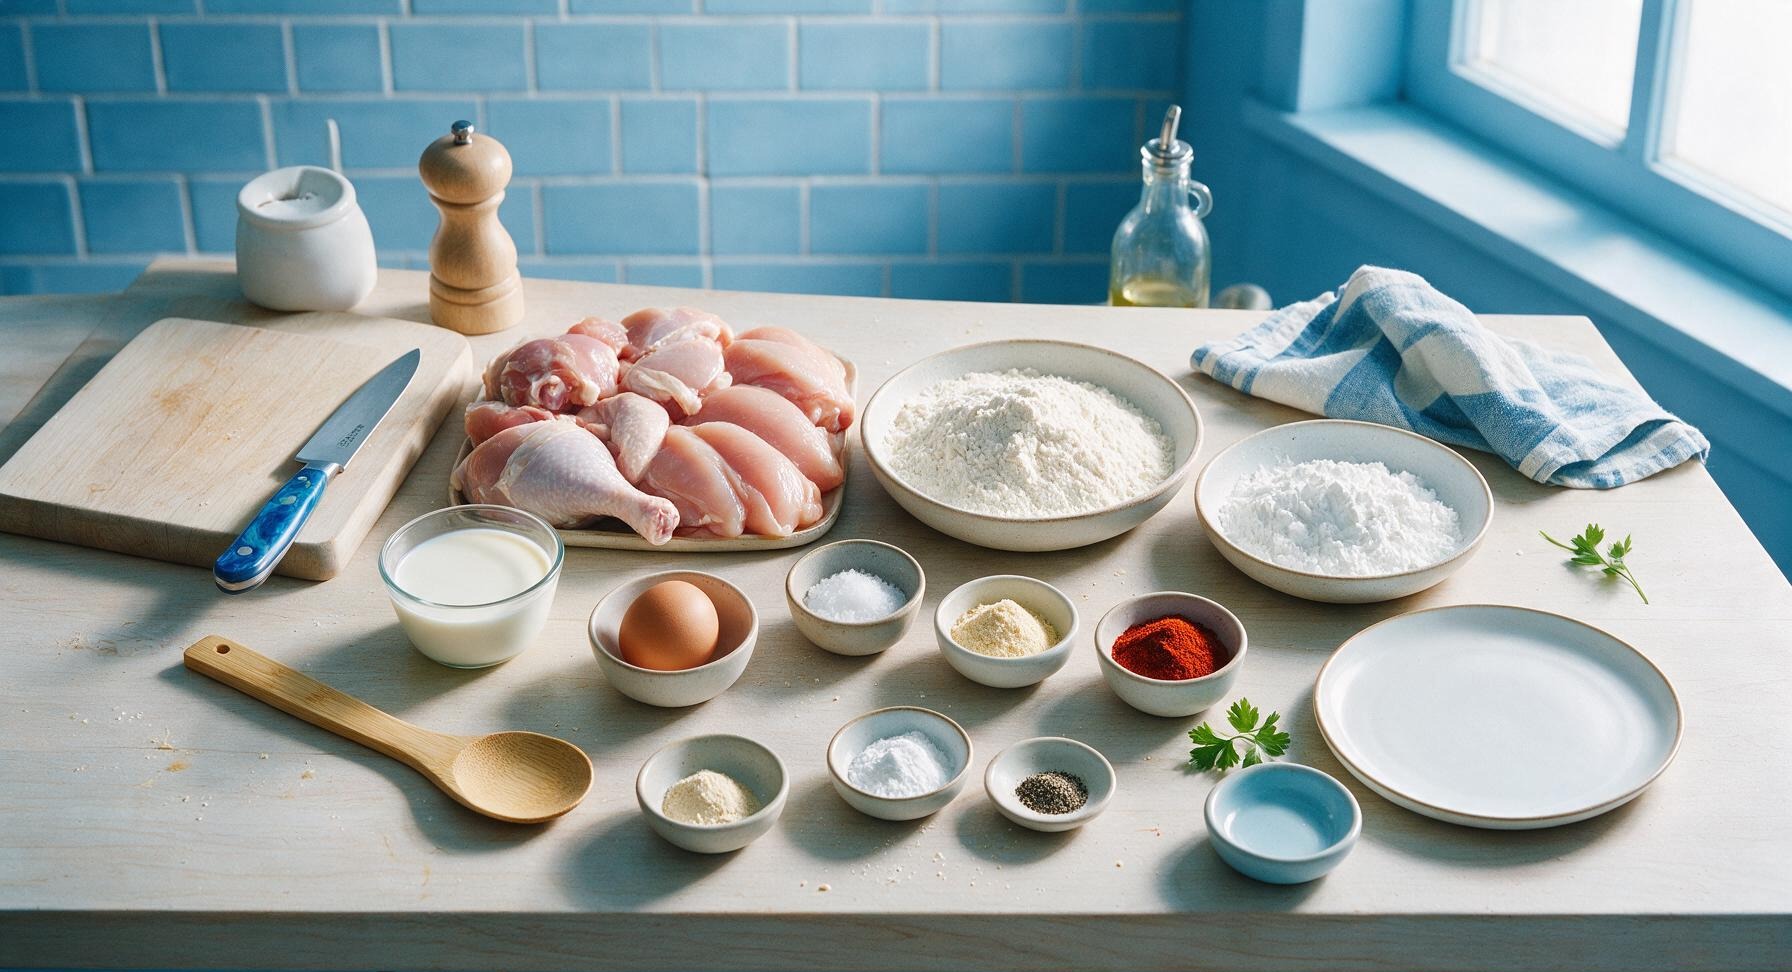
Steps
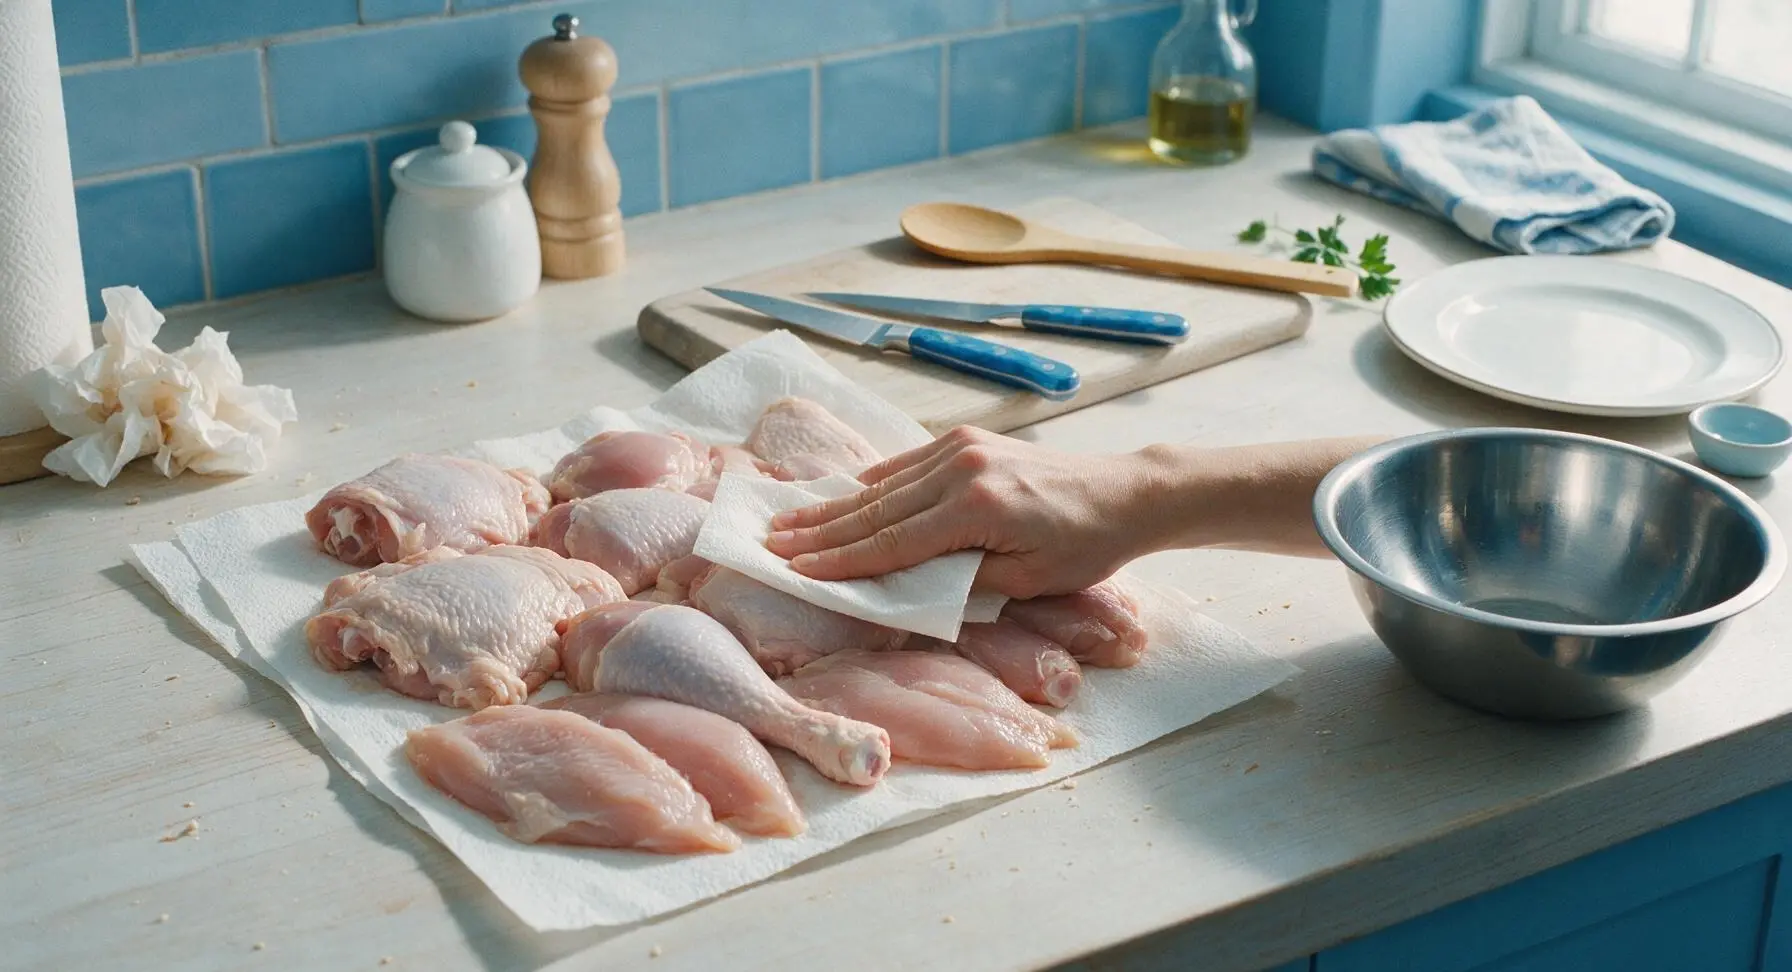
Pat Chicken Dry
Place 600g of mixed chicken pieces (thighs, drumsticks, breast cutlets) on a layer of paper towels from the countertop roll. Pat all surfaces thoroughly dry with fresh paper towels, pressing firmly to absorb every trace of surface moisture from skin and meat. Transfer dried chicken pieces to the right stainless steel mixing bowl to keep organized as you work. Discard damp paper towels in a small scrap pile at the counter edge. Fully dry chicken ensures coating adheres evenly and does not slide off during cooking.
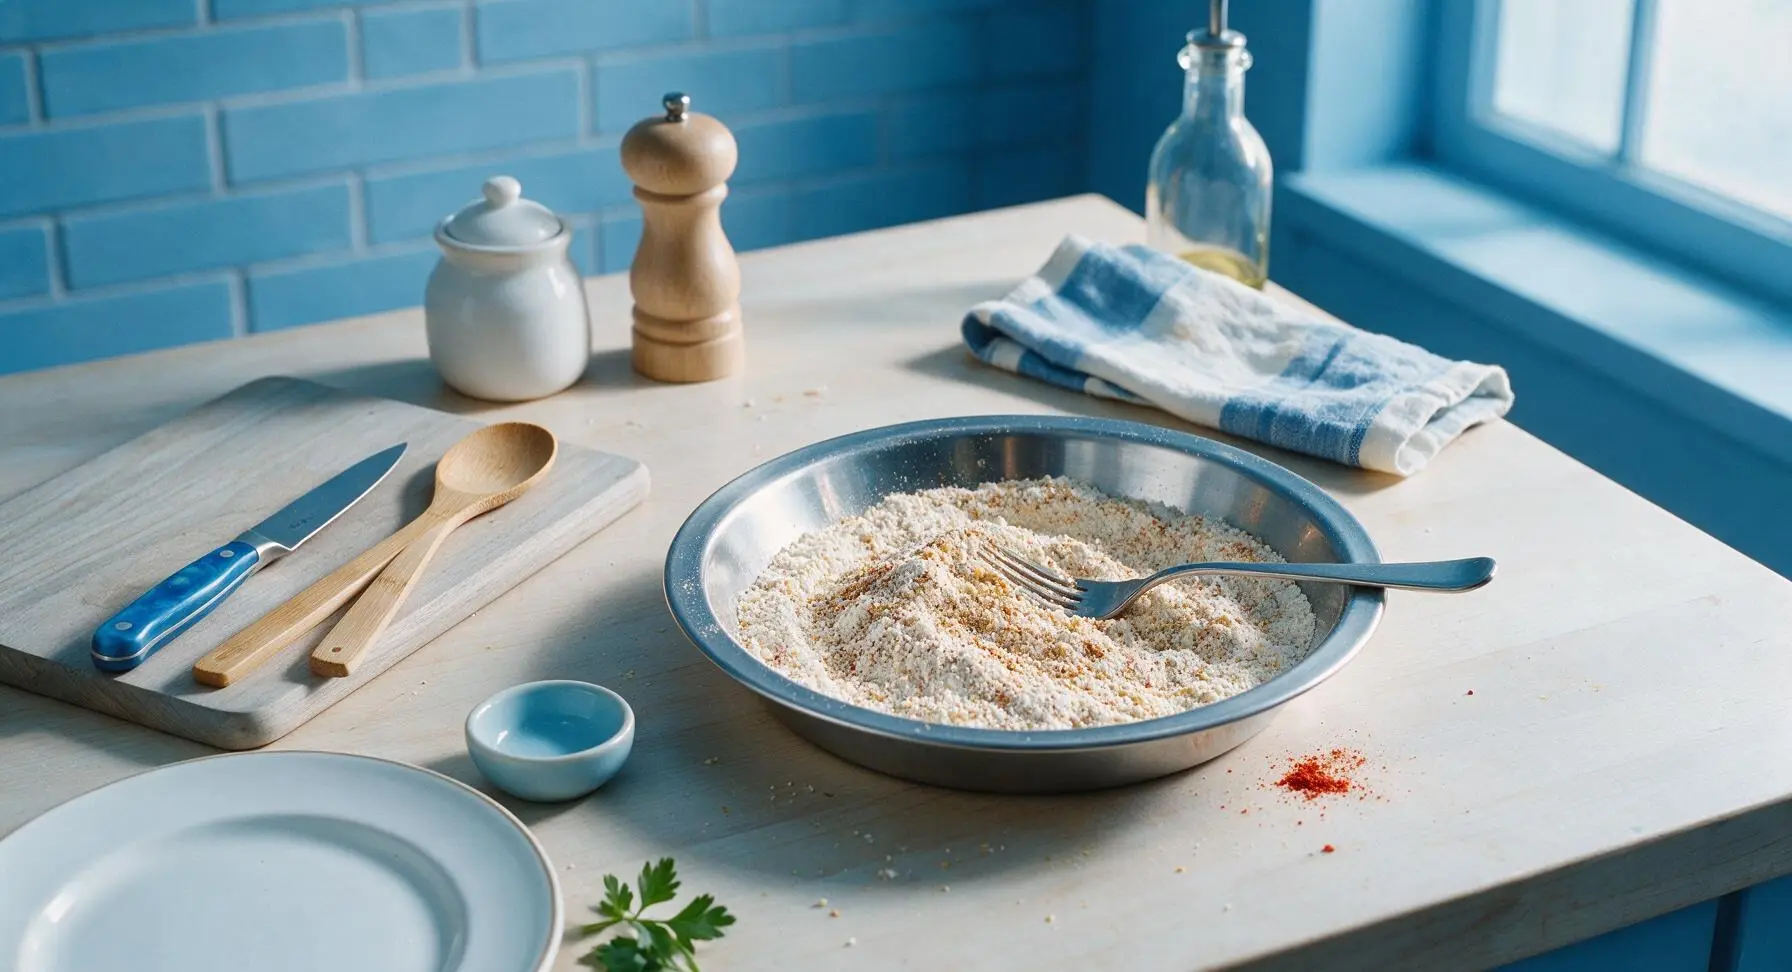
Mix Dry Coating
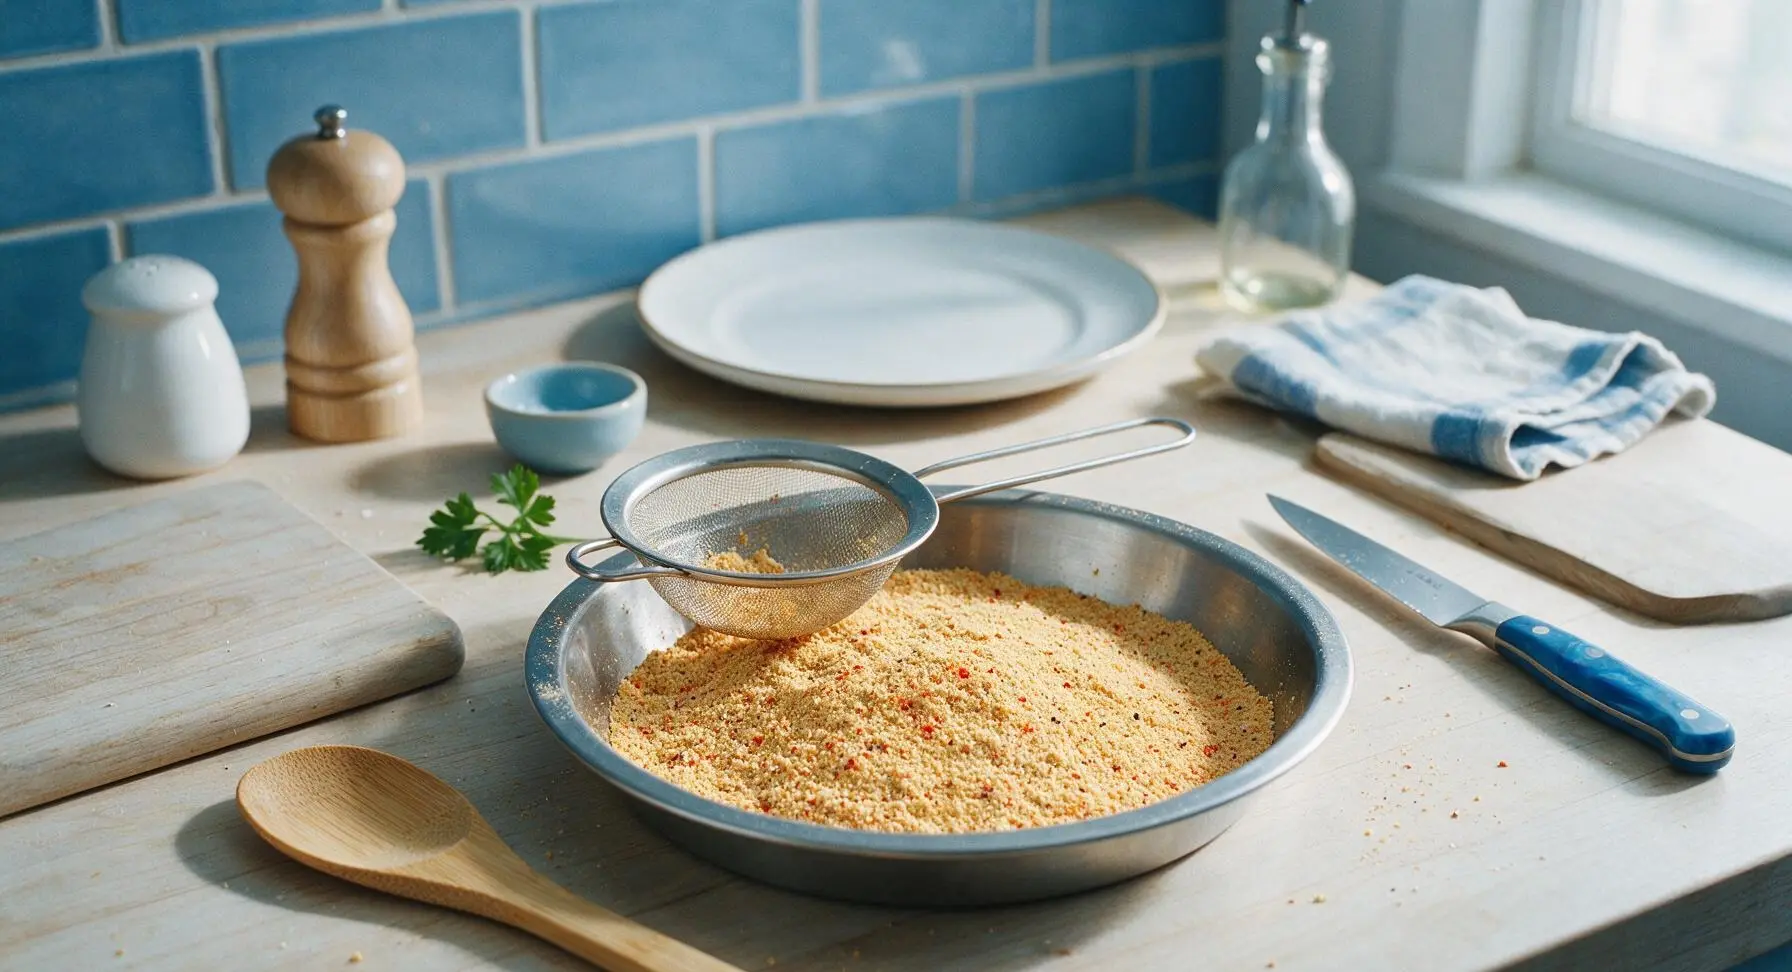
In the shallow stainless steel center pie dish, combine 1 cup all-purpose flour, ½ cup cornstarch, 1 tbsp kosher salt, 1 tsp garlic powder, 1 tsp smoked paprika, ½ tsp black pepper, ½ tsp onion powder, and 1 tsp baking powder. Whisk with the stainless steel fork for 30 seconds until all ingredients are fully evenly combined, with no clumps of spice visible. Pass the mixture through the fine-mesh sieve once if any lumps remain, to create a uniform fine coating base.
Prepare Wet Wash
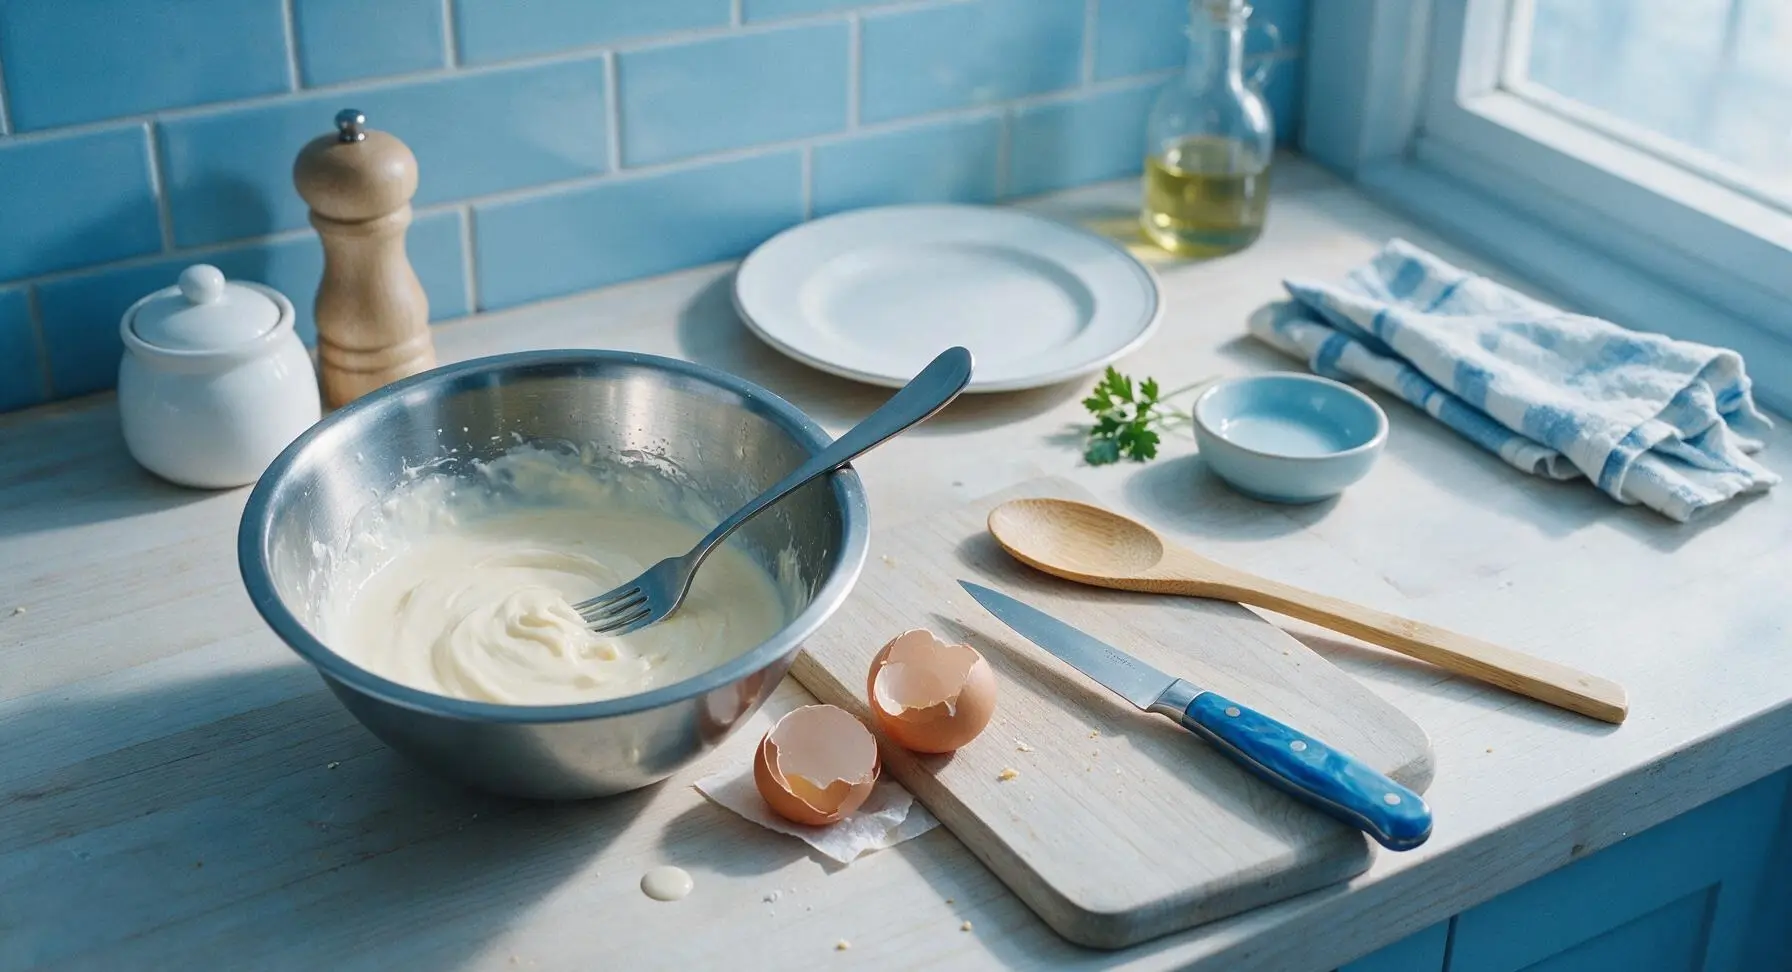
In the left stainless steel mixing bowl, crack 1 large egg and whisk lightly with the fork until yolk and white are fully combined. Pour in 1 cup of cold buttermilk and whisk for 20 seconds until the mixture is smooth, pale creamy yellow, with no streaks of separate egg visible. This wet wash creates a sticky, adhesive base for the dry coating to cling to.
First Dry Dredge
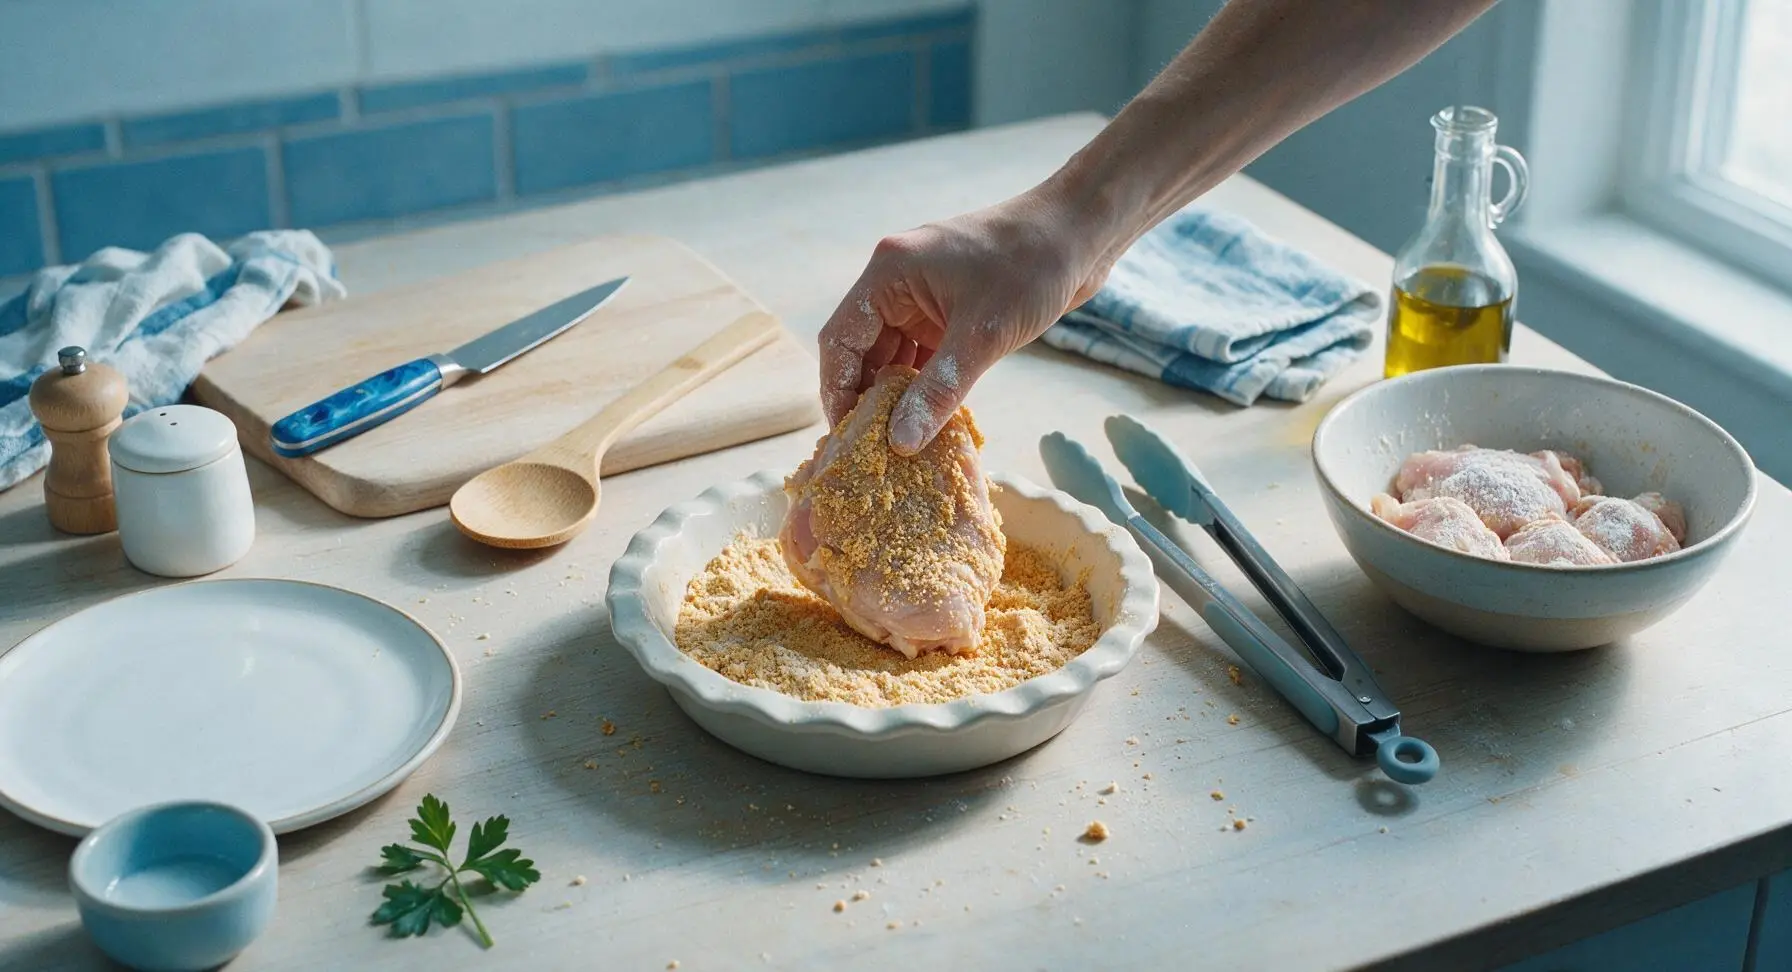
Working one piece at a time, take a fully dried chicken piece from the right mixing bowl and place it into the dry coating mix in the center pie dish. Turn the chicken to coat all surfaces lightly, pressing gently so the flour adheres to the chicken. Shake off any excess dry coating over the dish before moving to the wet wash. This initial dry layer helps the wet wash stick evenly without sliding off slippery chicken skin.
Coat in Wet Wash
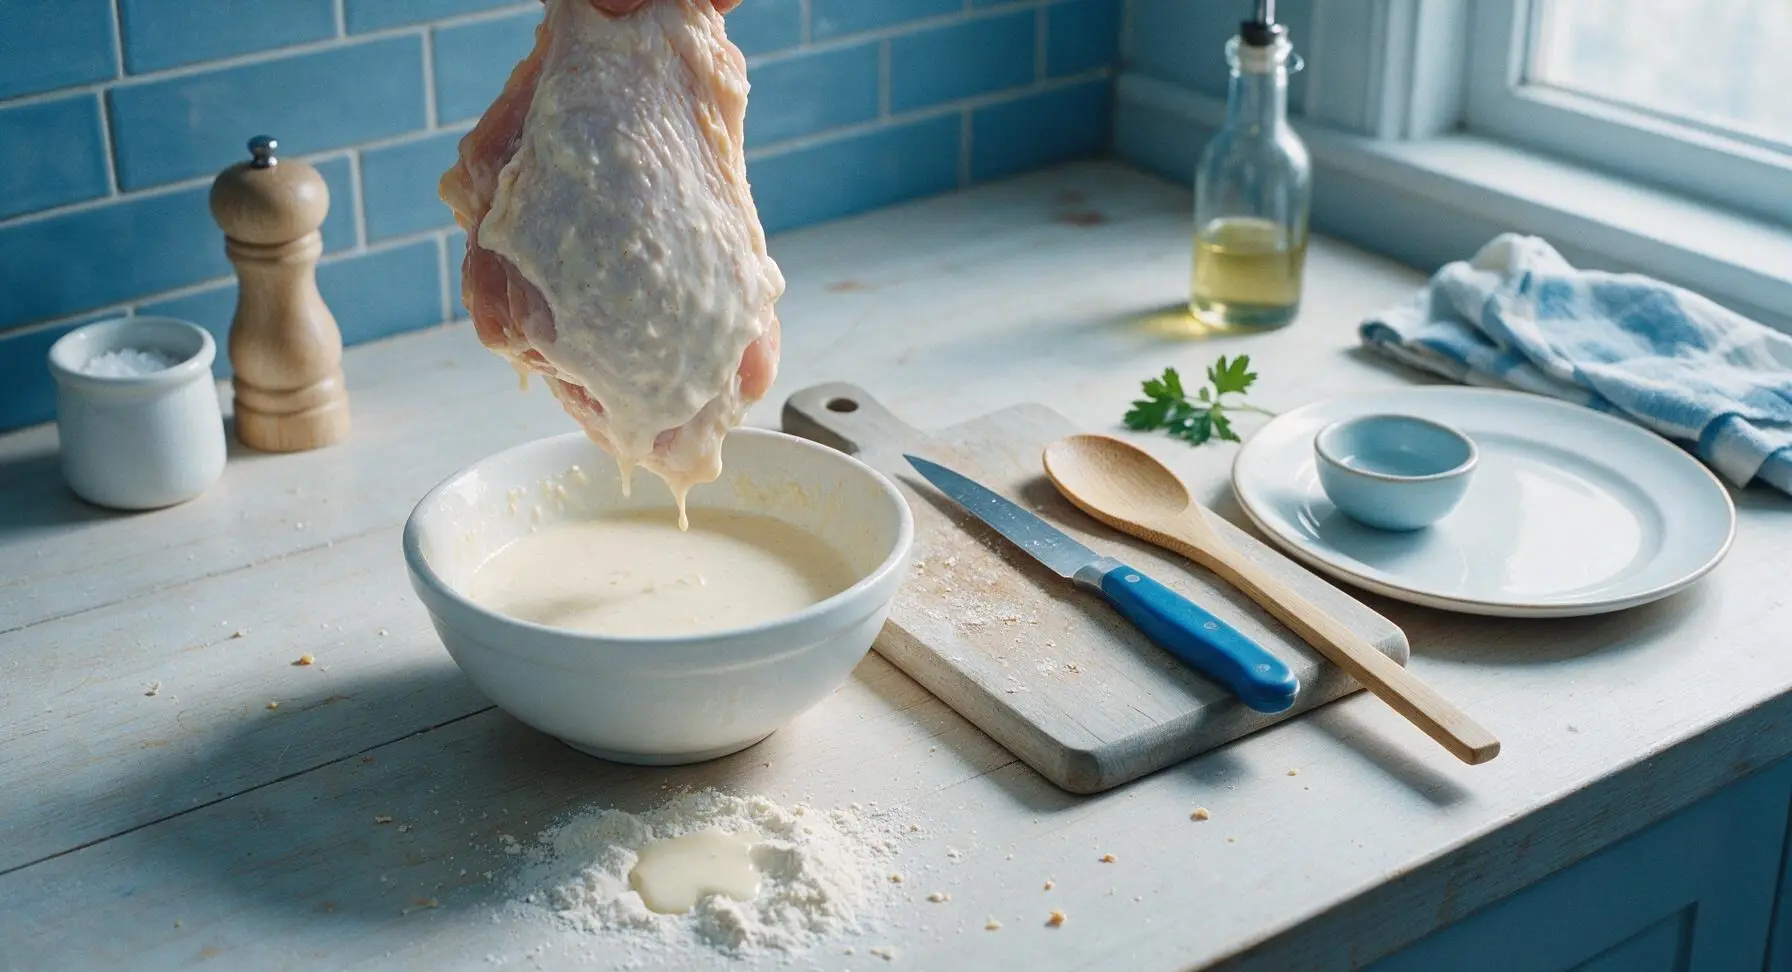
Transfer the lightly floured chicken piece to the left mixing bowl with the buttermilk egg wash. Turn the piece to fully submerge all surfaces in the wet wash, holding it above the bowl for 2 seconds to let excess wash drip off before returning it to the dry coating mix. Ensure no dry flour patches remain on the chicken before moving to the final coat.
Apply Final Coating
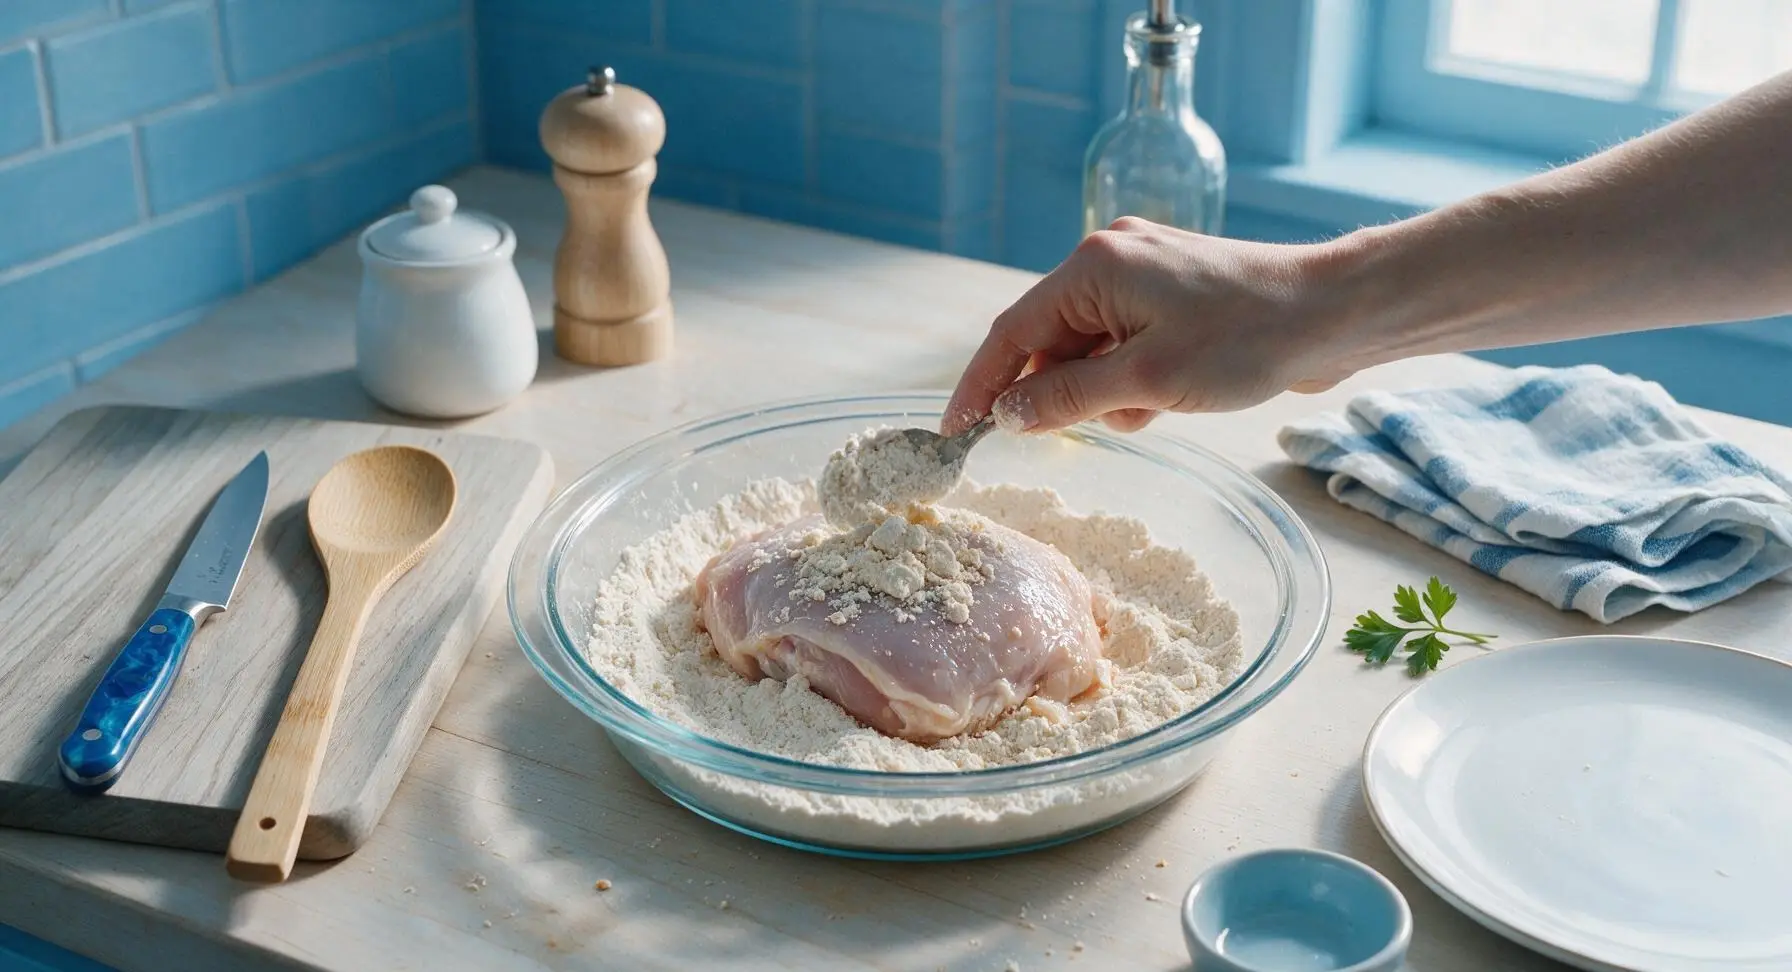
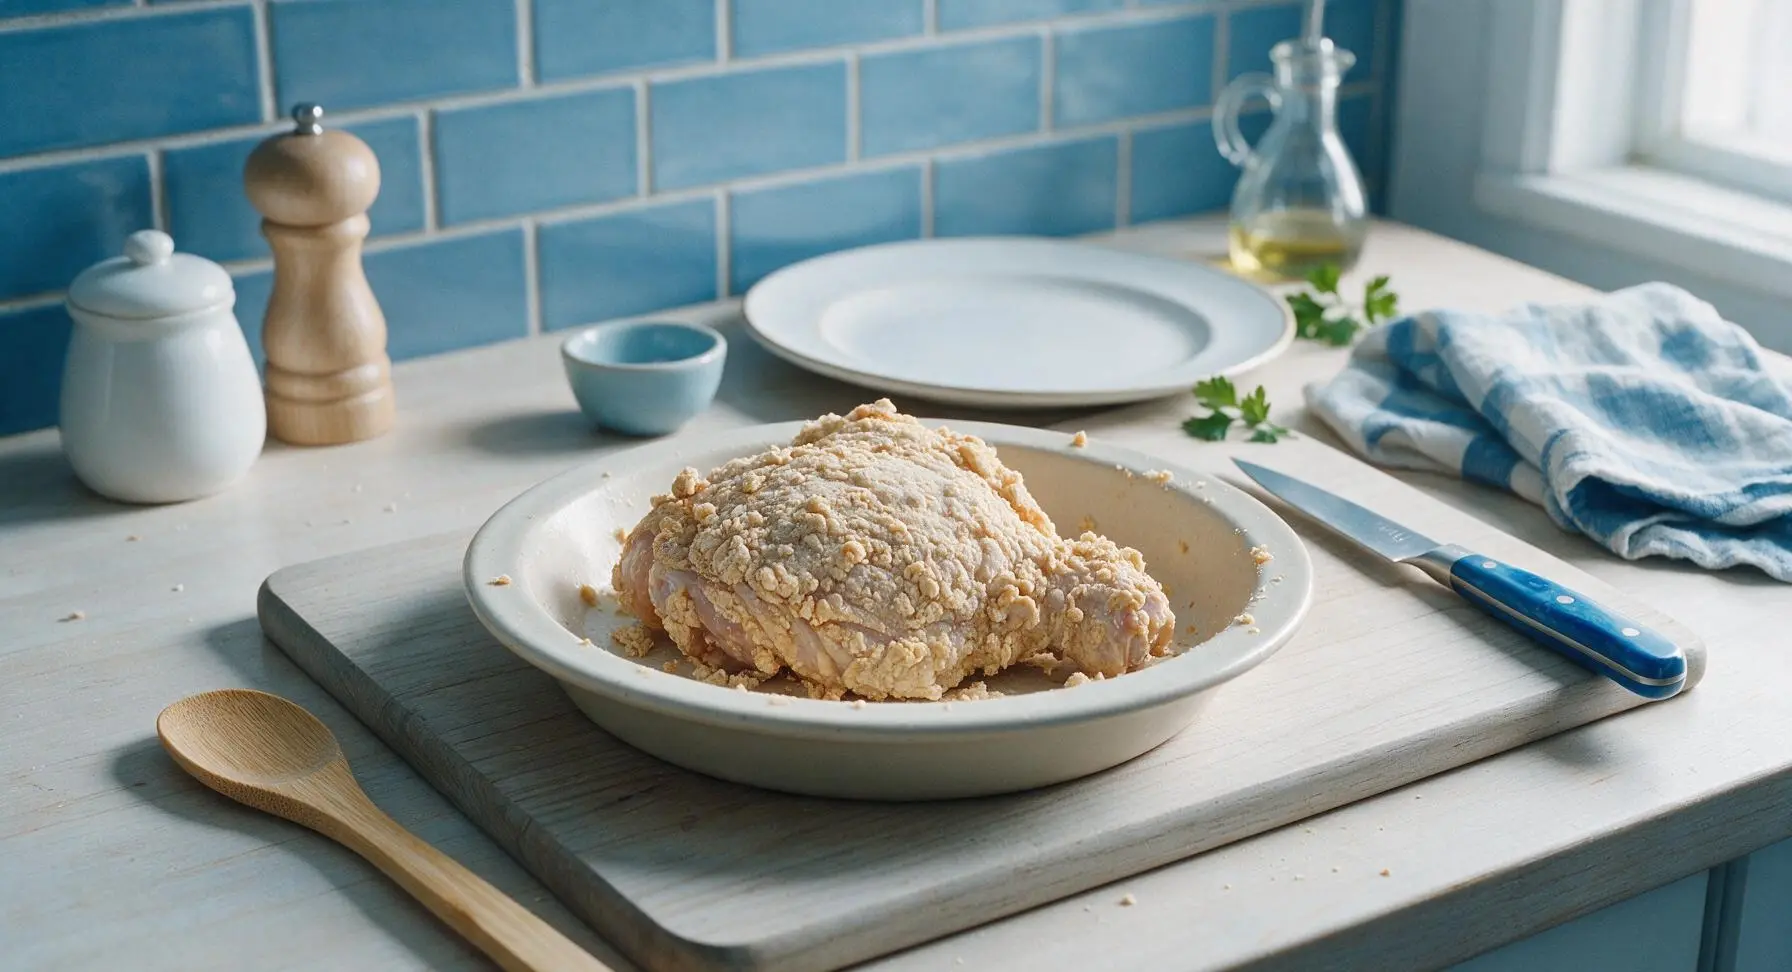
Place the wet-washed chicken piece back into the center pie dish of dry coating. Spoon dry mix over the top of the chicken, then press the coating firmly onto all surfaces of the piece, building up a thick, slightly craggy layer. Turn the piece 3-4 times, pressing coating into every crevice, until no wet spots are visible. The pressed, textured surface creates the signature shatteringly crisp crunch when cooked.
Rest Coated Chicken
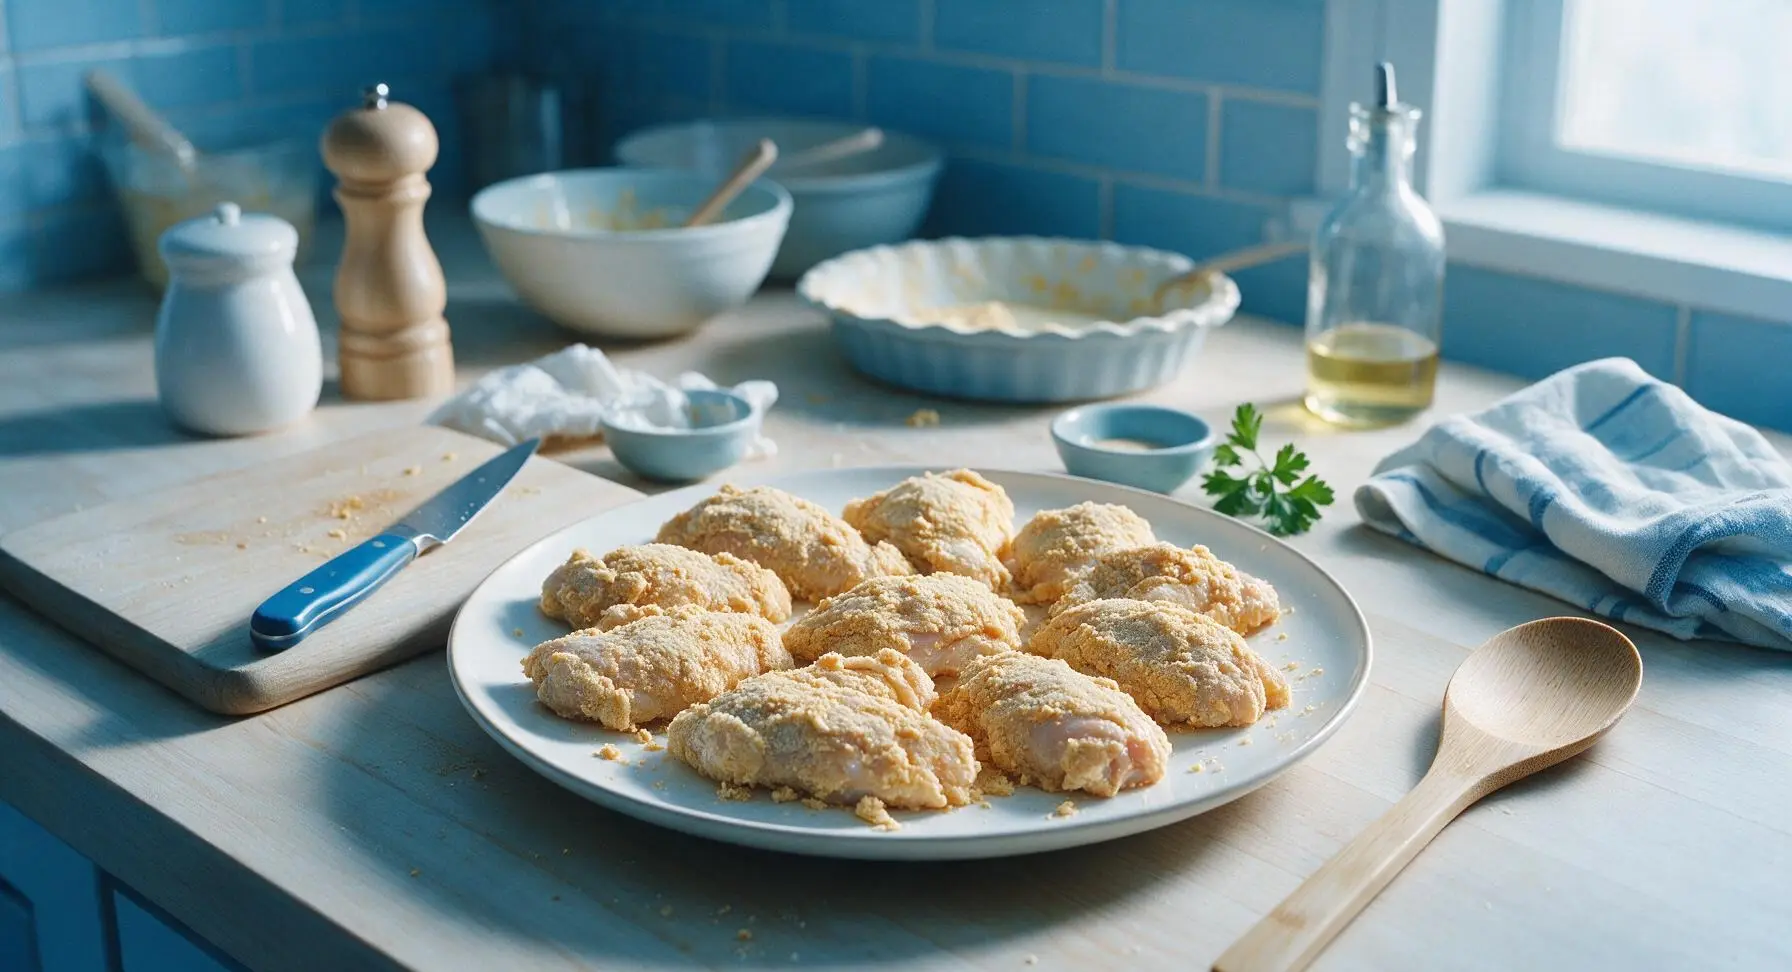
Transfer the fully coated chicken pieces to the cream white ceramic dinner plate as you finish coating each one, arranging them in a single uncrowded layer. Let the coated chicken rest for 10 minutes at room temperature before cooking. This resting period allows the coating to set and adhere firmly, so it does not fall off during frying, baking, or air frying. You will see the coating change from a powdery pale gold to a slightly damp, matte, adhered finish as it rests.
Tips
2.Include cornstarch and baking powder in your dry mix: cornstarch reduces tough gluten formation in flour for a light, snappy crunch instead of a dense, bready crust, while baking powder raises the coating pH to speed browning and boost crispness, even when baking or air frying instead of deep frying.
3.Always let coated chicken rest for 10 minutes at room temperature before cooking: rushing this step means powdery coating will blow off in an air fryer, slide off in hot oil, or peel when flipping baked chicken. The rest period lets wet and dry layers fuse into a single, durable coating that stays intact and crunchy for hours.






OMG this coating is a total game changer for our weeknight family dinners! I used it on bone-in thighs last night and it came out so crispy even my super picky 7 year old asked for seconds. I mixed in a little extra paprika because we love a smoky kick, and it was perfect. Will 100% be making this for our next neighborhood potluck too!
SO good. I’ve tried so many copycat crispy coating recipes and this one is by far the closest to that fast food crunch I’ve been craving, but way less greasy. I used it in my air fryer and it didn’t get soggy at all? Wild. 10/10, no notes.
Super easy to throw together with stuff I already had in my dorm pantry! Only reason I’m not giving 5 stars is that the first batch I made was a little too salty for my taste, so I cut the salt by half the second time and it was perfect. Great for quick weeknight meals between classes.
I make a big batch of this coating every Sunday to use for meal prep all week! It works on chicken tenders, chicken breasts, even I tried it on zucchini fries once and it banged. My kids beg for “crunchy chicken” every single week now, win for mom!
Y’all, I’ve been frying chicken for 40 years and I was skeptical of an “all-purpose” coating but this knocked my old family recipe out of the park. It’s crispy, it sticks to the chicken no matter what, no weird flaking off in the fryer. Made it for my grandkids last weekend and they ate every last bite.
I swapped the regular flour for a 1:1 gluten free flour blend and it worked PERFECTLY. My husband who doesn’t even eat gluten free said he couldn’t tell the difference. Finally a crispy coating that doesn’t turn gummy when you use GF flour! Will be making this on repeat.
Made a huge batch of crispy chicken tenders with this coating for our office potluck today and they were gone in 10 minutes. Literally people were standing by the platter asking where I got the recipe. Even the guy who brings his own lunch every day had two pieces. Chefs kiss!
This was really good! Only thing is my first batch didn’t get as crispy as I wanted, I think I overcrowded the air fryer basket. Second batch I did smaller batches and it was perfect. Definitely going into my regular rotation.
Just pulled a batch out of the oven and wow. I was worried oven baked would be sad and soggy but this is so crunchy! My whole house smells amazing, can’t wait to dig in with some honey mustard for dipping.
I added a packet of dry ranch seasoning to the coating mix and oh my GOD it’s so good. Tastes like those restaurant ranch chicken tenders I used to get as a kid but homemade. My roommate ate half the tray before I could even put leftovers away.
It was fine! I think I messed up the ratios because my coating was a little bland and didn’t stick super well to the chicken. I’ll give it another shot next time and make sure I follow the measurements exactly instead of eyeballing like I usually do, I bet that’s where I went wrong.
Took someone else’s tip from the comments and used this on zucchini fries last night and it was a hit with all three of my kids! They kept asking for more “crunchy green sticks” which is a miracle because they usually turn their nose up at any vegetable. Game. Changer.
As someone who just moved out and is learning to cook for the first time, this recipe was so easy to follow! No fancy ingredients, no crazy techniques, and my first ever batch of fried chicken actually came out crispy instead of a sad soggy mess. I felt like a real chef, ngl.
Made this for my annual tailgate last weekend and everyone was raving. I did chicken strips and popcorn chicken with it, both came out perfectly crispy even after sitting in a warmer for a couple hours during the game. 10/10, will be my go-to for every tailgate from now on.
I added a little garlic powder and black pepper to the mix and used it to make chicken sandwiches for my grandkid’s birthday party. All the kids were coming up asking for more, even the picky ones. It’s so nice to have a simple recipe that works every single time.
Just made this for dinner and it’s really tasty! I wish I had read the comments first before making it, I didn’t know you could add fun mix-ins like ranch or paprika. Next time I’m going to experiment with some cajun seasoning for a little heat.
20 minute cook time is no joke! I got home late from work, threw this together, and had crispy chicken on the table in less than half an hour total. No fancy prep, no long wait, perfect for busy weeknights when I don’t have the energy to cook a big meal. My partner said it’s better than takeout.
I’ve been searching for a coating that doesn’t slide off the chicken when you fry it and this is IT. I don’t know what magic is in this mix but it sticks perfectly, gets so crunchy, and has the best neutral base so you can add whatever seasonings you’re in the mood for. I already gave the recipe to three of my neighbors, it’s that good.