
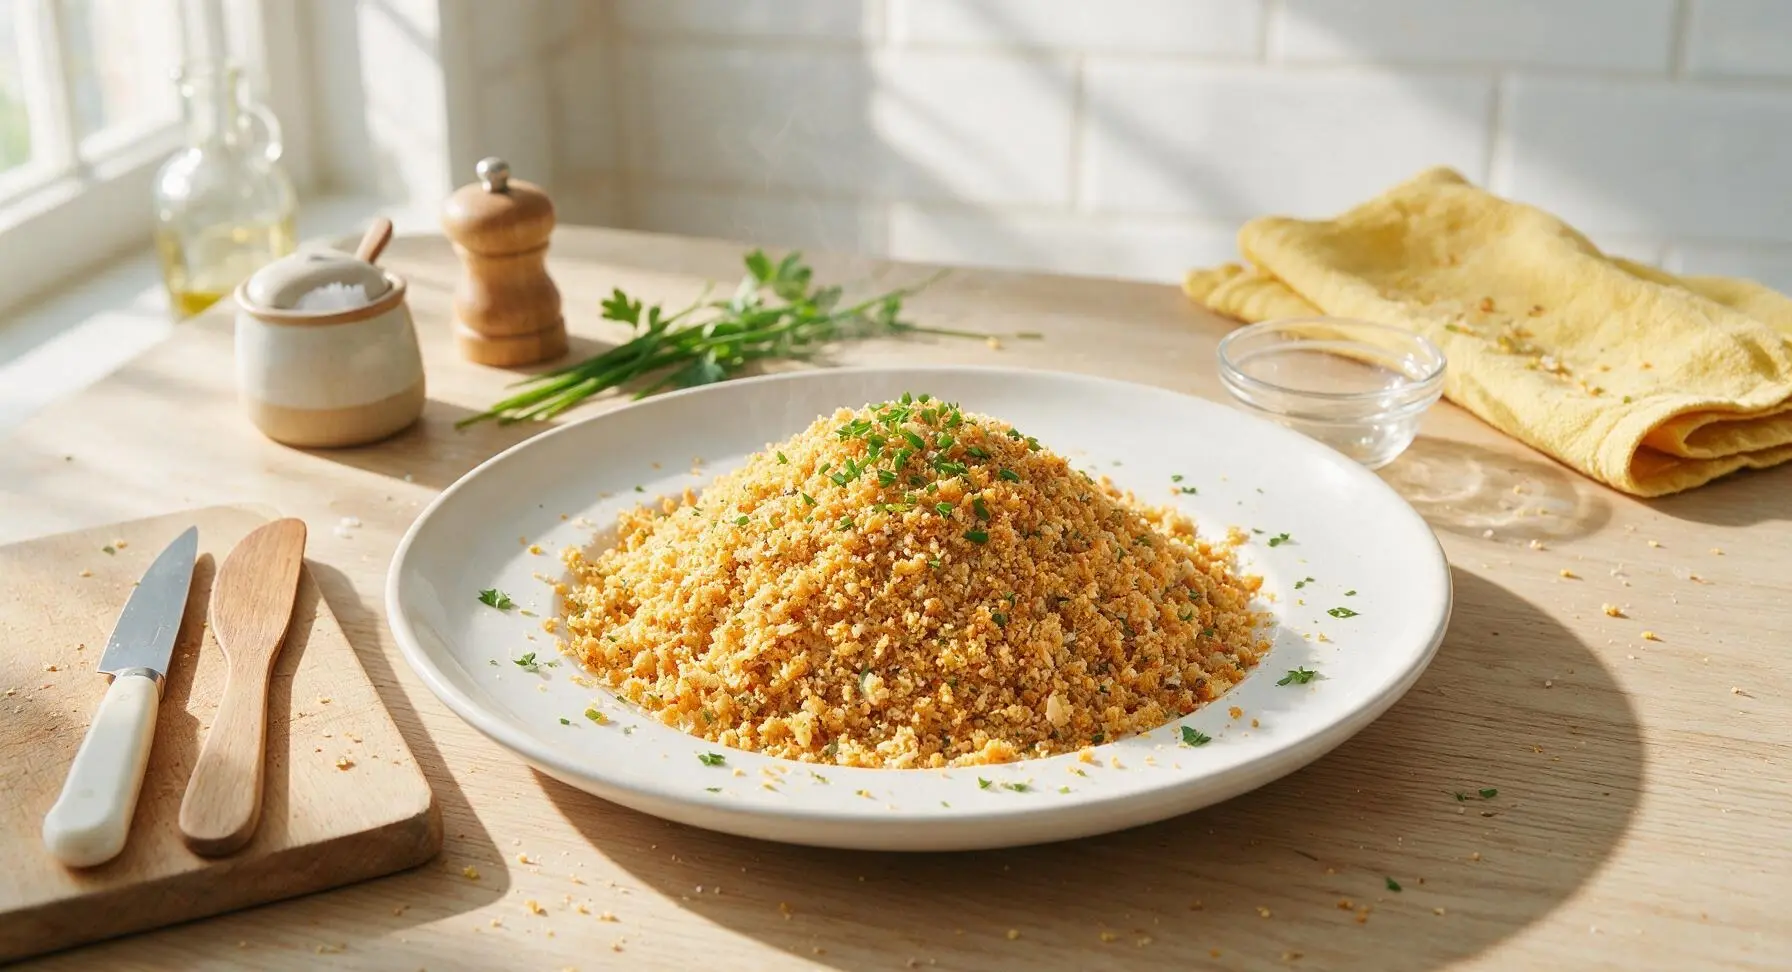
chicken coating mix

title 1
chicken coating mix
⏱️ cook time 15 minutes
🍽️ servings 4
⚡ Difficulty easy

intro

Shatteringly crisp, perfectly seasoned homemade chicken coating mix for golden fried or baked chicken, free of preservatives and fully customizable to your taste.

Ingredients
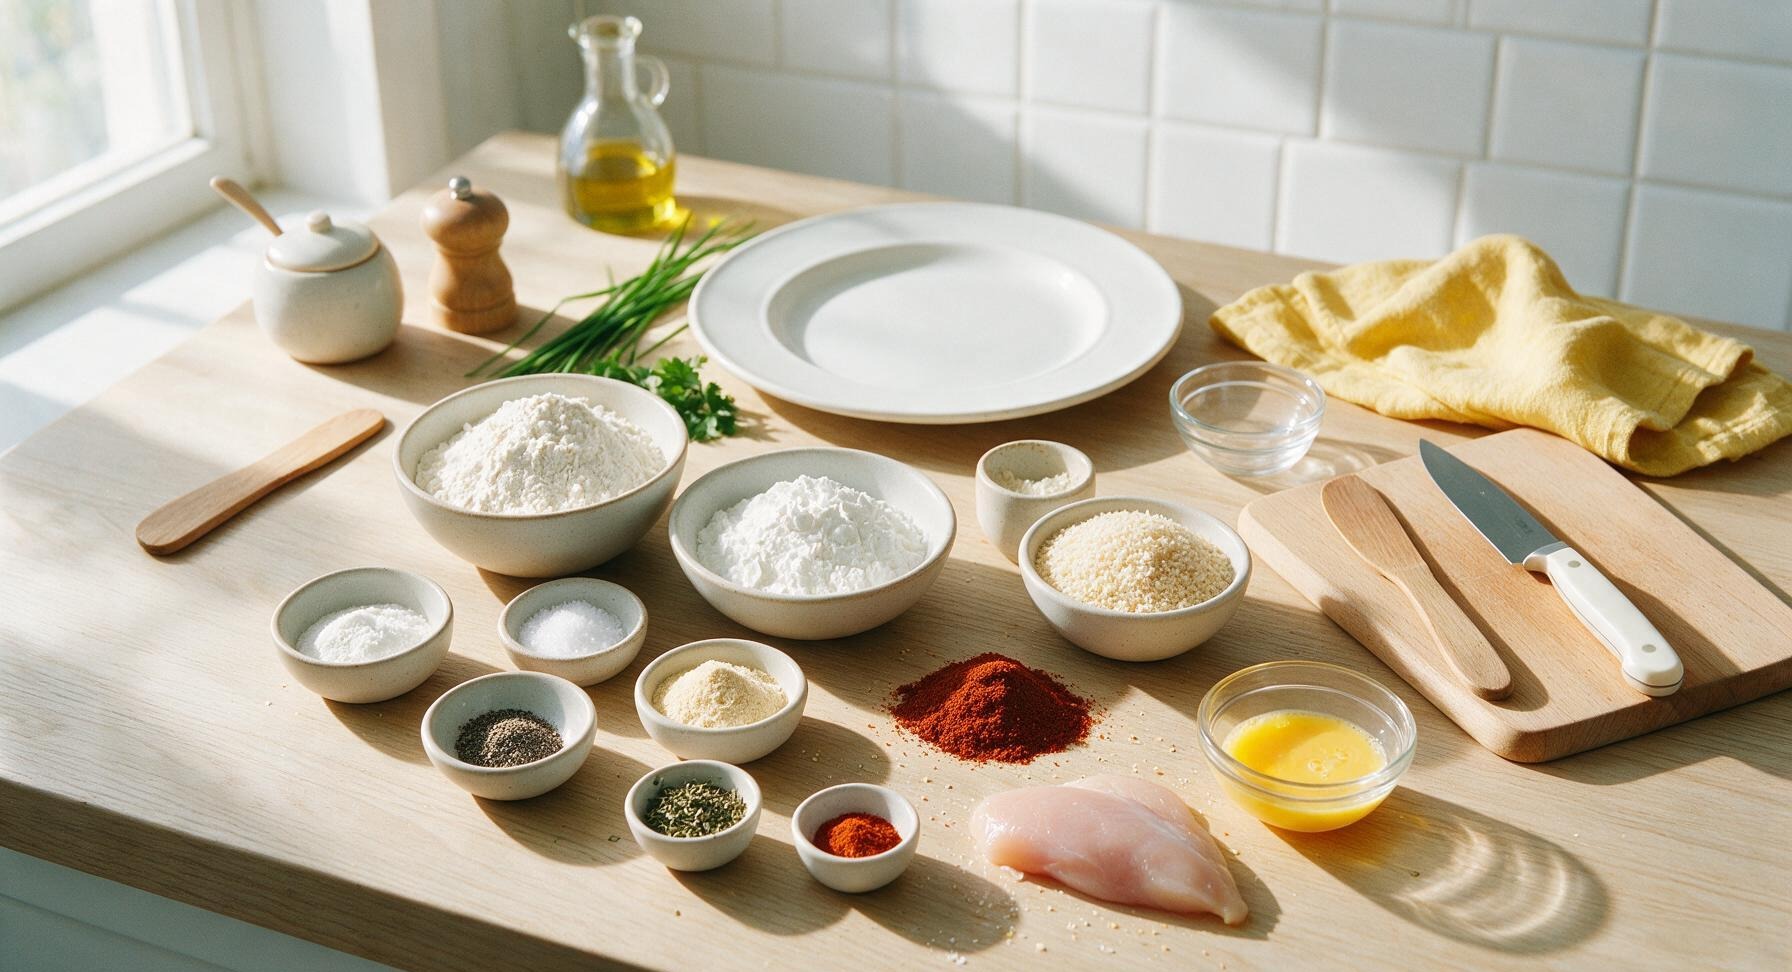
All-purpose flour 1 cup (120g)
Cornstarch 1/2 cup (60g)
Fine plain dry breadcrumbs 1/2 cup (50g)
Baking powder 1 tsp
Kosher salt 2 tsp
Ground black pepper 1 tsp
Smoked paprika 2 tbsp
Garlic powder 1 tbsp
Onion powder 1 tbsp
Dried thyme 1 tsp
Dried oregano 1 tsp
Cayenne pepper 1/2 tsp
Chicken tender (for test sample) 50g
Beaten egg (for egg wash, test sample) 1 tbsp

Steps

1

Measure Dry Components

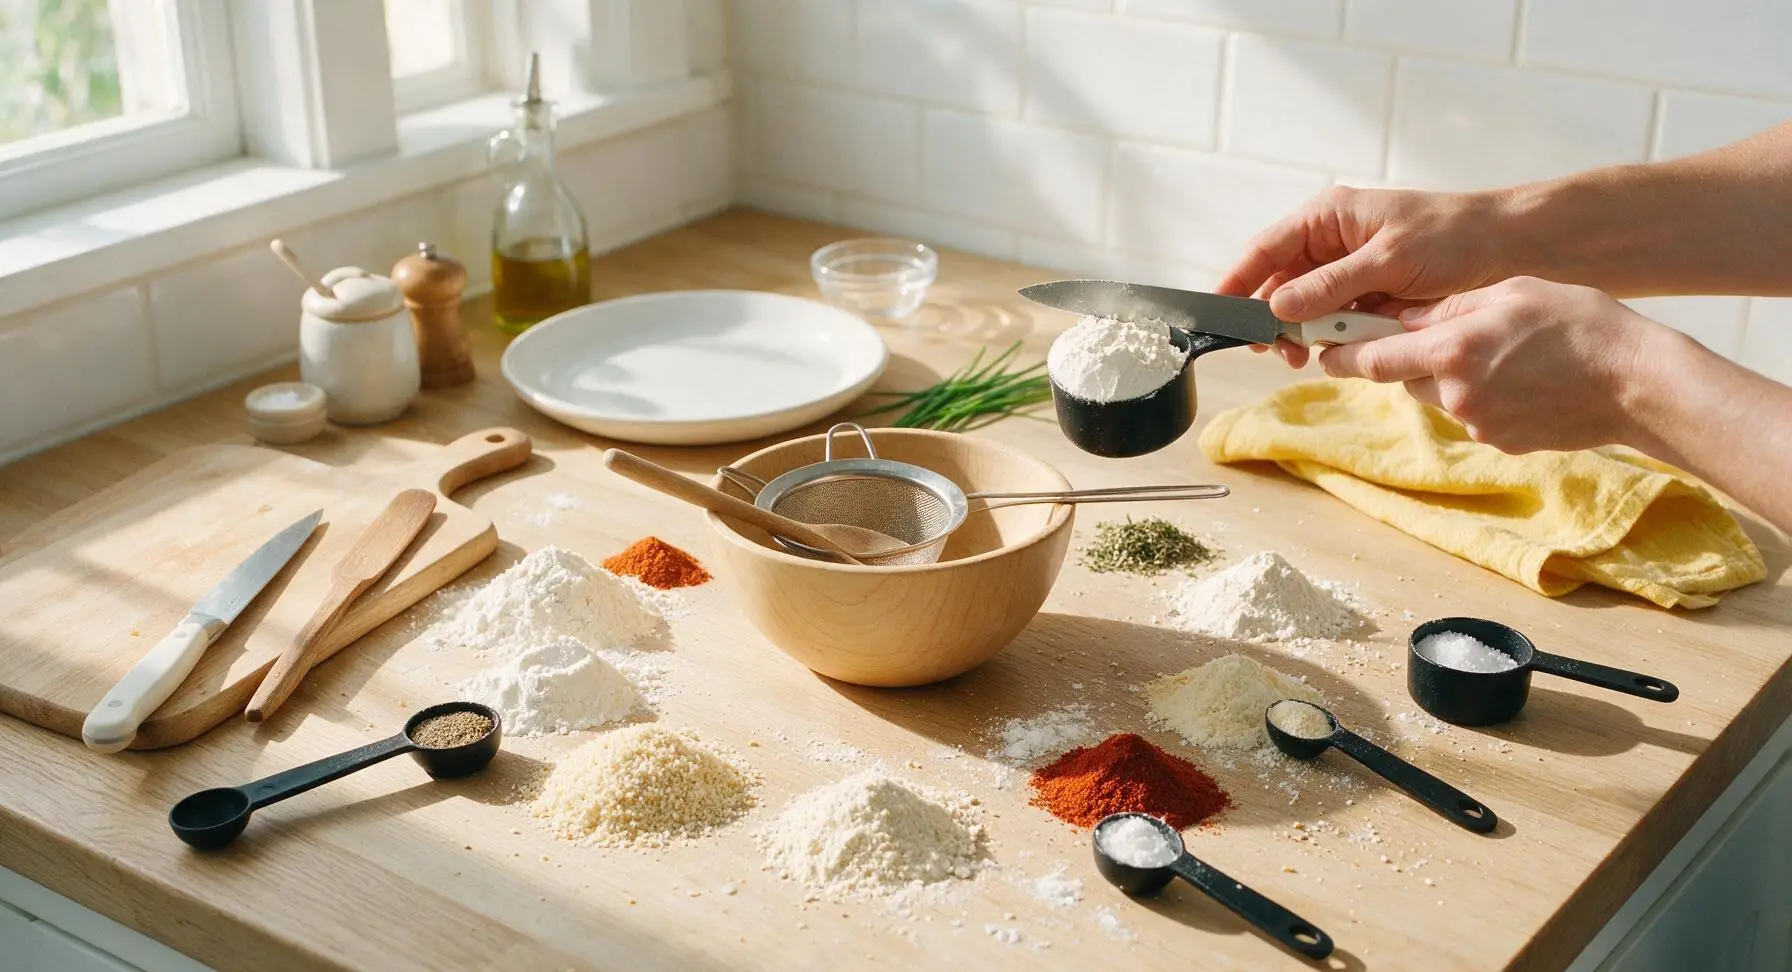
Use the matte black measuring cup and spoon set to portion all coating ingredients into individual small portions on the oak counter adjacent to the maple mixing bowl: 1 cup (120g) all-purpose flour, 1/2 cup (60g) cornstarch, 1/2 cup (50g) fine plain dry breadcrumbs, 1 tsp baking powder, 2 tsp kosher salt, 1 tsp ground black pepper, 2 tbsp smoked paprika, 1 tbsp garlic powder, 1 tbsp onion powder, 1 tsp dried thyme, 1 tsp dried oregano, and 1/2 tsp cayenne pepper. Use the flat edge of a knife to level all measurements for consistent, evenly seasoned mix, wiping any small spills from the counter with the edge of the linen towel as you work.
Step 1
step1:Measure Dry Components
2

Sift Base Ingredients

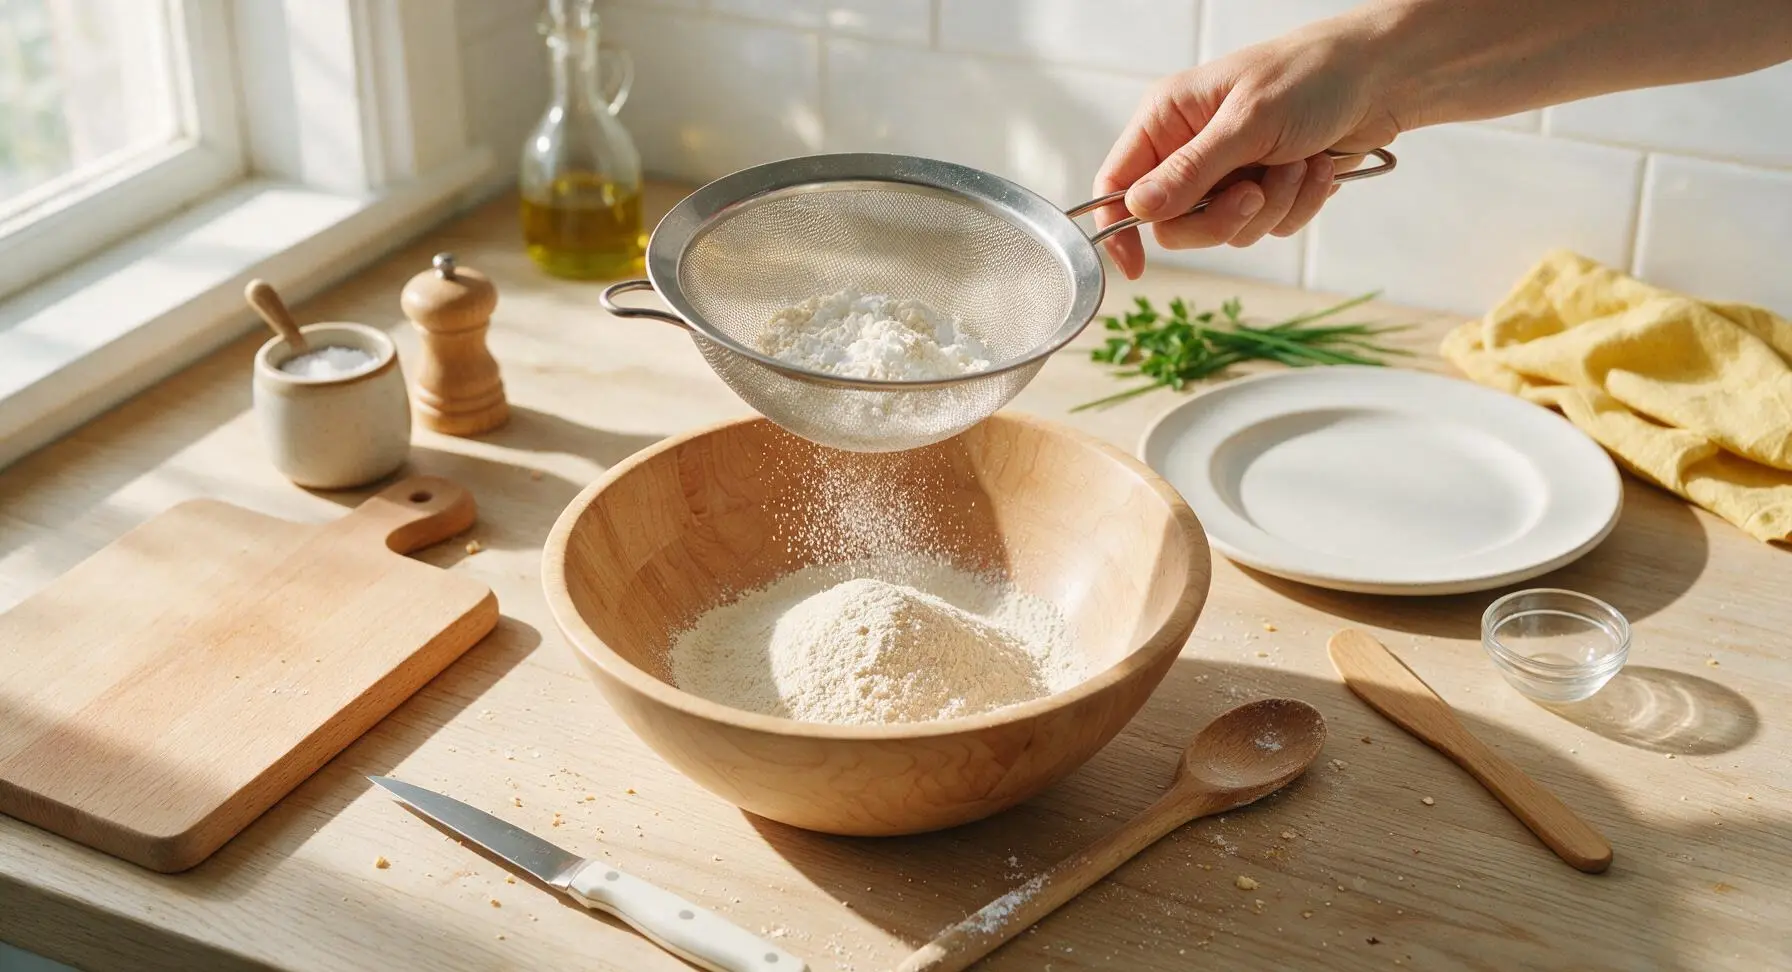
Lift the stainless steel fine-mesh sieve from the bowl edge and position it directly over the center of the maple mixing bowl. Add the measured flour, cornstarch, and baking powder to the sieve, then tap the sieve’s edge gently with your palm to sift the fine powders into the bowl below, breaking up any compacted lumps as you go. Discard any hard, dry lumps that will not pass through the sieve mesh to avoid clumps in the finished coating.
Step 2
step2:Sift Base Ingredients
3

Add Seasonings and Breadcrumbs

Lift the sieve from the bowl and set it back on its fixed position on the right rim of the mixing bowl. Add the measured fine dry breadcrumbs, kosher salt, black pepper, smoked paprika, garlic powder, onion powder, dried thyme, dried oregano, and cayenne pepper directly on top of the sifted flour mixture in the bowl. Do not sift the spices or breadcrumbs, as their coarse texture creates the shaggy, flaky crust that makes the coating crisp.
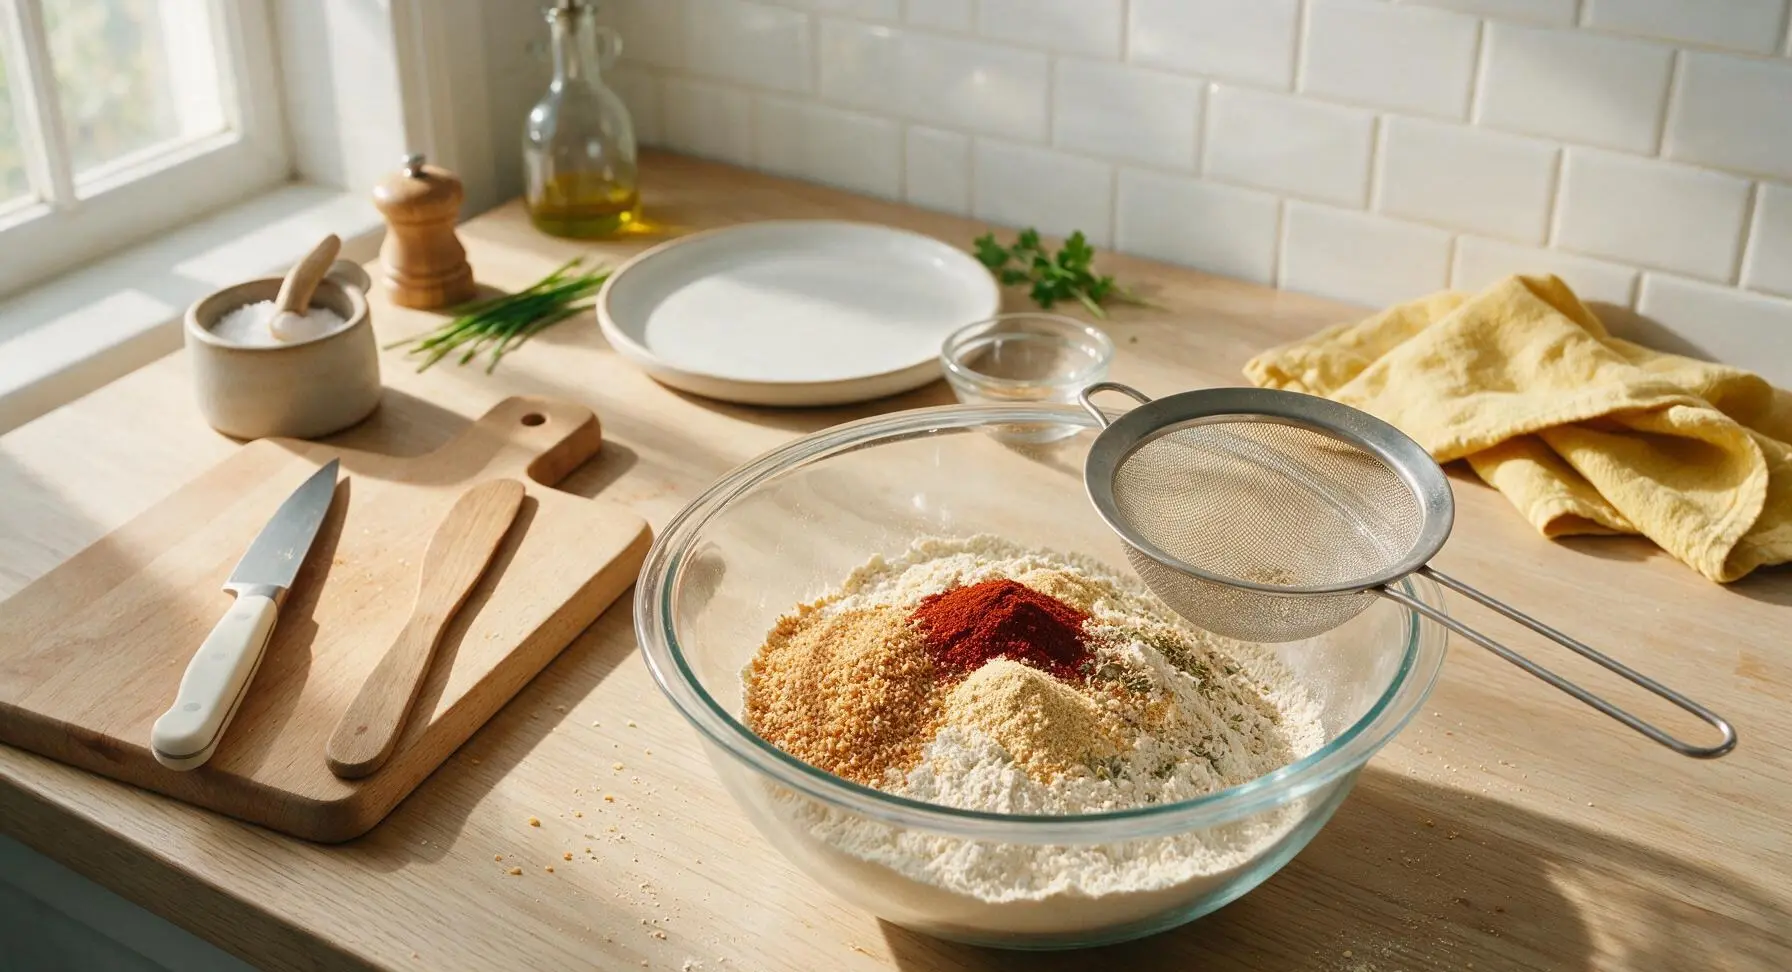
Step 3
step3:Add Seasonings and Breadcrumbs
4

Blend Mix Evenly

Pick up the long-handled maple mixing spoon and stir all ingredients together for 45-60 seconds, scraping the bottom and sides of the bowl regularly to ensure no pockets of unblended flour or concentrated spice remain. Stop mixing once the blend is a uniform warm golden-tan color, with even flecks of red paprika and green herb distributed throughout, with no streaks of plain white flour visible.
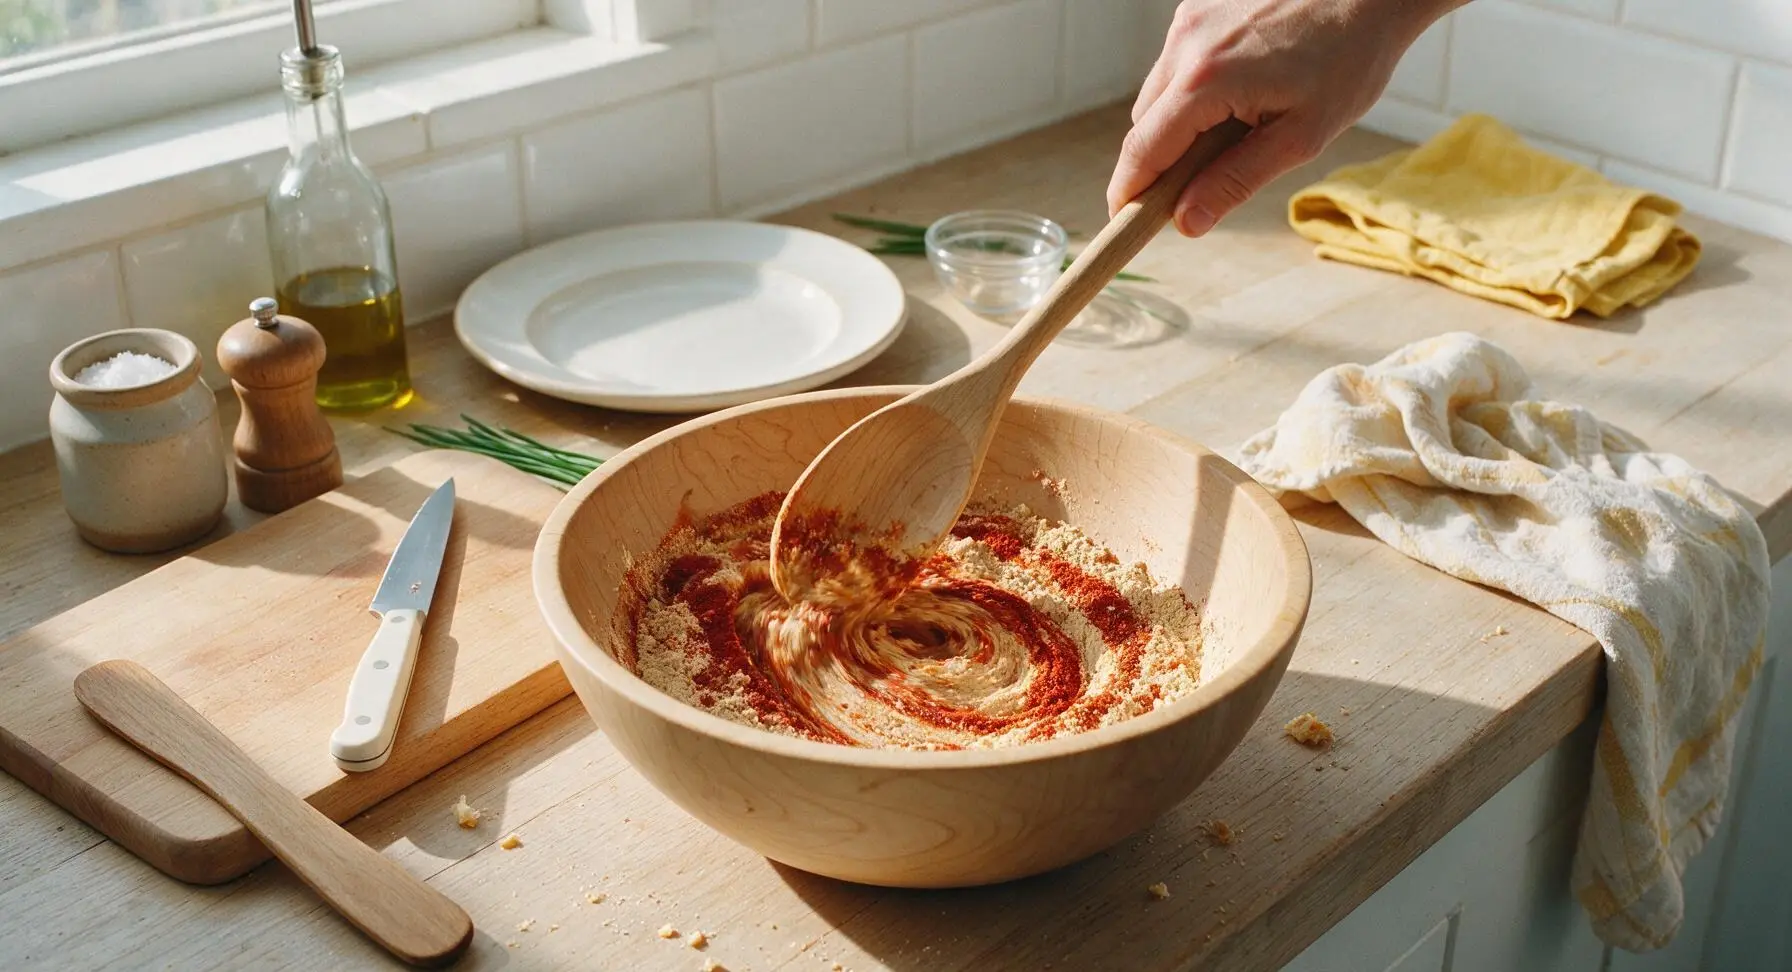
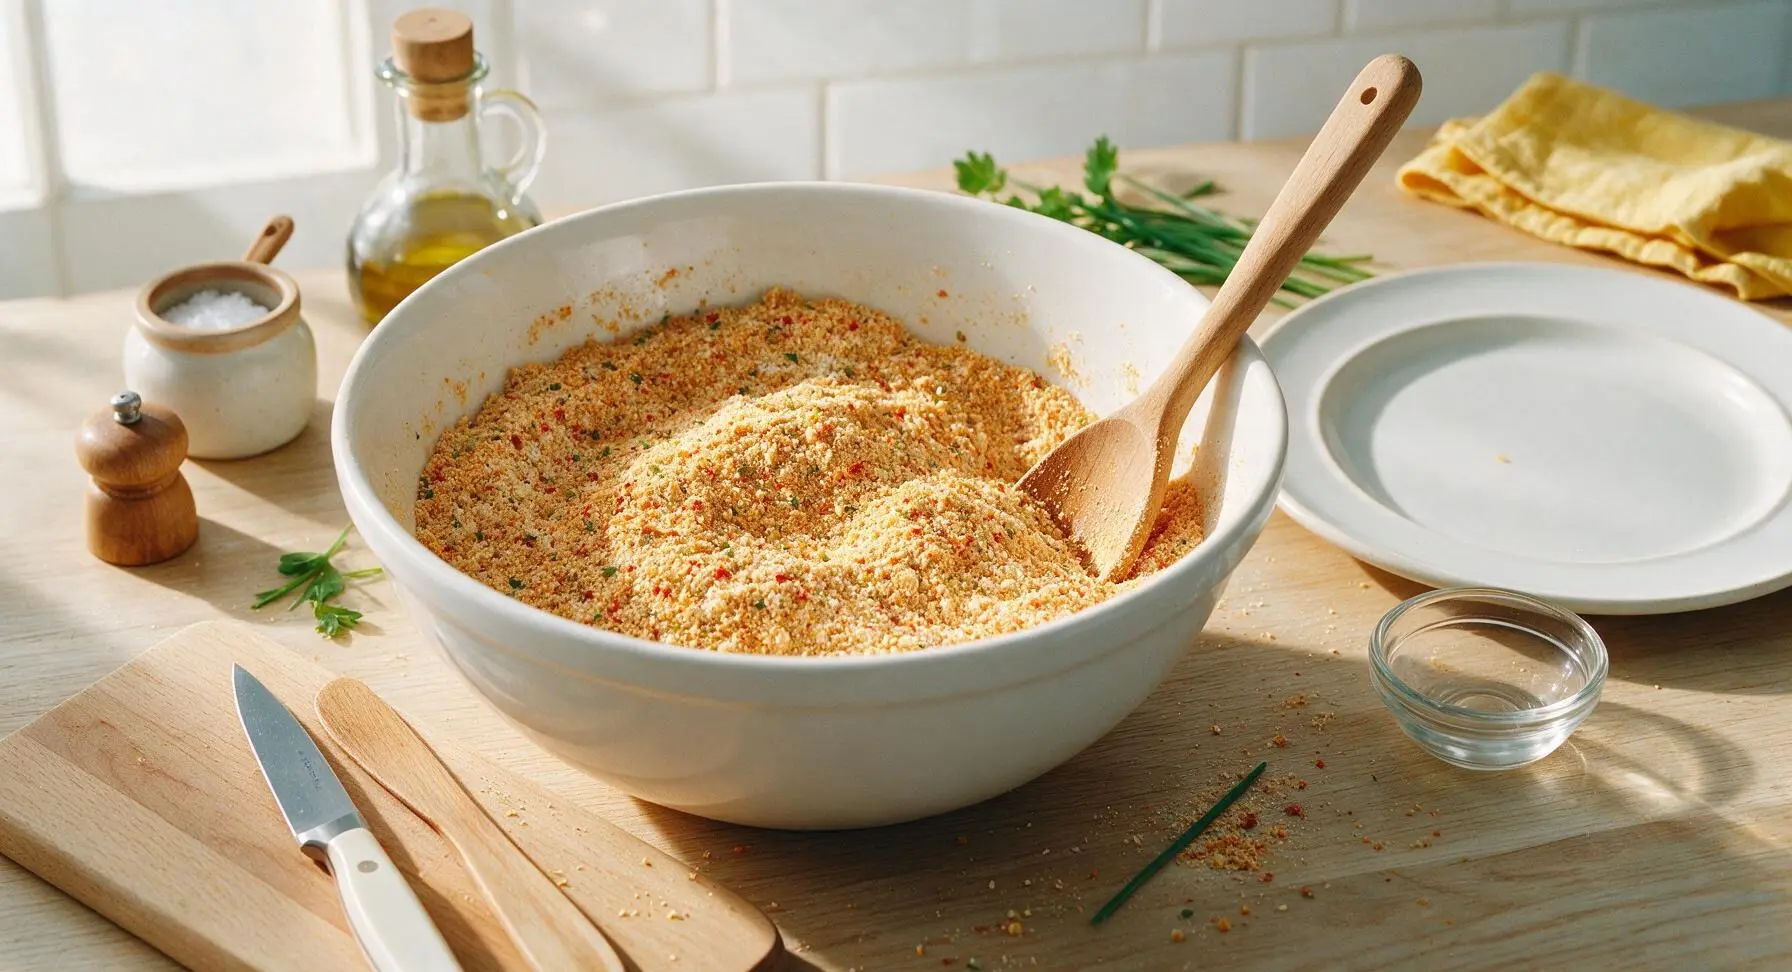
Step 4
step4:Blend Mix Evenly
Step 4
step4:Blend Mix Evenly
5

Taste and Adjust Seasoning

Take a tiny pinch of the blended mix (all ingredients are shelf-stable and safe to taste dry) and assess the salt, pepper, and cayenne level. If desired, add an extra 1/2 tsp kosher salt for more savoriness, or an extra 1/4 tsp cayenne for more heat, then stir for 20 seconds to fully incorporate any added seasoning. The mix should taste well-seasoned, not bland, with a subtle smoky note from paprika and faint warm heat from cayenne.
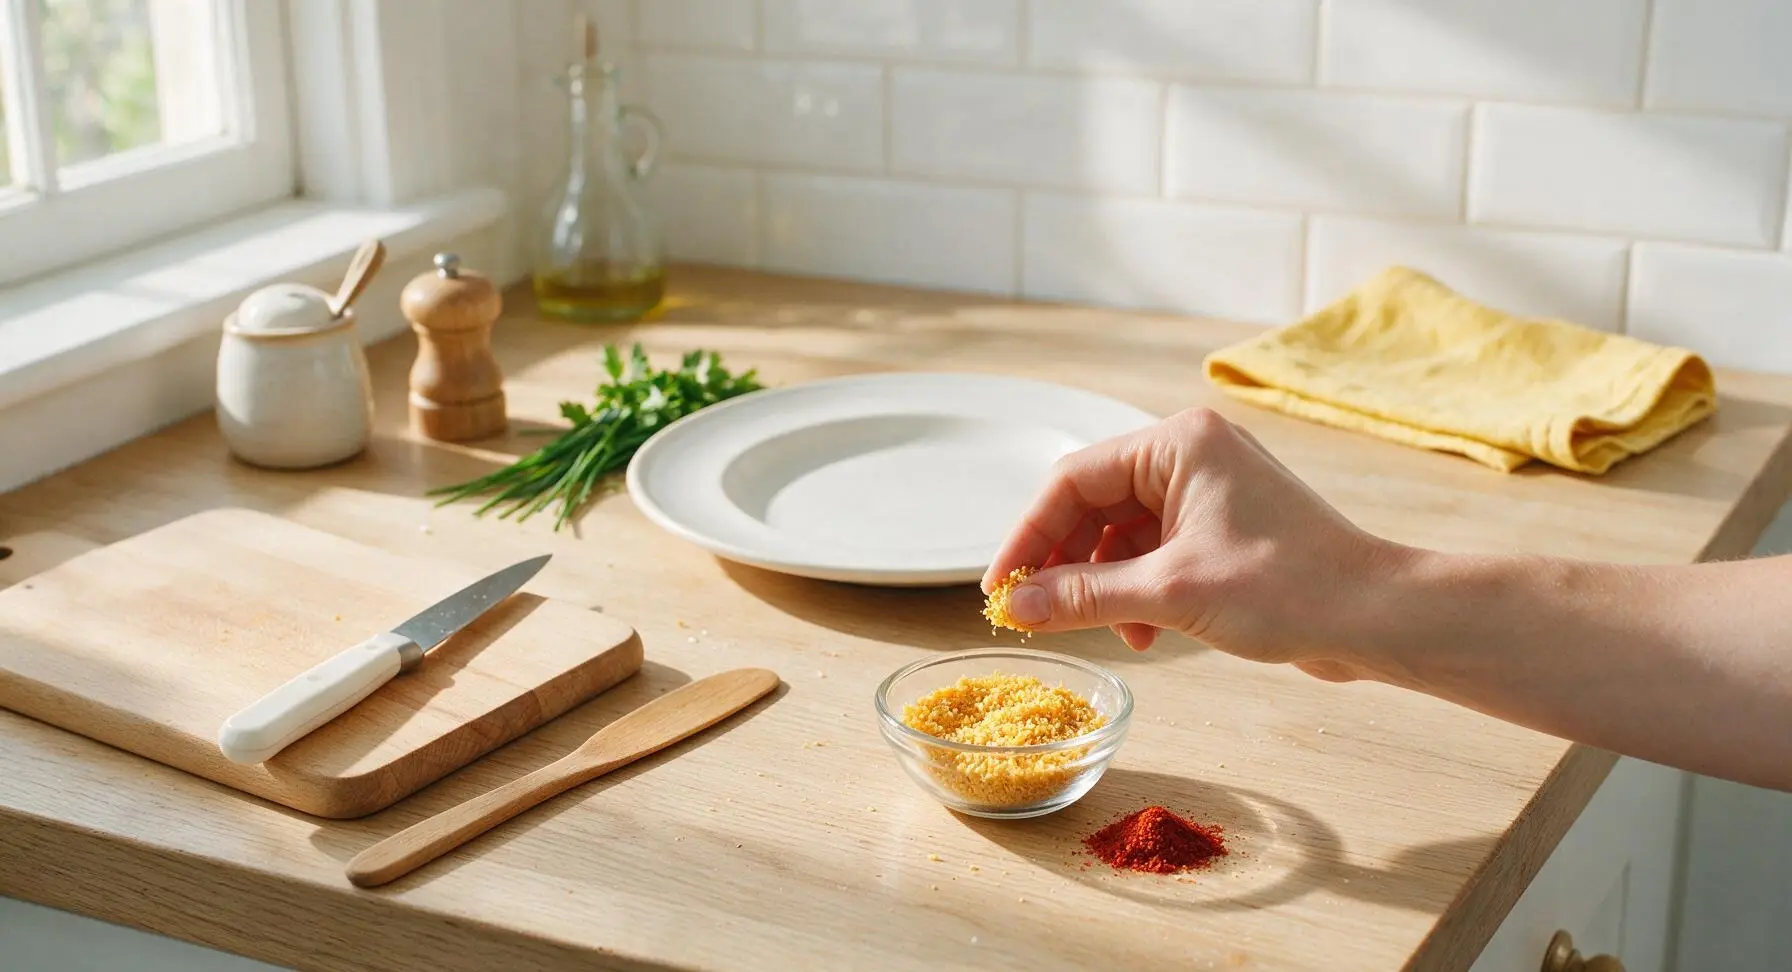
Step 5
step5:Taste and Adjust Seasoning
6

Transfer Mix to Jar

Tip the maple mixing bowl at a 45-degree angle over the open clear glass storage jar, and use the wooden spoon to guide all of the finished coating mix into the jar. Scrape the sides and bottom of the bowl with the spoon to get every last bit of mix, then wipe any stray mix from the outside of the jar with a corner of the linen towel. Set the bamboo lid loosely on top of the jar while prepping the sample chicken.
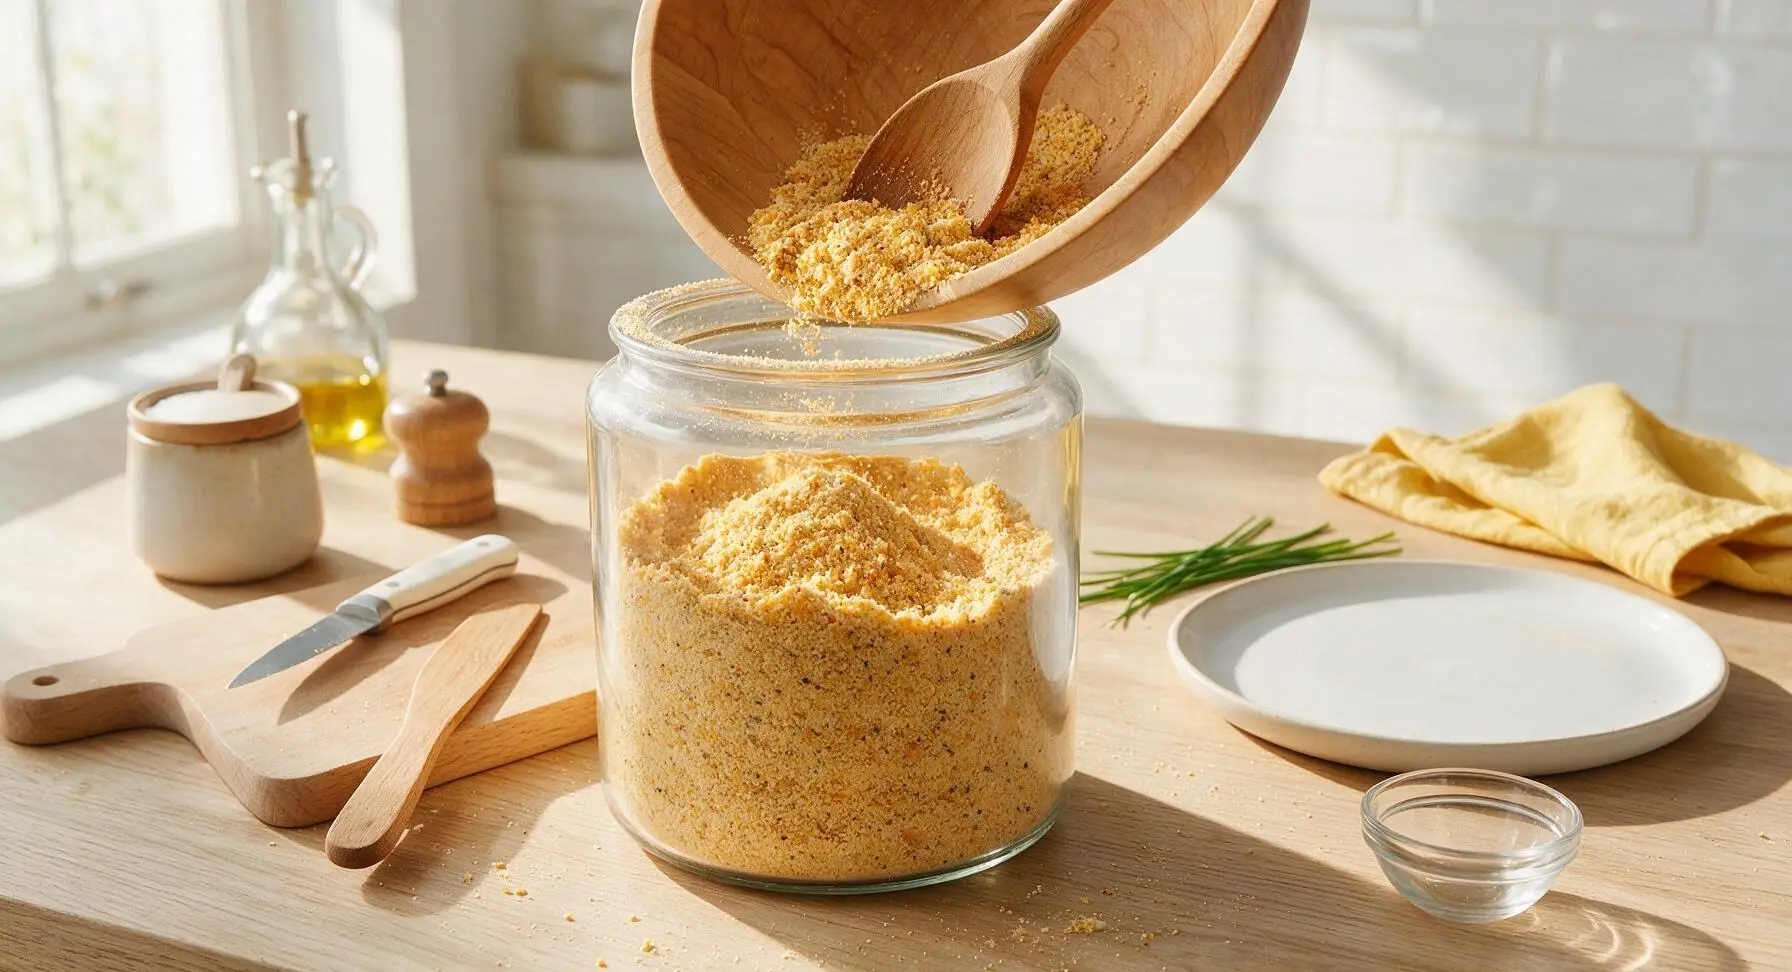
Step 6
step6:Transfer Mix to Jar
7

Bake Test Chicken Sample

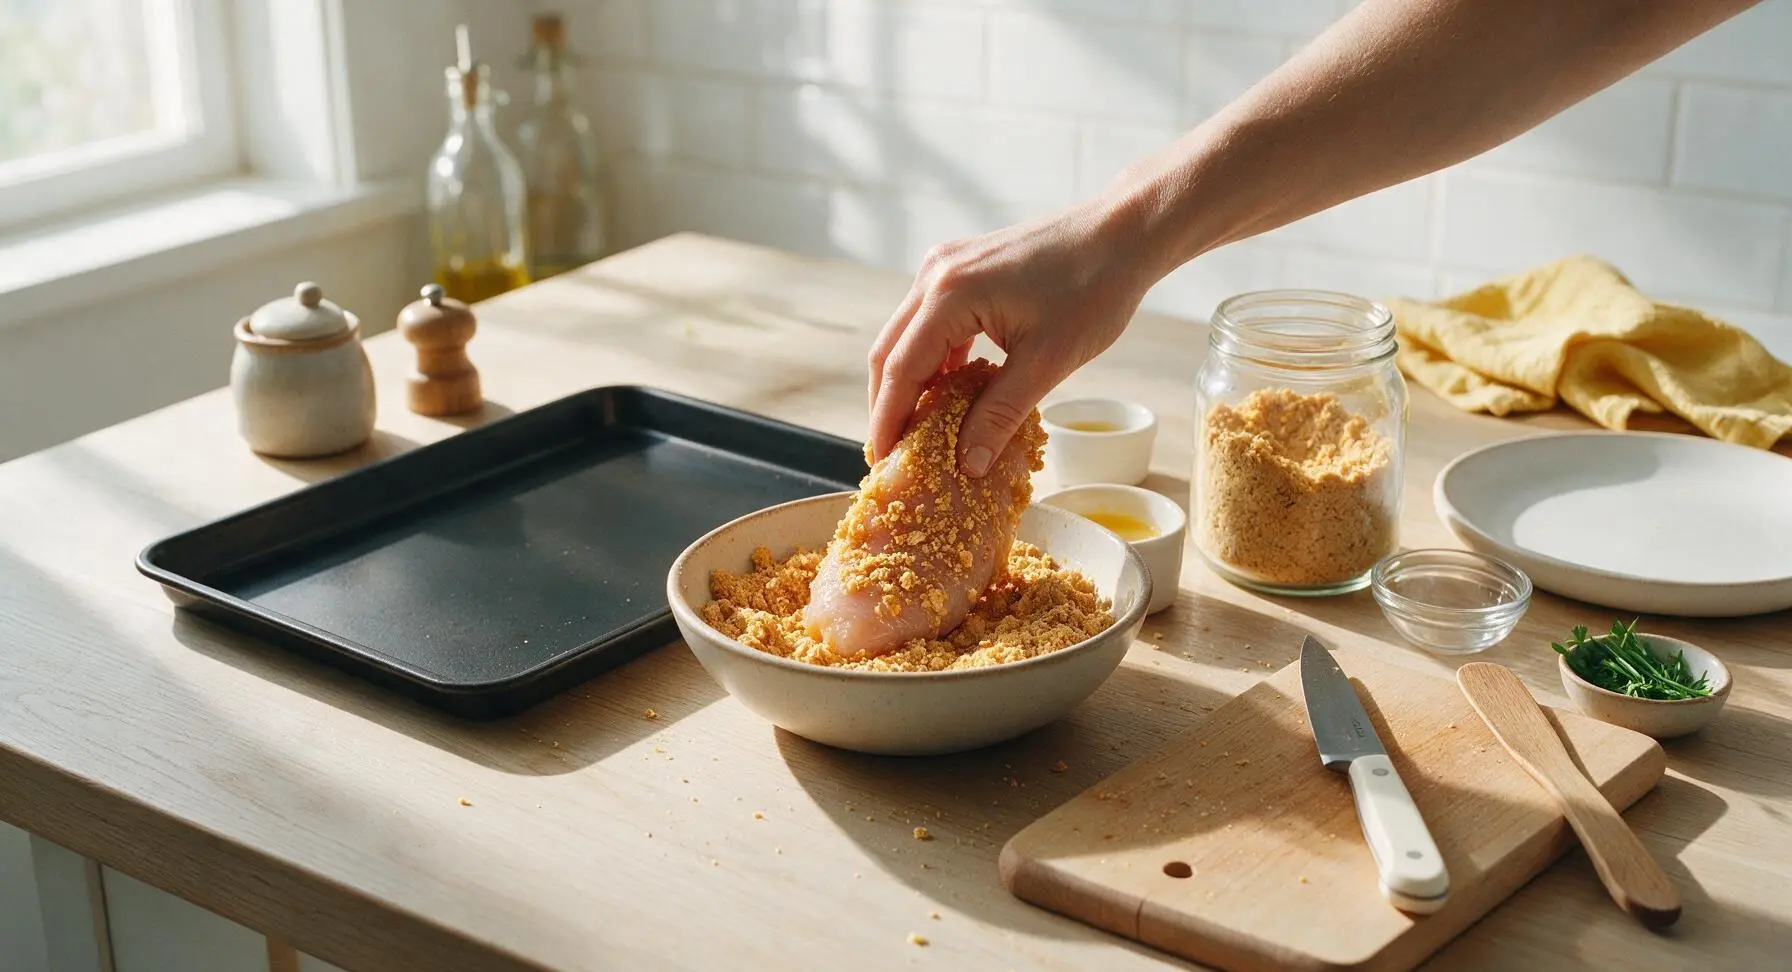
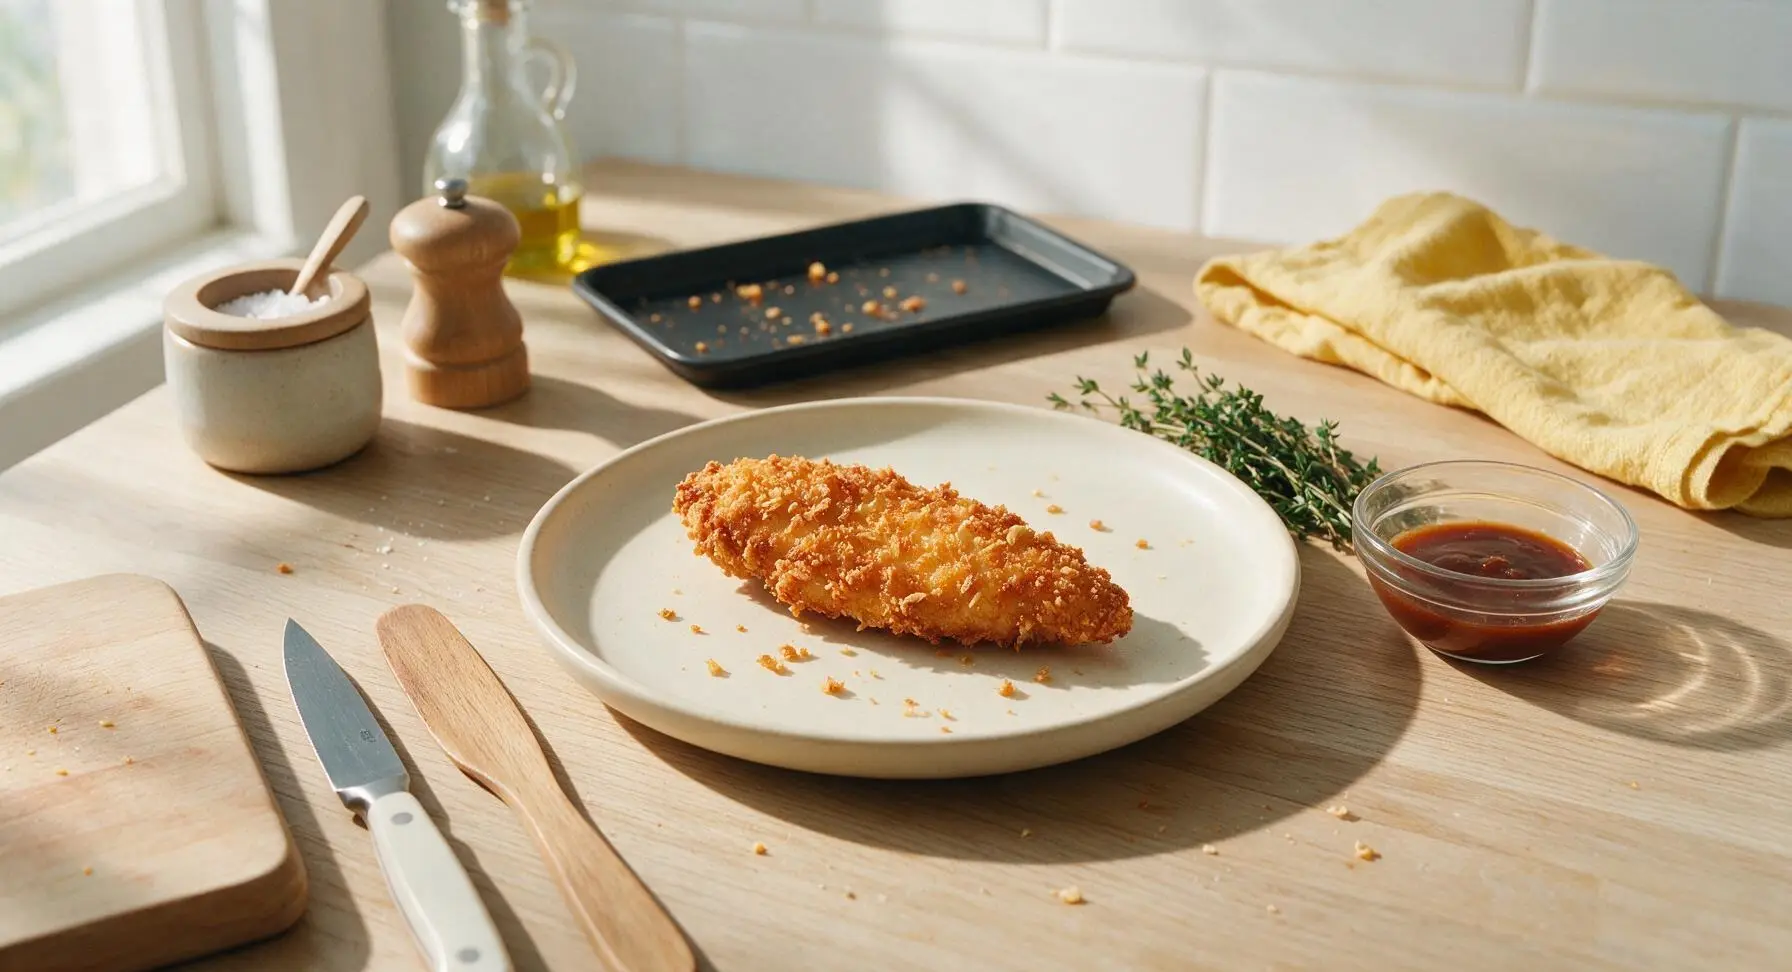
Pull the small matte black baking sheet from its stored position behind the counter. Pat one 50g chicken tender completely dry with a small piece of paper towel, dip it in the egg wash in the white ramekin to coat all sides lightly (allow excess egg to drip off for 3 seconds), then press the tender firmly into a small scoop of the coating mix left in the bowl until every surface is covered with a thick, even layer. Place the coated tender on the baking sheet, then bake at 425°F (220°C) for 15 minutes until deep golden brown and shatteringly crisp, with an internal temperature of 165°F (74°C). Transfer the baked tender to the matte cream ceramic plate to cool for 3 minutes before final plating.
Step 7
step7:Bake Test Chicken Sample
Step 7
step7:Bake Test Chicken Sample

Tips

1.Always pat chicken completely dry before dipping in egg wash and applying the coating: excess surface moisture will create steam during cooking, making the coating soggy instead of shatteringly crisp, and preventing the mix from adhering evenly to the meat.
2.Do not substitute baking soda for the baking powder in this mix: baking soda will create a bitter, soapy flavor if not balanced with acid, while baking powder gently raises the coating pH to speed Maillard browning for a deeper golden crust without off-flavors.
3.Store the finished coating mix in a cool, dark pantry (not above the stove or in direct sunlight) for up to 3 months: heat and light will break down the dried spices quickly, leading to flat flavor, and humidity will cause the flour and cornstarch to clump.


✨ You May Also Like

Main Course
🍜 United Kingdom

A showstopping classic of tender seared beef, savory mushroom duxelles, and crisp prosciutto wrapped in flaky golden puff pastry, baked to juicy perfection.

⏱️ 2 hours 1Main Course ★ 4.7
Main Course
🍜 India

Tender charred marinated chicken simmered in a rich, spiced creamy tomato sauce, this iconic Anglo-Indian curry pairs perfectly with basmati rice or warm naan.

⏱️ 50 minuteMain Course ★ 4.6
Main Course
🍜 Thailand

Classic tangy, sweet, and savory Thai stir-fried rice noodles with shrimp, tofu, and crunchy garnishes, balancing all five core Thai flavor profiles.

⏱️ 30 minuteMain Course ★ 4.5
Main Course
🍜 United Kingdom

Crispy golden beer-battered cod and fluffy double-fried chips, served with tangy tartar sauce and malt vinegar: the timeless, beloved British pub comfort classic.

⏱️ 45 minuteMain Course ★ 4.7
Main Course
🍜 Mexico

Smoky, chile-marinated pork tacos with caramelized pineapple, fresh cilantro, and lime: a beloved classic Mexican street food perfect for casual summer gatherings.

⏱️ 1 hour 45Main Course ★ 4.8
Main Course
🍜 United States

Crunchy Fritos corn chips layered with savory beef chili and melted cheddar, topped with cool, zesty fixings for a beloved, cozy Tex-Mex comfort food.

⏱️ 35 minuteMain Course ★ 4.8

chicken coating mix:Frequently Asked Questions

1.What makes this homemade coating mix get so much crispier than regular store-bought versions? ▾
The secret is the balanced ratio of cornstarch to cut tough gluten from all-purpose flour, plus a small amount of baking powder that creates tiny, light air pockets as it cooks. Unlike store-bought mixes, there are no softening preservatives, so you get that signature shatteringly crisp crust every time, whether you fry or bake.
2.Can I make this mix gluten-free? ▾
Absolutely! Swap the all-purpose flour for a 1:1 gluten-free all-purpose baking blend, use certified gluten-free fine plain breadcrumbs, and double-check your baking powder and cornstarch are labeled gluten-free. The ratio stays exactly the same, and you’ll get the same crisp, golden results for gluten-free fried or baked chicken.
3.How long does this dry coating mix stay fresh in the pantry? ▾
Stored in an airtight, sealed container in a cool, dark pantry away from heat or moisture, this mix will stay fresh for up to 3 months. I recommend labeling the container with the mix date, and giving it a quick shake before each use to redistribute any settled seasonings or ingredients evenly.
4.Do I need to dip chicken in egg before using this coating? ▾
Yes, for the best adhesion, dip your fully thawed, patted-dry chicken pieces in beaten egg (or buttermilk for extra tang) before pressing firmly into the coating mix. Let coated chicken rest 10 minutes before cooking to help the crust set, so it doesn’t slide off during frying or baking.
5.Can I use this mix for baked chicken instead of fried, and will it still get crispy? ▾
It absolutely works for baked chicken, and stays perfectly crispy! Arrange coated chicken on a wire rack set over a baking sheet, spritz lightly with cooking oil, and bake at 400°F until chicken reaches a safe internal temperature. The elevated rack lets air circulate all around, so you avoid soggy bottom crusts.
6.What’s the purpose of baking powder in the coating mix? ▾
Baking powder is the quiet workhorse here: as it heats during cooking, it releases small bubbles of carbon dioxide that create tiny, light gaps in the coating instead of a dense, tough flour crust. It also encourages faster, more even browning, so you get that perfect golden color without overcooking your chicken.
7.Can I add extra seasonings to the base mix? ▾
Definitely—this base is designed to be fully customizable! Great add-ins include garlic powder, onion powder, smoked paprika, dried thyme, black pepper, cayenne for heat, or dried oregano for an herby profile. Stick to 1 to 2 total tablespoons of extra dried seasonings per full batch so you don’t throw off the crisping ratio.
8.Can I substitute panko for the plain fine breadcrumbs? ▾
You can, but note that panko is coarser and will create a crunchier, more textured crust rather than the tight, shatteringly crisp finish fine breadcrumbs give. If you use panko, crush it slightly in a food processor first to get a finer crumb, so it adheres better to chicken pieces without falling off during cooking.
9.Why do you use kosher salt instead of table salt in the mix? ▾
Kosher salt has larger, flakier grains that distribute more evenly through the dry mix without clumping, so you don’t get overly salty spots on your chicken. If you only have table salt on hand, cut the salt amount in half, as table salt is much denser and saltier per teaspoon than kosher salt.
10.How much mix do I need per pound of chicken? ▾
A standard batch (2 cups flour, 1 cup cornstarch, 1 cup breadcrumbs, plus leavening and salt) coats roughly 4 to 5 pounds of bone-in chicken pieces, or 3 pounds of boneless tenders or breasts. Aim for a thin, even pressed-on layer—caking on thick coating will lead to a tough, doughy crust instead of crisp perfection.
11.Can I use this coating for other foods besides chicken? ▾
Absolutely! This mix works beautifully for crispy fried fish, onion rings, zucchini fries, fried pickles, or even crispy tofu cubes. For delicate foods like fish or veggies, you may want to cut the salt slightly, and stick to a light egg or buttermilk dip before coating to keep the crust light.
12.Why is cornstarch part of the mix instead of using only all-purpose flour? ▾
Cornstarch has zero gluten, so it cuts the tough, chewy gluten strands that form when you use only all-purpose flour for coating. It also gelatinizes quickly at high heat, creating a tight, crisp barrier that locks in chicken juices and prevents the crust from getting soggy, even if you bake instead of fry.
13.My coating got soggy after baking—what did I do wrong? ▾
Soggy coating usually comes from one of three common missteps: you didn’t pat chicken fully dry before dipping, you set coated chicken directly on a baking sheet instead of an elevated wire rack, or you skipped spritzing the coating lightly with oil before baking. Fix those three things, and you’ll get crisp results every time.
14.Can I freeze this dry mix for longer storage? ▾
You can! Seal the mix tightly in a freezer-safe bag or container, pressing out all excess air, and it will keep for up to 6 months in the freezer. There’s no need to thaw it before use—just scoop out what you need, give it a quick stir to break up any small clumps, and use it exactly as you would fresh mix.
15.Do I need to double-dip the chicken for an extra-thick crust? ▾
If you prefer an extra-thick, extra-crispy crust, you can do a double dip: dip chicken in egg, coat lightly in mix, dip back in egg, then press into the coating a second time. Just be sure to let double-coated chicken rest 15 minutes before cooking so the crust adheres fully and doesn’t slide off mid-cook.
16.Can I use self-rising flour instead of all-purpose flour and baking powder? ▾
You can, but you’ll need to adjust the recipe slightly. Self-rising flour already contains baking powder and salt, so omit the added baking powder, cut the added kosher salt by half, and keep the cornstarch and breadcrumb measurements exactly the same. This will give you nearly identical crisp results without extra leavening.
17.Is there a way to make this mix without breadcrumbs for a lighter crust? ▾
If you want to skip breadcrumbs, swap the breadcrumb amount for equal parts extra cornstarch and fine cornmeal. This creates a lighter, extra-crunchy crust that sticks beautifully and crisps up just as well, with a subtle, toasty corn note that pairs perfectly with seasoned chicken. It works for both frying and baking too.
18.How do I get the coating to stick to chicken instead of falling off while cooking? ▾
The biggest trick for sticking coating is to start with completely dry chicken—pat every piece thoroughly with paper towels before dipping in egg or buttermilk. Press the coating firmly onto every surface of the chicken, then let pieces rest on a plate for 10 to 15 minutes before cooking to let the crust set and adhere properly.
19.Can I add cheese to this mix for a cheesy crispy crust? ▾
You absolutely can! For a rich, savory cheesy crust, stir ¼ cup of finely grated parmesan cheese into the portion of mix you plan to use right before coating chicken. Skip adding cheese to the bulk stored mix, though, since cheese has moisture that will cause clumping and shorten the mix’s pantry shelf life.

Comments (4)

2 days ago

OMG this coating mix is a total game changer! I’ve been buying the store-bought crispy mix for years and it never gets as crunchy as I want, but this homemade version? Perfect crunch, even when I bake the chicken instead of frying! My kids devoured 2 full tenders each at dinner last night, no complaints about ‘soggy breading’ for once. Already prepped a triple batch to keep in the pantry for weeknight meals and the upcoming neighborhood potluck. 10/10, so easy to throw together too!

yesterday

Wait do you bake yours on a wire rack? I tried a homemade coating once and it got soggy on the bottom, curious what trick you use!

2 hours ago

Great question! For extra crispy baked chicken, definitely place your coated pieces on a wire rack set over a baking sheet instead of directly on the pan—this lets air circulate all around so every side gets crunchy, no soggy bottoms! Lightly spraying the coating with a little cooking oil before baking helps too.

3 days ago

Took this mix out for a test run on my fried chicken for the Sunday football watch party and WOW, so good. I added a little extra paprika and a pinch of cayenne for a tiny kick, and every single person asked for the recipe. Way cheaper than buying the pre-made stuff too, no weird fillers or preservatives I can’t pronounce. Will be my go-to coating from now on for wings, tenders, even fried pickles!

2 days ago

Love that you customized it with extra paprika and cayenne! So glad it was a hit at your watch party—your idea to use it for fried pickles sounds incredible, I’ll have to test that myself this weekend.

5 minutes ago

As someone who’s still learning to cook in my tiny apartment kitchen, I was shocked how easy this was to make! I had all the ingredients in my pantry already (flour, paprika, garlic powder, salt, pepper, that’s basically it?) so I didn’t even have to run to the grocery store. Used it to make crispy chicken sandwiches for my roommate and I last night, and we both agreed it tasted better than the fast food version down the street. Only took 15 minutes to cook just like the recipe says, no fuss. Knocked off one star because I accidentally over-salted my first batch, but that was totally my mistake for not measuring properly, not the recipe’s fault!

1 week ago

Wait quick question for anyone who’s tested swaps! I made this last weekend with regular flour for my family and it was chef’s kiss, SO crispy and flavorful, but I have celiac so I couldn’t eat any of it 😂 Has anyone tried making this with gluten free all purpose flour? Would the ratios stay the same if I make a GF batch for myself? Fingers crossed it works, I need that crunch in my life!

5 days ago

I did this last week! Used a 1:1 GF all purpose flour blend (the one with xanthan gum already in it) and it worked exactly the same! Crunch was perfect, no weird gritty texture at all. I did double dip my chicken in egg wash and the mix to get an extra thick coating, 10/10 would recommend.



