
chicken fillet in air fryer
intro
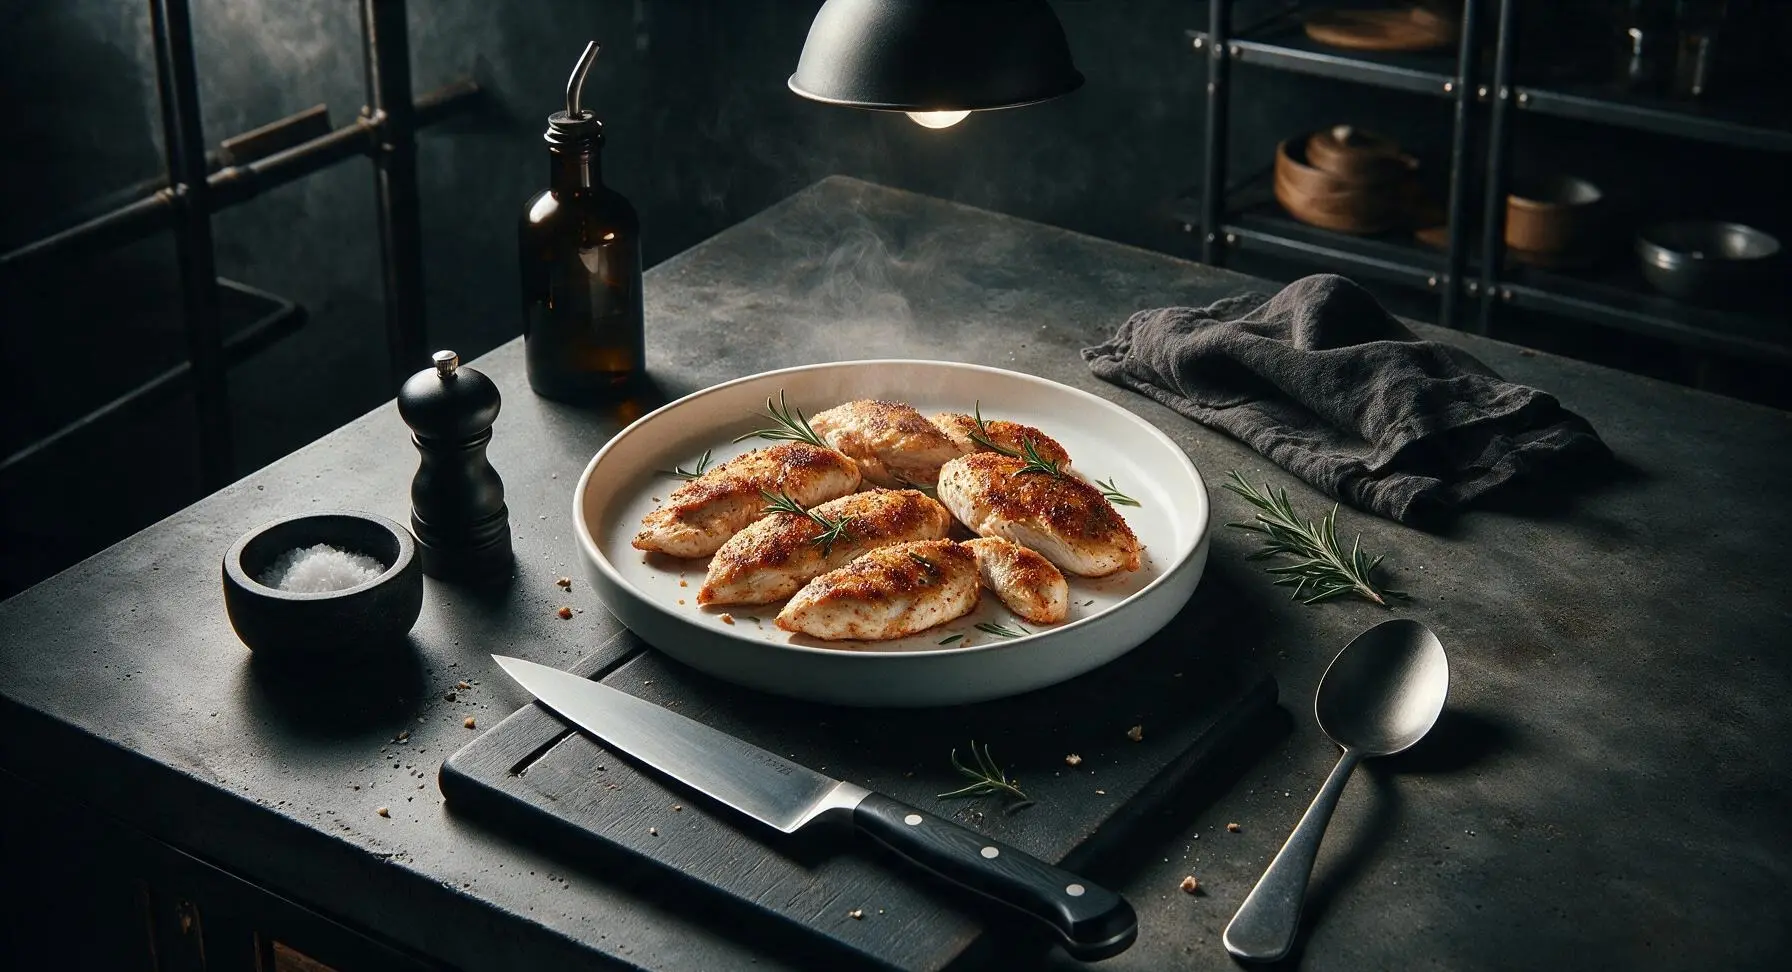
Juicy, perfectly seasoned chicken fillets with a light crisp exterior, made fast in the air fryer with minimal cleanup and no dry, tough bites — ideal for busy weeknights.
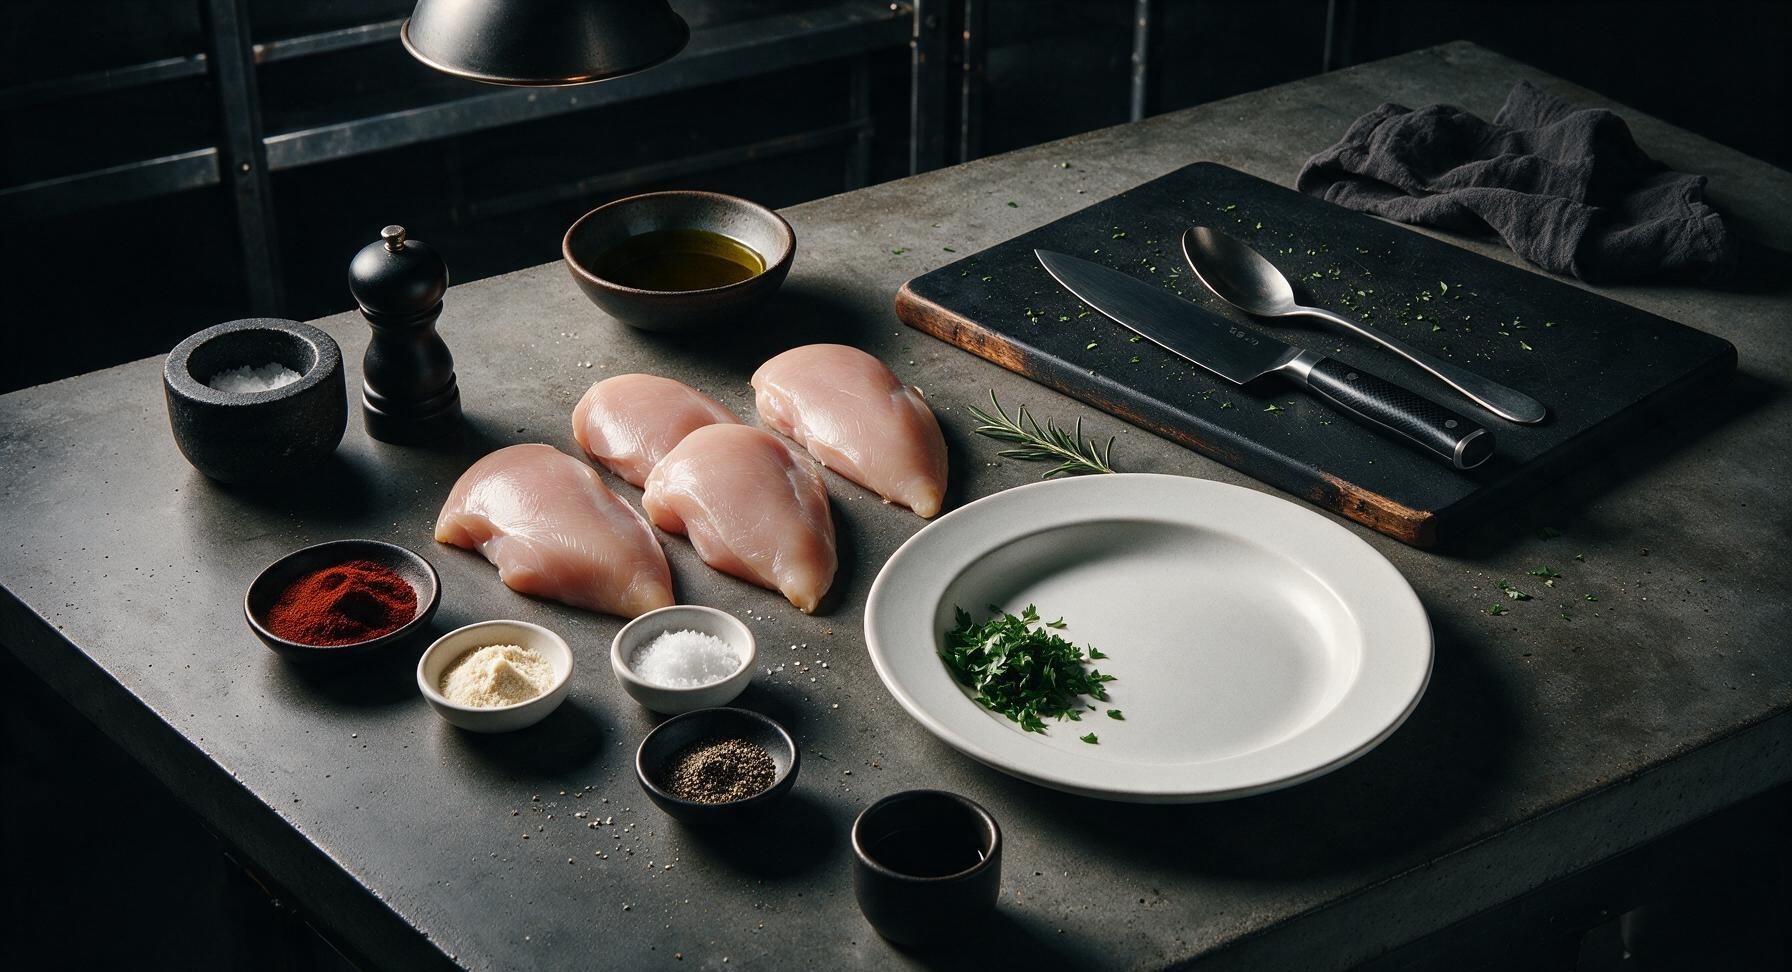
Ingredients
Steps
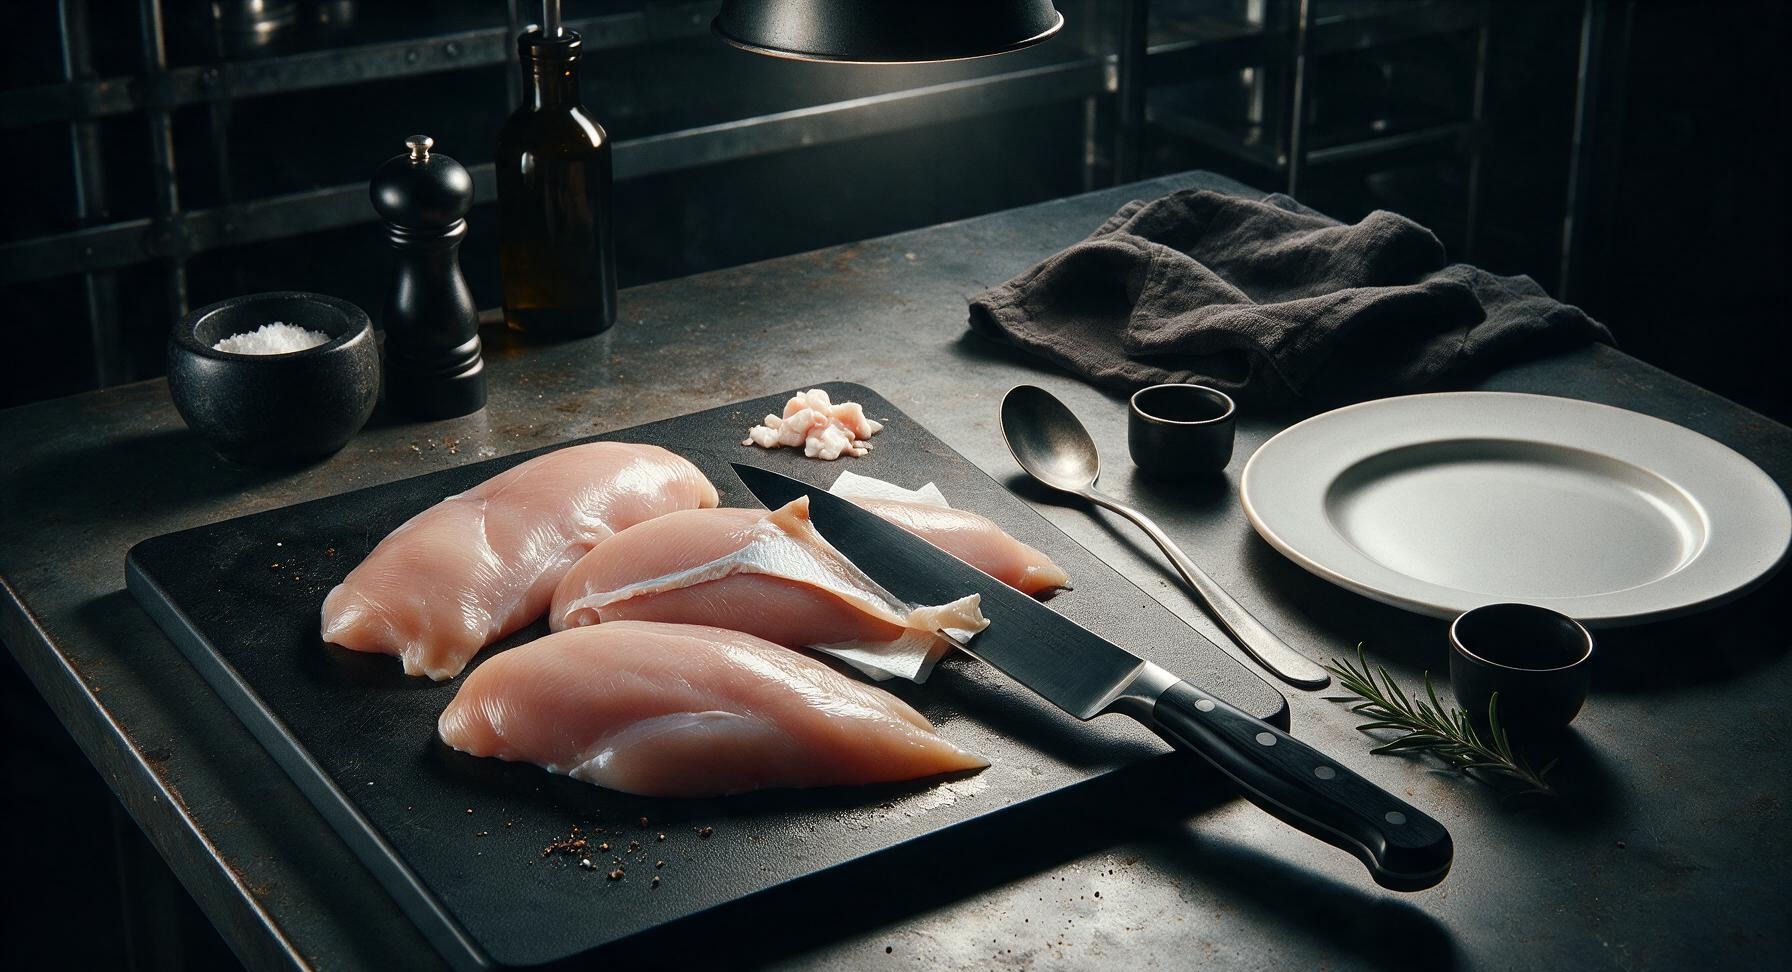
Trim and Prep Chicken
Place the 4 chicken fillets on the light bamboo cutting board. Use the 6-inch stainless steel boning knife to trim off any visible silver skin, excess loose fat, or uneven ragged edges from each fillet. Pat every surface of the chicken completely dry with paper towels (discard used towels off-frame) — a fully dry surface is critical for achieving a crisp exterior in the air fryer. Aim for uniform 1-inch thickness across all fillets; if any section is thicker than 1 inch, gently pound it to even thickness with the flat side of the knife to ensure even cooking, no thin overcooked edges.
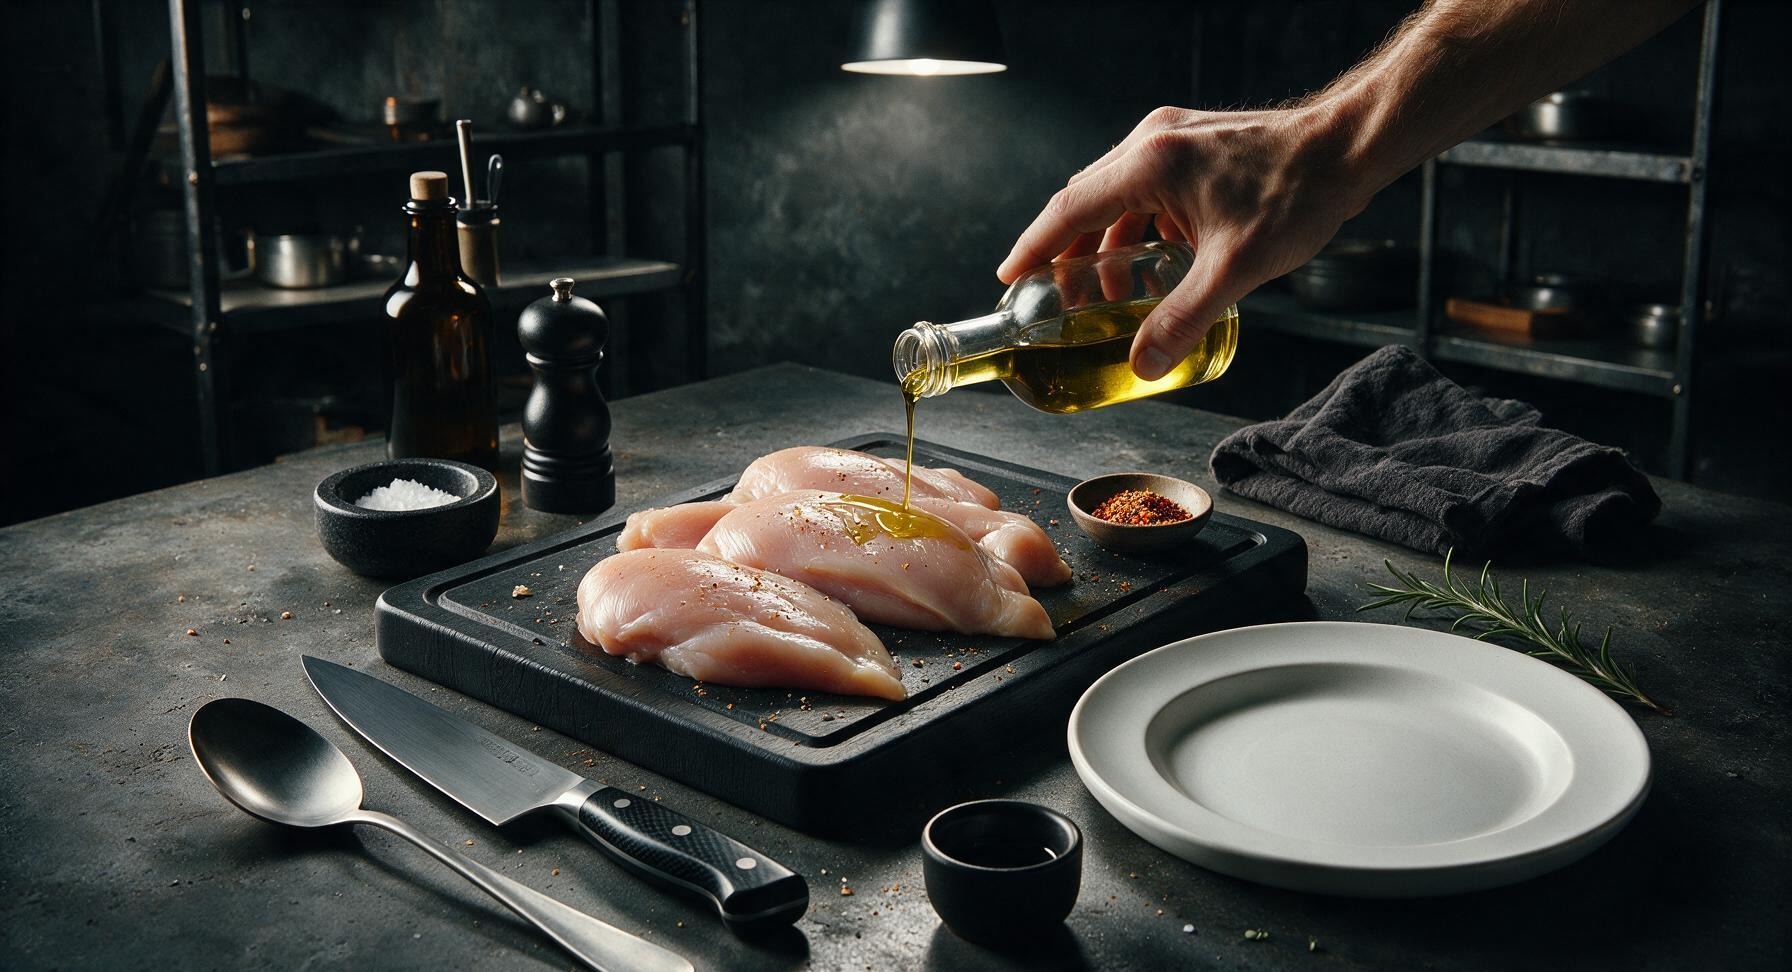
Coat with Seasonings
Drizzle 1 tablespoon of extra virgin olive oil over the dried, trimmed chicken fillets, using clean hands to rub the oil across every surface to create a thin, even coating. In one of the small matte white pinch bowls, mix 1 teaspoon smoked paprika, 1 teaspoon garlic powder, 3/4 teaspoon kosher salt, and 1/2 teaspoon freshly ground black pepper until fully combined. Sprinkle the spice blend evenly over all sides of the chicken, pressing gently so the spices adhere to the oiled surface, with no bare unseasoned spots remaining.
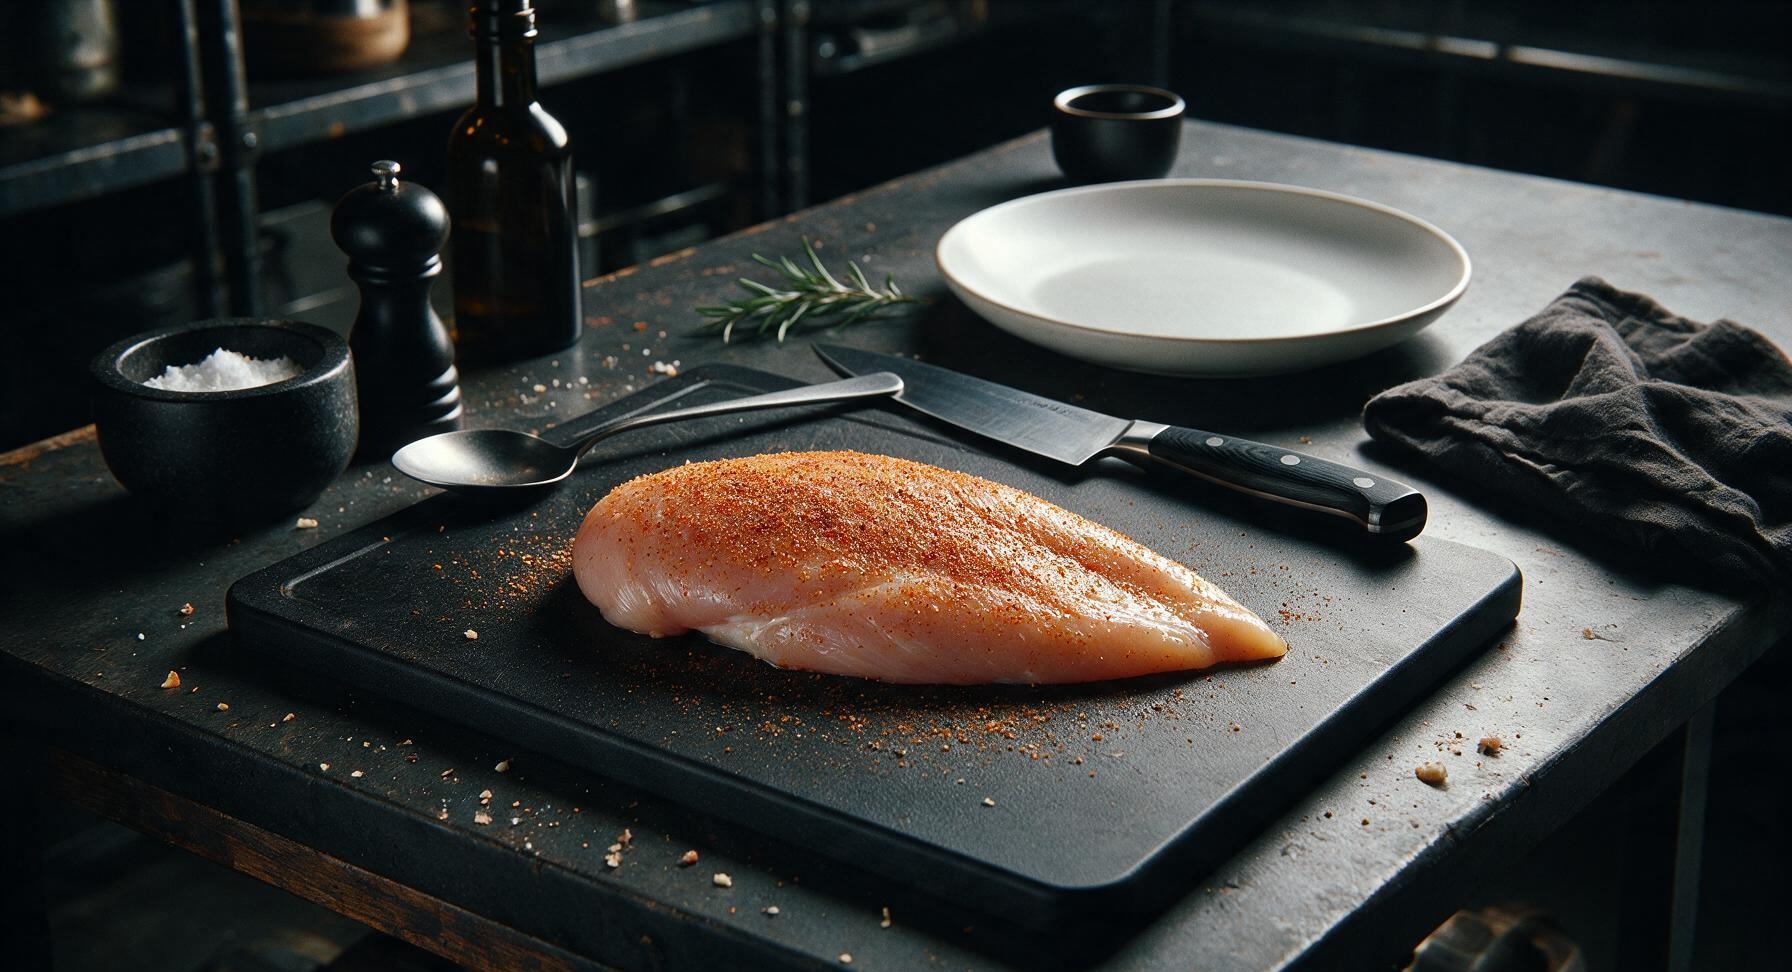
Preheat Air Fryer
Pull the basket out of the matte black air fryer, dip a corner of paper towel in a tiny amount of olive oil, and wipe a thin, even coat across the basket mesh interior to prevent sticking, then slide the basket back into the unit. Preheat the air fryer to 380°F (193°C) for 3 minutes. Preheating ensures the chicken sears immediately on contact with the hot basket, building a crisp exterior instead of steaming against a cold surface.
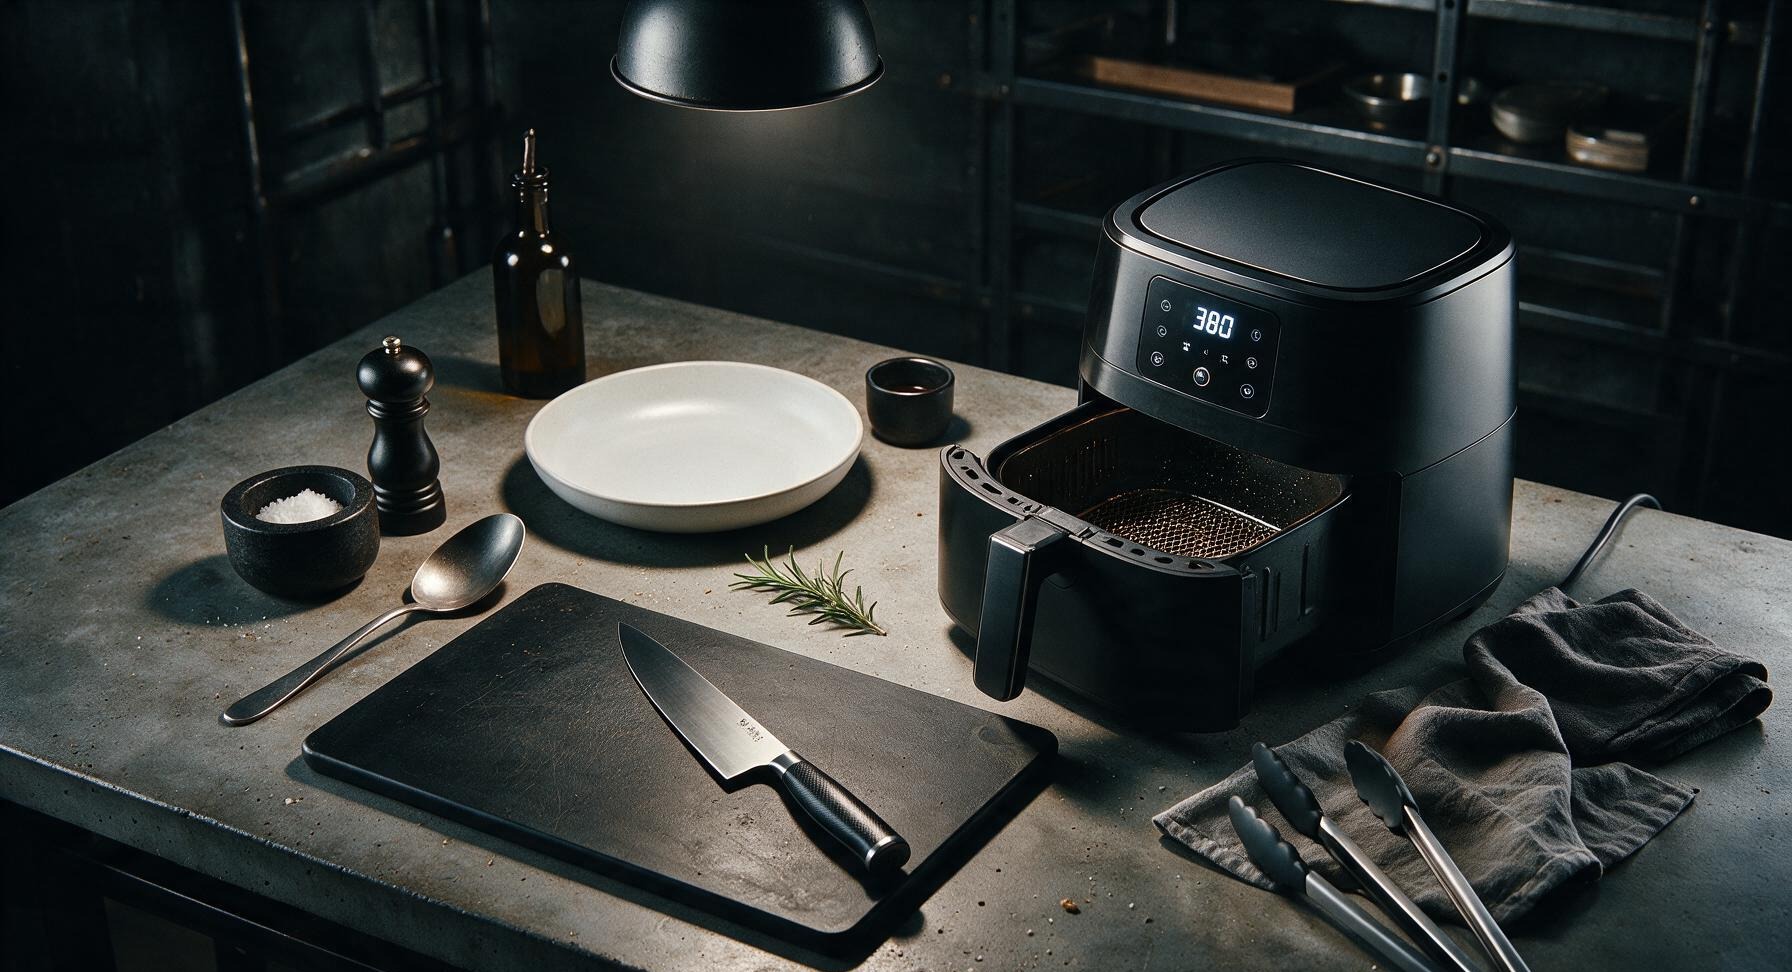
Load Chicken into Basket
Once preheated, pull the air fryer basket fully out. Use the silicone-tipped tongs to place the seasoned chicken fillets in the basket in a single layer, leaving 1/2 inch of open space between each fillet to allow hot air to circulate. Do not stack or overlap fillets — cook in two separate batches if your air fryer basket is smaller than 5.8L to avoid uneven cooking.
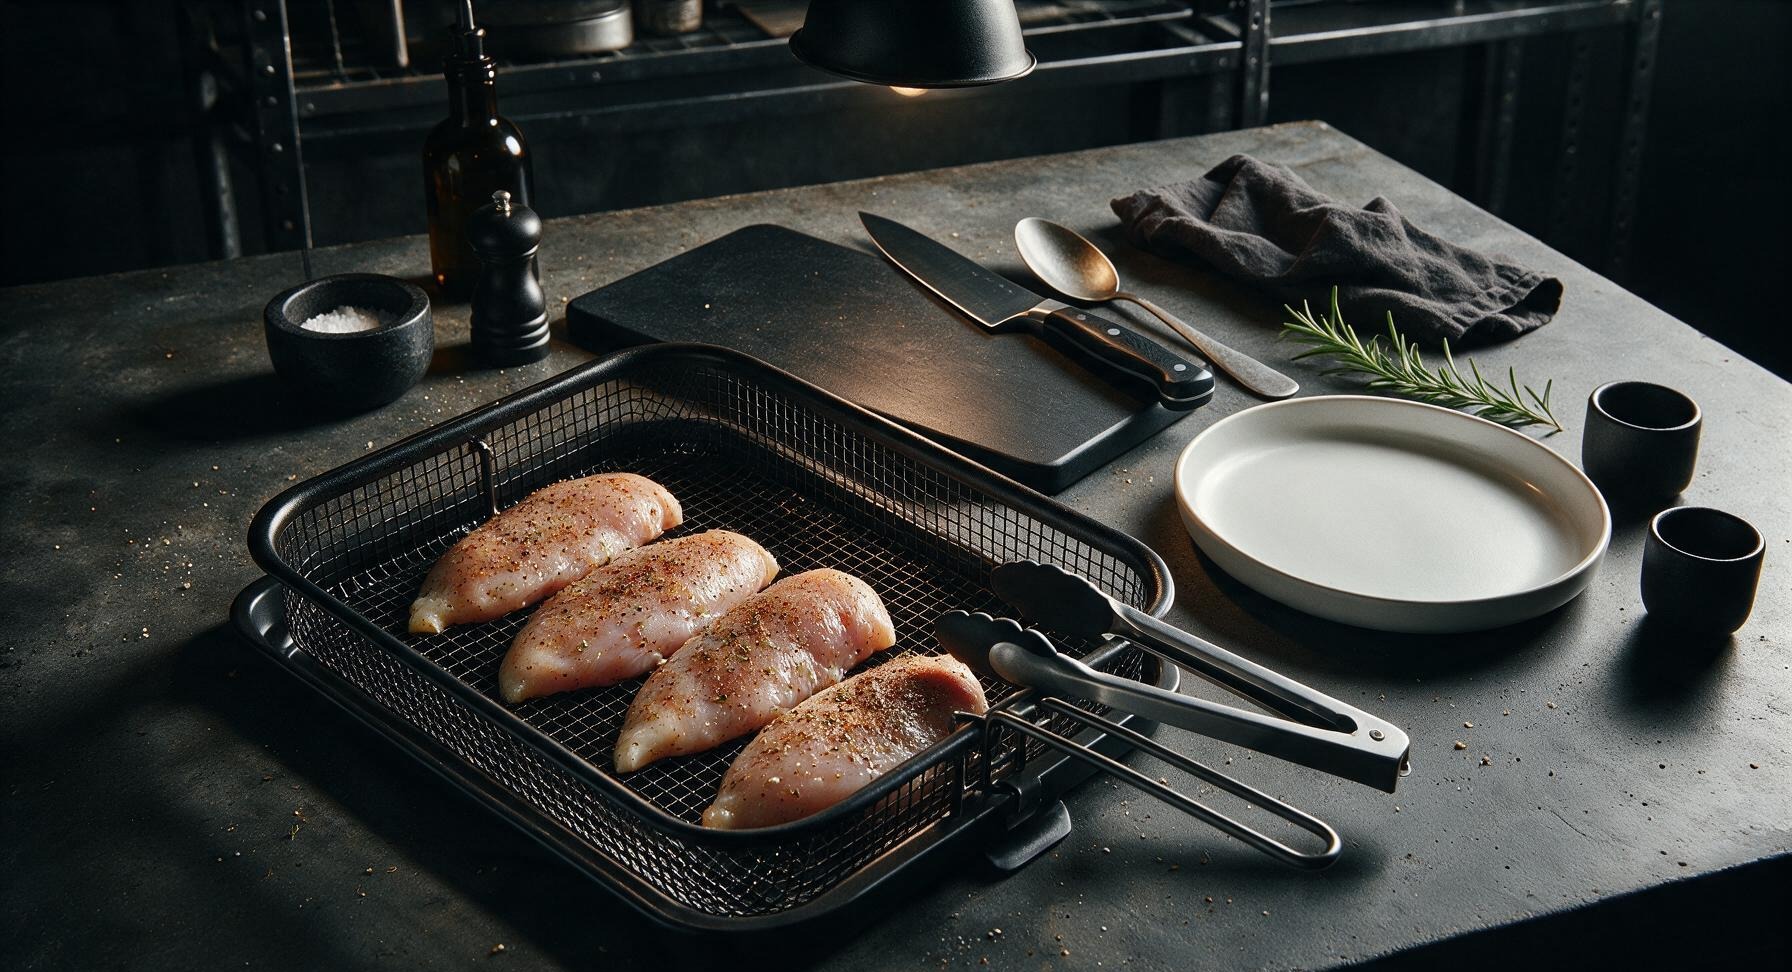
Cook to Safe Temp
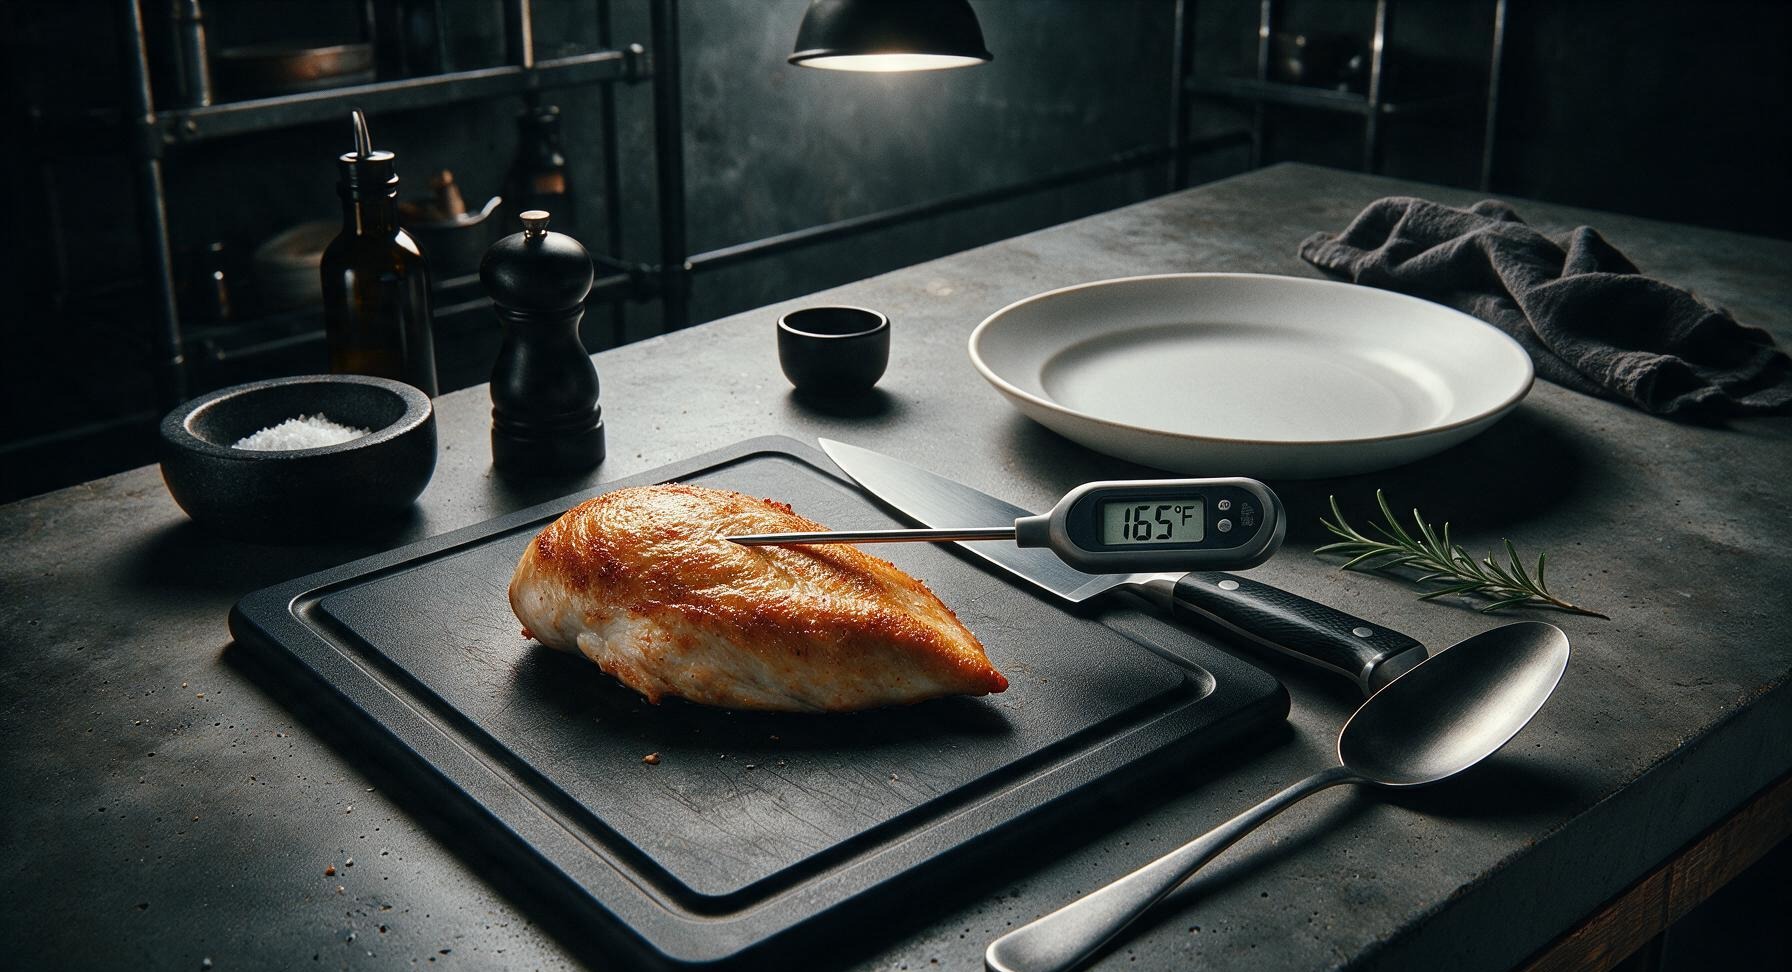
Slide the loaded basket back into the air fryer and cook at 380°F (193°C) for 6 minutes. After 6 minutes, pull the basket out, use the tongs to flip each fillet over to the second side, then cook for an additional 5-6 minutes. Check doneness by inserting the digital instant-read thermometer into the thickest part of the largest fillet: the internal temperature must reach 165°F (74°C) for food safety, and the exterior should be deep golden brown with slightly crisped edges.
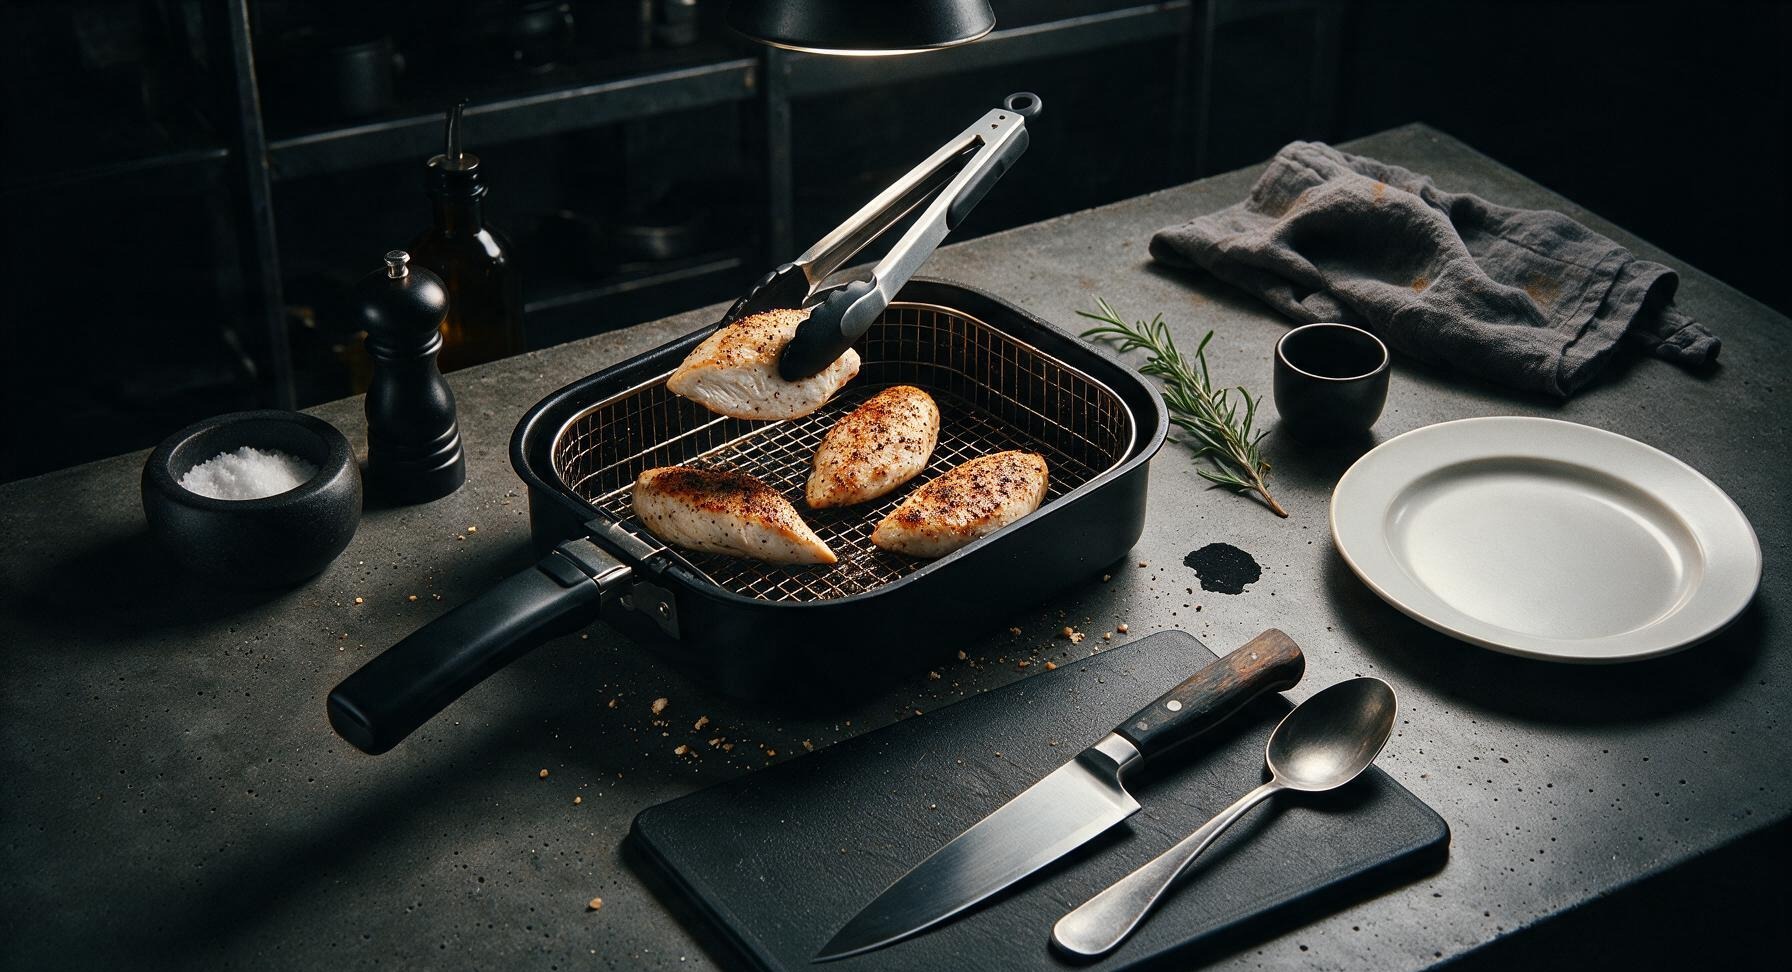
Rest Before Serving
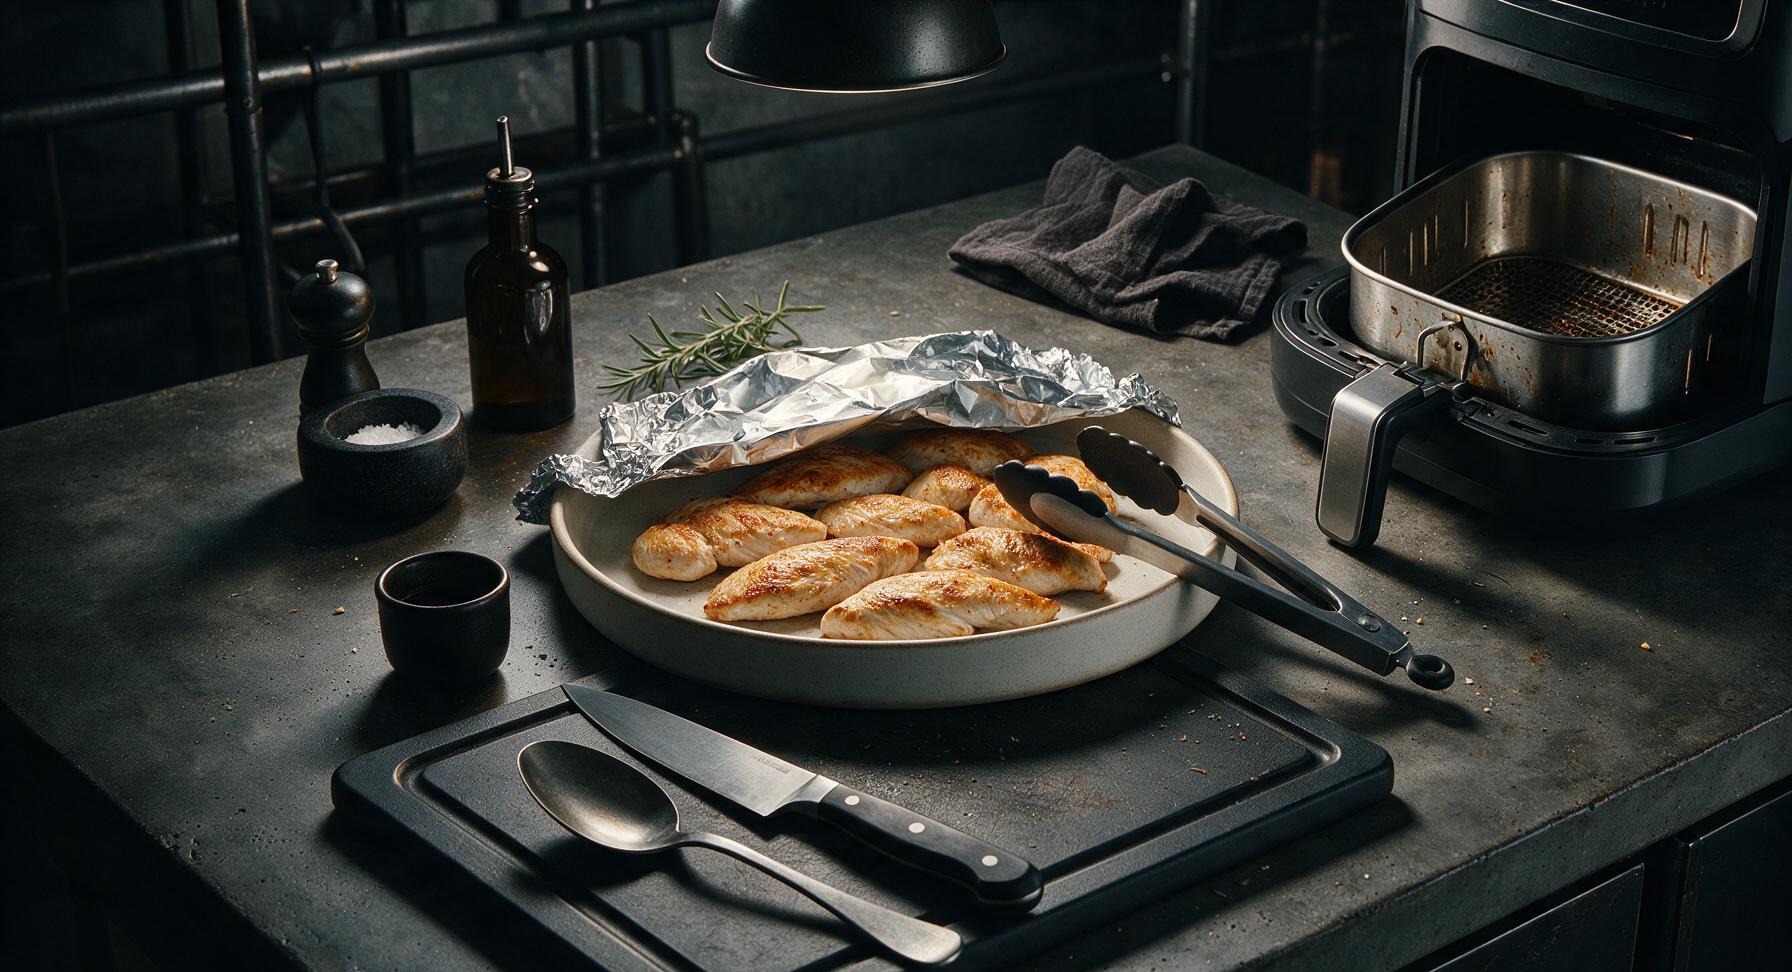
Use the silicone-tipped tongs to transfer the fully cooked chicken fillets from the air fryer basket to the matte off-white ceramic dinner plate. Loosely tent a small sheet of aluminum foil over the top of the plate to hold in gentle heat, and let the chicken rest for 3 full minutes. Resting allows the hot muscle fibers to relax and reabsorb trapped juices, so every bite is juicy instead of having juice run out onto the plate when cut.
Slice and Garnish
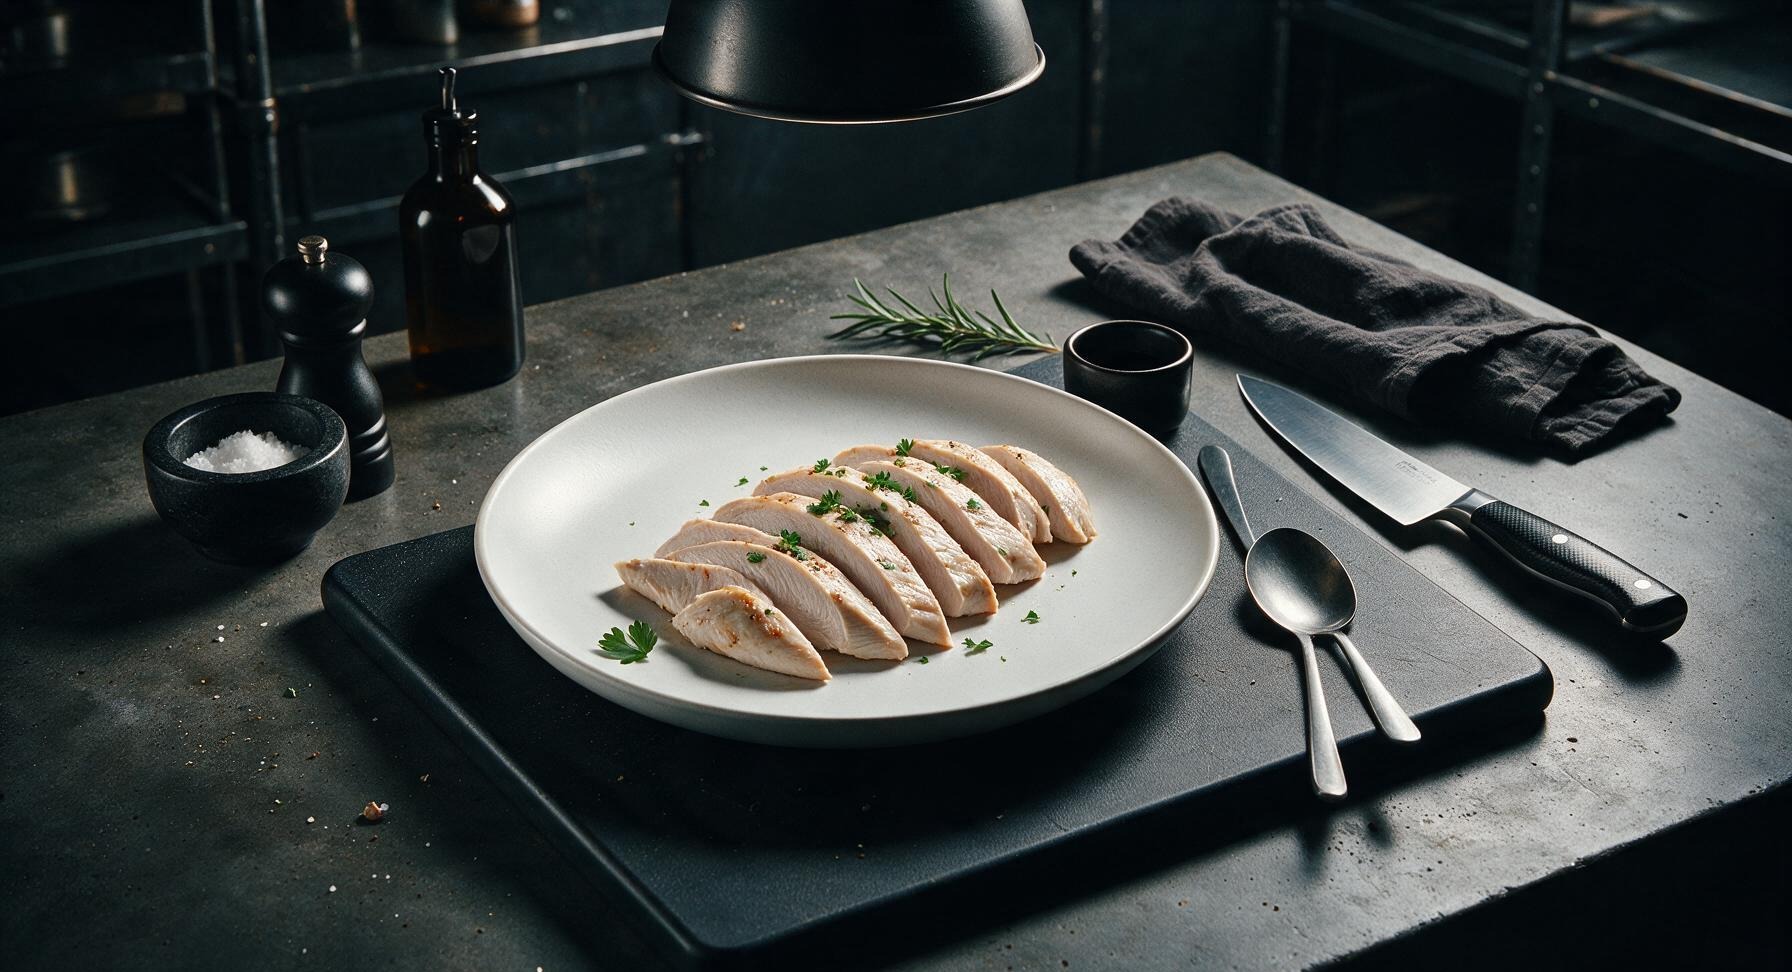
After the 3-minute rest, remove the foil tent. Transfer one fillet at a time back to the bamboo cutting board, use the boning knife to slice each fillet against the grain into 1cm thick strips. Arrange the sliced chicken back on the off-white ceramic plate, sprinkle with 2 tablespoons of chopped fresh flat-leaf parsley for a bright, fresh garnish.
Tips
2.Never overcrowd the air fryer basket: hot air needs space to circulate around each fillet to create even browning and consistent cooking; if fillets touch or overlap, cook them in two batches, adding 1 minute of total cook time to the second batch to account for slight heat loss when opening the basket.
3.Do not skip the 3-minute rest period after cooking: slicing into chicken immediately causes all the hot, trapped juices to flow out onto the plate, leaving you with dry, tough fillets; resting lets juices redistribute evenly through the meat for perfectly juicy bites every time.






OMG this recipe is a total game changer! I’ve been struggling to make chicken fillets that don’t come out dry and rubbery in my air fryer forever, and these were perfectly juicy in 12 minutes flat! My 3 kids devoured them with roasted broccoli for family dinner last night, even my picky 7-year-old asked for seconds. 10/10 will be adding this to our weekly meal prep rotation for sure!
SO good. I prepped a double batch on Sunday for my work lunches all week, and even after reheating in the microwave the chicken stays juicy? Wild. Super easy too, I didn’t even have to marinate it forever, just tossed it with the seasonings right before air frying. Total win for anyone who hates spending hours on Sunday meal prep.
Made these for our neighborhood potluck last weekend and they were a huge hit! I cut the fillets into nugget-sized pieces for easier serving, and people kept asking me for the recipe. Only reason I’m not giving 5 stars is I had to add 2 extra minutes of cook time because my air fryer runs a little cool, but they still came out juicy once I adjusted. Will definitely make again!
Wait, is it really only 12 minutes? I’m a total beginner who burns literally everything, so I was convinced I’d mess this up, but mine came out perfect first try? I couldn’t believe it. Served it with a side of mac and cheese and it felt like a proper fancy dinner even though I spent 2 minutes prepping.
Game changer for my high protein meal plan! I’ve been eating boring boiled chicken for months because I was scared air fryer chicken would be dry, but these are so flavorful and juicy I don’t even need to douse them in sauce to enjoy them. So quick to make after the gym too, I can have dinner ready before I even finish cooling down from my workout.
This is my new go-to weeknight dinner, no joke. Between my work commute and getting the kid to soccer practice, I have zero time to cook elaborate meals, and 12 minutes in the air fryer is basically no effort. Last night I made these to put on Caesar salads and it was better than the takeout salad I almost ordered. 10/10, no notes.
These were so juicy! I will say, I used really thick chicken fillets so I had to cook them for 15 minutes total instead of 12, but once I did that they were perfectly cooked all the way through and not dry at all. I served them with honey mustard dipping sauce and my roommate said they tasted like restaurant chicken tenders but way healthier.