
chicken fillets
intro
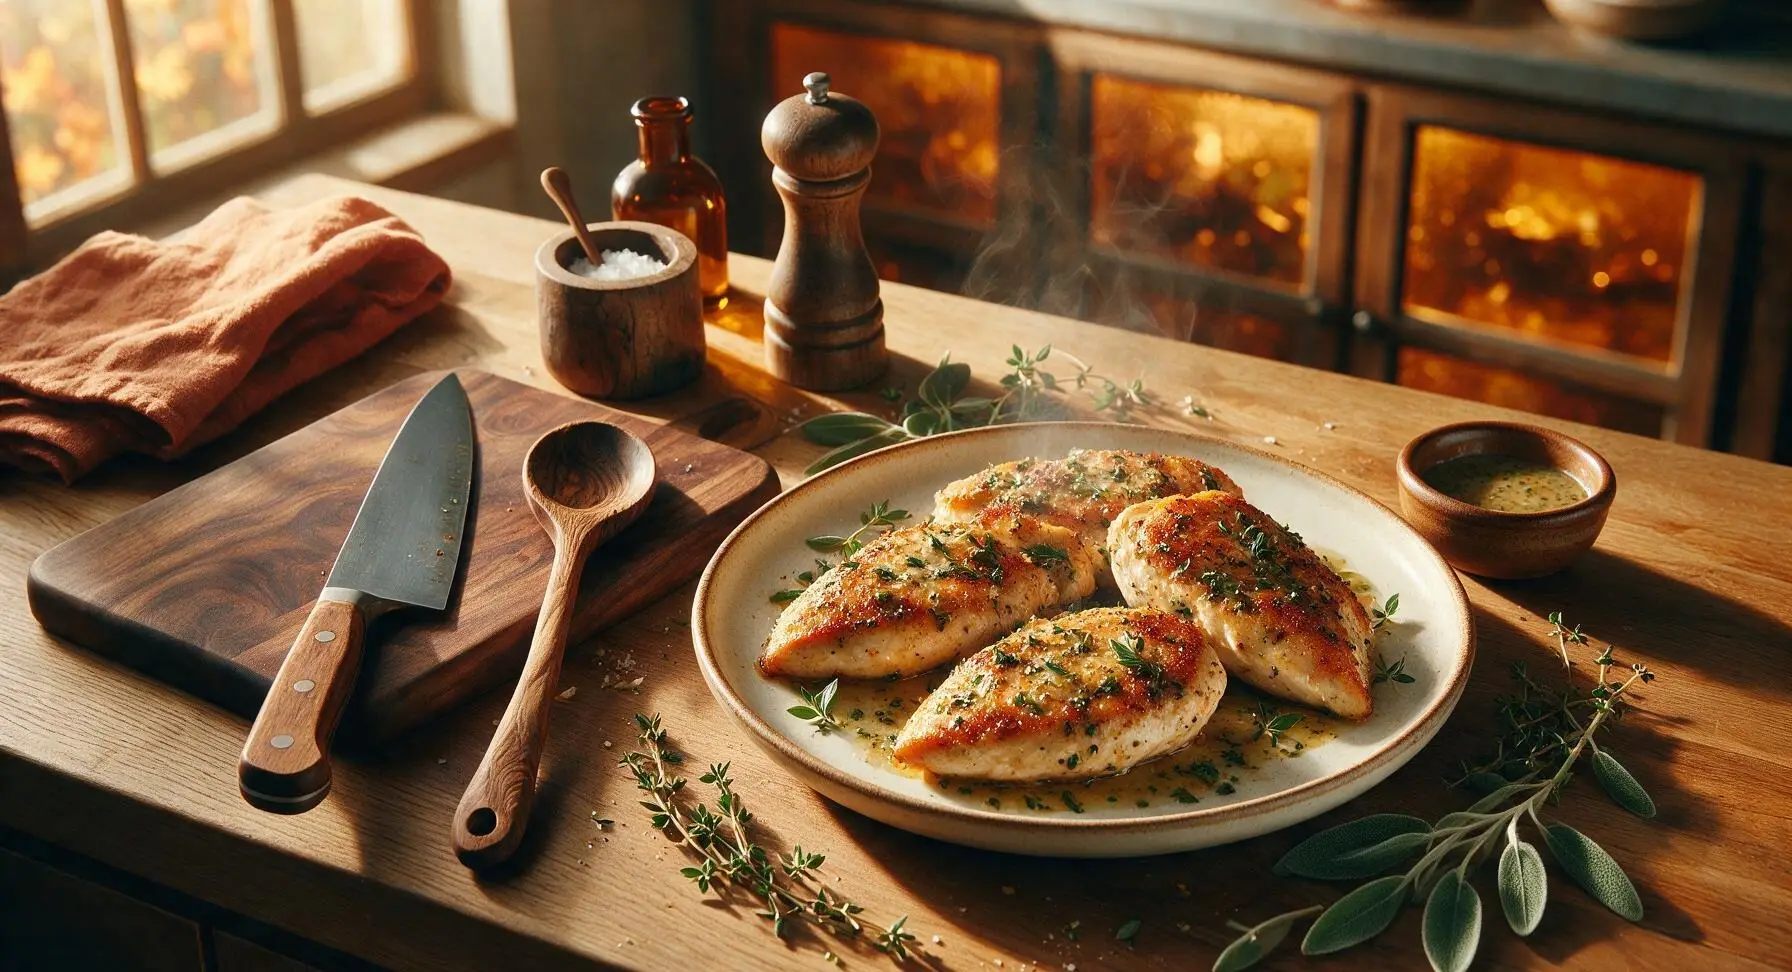
Juicy, crisp-crusted chicken fillets basted in fragrant garlic-herb butter, tender enough to cut with a fork, ready in under 30 minutes for a no-fuss, satisfying weeknight meal.
Ingredients
Steps
Trim and Pound Fillets
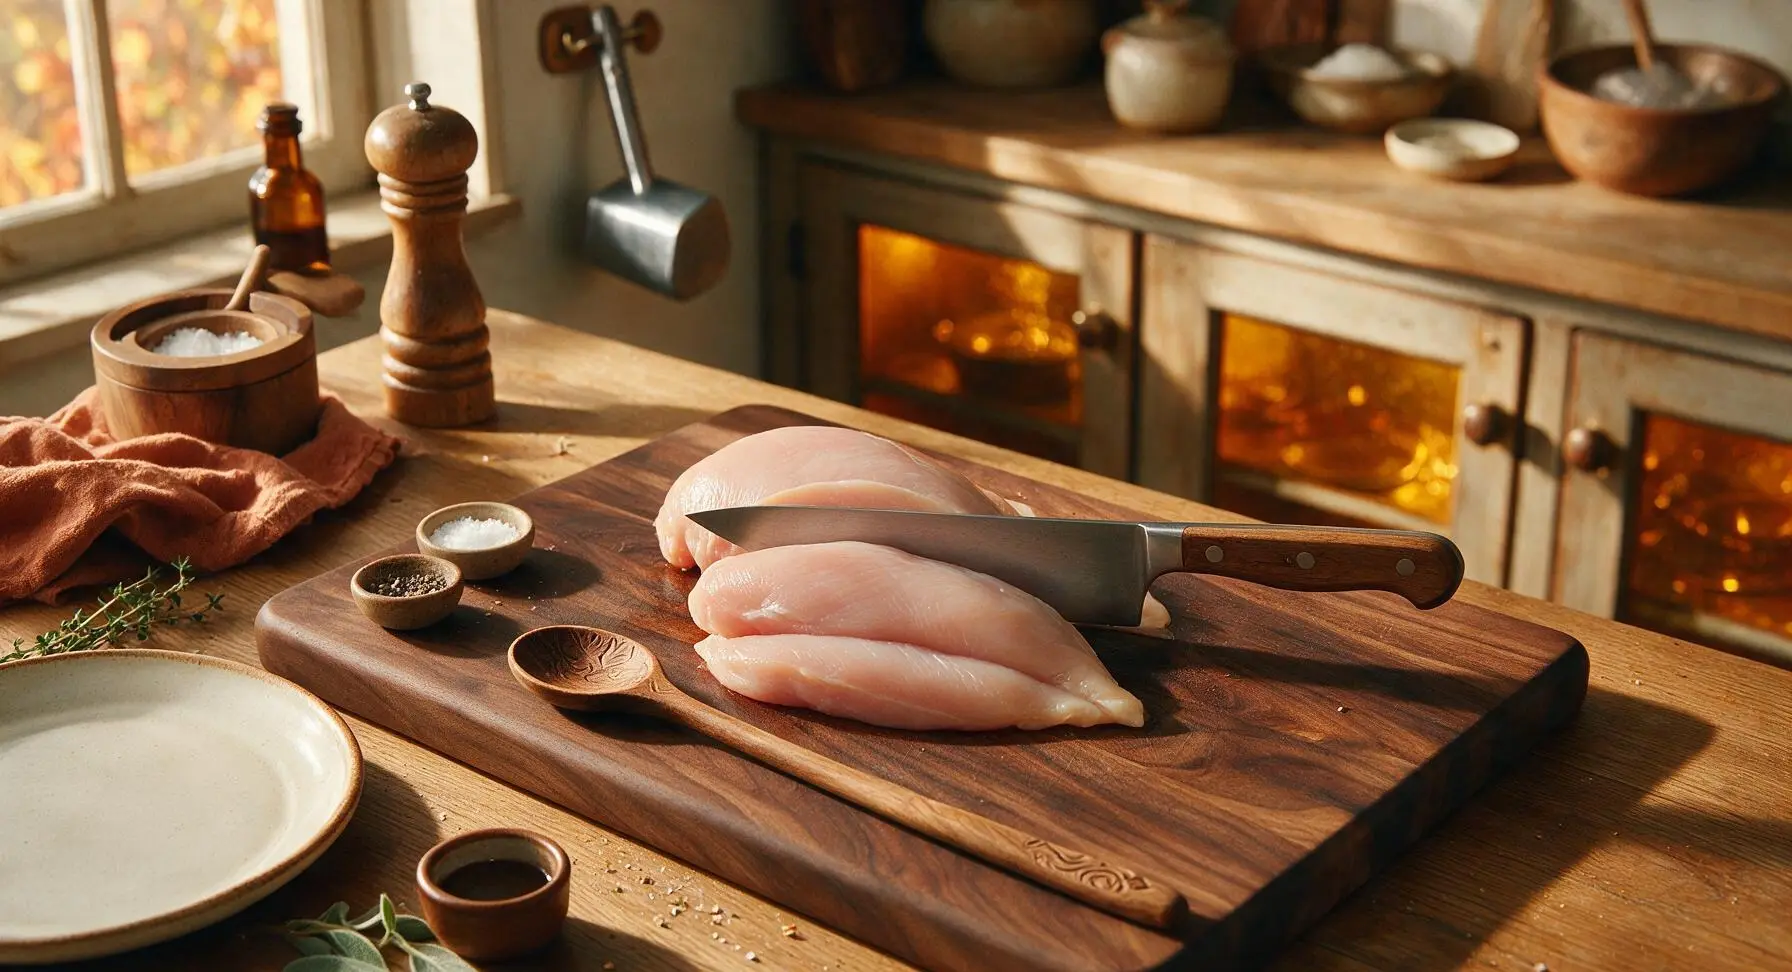
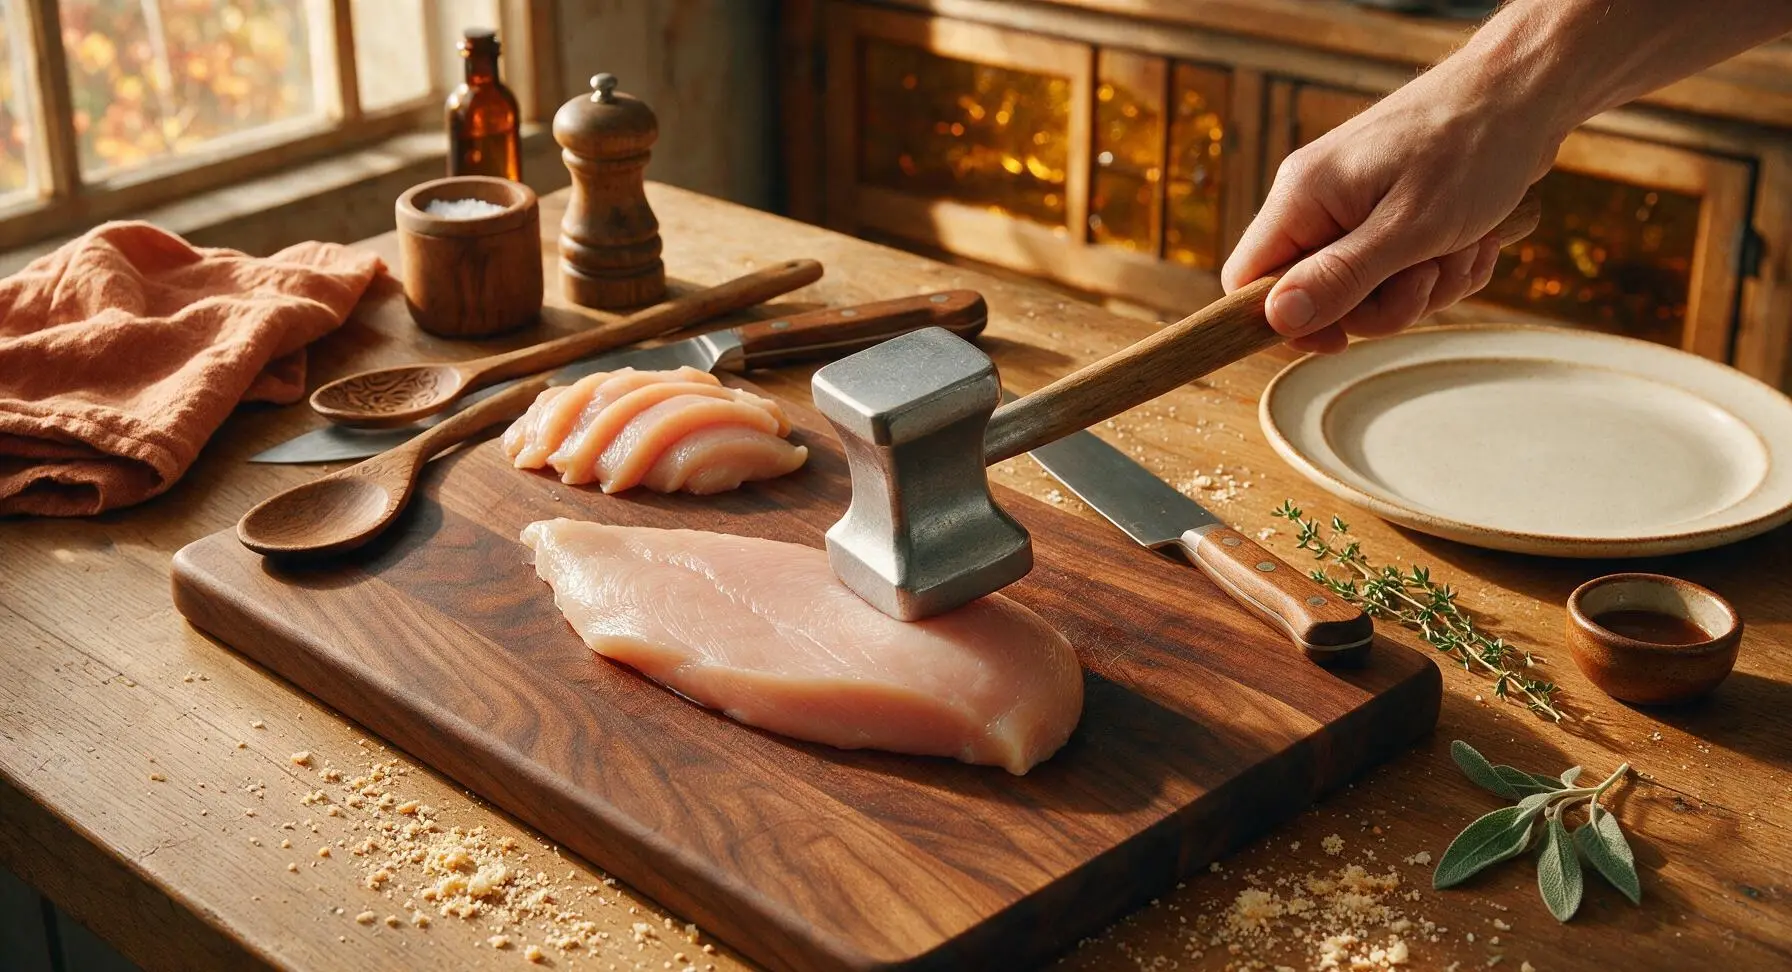
Place trimmed chicken breasts on the light maple cutting board. Using the 8-inch chef knife, slice each breast horizontally into two equal 1.5cm thick fillets (8 total fillets for 4 servings). Retrieve the stainless steel meat mallet from the left wall hook, cover fillets with a small square of parchment paper, and gently pound the thickest parts to create a consistent 1.5cm thickness across every fillet, ensuring even cooking. Trim away any remaining silver skin or hard fat deposits as you work.
Season Chicken Fillets
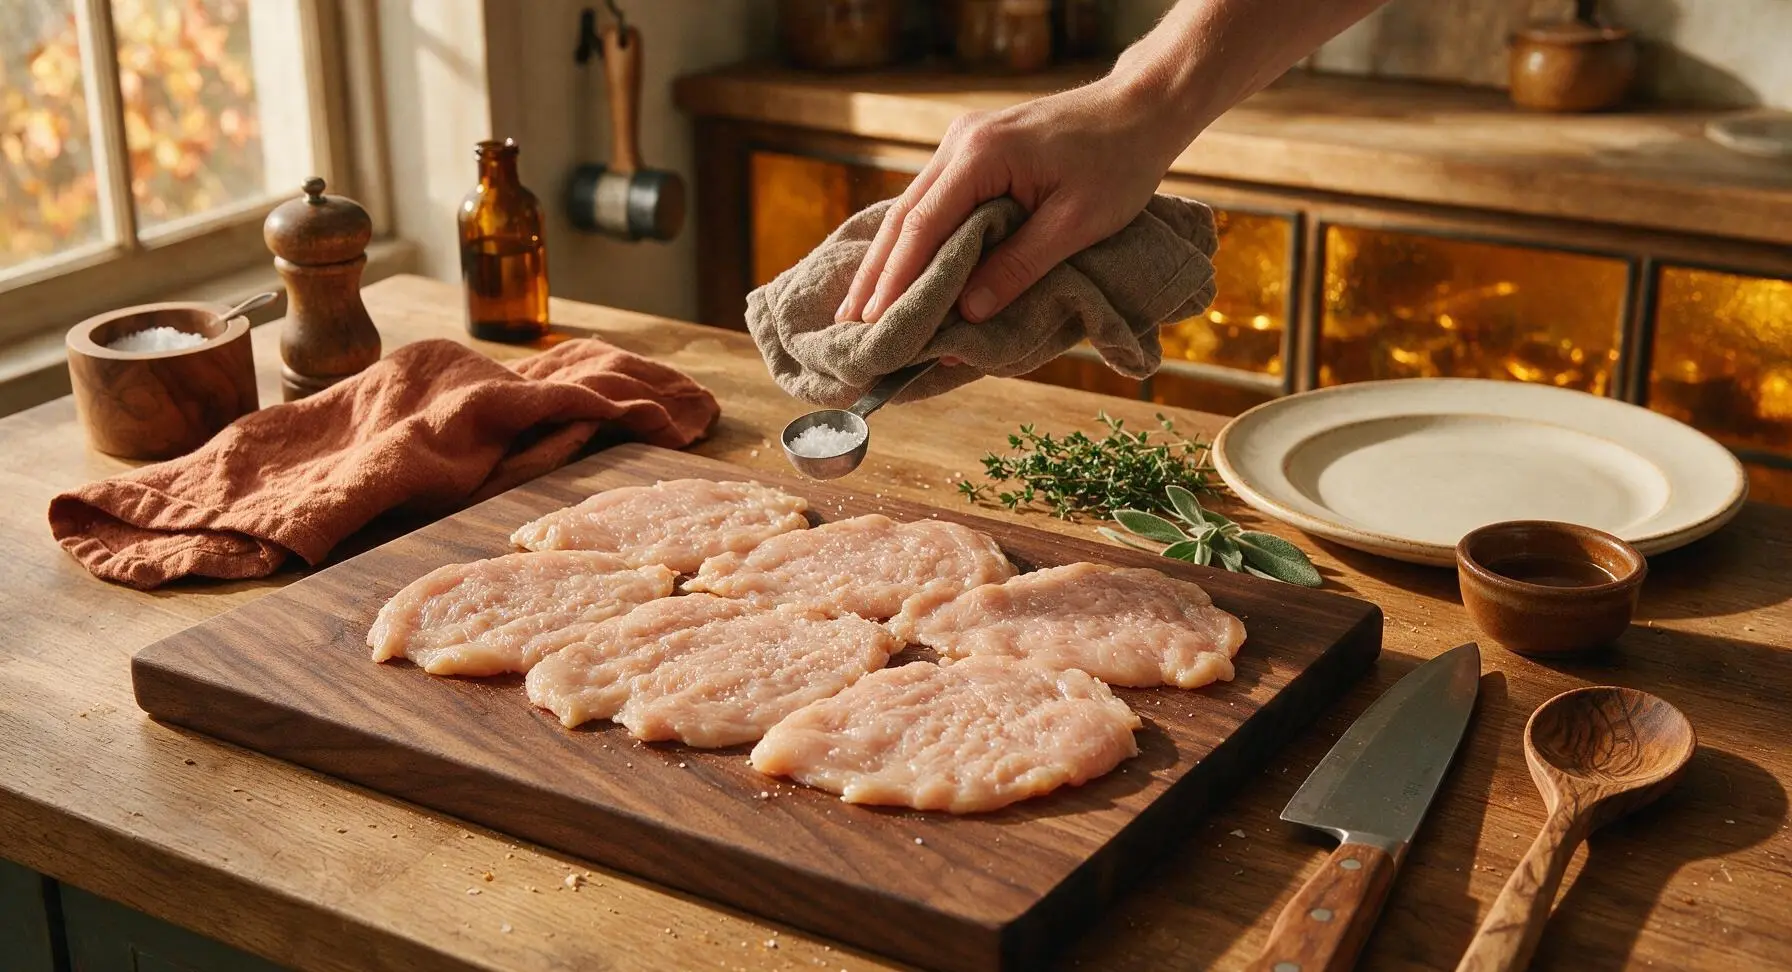
Pat all pounded fillets completely dry on both sides using the taupe stonewashed linen towel (a fully dry surface is critical for a crisp golden crust). Use the small stainless steel measuring spoons to sprinkle 1 tsp of kosher salt and all 0.5 tsp of freshly ground black pepper evenly across both sides of every fillet, pressing seasoning gently into the meat surface so it adheres. Let fillets rest for 5 minutes at room temperature while you preheat the pan.
Preheat Stainless Skillet
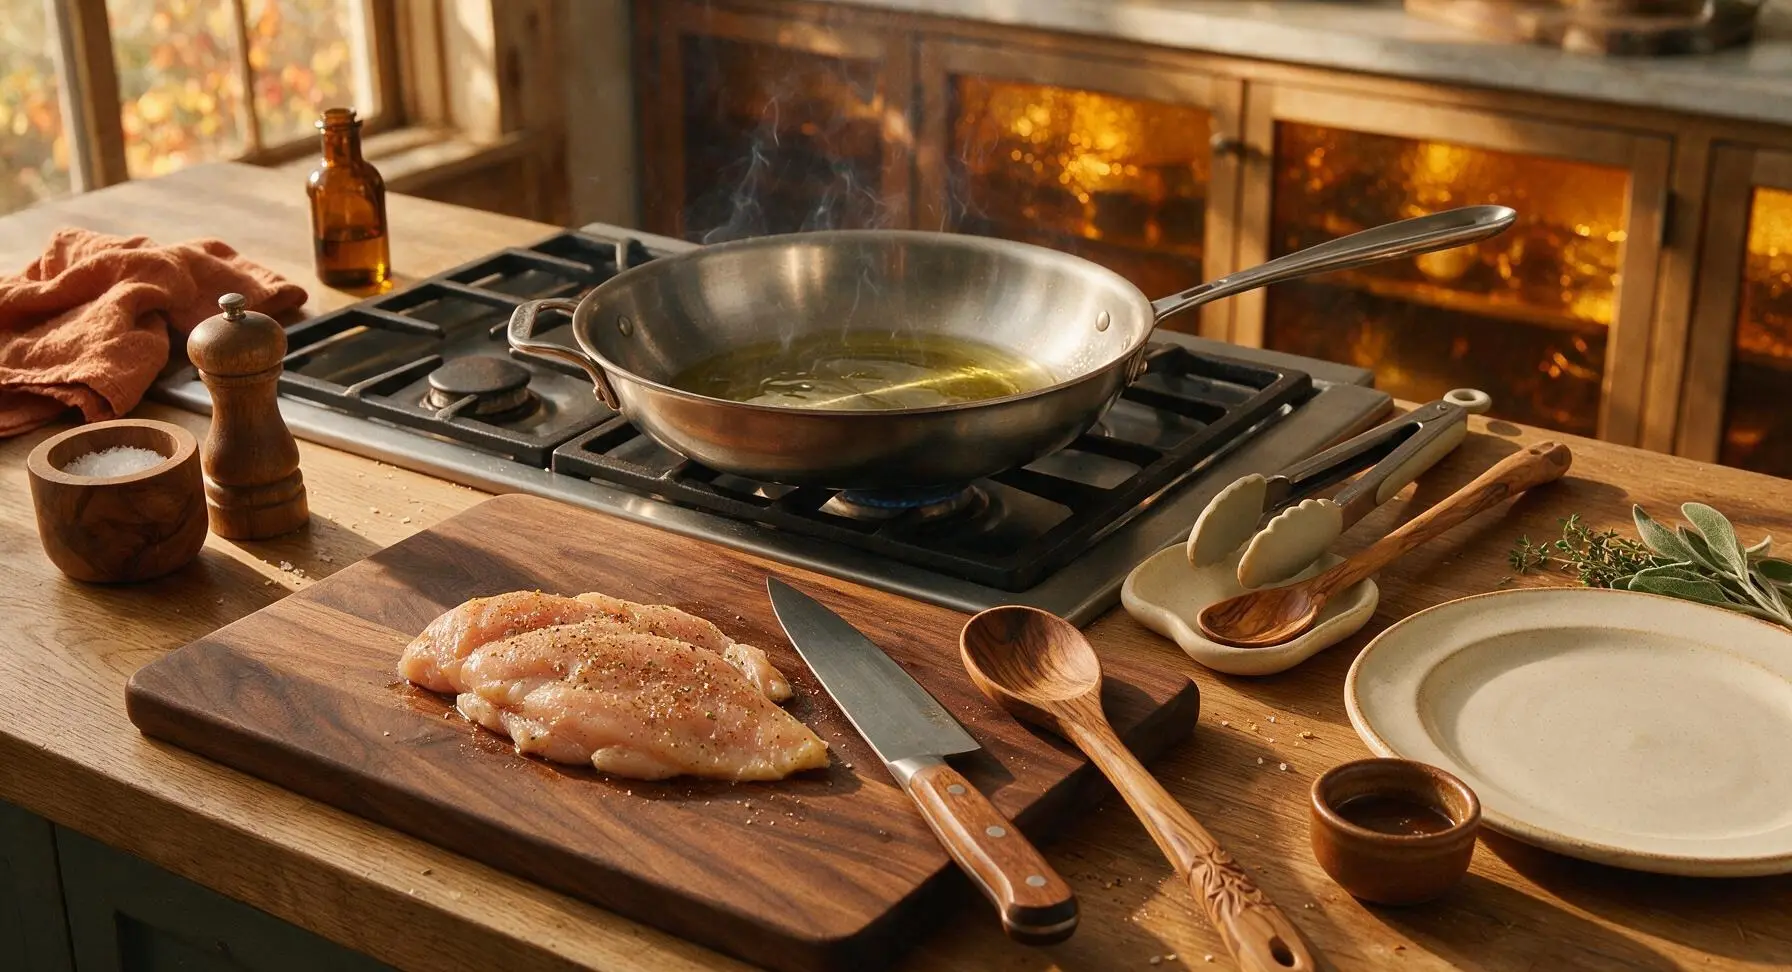
Retrieve the 12-inch stainless steel skillet from the lower cabinet and place it on the stovetop burner directly behind the cutting board. Heat the skillet over medium-high heat for 3 minutes, then add 1 tbsp of extra-virgin olive oil. Continue heating the oil until it shimmers and sends up thin, wispy trails of smoke, indicating it has reached the ideal searing temperature of 190°C/375°F.
Sear First Fillet Side
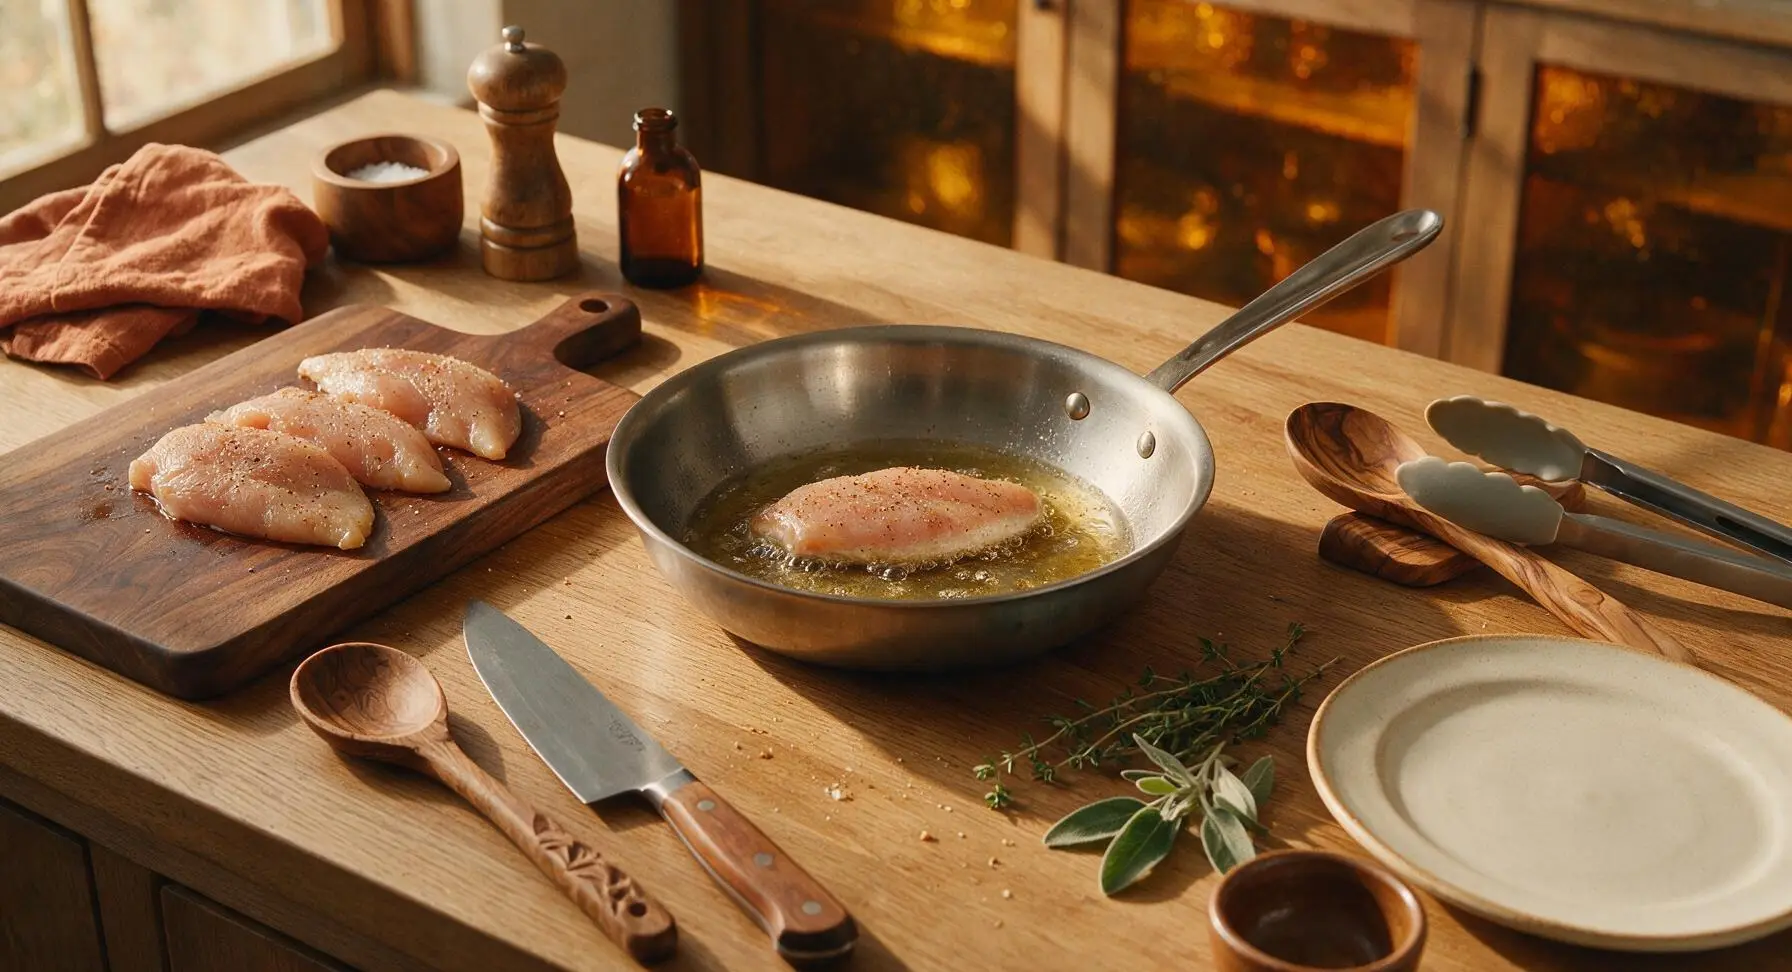
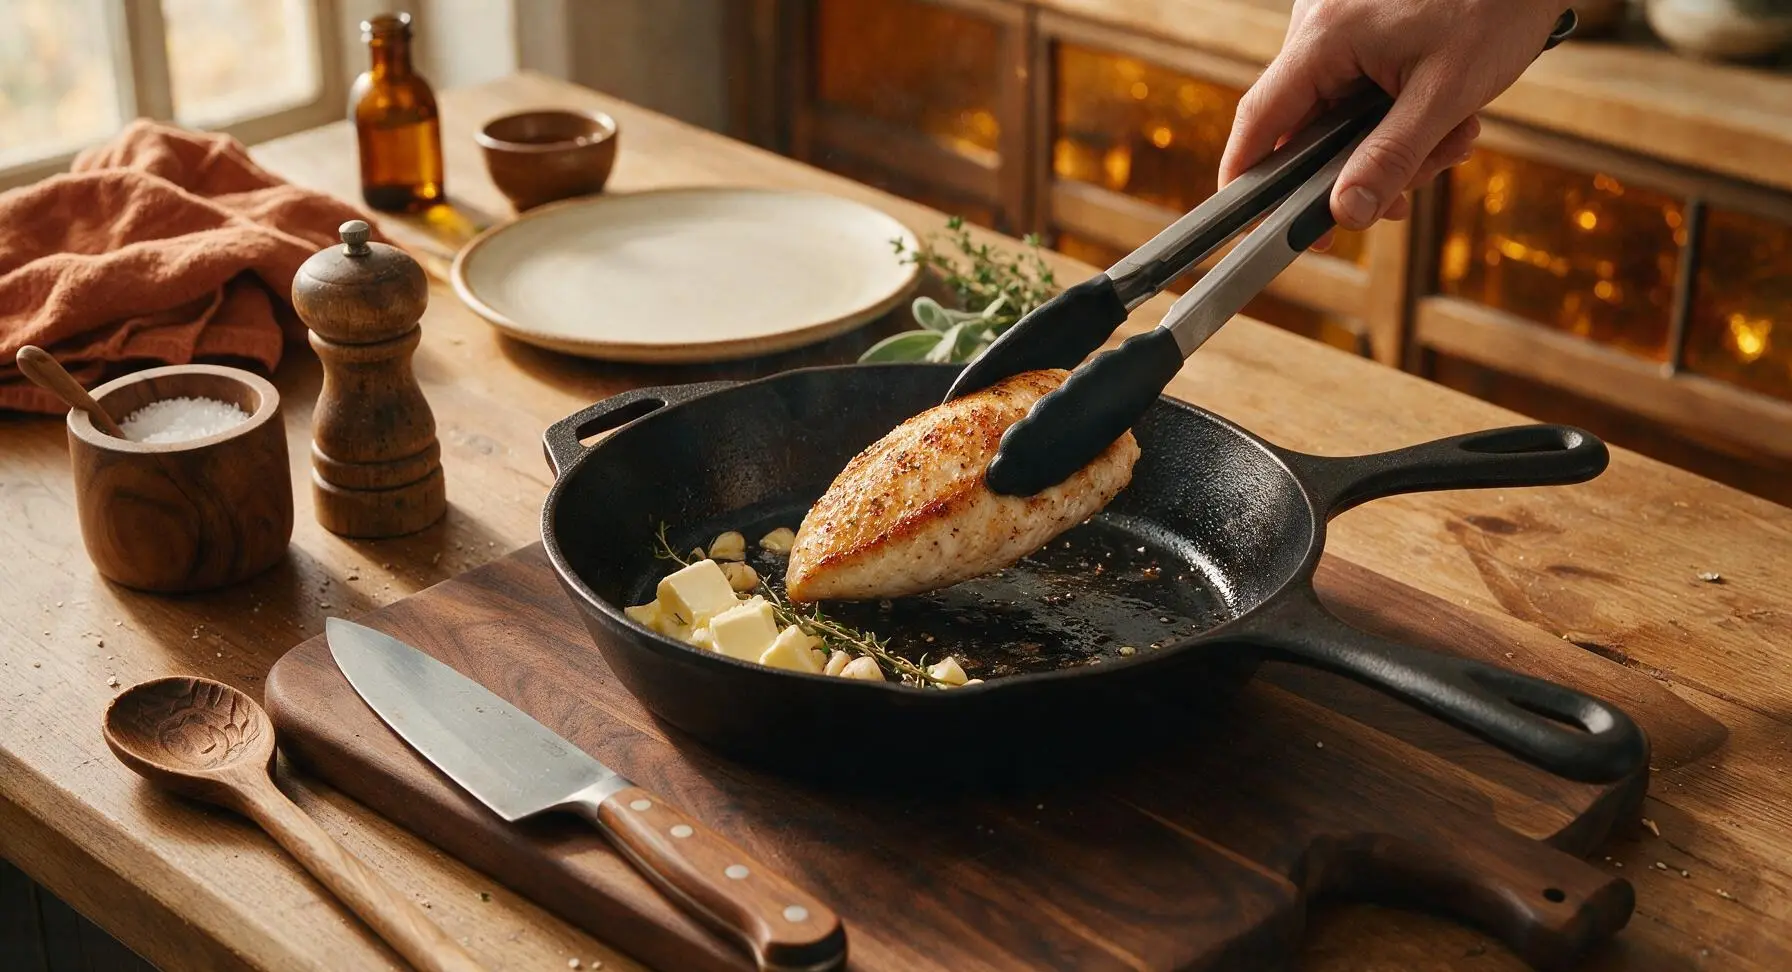
Working in two equal batches to avoid overcrowding the pan, carefully lay half the fillets in the hot skillet, smooth top-side down. Do not move, lift, or shift the fillets for 4 full minutes to allow a crisp crust to form. After 4 minutes, use the silicone-tipped tongs to gently lift the edge of one fillet to check for a deep, even golden-brown crust before flipping.
Flip and Add Aromatics
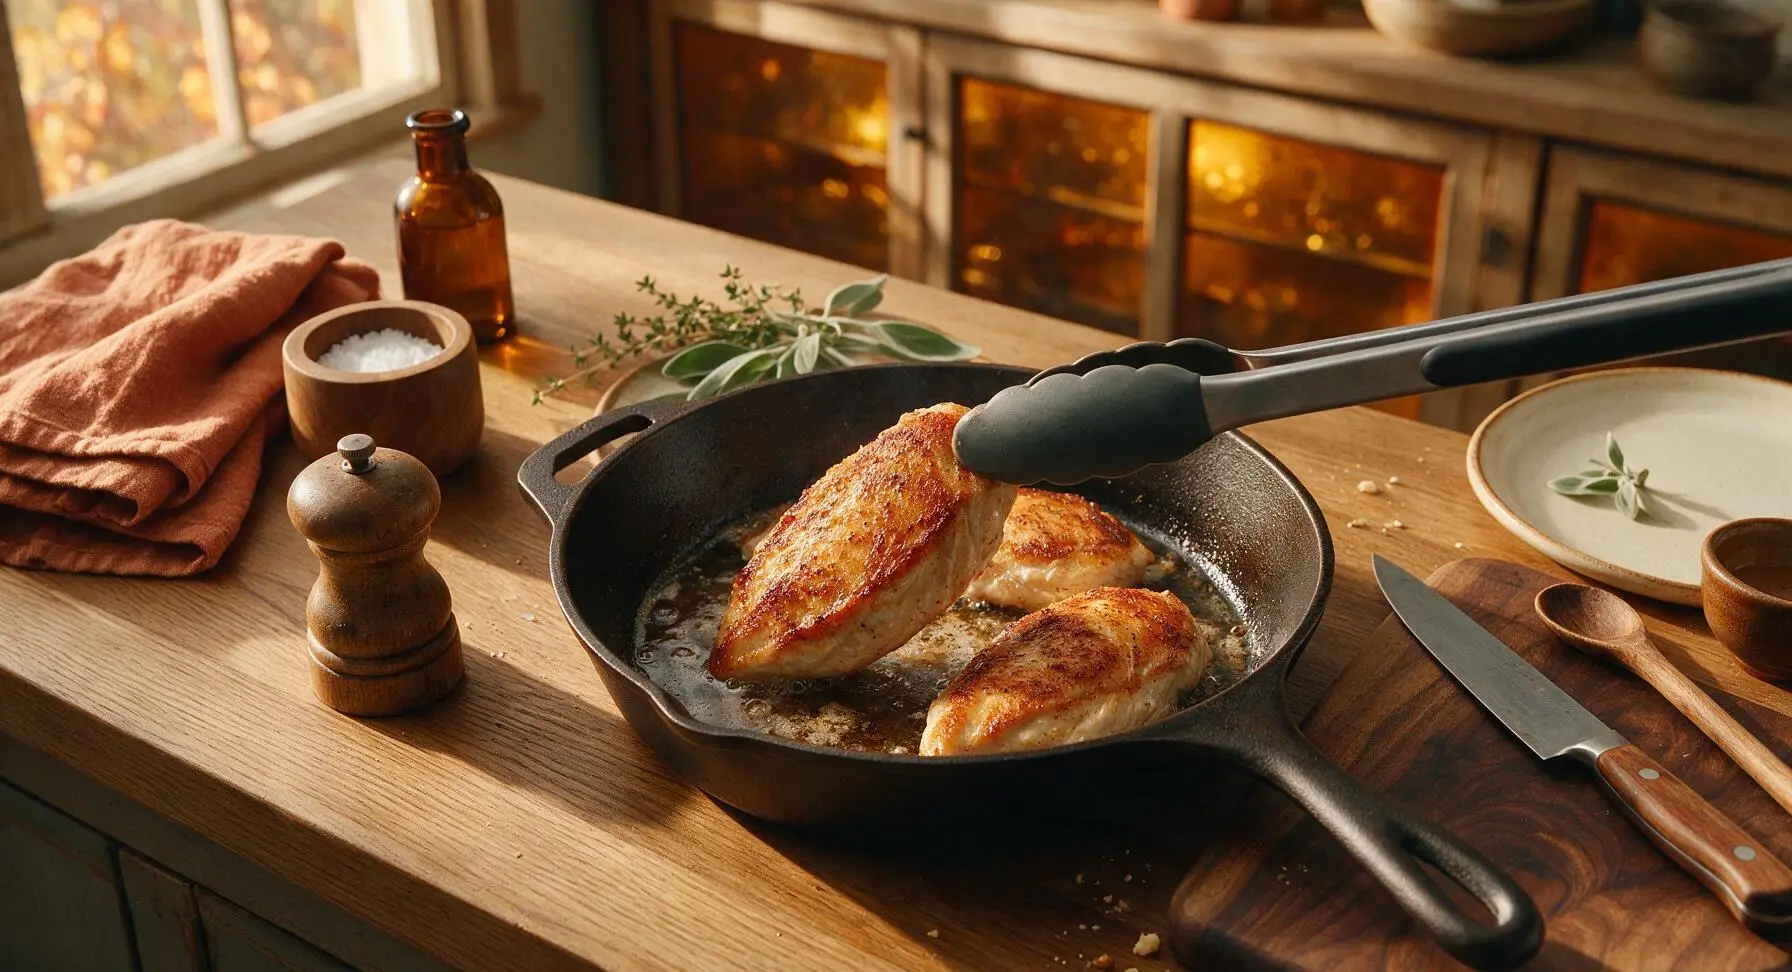
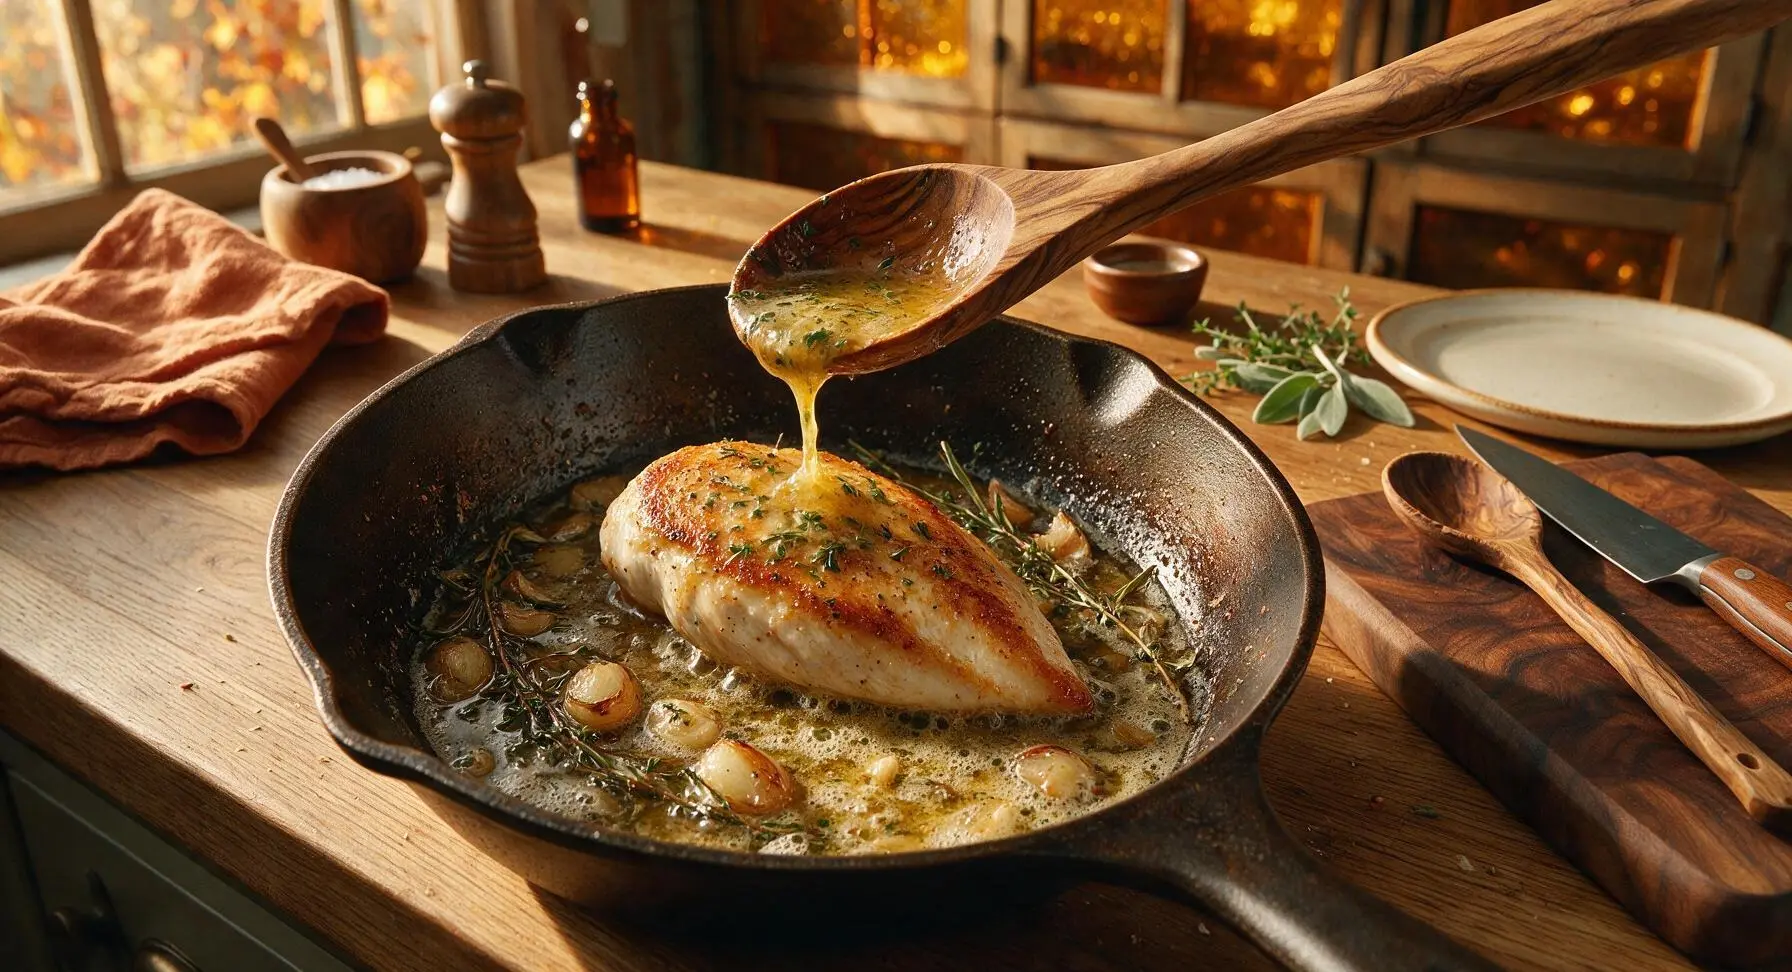
Flip all first-batch fillets to their second side using the tongs, then add 2 tbsp of unsalted butter, 2 crushed garlic cloves, 3 thyme sprigs, and 1 rosemary sprig to the pan. As the butter melts and froths, tilt the pan slightly and use the long olive wood basting spoon to continuously spoon the bubbling herb butter over the top of the fillets for 3 full minutes, until the second side is golden brown. Transfer the first batch to a clean holding plate, then repeat the searing and basting process with the second batch of fillets, remaining butter, garlic, and herbs.
Verify Fillet Doneness
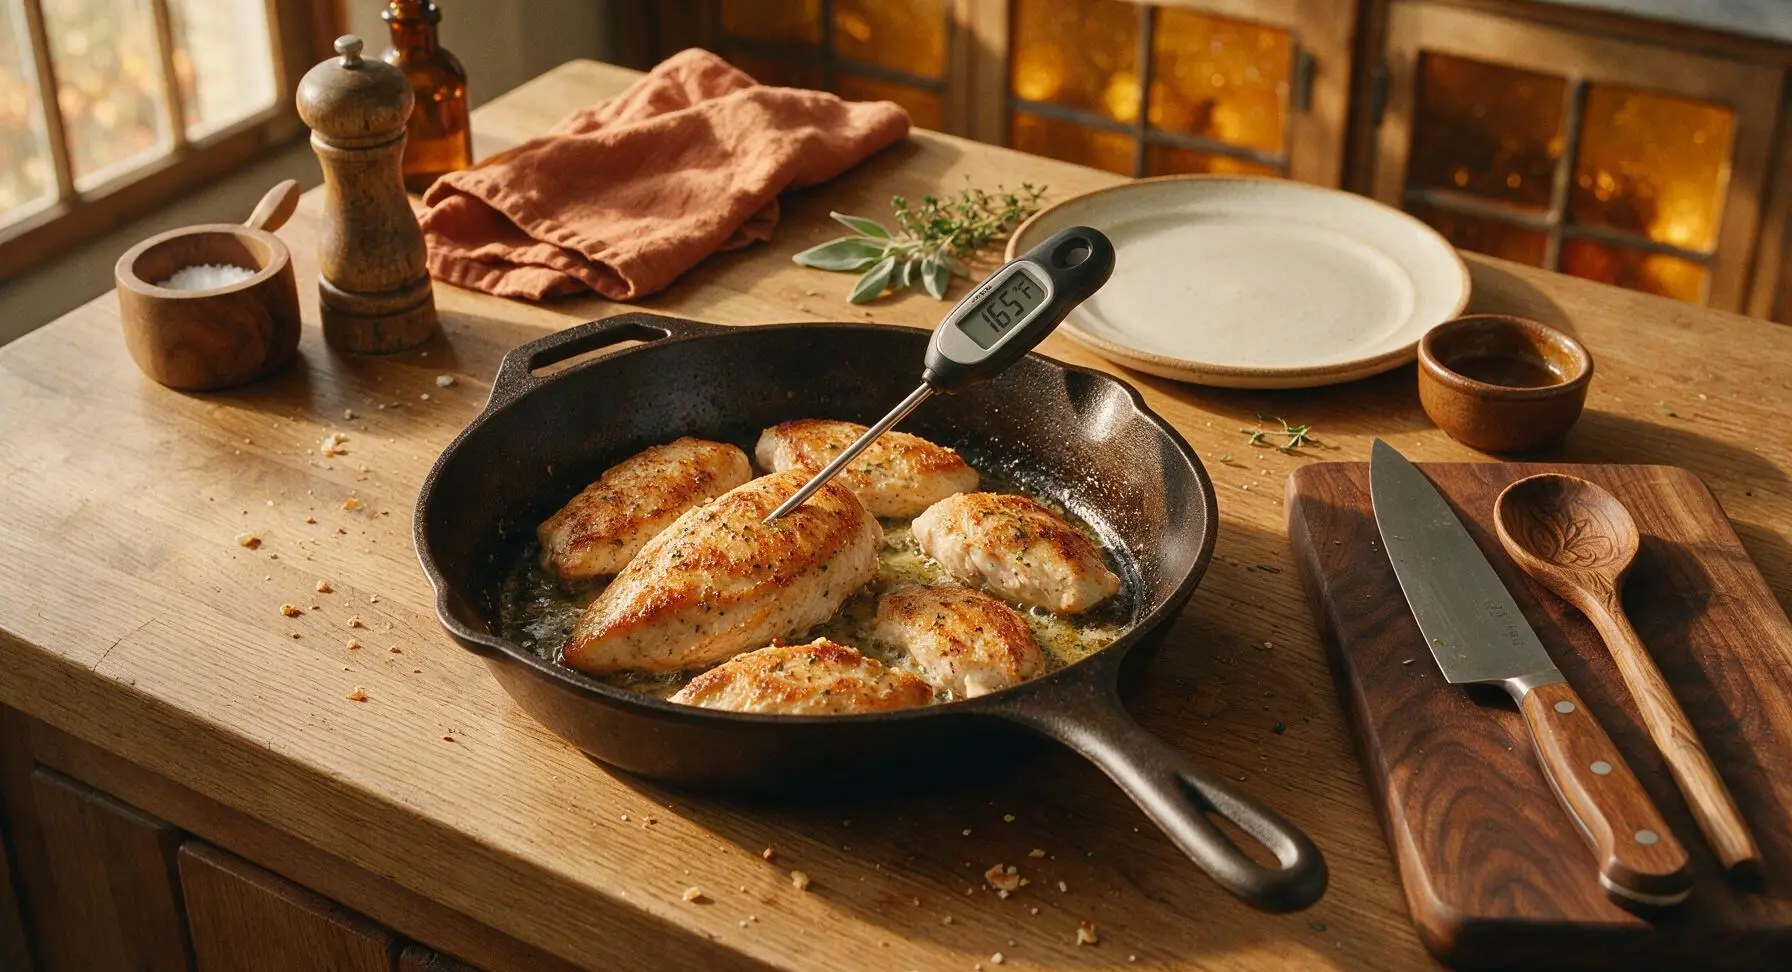
Once both batches are seared and basted, retrieve the instant-read digital meat thermometer from the top drawer. Insert the metal probe into the thickest part of each fillet to confirm an internal temperature of 74°C/165°F. If any fillet reads below this temperature, return it to the pan for 1 additional minute of basting. Avoid overcooking, as fillets will continue to rise 2–3°C in temperature while resting.
Rest Cooked Fillets
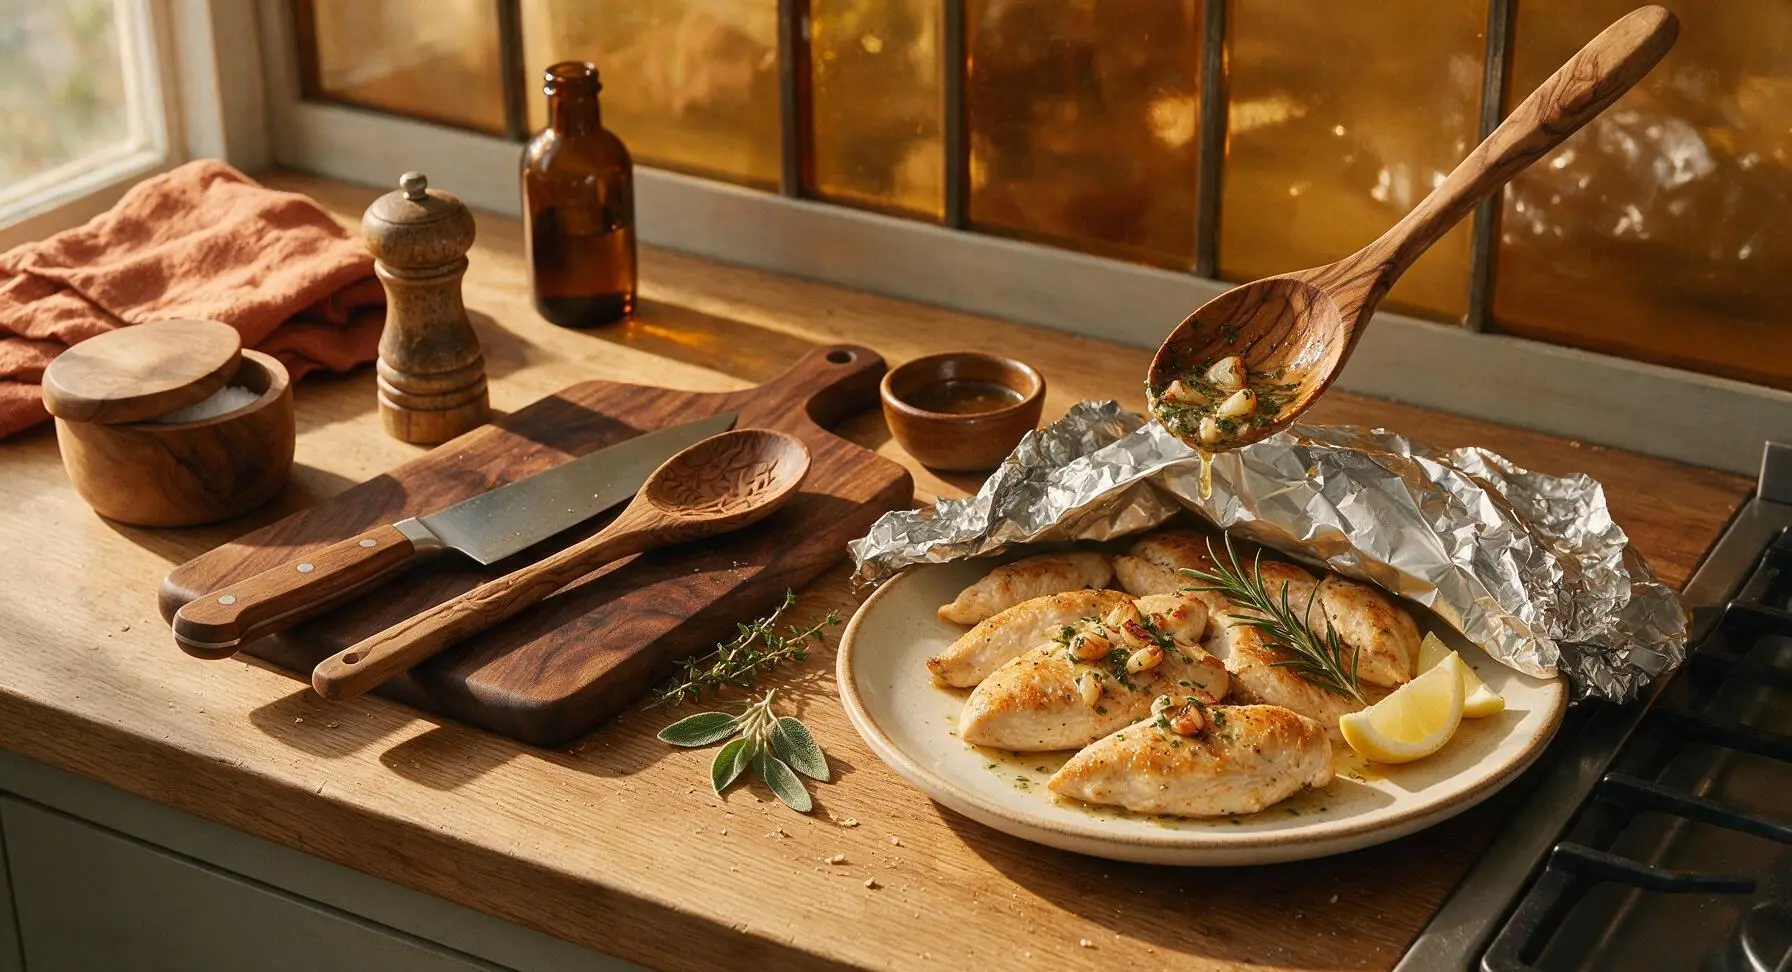
Transfer all cooked fillets to the matte warm white ceramic dinner plate, then tent loosely with a small piece of aluminum foil. Let fillets rest for 5 full minutes, spooning 1 tbsp of the remaining herb butter and caramelized garlic pieces from the skillet over the top of the fillets halfway through resting. After resting, arrange fillets neatly, garnish with a fresh rosemary sprig, and serve with lemon wedges on the side.
Tips
2.Sear chicken in small batches to avoid overcrowding the skillet: adding too many fillets at once drops the pan temperature rapidly, leading to pale, soggy crusts and steamed, unevenly cooked chicken instead of crisp, seared fillets.
3.Let cooked fillets rest for 5 full minutes before serving: cutting into chicken immediately after cooking causes hot, flavorful juices to run out onto the plate, leaving the meat dry and tough; resting lets muscle fibers relax and reabsorb juices for consistently tender bites.






Game changer for weeknight meals! I had all the herbs already in my pantry, total cook time was actually less than 18 minutes for me. Juiciest chicken I’ve made in months, no dry bits at all.
Took this to my neighborhood potluck last weekend and people were hounding me for the recipe all night! I doubled the butter sauce to toss with some roasted broccoli on the side, total hit.
Perfect easy recipe for my tiny dorm kitchen! I don’t have a fancy cast iron, just used a regular nonstick pan and it still came out crispy and flavorful. 10/10 will be on my weekly meal prep rotation.
My kids loved it! Wait, quick question—can I use dried herbs instead of fresh? My grocery store was out of fresh rosemary and thyme this week and I don’t feel like making a second trip.
Made a big batch of this on Sunday for meal prep and it held up perfectly all week in the fridge! The butter sauce doesn’t get weird when reheated, which is such a win for work lunches.
OMG, SO good. I served this over mashed potatoes and poured that extra garlic herb butter right over the top, my husband said it’s better than the chicken we get at our favorite steakhouse. No cap.
Wait, did I do something wrong? My chicken stuck to the pan a little bit even though I heated the oil first. It still tasted great but the crust came off in spots 😅
18 minutes from fridge to plate? Sign me up. I don’t have time for hour long recipes after work, this hit the spot and didn’t leave me with a mountain of dishes either.
This is a game changer! I used to think pan-seared chicken was always boring and dry, but this garlic herb butter makes it taste like restaurant quality for a fraction of the price.
High protein, super flavorful, no weird processed ingredients? This is going to be a staple in my post-workout meal rotation. I paired it with roasted asparagus and quinoa for the perfect macro-friendly dinner.
I’ve been cooking chicken for 50 years and I have to say, this garlic herb butter recipe is one of the best I’ve tried. Simple, no frills, just really good food. My grandkids gobbled it up when they visited last Sunday.
Quick question—can I make the garlic herb butter ahead of time and keep it in the fridge? I want to prep a log of it to use on steak, veggies, everything really, this stuff is addicting.
Wait I know the name says chicken fillets but I tried this butter on tofu and it SLAPPED. 10/10, the herb and garlic ratio is perfectly balanced, not too overpowering at all.
Made this for date night last night and my girlfriend thought I spent hours cooking. Little does she know it took me 18 minutes total, I’ll never tell my secret. Served it with a side salad and some crusty bread to soak up the butter, chef’s kiss.
So happy this recipe is naturally gluten free! I’ve been searching for easy weeknight chicken recipes that don’t require weird specialty ingredients, and this checks every box. My whole family loved it, even the non-gluten free members.
Made this over the camp stove on my last camping trip and it was so easy! No fancy equipment needed, just a cast iron pan and some simple ingredients. Tasted way better than the usual hot dogs and burgers we usually make.
I added a little extra garlic and a squeeze of fresh lemon at the end, and wow that brightened the whole dish up so much! Don’t sleep on the lemon squeeze, people.
This is the first chicken recipe I’ve made in my new apartment that didn’t turn out dry or rubbery! I was so proud of myself, honestly almost ordered takeout instead because I was nervous I’d mess it up.
Added this to our regular Sunday supper rotation! It pairs perfectly with everything—mac and cheese, green beans, roasted sweet potatoes, you name it. Super versatile and always a crowd pleaser.
I used thin-sliced chicken breasts instead of fillets once and cut the cook time down to 12 minutes, worked like a charm for when I’m in a super big hurry. Still juicy, still full of that garlic herb butter flavor.