
chicken finger air fryer
intro
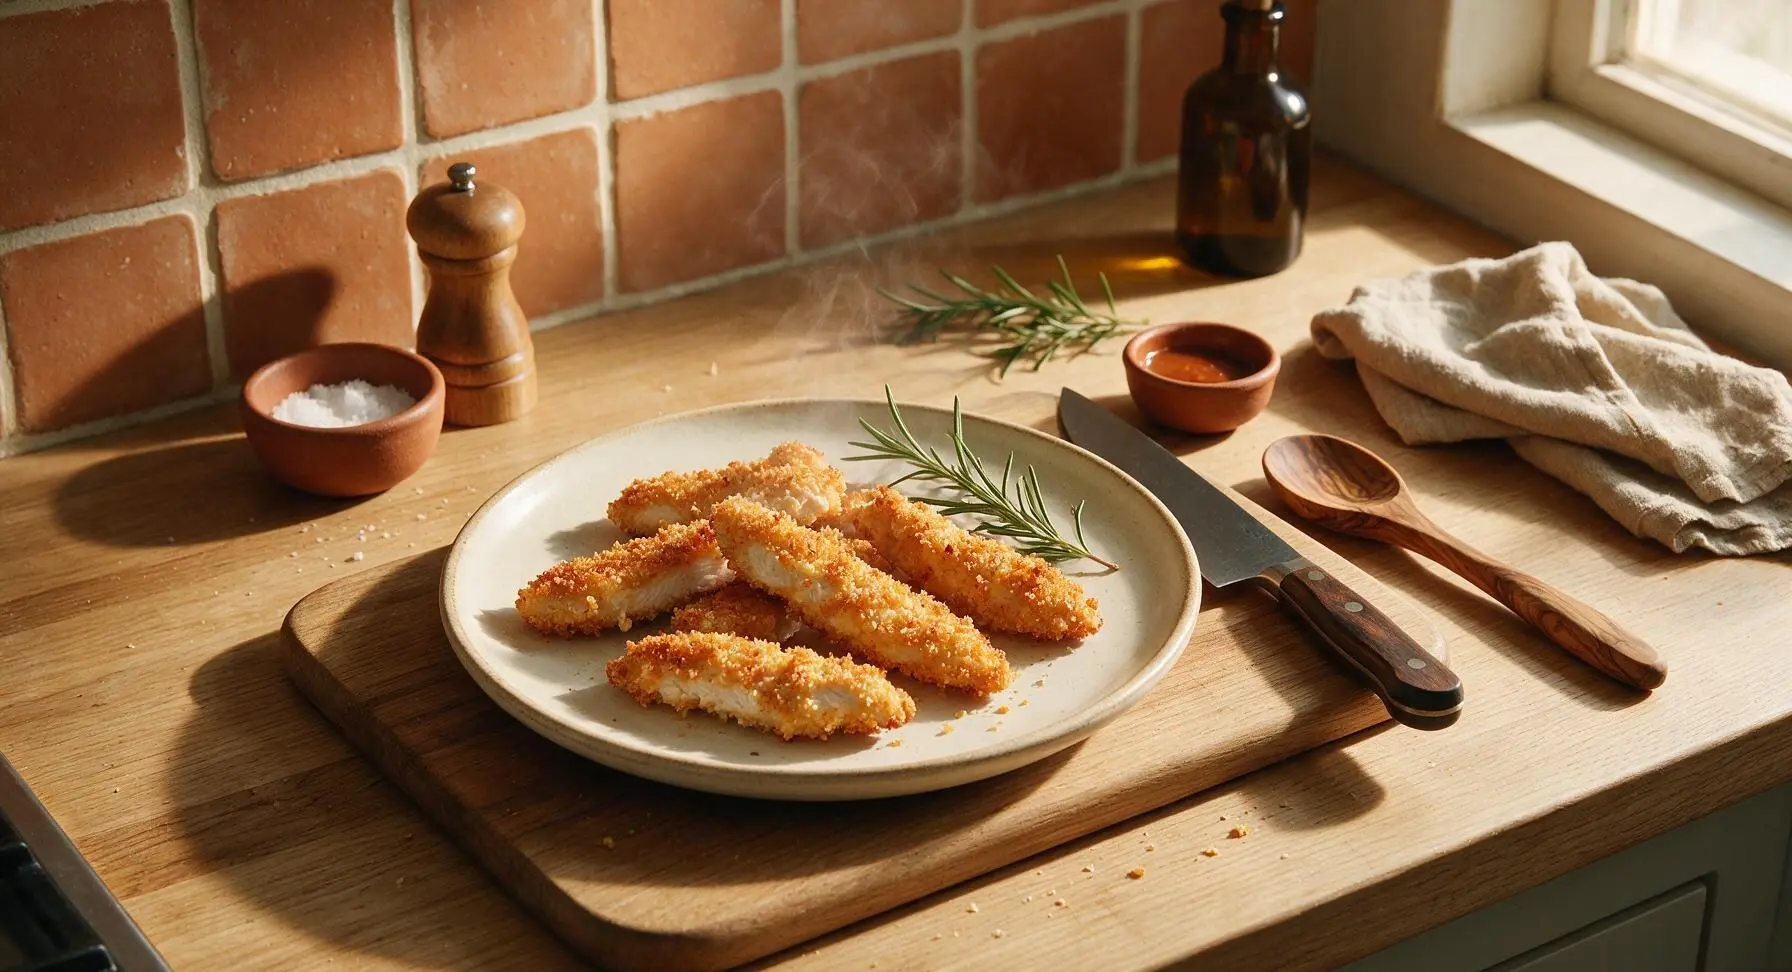
Crispy, golden air fryer chicken fingers with a crunchy panko crust and juicy tender interior, made in minutes with less oil than deep-fried versions for a satisfying, family-friendly weeknight meal.
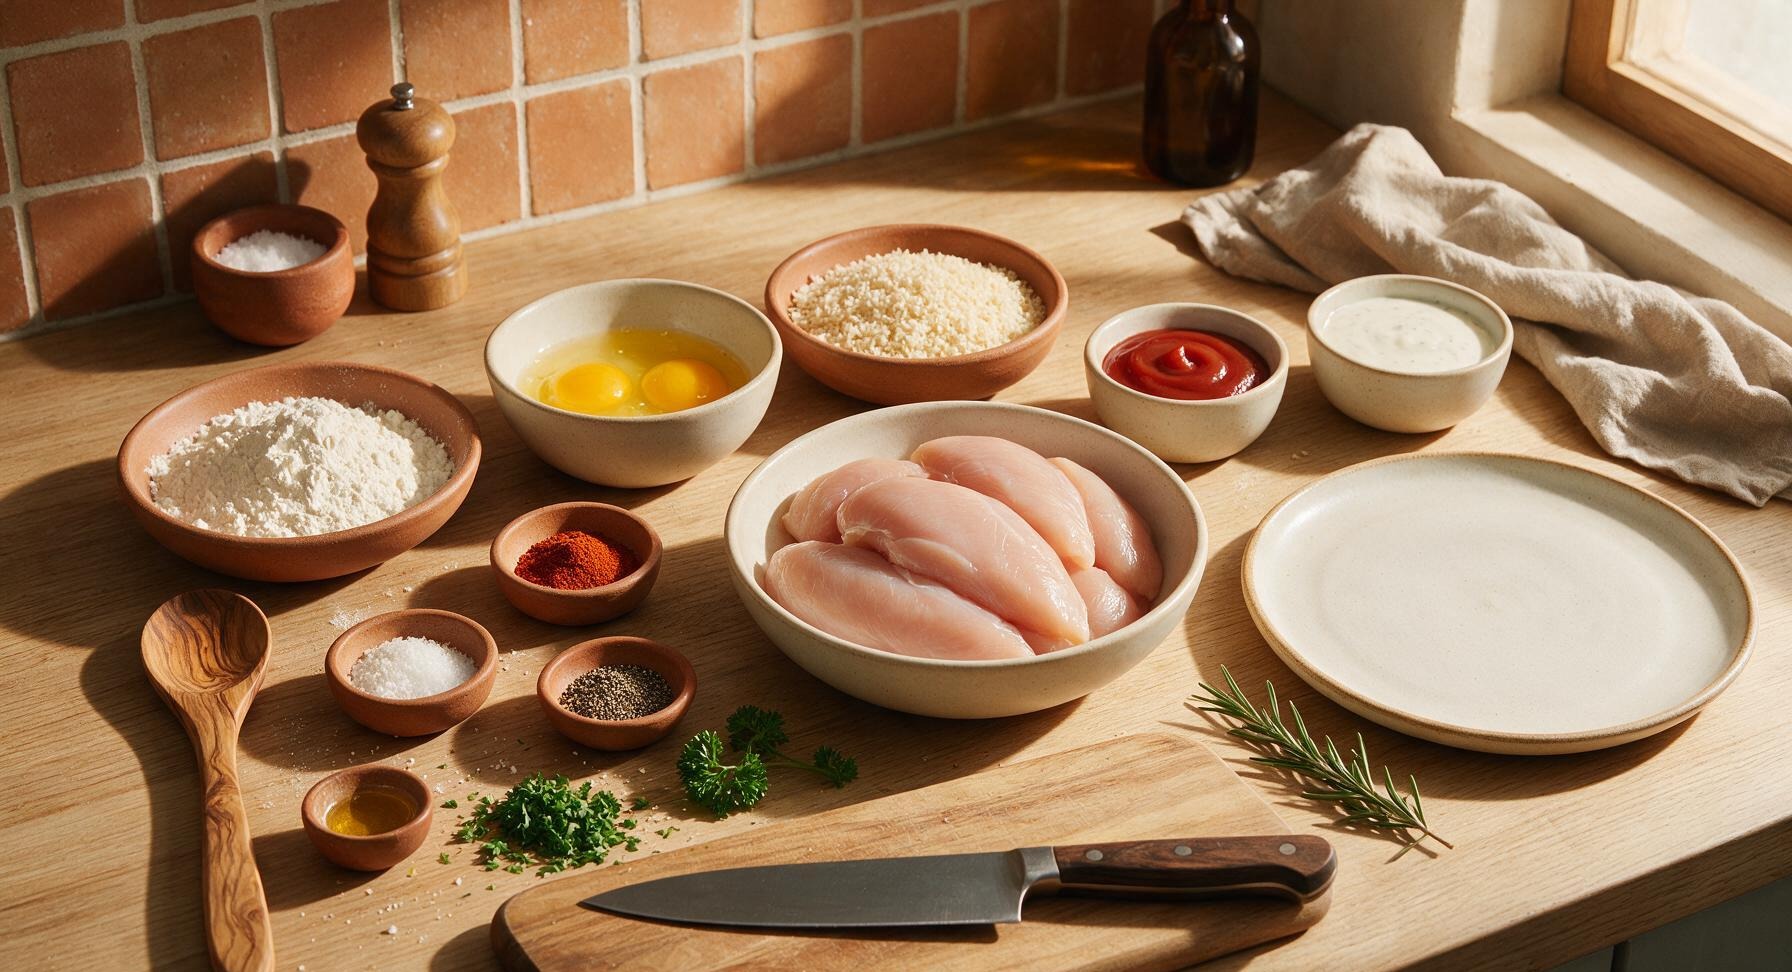
Ingredients
Steps
Cut chicken into strips
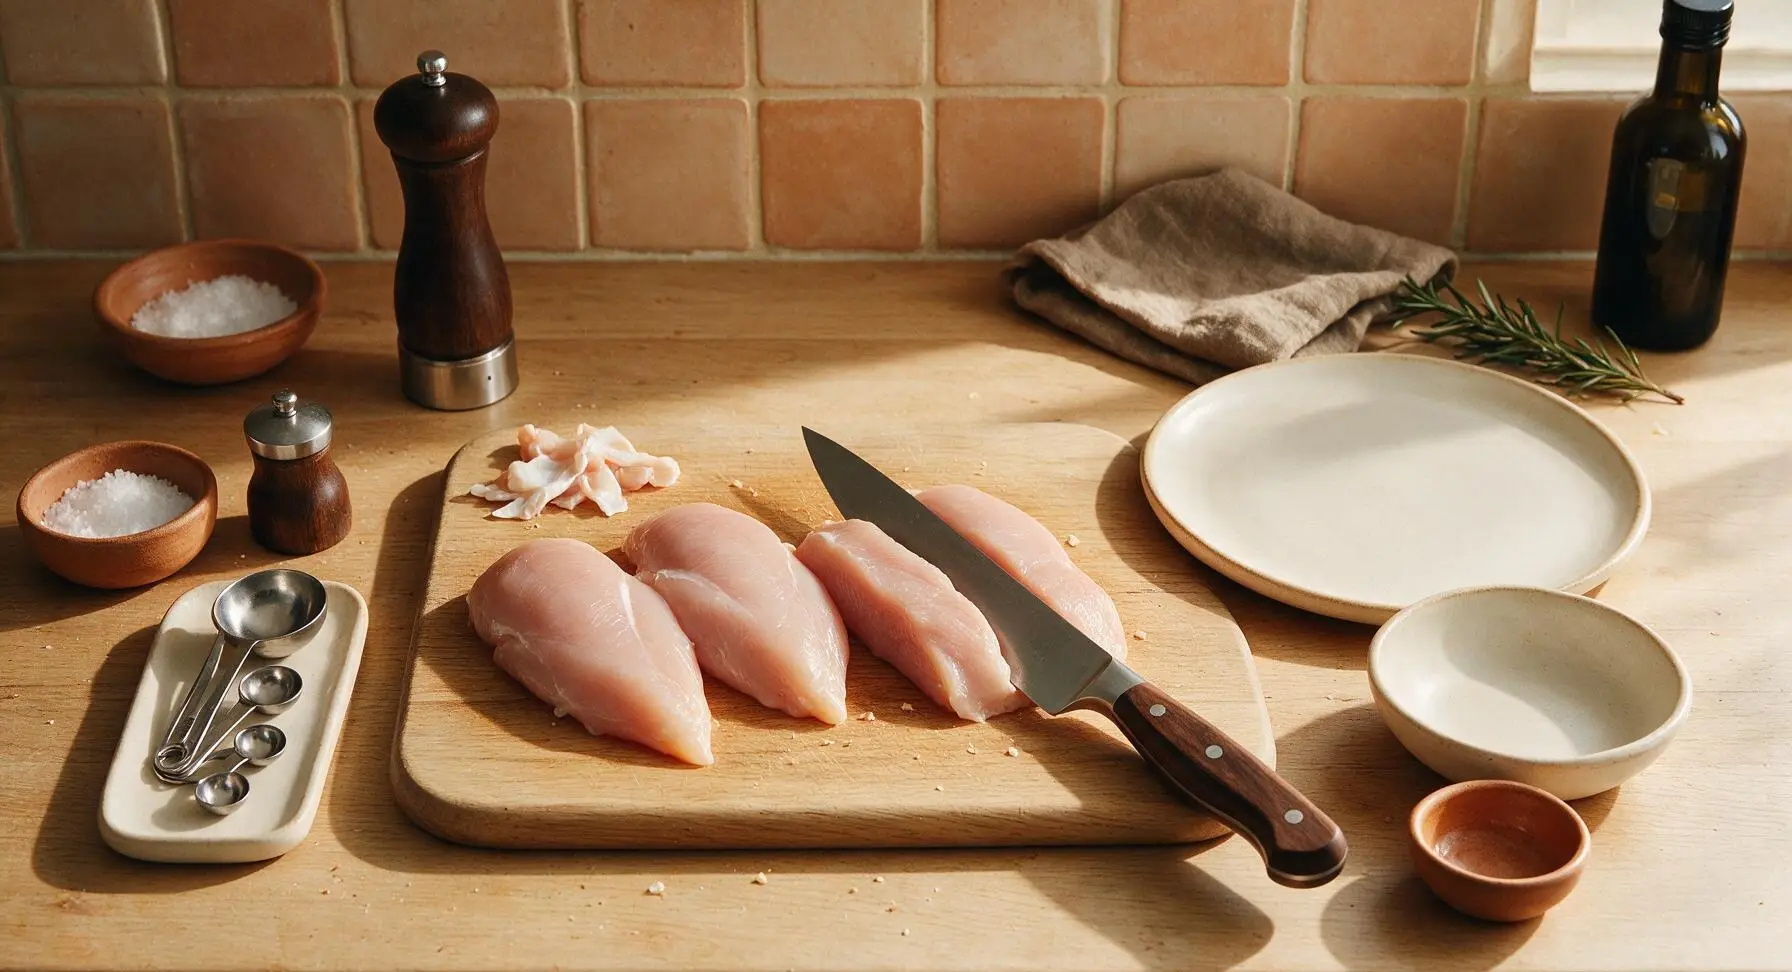
Place the boneless, skinless chicken breasts on the light bamboo cutting board. Using the 6-inch walnut-handled chef knife, trim any visible silver skin or hard excess fat from the chicken. Slice against the grain into uniform 1-inch thick, 3-4 inch long strips, ensuring all pieces are roughly the same size to promote even cooking. Pat all chicken strips completely dry with a clean corner of the striped cotton kitchen towel, then season lightly with 1/4 tsp of the kosher salt.
Set up breading station
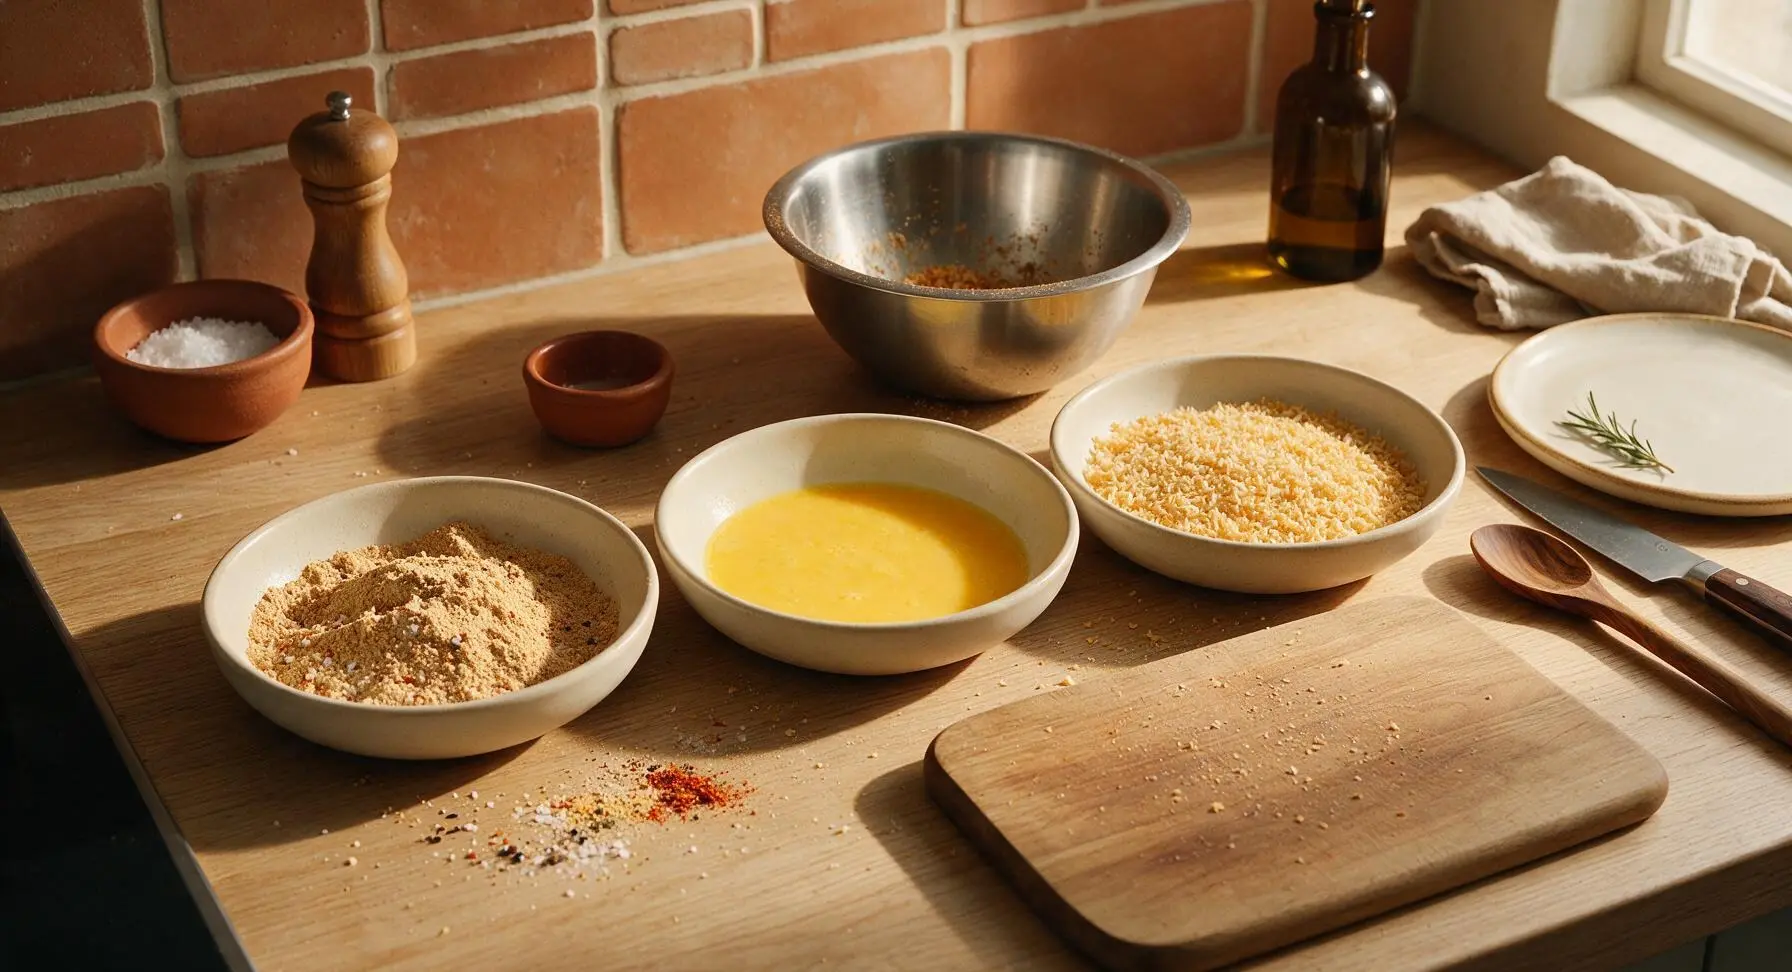
Use the three shallow matte cream ceramic dishes in their fixed position to create a sequential breading line. In the first dish, combine the all-purpose flour, remaining 3/4 tsp kosher salt, garlic powder, smoked paprika, and black pepper, stirring with a measuring spoon to evenly distribute spices. In the second dish, crack and add the two large eggs, whisking until completely smooth with no visible streaks of egg white. Fill the third dish with the panko breadcrumbs, spreading them in an even layer.
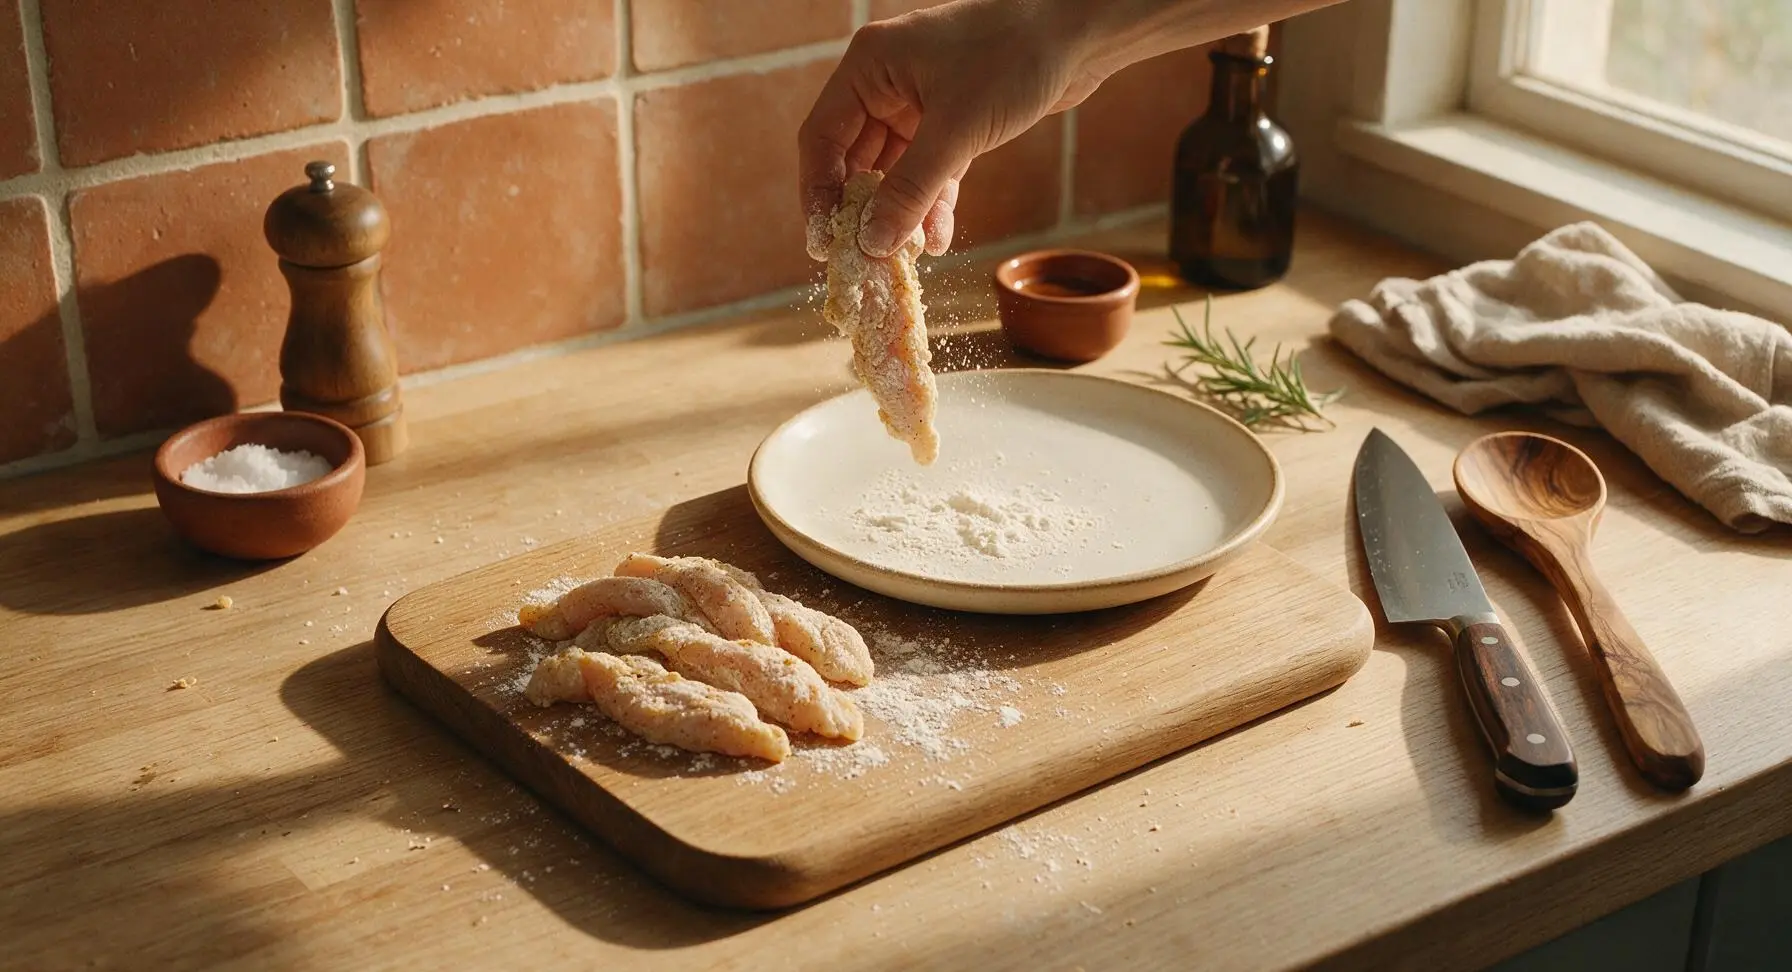
Dredge chicken in flour
Working one piece at a time, place a chicken strip into the spiced flour dish, turning to coat completely on all sides. Shake off any excess flour over the dish so only a thin, even layer remains on the chicken—this dry base helps the egg wash adhere without creating clumpy, soggy spots in the crust. Set floured strips on the clean empty corner of the bamboo cutting board as you work.
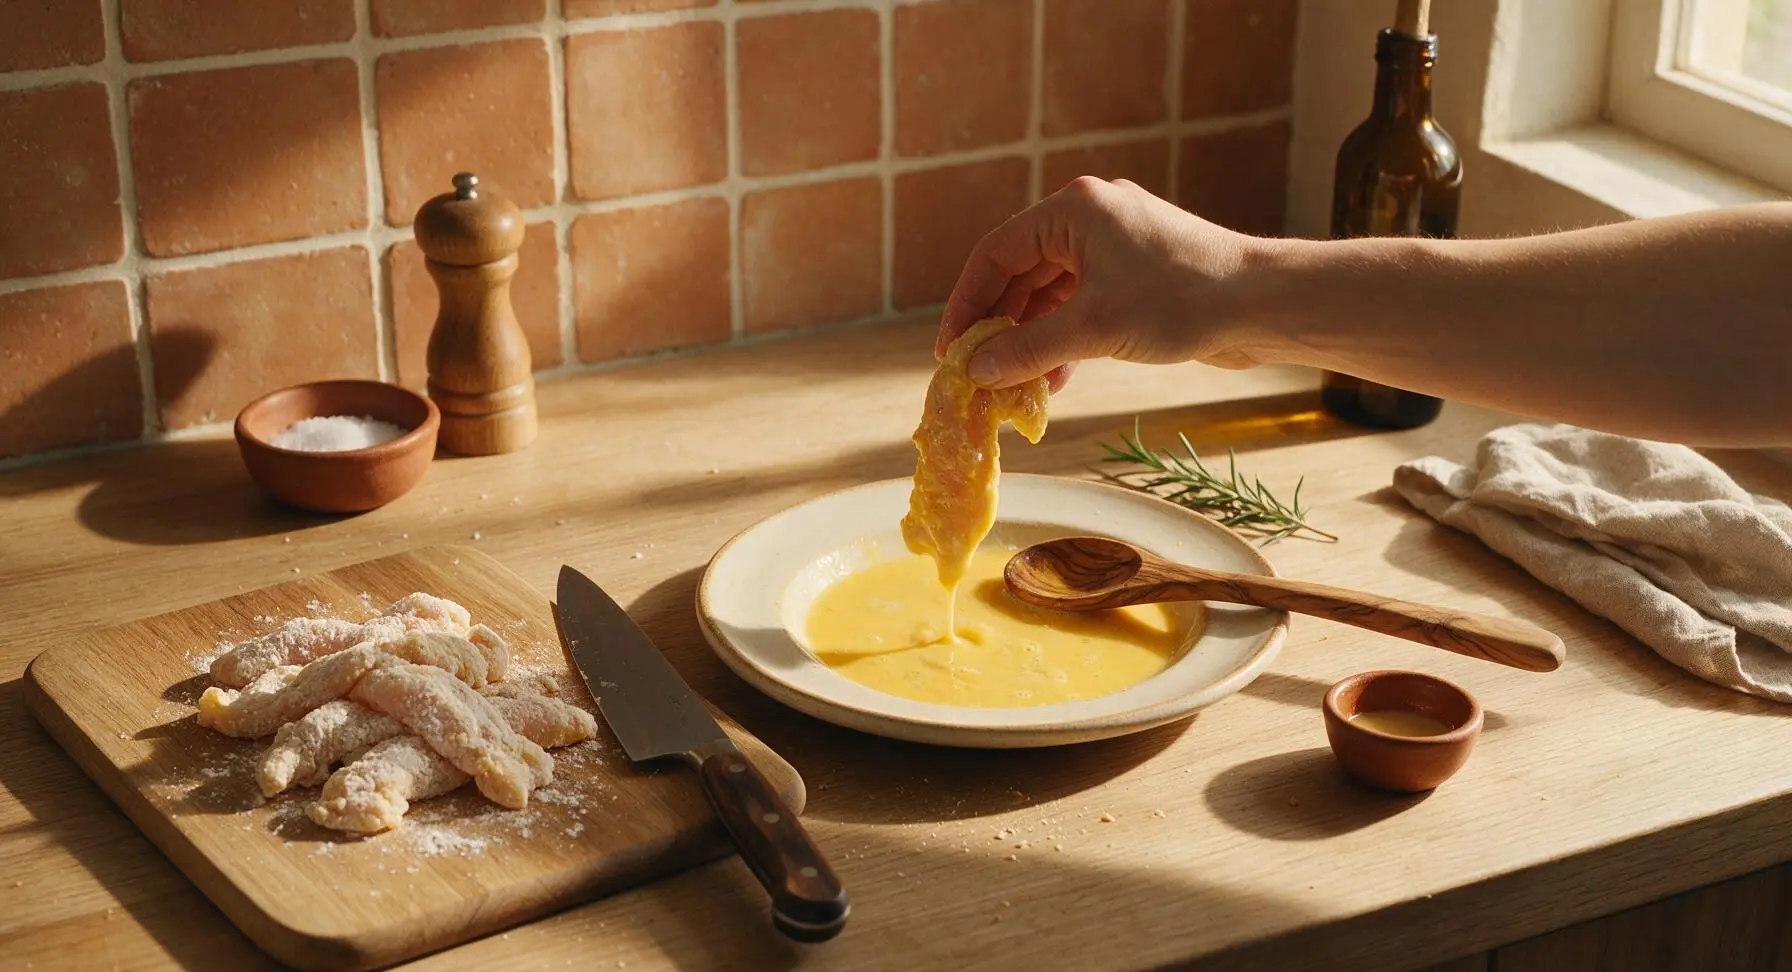
Dip strips in egg wash
Transfer each floured chicken strip to the egg wash dish, turning to fully coat every surface. Hold the strip above the dish for 2 seconds to let excess egg drip off, preventing excess moisture from making the panko layer soggy during cooking. Ensure no dry flour spots remain visible on the strip before moving to the panko step.
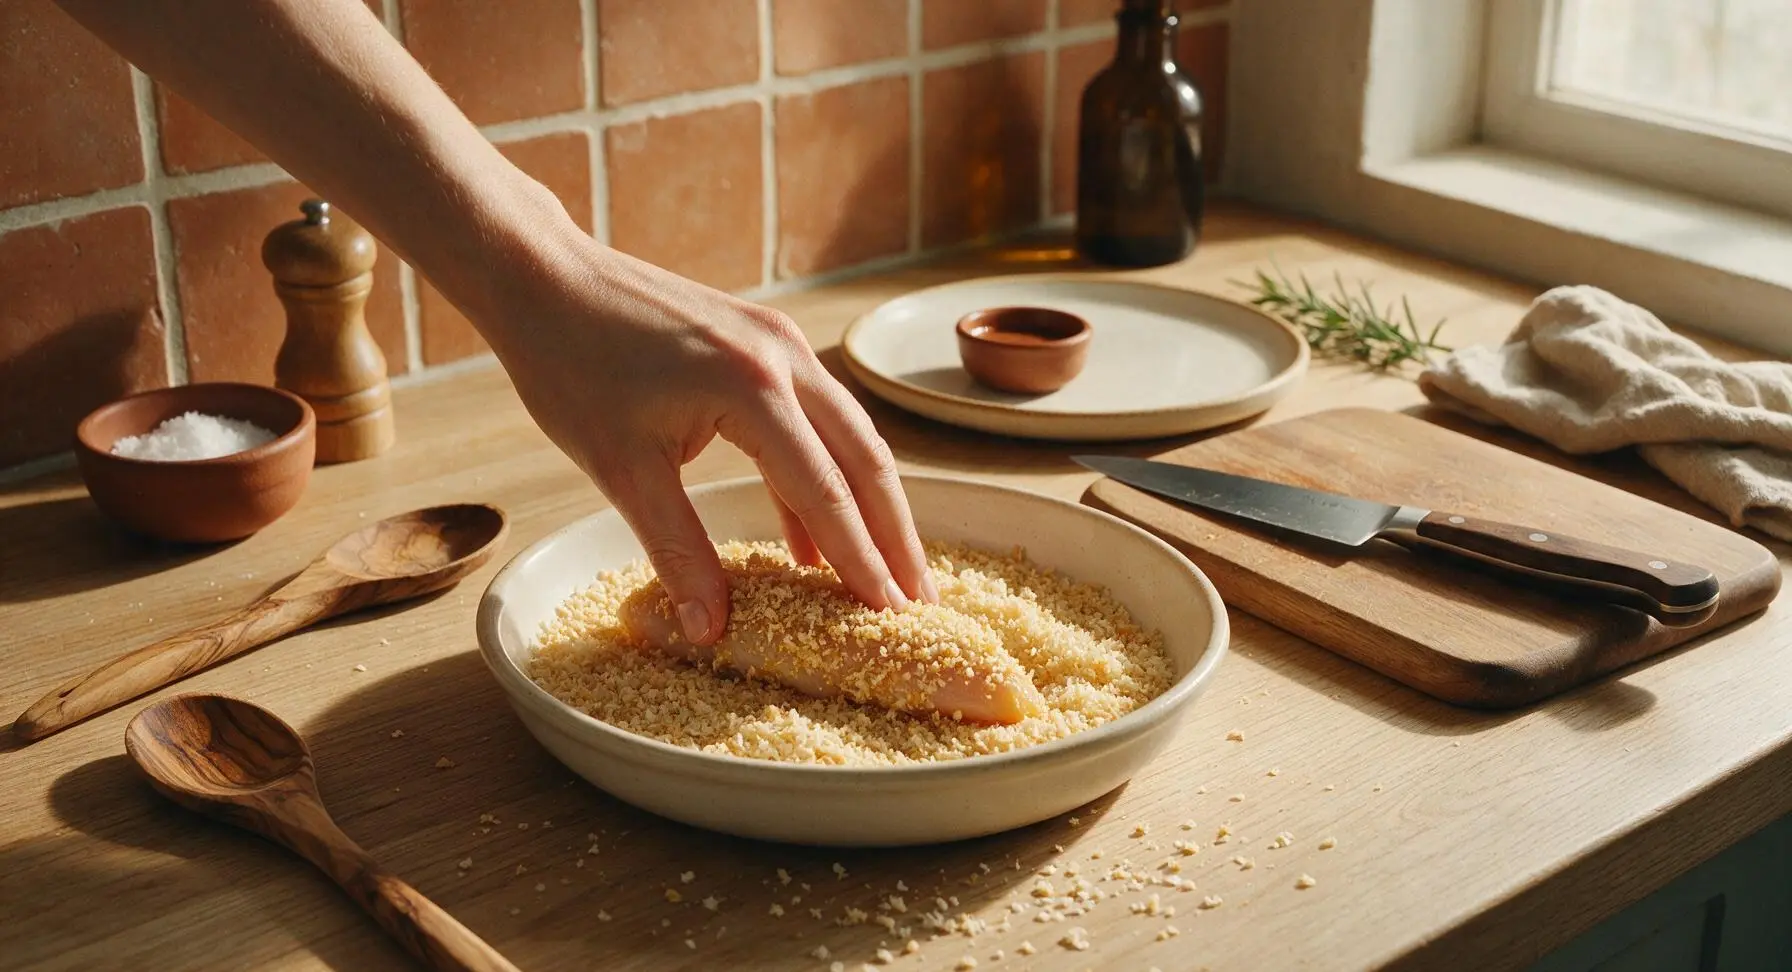
Coat with panko crumbs
Place each egg-dipped chicken strip into the panko breadcrumb dish. Press crumbs firmly onto every side of the strip to create a thick, even coating—do not just roll the strip loosely, as pressing ensures crumbs stay attached during air frying instead of blowing off in the fan. Set fully breaded strips on the clean counter edge near the air fryer as you finish each piece.
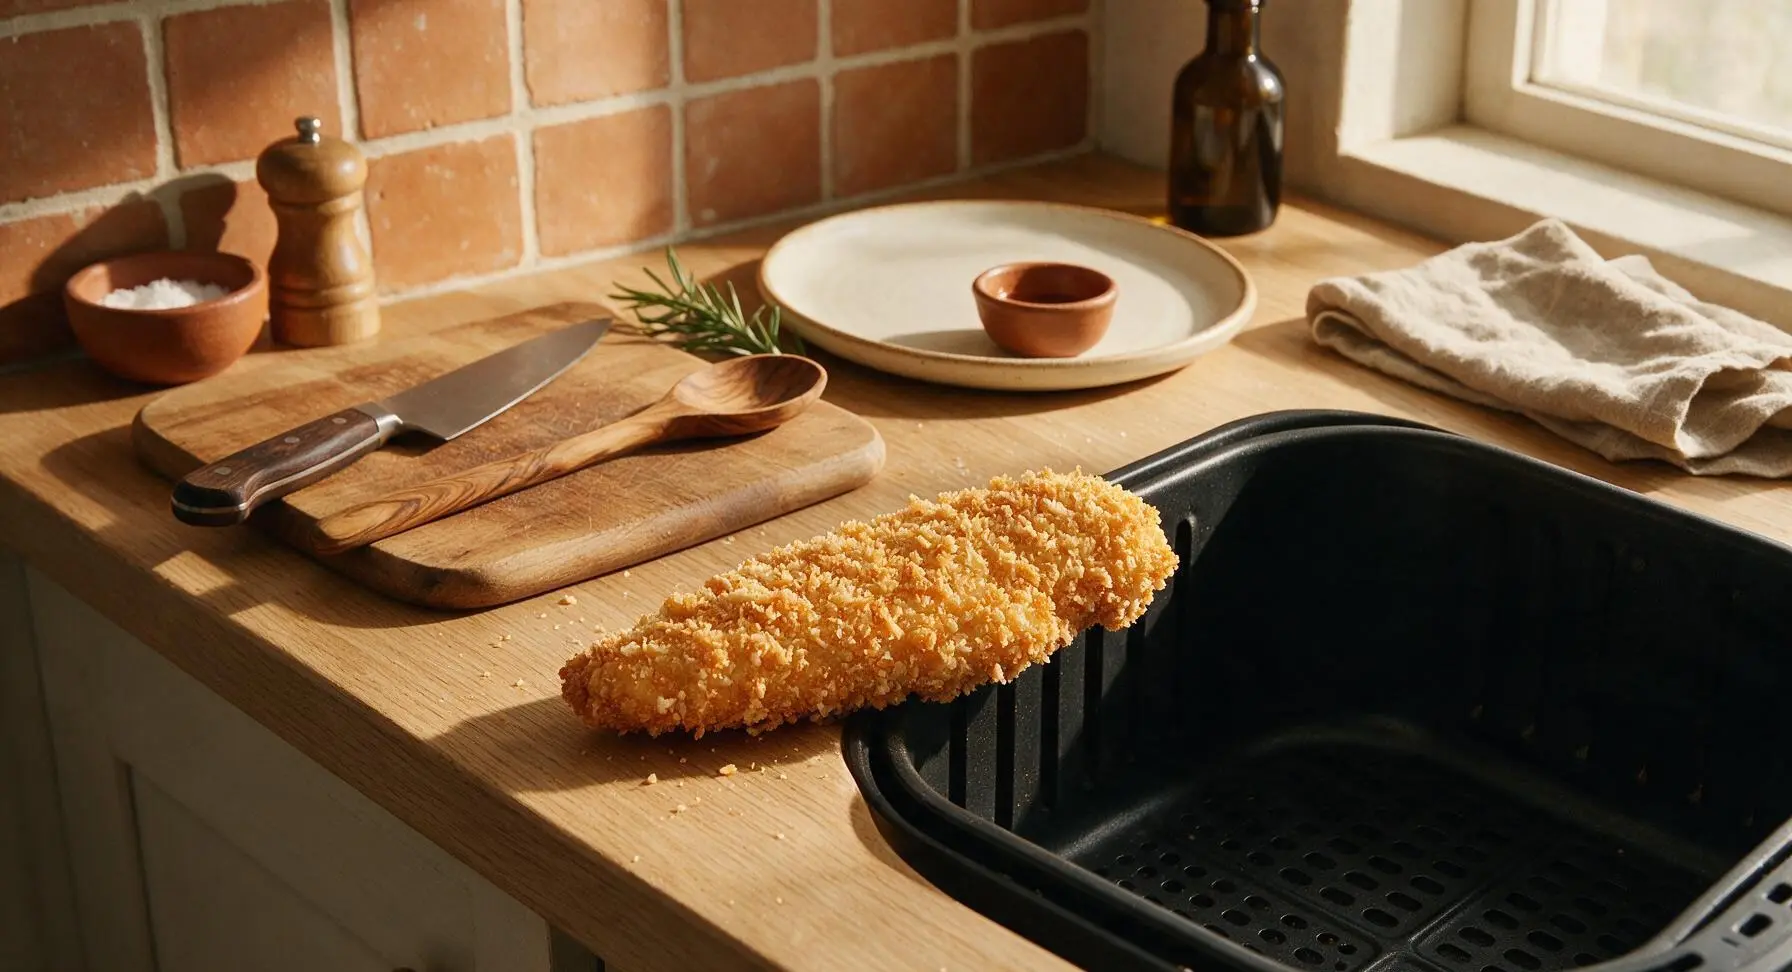
Prep air fryer basket
Preheat the air fryer to 400°F (200°C) for 3 minutes. Lightly coat the wire mesh base of the matte black air fryer basket with olive oil spray to prevent sticking. Arrange the breaded chicken strips in a single, even layer in the basket, ensuring no pieces overlap or touch—cook in two batches if needed to avoid crowding. Lightly spray the top of the chicken strips with a thin, even coat of olive oil spray to help the crust brown and crisp evenly.
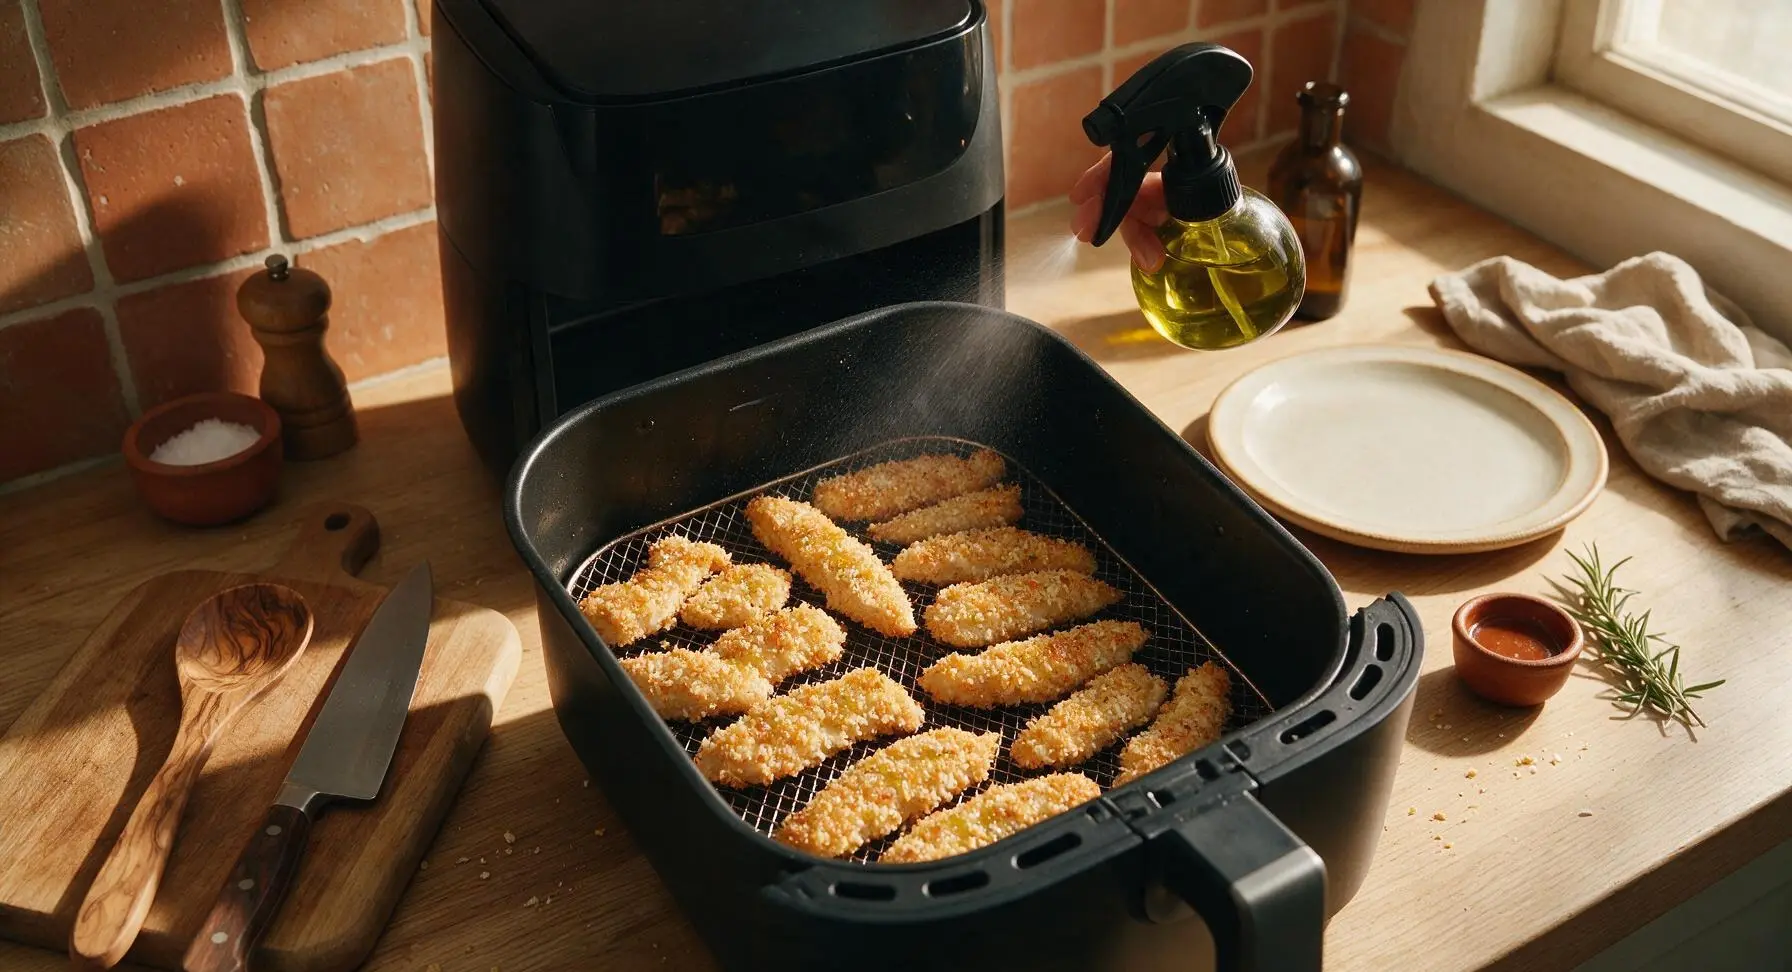
Air fry until crispy
Slide the basket back into the preheated air fryer and cook for 6 minutes at 400°F (200°C). After 6 minutes, use the silicone-tipped black-handled tongs to carefully flip each chicken strip. Lightly spray the second side with olive oil, then cook for an additional 5-6 minutes, until the crust is deep golden brown and crispy, and the internal temperature of the thickest part of the chicken reaches 165°F (74°C) for food safety.
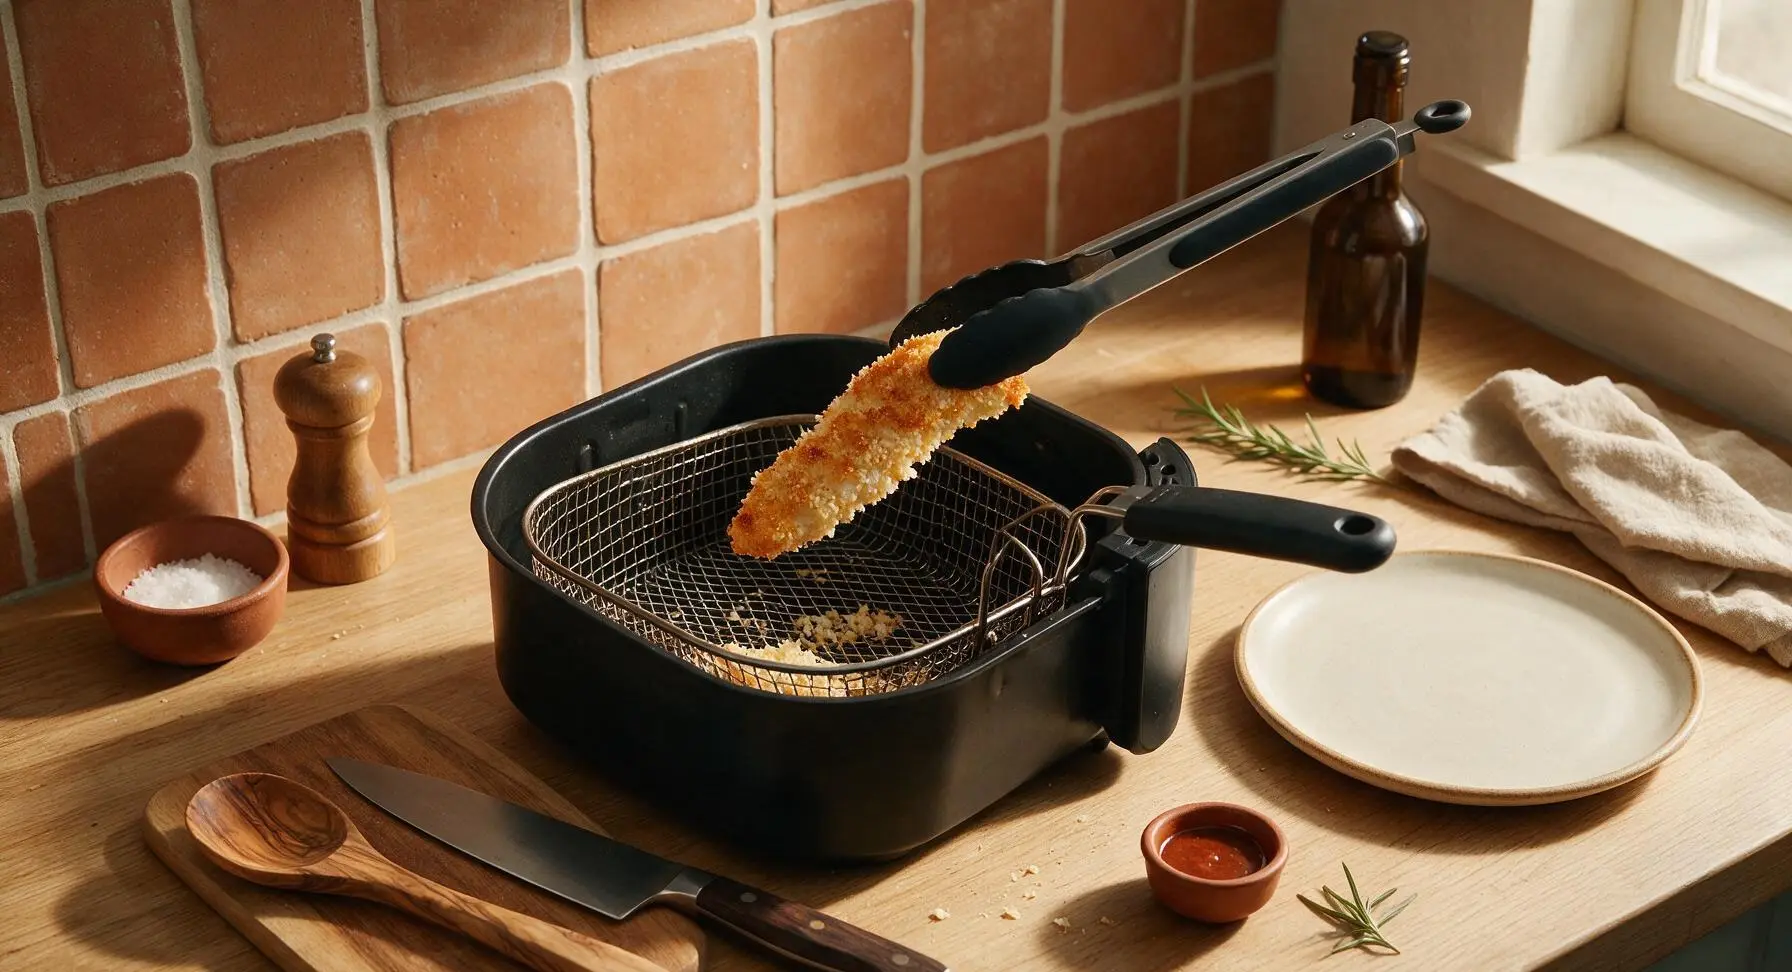
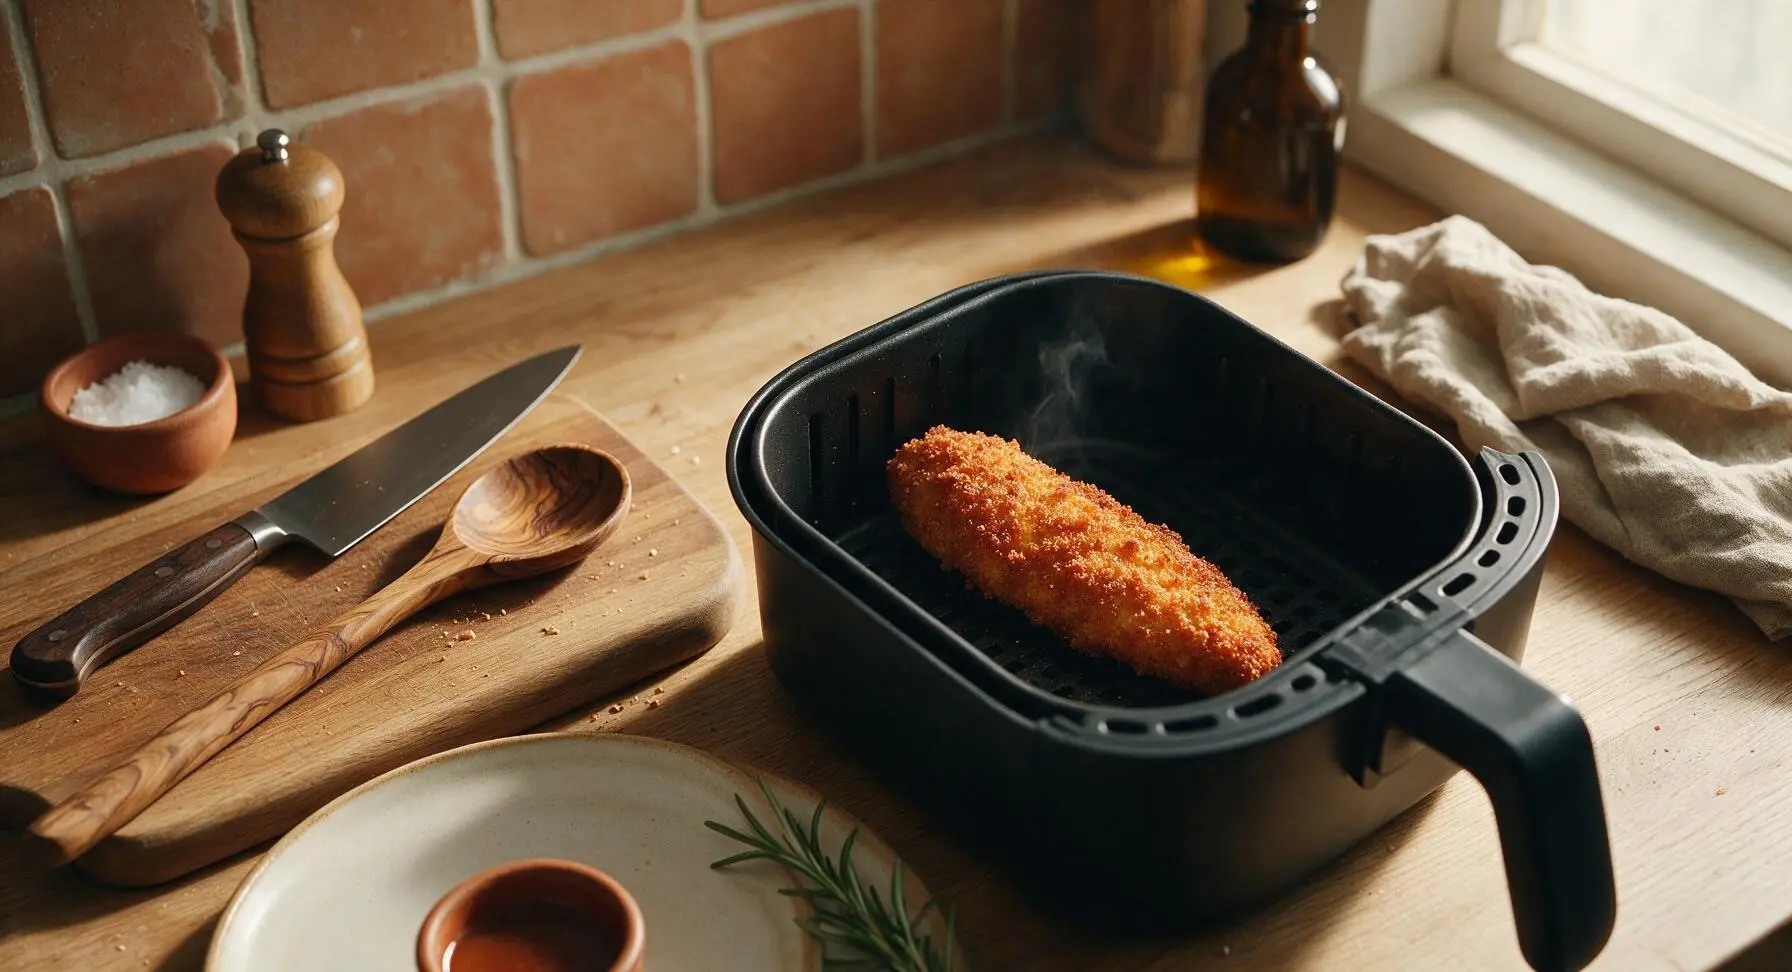
Plate and serve hot
Use the tongs to transfer the cooked chicken fingers to the rectangular matte cream white serving platter. Sprinkle lightly with a pinch of flaky sea salt and chopped fresh parsley for brightness. Let rest for 2 minutes to let juices redistribute inside the chicken, then fill the ramekins with ketchup and ranch dressing for dipping.
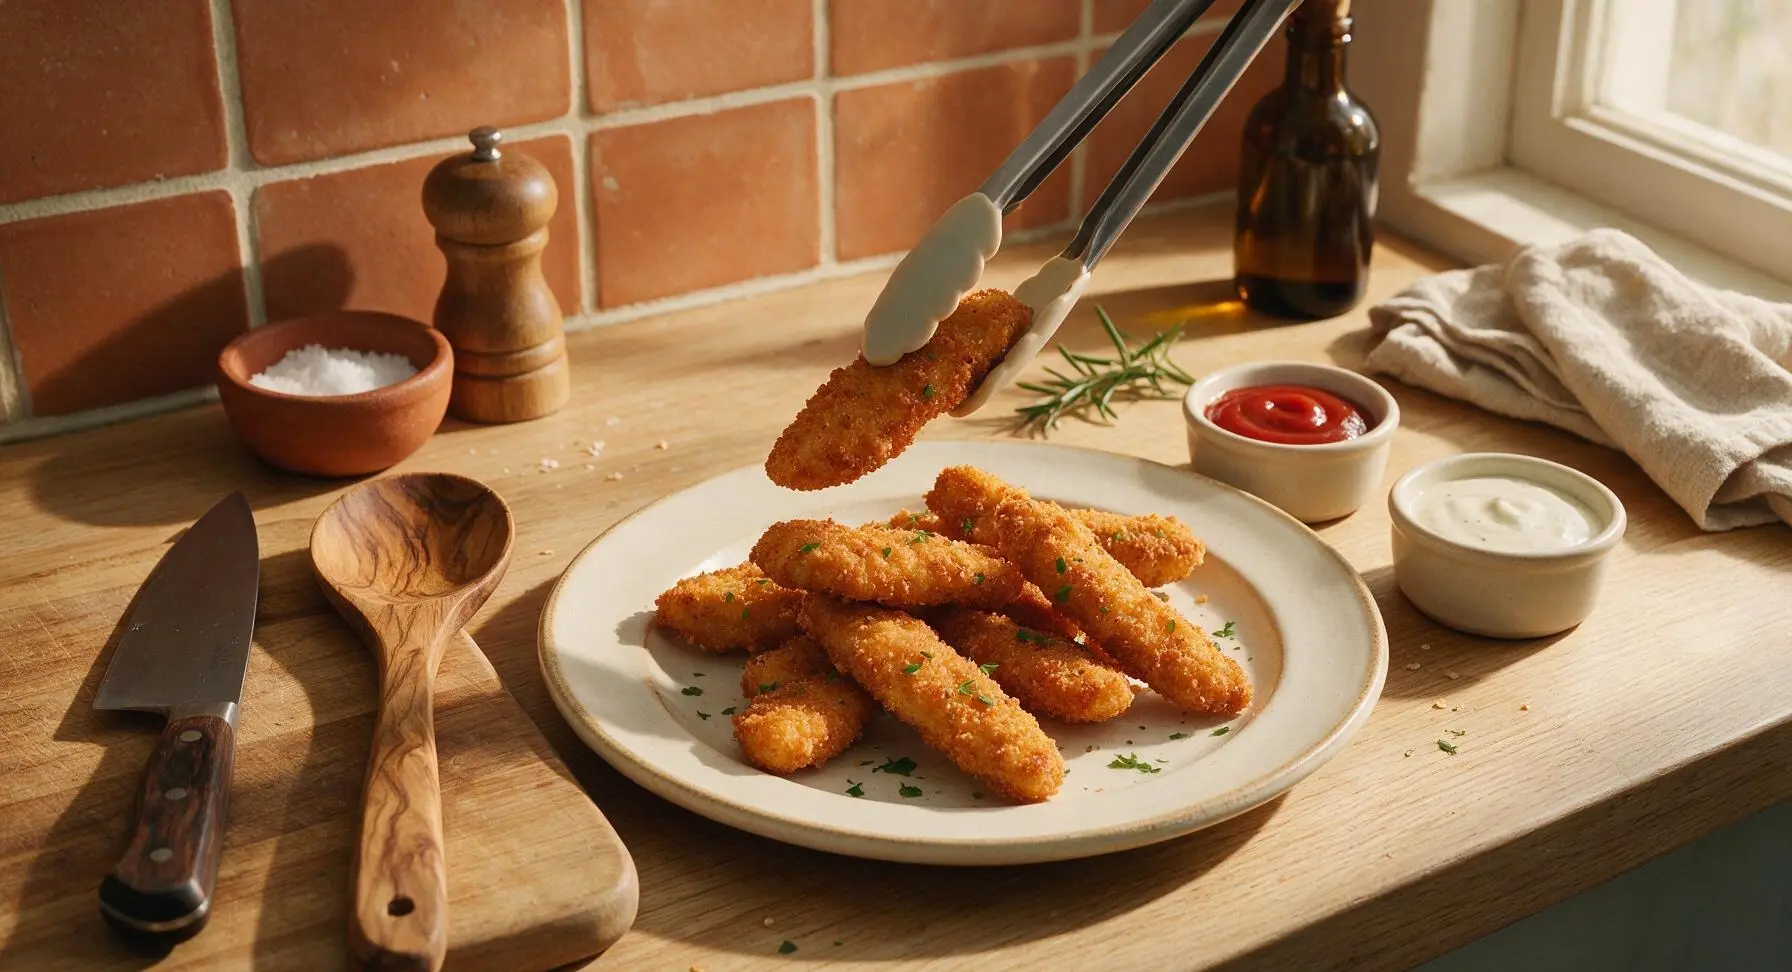
Tips
2.Never crowd the air fryer basket: overlapping chicken strips trap hot steam between pieces, leading to soft, unevenly cooked crusts and pale, uncrispy spots. Cook in 2 batches if needed, keeping the first batch warm on a wire rack while the second cooks.
3.Press panko crumbs firmly onto the chicken instead of rolling loosely: loose crumbs will be blown around by the air fryer’s internal fan, leaving bare patches on the chicken that won’t crisp. A firm press creates a secure, evenly crunchy crust across every strip.






OMG these were a total game changer for our weeknight dinner! My kids usually turn their nose up at any chicken that isn’t drive-thru nuggets, but they devoured every last one and asked for seconds. Only thing I did wrong was not making a double batch! The crunch is insane for air fryer, no soggy bits at all.
Wait, is it normal that mine came out a little less crispy than the photos? I used regular panko, sprayed with olive oil, cooked for the full 12 minutes but the breading was kinda soft in spots. Did I mess up the temp? My air fryer is a little older so maybe it runs cool?
Made these for our neighborhood block party potluck last weekend and people were hounding me for the recipe all night! I served them with a side of honey mustard and buffalo dip, they were gone in 15 minutes flat. So easy to throw together too, I didn’t even have to run to the store for fancy ingredients.
As someone who burns literally everything I try to cook, these were foolproof! 12 minutes exactly, no weird steps, came out perfect on the first try. Way cheaper than ordering takeout and tastes better too, honestly.
Swapped the regular panko for gluten free panko and these came out SO good! I was worried the breading would fall off or be weirdly grainy but it stuck perfectly and had that same great crunch. 10/10 will be making these weekly.
These fit perfectly into my high protein meal plan! I used chicken breast tenderloins, skipped the extra oil spray, and they still got crispy enough to satisfy my fried food craving without the guilt. Macros come out to like 30g protein per serving, chef’s kiss.
Added a tsp of cayenne and a half tsp of smoked paprika to the breading mix and wow, that little kick was exactly what these needed! My whole family loved the spicy version, even my teen who puts hot sauce on everything said it was perfect.
I was skeptical air fryer chicken fingers could reheat well but I had leftovers last night, popped them in the air fryer at 375 for 4 minutes and they were just as crispy as when I first made them! No more sad mushy microwave chicken for me.
Tried making these for a casual date night last minute when our dinner reservation got canceled, and my date said they were better than the fancy restaurant appetizer we were gonna order! Total win, even though I burned the first batch because I was distracted answering the door lol.
SO good. We did a whole spread of these, waffle fries, and coleslaw for Sunday dinner and it felt like a fast food feast at home but way less greasy. My grandma even asked for the recipe and she never trusts air fryer cooking!
Made a quick pickle ranch dip to go with these and I’m never going back. Dill pickles chopped up mixed with ranch, a little garlic powder, *chef’s kiss*. The crunch on the chicken is perfectly sturdy so it doesn’t fall apart when you dip it heavy, which is my biggest pet peeve with homemade chicken fingers.
Taste was great but I wish the recipe noted that you have to preheat the air fryer! I didn’t preheat mine so they took almost 20 minutes total instead of 12, which made us late for my kid’s soccer practice. Still tasted good though, just a time crunch issue.