
chicken in ninja air fryer
intro
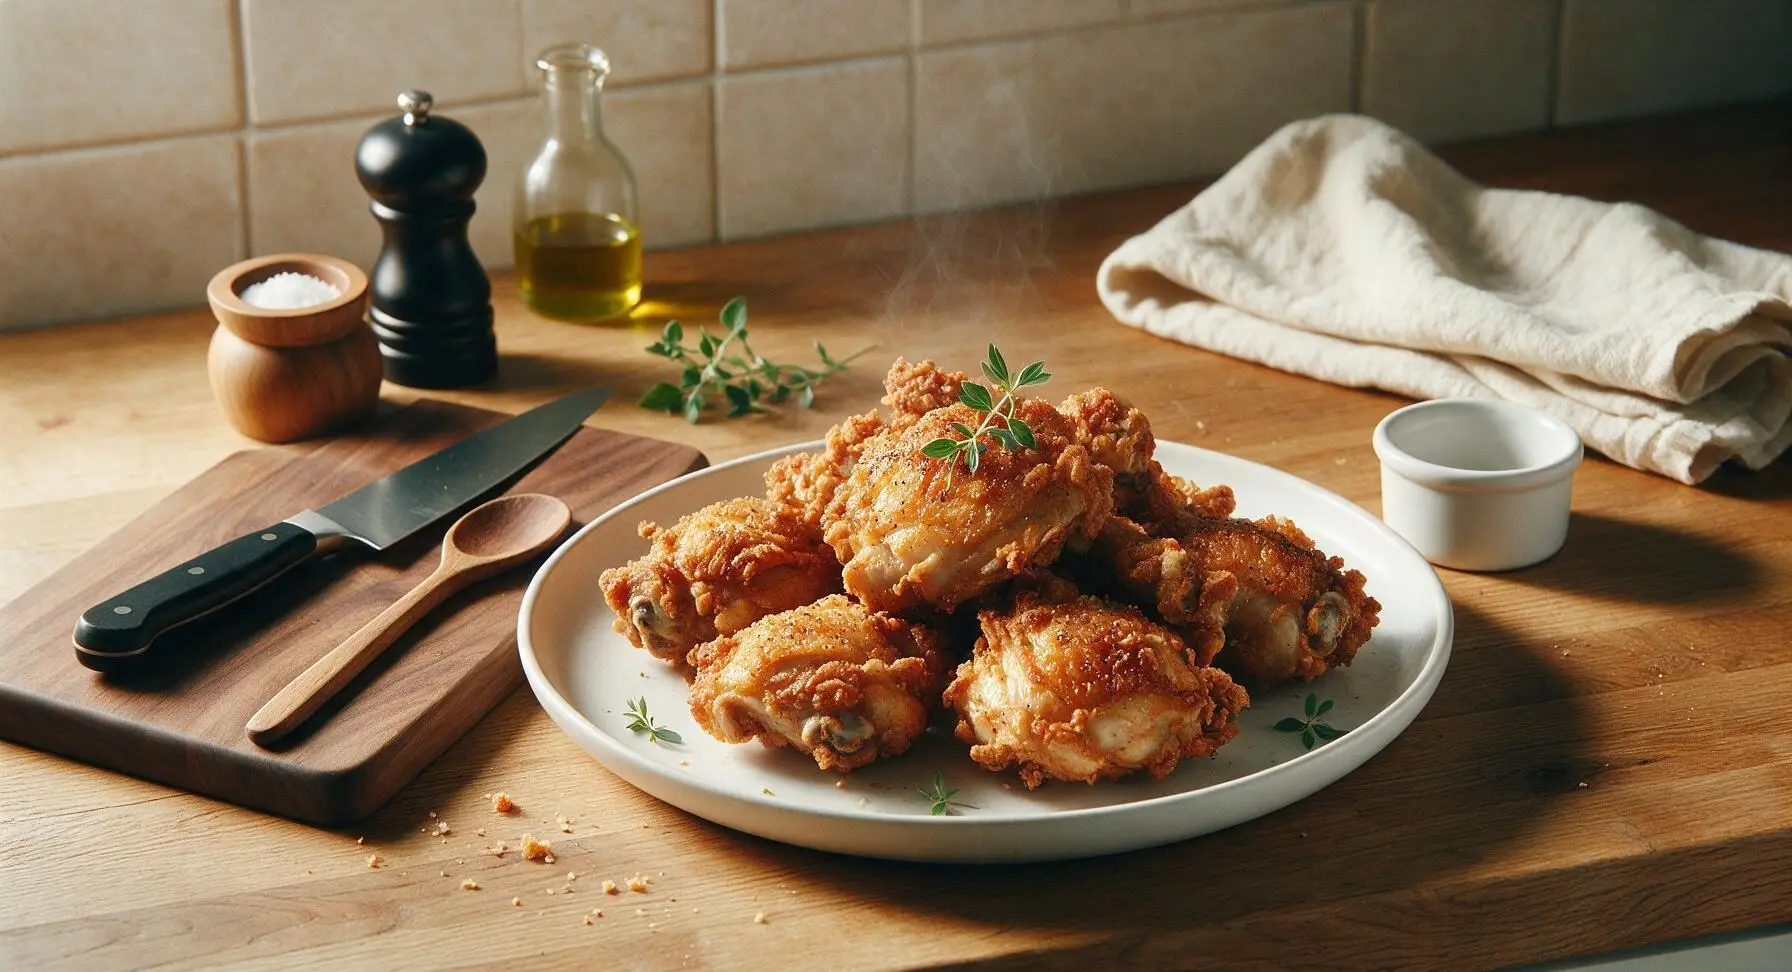
Shatteringly crisp, juicy bone-in chicken made fast in the Ninja Air Fryer, seasoned with simple pantry spices for a low-mess, flavorful weeknight main with zero stovetop cleanup.
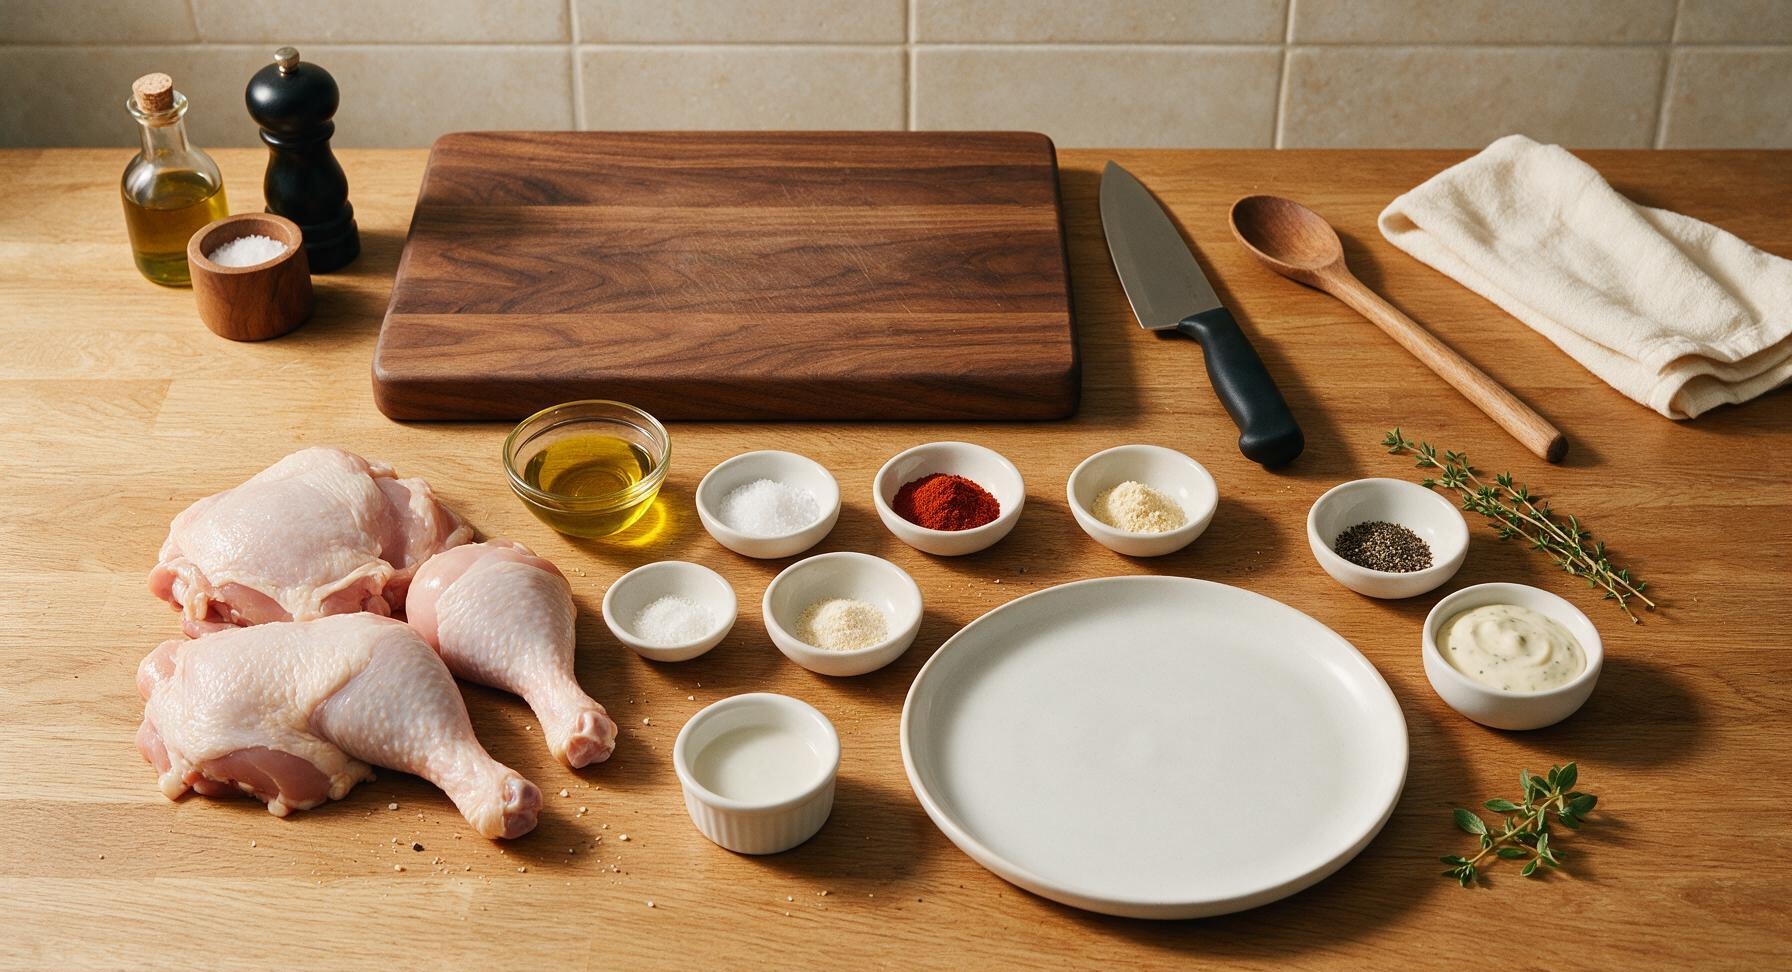
Ingredients
Steps
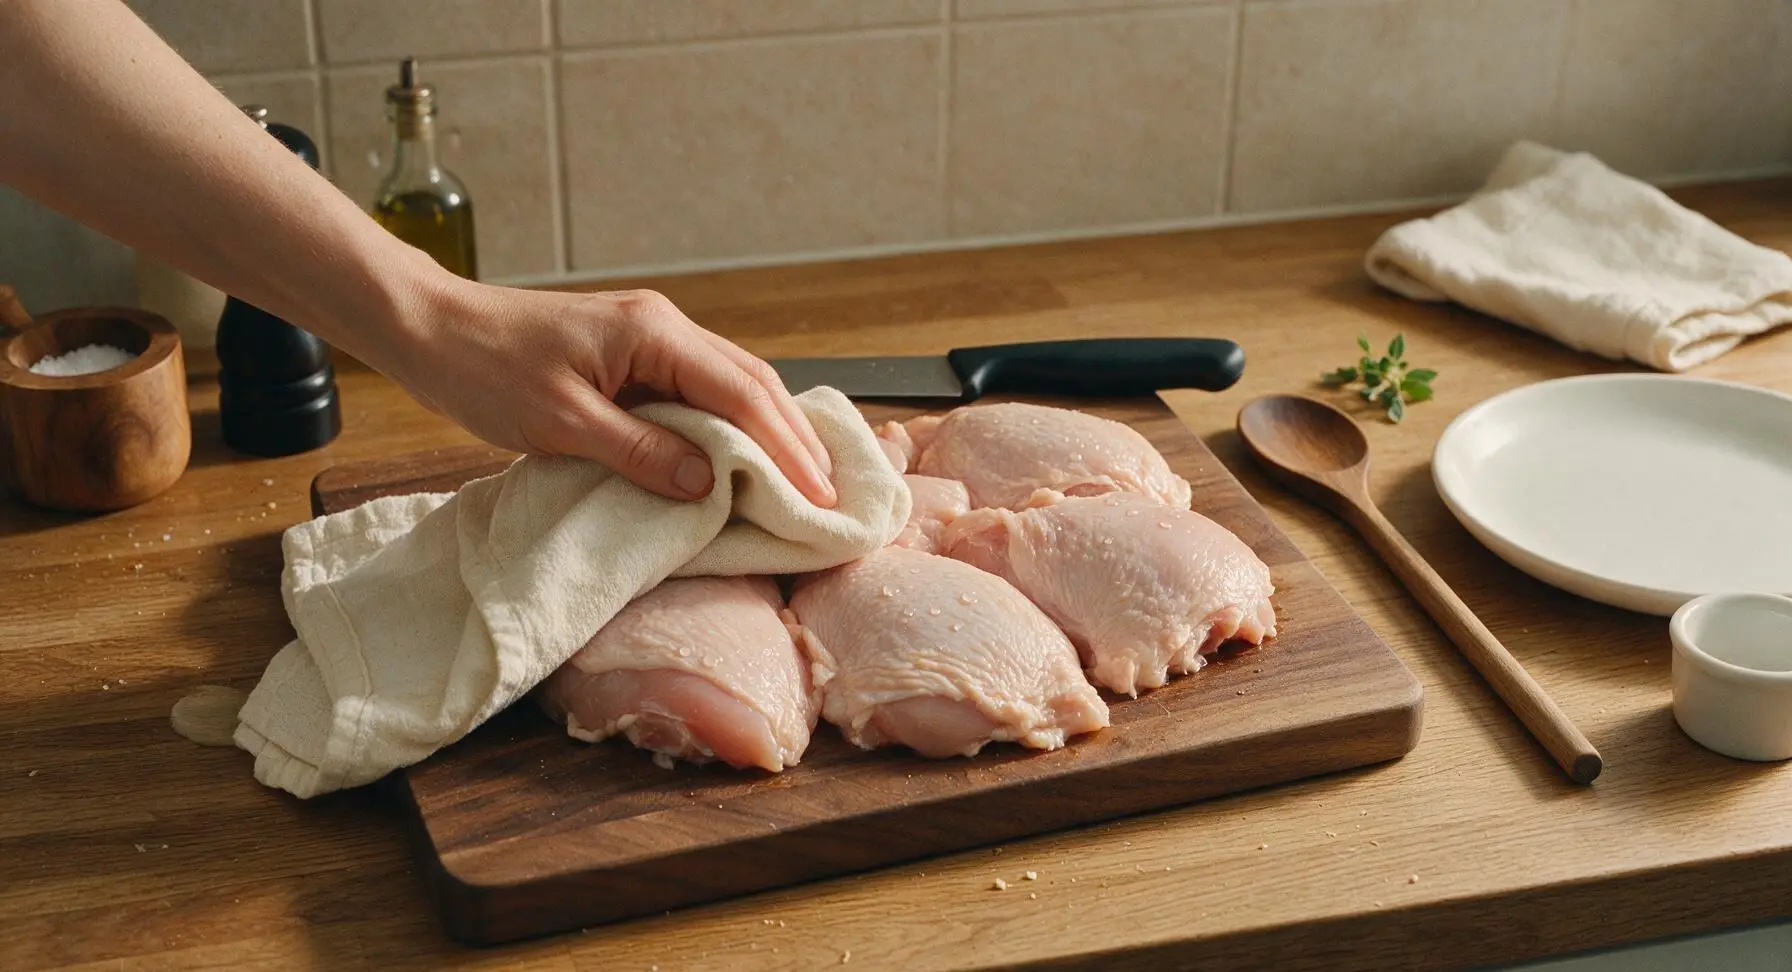
Pat Chicken Dry
Remove chicken pieces from packaging, place on the light maple cutting board. Use the folded oatmeal cotton kitchen towel to pat every surface of the chicken skin completely dry, paying extra attention to crevices around the bone and under skin folds. Discard any damp towel lint left on the chicken; fully dry skin is the non-negotiable first step for shatteringly crisp results.
Season Chicken Evenly
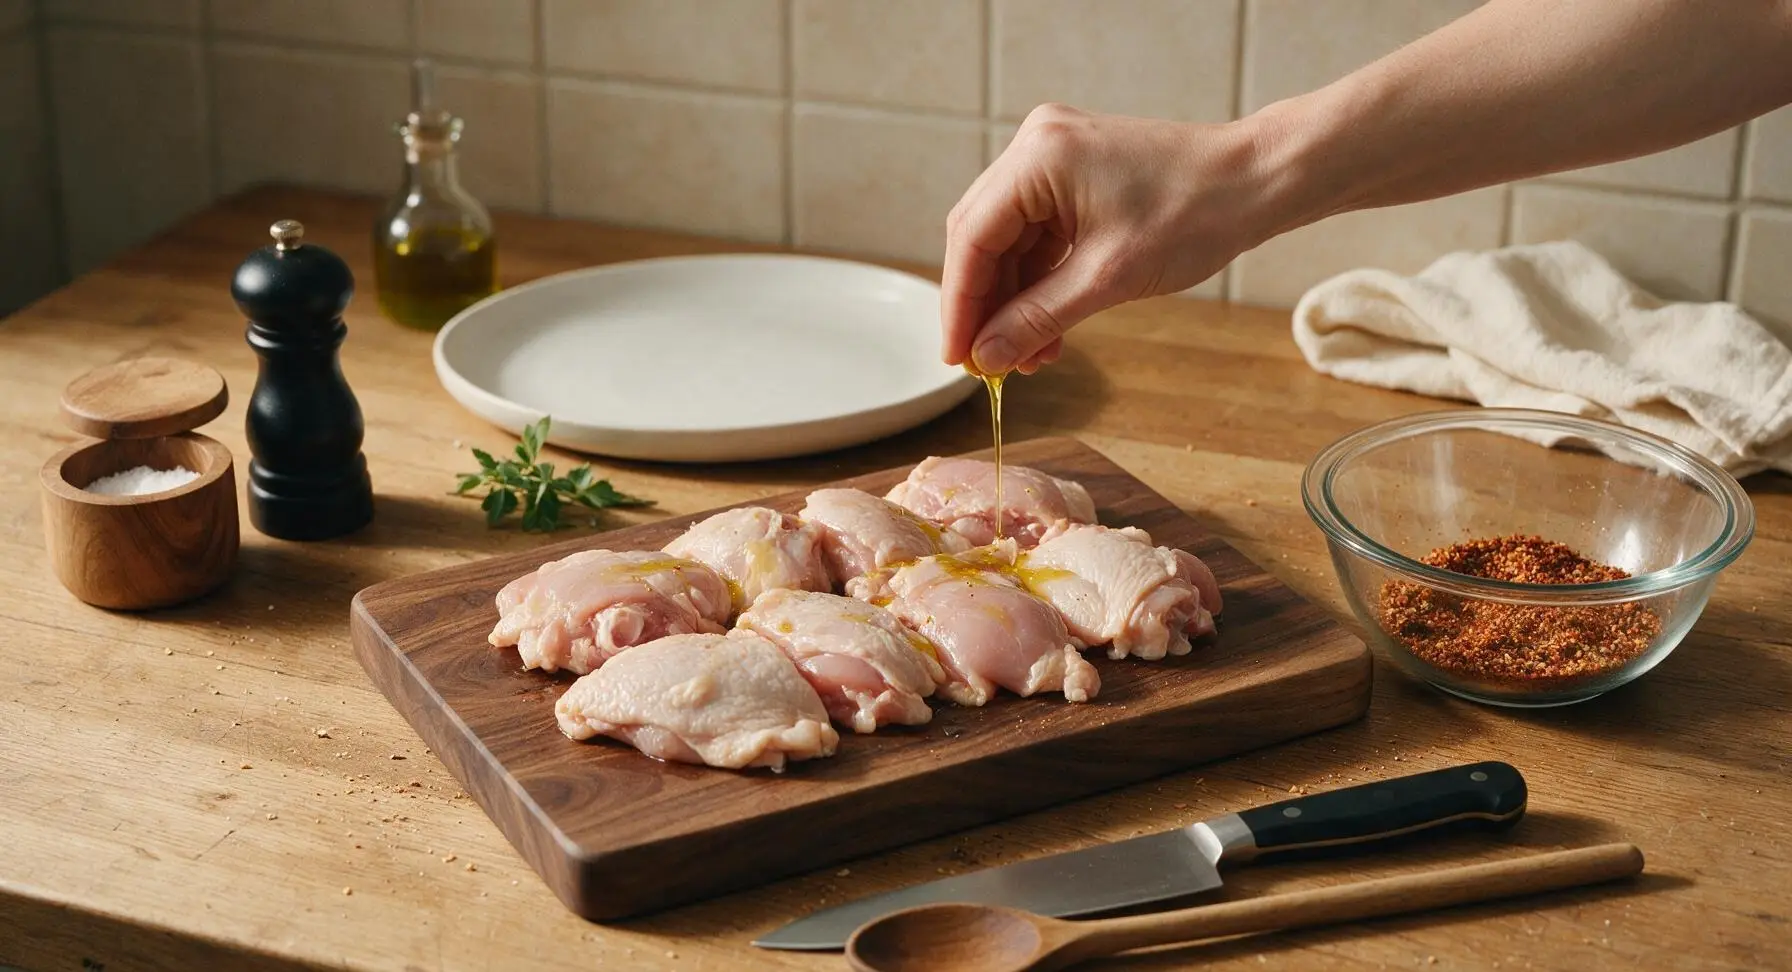
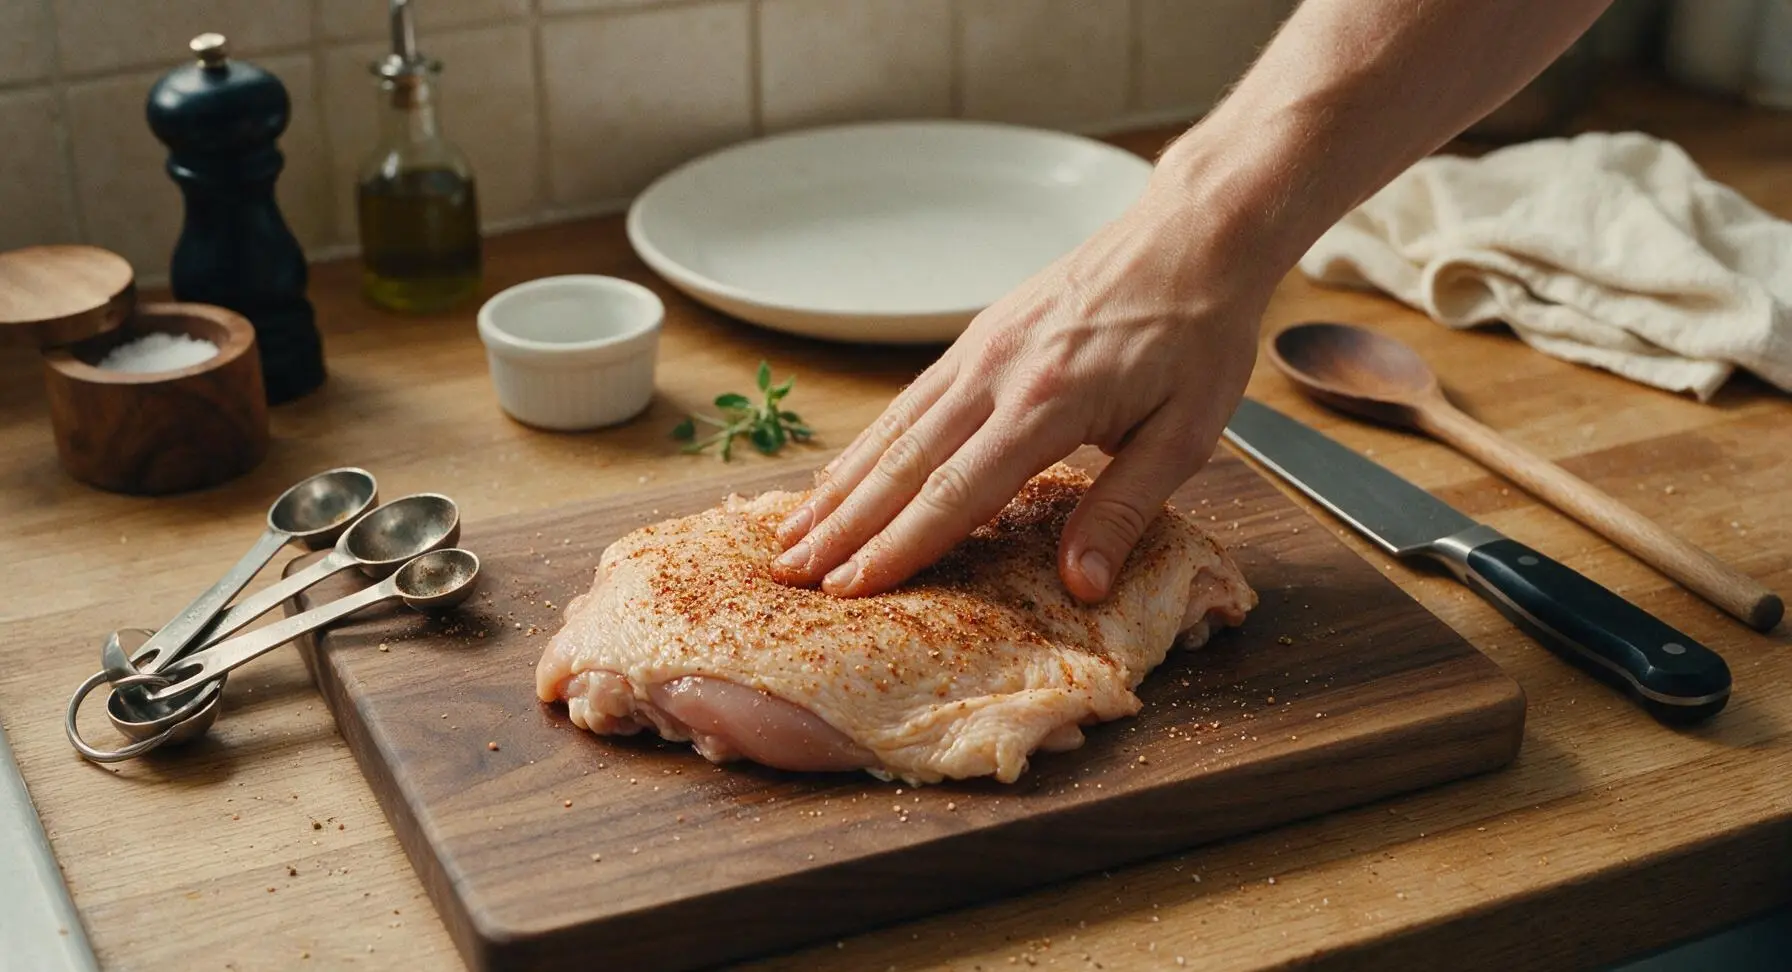
Drizzle 1 tablespoon olive oil over the dried chicken pieces, toss to coat every surface lightly. In the clear glass mixing bowl, combine kosher salt, smoked paprika, garlic powder, onion powder, and black pepper, stir with a finger to mix fully. Sprinkle the spice blend evenly over all sides of the chicken, rubbing gently with clean hands to ensure the seasoning adheres to the skin and exposed meat.
Preheat Air Fryer
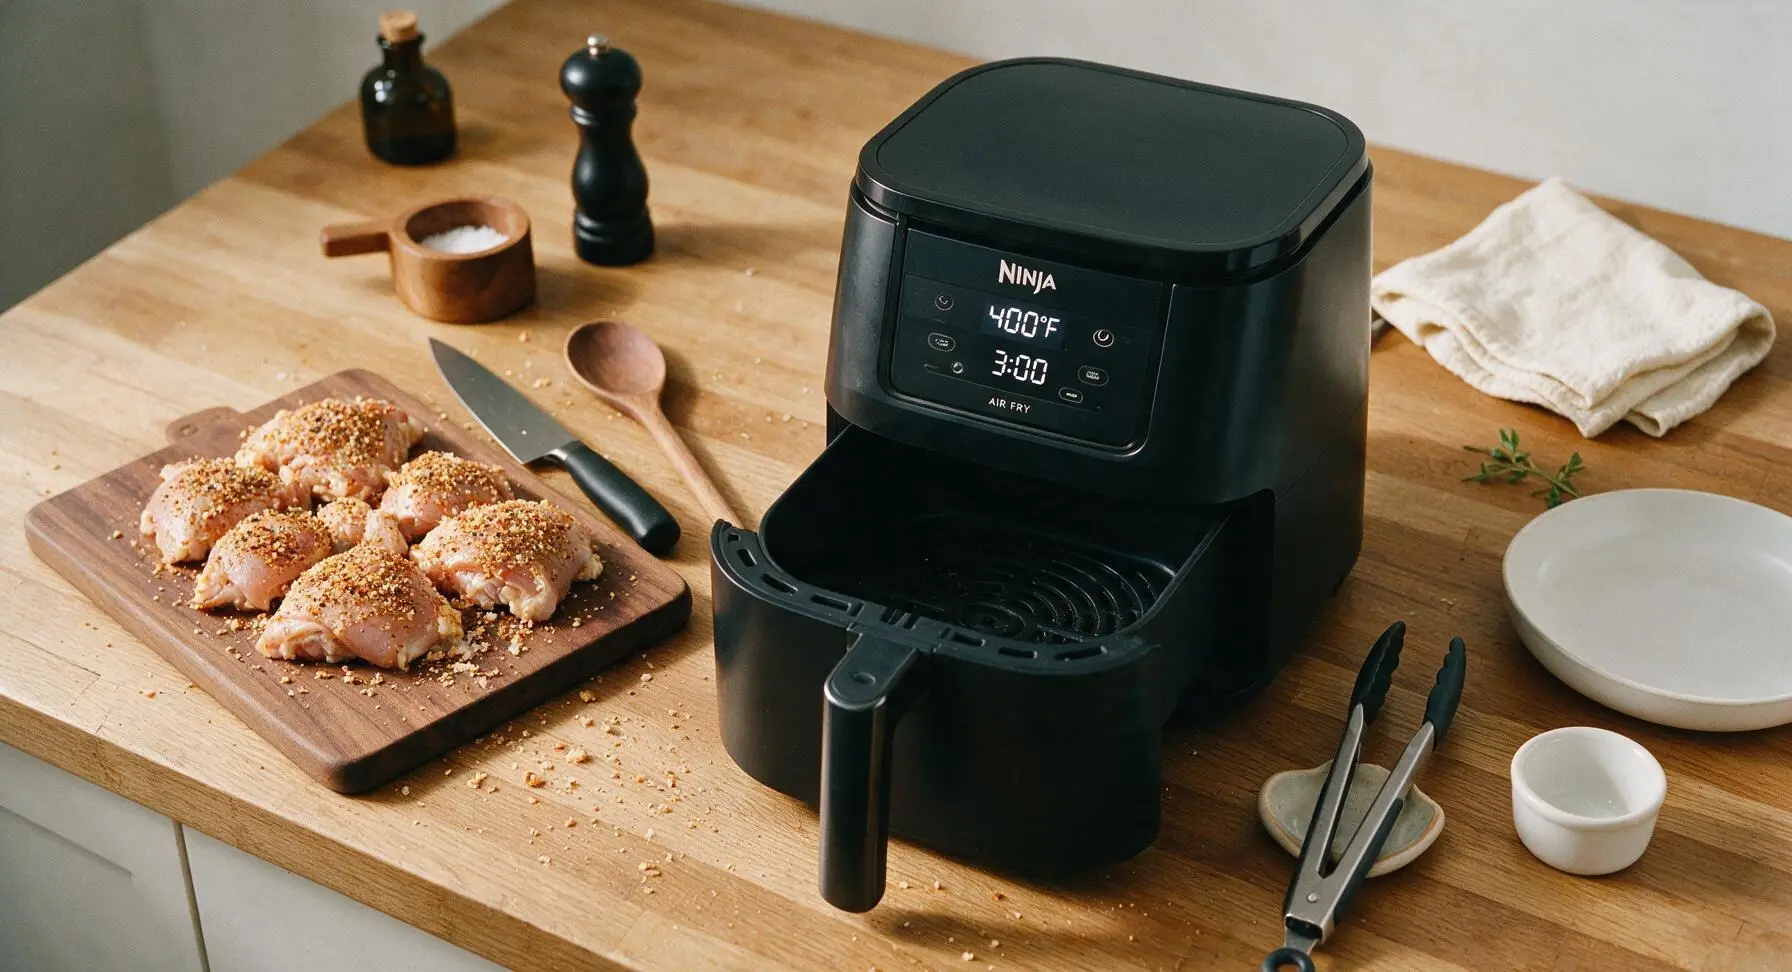
Ensure the crisping basket is fully inserted into the matte black 5.5-quart Ninja Air Fryer, then close the drawer. Set the air fryer to the 'Air Fry' function at 400°F (200°C) and preheat for 3 minutes, until the unit beeps to confirm it has reached cooking temperature. Do not spray the basket with aerosol nonstick spray, as it will damage the basket’s nonstick coating over time.
Load Chicken into Basket
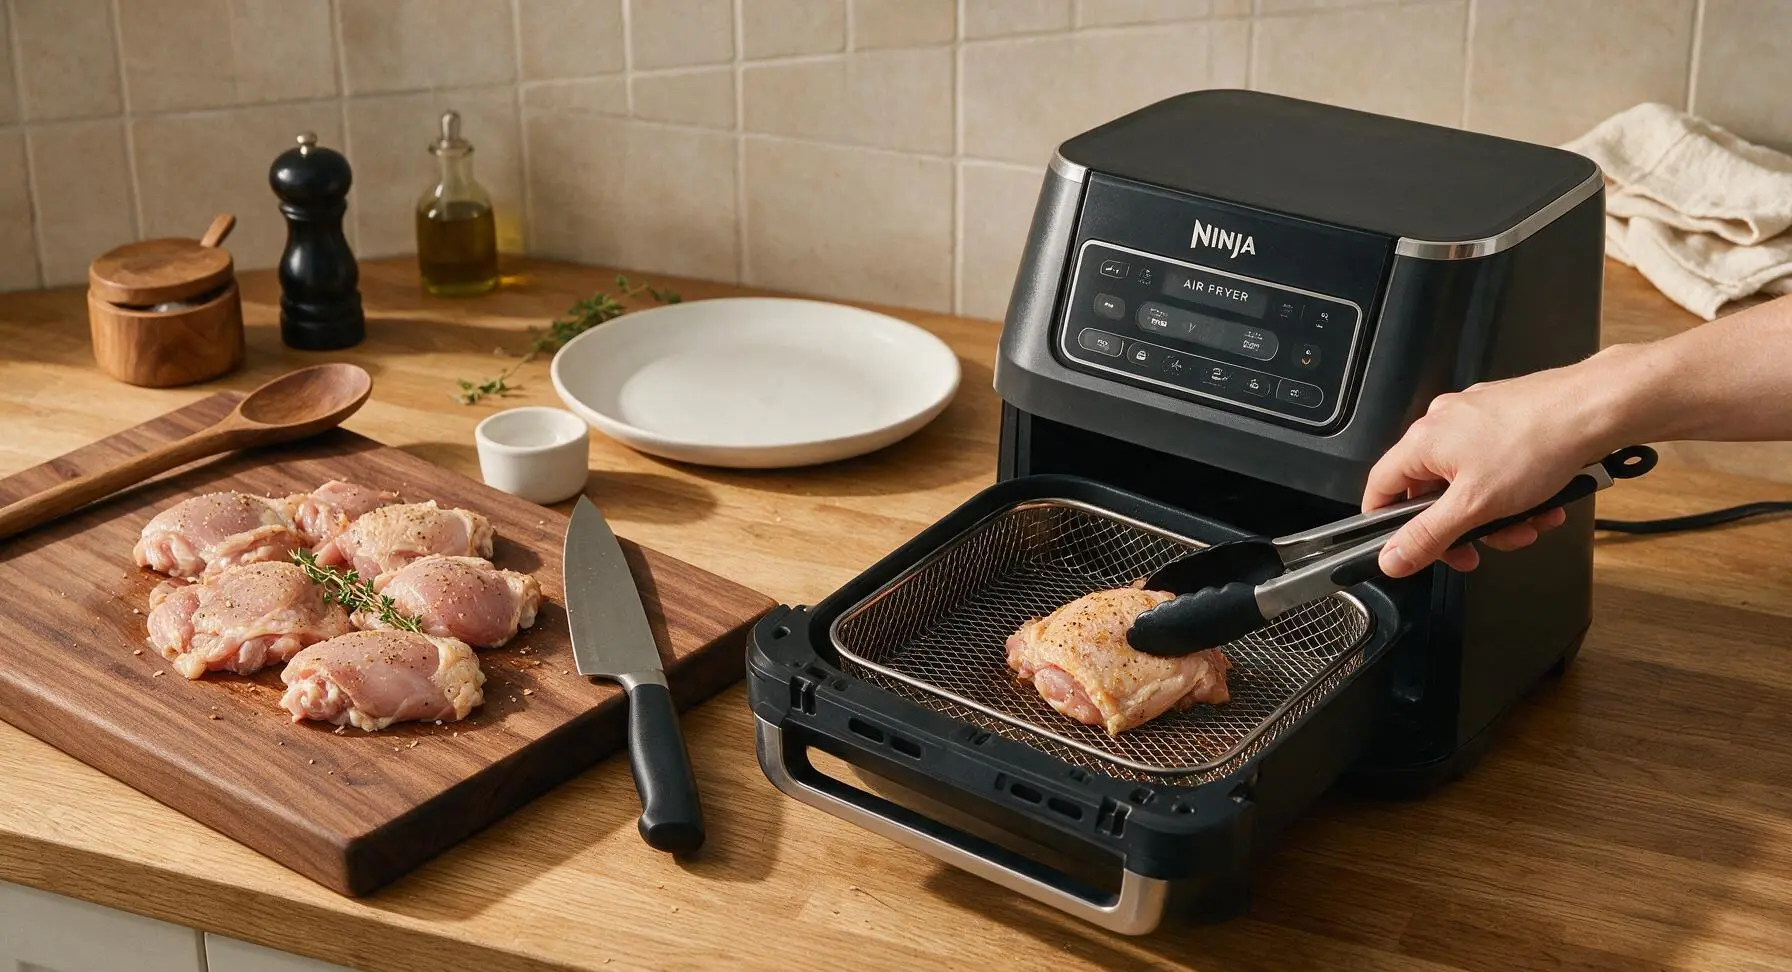
Once preheated, pull the air fryer drawer open carefully (hot air will rush out). Use the silicone-tipped tongs to arrange the chicken pieces in a single layer in the crisping basket, skin-side up. Leave ½ inch of open space between each piece to allow unobstructed hot air circulation; do not stack pieces, as this will trap steam and cause soggy skin. Tuck one fresh thyme sprig under two of the chicken pieces to add subtle herbal aroma as it cooks.
Air Fry Until Crisp
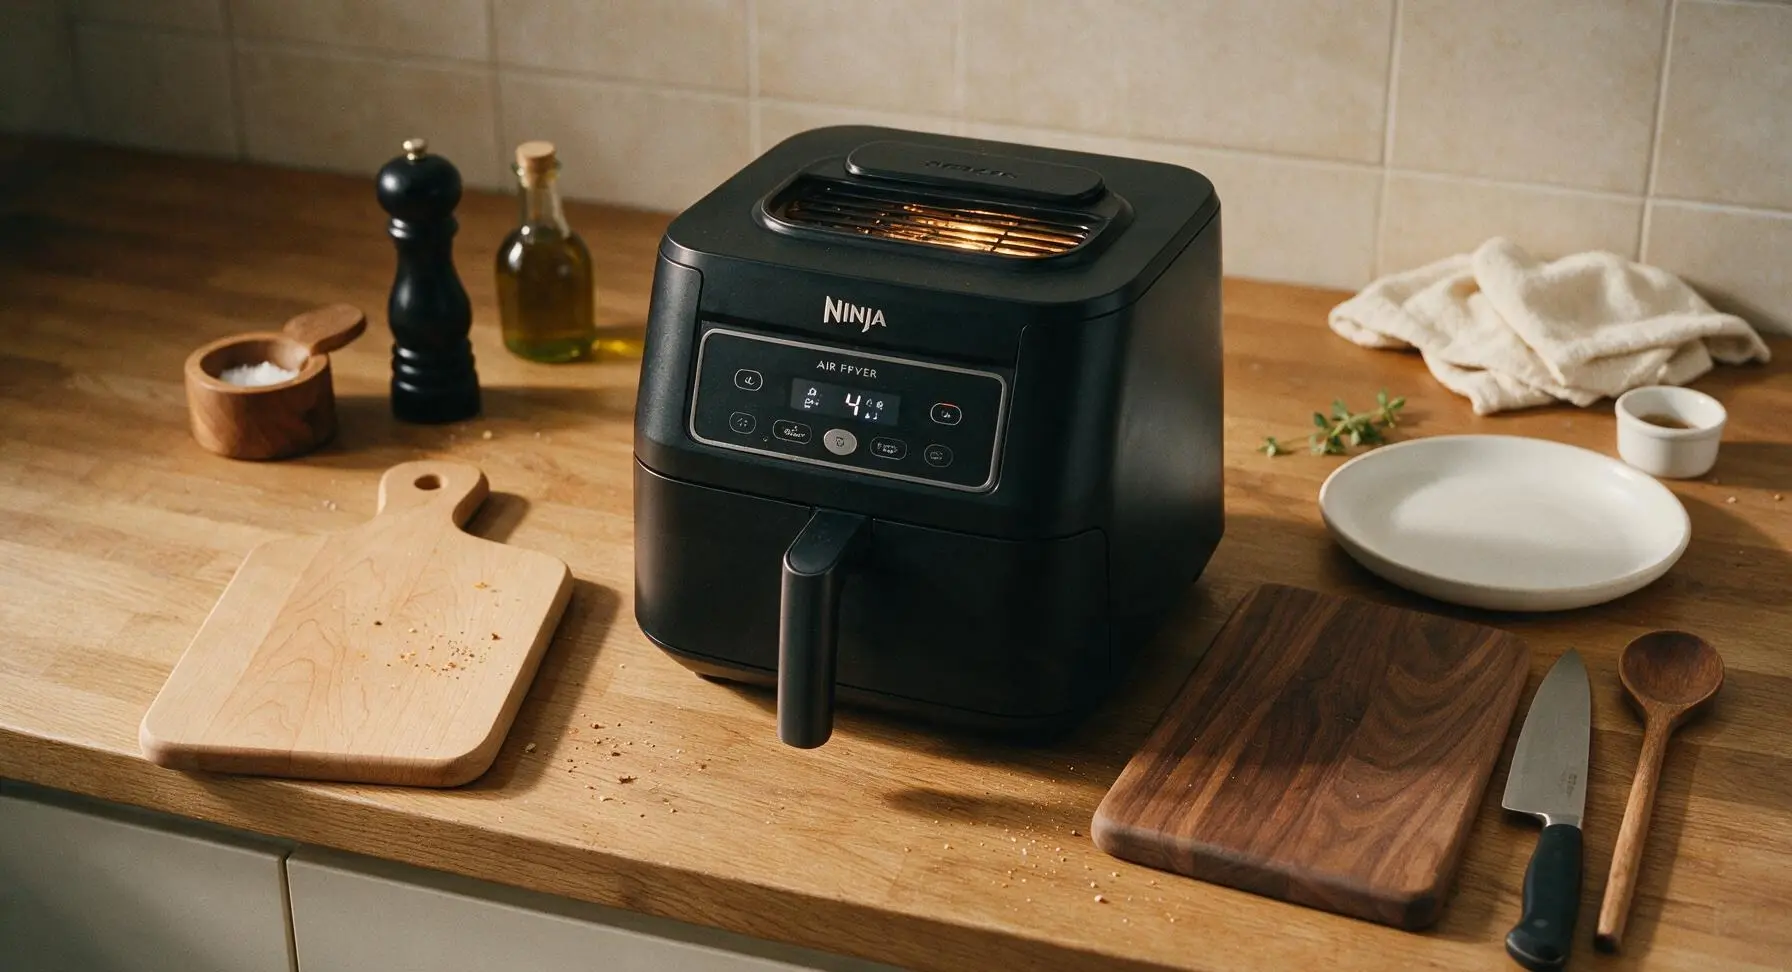
Close the air fryer drawer firmly, set the cooking timer for 22 minutes at 400°F (200°C). Resist the urge to open the drawer during the first 18 minutes of cooking, as repeated temperature drops will slow fat rendering and prevent the skin from crisping properly. The high-speed circulating hot air will render excess subcutaneous fat from the chicken skin, creating a crunchy, golden exterior while keeping the meat juicy underneath.
Verify Doneness Temp
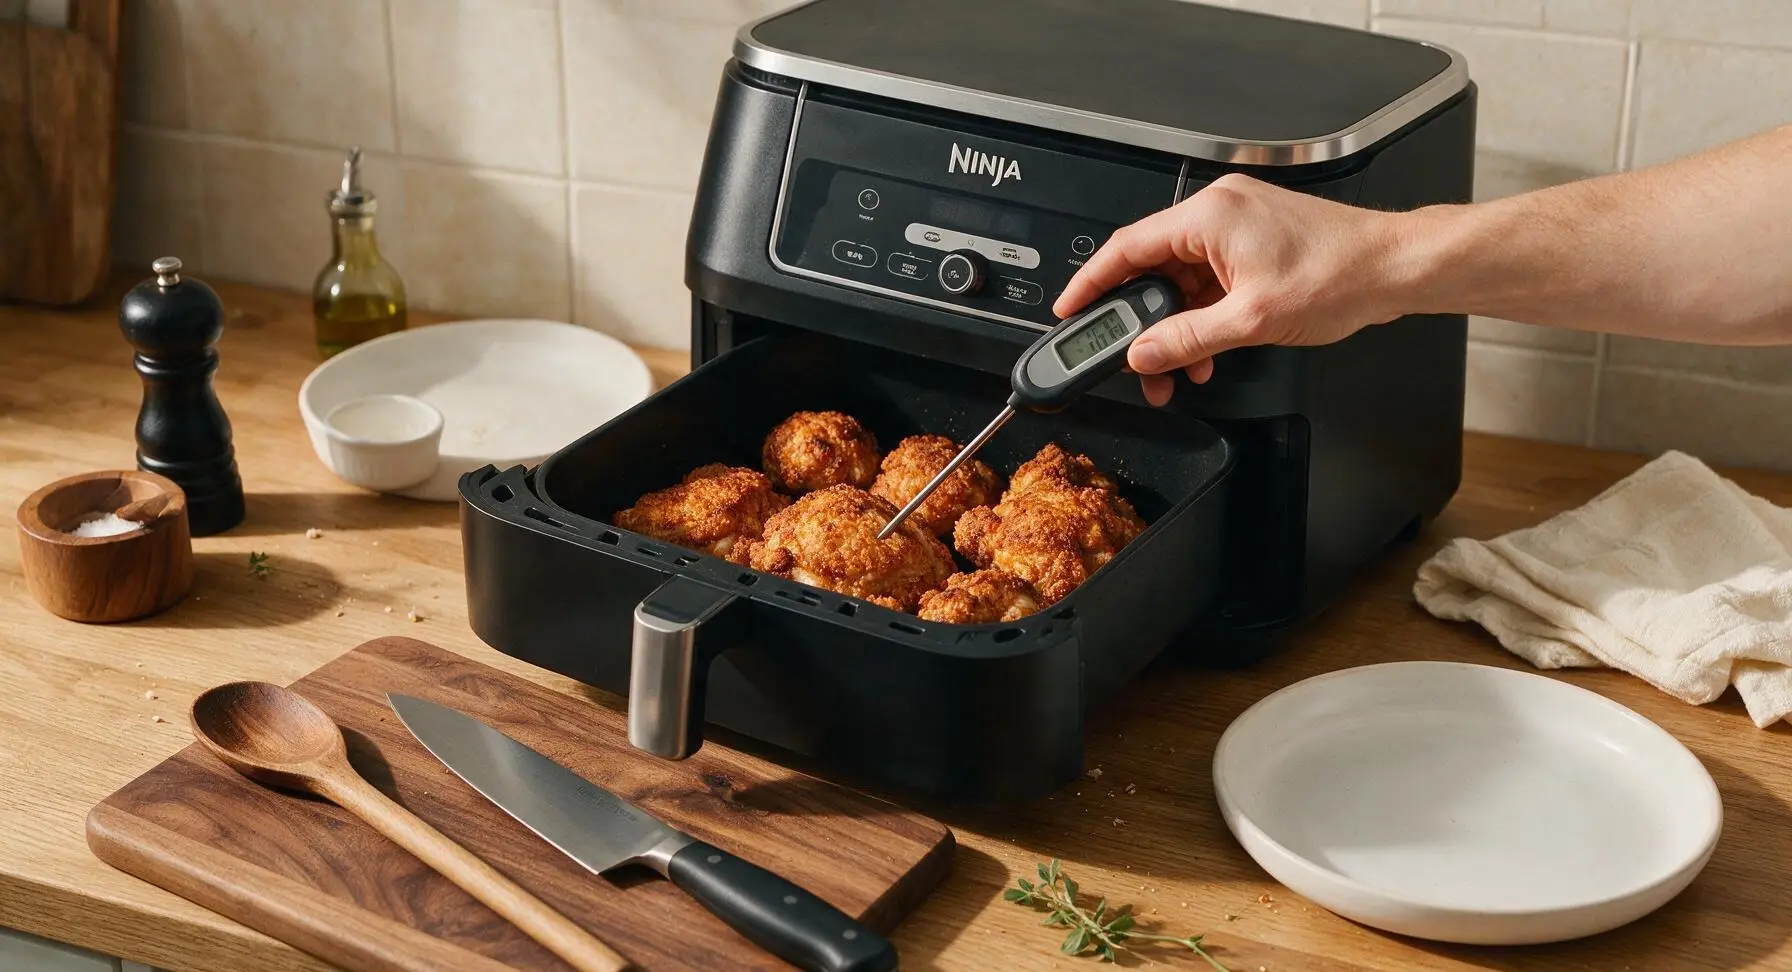
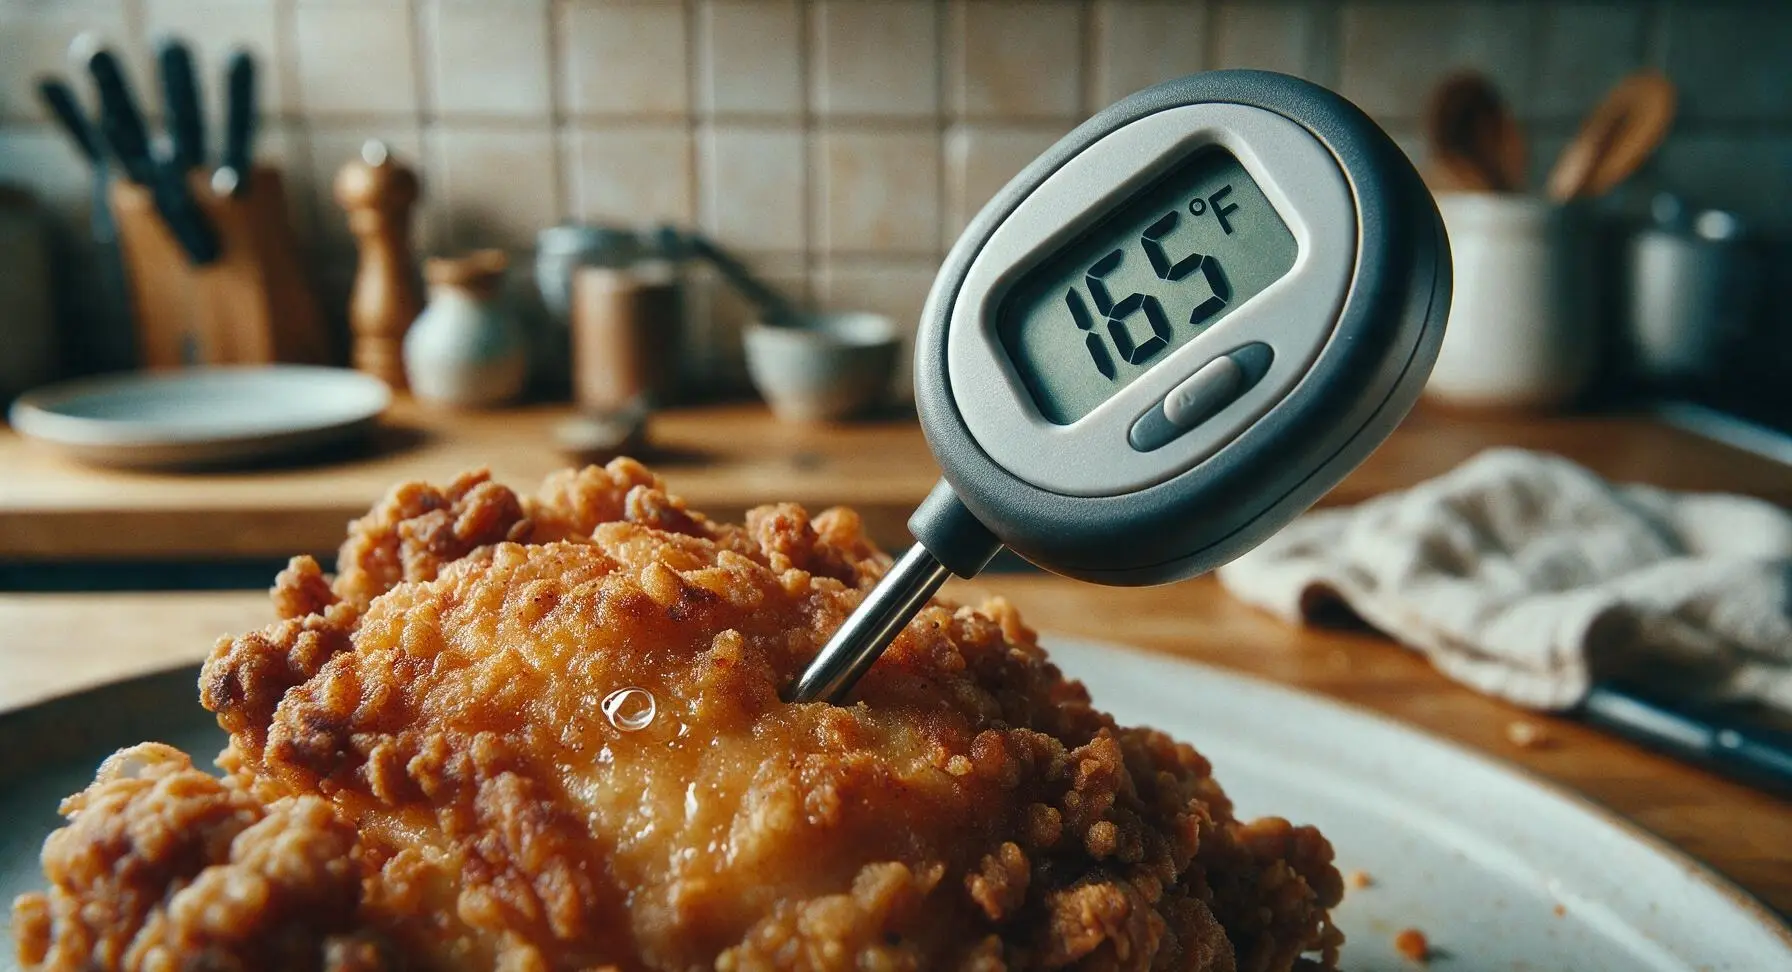
After the 22-minute cook time ends, pull the air fryer drawer fully open. Insert the digital meat thermometer probe into the thickest part of each chicken piece, taking care not to touch the bone (which will give an inaccurately high temperature reading). Chicken is fully cooked and safe to eat when the internal temperature reads 165°F (74°C); the skin should be deep golden brown, craggy, and audibly crisp when tapped lightly with tongs. If the temperature is below 165°F, close the drawer and cook for 2 additional minutes before rechecking.
Rest and Plate Chicken
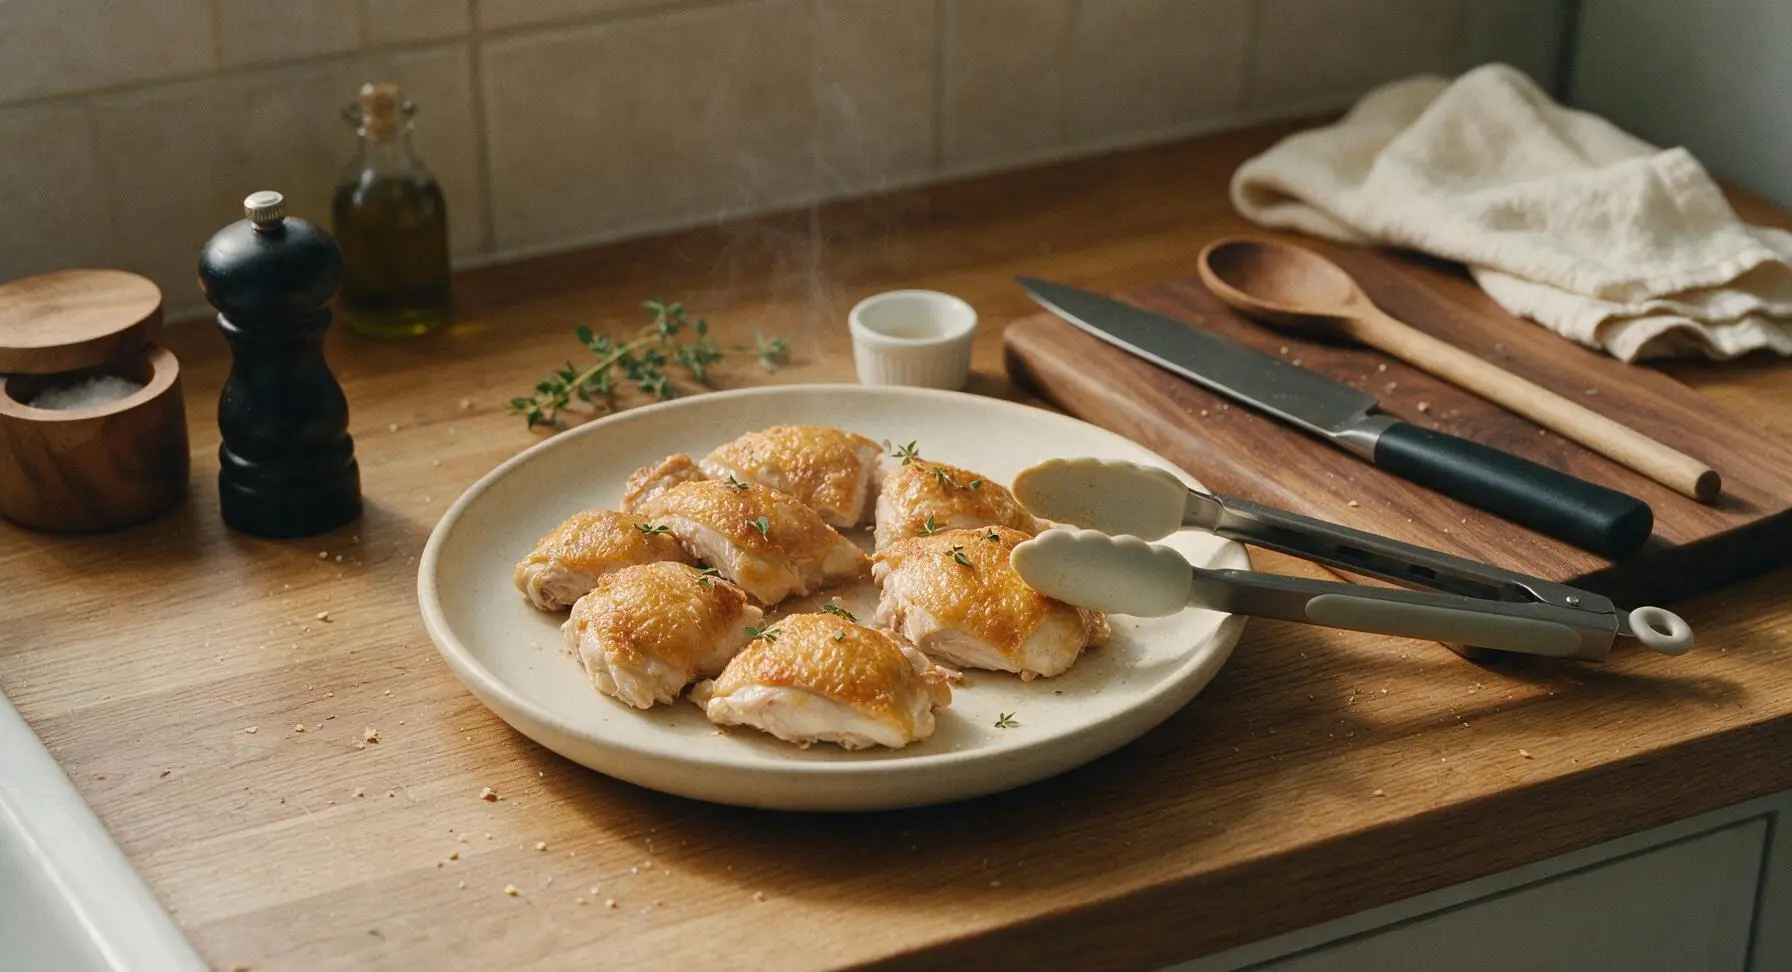
Use the silicone-tipped tongs to transfer the cooked chicken from the air fryer basket to the matte cream stoneware dinner plate. Let the chicken rest for 3 minutes at room temperature to allow muscle fibers to relax and juices to redistribute through the meat, which prevents juice from running out onto the plate when cut. Sprinkle a pinch of picked fresh thyme leaves over the top of the chicken before serving, with the ramekin of garlic aioli alongside for dipping.
Tips
2.Avoid overcrowding the air fryer basket: leaving ½ inch of open space between chicken pieces allows hot air to circulate fully around every surface, ensuring even crisping and no undercooked, soggy spots. Cook in separate batches for larger groups instead of stacking pieces.
3.Skip aerosol nonstick sprays on your Ninja Air Fryer basket: most commercial cooking sprays contain propellants that can break down and discolor the basket’s nonstick coating over time. The thin layer of olive oil rubbed onto the chicken provides enough nonstick protection without damaging the appliance.






Made this for my Sunday football potluck yesterday and everyone was begging for the recipe! The skin was so crispy people thought I deep fried it lmao. Only thing I did differently was toss in a little extra smoked paprika because I love that warm, smoky kick. 10/10, will be making this at least once a week from now on.
SO good! I was worried my older Ninja air fryer would cook the chicken unevenly but it came out perfectly golden and crispy on every single piece in exactly the 25 minutes the recipe says, no extra time needed. I prepped a big batch on Sunday to pack for work lunches all week and it even stayed tasty when I reheated it for a couple minutes in the office air fryer. Only tiny note is I wish I’d sprayed a little extra olive oil on the panko for the first batch – it was just barely less crispy than the second batch where I remembered to do a quick spritz.
Total game changer! I’ve been intimidated to use my brand new Ninja air fryer because I thought most recipes would be too fussy or complicated, but this was so easy my 12 year old was able to help bread the chicken. We served it with roasted broccoli and creamy mac and cheese for family dinner earlier this week and there were literally zero leftovers left on anyone’s plate. Don’t sleep on the simple seasoning blend here – it’s so flavorful I didn’t even need to dip my chicken in ranch!