
chicken joy
intro
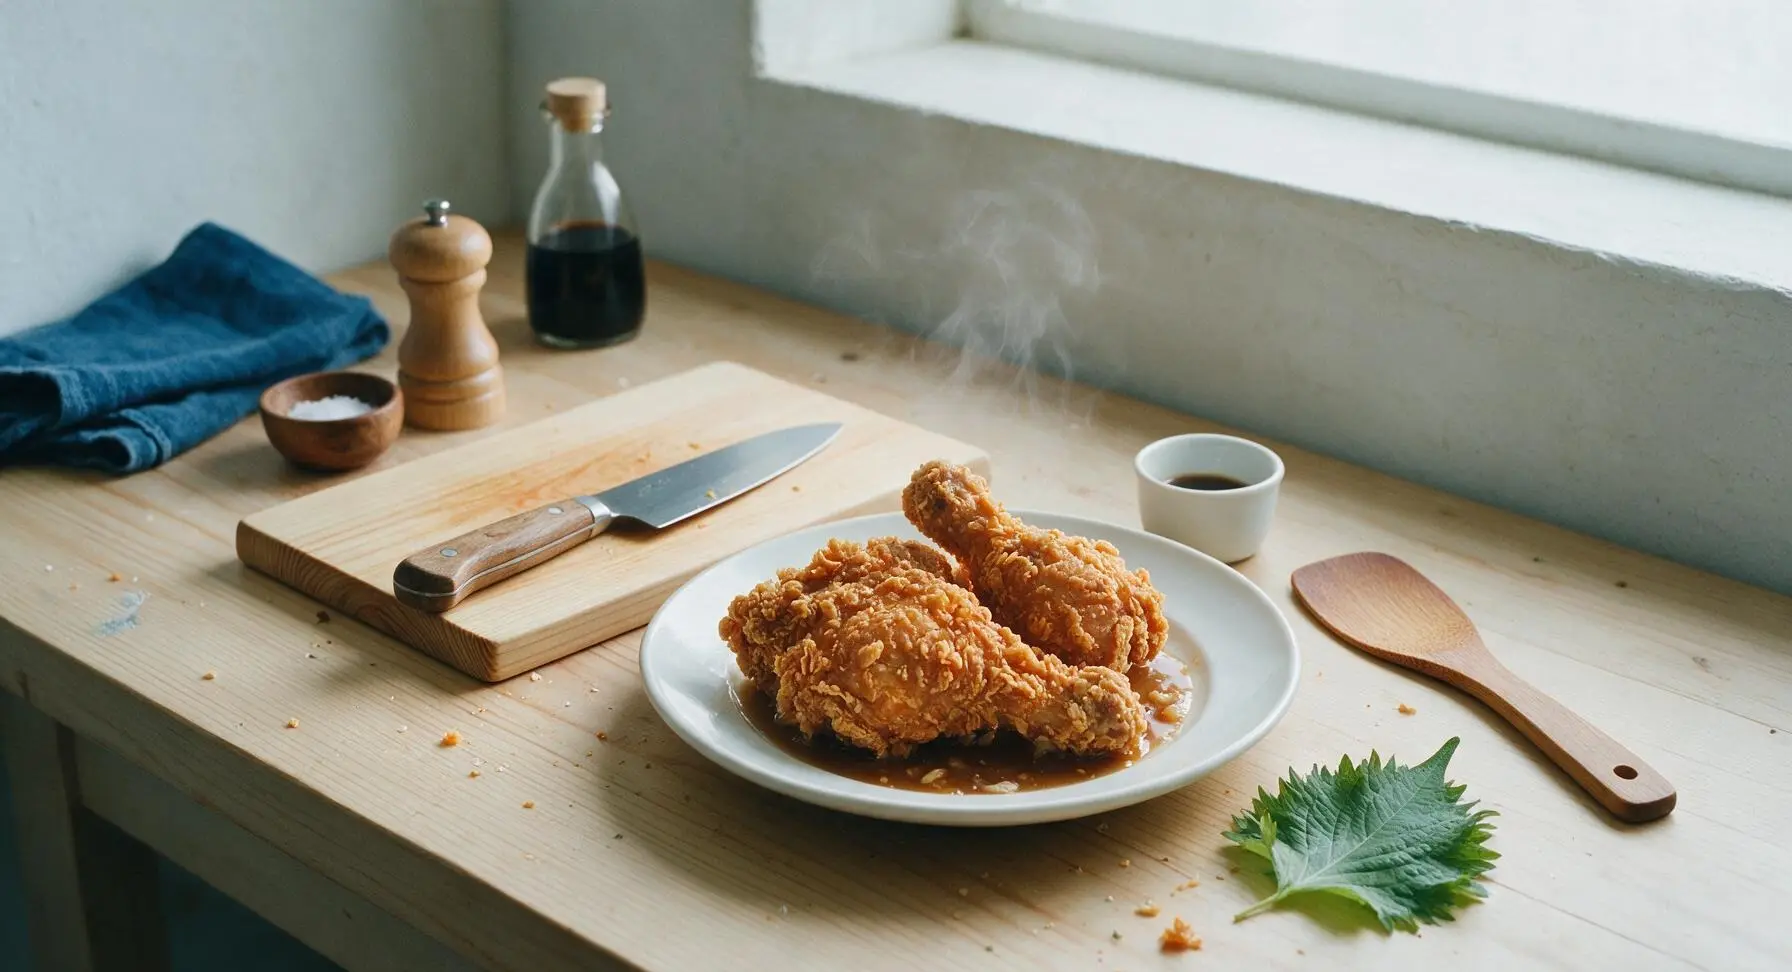
Shatteringly crisp, juicy fried chicken with a savory garlic-soy marinade, craggy golden crust, and rich gravy for dipping—pure nostalgic comfort.
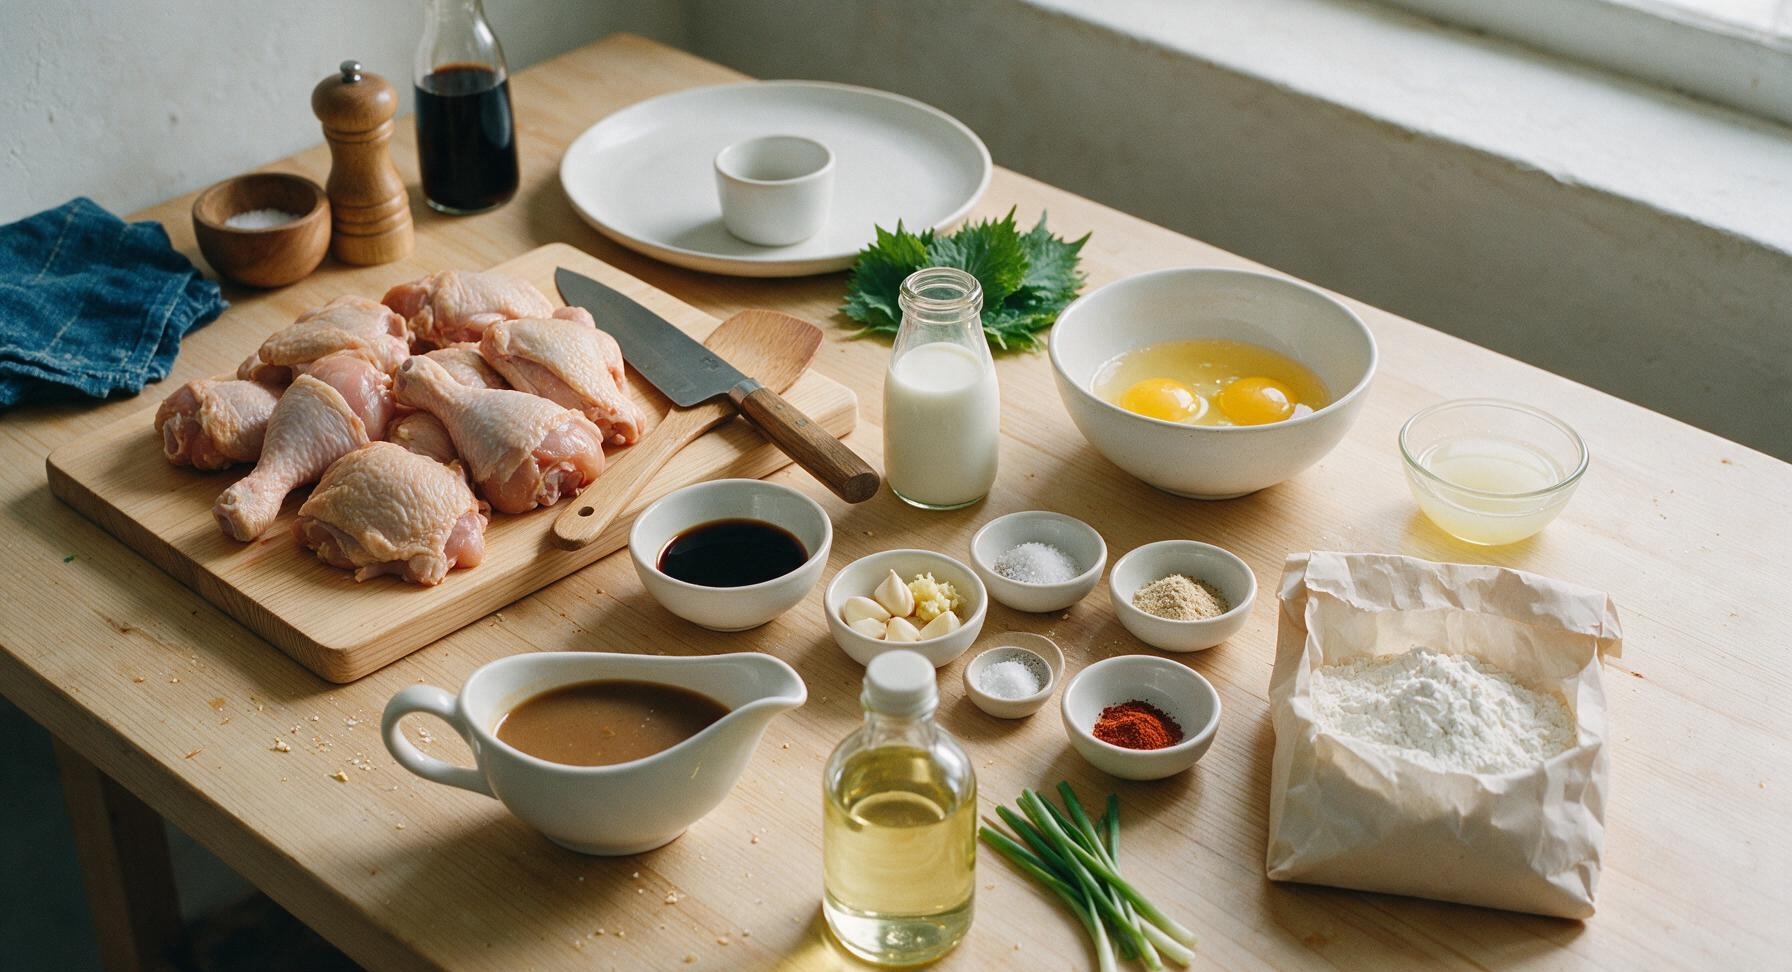
Ingredients
Steps
Marinate the Chicken
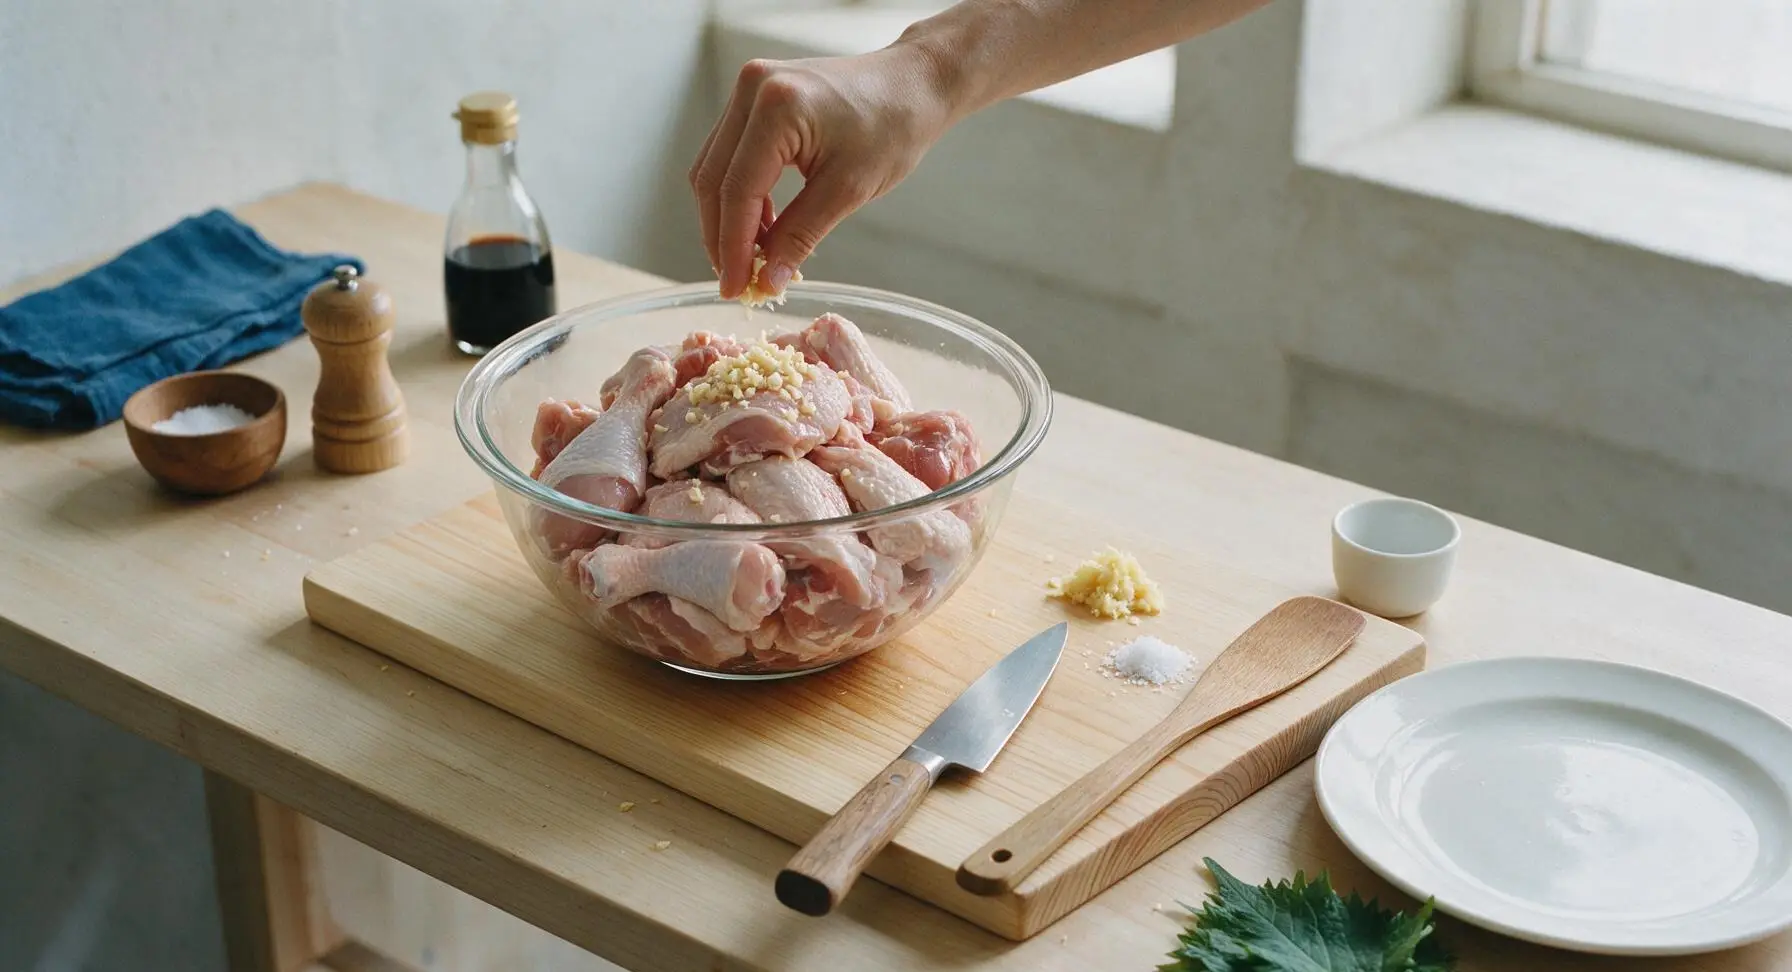
Pat 1.2kg bone-in, skin-on chicken pieces (a mix of drumsticks, thighs, and wings) completely dry with paper towels, then place in a large non-reactive glass bowl. Add 1/2 cup low-sodium soy sauce, 2 tbsp calamansi (or fresh lemon) juice, 6 crushed garlic cloves, 1 tbsp grated fresh ginger, 1 tsp fine sea salt, and 1 tsp ground black pepper. Toss to coat all pieces evenly, then stir in 1 cup whole milk. Cover and refrigerate for a minimum of 2 hours (up to 4 hours maximum) to let flavors penetrate and the milk tenderize the meat. Do not marinate longer than 4 hours, as the citrus acid will break down the meat texture and make it mushy.
Mix Crispy Coating
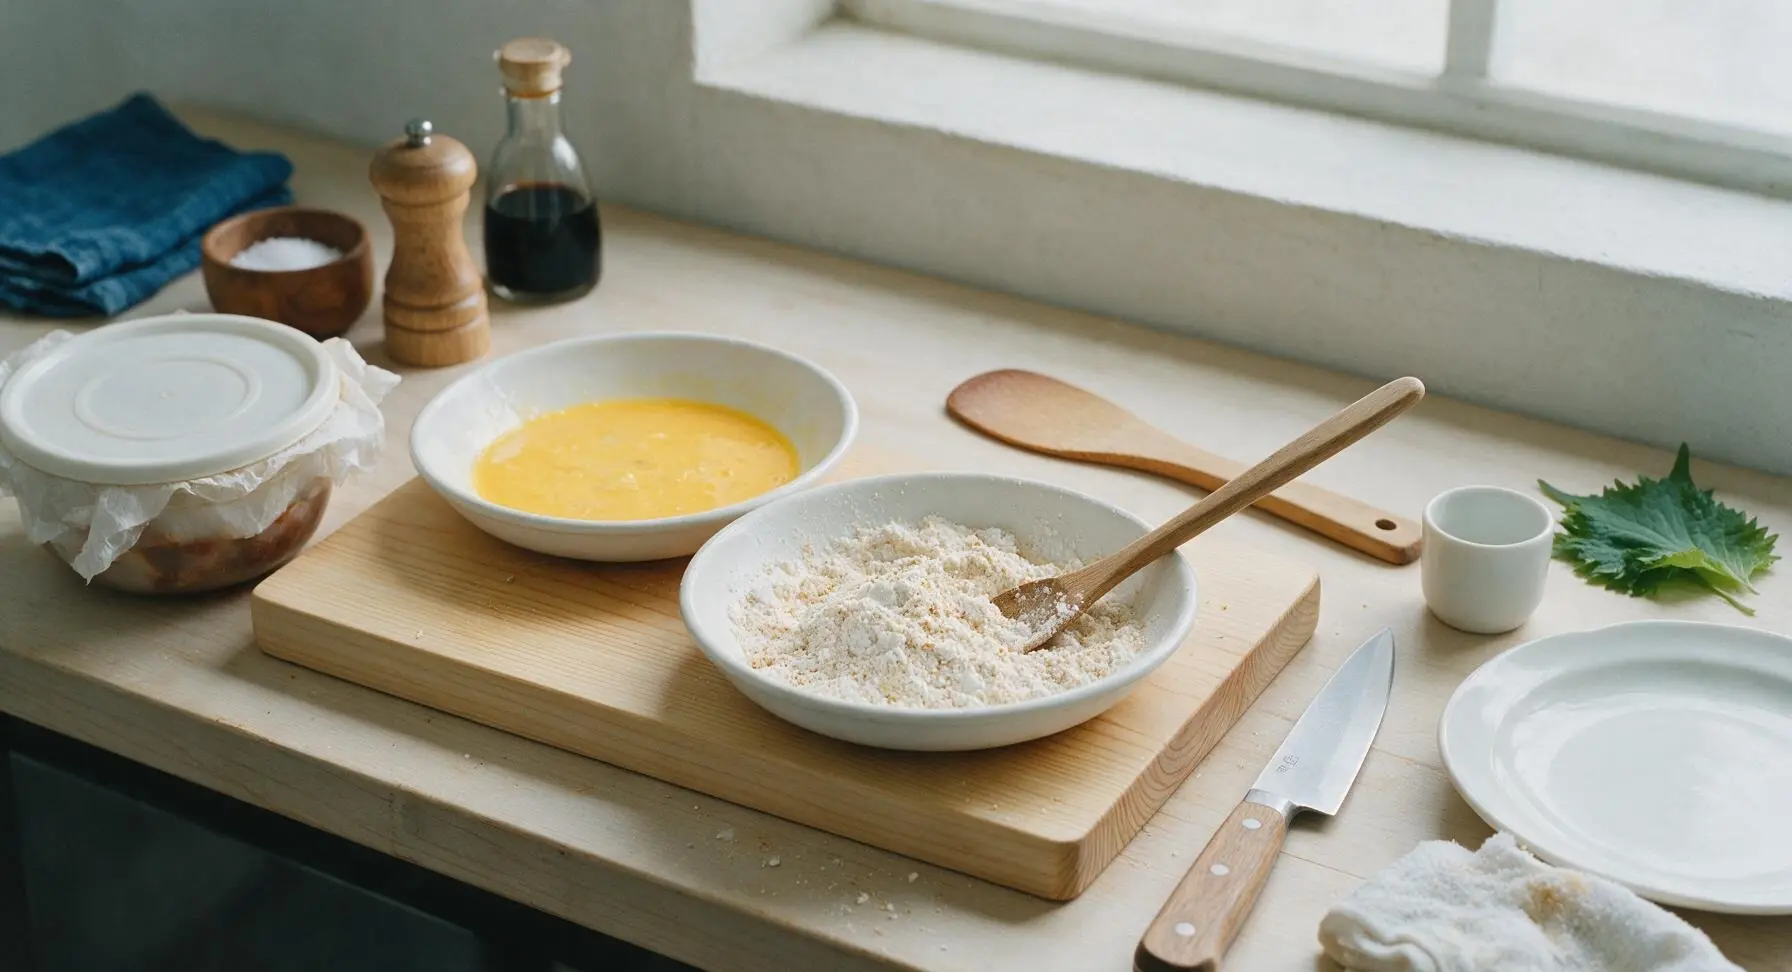
Place two shallow 20cm white ceramic dishes on the maple cutting board. In the first dish, combine 1.5 cups all-purpose flour, 1/2 cup cornstarch, 1 tbsp garlic powder, 1 tsp smoked paprika, 1 tsp fine sea salt, 1/2 tsp ground black pepper, and 1 tsp baking powder. Use the oak wooden mixing spoon to whisk thoroughly until all ingredients are fully evenly distributed, with no clumps of spice or starch visible. In the second dish, beat 2 large eggs until completely smooth, with no streaks of unincorporated egg white remaining.
Heat Frying Oil
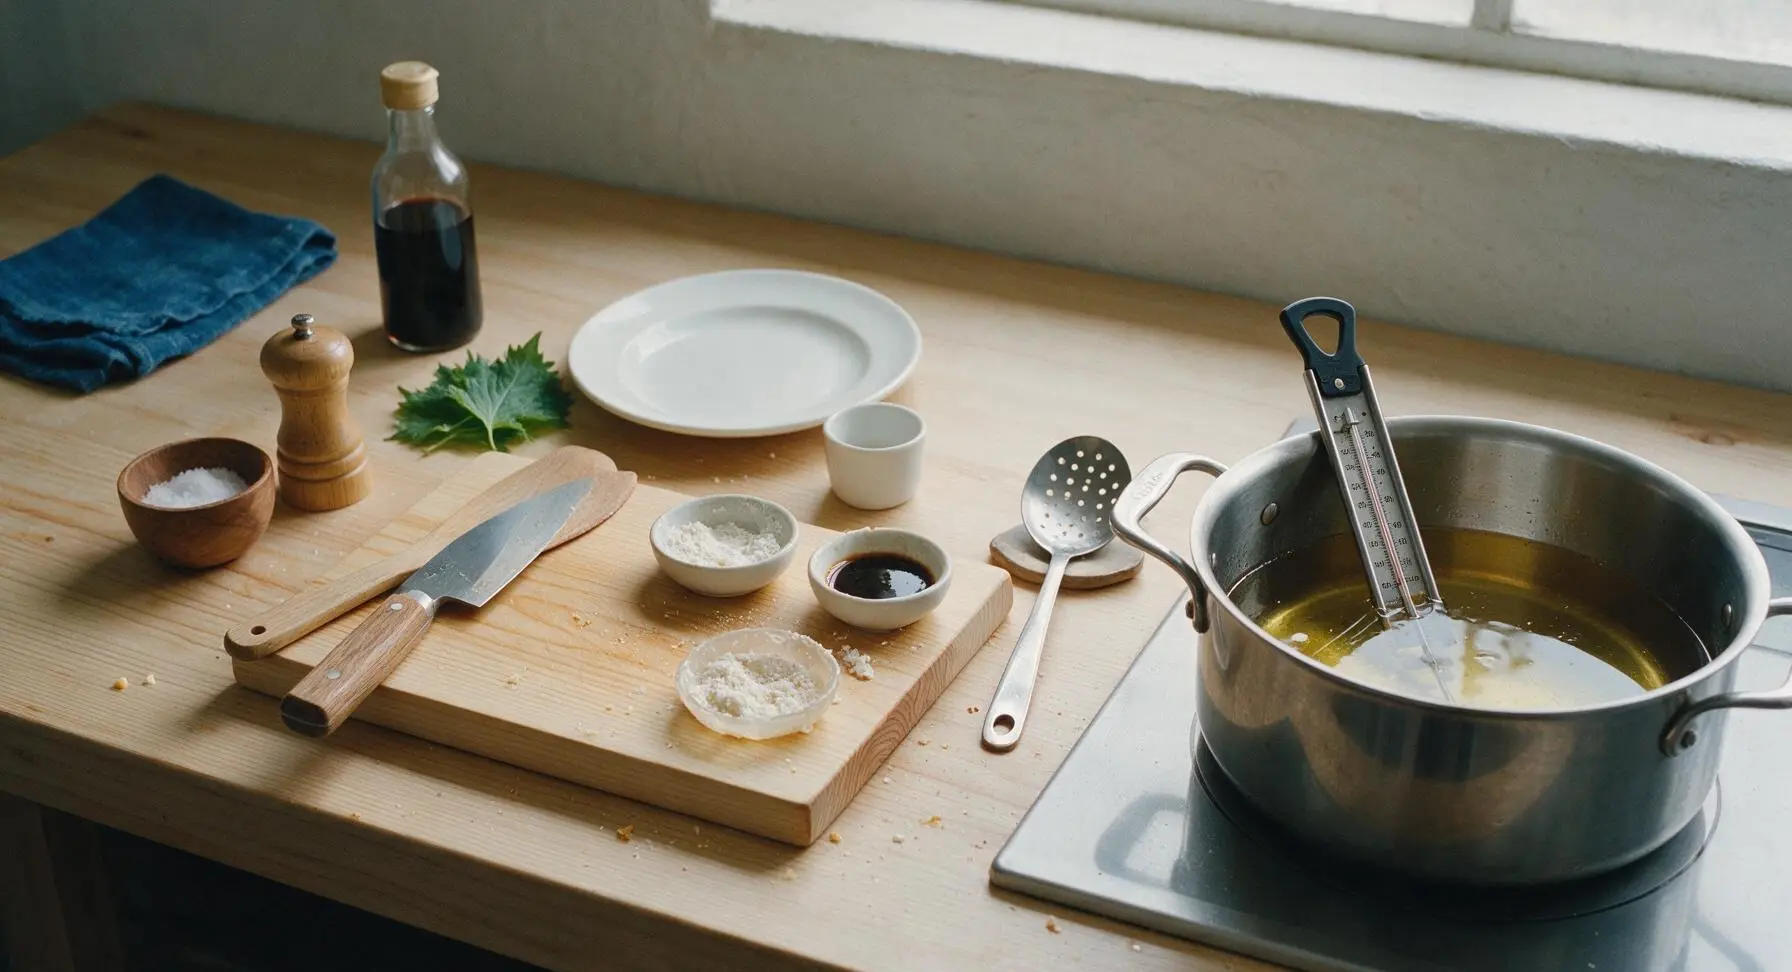
Set the 5L stainless steel Dutch oven on the flush induction burner on the right third of the counter. Pour 1.5L neutral canola or vegetable oil into the pot, then heat over medium-high until the oil reaches a steady 175C (350F), verified with a clip-on candy thermometer. Maintain this consistent heat throughout frying: oil that is too hot will burn the crust before the chicken cooks through, while oil that is too cool will result in greasy, soggy crust.
Coat Chicken Pieces
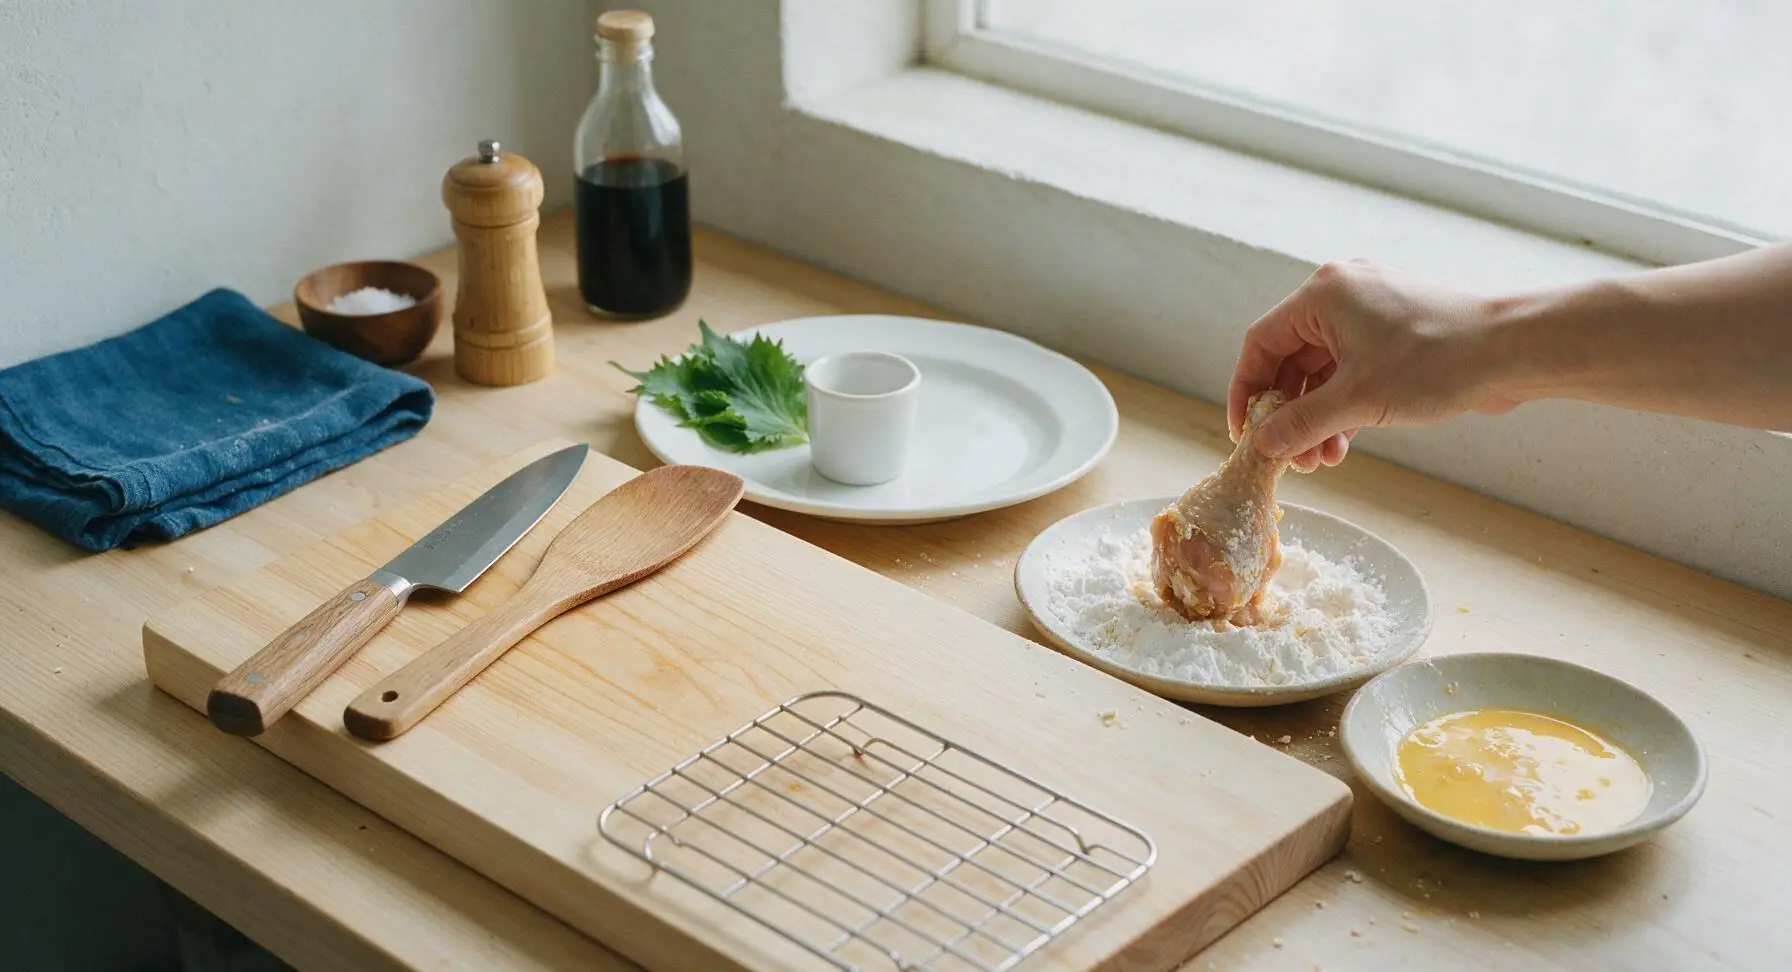
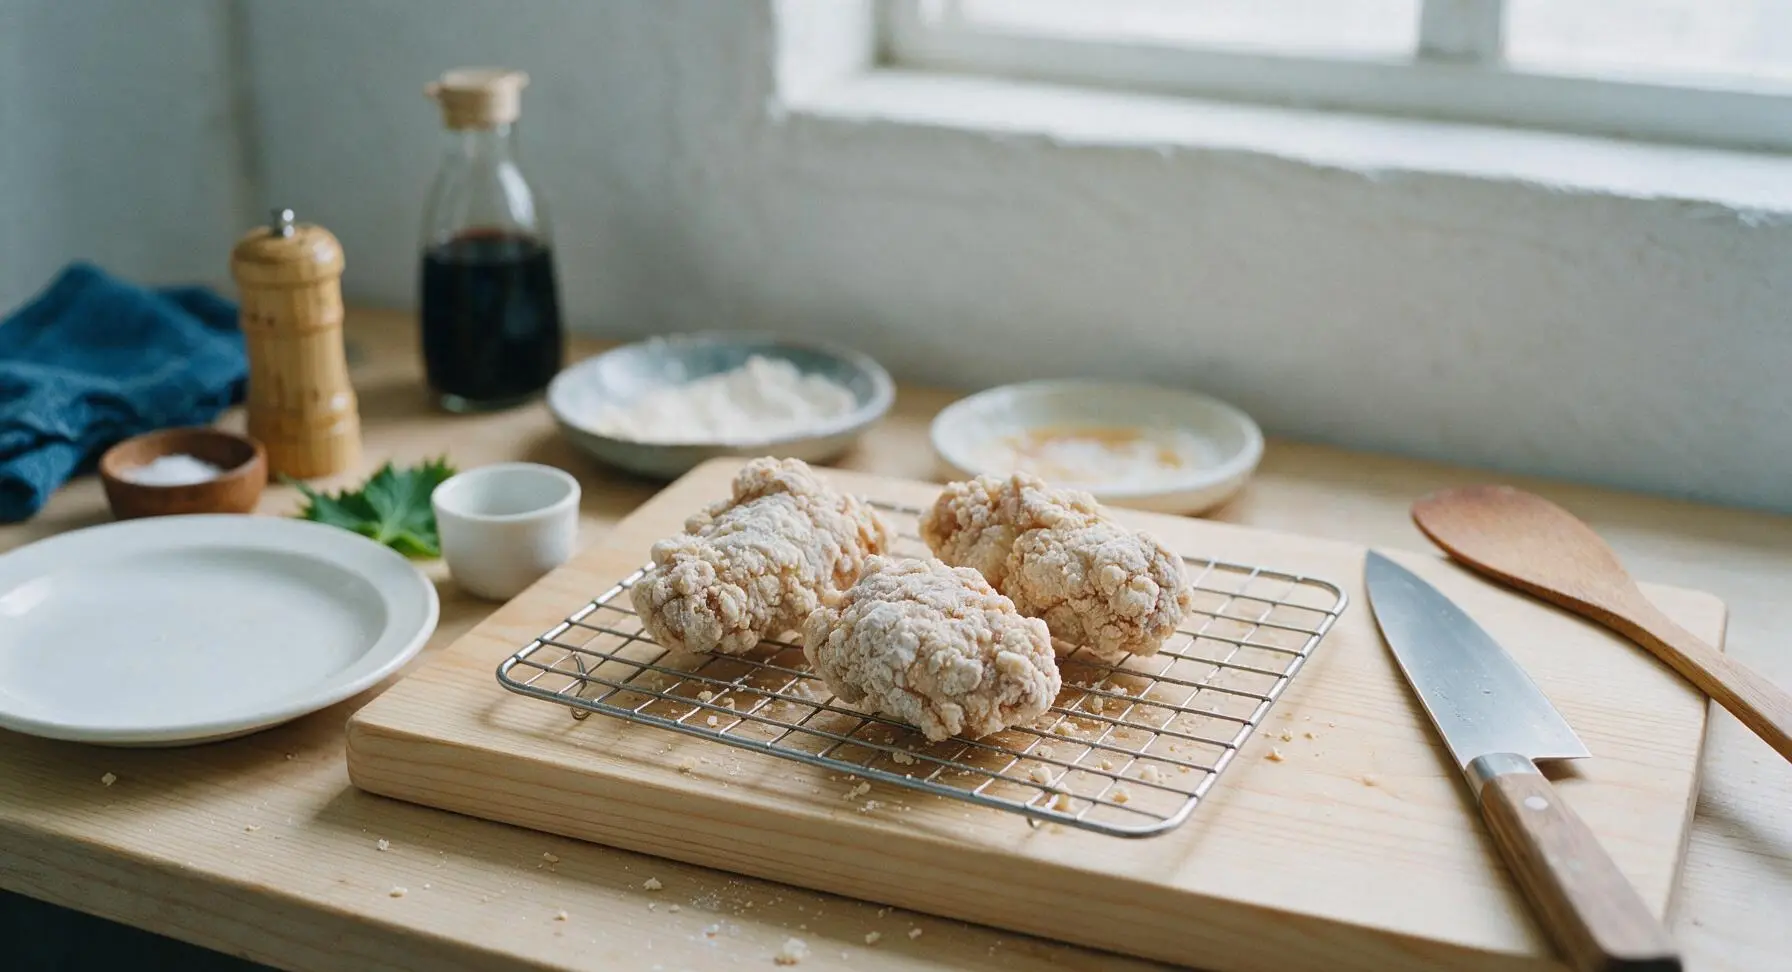
Set the thin metal wire rack on the front edge of the maple cutting board. Remove chicken pieces from the marinade one at a time, letting excess marinade drip off. Dredge each piece first in the flour-cornstarch mix, pressing firmly to create an even base coat, then dip fully in the beaten egg, letting excess egg drip off, then press back into the flour mix a second time, squeezing the coating slightly to create a rough, craggy textured surface. Set coated pieces on the wire rack, and let rest for 10 minutes before frying to let the coating set, which prevents it from falling off during cooking.
Fry Chicken in Batches
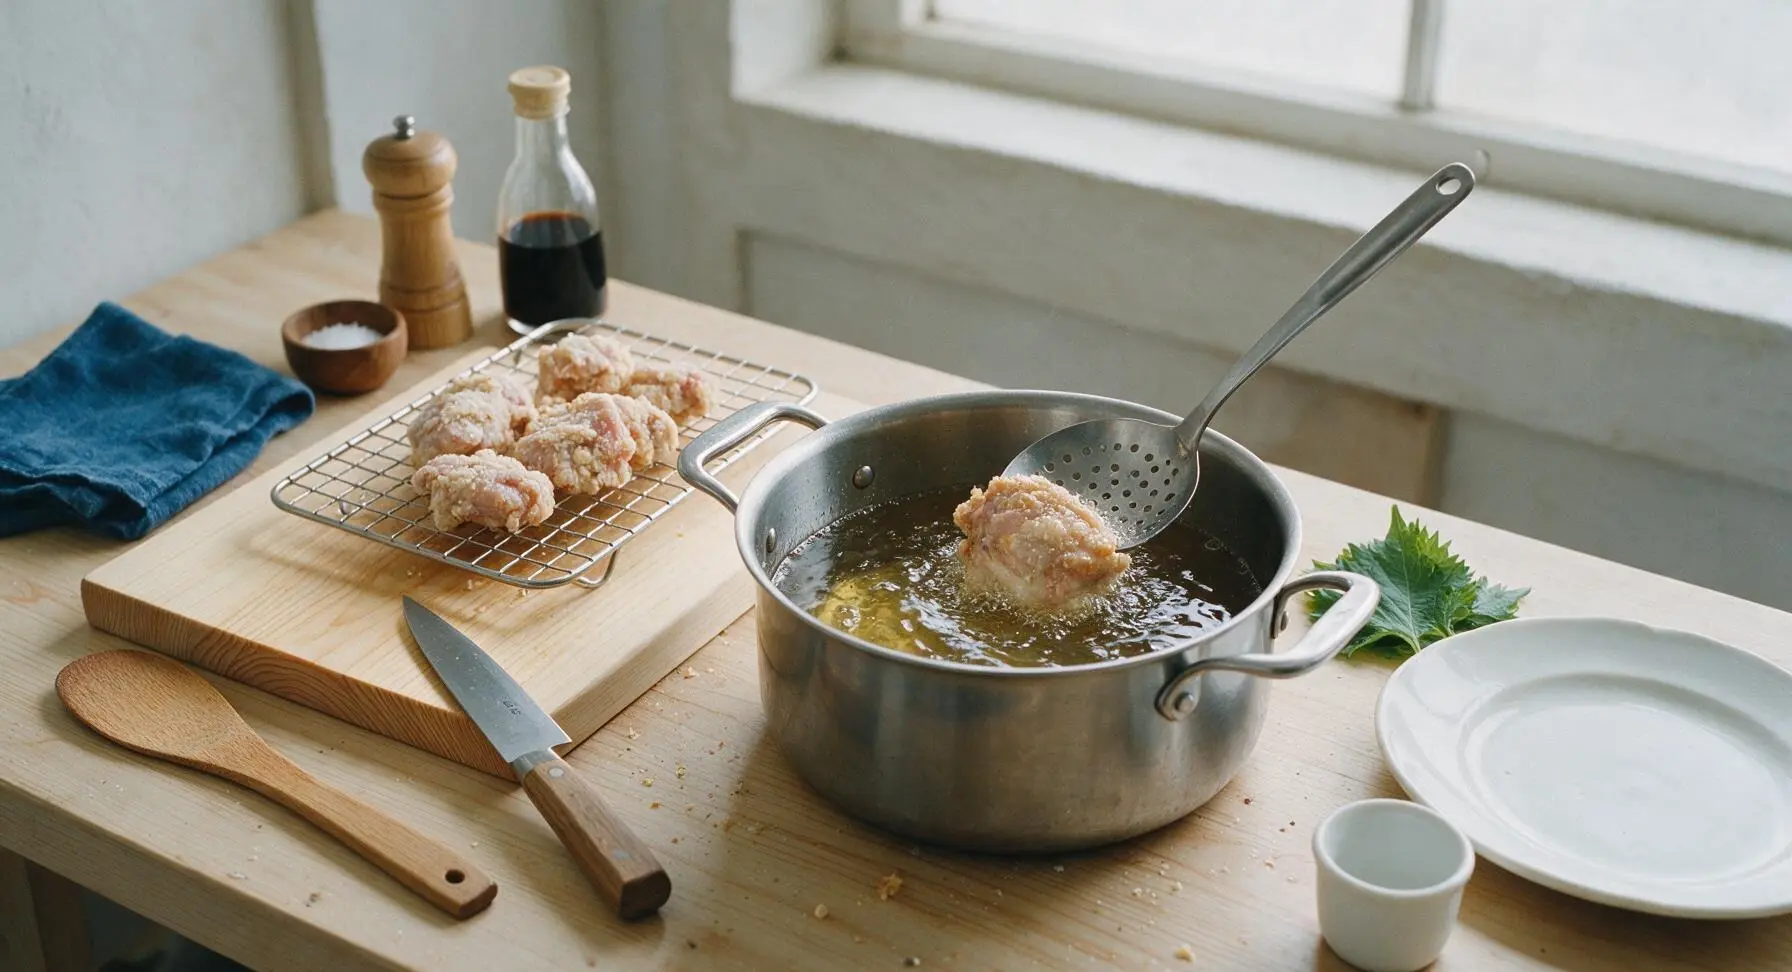
Carefully lower 3-4 coated chicken pieces into the 175C (350F) oil, taking care not to splash hot oil. Do not overcrowd the pot, as this drops oil temperature too quickly and causes soggy crust. Fry for 12-14 minutes total, turning pieces once halfway through cooking, until the crust is a deep, even golden brown, and the internal temperature of the chicken reaches 75C (165F) measured at the thickest part, away from the bone. Use the slotted metal spoon to lift pieces out of the oil, letting excess oil drain back into the pot between batches.
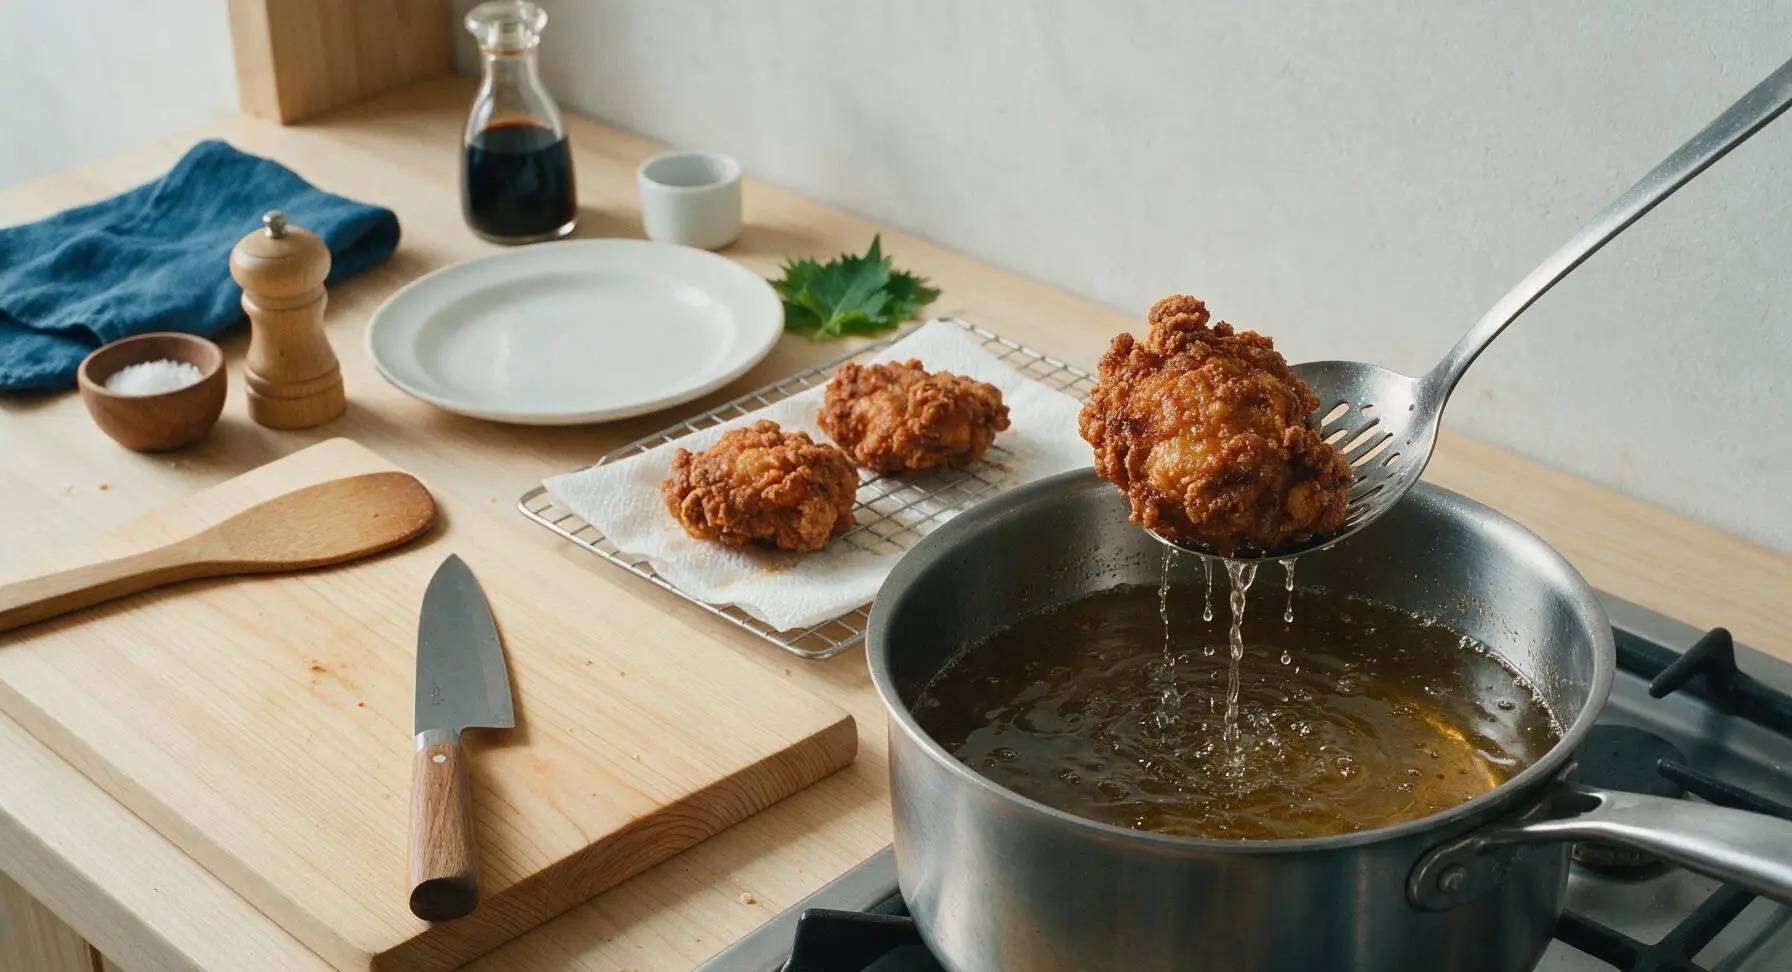
Drain and Rest Chicken
Transfer all fried chicken pieces to the paper-towel lined wire rack, and let rest for 5 minutes. This allows excess surface oil to drain off, and lets the juices redistribute inside the meat so they do not run out when the chicken is cut or bitten into. Do not rest chicken directly on a solid plate, as trapped steam will make the bottom crust soft and soggy.
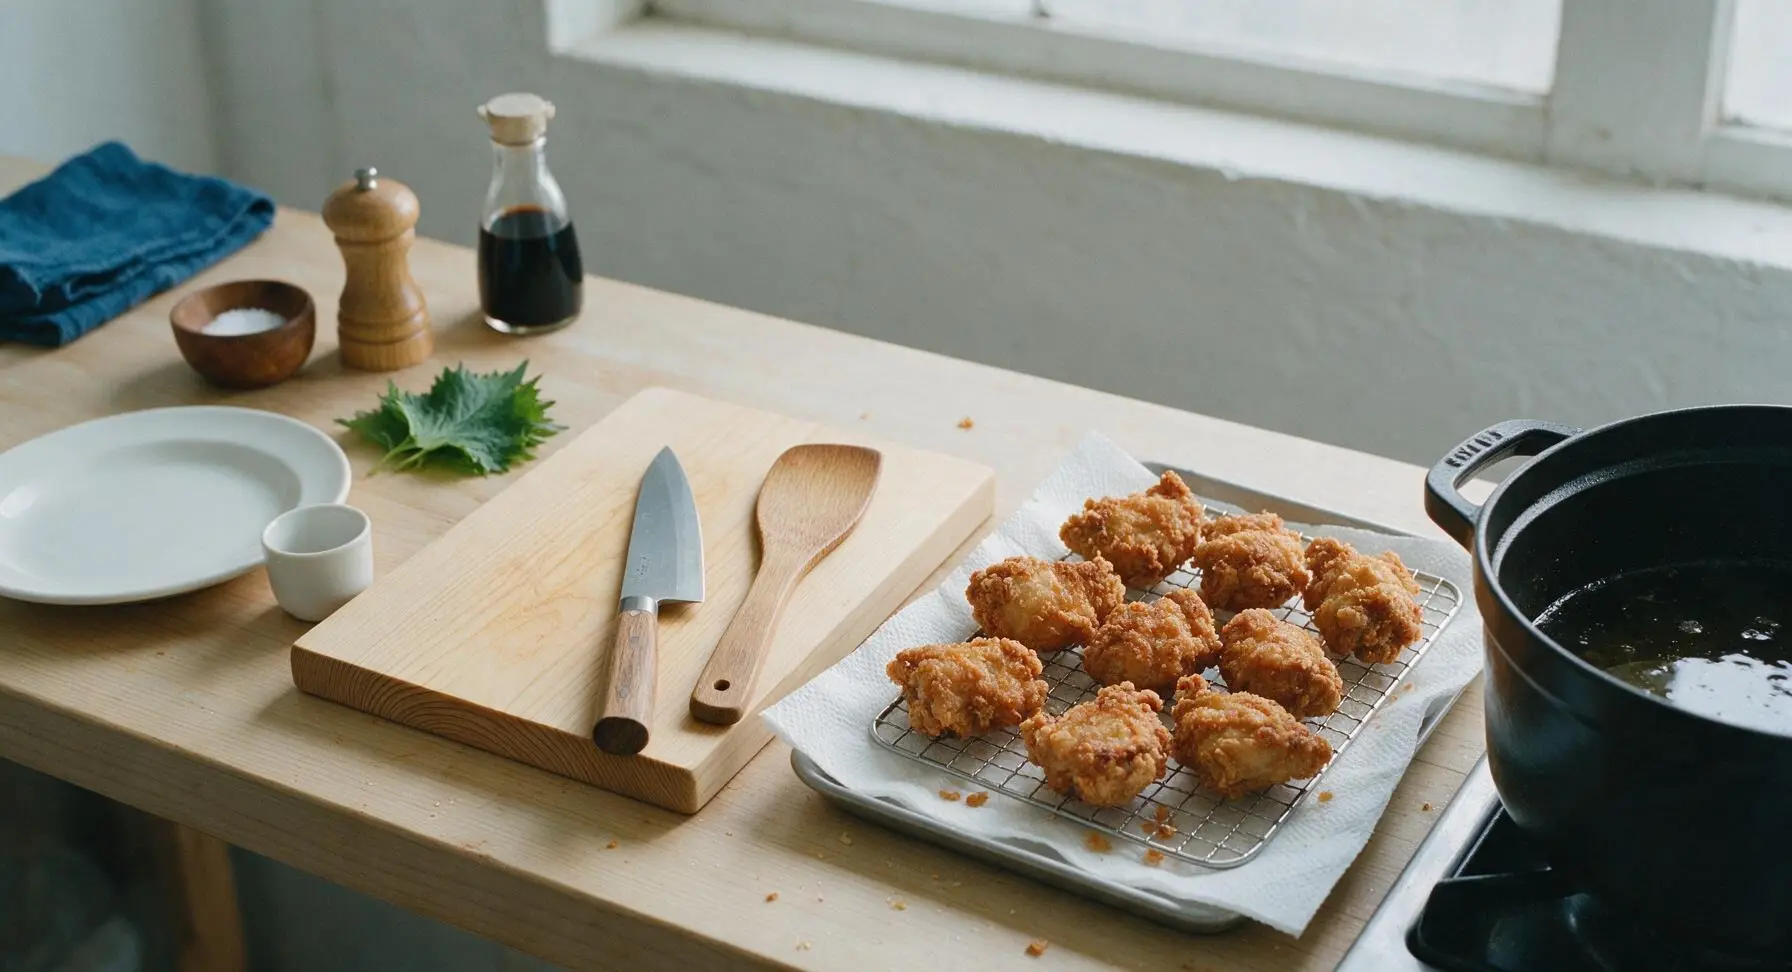
Plate and Serve
Pile the rested fried chicken pieces casually high on the off-white hand-thrown ceramic dinner plate. Tuck one 8cm matte white ramekin of warm savory chicken gravy at the edge of the plate for dipping. Garnish with a single sprig of fresh scallion from the bunch at the back of the counter, and serve immediately while the crust is still shatteringly crisp.
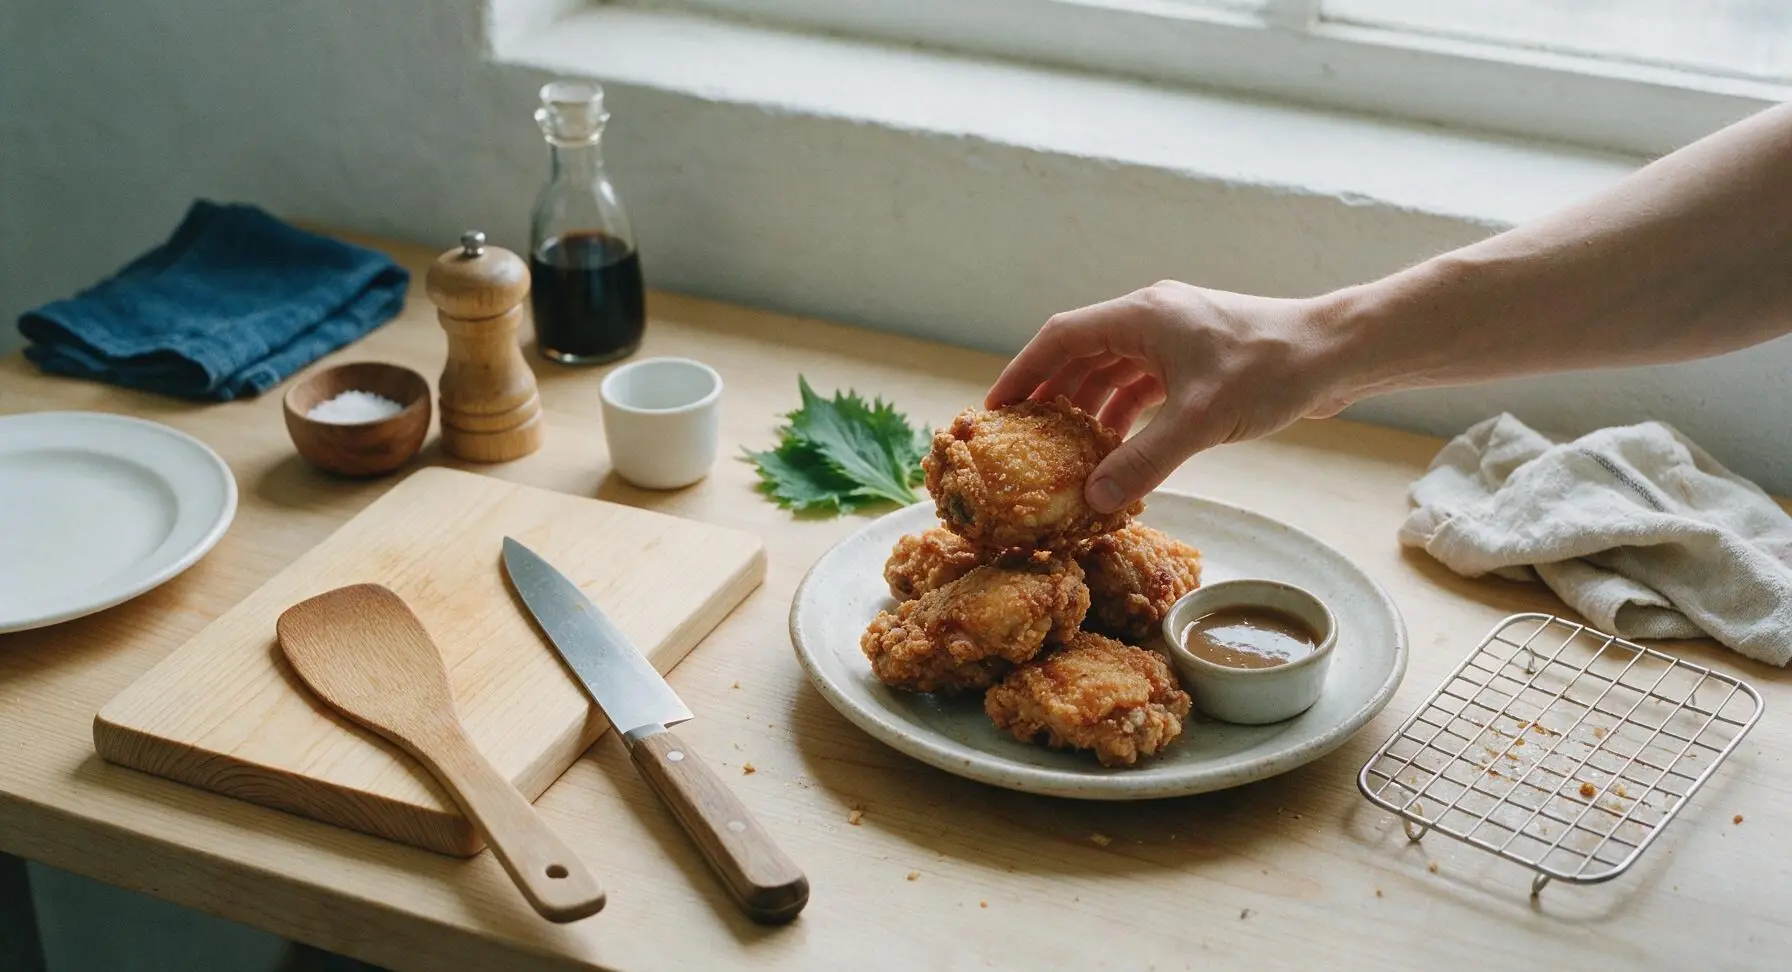
Tips
2.Let coated chicken rest for 10 minutes before frying: this gives the flour and egg time to hydrate and adhere tightly to the chicken skin, so the crust won't slide off or separate from the meat while frying, one of the most common mistakes home cooks make with fried chicken.
3.Fry in small batches and monitor oil temperature closely: overcrowding the pot drops oil temperature by 20-30C, leading to greasy, pale crust; use a clip-on thermometer to hold a steady 175C (350F) for perfectly crisp, evenly cooked chicken every time.






OMG this tasted exactly like the Chicken Joy I grew up getting at Jollibee after church! I was so worried the breading wouldn’t get crispy enough in the air fryer but it was perfect, even my super picky 7 year old asked for seconds. Total game changer for our weekly family dinner rotation. Will absolutely be making this for our next neighborhood potluck too!
Super solid recipe, cook time was spot on at 25 minutes which is perfect for my weeknight meal prep. I will say the seasoning is a little saltier than I prefer so I cut the soy sauce by a teaspoon next time, but otherwise the flavor is unreal. SO good even cold straight out of the meal prep container at lunch, no joke.
Made this last night for my husband and two teens, everyone cleared their plates! I added a little extra paprika to the breading for a tiny kick and it was chef’s kiss. Way better than grabbing takeout on busy school nights, and I didn’t even realize it was considered medium difficulty—felt totally doable even for someone who burns toast half the time lol.
Brought this to our office potluck last week and people were literally hovering over the platter asking for the recipe! The only issue I had was that the chicken didn’t stay as crispy when I transported it, but everyone still raved so much I didn’t even care. 10/10 will be making again.
Tried this after seeing a friend post about it, and wow—way better than the fast food version! I used boneless skinless thighs instead of bone-in because that’s what I had in the fridge, and it still came out juicy and flavorful. Great recipe, will be making this for my post-hike meals from now on.
As a first gen Filipino American I was skeptical of a copycat Chicken Joy recipe, but this hit so close to home I almost cried. The little hint of garlic powder in the coating? Exactly what I remembered from childhood trips to visit my grandma in Manila. 10/10 no notes, already sent the link to my whole family group chat.
I was so excited to try this recipe this weekend, but I had two quick questions before I start: is this supposed to work in a regular deep fryer too? I don’t have an air fryer and I’ve been craving Chicken Joy for weeks but don’t want to drive 40 minutes to the nearest Jollibee. Also, can I use chicken drumsticks instead of the cut up whole chicken the recipe calls for? Giving 4 stars for now because the instructions look super clear, will update once I make it!