
Chicken Katsu Don
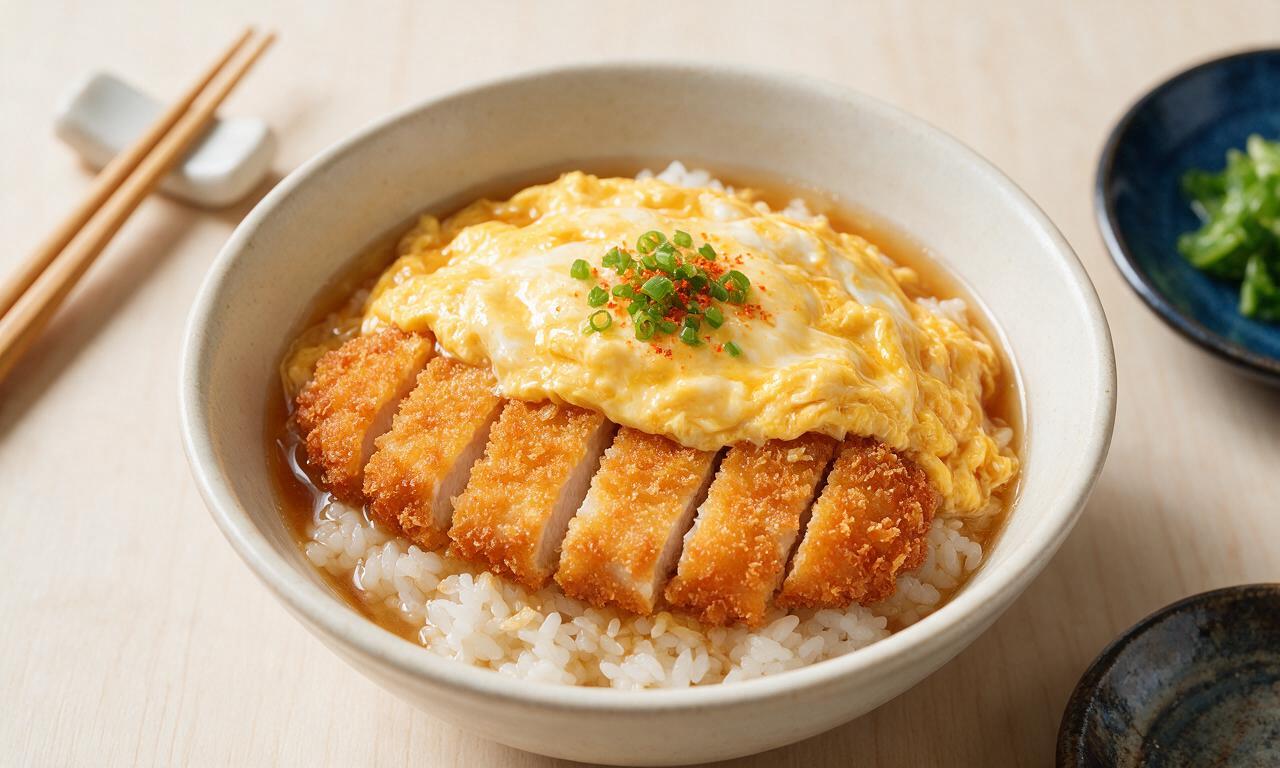
intro
Crispy panko-breaded chicken cutlet simmered with soft egg and savory-sweet dashi broth, served over fluffy rice for a cozy, satisfying one-bowl meal.
Ingredients
Steps
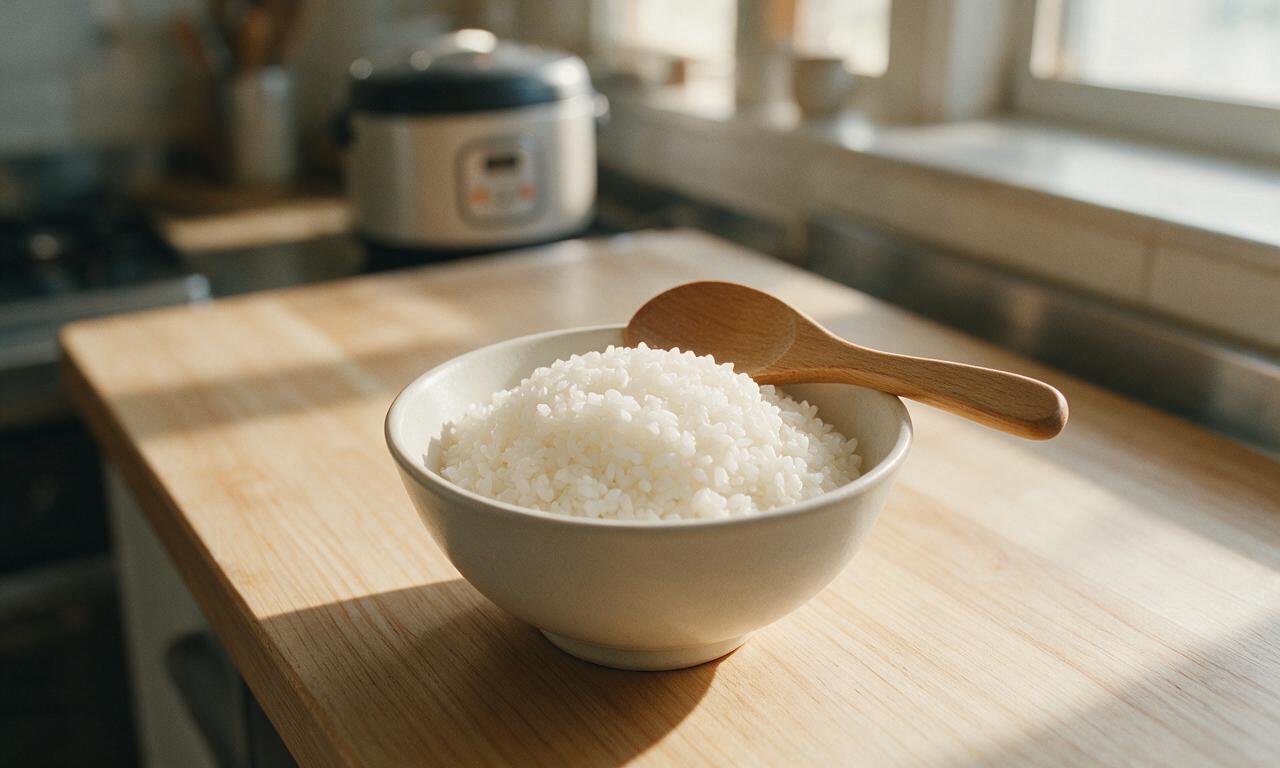
Cook steamed rice
Rinse 320g short-grain white rice under cold running water until the water runs clear, then cook per package instructions in a rice cooker or lidded pot over medium-low heat for 18 minutes. Once cooked, let rice rest covered for 10 minutes to fluff fully, then divide evenly between 4 deep donburi bowls and set aside.
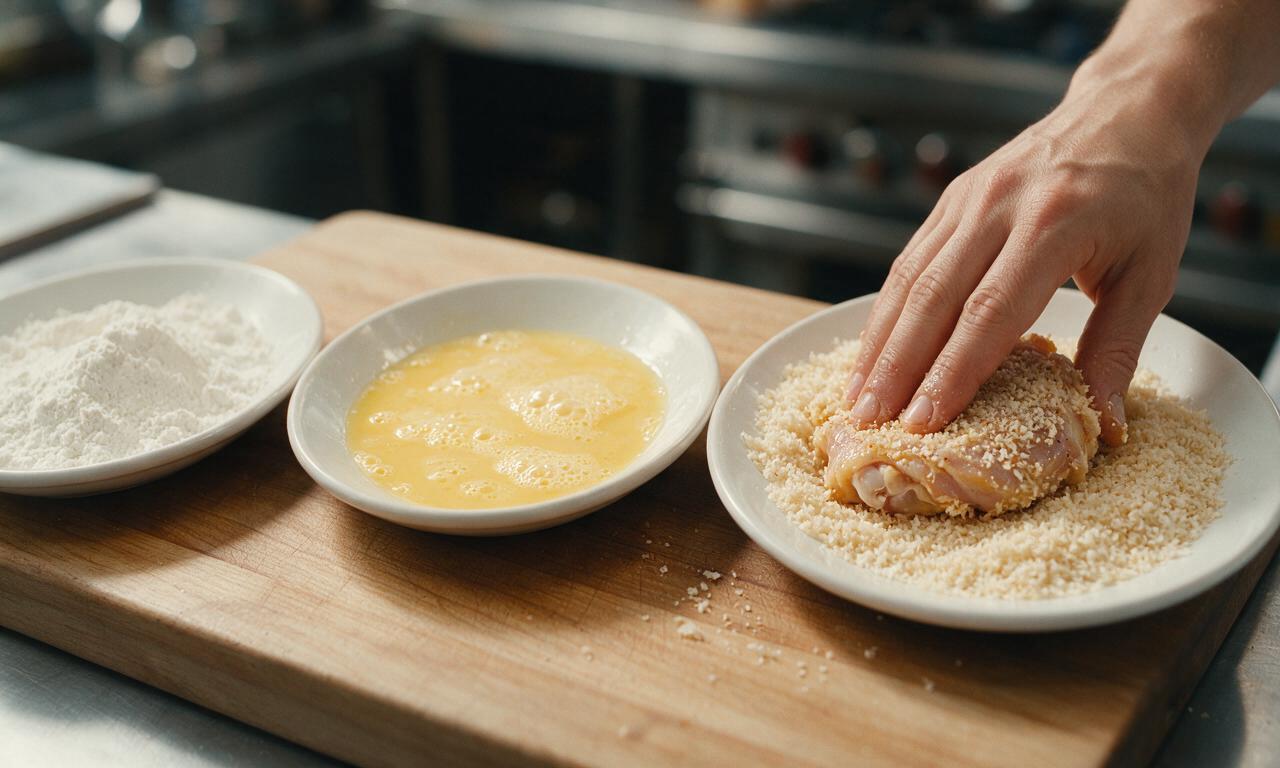
Bread chicken cutlets
Pat 600g chicken thighs completely dry with paper towels, pound to an even 1.5cm thickness with a meat mallet or heavy pan, then season both sides evenly with 1/2 tsp salt and 1/2 tsp black pepper. Set up a 3-station breading line: 60g all-purpose flour in the first dish, 2 beaten eggs in the second, 150g panko breadcrumbs in the third. Dredge each chicken piece first in flour (shake off excess), then dip fully in egg, then press firmly into panko to coat every surface evenly. Set coated pieces on a plate for 5 minutes to let the breading adhere.
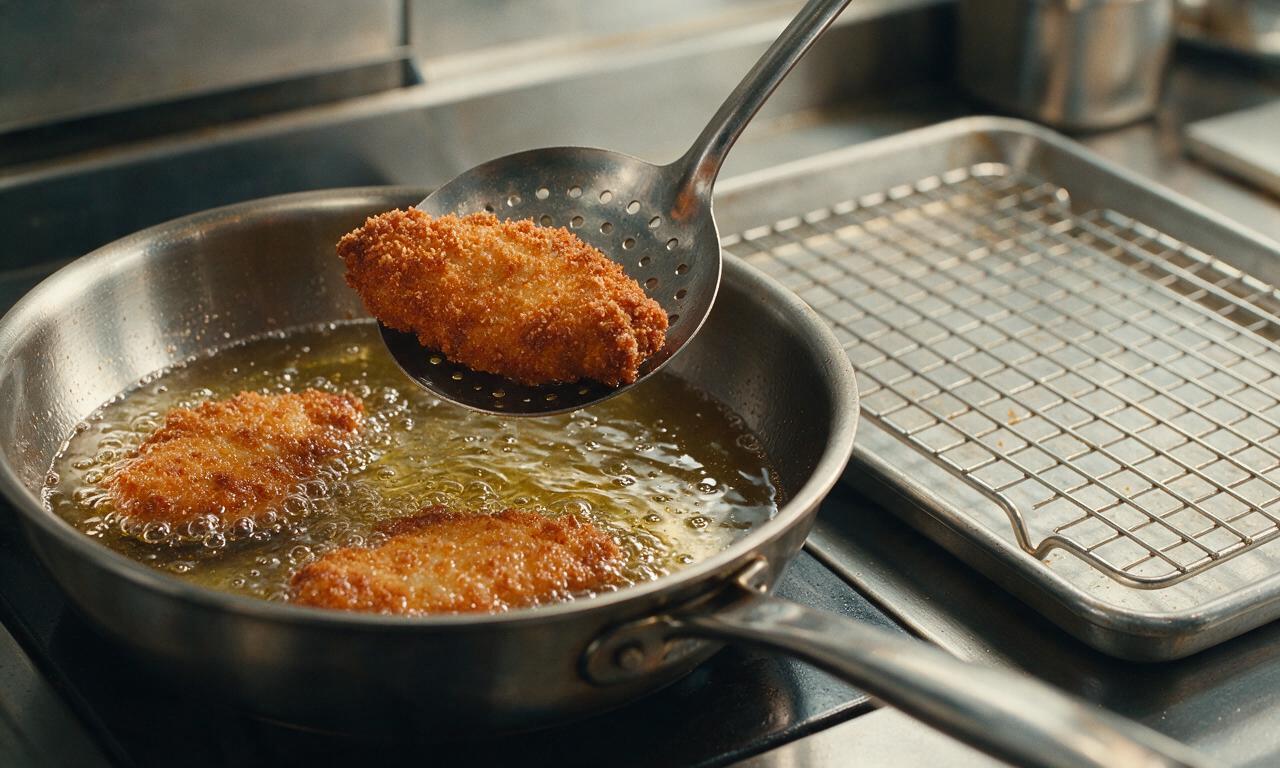
Fry crispy katsu
Heat 500ml neutral oil in a deep skillet or pot to 170°C (340°F) over medium heat. Gently lower 2 breaded chicken pieces into the oil at a time (do not overcrowd the pan, which drops oil temperature and makes katsu greasy), fry for 3 minutes per side until deep golden brown and crispy, with an internal temperature reaching 75°C (165°F). Remove fried katsu to a wire rack set over a baking sheet to drain excess oil (do not drain on paper towels, which makes the crust soggy), repeat with remaining chicken pieces, then let katsu rest for 3 minutes before slicing into 2cm wide strips.
Simmer broth and onion
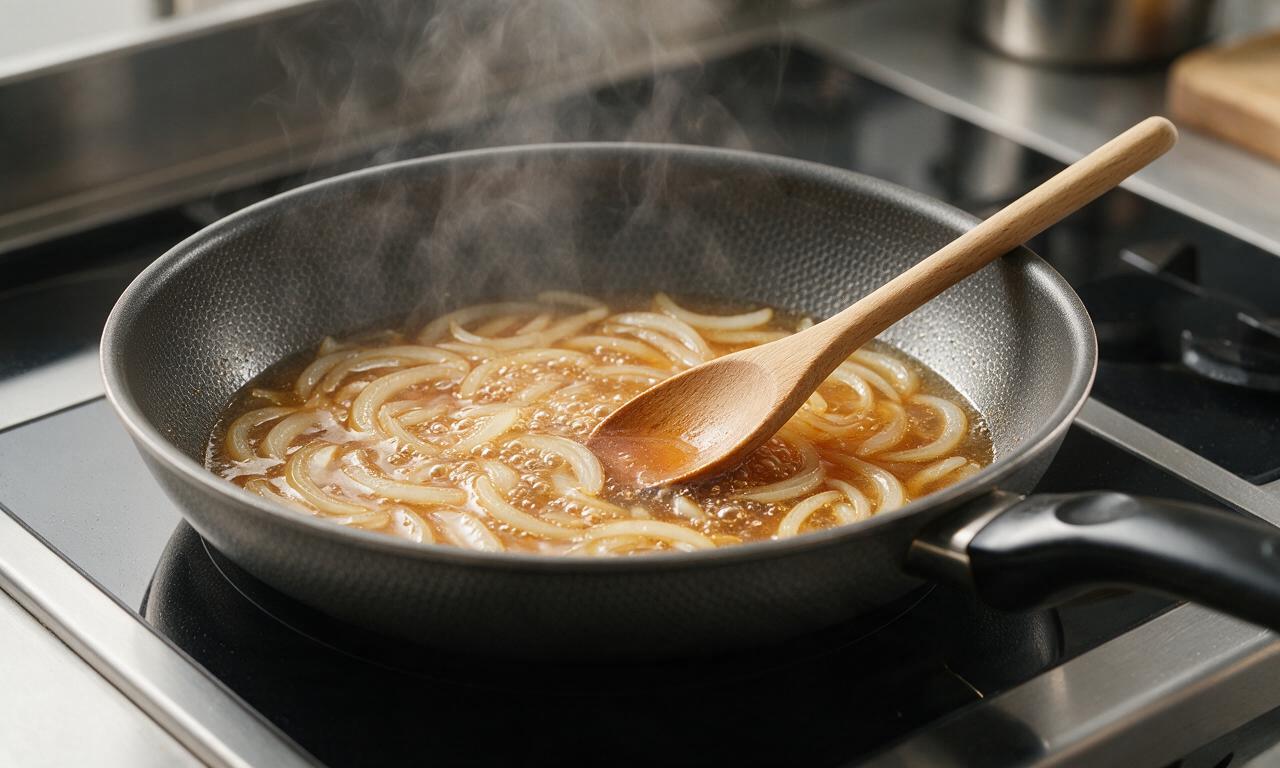
In a wide, shallow skillet over medium heat, combine 240ml dashi stock, 45ml soy sauce, 45ml mirin, and 12g granulated sugar, stirring to dissolve the sugar fully. Bring the broth to a gentle simmer, then add 150g thinly sliced yellow onion, cook for 4 minutes until onion is soft and translucent, reducing heat to medium-low to maintain a light, steady bubble.
Cook katsu with egg
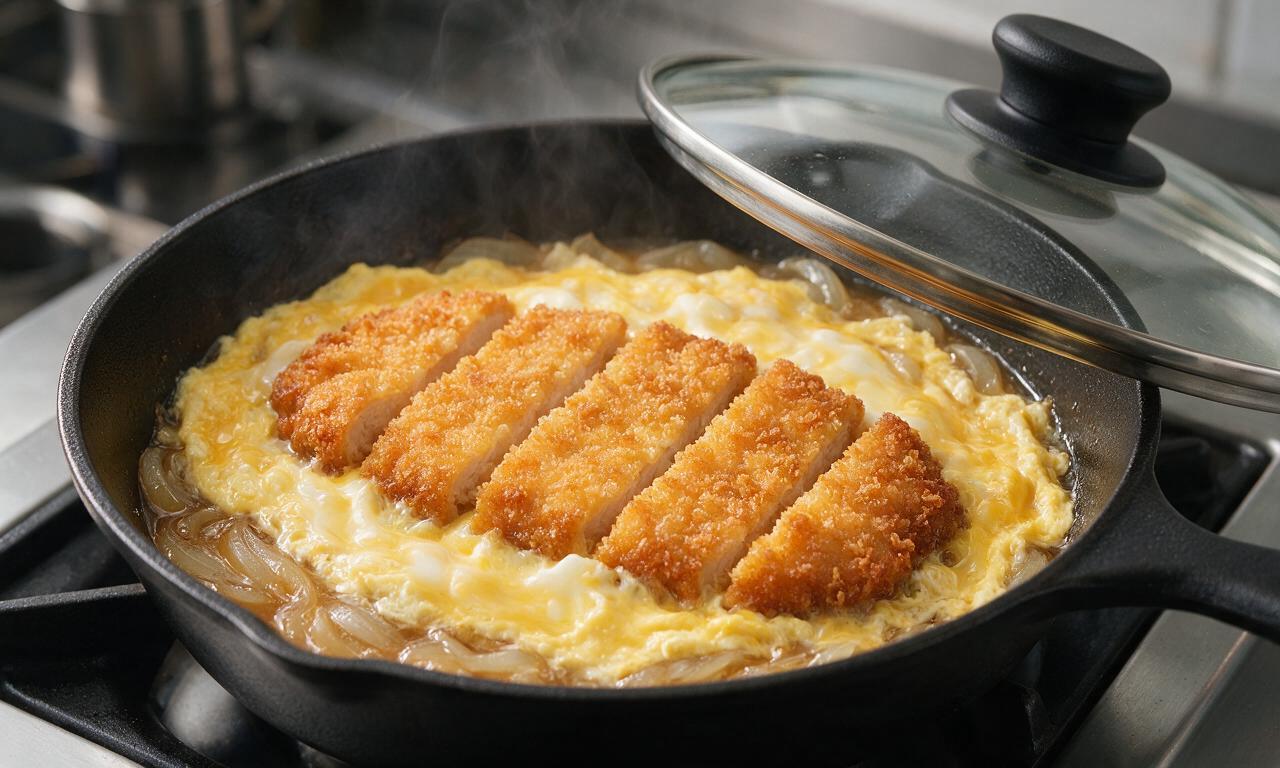
Arrange sliced katsu strips evenly over the simmering onion in the skillet (cook in 2 batches if your skillet is too small to hold all katsu in a single layer), then lightly beat the remaining 4 eggs (do not whisk until fully smooth, leave some streaks of separate white and yolk for tender curds). Pour 2/3 of the beaten egg slowly and evenly over the katsu and onion, place a lid on the skillet and cook for 1 minute over medium-low heat. Pour the remaining 1/3 of the egg over the top, replace the lid and cook for 30 more seconds until eggs are softly set, not fully solid.
Assemble and serve
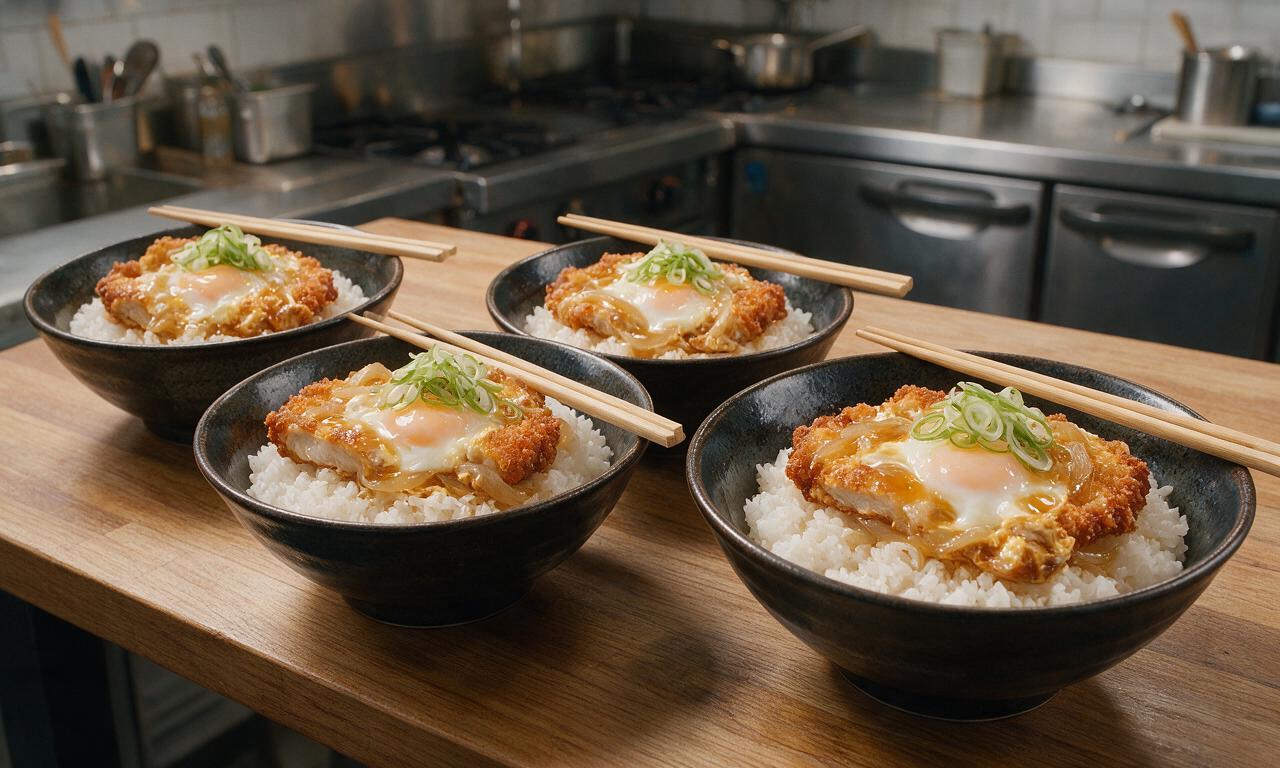
Carefully lift portions of the katsu, egg, and onion mixture with a wide spatula and slide over the top of the pre-portioned rice in each bowl, spooning any remaining savory broth over the top to soak slightly into the rice. Garnish each bowl with thinly sliced scallions, and serve immediately while the katsu is still crispy and eggs are warm.
Tips
2.Do not fully whisk the eggs for the topping: leave visible streaks of separate white and yolk to create soft, tender curds instead of tough, rubbery fully mixed egg.
3.Let breaded chicken rest for 5 minutes before frying: this helps the panko coating adhere firmly so it does not fall off during cooking or serving.






OMG this chicken katsu don was a total game changer for our weeknight family dinner! My 7 and 9 year old usually turn their noses up at anything that isn't chicken nuggets, but they both asked for SECONDS. The katsu was perfectly crispy even when I poured the runny egg and sauce over it, total win.
Super easy recipe for a college student who barely knows how to boil water! Cook time was exactly what the recipe said, no fancy ingredients needed. I swapped the white rice for brown rice because that's all I had in my dorm, and it still slapped.
Brought this to my office potluck last week and people were hounding me for the recipe before we even finished lunch! The sweet-savory sauce is chef's kiss, I added a little extra ginger because I'm obsessed with ginger and it was perfect.
Wait, has anyone tried making this with chicken thighs instead of breast? I always think thighs are juicier but don't know if it would work for katsu?
SO good. I've ordered katsu don from my local Japanese spot for years and never thought I could make it at home that tastes just as good, if not better. The only thing I messed up was overcooking the egg a little, but that was my bad, not the recipe's.
Added this to my Sunday meal prep rotation! I pre-cook the katsu cutlets and keep the sauce separate, then just heat up the rice and assemble for lunch all week. Holds up way better than I thought it would, no sad soggy lunch for me!
Wait, can I bake the katsu instead of frying it? My dorm doesn't allow hot plates for frying, I only have a toaster oven.
Made this for my grandson's birthday dinner since he's obsessed with all things Japanese, and he said it was better than the takeout he gets with his friends! I did cut the soy sauce a tiny bit because I watch my sodium, but otherwise followed the recipe exactly. Will be making this again for sure.
Game changer! I used to think katsu was too fussy to make on weeknights but this was so straightforward, 35 minutes start to finish like the recipe says, no weird steps. I added a little side of pickled ginger on the side and it felt like a restaurant meal.
Tried adding a drizzle of spicy mayo on top after seeing a TikTok hack and holy cow, it was insane. 10/10 would recommend if you like a little heat. Only complaint is I wish the recipe made more sauce, I could drink that stuff.
Made this for my husband for our first at-home date night after we got back from our honeymoon in Japan, and he said it tasted exactly like the katsu don we had at a tiny shop in Tokyo! I was so nervous I'd mess it up, but the steps were super easy to follow, even for a new cook like me.