
Chicken Katsu (Hawaii)
intro
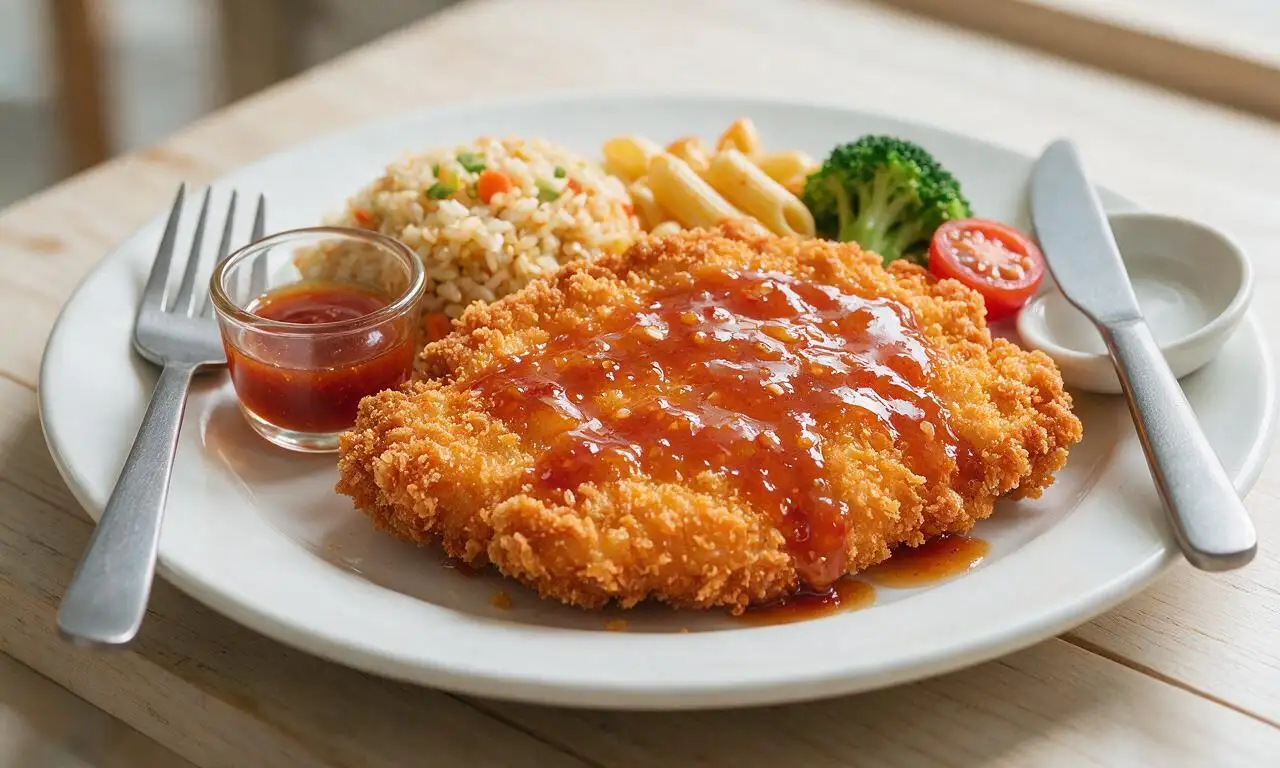
Crispy, juicy panko-fried chicken cutlets with tangy sweet-savory sauce, a beloved Hawaiian plate lunch staple adapted from Japanese tonkatsu.
Ingredients
Steps
Prep chicken cutlets
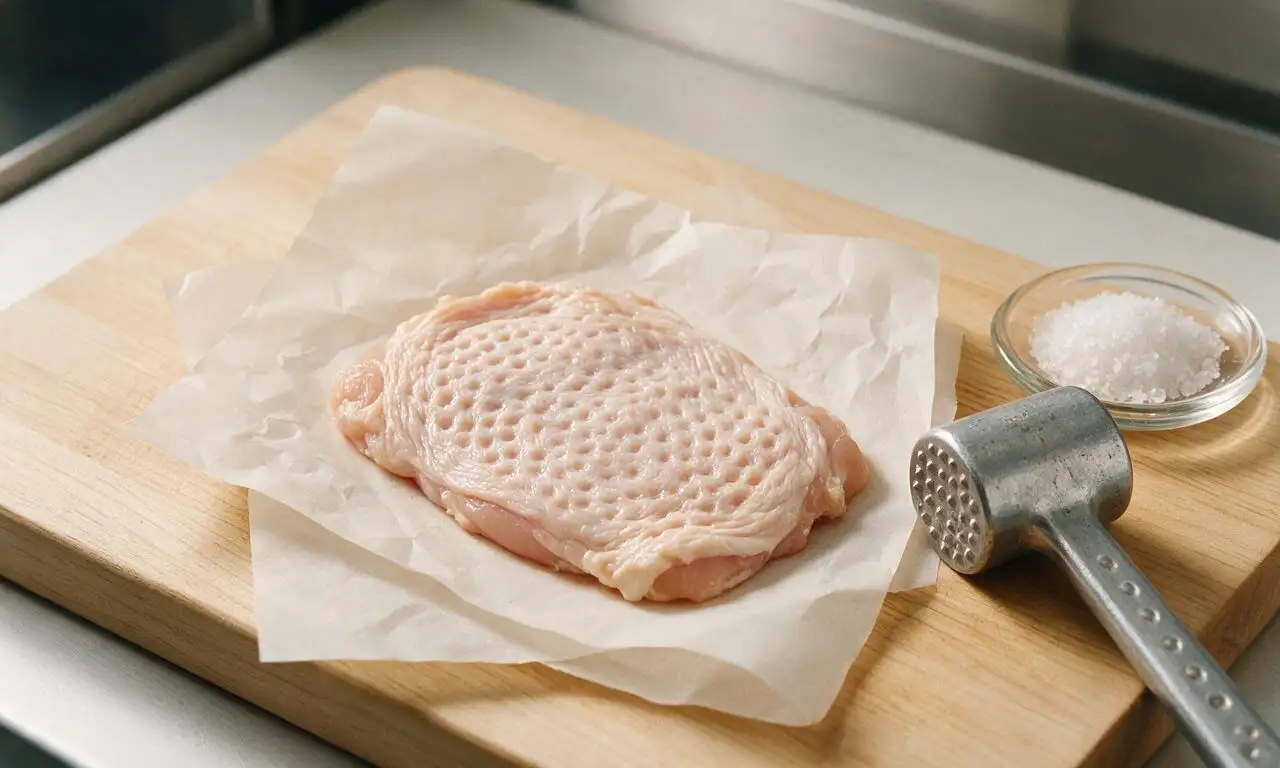
Place 680g boneless, skinless chicken thighs between two sheets of parchment paper on a sturdy cutting board. Use a meat mallet or heavy rolling pin to pound each thigh to an even 1.25cm (0.5 inch) thickness. Season both sides of the pounded cutlets with 0.5 tsp of the measured kosher salt.
Set breading station
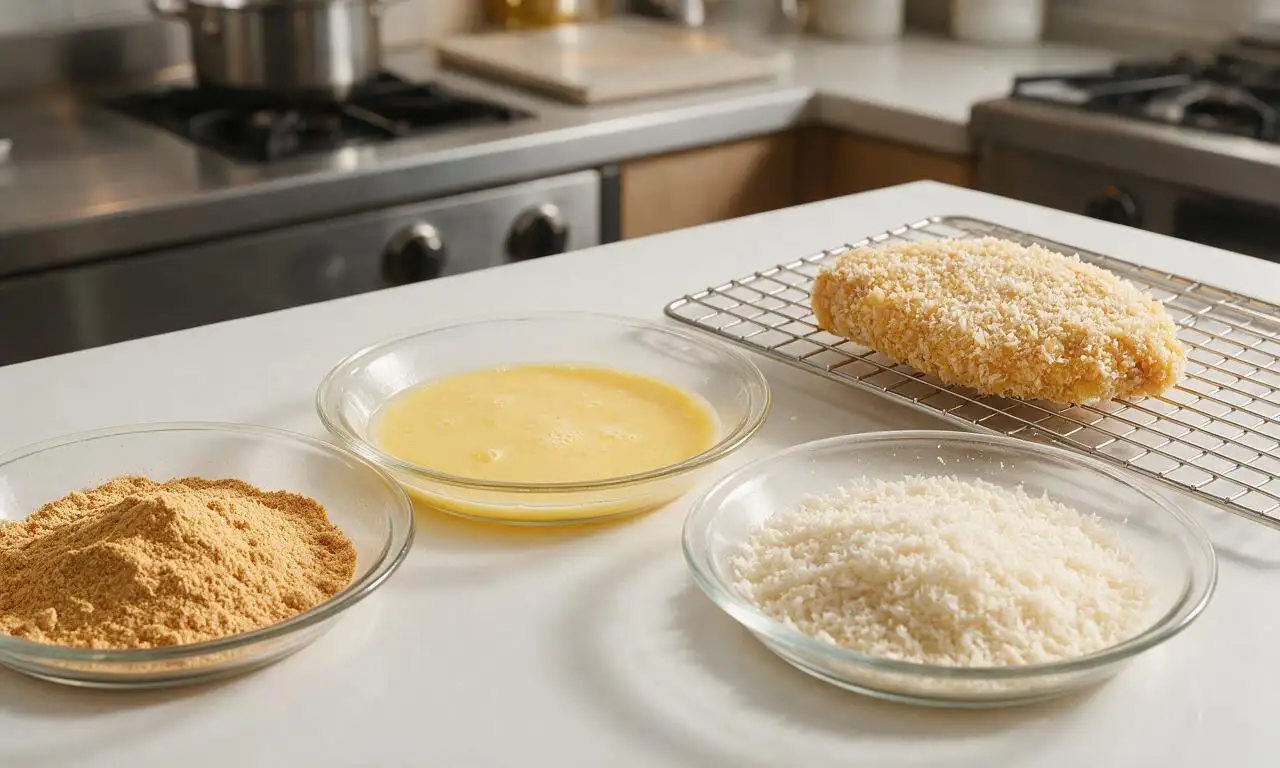
Arrange three shallow glass dishes in a straight line on your counter: the first holds 120g all-purpose flour mixed with the remaining 1 tsp kosher salt, 1 tsp garlic powder, 1 tsp onion powder, and 0.5 tsp ground black pepper; the second holds 2 fully beaten large eggs; the third holds 180g panko breadcrumbs. Dredge each cutlet first in seasoned flour, shaking off all excess, then dip fully in egg to coat, then press firmly into panko to cover every surface. Set breaded cutlets on a wire rack for 5 minutes to let the breading adhere and set before frying.
Make tangy katsu sauce
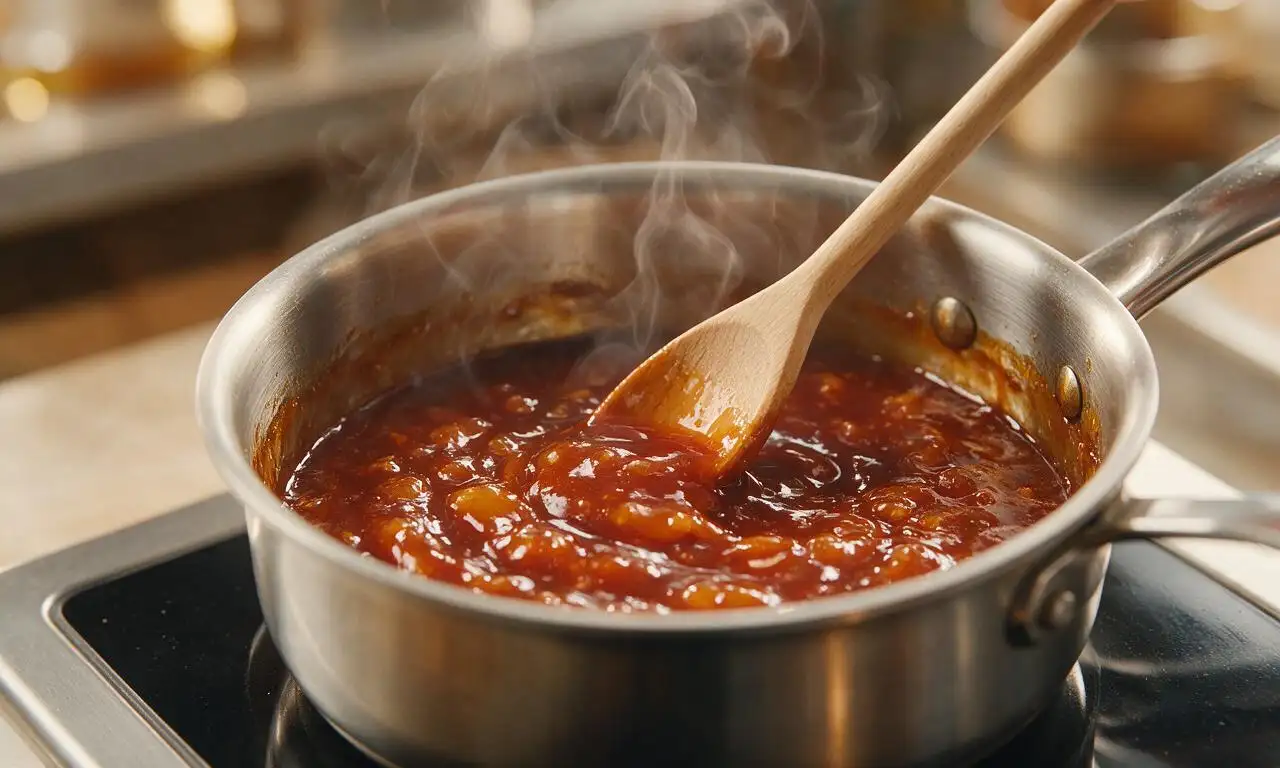
Combine 80ml ketchup, 60ml Worcestershire sauce, 30ml low-sodium soy sauce, 25g granulated sugar, and 6g minced fresh garlic in a small saucepan set over medium-low heat. Stir constantly for 3 minutes until the sugar fully dissolves and the sauce is smooth and glossy. Do not bring the sauce to a rolling boil, then remove from heat and set aside to cool.
Heat frying oil
Pour 750ml neutral canola or vegetable oil into a deep, heavy-bottomed cast iron skillet, bringing the oil to a steady 3.5cm (1.5 inch) depth. Heat the oil over medium heat until it reaches 175C (350F), measured with a clip-on candy or deep-fry thermometer. Adjust stovetop heat as needed to hold this temperature consistently through the frying process.
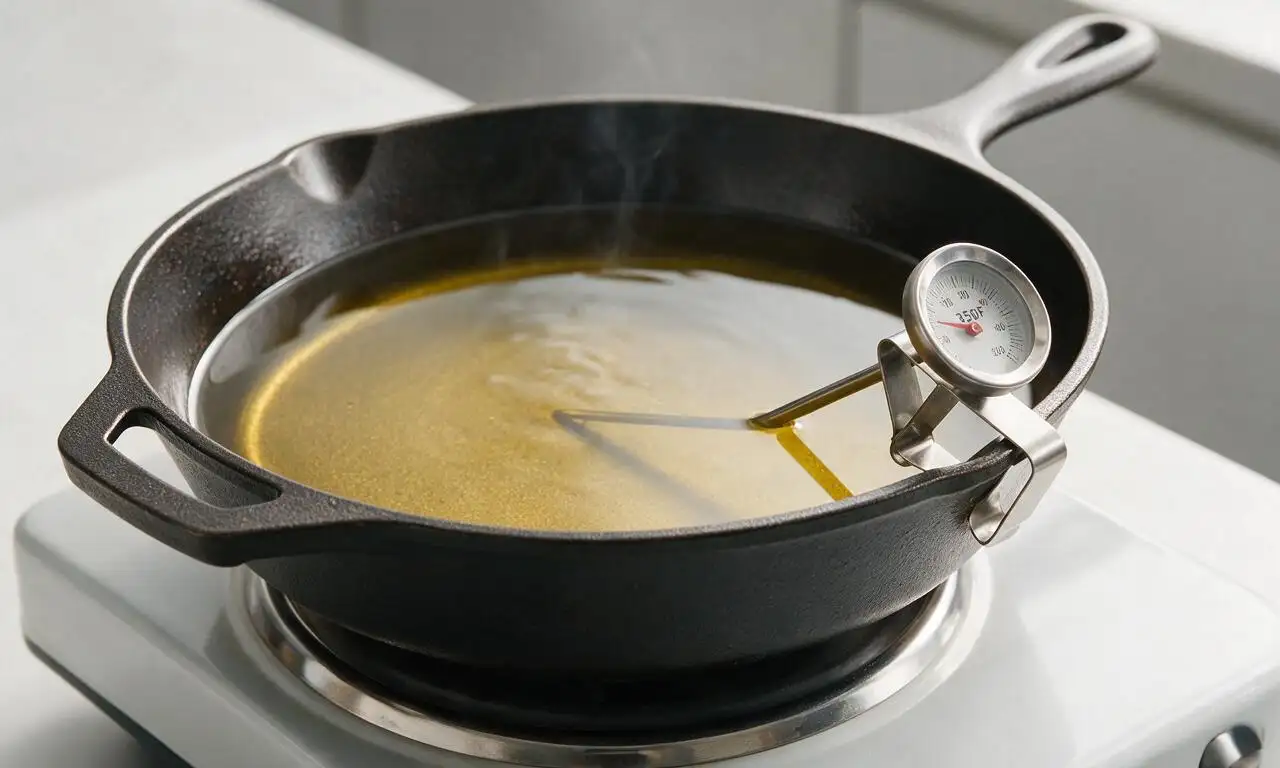
Fry breaded cutlets
Carefully lower 2 breaded cutlets at a time into the hot oil to avoid overcrowding the pan, which drops oil temperature and makes breading soggy. Fry for 3 minutes on the first side until deep golden brown, then use metal tongs to flip the cutlets and fry for 2 to 3 more minutes on the second side, until the chicken reaches an internal temperature of 74C (165F). Transfer cooked cutlets to a clean wire rack set over a rimmed baking sheet to drain for 2 minutes; do not drain on paper towels, as this will make the crispy breading turn soft.
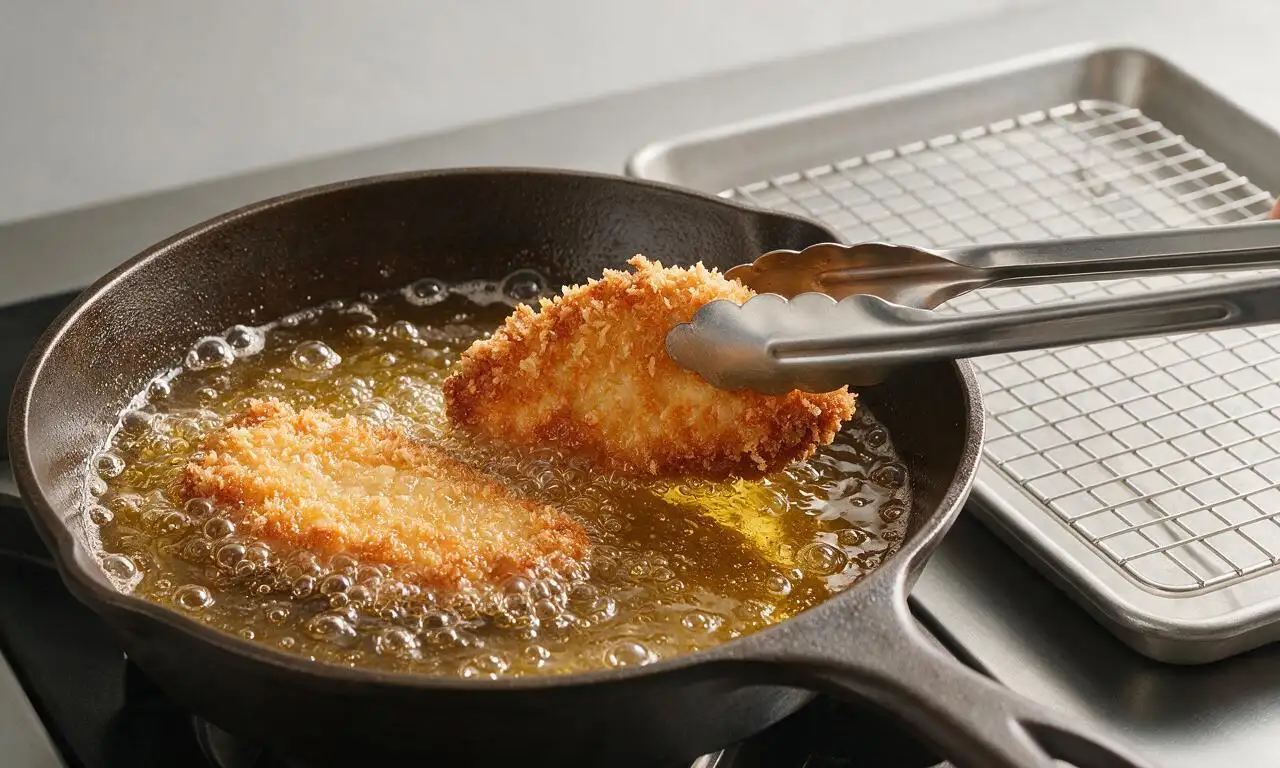
Slice and serve
After draining, let cutlets rest for 2 minutes to let juices redistribute, then slice each cutlet into 2.5cm (1 inch) wide strips, cutting against the grain for tender bites. Arrange sliced katsu on plates, and serve with the prepared tangy katsu sauce either drizzled over top or on the side for dipping, paired with steamed white rice and Hawaiian macaroni salad for a classic plate lunch.
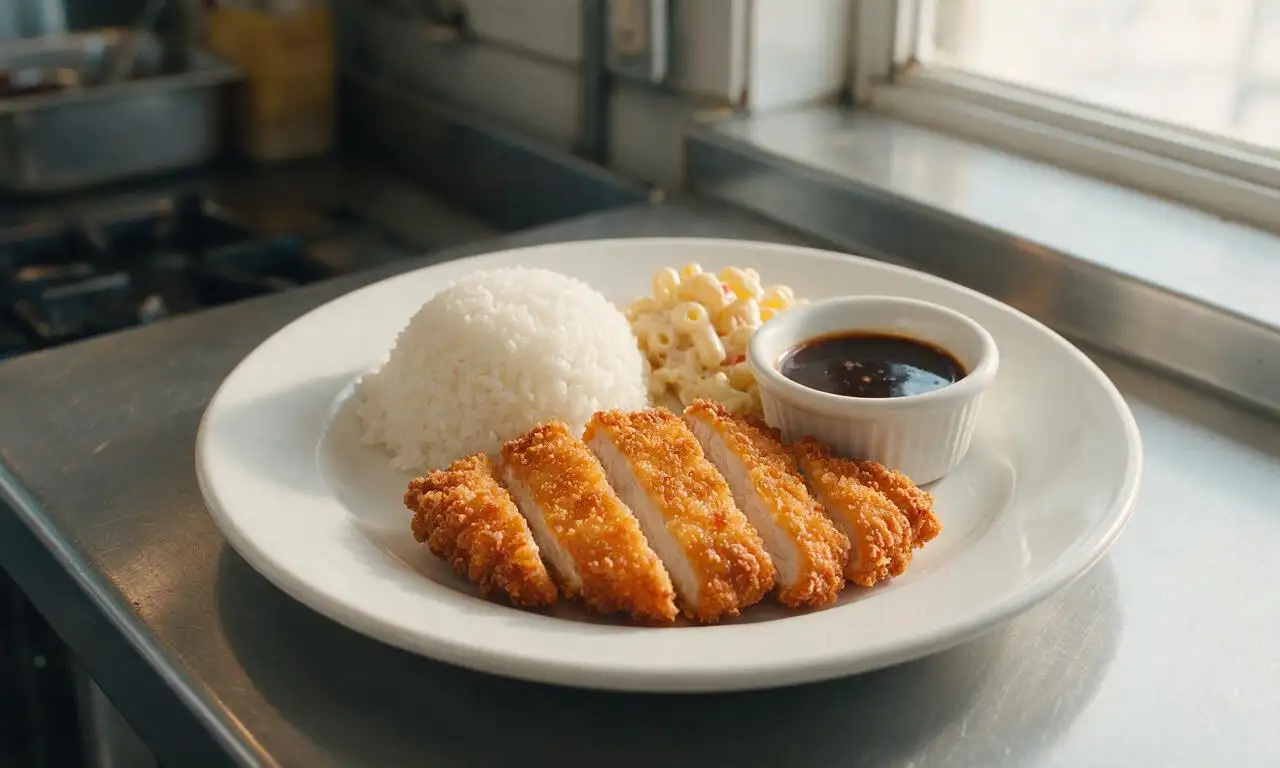
Tips
2.Never overcrowd the frying pan, as this drops oil temperature rapidly and results in soggy, grease-soaked katsu instead of light, crisp cutlets. Fry a maximum of 2 cutlets per batch.
3.Opt for boneless skinless chicken thighs over chicken breasts for the most authentic, juicy results; thighs stay moist through high-heat frying, while lean chicken breasts easily dry out if overcooked by even 1 minute.






OMG this was SO good! I made this for our family beach potluck last weekend and everyone was begging for the recipe. The panko got so perfectly crispy, no soggy spots at all, and that sweet-savory katsu sauce tastes exactly like what I get at our local Hawaiian plate lunch spot. Even my super picky 7 year old asked for seconds! Total game changer for weeknight dinners too, since it only took me ~35 mins start to finish.
I was skeptical because I usually only make katsu when I order takeout, but this recipe was so easy! I didn’t overthink the pounding of the chicken, used regular store-bought panko, and it came out perfect. My roommate walked in while I was cooking and thought I DoorDashed from our favorite Hawaiian spot lmao. 10/10 will be making this again for our next game night.
Added this to my weekly meal prep rotation and it held up amazing all week! I sliced the cutlets after cooking, stored them separate from the sauce, and just crisped them up for 2 mins in the air fryer when I was ready to eat. Way better than the sad desk salads I usually bring in. Even my coworker traded me her homemade cookie for a piece of the chicken yesterday lmao.
This is such a solid base recipe! Only reason I’m not giving 5 stars is I wish it had a little note about what oil temp to fry at — I had my oil a little too hot on the first batch and the panko burned before the chicken was cooked through. Once I turned it down to medium, the second batch was perfect, so crispy and flavorful. Will definitely make again, just keep an eye on that oil temp y’all!
Made this for my son’s post-soccer practice dinner and the whole team devoured it when they ended up crashing at our house! I made a double batch, served with white rice and steamed broccoli, and there were zero leftovers. The best part is it was so easy I didn’t even stress having 6 extra hungry teens at the dinner table last minute.
Tried this after seeing it pop up on my feed and wow, did not disappoint! I did a little mix of regular and whole wheat panko because that’s what I had in the pantry, and it still had that perfect crunch. Served it with a side of pineapple coleslaw to lean into the Hawaiian vibe and it was chef’s kiss. Already sent the link to my entire friend group.
y’all I’m a broke college student with literally zero cooking skills and I nailed this??? I used thin sliced chicken breasts so I didn’t even have to pound them out, fried it in a cheap little pan on my dorm hot plate, and it tastes better than the $18 katsu plate I get from the food truck by campus. This is gonna be my new go-to when I’m sick of instant noodles.
I’ve been making chicken katsu for my grandkids for years, but I never thought to add that little touch of pineapple juice to the sauce like this recipe does! It adds such a bright, sweet note that makes it taste just like the katsu I had on our trip to Maui 10 years ago. My oldest granddaughter said this is the best version I’ve ever made. What a wonderful recipe, thank you for sharing!
Made this as a post-hike reward meal last weekend after a 10 mile trail and it hit so hard. I prepped the chicken and breading at home before we left, fried it up on our camp stove, and it was the best camp meal I’ve ever made. Way better than the dehydrated backpacking meals I usually bring. Will be a staple on all our car camping trips from now on.
Brought this to our neighborhood block party potluck and it was the first dish gone! I cut the chicken into bite-sized strips so people could grab them as appetizers, set out a little bowl of the katsu sauce for dipping, and people were hovering by the platter waiting for more. Multiple neighbors asked for the recipe before I even left, total win.
Made this for my wife for our weekly date night in since we’re saving money by not going out to restaurants, and she said it’s better than the katsu we had on our honeymoon in Oahu! I was low-key panicking the whole time I was frying because I never make fried food, but the steps were so straightforward I couldn’t mess it up. Score one for the husband win column!
Really good recipe! I swapped the chicken for extra firm tofu to make a vegetarian version, pressed it really well, and followed the exact same breading steps, and it came out so crispy and delicious. The sauce is absolutely perfect, tangy and just sweet enough. Would make again, maybe add a little extra garlic powder to the panko next time for more depth.
I run our office’s weekly potluck lunch and I made this last week for the Hawaiian theme day. Everyone went crazy for it! Even our boss, who is super picky about takeout and brings his own lunch every single day, asked for a second helping and took the recipe home to make for his family. It’s easy to scale, holds up well, and is universally loved — 10/10 for office events.
Born and raised on Oahu, I’ve been searching for a katsu recipe that tastes like home since I moved to the mainland 4 years ago. THIS IS IT. The crunch is perfect, the sauce has that exact right balance of sweet, salty, tangy, and it’s so easy to make I don’t have to drive 45 minutes to the closest Hawaiian market to get my fix. I cried a little when I took the first bite, no joke.
As a dad who burns 90% of the things I try to cook, I cannot believe how well this turned out. The instructions were so simple, I didn’t have to buy any weird fancy ingredients, and my kids actually ate all their dinner without complaining. My wife thought I ordered takeout! I feel like a real chef now lmao.
Loved this! I used homemade sourdough panko I had leftover from my last loaf instead of store bought, and it added such a nice, nutty depth to the crust. Served it with some pickled cucumbers and rice, and my partner said it’s restaurant quality. Will absolutely be adding this to our regular dinner rotation.
35 minute cook time? No fancy prep? This is the weeknight dinner dream. I got home from work at 6, had this on the table by 6:35, and my whole family cleaned their plates. No complaints, no negotiations with the kids to take “just one more bite”, just full bellies and a happy mom. 10/10, will be making every other week at this rate.
I’ve tried every Hawaiian food truck within 20 miles of my house and this katsu is better than 90% of them. The crust doesn’t fall off when you bite into it, the chicken is juicy, no weird greasy aftertaste, and the sauce is chef’s kiss. I can’t believe I made something this good in my own kitchen for a fraction of the takeout price.
Really tasty katsu! My only tiny note is that I wish the seasoning in the breading was a little stronger — I added a pinch of cayenne and some smoked paprika to the panko because I like a little kick, and that made it perfect for me. Otherwise, super easy to make, great crunch, will definitely be making it again with my little spice tweak.