
chicken kiev casserole

title 1
chicken kiev casserole
⏱️ cook time 40 minutes
🍽️ servings 6
⚡ Difficulty easy

intro

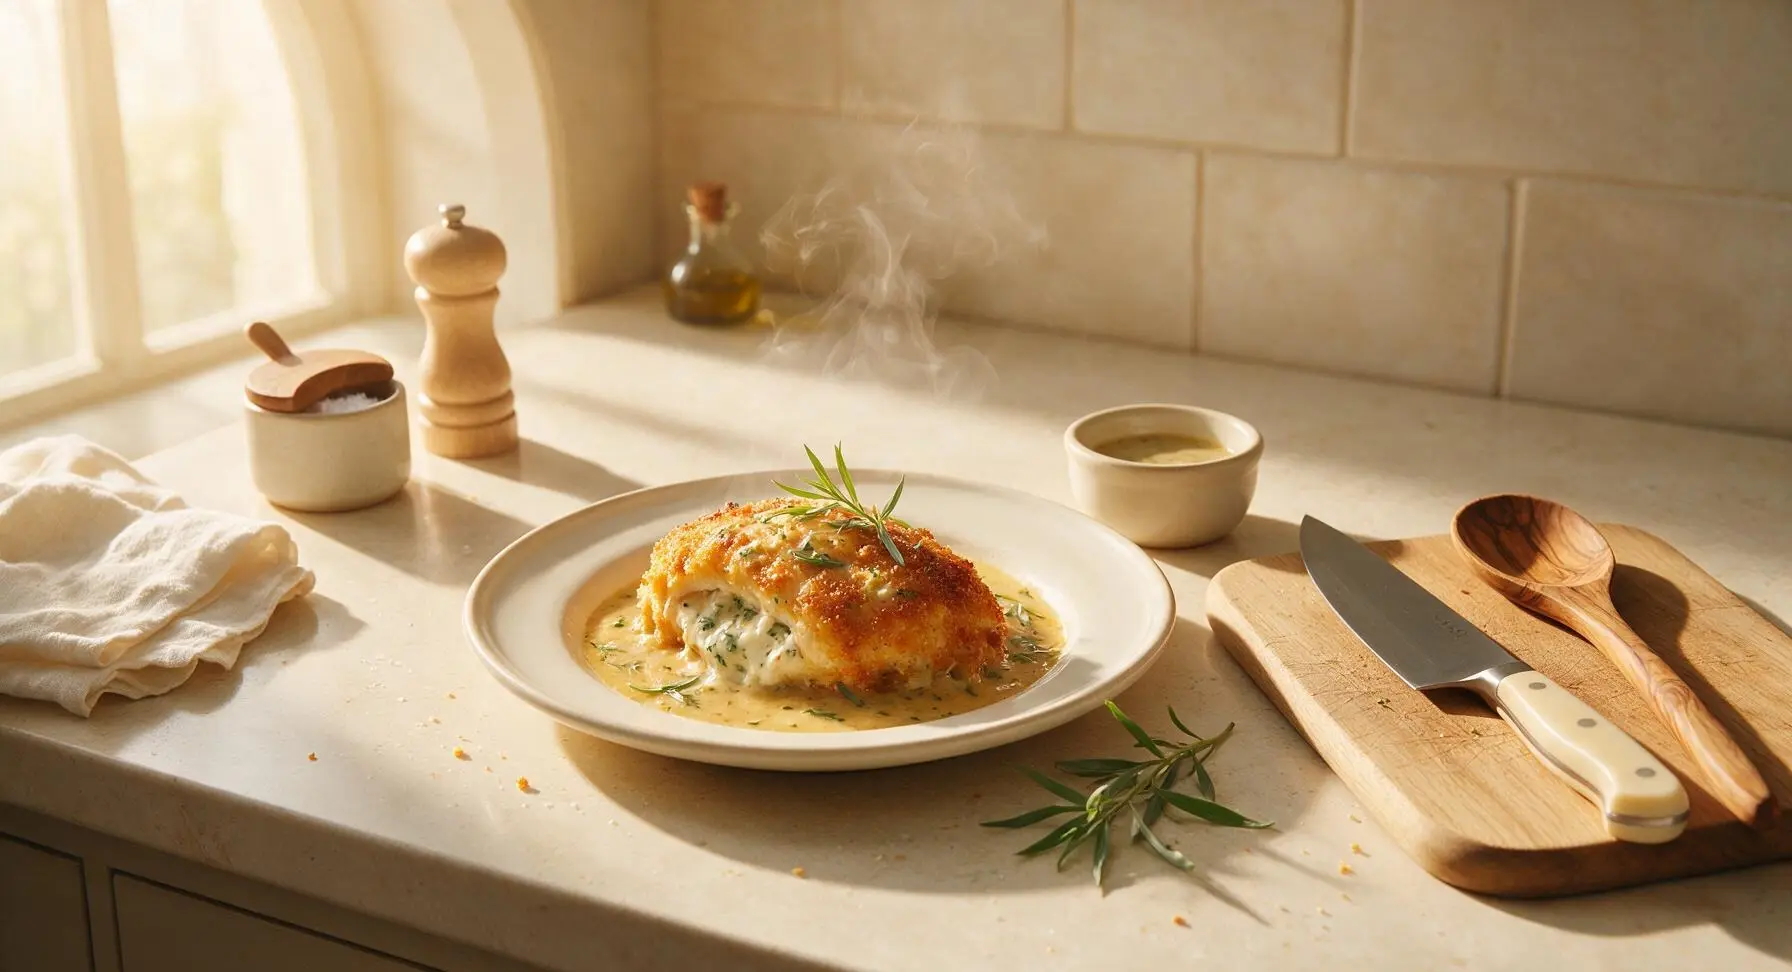
All the garlicky, herb-butter crispness of classic chicken Kiev reimagined as a creamy, shareable baked casserole, ideal for cozy cold-weather family meals.

Ingredients
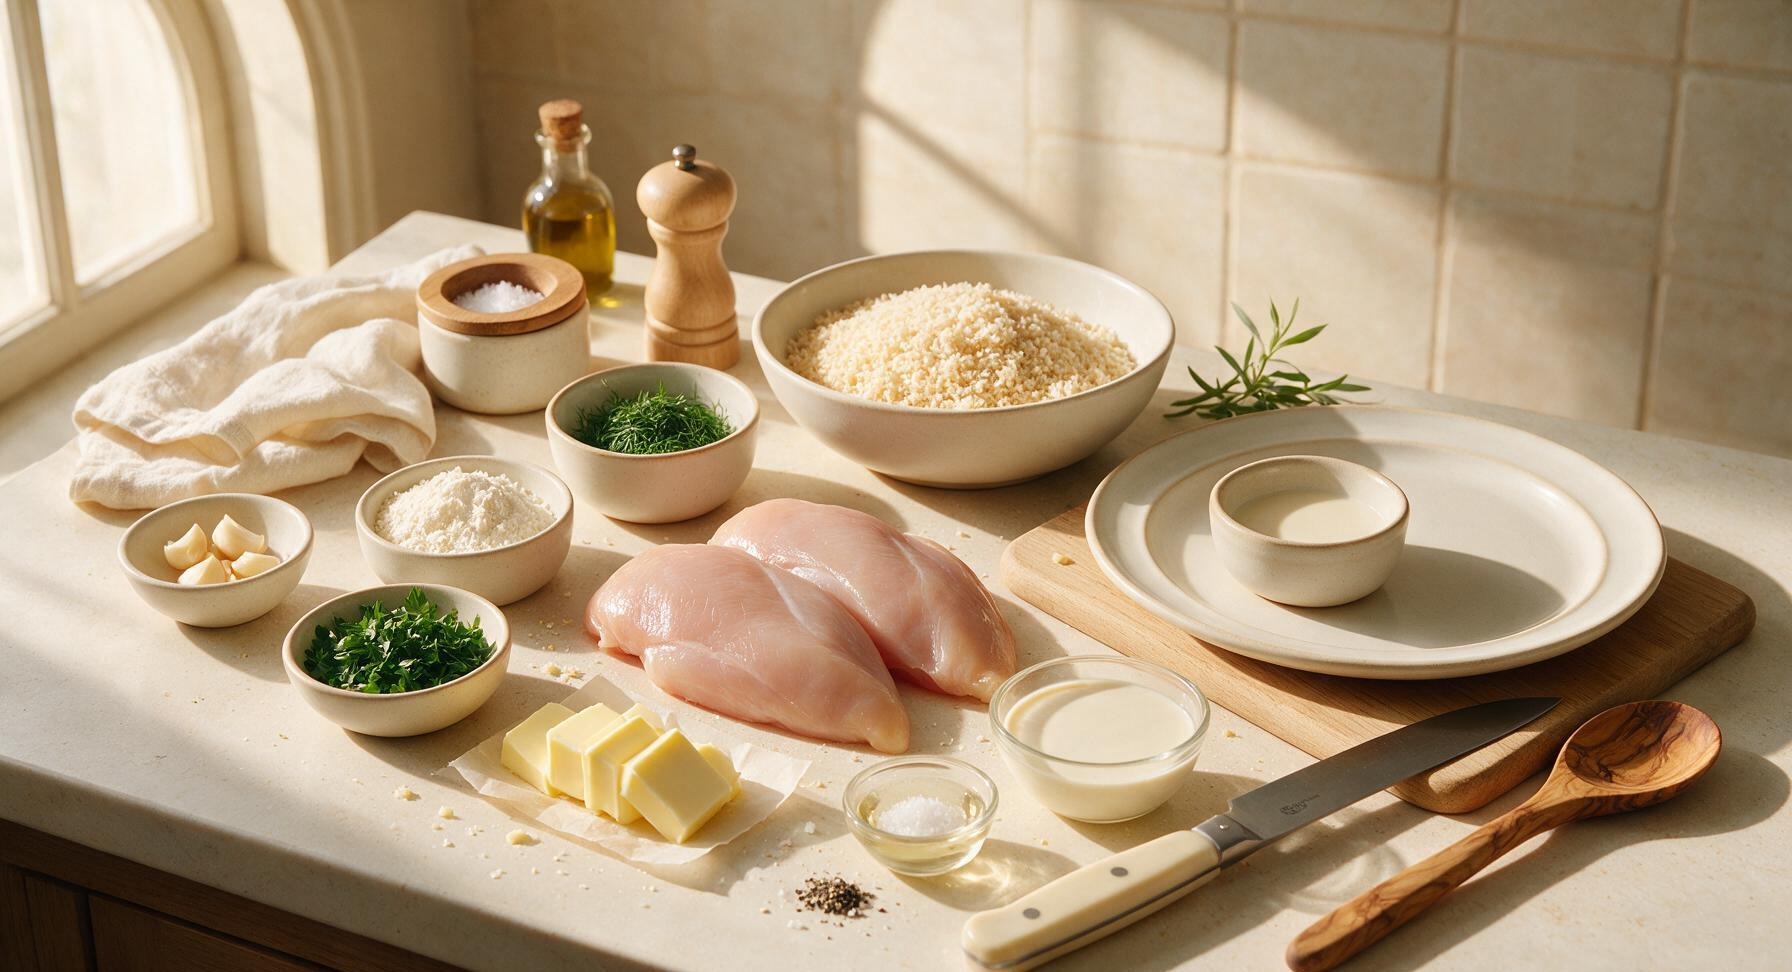
Boneless, skinless chicken breasts 1.5 lbs (680g)
Unsalted butter 8 tbsp (1 stick / 113g)
Garlic cloves, minced 4 (about 1 tbsp minced)
Fresh flat-leaf parsley, chopped 1/4 cup
Fresh dill, chopped 2 tbsp
Panko breadcrumbs 2 cups
Grated parmesan cheese 1/2 cup (50g)
All-purpose flour 2 tbsp
Heavy cream 3/4 cup (180ml)
Dry white wine (or low-sodium chicken broth) 1/4 cup (60ml)
Flaky sea salt 1.5 tsp
Ground black pepper 1/2 tsp

Steps

1

Cut chicken into cubes

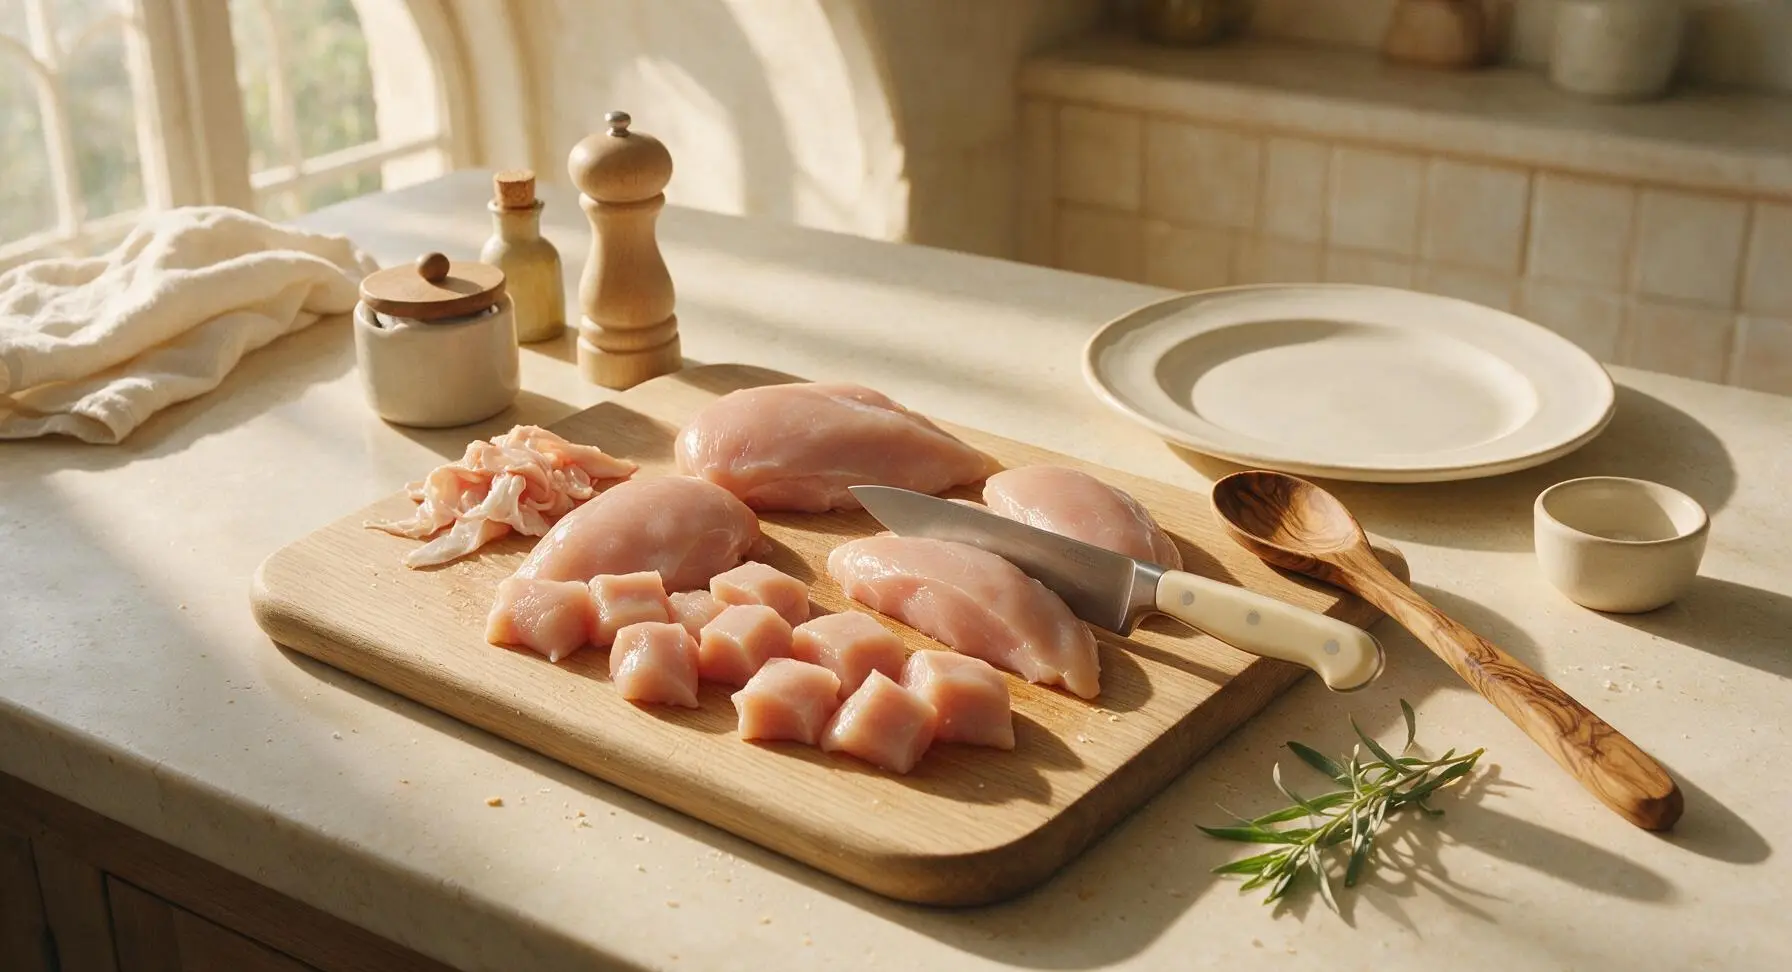
Place the boneless, skinless chicken breasts on the pale maple cutting board. Using the 8-inch stainless steel chef knife, trim any visible silver skin or hard excess fat, then cut the chicken into uniform 1-inch cubes. Season the cubed chicken evenly with 1 teaspoon of flaky sea salt and 1/4 teaspoon of ground black pepper, tossing gently to coat. Evenly sized cubes ensure consistent cooking, with no overcooked dry bits or undercooked chunks.
Step 1
step1:Cut chicken into cubes
2

Mix garlic herb butter

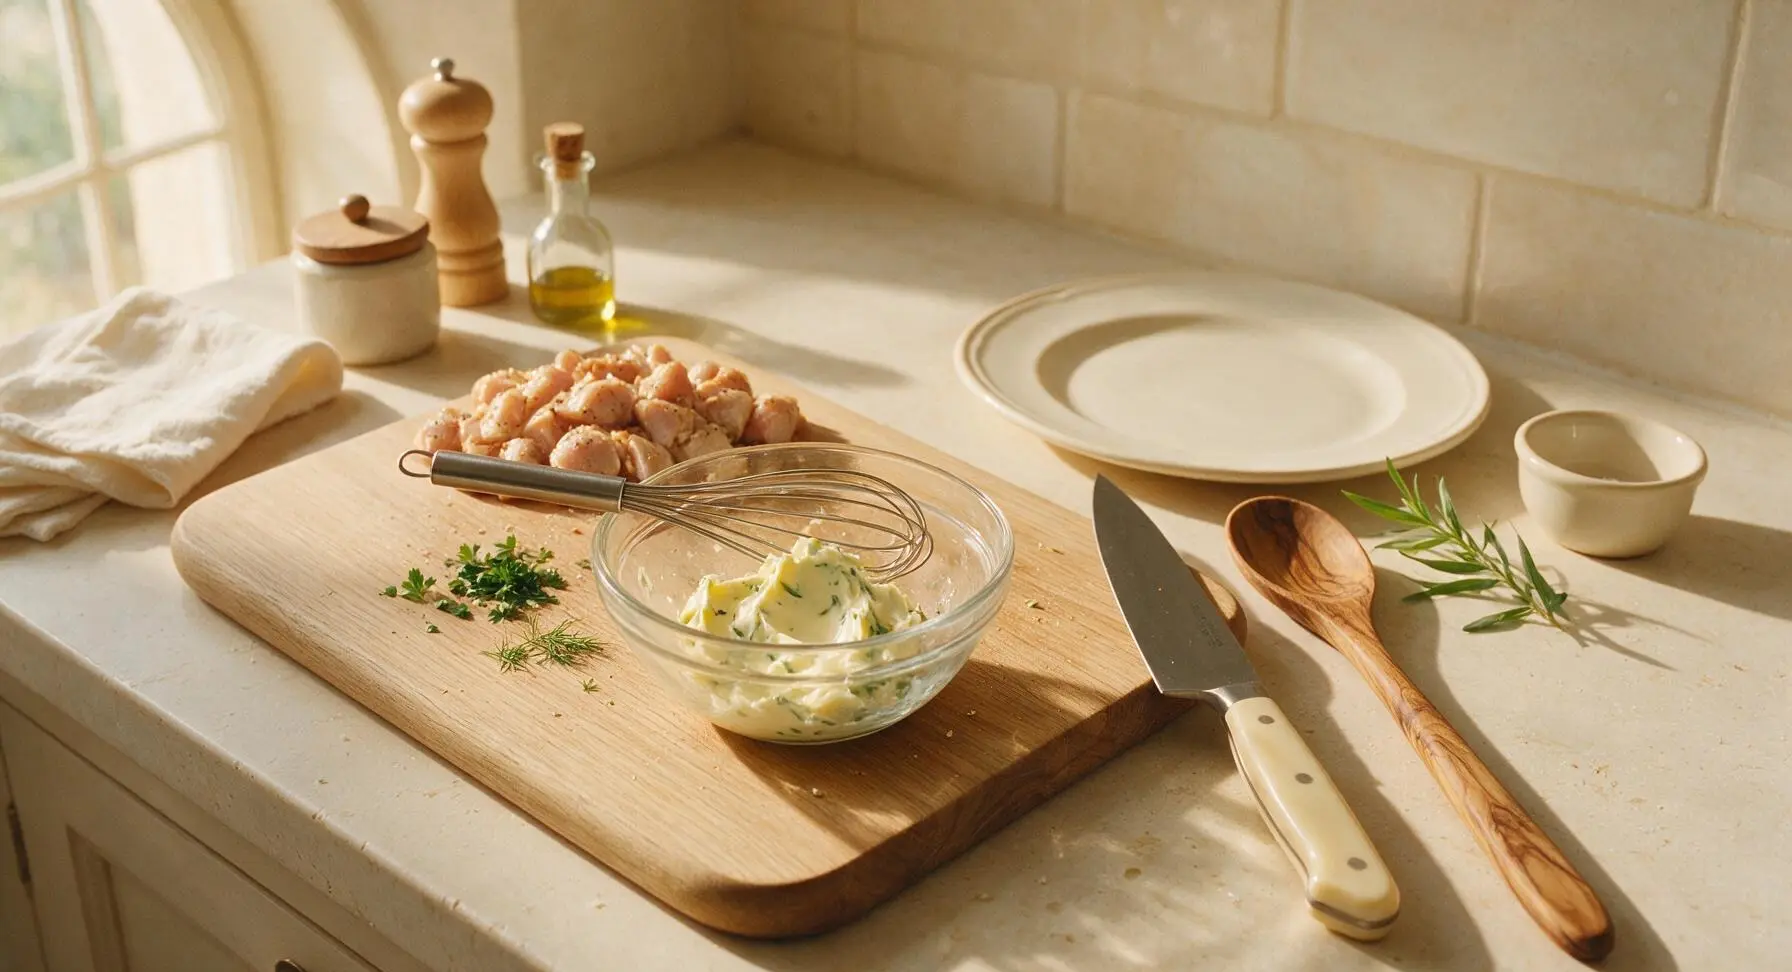
Soften 6 tablespoons of the unsalted butter to room temperature, then add it to the small clear glass mixing bowl along with the minced garlic, chopped flat-leaf parsley, chopped dill, remaining 1/2 teaspoon flaky sea salt, and remaining 1/4 teaspoon ground black pepper. Use the stainless steel wire whisk to stir until the herbs and garlic are fully incorporated into the smooth, pale green-flecked butter, with no large lumps of un-mixed butter remaining.
Step 2
step2:Mix garlic herb butter
3

Toast panko topping

Melt the remaining 2 tablespoons of unsalted butter in the 20cm stainless steel skillet over medium heat on the back-right induction cooktop zone. Add the panko breadcrumbs, stirring constantly for 3-4 minutes until the crumbs are light golden brown and smell nutty. Remove the skillet from heat, stir in the grated parmesan cheese, and set aside. Do not leave the pan unattended, as panko burns quickly once it reaches toasting temperature.
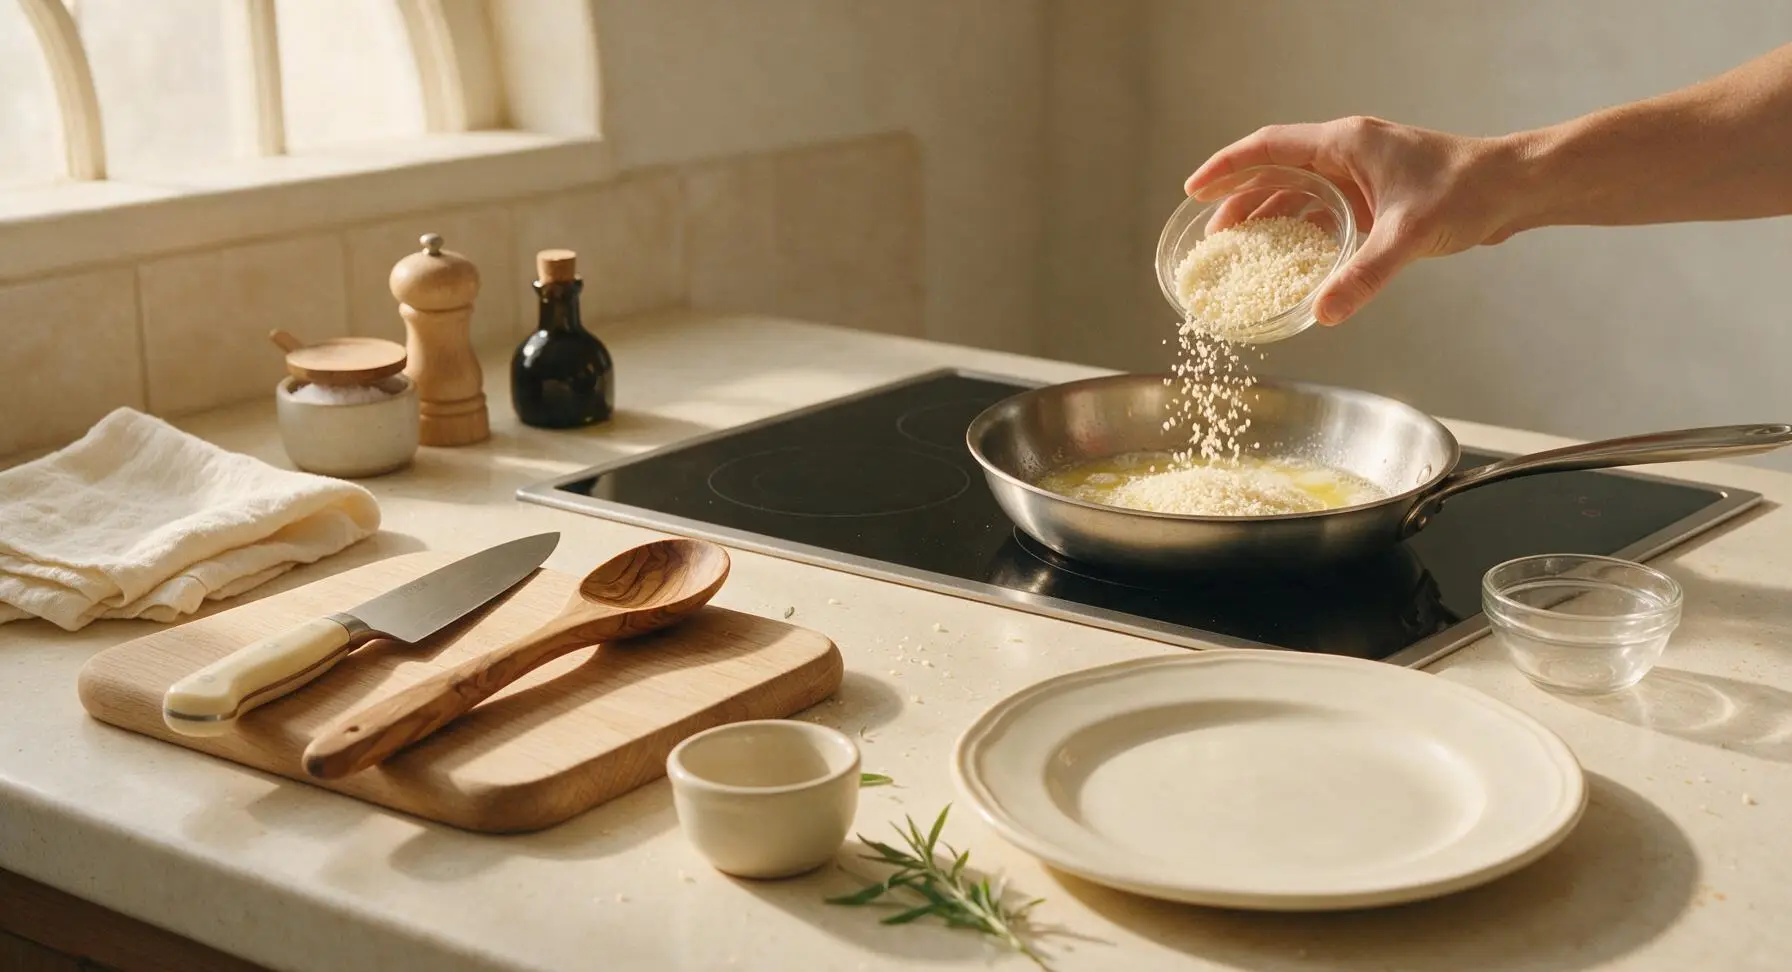
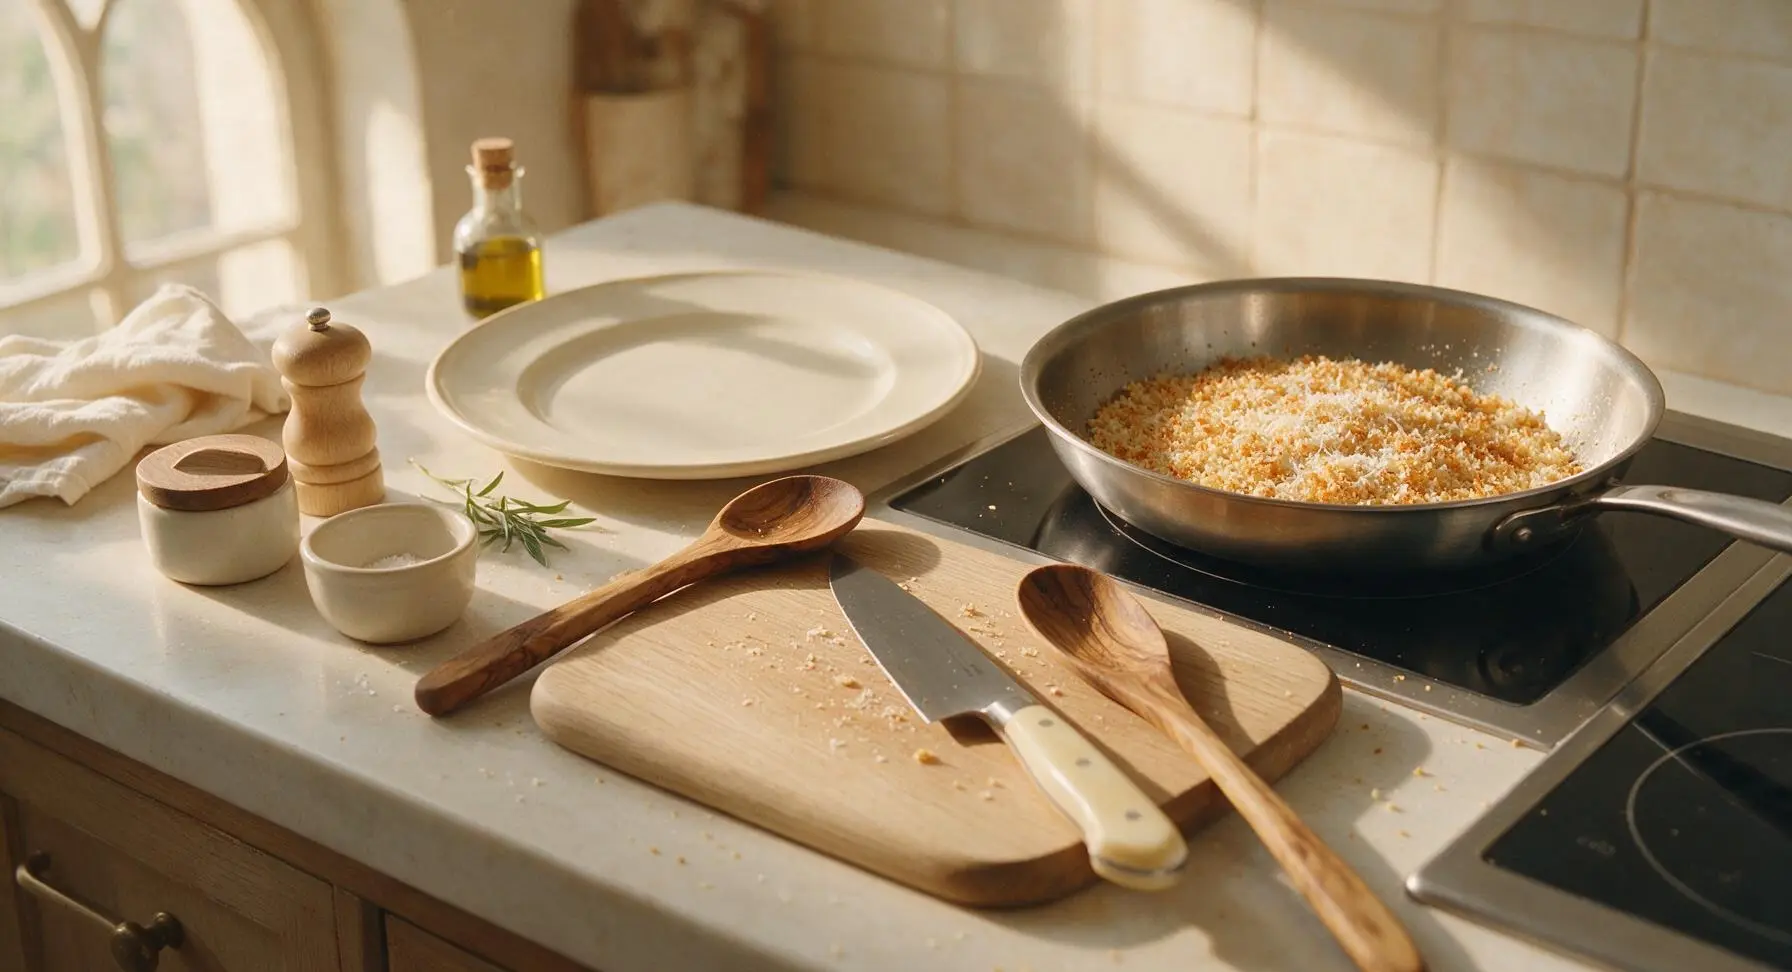
Step 3
step3:Toast panko topping
Step 3
step3:Toast panko topping
4

Layer casserole base

Lightly grease the interior of the 9x13 inch matte white ceramic baking dish with a tiny pat of leftover butter. Spread the seasoned, cubed chicken in a single even layer across the bottom of the dish. Dollop spoonfuls of the garlic herb butter evenly across the top of the chicken, spacing the dollops so no section of chicken is left without butter. Pour the 1/4 cup dry white wine (or low-sodium chicken broth, for a non-alcoholic version) evenly over the chicken to keep it moist during baking.
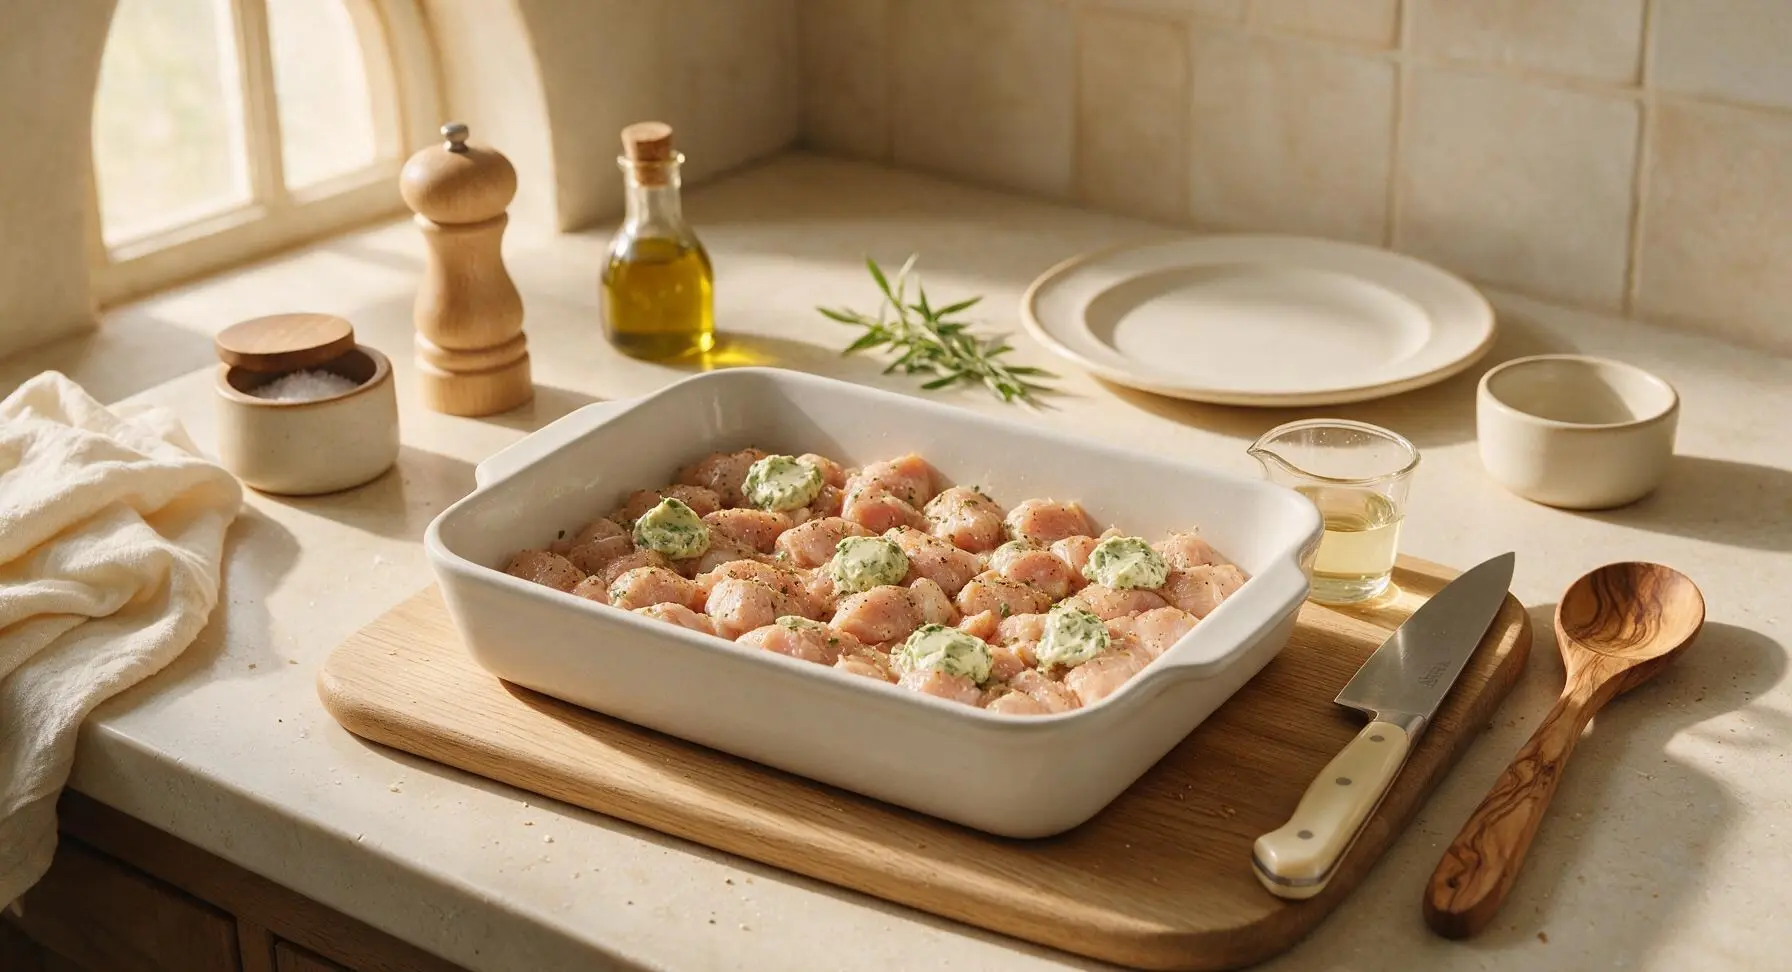
Step 4
step4:Layer casserole base
5

Pour creamy sauce layer

In the medium clear glass mixing bowl, whisk the 2 tablespoons of all-purpose flour into the 3/4 cup heavy cream until completely smooth, with no visible lumps, using the stainless steel wire whisk. Slowly pour the cream mixture evenly over the top of the chicken and herb butter layer. The cream should settle around the chicken cubes, coming about halfway up the chicken layer—do not add extra cream, as fully submerging the chicken will make the panko topping soggy.
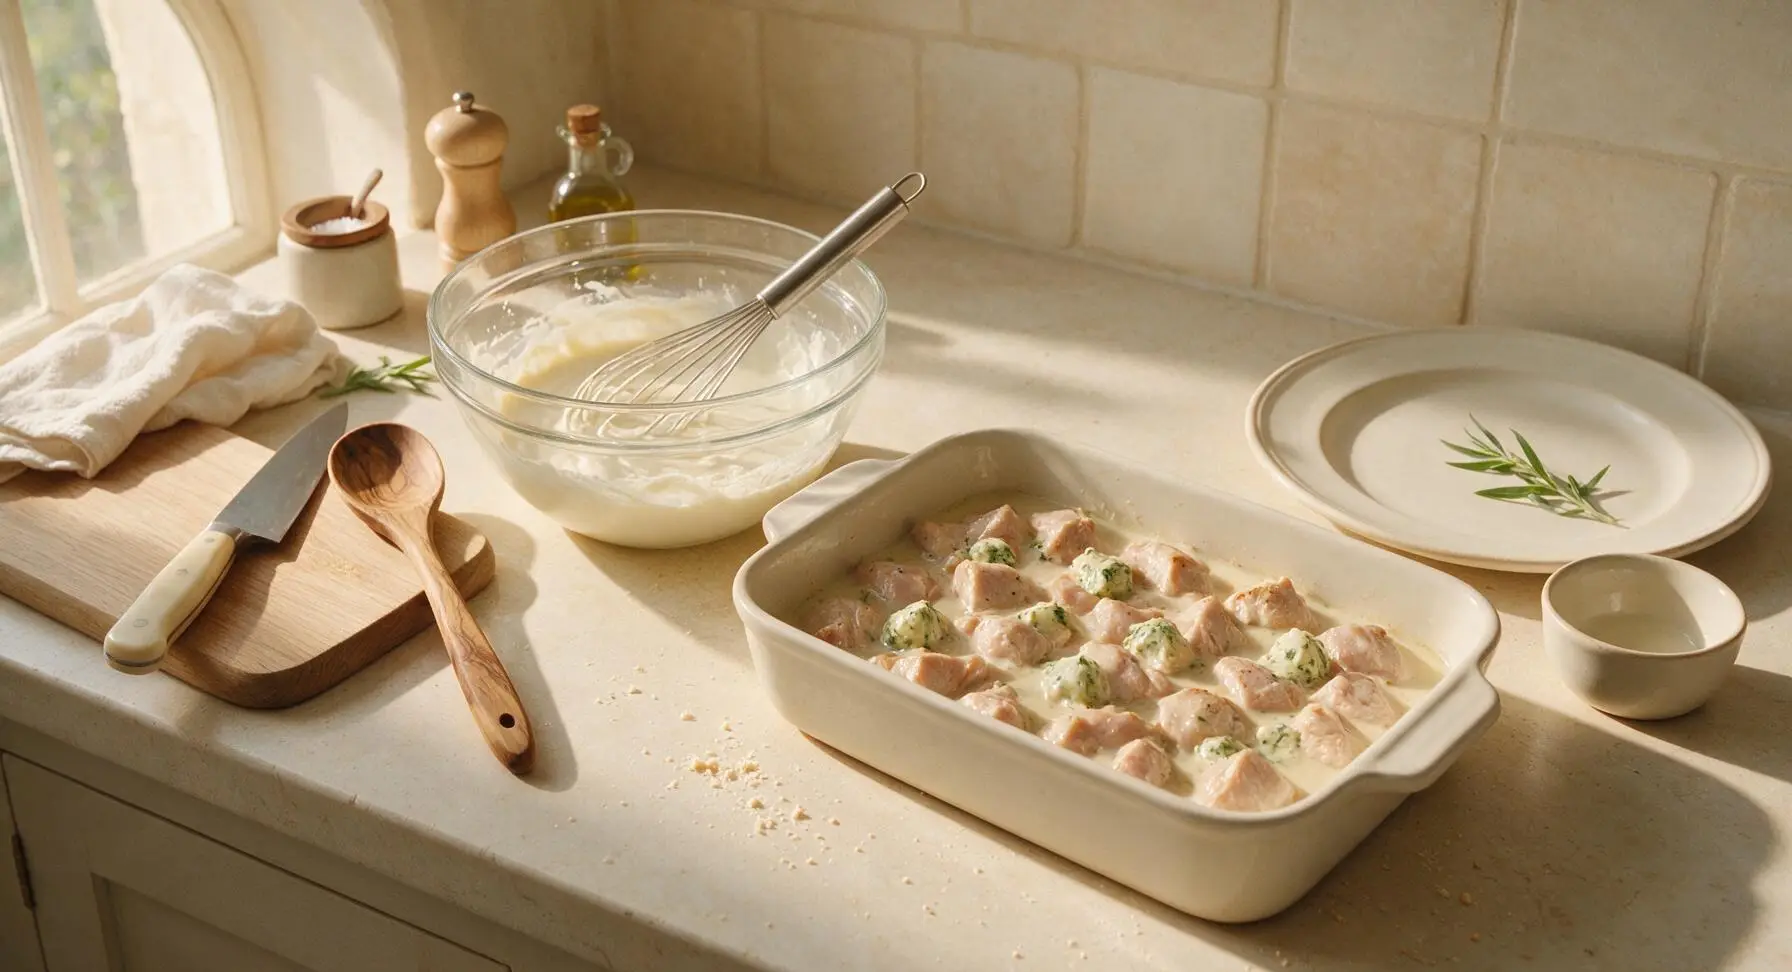
Step 5
step5:Pour creamy sauce layer
6

Add panko topping

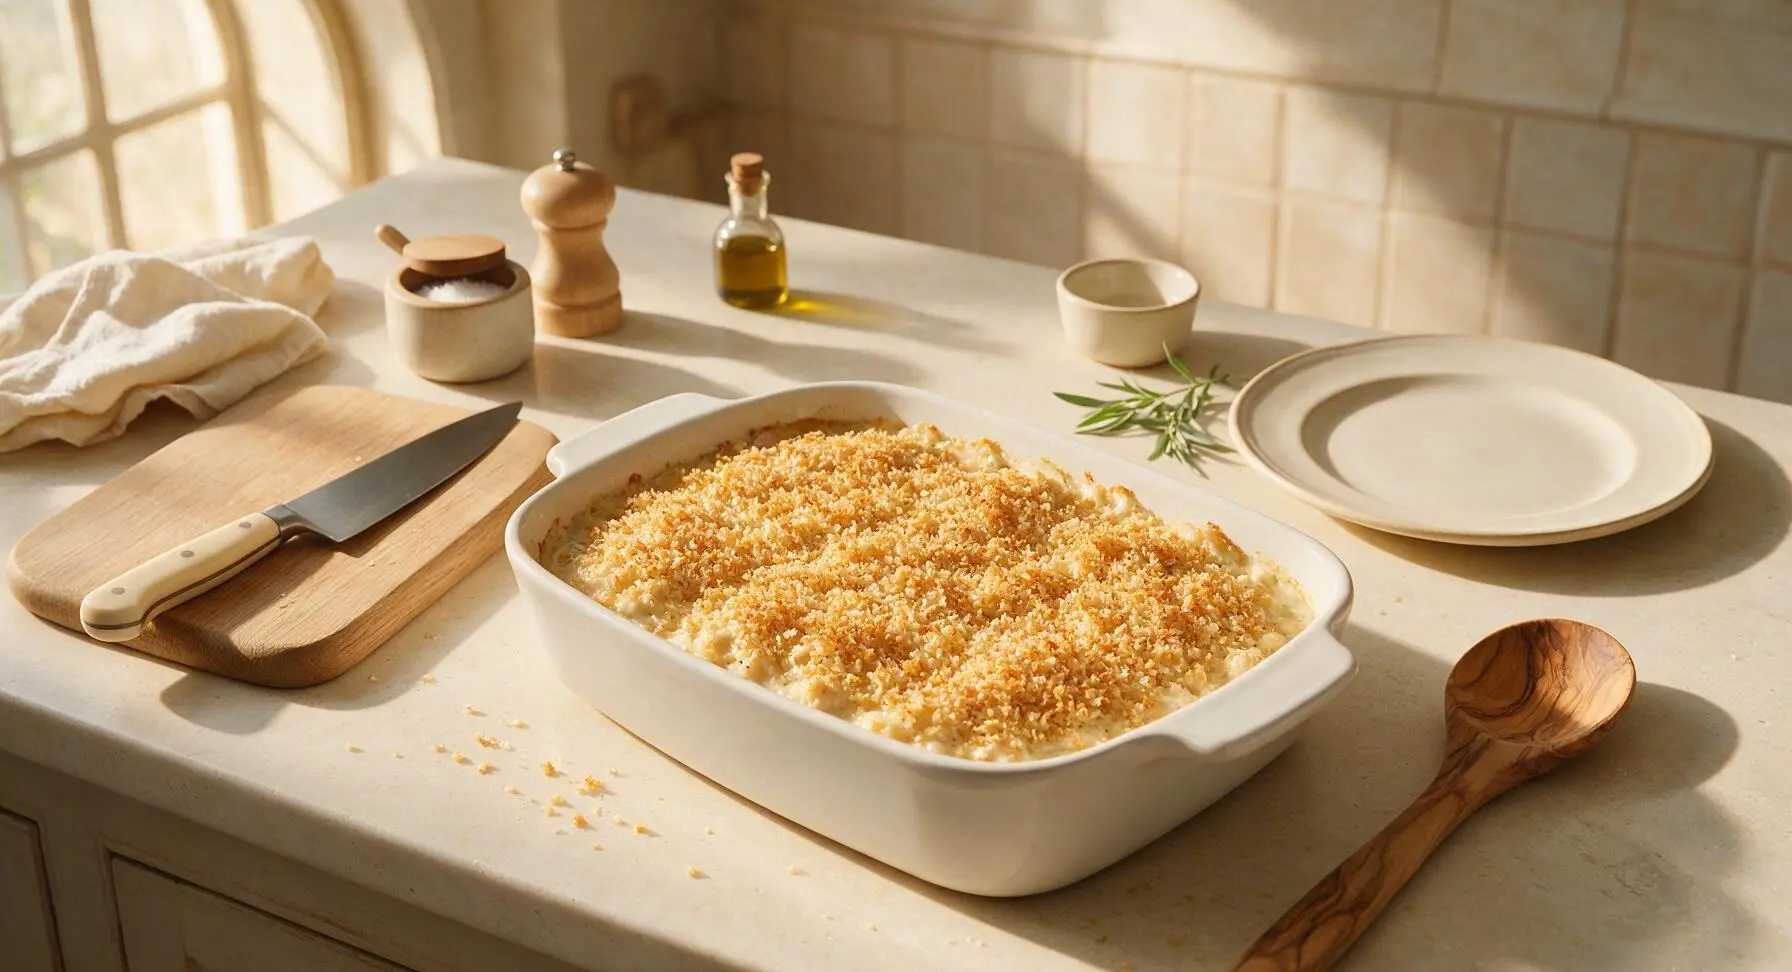
Sprinkle the toasted panko and parmesan mixture evenly over the entire top of the casserole, creating a uniform, loose layer. Do not press the crumbs down firmly, as this will create a dense, hard topping instead of the light, crisp texture that mimics classic chicken Kiev breading. Ensure the crumbs cover every section of the cream layer, with no bare spots that would brown unevenly.
Step 6
step6:Add panko topping
7

Bake until golden

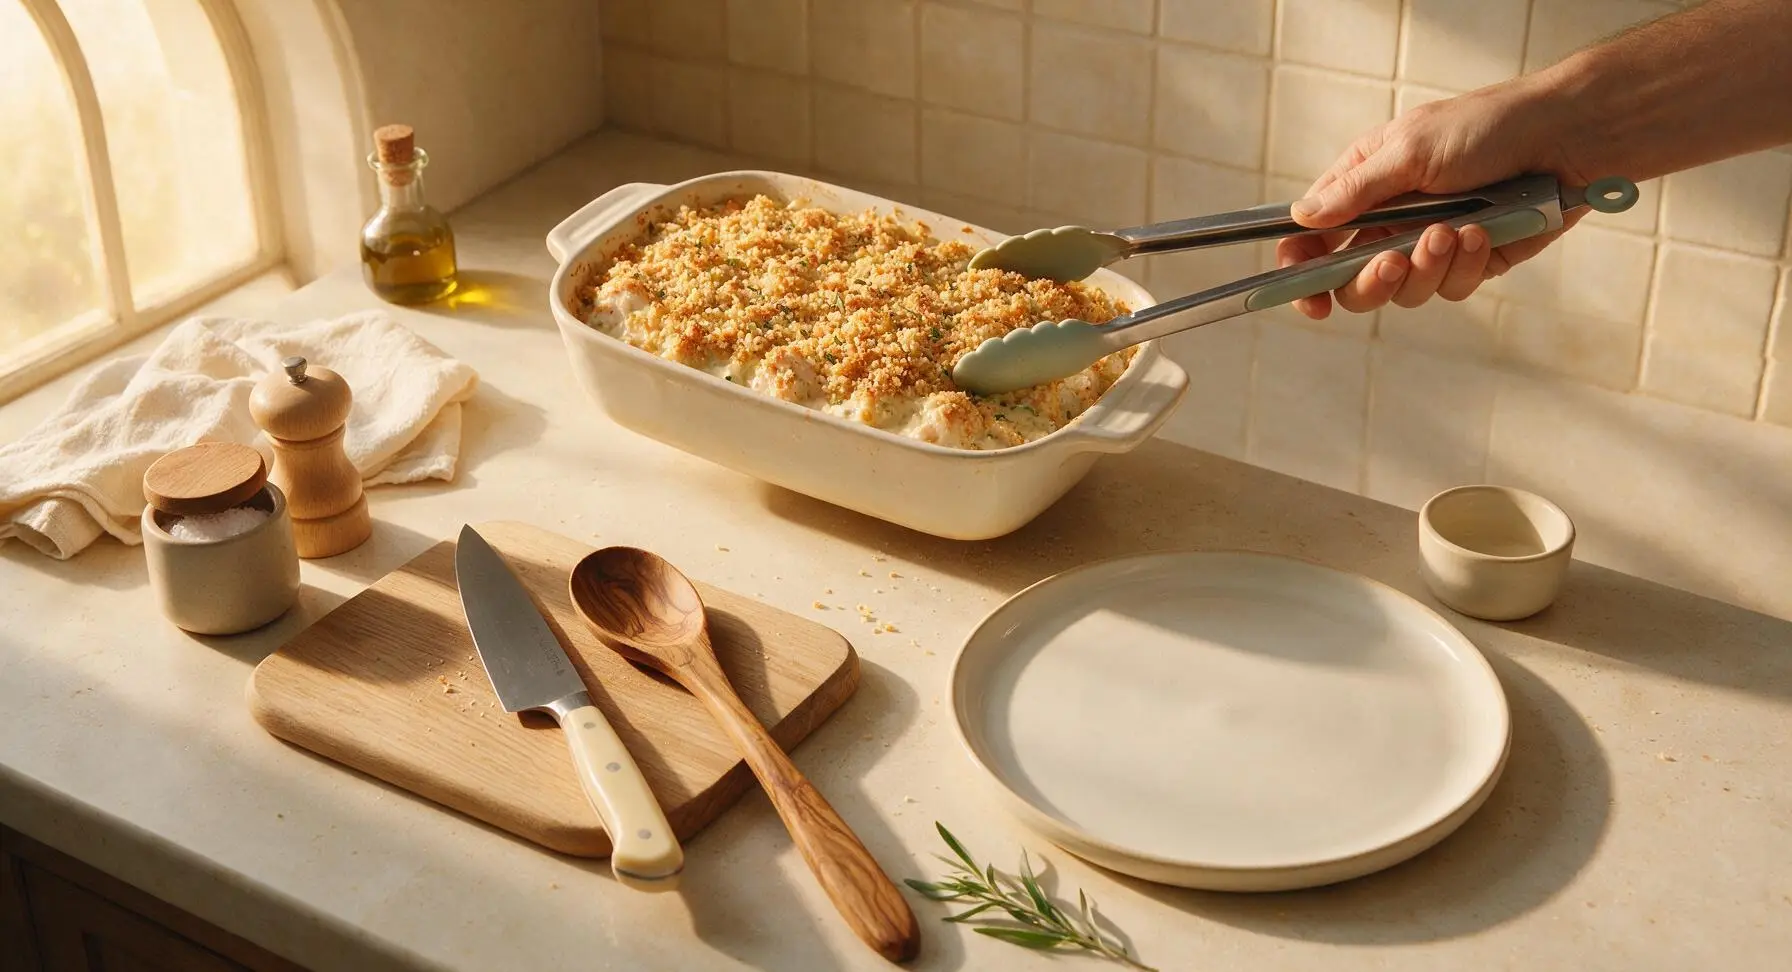
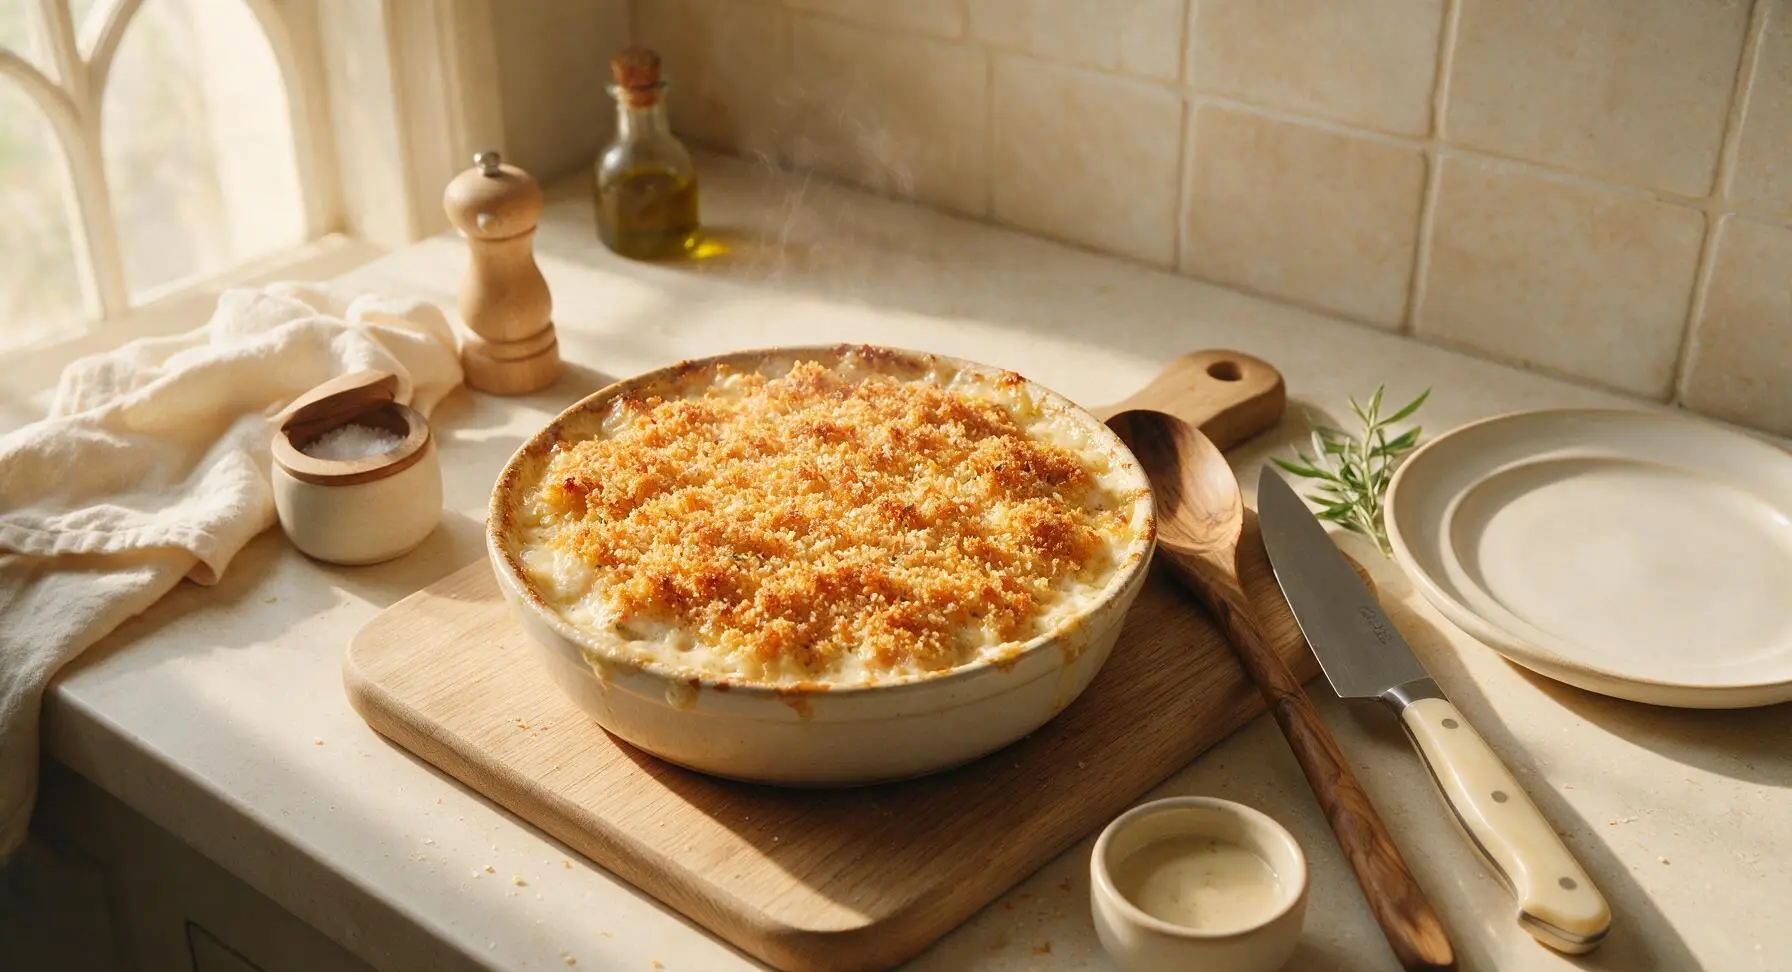
Carefully transfer the assembled casserole to a preheated 375°F (190°C) oven, positioned on the middle rack. Bake for 35-40 minutes, until the edges are bubbling vigorously, the chicken reaches an internal temperature of 165°F (74°C), and the panko topping is deep golden brown. If the topping darkens faster than expected before the chicken is fully cooked, tent a loose sheet of aluminum foil over the top for the final 10 minutes of baking to prevent burning.
Step 7
step7:Bake until golden
Step 7
step7:Bake until golden
8

Rest and serve

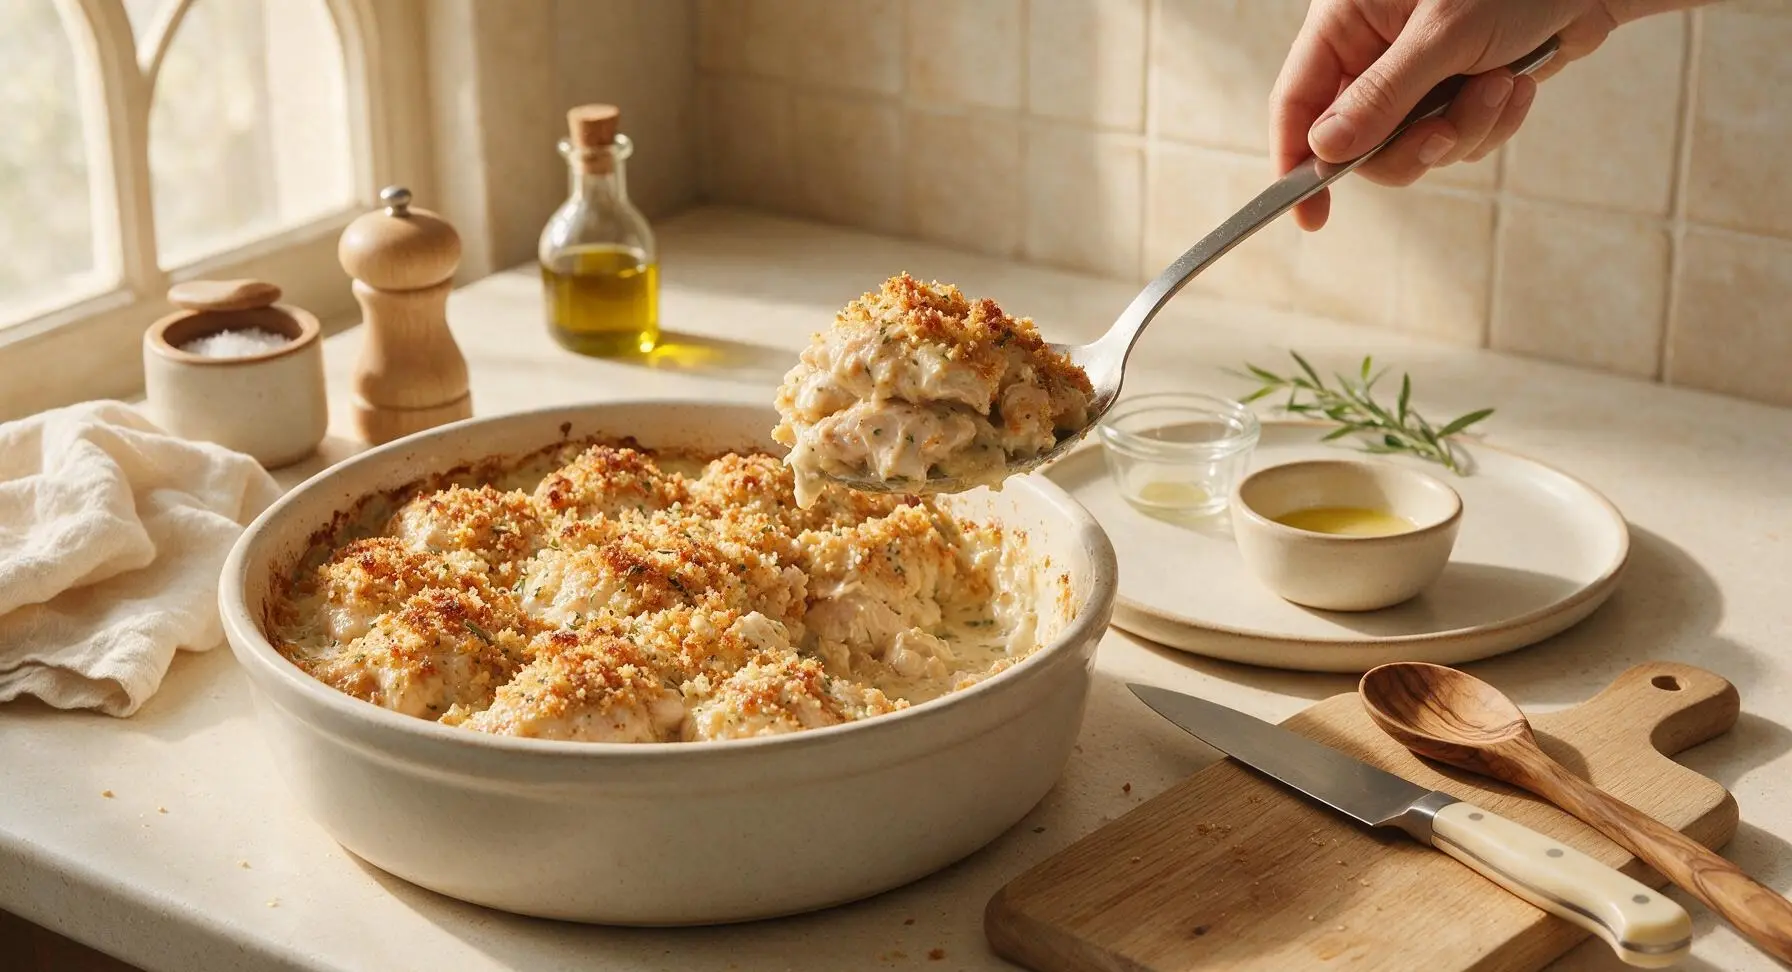
Let the casserole rest for 5 full minutes at room temperature after removing it from the oven, to allow the sauce to set slightly and the chicken juices to redistribute. Use the stainless steel serving spoon to scoop generous portions onto the matte off-white stoneware dinner plates, garnishing with a small sprig of fresh dill if desired. Serve warm, with extra melted herb butter in the small glass ramekin for guests who want added richness.
Step 8
step8:Rest and serve

Tips

1.Cut chicken into uniform 1-inch cubes: this ensures every piece cooks at the same rate, so you won’t end up with undercooked large chunks or overcooked, dry small bits that ruin the casserole texture.
2.Toast panko before adding it to the casserole: raw panko will absorb liquid from the cream sauce and turn soft and soggy, while pre-toasted crumbs stay light and shatteringly crisp, mimicking the fried breading of classic chicken Kiev.
3.Let the casserole rest for 5 full minutes before serving: straight out of the oven, the melted butter and cream sauce is thin and runny, but the short rest lets it thicken slightly so it coats the chicken instead of running across the plate.


✨ You May Also Like

Main Course
🍜 United Kingdom

A showstopping classic of tender seared beef, savory mushroom duxelles, and crisp prosciutto wrapped in flaky golden puff pastry, baked to juicy perfection.

⏱️ 2 hours 1Main Course ★ 4.7
Main Course
🍜 India

Tender charred marinated chicken simmered in a rich, spiced creamy tomato sauce, this iconic Anglo-Indian curry pairs perfectly with basmati rice or warm naan.

⏱️ 50 minuteMain Course ★ 4.6
Main Course
🍜 Thailand

Classic tangy, sweet, and savory Thai stir-fried rice noodles with shrimp, tofu, and crunchy garnishes, balancing all five core Thai flavor profiles.

⏱️ 30 minuteMain Course ★ 4.5
Main Course
🍜 United Kingdom

Crispy golden beer-battered cod and fluffy double-fried chips, served with tangy tartar sauce and malt vinegar: the timeless, beloved British pub comfort classic.

⏱️ 45 minuteMain Course ★ 4.7
Main Course
🍜 Mexico

Smoky, chile-marinated pork tacos with caramelized pineapple, fresh cilantro, and lime: a beloved classic Mexican street food perfect for casual summer gatherings.

⏱️ 1 hour 45Main Course ★ 4.8
Main Course
🍜 United States

Crunchy Fritos corn chips layered with savory beef chili and melted cheddar, topped with cool, zesty fixings for a beloved, cozy Tex-Mex comfort food.

⏱️ 35 minuteMain Course ★ 4.8

chicken kiev casserole:Frequently Asked Questions

1.Can I substitute boneless, skinless chicken thighs for the chicken breasts in this recipe? ▾
Absolutely! Boneless, skinless chicken thighs are a fantastic swap here—they stay extra juicy even if you overbake by a few minutes, and their richer flavor pairs perfectly with garlic herb butter. Cut them into 1-inch bite-sized pieces just like breast meat, and add 3 to 5 minutes of cook time to hit a safe 165°F internal temp.
2.Do I need to pre-cook the chicken before assembling the casserole? ▾
You don’t have to, but I recommend a quick 2-minute sear on chicken pieces first for extra depth of flavor. If you’re crunched for time, toss raw, bite-sized chicken pieces right in the baking dish—just bake until the chicken cooks through completely to 165°F, which takes roughly 35 to 40 minutes at 375°F.
3.Can I use dried herbs instead of fresh parsley and dill? ▾
You can in a pinch, but fresh herbs deliver that bright, signature Kiev flavor best. Use 1 teaspoon of dried dill and 1 tablespoon of dried parsley to replace the fresh amounts, since dried herbs are far more concentrated. Stir half into the butter mixture and reserve half to sprinkle on top right before serving.
4.How do I keep the minced garlic from burning while the casserole bakes? ▾
Burnt garlic turns unpleasantly bitter fast, so mix your minced garlic directly into the melted herb butter rather than sprinkling it loose on the casserole surface. If you add a crispy breadcrumb topping, toss the garlic in with the butter and crumbs so it’s insulated and toasts gently instead of scorching during the long bake.
5.Can I make this casserole ahead of time for meal prep or a dinner party? ▾
Definitely! Assemble the entire casserole (hold off on adding crispy breadcrumb topping until bake day) and cover it tightly in the fridge for up to 2 days before serving. Add 10 minutes to the covered bake time if putting it straight in the oven cold, and confirm it hits 165°F internally.
6.What creamy base works best to get that perfect casserole texture? ▾
To match classic Kiev’s rich, buttery core without overpowering the herb and garlic flavor, mix 4 ounces of softened full-fat cream cheese and ¼ cup of heavy cream into your garlic herb butter base. It creates a luscious, silky sauce that coats every bite of chicken without making the dish feel overly heavy.
7.Can I freeze this casserole for later make-ahead meals? ▾
Yes! Assemble the unbaked casserole in a freezer-safe dish, wrap it tightly in two layers of plastic wrap and one layer of foil, and freeze for up to 3 months. Thaw it completely in the fridge overnight before baking, or add 25 to 30 minutes of bake time if cooking from frozen until the center is bubbly.
8.What side dishes pair best with Chicken Kiev Casserole? ▾
This rich, garlicky casserole pairs perfectly with lighter, simple sides to balance its bold, buttery flavor. Buttery egg noodles, roasted broccoli, fluffy mashed potatoes, a crisp green salad with bright lemon vinaigrette, or steamed green beans all work beautifully, as they soak up extra herb butter without competing with the dish’s core flavors.
9.My test batch came out watery—what went wrong, and how do I fix it? ▾
Watery casserole usually happens if you didn’t pat chicken completely dry before assembling, or if you used low-fat dairy that curdles and separates during baking. Fix it next time by patting chicken dry, sticking to full-fat dairy, and mixing 1 tablespoon of cornstarch into the butter base to thicken the sauce as it bakes.
10.Can I add a crispy topping to mimic classic chicken Kiev’s crunchy breaded exterior? ▾
That’s one of my all-time favorite upgrades! Toss 1 cup of panko breadcrumbs with 2 tablespoons of your melted garlic herb butter, and sprinkle it evenly over the casserole during the last 15 minutes of baking. It toasts up golden and crisp, perfectly replicating that iconic Kiev crunch without all the work of frying.
11.How long will leftovers keep, and what’s the best way to reheat them? ▾
Leftovers will stay fresh stored in an airtight container in the fridge for 3 to 4 days. Reheat individual portions in the microwave for 1 to 2 minutes, or reheat the whole casserole in a 350°F oven covered with foil for 15 to 20 minutes. A quick spritz of fresh lemon juice brightens the flavors right before serving.
12.Is there a way to make this recipe dairy-free? ▾
You can easily make this dairy-free by swapping the unsalted butter for a high-quality plant-based butter that matches dairy butter’s rich flavor, and using full-fat coconut cream or dairy-free cream cheese for the creamy base. Keep the same fresh garlic, dill, and parsley to hold onto that iconic bright Kiev flavor.

Comments (13)

2 days ago

OMG this was such a game changer for our weeknight family dinner! I was so tired of the same old baked chicken recipes, and this had all that dreamy garlic butter Chicken Kiev vibe without all the fussy pounding, stuffing, and rolling. My kids went back for SECONDS, even my picky middle one who turns his nose up at anything he deems 'too fancy'! SO good, will be adding this to our permanent rotation.

yesterday

That makes our day to hear! So glad it worked for your picky eater – the shortcut method is totally made for busy weeknights, no fancy skills required 😊

yesterday

Same here! My 7 year old asked if we can have this every single week now, total win!

3 days ago

Made this for our Sunday football watch party and it was a huge hit! Only reason I’m not giving 5 stars is I wish it had a little more of that herby butter punch, so next time I’ll probably toss in a little extra parsley and garlic when I make the butter layer. Super easy to throw together even when I was manning the grill for burgers at the same time.

2 days ago

Great call adding extra garlic and herbs! You can totally amp up the butter mixture to taste without messing up the bake – glad it was a hit at your watch party!

1 week ago

Absolute meal prep staple! I divided this up into 5 containers on Sunday with a side of roasted broccoli and it held up perfectly all week for work lunches. No soggy breading, the butter flavor stays locked in, and it’s way cheaper than grabbing takeout every day. 10/10, already made it twice this month.

3 days ago

Brought this to our neighborhood potluck last weekend and people were asking me for the recipe before I even set the dish down! I topped it with a little extra panko for crunch and it was chef’s kiss. So much easier than making individual Kiev rolls for a crowd.

2 days ago

I was at that potluck!!! Can confirm, this was the best dish there, I went back for two helpings lmao

5 days ago

Wait this is insane for how easy it is? I’m a total beginner cook living in a dorm with just a tiny oven and I pulled this off no problem. Only mess up was I forgot to thaw my chicken all the way so it needed an extra 10 minutes in the oven, oops. Tasted amazing though, even my roommate who only eats ramen stole half my portion.

3 days ago

Pro tip: if you pound the chicken a little thinner first it cooks way faster even if it’s slightly frozen, learned that the hard way too!

2 days ago

So proud of you for pulling this off in a dorm kitchen! Great tip from the comment above too – if your chicken is extra cold, just tent the pan with foil for those extra 10 minutes so the topping doesn’t burn while it cooks through.

2 weeks ago

I swapped the regular panko for whole wheat panko and used a light butter to cut a few calories, and it still tasted totally indulgent! Great high protein dinner option that doesn’t feel like diet food at all. Paired it with a side salad and it clocked in at under 400 calories a serving, will be making this on repeat.

3 days ago

I’ve made traditional Chicken Kiev for my family for over 40 years, and I’ll admit I was skeptical of a casserole version. Let me tell you – this is just as delicious, and it took me a third of the time! My granddaughter who has celiac came over for dinner so I used gluten free panko and it worked perfectly. We all loved it.

2 days ago

That means the world coming from someone who’s made the classic version for decades! So glad the gluten free panko swap worked out for your granddaughter, that’s such a great modification to note.

yesterday

It was good, but I felt like it was missing a little something? Maybe a squeeze of lemon on top? Don’t get me wrong, it was easy and the butter flavor is there, just felt like it needed a little zing to cut through the richness. Might try adding some lemon zest next time.

2 hours ago

Oh my gosh adding lemon zest is genius! I did that last time I made it and it totally elevates the whole dish, brightens it right up. Also a little sprinkle of parm in the panko topping goes crazy.

30 minutes ago

I always serve it with a wedge of lemon on the side so people can add as much as they want! My husband dumps hot sauce on his too, which slaps.

2 weeks ago

Made this last minute when my husband texted he was bringing 3 coworkers home for dinner, and it saved my LIFE. I had all the ingredients already in the fridge/pantry, it stretched to feed 6 people with a side of mashed potatoes, and everyone raved. No stress, zero fancy ingredients, total crowd pleaser. 10/10.

5 minutes ago

Just pulled this out of the oven and my whole apartment smells like garlic butter heaven!!! I was so nervous I’d mess it up because I barely ever cook, but the steps were so straightforward even I could follow them. Can’t wait to dig in!

just now

Wait I made this last week in my tiny apartment too! The smell lingered for two days and I’m not even mad about it, enjoy!!

1 week ago

Has anyone tried freezing this before baking? I make a ton of freezer meals for when my husband is deployed and this seems like it would be perfect to pull out on hard days. I’m thinking assemble it all, wrap tight, and bake from frozen when we need it.

5 days ago

Great question! You can absolutely freeze this assembled for up to 3 months. When you’re ready to bake, just add 20-25 minutes to the cook time (keep it covered with foil for the first 40 minutes to prevent the topping from burning) and you’re good to go!

3 days ago

I did this! Froze two pans of it last month and baked one last week when I had back to back work meetings, it turned out exactly the same as the fresh version. Total lifesaver!

2 days ago

I added a layer of steamed spinach between the chicken and the butter topping to sneak some veggies in, and it was so good! The spinach soaked up all that garlic butter flavor so it didn’t feel like a boring afterthought. Only thing is next time I’ll squeeze all the water out of the spinach better, it made the topping a tiny bit soggy in spots. Still ate two servings though!

yesterday

Served this for our Sunday family dinner alongside buttered noodles and roasted green beans, and my dad (who swears nothing is as good as his mom’s cooking) asked for seconds! That’s the highest possible praise in my book. 40 minutes total cook time is unreal for how flavorful this is, I will be making this for every family gathering from now on.

2 hours ago

There is no higher praise than a parent/grandparent asking for seconds! Love the side pairings you picked, buttered noodles are the perfect match for that extra garlic butter sauce at the bottom of the pan.



