
Sour Cream
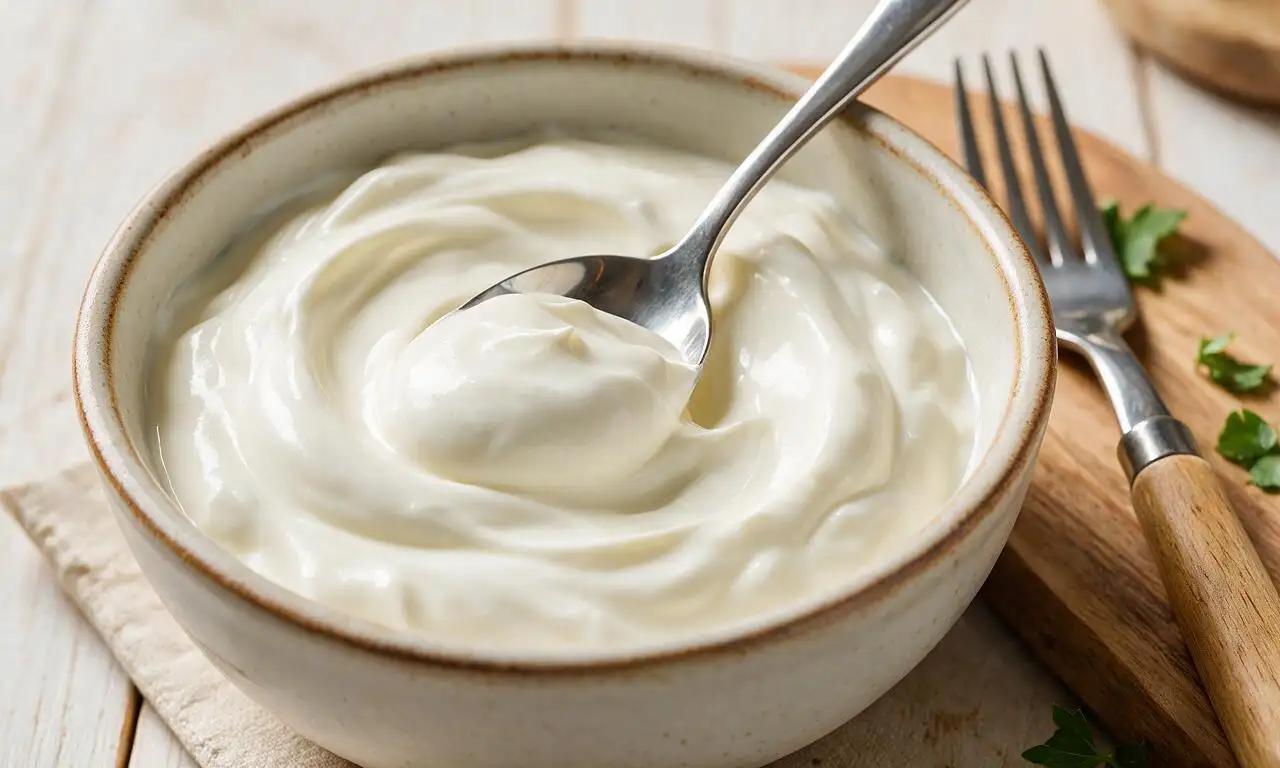
intro
Thick, tangy, velvety homemade sour cream free of additives, perfect for topping baked potatoes, tacos, dips, and mixing into baked goods.
Ingredients
Steps
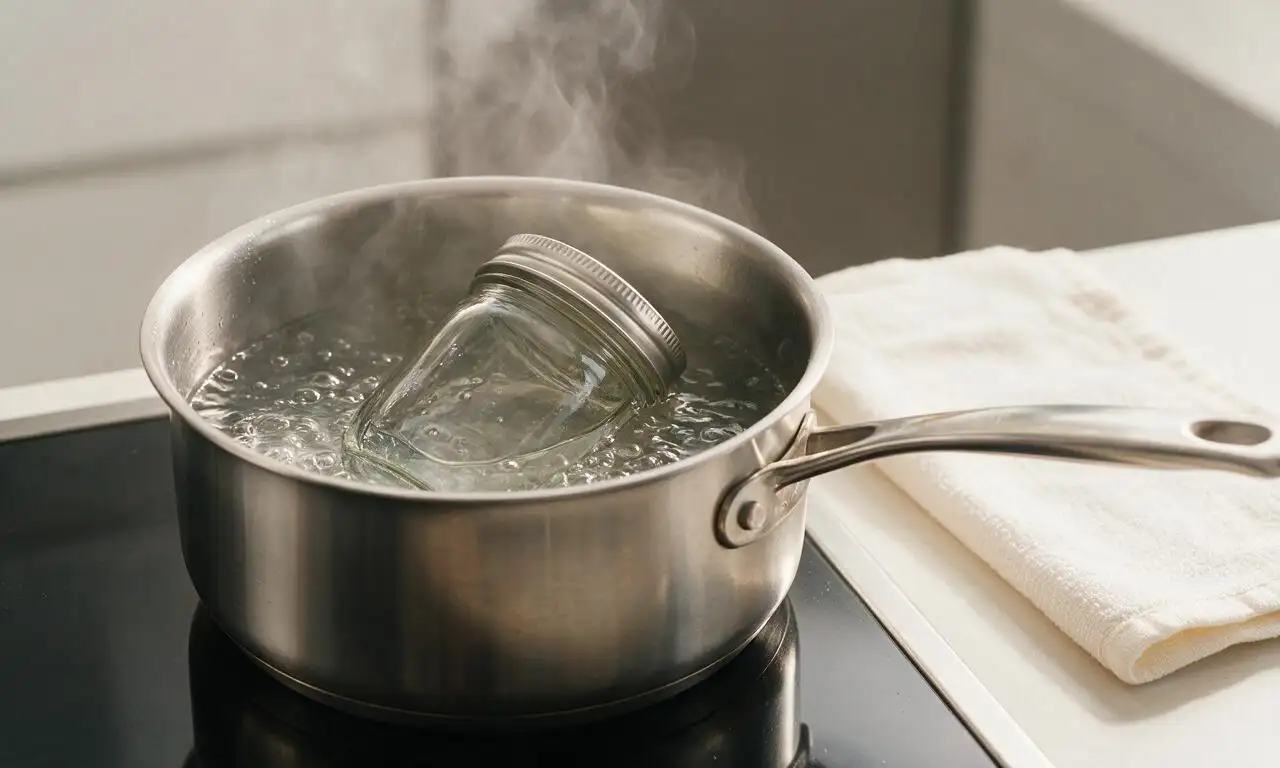
Sterilize storage jar
Wash a 500ml (2-cup) glass mason jar and its lid in hot, soapy water, then submerge in boiling water for 2 minutes to kill any competing bacteria that could ruin the culture. Dry completely with a clean paper towel before use.
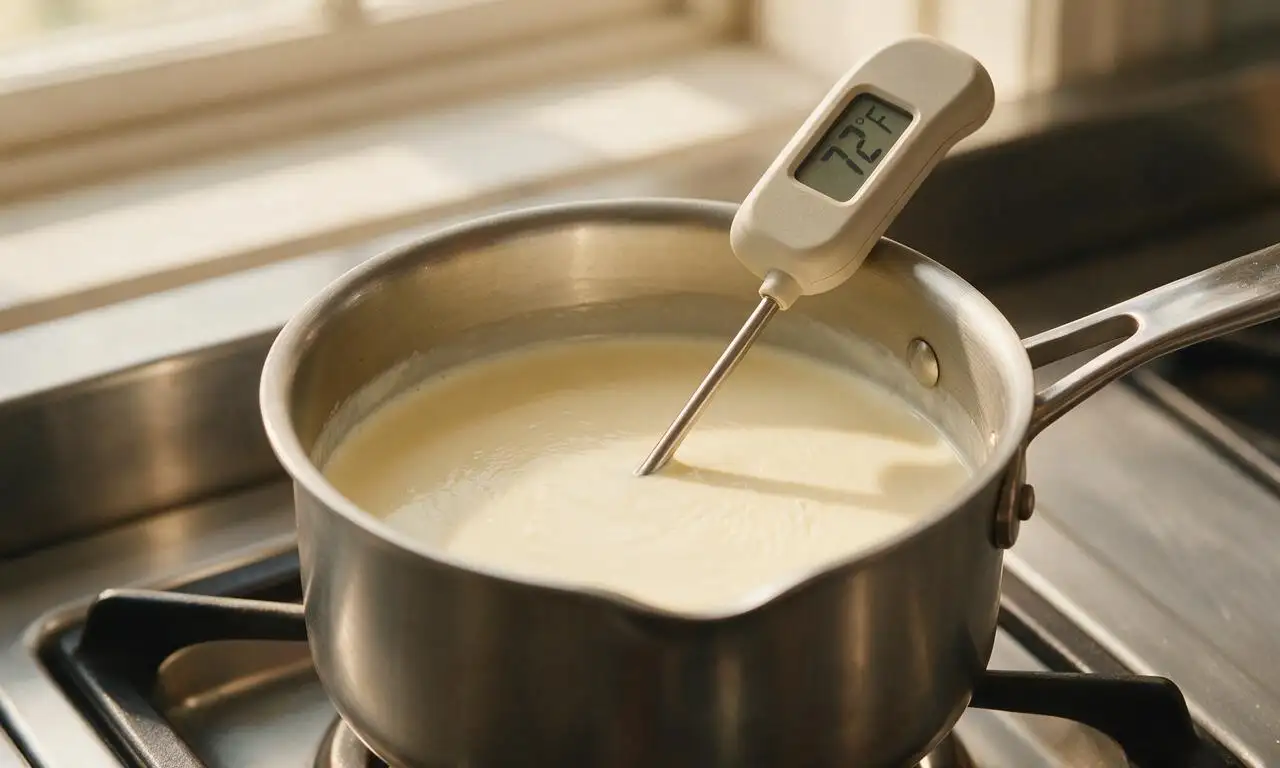
Warm heavy cream
Pour 480ml (2 cups) of non-ultra-pasteurized heavy whipping cream into a small saucepan, and heat over the lowest stovetop setting until it reaches 22°C (72°F), measured with a food thermometer. Do not heat above 26°C (79°F), as high heat will kill the beneficial cultures added later.
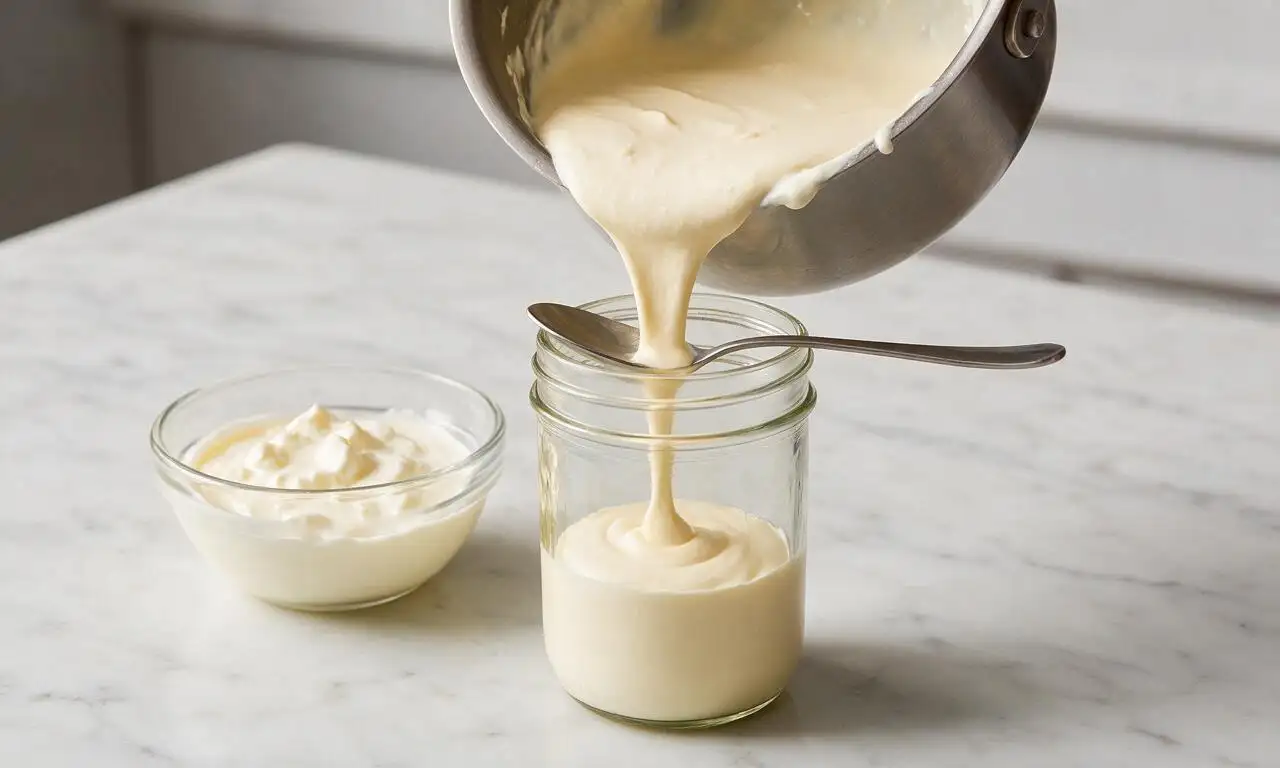
Mix in starter culture
Remove the warmed cream from heat, pour it into the sterilized mason jar, then stir in 45ml (3 tablespoons) of full-fat, live-cultured buttermilk until fully combined with a clean, dry metal spoon. Seal the jar tightly with its lid.
Incubate cream mixture
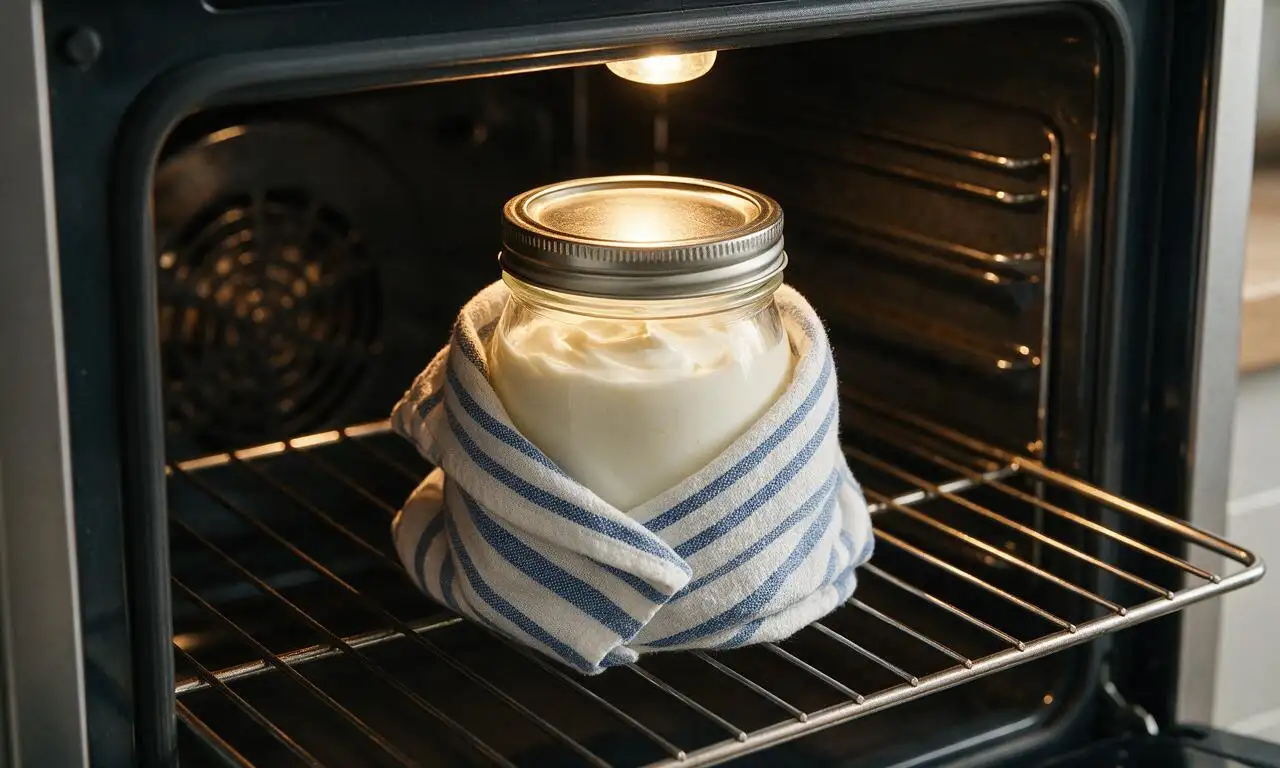
Wrap the sealed jar in a clean kitchen towel to insulate it, and place it in a consistently warm spot (21–24°C / 70–75°F, such as inside a turned-off oven with the interior light on) for 18–24 hours, completely undisturbed. Do not shake or jostle the jar during this time, as this can prevent proper thickening.
Check fermentation set
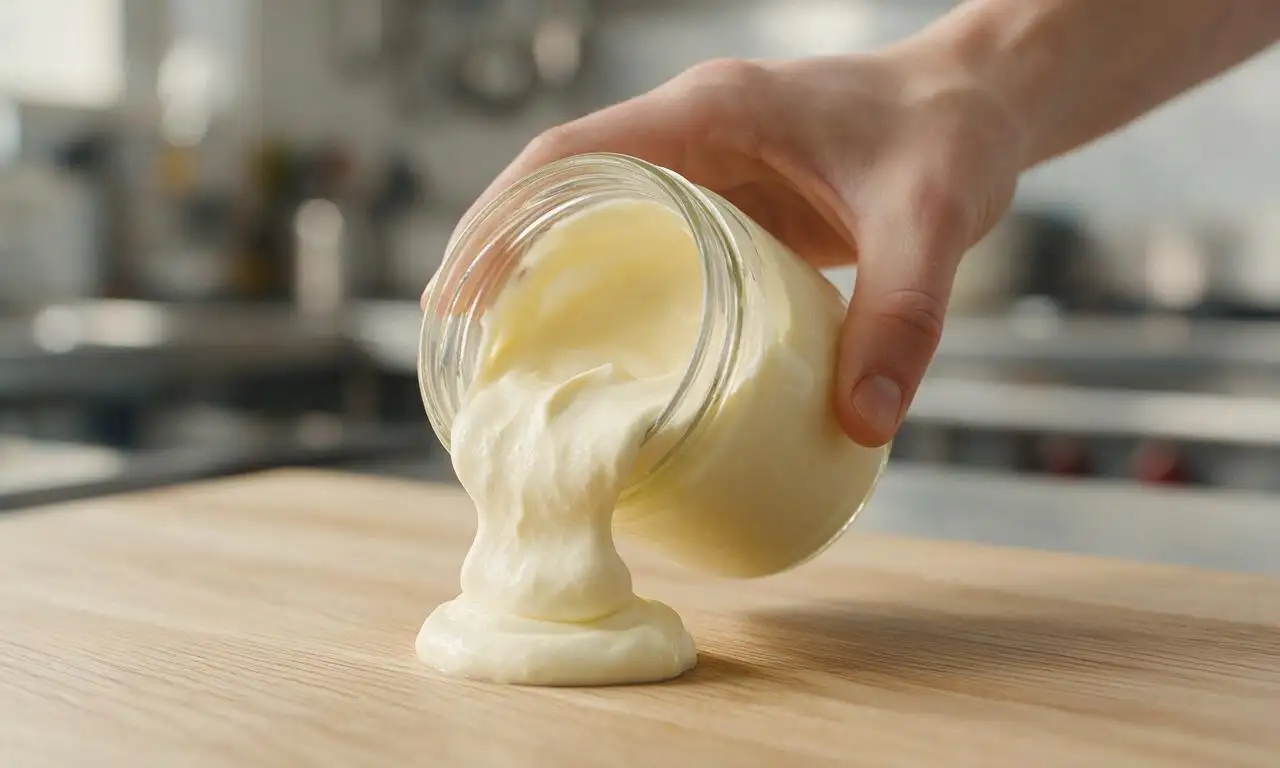
After 18 hours of incubation, gently tilt the jar (do not shake) to check consistency: the sour cream is ready to chill if it is thick enough to coat the sides of the jar and has a subtle, fresh tangy aroma, with no watery separated liquid pooling on the surface. If still thin and runny, re-seal and let it incubate for up to 6 additional hours.
Chill to finish
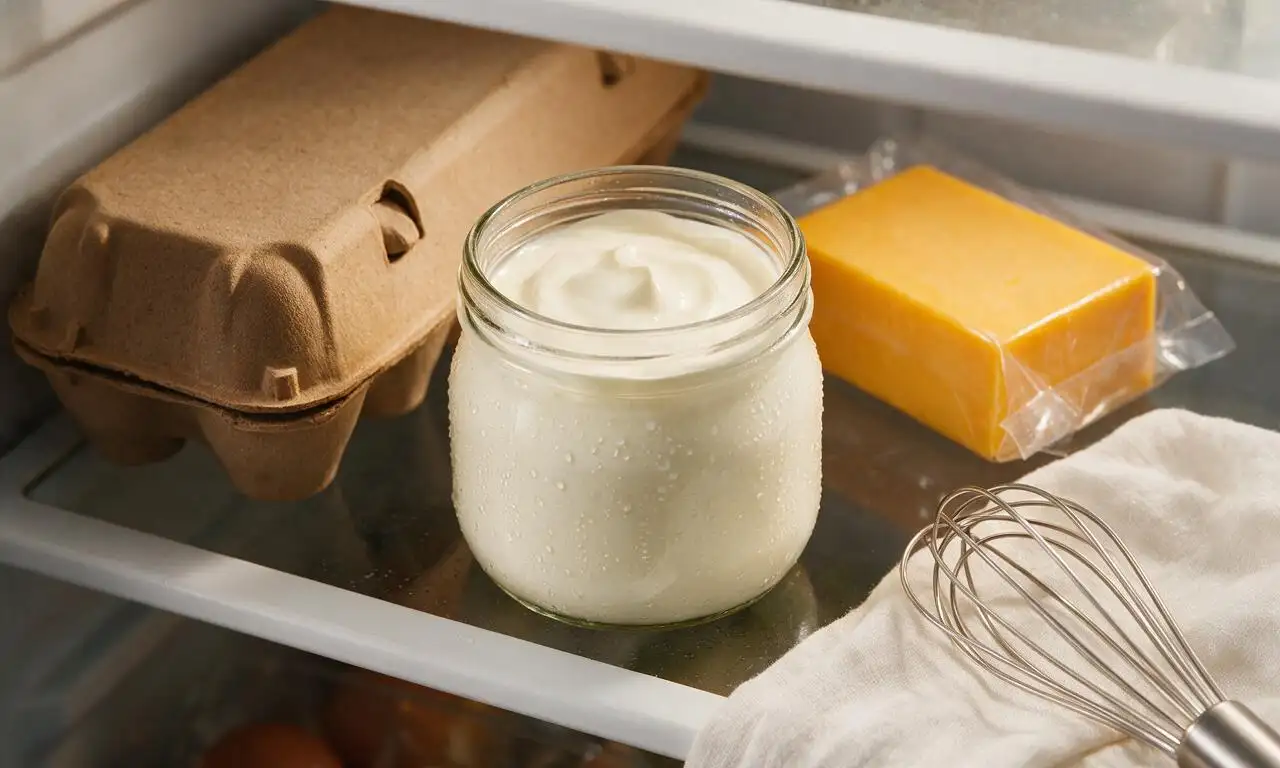
Once properly set, place the sealed jar in the refrigerator for 6 hours to chill fully; this cooling step will thicken the sour cream to a rich, spreadable, velvety consistency. Stir gently once chilled before serving or using in recipes.
Tips
2.If your home is cooler than 21°C (70°F) during incubation, set the wrapped jar on a seedling heating pad set to the lowest setting to maintain a consistent, culture-friendly temperature.
3.Stored in a tightly sealed, sterilized jar in the coldest part of your refrigerator, homemade sour cream will stay fresh for up to 2 weeks, with its tangy flavor becoming more pronounced the longer it is stored.






OMG this is a total game changer! I’ve been buying expensive organic sour cream for years for our weekly taco nights and this is SO much better. Took literally 10 minutes of active work, I couldn’t believe how simple it was. My kids even said it tastes creamier than the store bought stuff. Will be making this every other week from now on!
Super easy recipe, I was really intimidated to try fermented dairy at home but this was totally approachable! My only note is that mine turned out a little thinner than I expected after 24 hours—did I do something wrong? It still tasted great on my baked potatoes though!
I make this all the time for potlucks! I stir in a little chive and onion powder right after it’s done culturing and people go crazy for it with potato chips. Way cheaper than buying the fancy flavored sour cream dips, and no weird preservatives. 10/10, meal prep staple in my house now.
Made this last night to go with our loaded nacho dinner for the family and everyone raved. I was worried I’d mess up the culturing step but it was so hands off! I set it on top of my fridge while I worked all day and it was perfectly tangy when I checked it. No weird ingredients, no weird equipment needed. Obsessed.
Game. Changer. I did the math and this costs less than half of what I was paying for the good sour cream at the grocery store, and it tastes way fresher. I’ve already made three batches in the last month!
I was really hopeful for this because I heard cultured dairy is easier to digest for folks with lactose issues, and it did NOT upset my stomach! The only reason I’m not giving 5 stars is I wish it was a little tangier, I’ll probably let it culture for 30 hours next time to see if that helps.
Wait, hold on—you only need two ingredients? Heavy cream and a little bit of sour cream as a starter? That’s it? I feel like I’ve been overcomplicating homemade dairy for years! Why didn’t I try this sooner?
Made this for our Super Bowl watch party to top chili and nachos and every single person asked me for the recipe. People thought I bought some fancy artisanal sour cream from the specialty shop, nope! Just two ingredients, 10 minutes of work. Absolute home run, will be making this for every game day from now on.
I followed the recipe exactly but mine got really weird and separated after 24 hours? It smelled fine but the texture was lumpy and I ended up throwing it out. Bummed because I was really excited for this.
This is now a permanent part of my Sunday meal prep! It lasts a full two weeks in the fridge, which is perfect for topping tacos, mixing into scrambled eggs, making stroganoff, you name it. So versatile, and I love that I know exactly what’s in it.
Honey, let me tell you—this sour cream is better than any store bought I’ve ever had. I used it to make sour cream pound cake last weekend and it was the moistest, most flavorful cake I’ve ever baked. My family was begging for seconds before we even finished dinner. 10/10, no notes.
Quick question! Can I use a scoop of my previous batch of this sour cream as the starter for the next batch, instead of using store bought sour cream? Trying to cut down on packaging waste as much as possible!
As someone who puts sour cream on literally everything, this recipe was made for me. I’ve used it on baked potatoes, in dip, on chili, even mixed a little into my mac and cheese for extra creaminess. Tangy, thick, perfect texture. Can’t say enough good things.
I live at 7000 feet and I was worried the altitude would mess with the culturing process, but it worked perfectly! I left it for 26 hours instead of 24 just to account for the cooler house temps up here and it turned out thick and delicious. Great, easy recipe for high altitude folks too!
My two toddlers are OBSESSED. They dip every single vegetable in this sour cream, which is a huge win because I’ve been trying to get them to eat more veggies for months. I don’t even care that I have to make a batch every week, seeing them eat broccoli without complaining is worth every second.
I tested this recipe to see if I could use it at the small diner I work at, and it’s a hit with customers! My only gripe is that I wish the recipe had a scaling option for bigger batches, because right now I’m quadrupling it every week to keep up with demand for our loaded baked potatoes.
I served this last night with fresh baked potatoes from my garden and a sprinkle of chives I grew on my windowsill, and it felt like the fanciest restaurant meal ever. It’s so satisfying making something this delicious from scratch with almost no effort. Will be a staple all summer long as I harvest veggies from the garden.
Y’all. I made this to go with my homemade buttermilk biscuits and it tasted just like the sour cream my grandma used to make when I was a kid. I got a little emotional eating it, not gonna lie. Tangy, creamy, perfect. Thank you for this recipe!
I used this sour cream in my beef stroganoff recipe last night and wow, it made the sauce so much richer and tangier than store bought sour cream ever does. It didn’t curdle when I stirred it in either, which is always a problem I have with store bought! 10/10, will never go back.