
Chicken Parmesan Casserole

title 1
Chicken Parmesan Casserole
⏱️ cook time 40 minutes
🍽️ servings 6
⚡ Difficulty easy

intro

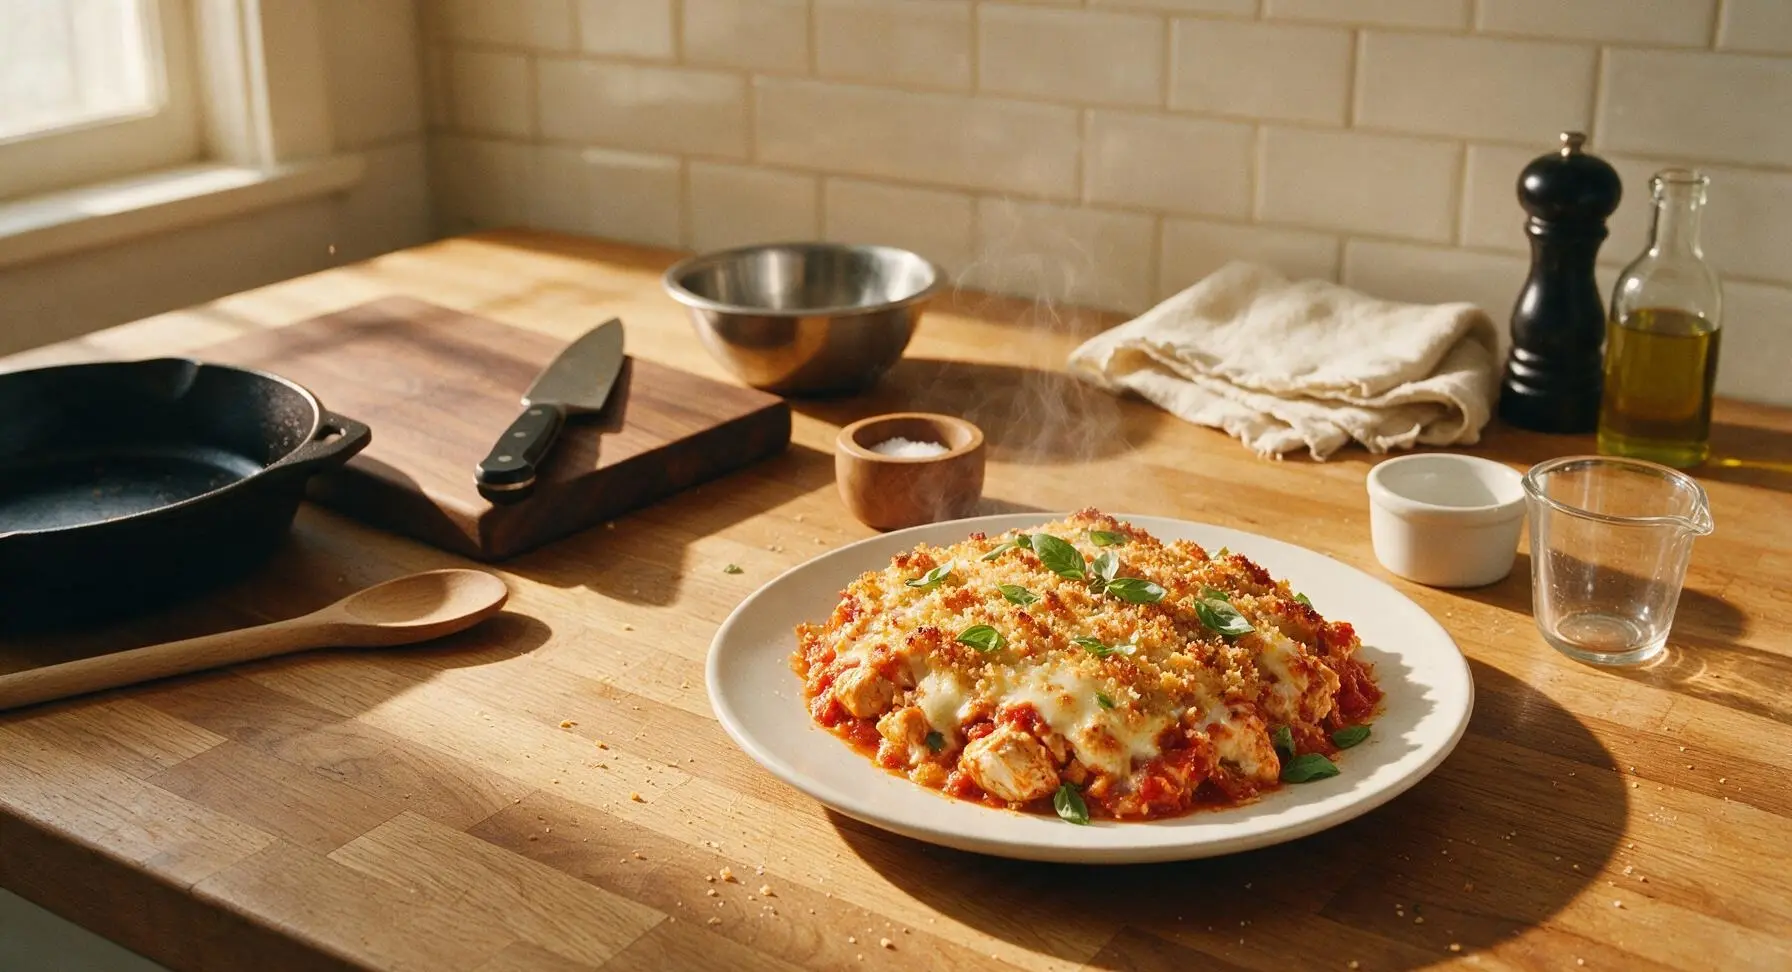
All the classic crispy, cheesy, tangy flavor of chicken parmesan baked into a fuss-free, shareable casserole—no messy frying required, perfect for gathering around the family table.

Ingredients
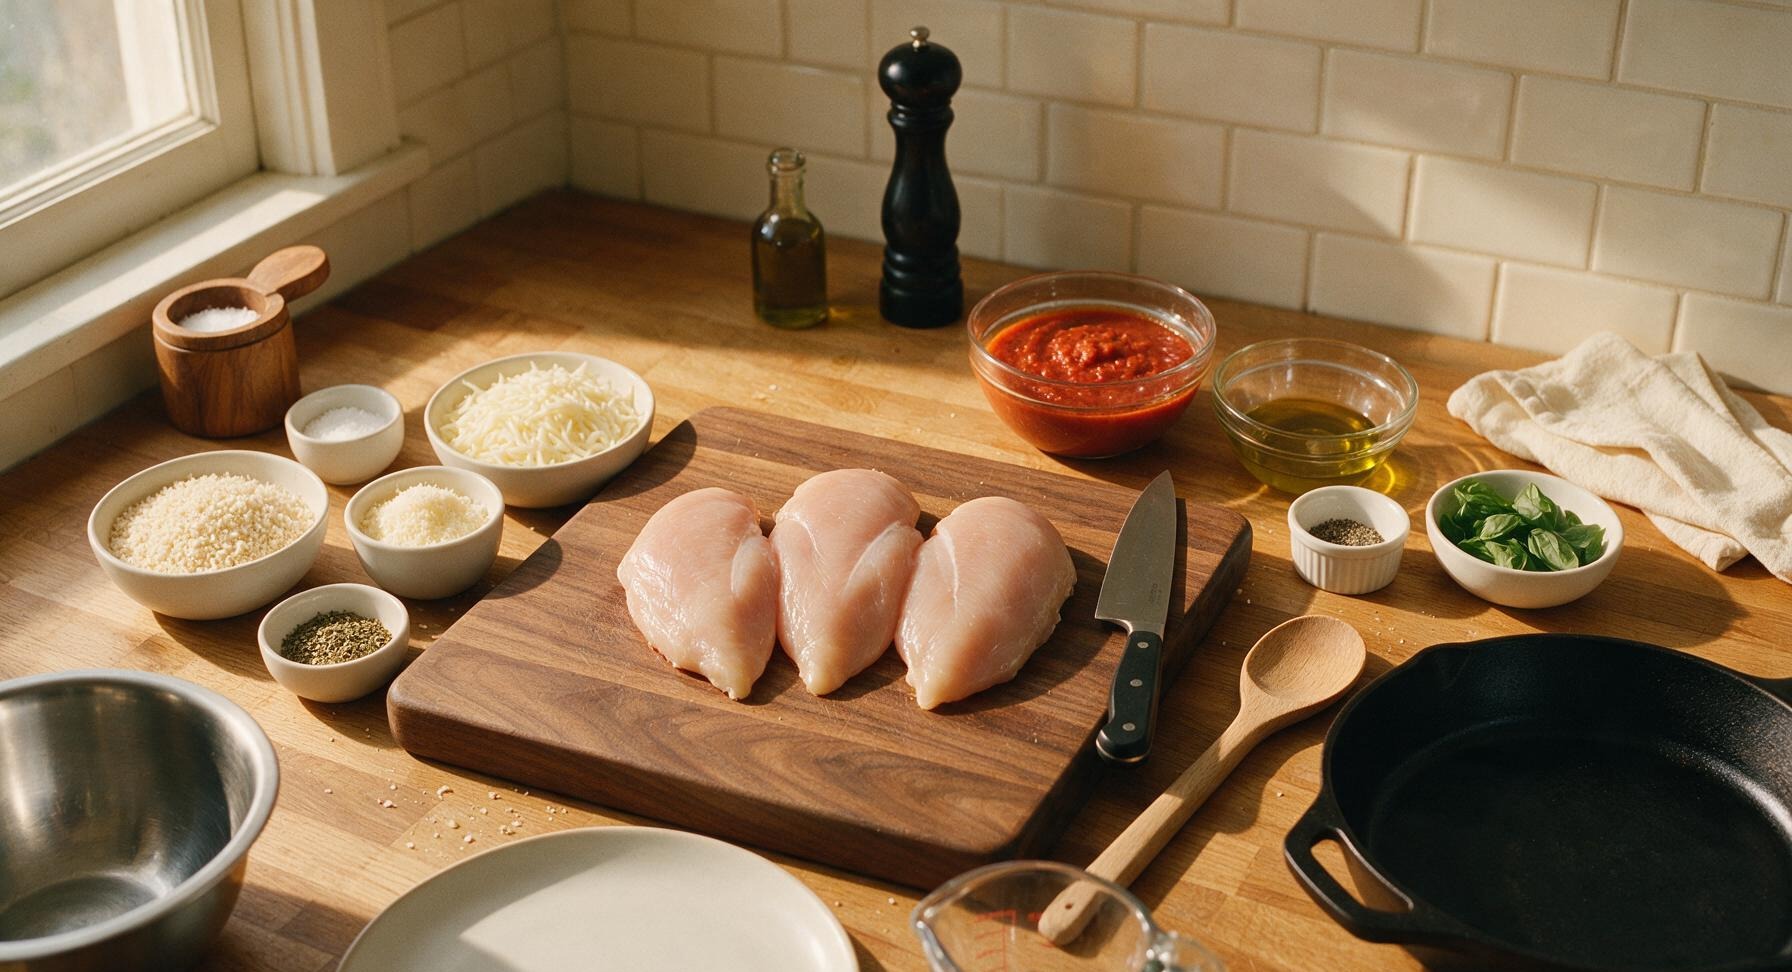
Boneless, skinless chicken breasts 680g (1.5 lbs)
Panko breadcrumbs 1.5 cups
Grated Parmesan cheese, divided ½ cup
Shredded low-moisture mozzarella cheese 2 cups
Marinara sauce (no added sugar preferred) 2 cups
Extra-virgin olive oil 2 tablespoons
Garlic powder 1 teaspoon
Dried Italian seasoning 1 teaspoon
Kosher salt ½ teaspoon
Freshly ground black pepper ¼ teaspoon
Fresh basil leaves ¼ cup loosely packed

Steps

1

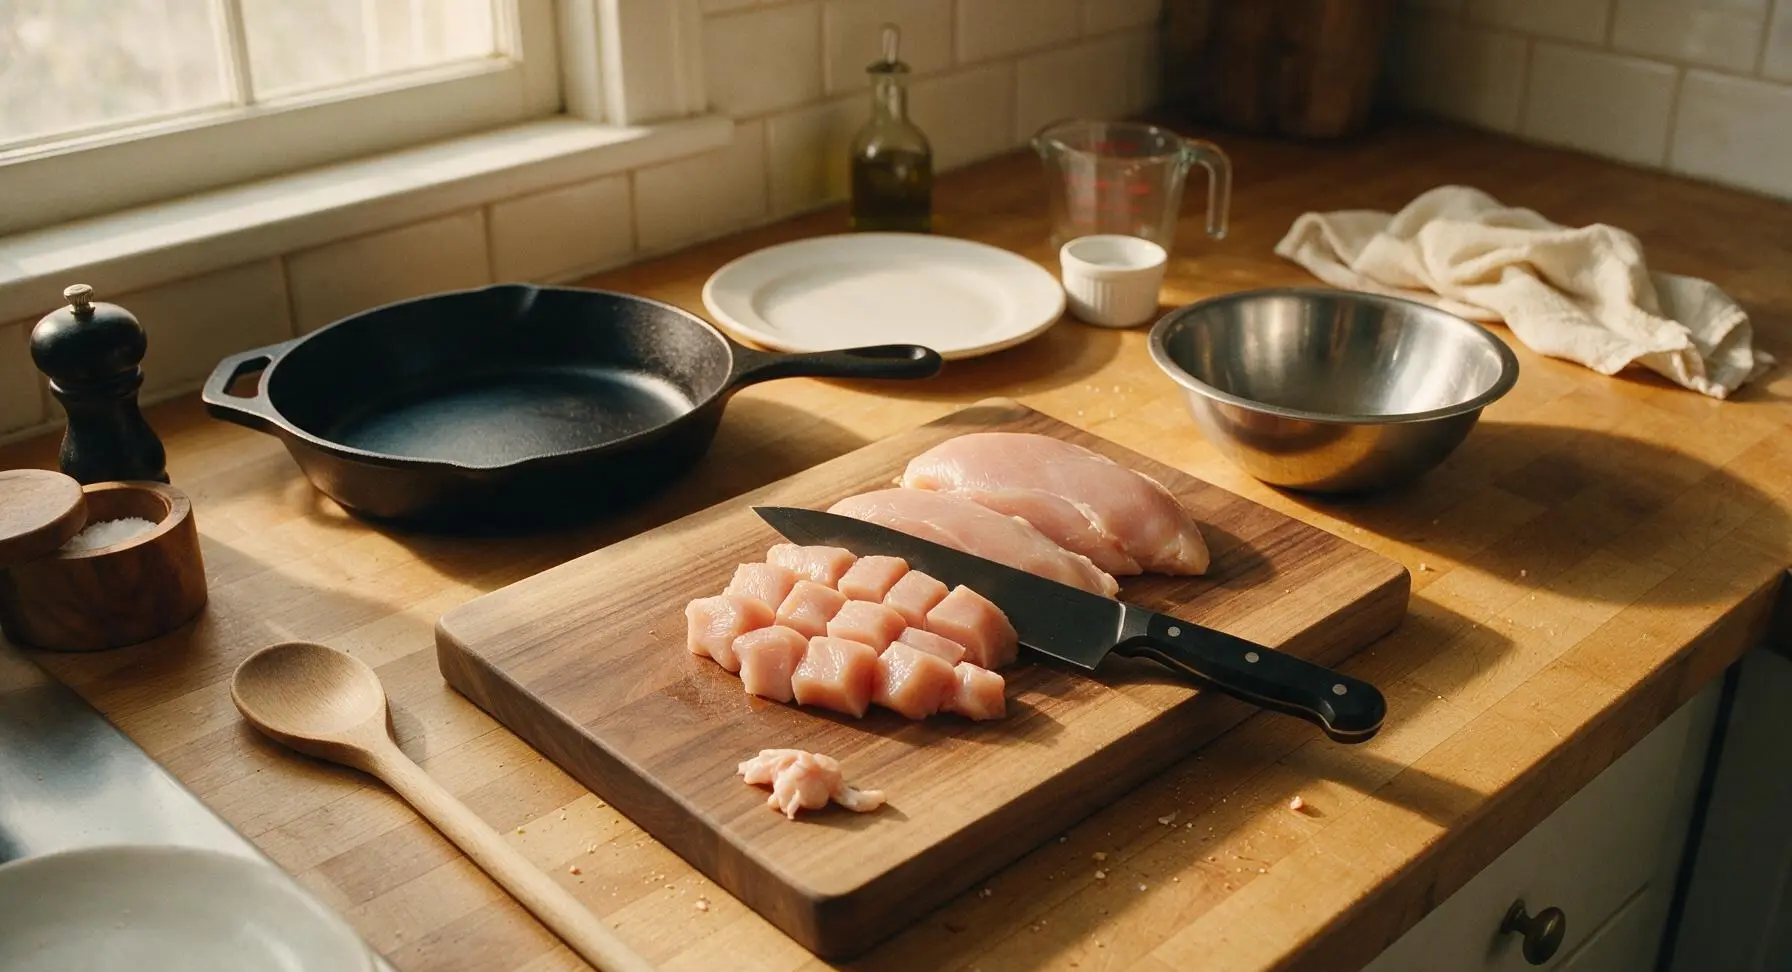
Cube Chicken Breasts

Place the chicken breasts on the bamboo cutting board. Use the chef’s knife to trim any visible fat or silver skin from the chicken, then cut into uniform 1-inch (2.5cm) cubes. Uniform sizing ensures even cooking, with no undercooked large pieces or overcooked tiny bits. Transfer cut chicken to one of the stainless steel mixing bowls and set aside.
Step 1
step1:Cube Chicken Breasts
2

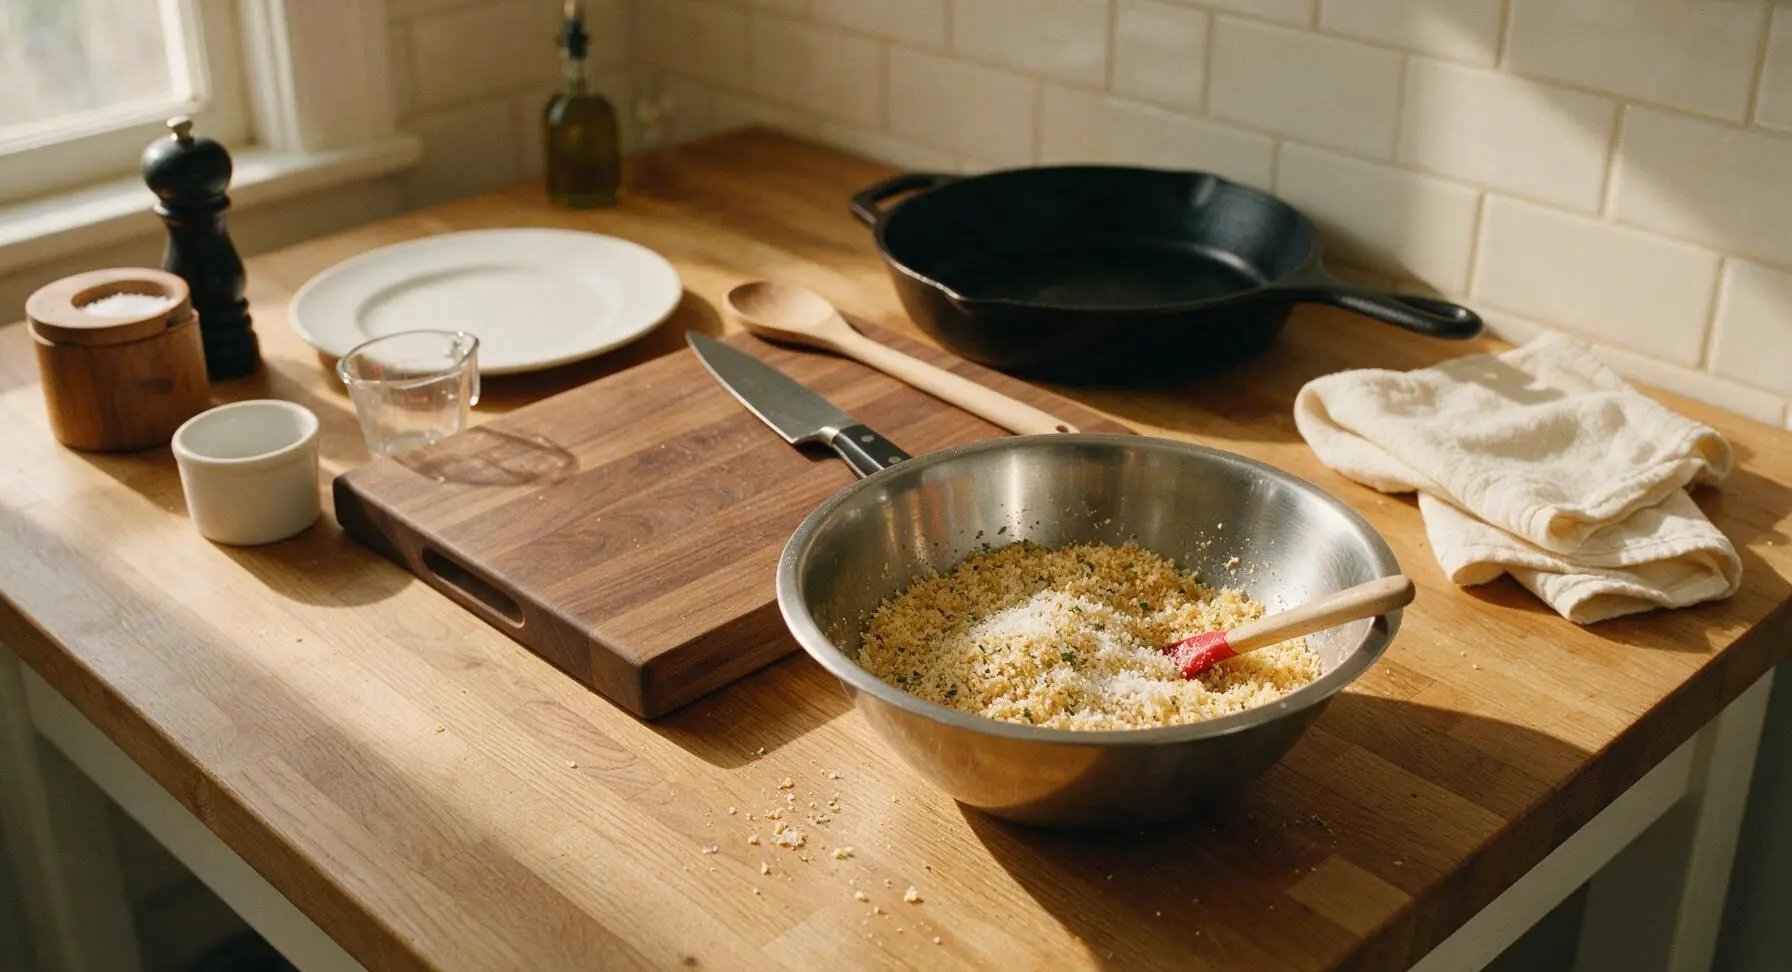
Mix Breading Coating

In the second stainless steel mixing bowl, combine panko breadcrumbs, ¼ cup of the grated Parmesan, garlic powder, Italian seasoning, kosher salt, and black pepper. Stir with the silicone spatula until all spices and cheese are evenly distributed throughout the light golden crumbs.
Step 2
step2:Mix Breading Coating
3

Toss Chicken with Breading

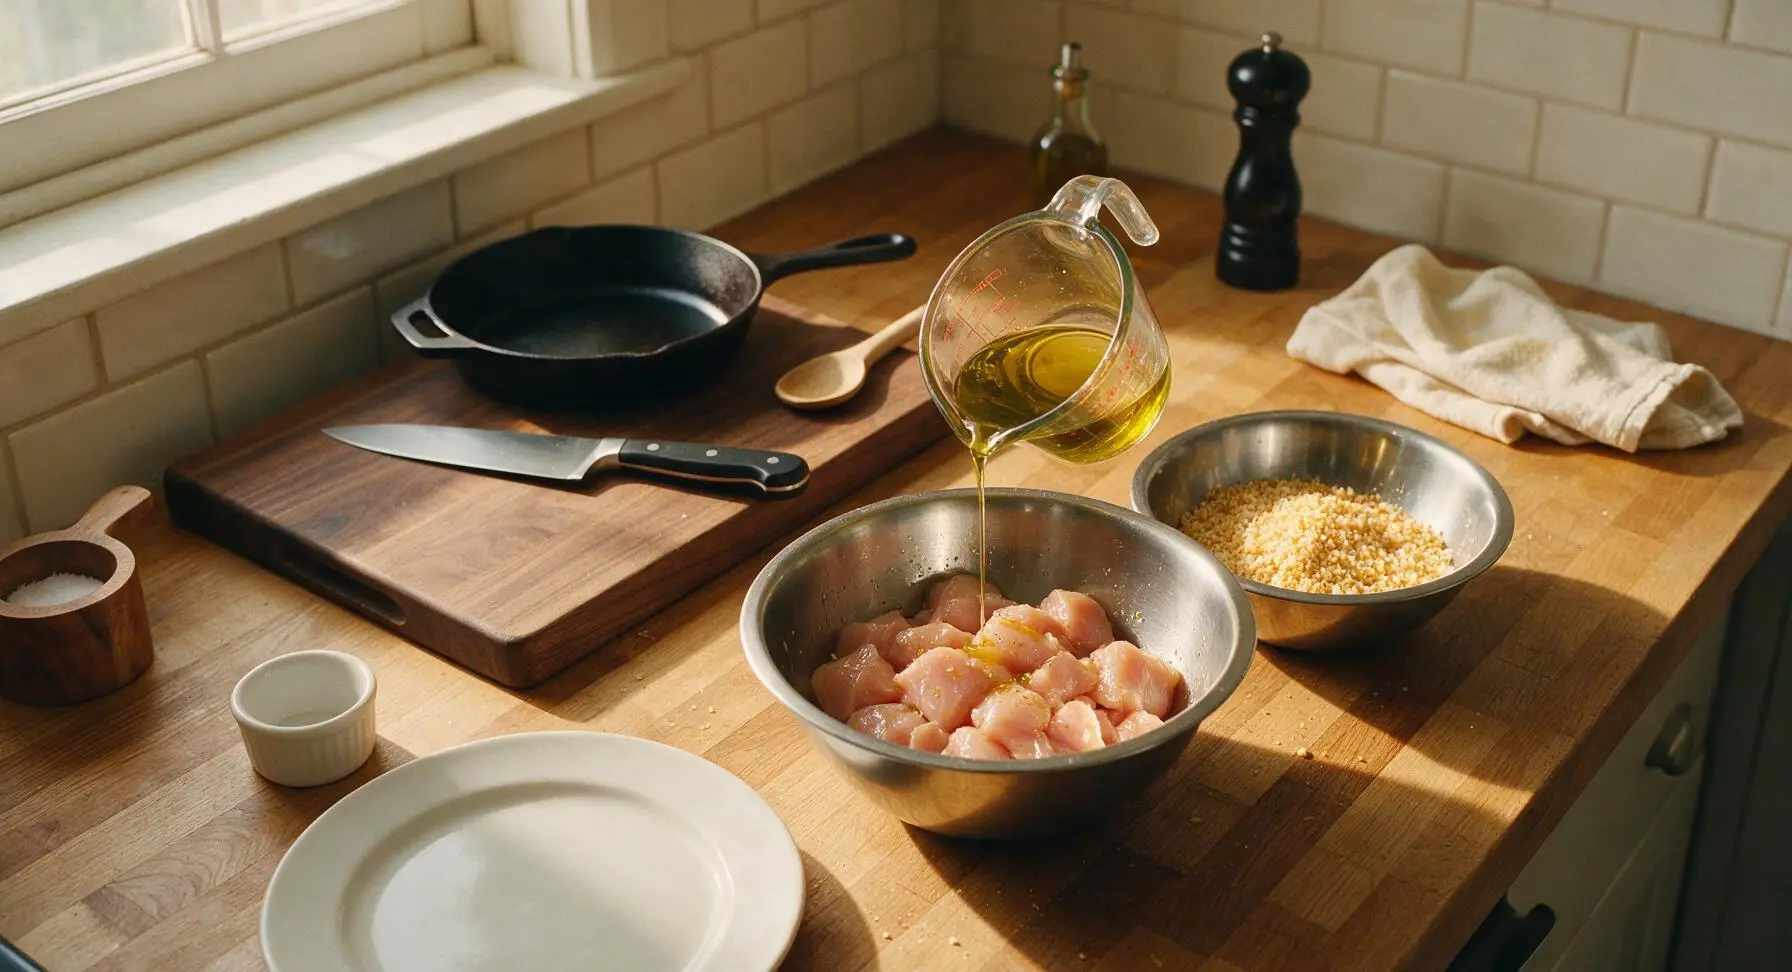
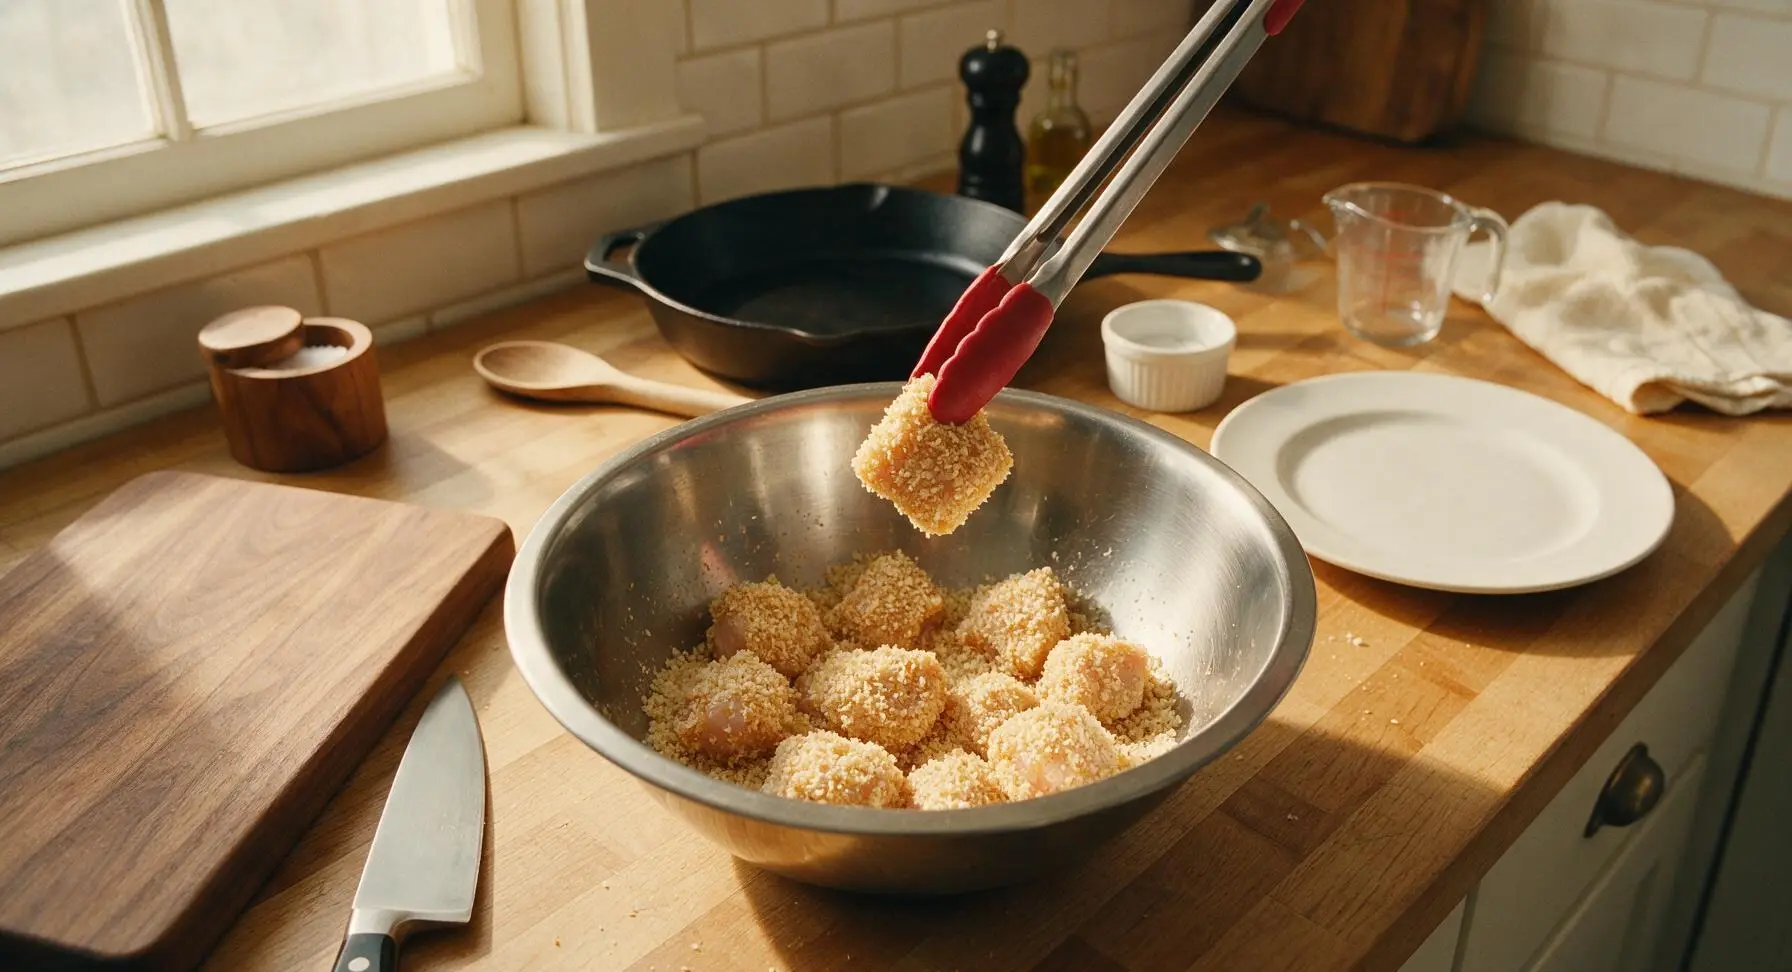
Drizzle the 2 tablespoons of olive oil over the cubed chicken in its mixing bowl, toss to coat every piece evenly. Pour the seasoned panko mixture over the oiled chicken, then use the silicone-tipped tongs to toss thoroughly until every chicken cube is lightly coated in crumbs. Some loose crumbs will remain at the bottom of the bowl, which is normal and will add crisp texture to the finished casserole.
Step 3
step3:Toss Chicken with Breading
Step 3
step3:Toss Chicken with Breading
4

Add Chicken to Baking Dish

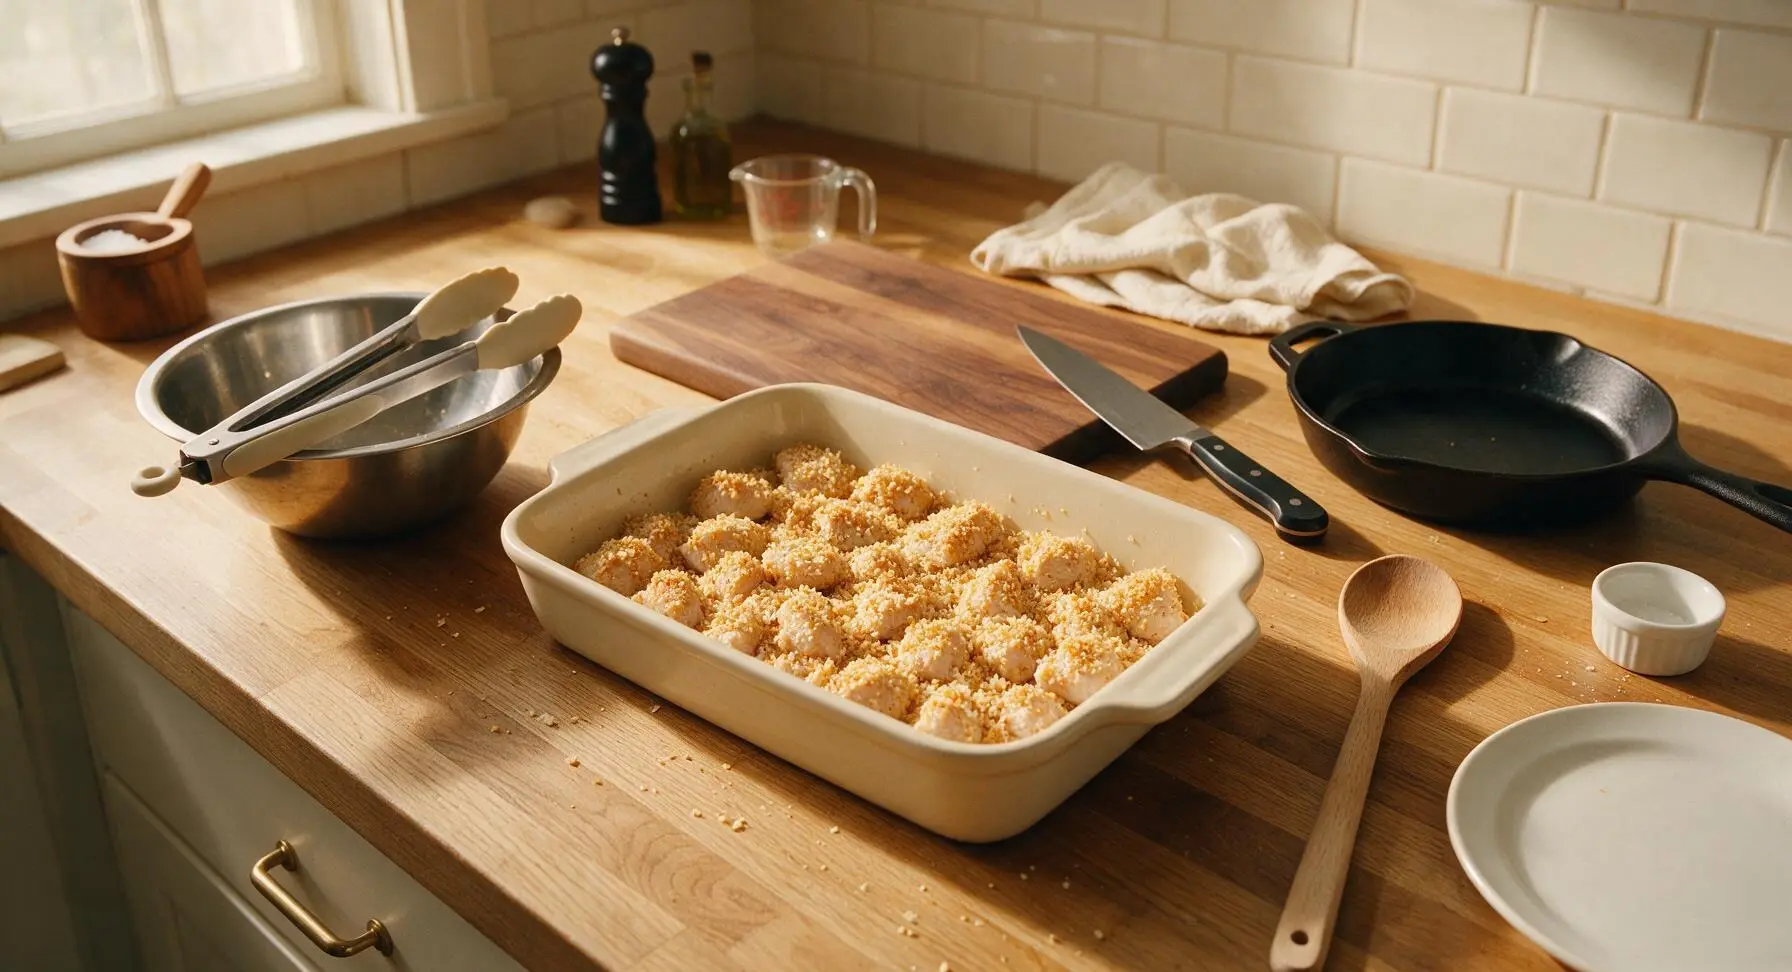
Transfer all the breaded chicken cubes and any loose crumbs from the mixing bowl into the cream white 9x13 inch ceramic baking dish. Spread the chicken into a single, even layer across the bottom of the dish, making sure no pieces are stacked on top of each other to ensure even crisping during baking.
Step 4
step4:Add Chicken to Baking Dish
5

Spread Marinara Sauce

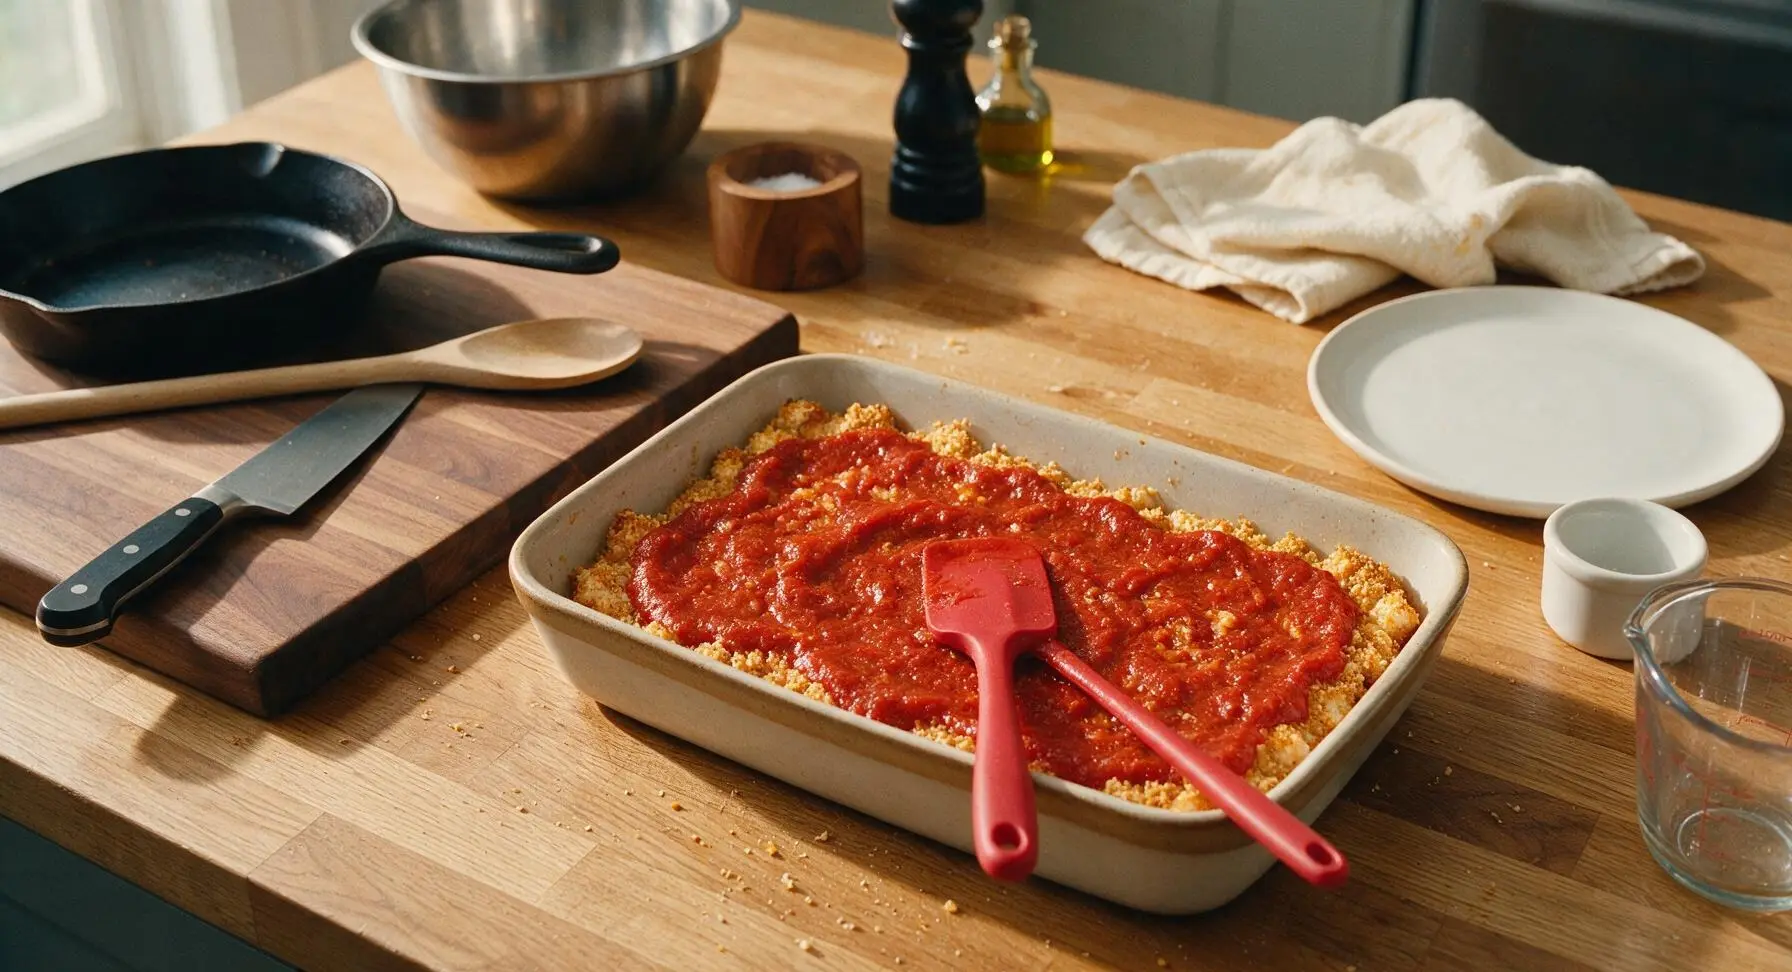
Pour the 2 cups of marinara sauce evenly over the top of the breaded chicken layer. Use the silicone spatula to spread the sauce gently, leaving a ½-inch border around the edge of the dish uncovered to create crispy, crusted edges. Do not mix the sauce into the chicken, as this will make the breading soggy.
Step 5
step5:Spread Marinara Sauce
6

Layer Cheese Topping

Sprinkle the remaining ¼ cup grated Parmesan evenly over the marinara layer, then top with the full 2 cups of shredded mozzarella, spreading it to cover the sauce completely. A few loose shreds of cheese falling onto the counter around the dish is normal and adds to the rustic, home-cooked look.
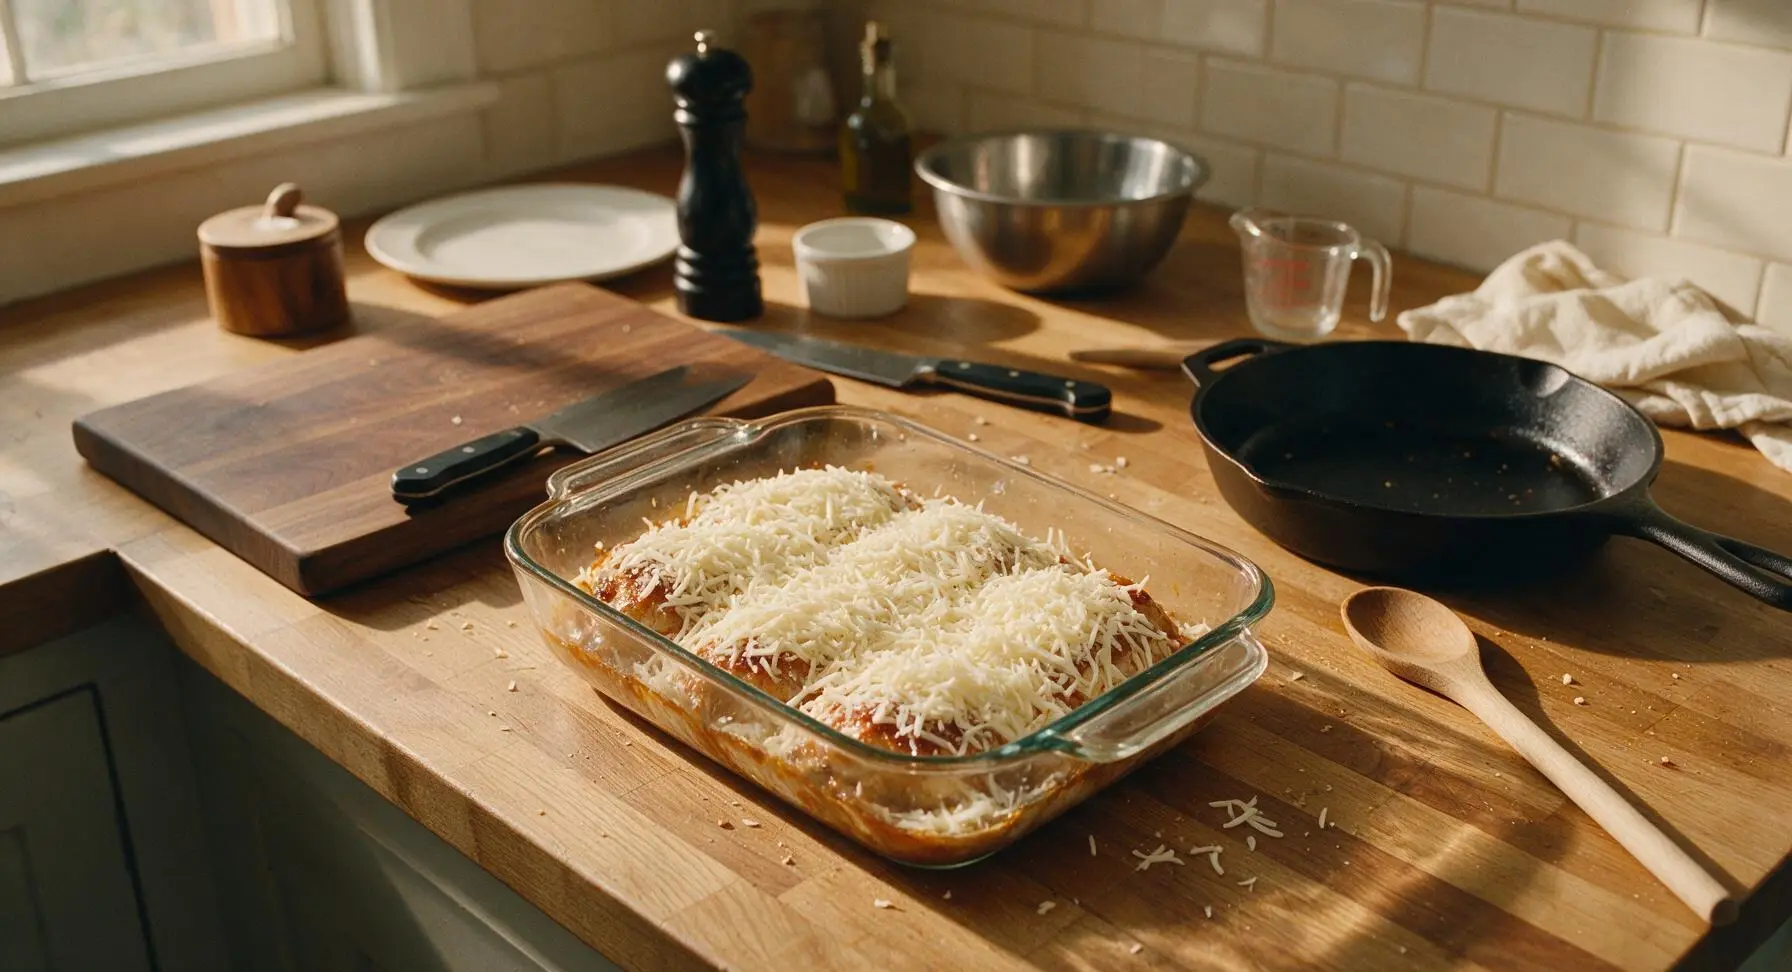
Step 6
step6:Layer Cheese Topping
7

Bake Until Golden

Carefully transfer the assembled baking dish to a preheated 375°F (190°C) oven on the middle rack. Bake for 35-40 minutes, until the cheese is fully melted and bubbly around the edges, the internal temperature of the chicken reaches 165°F (74°C), and the exposed crumbs on the dish border are deep golden brown. Use the quilted cream oven mitts to carefully remove the hot dish from the oven and set it back on the counter.
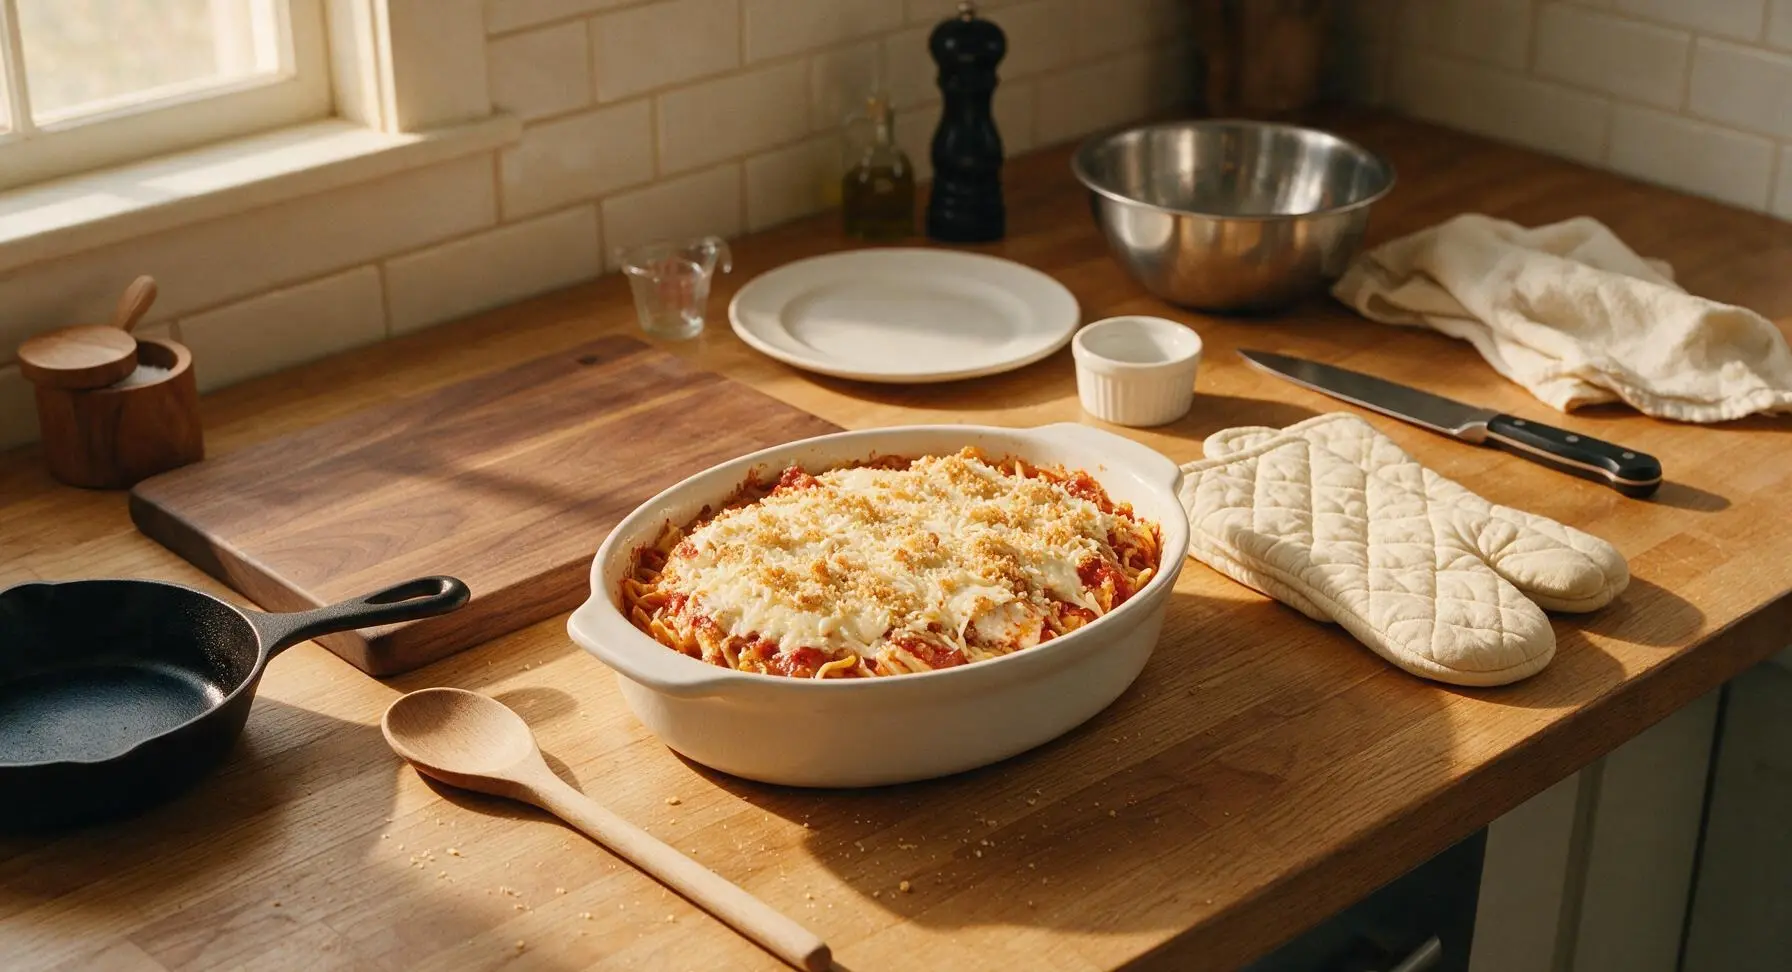
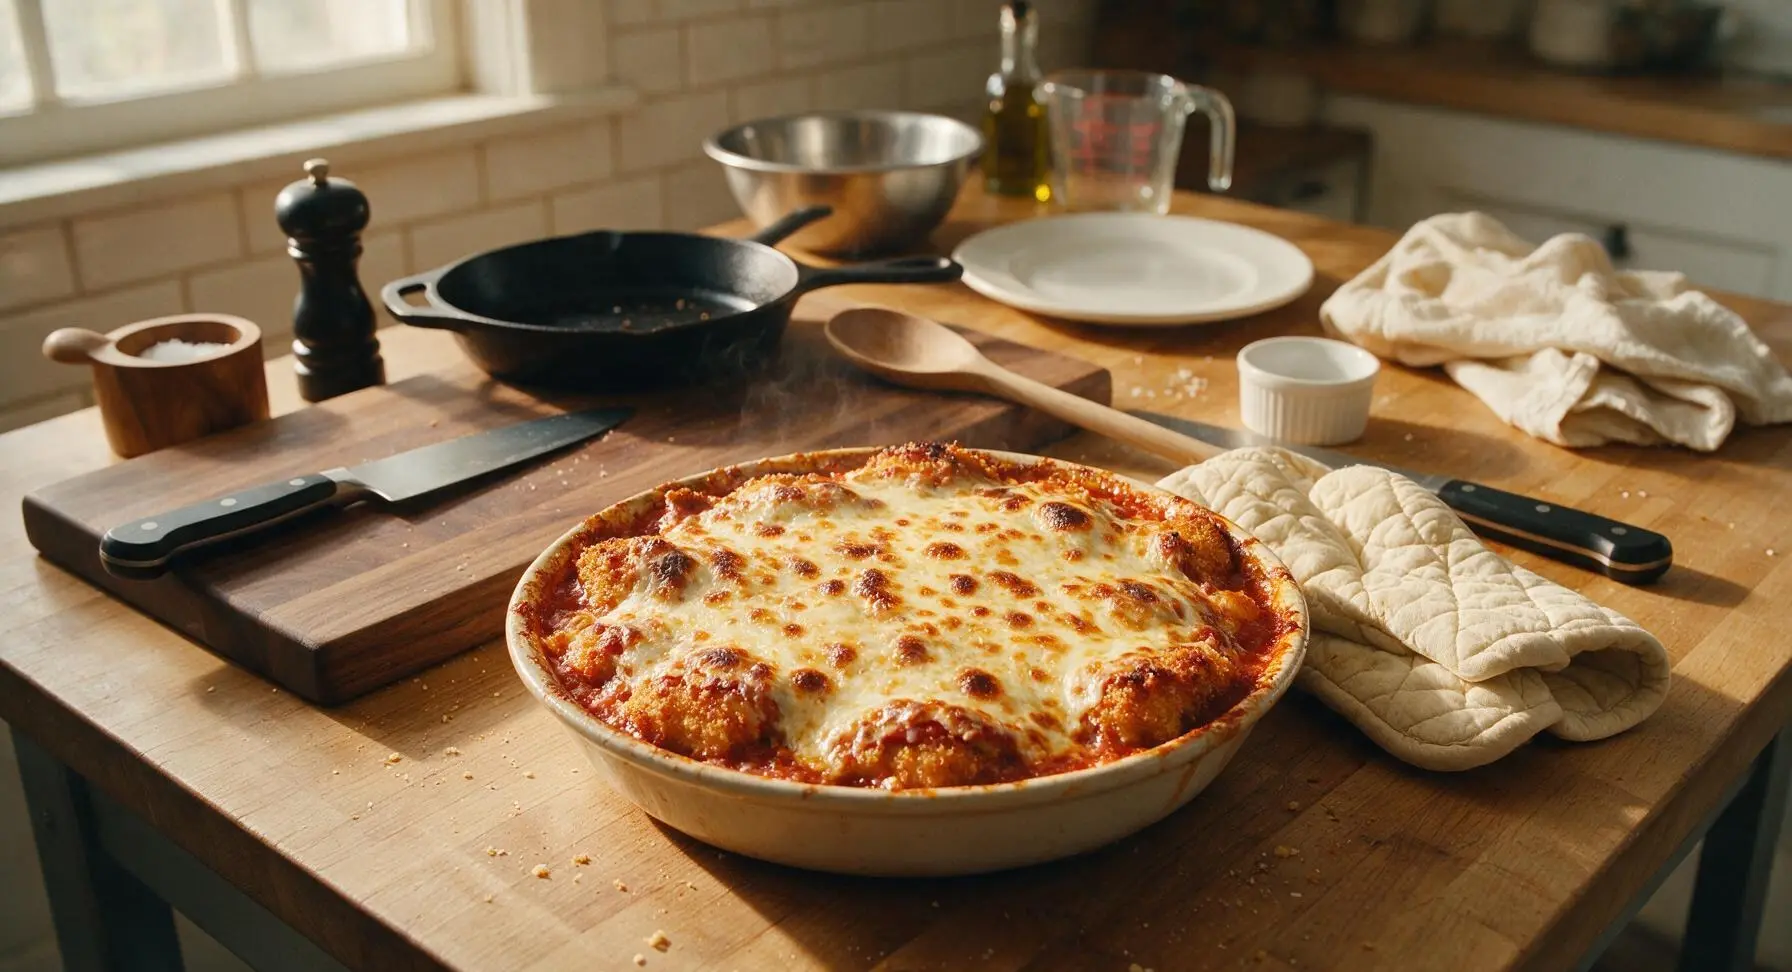
Step 7
step7:Bake Until Golden
Step 7
step7:Bake Until Golden
8

Garnish and Rest Casserole

Let the casserole rest for 5 minutes on the counter to set, which makes it easier to scoop and serve without the topping sliding off. Tear the fresh basil leaves into rough pieces and scatter them evenly over the top of the melted cheese just before serving.
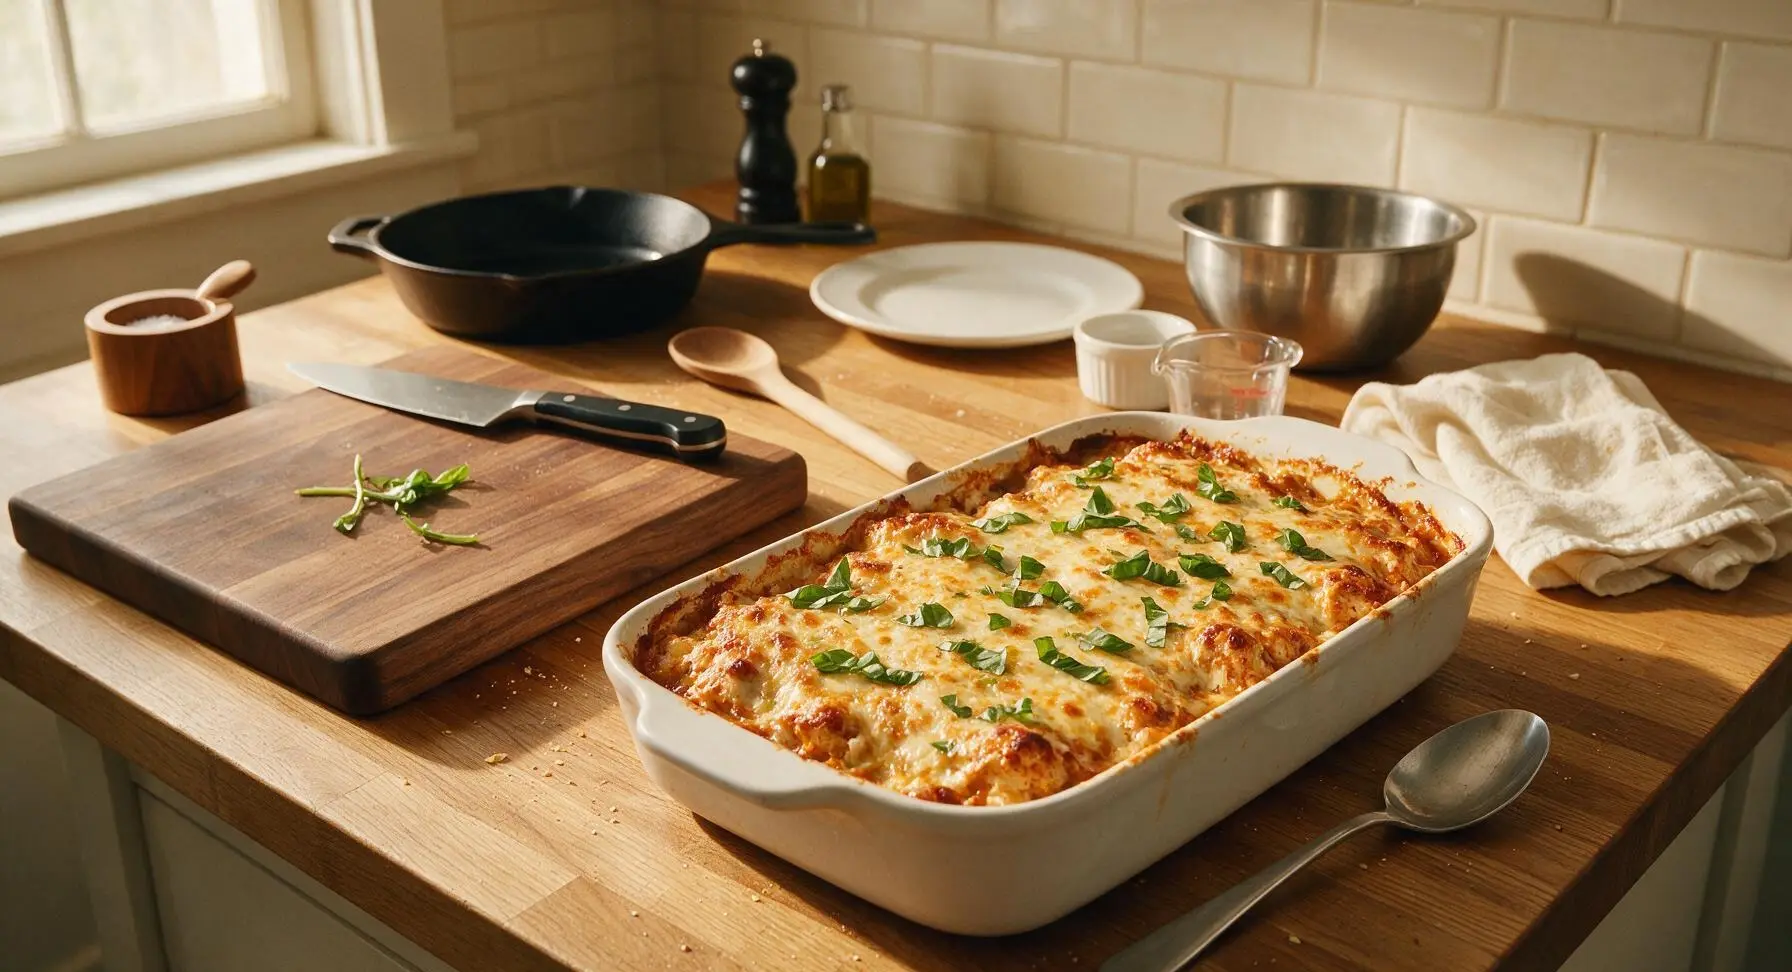
Step 8
step8:Garnish and Rest Casserole

Tips

1.Use low-moisture, part-skim mozzarella instead of fresh mozzarella: fresh mozzarella releases excess water as it bakes, which will make the panko coating soggy, while low-moisture mozzarella melts smoothly into a stretchy, non-watery topping.
2.Do not mix marinara sauce into the chicken layer: keeping sauce on top of the breaded chicken allows the panko coating to crisp up as it bakes, rather than steaming in sauce and turning soft and mushy.
3.Let the casserole rest for 5 full minutes after baking: this allows the cheese to set and chicken juices to redistribute, so scoops hold their shape instead of sliding apart into a runny mess.


✨ You May Also Like

Main Course
🍜 United Kingdom

A showstopping classic of tender seared beef, savory mushroom duxelles, and crisp prosciutto wrapped in flaky golden puff pastry, baked to juicy perfection.

⏱️ 2 hours 1Main Course ★ 4.7
Main Course
🍜 India

Tender charred marinated chicken simmered in a rich, spiced creamy tomato sauce, this iconic Anglo-Indian curry pairs perfectly with basmati rice or warm naan.

⏱️ 50 minuteMain Course ★ 4.6
Main Course
🍜 Thailand

Classic tangy, sweet, and savory Thai stir-fried rice noodles with shrimp, tofu, and crunchy garnishes, balancing all five core Thai flavor profiles.

⏱️ 30 minuteMain Course ★ 4.5
Main Course
🍜 United Kingdom

Crispy golden beer-battered cod and fluffy double-fried chips, served with tangy tartar sauce and malt vinegar: the timeless, beloved British pub comfort classic.

⏱️ 45 minuteMain Course ★ 4.7
Main Course
🍜 Mexico

Smoky, chile-marinated pork tacos with caramelized pineapple, fresh cilantro, and lime: a beloved classic Mexican street food perfect for casual summer gatherings.

⏱️ 1 hour 45Main Course ★ 4.8
Main Course
🍜 United States

Crunchy Fritos corn chips layered with savory beef chili and melted cheddar, topped with cool, zesty fixings for a beloved, cozy Tex-Mex comfort food.

⏱️ 35 minuteMain Course ★ 4.8

Chicken Parmesan Casserole:Frequently Asked Questions

1.Do I really need to fry the chicken for this casserole to get that classic chicken parm crisp? ▾
Nope, no messy stovetop frying required at all—this recipe is built for easy, low-cleanup prep! You’ll get that iconic crispy chicken parm texture by tossing panko breadcrumbs with a portion of the grated Parmesan, toasting them lightly for extra crunch, then baking the assembled casserole straight in the oven without any splatter or hassle.
2.Why do you recommend using no-added-sugar marinara sauce for this recipe? ▾
No-added-sugar marinara lets the bright, tangy tomato flavor and rich, salty cheeses take center stage, instead of cloying sweetness throwing the whole flavor balance off. Many jarred marinara brands hide unnecessary added sugar, so check labels for simple core ingredients: tomatoes, herbs, garlic, and oil for the most authentic taste.
3.Can I swap boneless, skinless chicken thighs for the chicken breasts called for? ▾
Absolutely! Boneless, skinless chicken thighs work beautifully here if you prefer juicier, more deeply flavored dark meat. Just cut them into the same 1-inch bite-sized pieces you’d use for breast meat, and note you may need to add 3 to 5 minutes of bake time to ensure they reach a safe 165°F internal temperature.
4.What does it mean when the recipe says grated Parmesan is “divided”? ▾
Dividing the Parmesan lets you layer flavor and texture across every part of the casserole! You’ll mix one portion with your panko breadcrumbs for that crispy, salty top crust, and stir the other portion into your chicken and marinara layers to add nutty, umami depth throughout the dish, not just on the very top.
5.Why is low-moisture mozzarella recommended instead of fresh mozzarella? ▾
Low-moisture shredded mozzarella melts into that perfect stretchy, gooey texture without releasing excess water that would make your casserole soggy. Fresh mozzarella has very high water content, so if you do use it, pat it extremely dry first and cut it into small pieces to avoid a mushy final dish.
6.How do I keep the panko top layer from getting soggy as the casserole bakes? ▾
For the crispiest panko top, toast the breadcrumbs with a little olive oil and your first portion of Parmesan for 3 to 4 minutes in a dry skillet before sprinkling them over the casserole during the last 10 minutes of baking. Adding them too early makes them absorb sauce and steam instead of crisping up.
7.Can I assemble this casserole ahead of time for a family gathering? ▾
Definitely! Assemble the entire casserole except for the panko topping, cover it tightly, and store it in the fridge for up to 24 hours before baking. When you’re ready to serve, pop it in the oven, add the pre-toasted panko during the final 10 minutes, and bake until bubbly for low-stress group meals.
8.What internal temperature does the chicken need to reach to be safe to eat? ▾
All chicken in the casserole should reach a safe minimum internal temperature of 165°F, measured with an instant-read thermometer stuck into the thickest part of a chicken piece, not touching the baking dish. Let the casserole rest 5 minutes after baking to help juices redistribute for better flavor.
9.Can I freeze this casserole to have on hand for quick weeknight meals? ▾
You sure can! Assemble the unbaked casserole (hold the panko topping), wrap it tightly in a double layer of plastic wrap and foil, and freeze for up to 3 months. Thaw it fully in the fridge overnight before baking, and add the toasted panko topping in the last 10 minutes of cook time for best results.
10.What sides pair best with this chicken parmesan casserole? ▾
This rich, cheesy casserole pairs perfectly with lighter, simple sides to cut through the richness. Try serving it over al dente pasta, with a crisp green salad tossed in tangy vinaigrette, roasted broccoli, or buttery garlic bread. It’s highly shareable, so you can easily mix and match sides to feed a crowd.
11.I only have plain panko at home—do I need to buy seasoned breadcrumbs? ▾
Plain panko works perfectly! Just toss it with a pinch of garlic powder, dried oregano, black pepper, and the allocated portion of Parmesan before toasting to bump up the flavor. You don’t need fancy seasoned breadcrumbs here; the marinara and cheeses already carry plenty of classic Italian-American flavor.
12.How do I keep the chicken from drying out while the casserole bakes? ▾
Cut your chicken breasts into uniform 1-inch pieces so they cook evenly, and don’t overbake them. Make sure the chicken is fully nestled in the marinara sauce before adding the cheese layer, as the sauce locks in moisture while baking. Pull the casserole as soon as the chicken hits 165°F to avoid tough, dry meat.
13.Can I mix extra veggies into this casserole to make it more filling? ▾
Absolutely! This recipe is super customizable for family preferences. Try stirring in sautéed bell peppers, spinach, mushrooms, or diced zucchini into the marinara layer before baking. Just cook high-moisture veggies first and drain off any excess liquid so you don’t end up with a watery casserole.
14.Do I need to let the casserole rest after taking it out of the oven? ▾
Yes, let the casserole rest for 5 to 7 minutes after pulling it from the oven before slicing and serving. This short rest lets the hot cheese and sauce set up so it doesn’t slide apart when you scoop it, and it gives the flavors time to meld together for a more cohesive, delicious bite.

Comments (8)

2 days ago

OMG this Chicken Parmesan Casserole was such a game changer for our weeknight family dinner! My two kids usually turn their noses up at anything with marinara, but they both asked for SECONDS. So easy to throw together after work too, no fancy steps required. 10/10 will be making this at least twice a month.

yesterday

Right?! My picky 7 year old devoured this too! I added a little extra mozzarella on top because we’re cheese obsessed over here, worked perfectly.

yesterday

So glad your kids loved it! Extra mozzarella is always a great call — no such thing as too much cheese on a chicken parm bake in my book.

1 week ago

Took this to my neighborhood potluck last weekend and people were hounding me for the recipe before I even set the dish down! The crispy breadcrumb top gives it that perfect crunch you want from chicken parm, without all the hassle of frying individual cutlets. Cook time was exactly 40 minutes like the recipe said, super straightforward.

5 days ago

Love that it was a potluck hit! That crispy panko topping is my favorite part too — so much less mess than pan-frying, right?

just now

As someone who barely knows how to boil pasta without burning it, this was so easy to pull off in my tiny dorm kitchen! I used pre-cooked grilled chicken strips from the grocery store to cut down on prep even more, and it still turned out SO good. My roommates are already begging me to make it again next week.

5 days ago

Added this to my Sunday meal prep rotation and it holds up perfectly all week in the fridge! I portion it out into individual containers with a side of roasted broccoli, and it’s way better than the sad takeout I used to eat for lunch. I skipped the fresh basil because I forgot to grab it at the store, and it was still delicious. My only tiny gripe is that the listed serving size feels pretty small — it only made 4 portions for me instead of the 6 it says, so I’ll double it next time to cover my whole work week.

3 days ago

How do you reheat it? I’m worried the breadcrumb topping will get soggy if I microwave it for work lunches!

2 days ago

Great question! For meal prep, I recommend reheating in the oven or toaster oven at 350F for 10 minutes if you can, but if you’re stuck with a microwave, cover it with a damp paper towel and it’ll keep the topping from getting too soggy. So glad it’s working for your lunch rotation!

yesterday

Made this for my book club gathering last night and every single person went back for a second helping! I loved that I could assemble it the night before and just pop it in the oven when guests arrived, no last minute chaos in the kitchen. The only change I made was adding a sprinkle of parmesan to the breadcrumb mix for extra savoriness.

2 hours ago

Wait you brought this to book club?! I was there and had three servings, I had no idea it was you who made it. It was literally the best thing on the food table, thank you for bringing it!

2 days ago

Made this with gluten-free panko breadcrumbs and gluten-free flour to coat the chicken for my celiac daughter, and you couldn’t even tell the difference! It was so nice to have a comfort food meal that the whole family could eat without worrying about cross-contamination. Will absolutely be making this again for our next family movie night.

2 weeks ago

Wait why did I never think to turn chicken parm into a casserole before? This cuts down so much on the cleanup — one dish, that’s it! My 10 year old said it tastes better than the chicken parm we get at our local Italian restaurant, which is the highest possible compliment if you ask me. Only tiny complaint: I wish I’d made a double batch, because it was gone in 10 minutes flat.

1 week ago

Pro tip: Double the recipe next time! I made a 9x13 pan last week and ate leftovers for 3 days, it even tastes better the second day once the flavors meld a little.

1 week ago

Hahaha that’s the best compliment a recipe can get! We always recommend making a double batch if you have a big family or love leftovers — it reheats like a dream.

30 minutes ago

Made this for my grandkids when they visited over the weekend, and even my super fussy teenage grandson ate two huge pieces! I added a layer of sliced pepperoni between the chicken and cheese for a little extra zing, and it went over so well. Super easy to follow even for an old guy like me who doesn’t do fancy cooking.

5 minutes ago

The pepperoni addition sounds absolutely delicious — what a fun twist! So happy the grandkids enjoyed it, that’s what easy comfort food is all about.



